Home>Renovation & DIY>Tools & Equipment>Why Is My Spackle Cracking
Tools & Equipment
Why Is My Spackle Cracking
Published: December 19, 2023
Discover the reasons behind spackle cracking and how to prevent it with the right tools and equipment. Learn expert tips and techniques for flawless spackling. Unlock the secrets to a smooth, crack-free finish.
(Many of the links in this article redirect to a specific reviewed product. Your purchase of these products through affiliate links helps to generate commission for Storables.com, at no extra cost. Learn more)
Introduction
Welcome to the world of home improvement, where spackling is a common technique used to achieve smooth and flawless walls. However, despite its benefits, spackle can sometimes develop cracks, leaving homeowners puzzled and frustrated. In this article, we will delve into the reasons behind spackle cracking and explore effective preventive measures and solutions.
Spackle, a versatile compound, is widely utilized for patching holes, dents, and imperfections in walls and ceilings. It plays a crucial role in achieving a seamless and polished surface, preparing it for paint or wallpaper. However, when cracks begin to mar the once pristine spackled surface, it can be perplexing and disheartening for DIY enthusiasts and professionals alike.
Understanding the intricacies of spackle and the factors contributing to its cracking is essential for maintaining a flawless finish. By gaining insight into the common causes of spackle cracking and learning how to prevent and address this issue, you can ensure that your walls remain smooth and visually appealing for years to come.
Let's embark on a journey to unravel the mysteries of spackle cracking, empowering you with the knowledge and techniques needed to conquer this common challenge in the realm of home improvement. Whether you are a seasoned DIY enthusiast or a novice homeowner eager to enhance your living space, this guide will equip you with the expertise to tackle spackle cracking with confidence and finesse.
Key Takeaways:
- Spackle can crack due to moisture, temperature changes, and poor application. Prevent it by using quality spackle, preparing surfaces well, and addressing structural issues.
- To fix cracked spackle, clean the area, fill the cracks with quality compound, sand, prime, and paint. Timely repairs maintain flawless walls and ceilings.
Read more: Why Is My Spackle Bubbling
Understanding Spackle
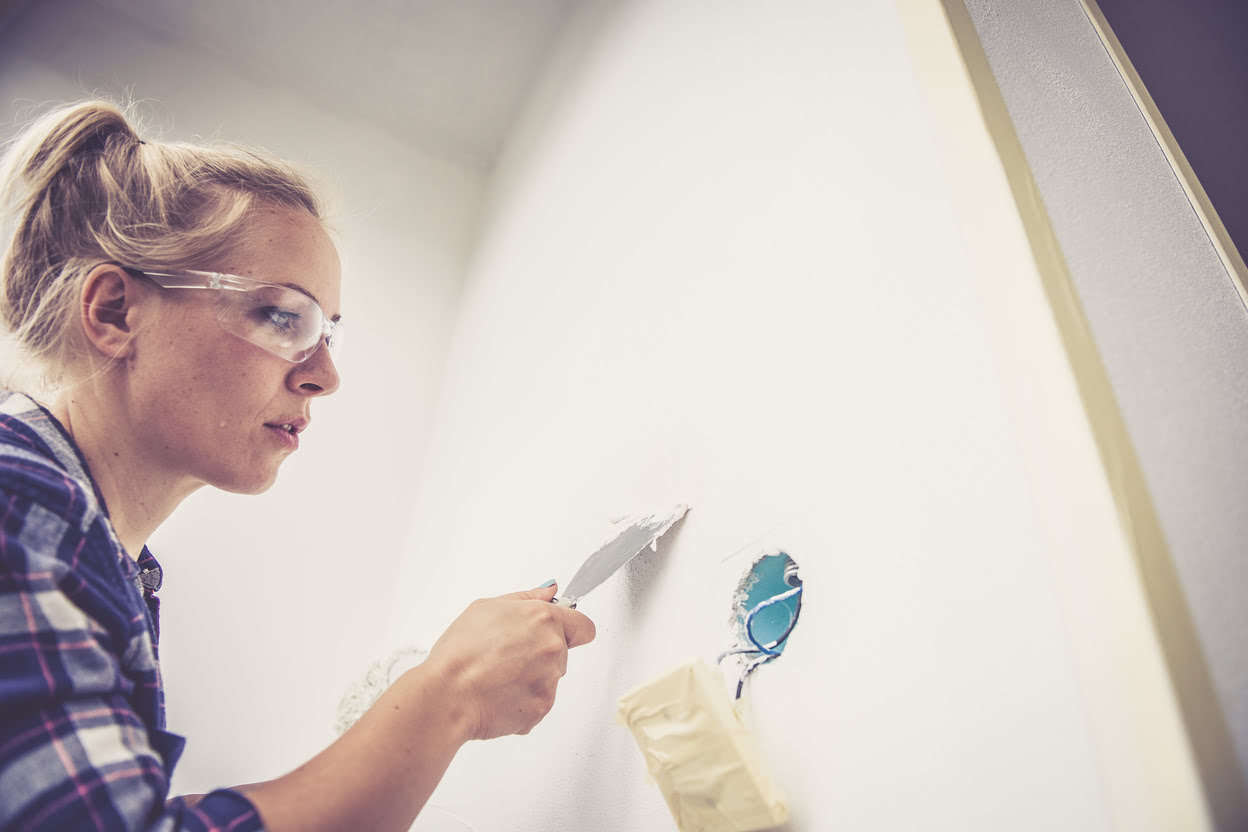
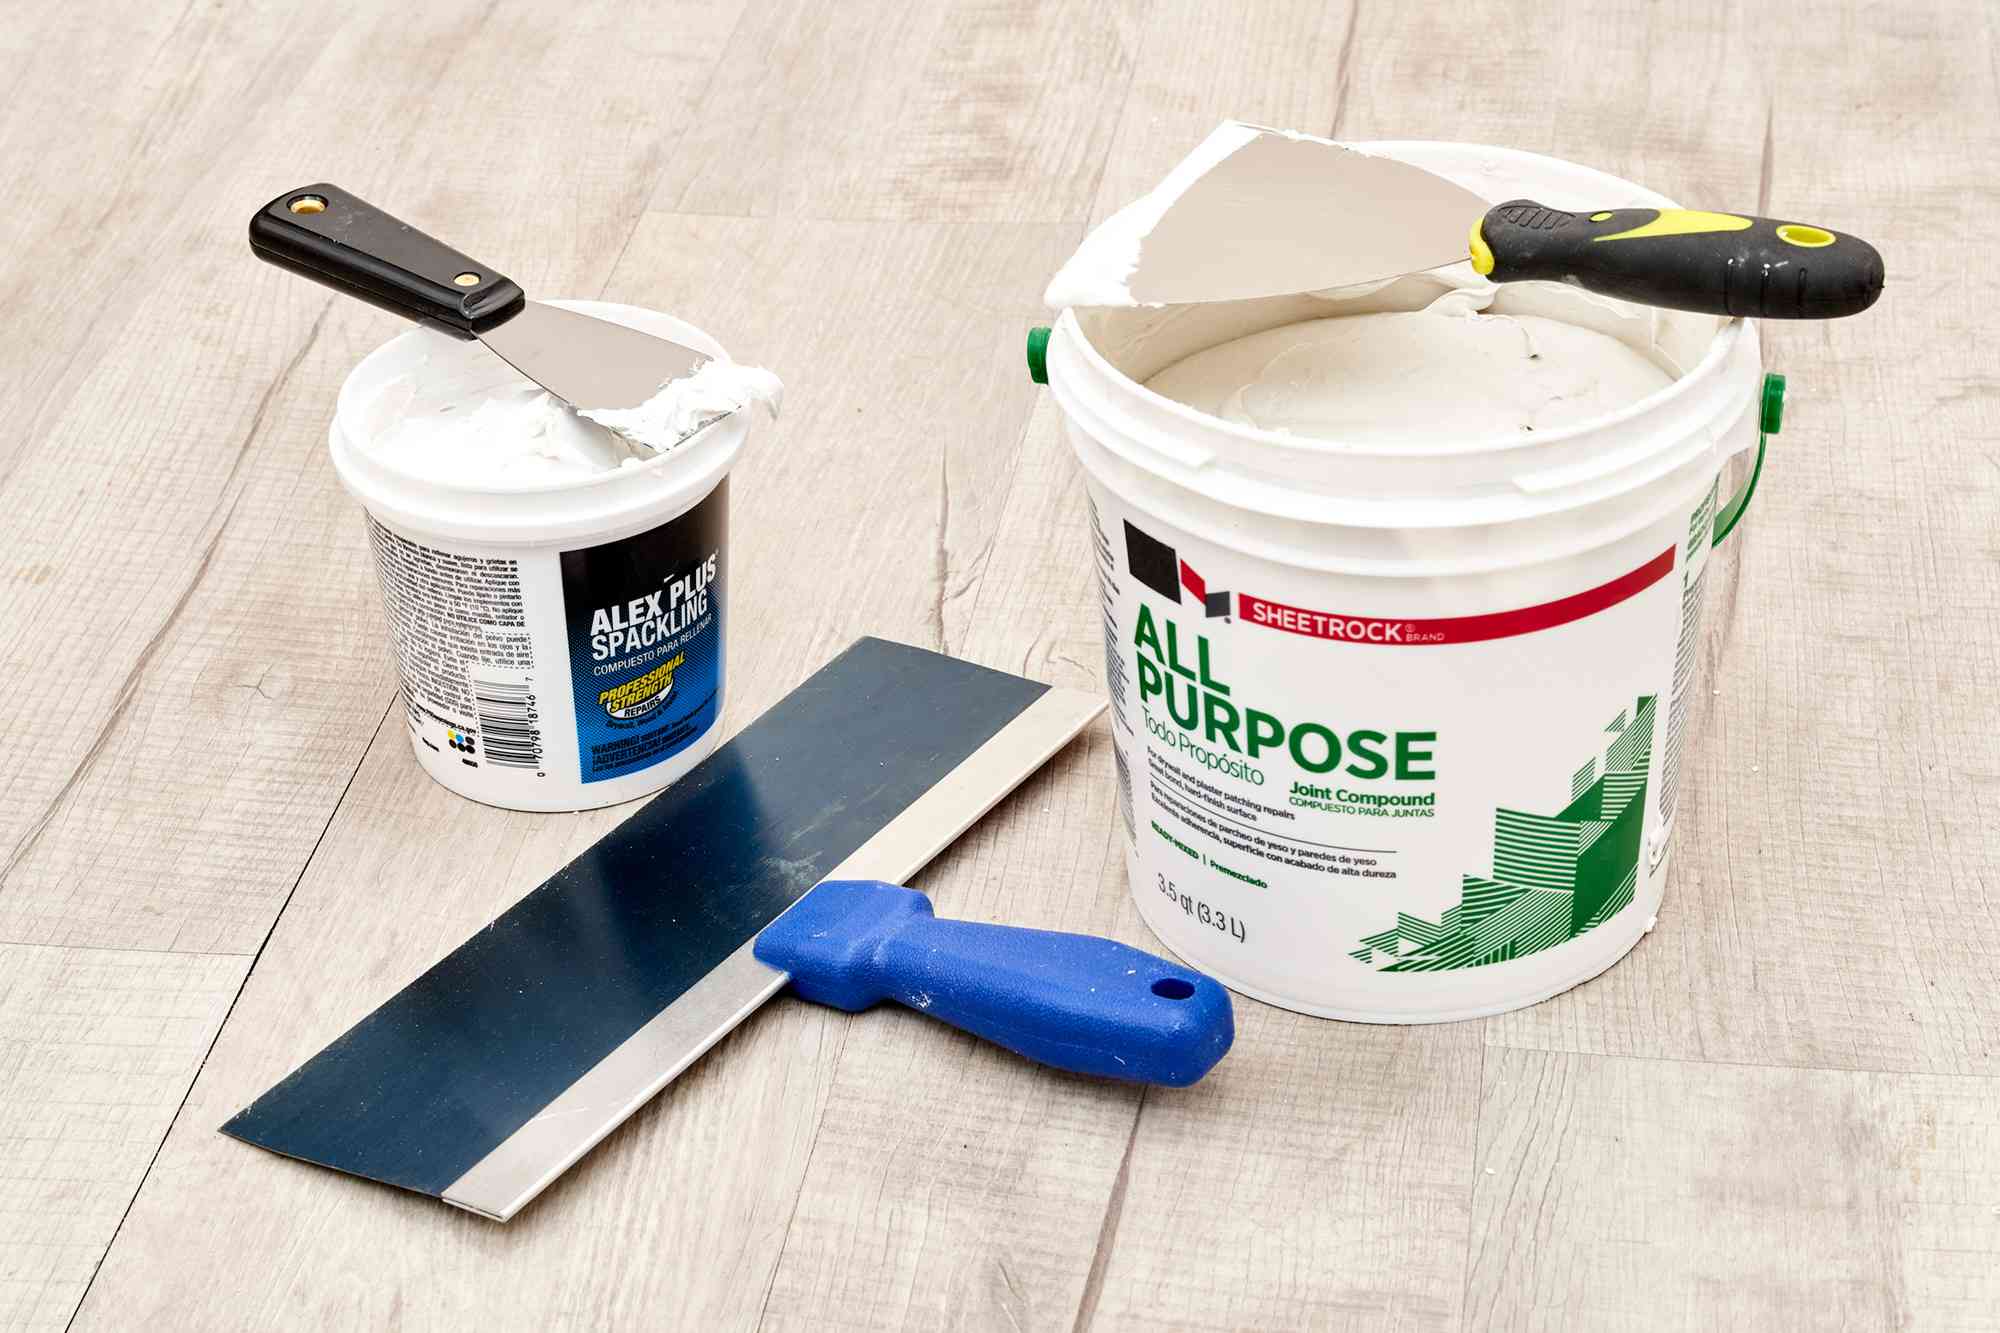
Before delving into the complexities of spackle cracking, it’s crucial to comprehend the nature of this versatile compound. Spackle, also known as joint compound or patching compound, is a gypsum-based paste that is used to fill and repair imperfections in walls and ceilings. Its smooth consistency and easy application make it an indispensable tool for achieving flawless surfaces in home renovation and construction projects.
Spackle comes in various forms, including lightweight and all-purpose variants, each tailored to specific application needs. Lightweight spackle is ideal for filling small cracks and blemishes, while all-purpose spackle is suitable for a wider range of repairs, from minor indentations to larger holes.
One of the key attributes of spackle is its quick-drying nature, allowing for efficient and timely repairs. Once applied, spackle undergoes a chemical reaction as it dries, transforming from a pliable paste to a hardened surface. This transition is pivotal in creating a seamless and uniform backdrop for painting or wallpapering.
Furthermore, spackle is renowned for its sandability, enabling craftsmen to achieve a smooth and even finish. By gently sanding the dried spackle, any minor imperfections or unevenness can be meticulously smoothed out, resulting in a pristine surface ready for further embellishment.
Understanding the properties and capabilities of spackle is fundamental to comprehending the factors that can lead to its cracking. Whether due to environmental conditions, application techniques, or underlying structural issues, spackle is susceptible to various influences that can compromise its integrity, resulting in unsightly cracks.
By gaining a deeper understanding of spackle and its role in surface preparation, you will be better equipped to identify the root causes of spackle cracking and implement effective strategies to prevent and remedy this common issue.
Common Causes of Spackle Cracking
Spackle cracking can be attributed to a multitude of factors, ranging from environmental conditions to application techniques. Understanding these common causes is essential for preemptively addressing potential issues and maintaining the integrity of spackled surfaces. Here are the primary culprits behind spackle cracking:
- Moisture and Humidity: Excessive moisture and high humidity levels can significantly impact the drying process of spackle. When spackle is applied to surfaces in humid environments, the prolonged drying time can lead to shrinkage and cracking as the compound struggles to cure properly.
- Temperature Fluctuations: Drastic fluctuations in temperature, particularly rapid changes from hot to cold or vice versa, can cause spackle to expand and contract, leading to stress on the surface and eventual cracking.
- Application Thickness: Applying spackle in excessively thick layers can impede the proper drying and curing process. As the outer layer dries, the underlying spackle may remain moist, resulting in uneven shrinkage and the formation of cracks.
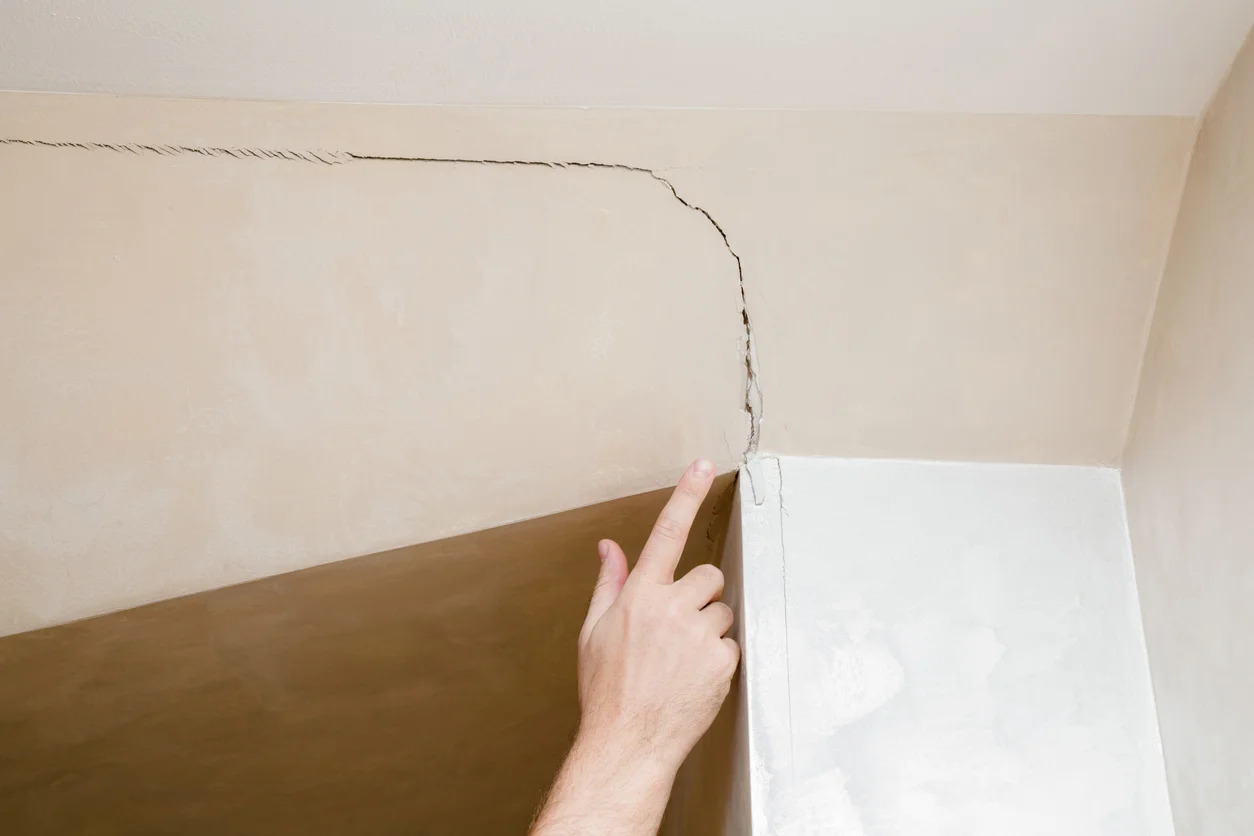
- Structural Movement: Buildings are subject to subtle movements caused by settling, vibrations, or structural shifts. These movements can exert stress on spackled surfaces, potentially leading to hairline cracks over time.
- Low-Quality Spackle: Inferior or expired spackle products may lack the necessary bonding and adhesive properties, making them prone to premature cracking and deterioration.
- Improper Surface Preparation: Failing to adequately clean and prepare the surface before applying spackle can hinder adhesion and contribute to cracking. Dust, grease, and residues can create barriers that compromise the bond between the spackle and the substrate.
Identifying these common causes of spackle cracking empowers homeowners and professionals to proactively address potential issues during the spackling process. By mitigating these factors and adopting best practices, the likelihood of spackle cracking can be significantly reduced, preserving the visual appeal and structural integrity of the treated surfaces.
Make sure the spackle is fully dry before painting over it. Use a flexible spackle for areas prone to movement. Sand the area smooth before applying a new layer of spackle.
How to Prevent Spackle Cracking
Preventing spackle cracking entails a combination of meticulous preparation, strategic application, and proactive measures to mitigate environmental influences. By implementing the following preventive strategies, you can safeguard spackled surfaces from the unsightly blemishes of cracking:
- Optimal Environmental Conditions: Ensure that the application environment maintains moderate temperature and humidity levels conducive to the proper drying of spackle. Adequate ventilation can expedite the drying process and minimize the risk of cracking due to prolonged exposure to moisture.
- Thin, Even Application: Apply spackle in thin, even layers to facilitate uniform drying and minimize the potential for uneven shrinkage and cracking. Multiple thin coats, each allowed to dry thoroughly, are preferable to a single thick application.
- Quality Spackle Products: Invest in high-quality spackle from reputable manufacturers to ensure optimal bonding, adhesion, and resistance to cracking. Check the expiration date and storage conditions of the spackle to guarantee its effectiveness.
- Thorough Surface Preparation: Prepare the surface meticulously by cleaning away dust, debris, and residues. Use a primer or sealer to enhance adhesion and create a smooth, uniform substrate for the spackle.
- Proper Drying Time: Allow each layer of spackle to dry completely before applying subsequent coats or commencing sanding. Rushing the drying process can compromise the integrity of the spackle and increase the likelihood of cracking.
- Structural Reinforcement: Address underlying structural issues, such as wall movement or settlement, to minimize stress on spackled surfaces. Reinforcing the structural integrity of the underlying substrate can mitigate the risk of cracks caused by building movements.
By adhering to these preventive measures, you can fortify spackled surfaces against the pervasive threat of cracking, ensuring that your walls and ceilings maintain a flawless and enduring finish. Proactive intervention and meticulous attention to detail during the spackling process are instrumental in preserving the visual appeal and structural integrity of treated surfaces.
Fixing Cracked Spackle
When cracks mar the once pristine surface of spackled walls or ceilings, prompt remedial action is essential to restore the flawless finish. Addressing cracked spackle involves a systematic approach that encompasses meticulous repair techniques and the application of suitable materials. Here’s a comprehensive guide to fixing cracked spackle:
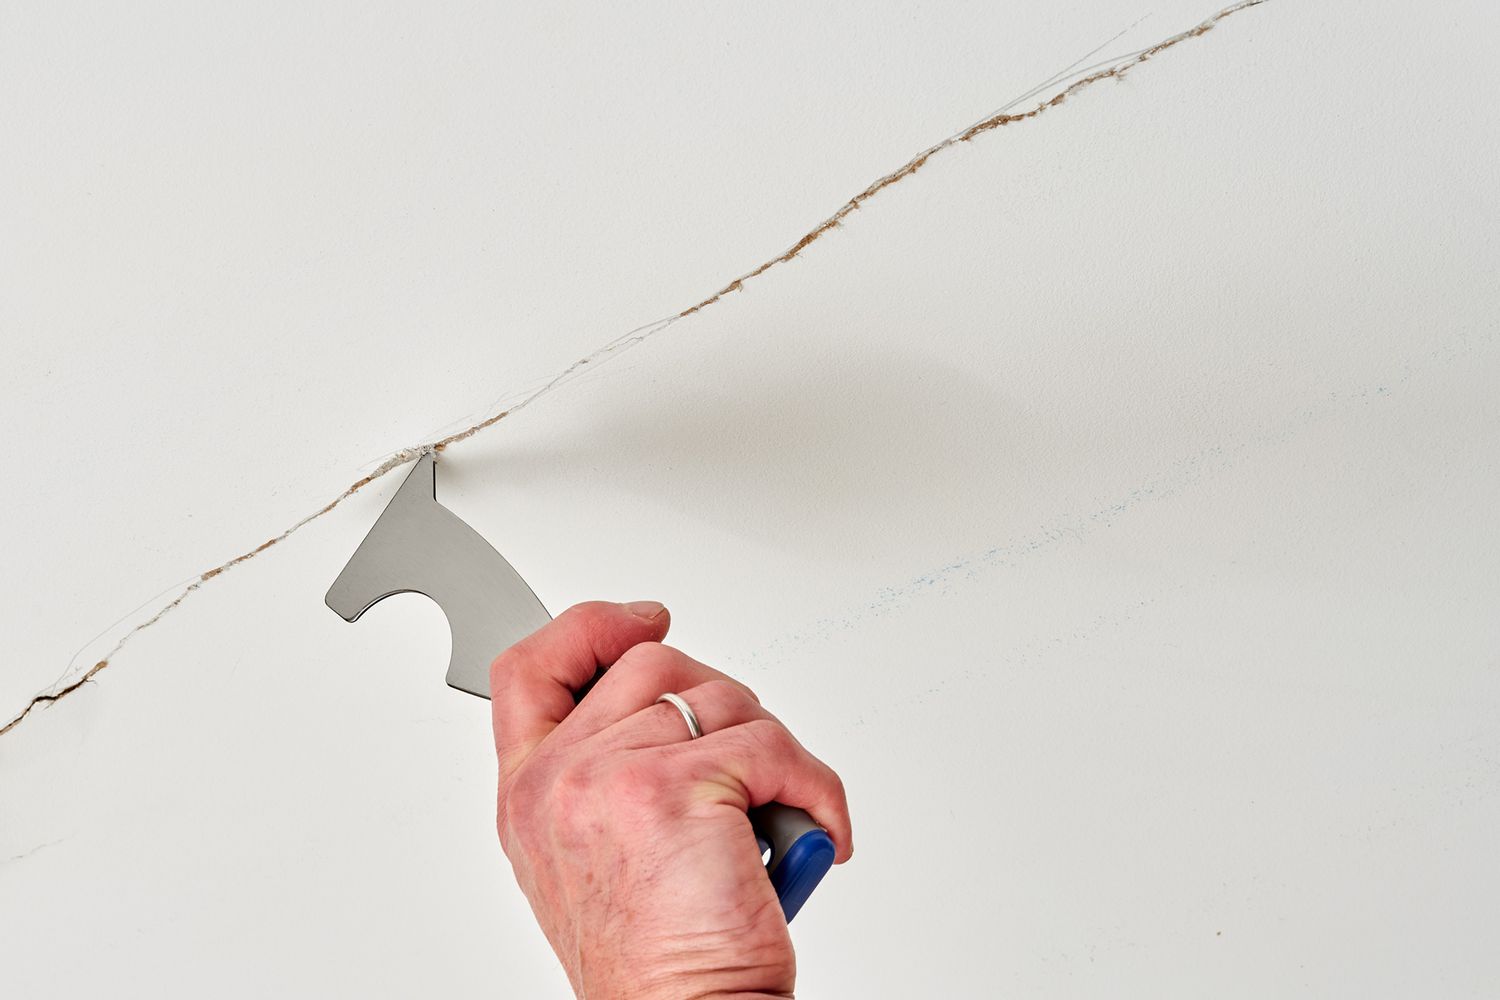
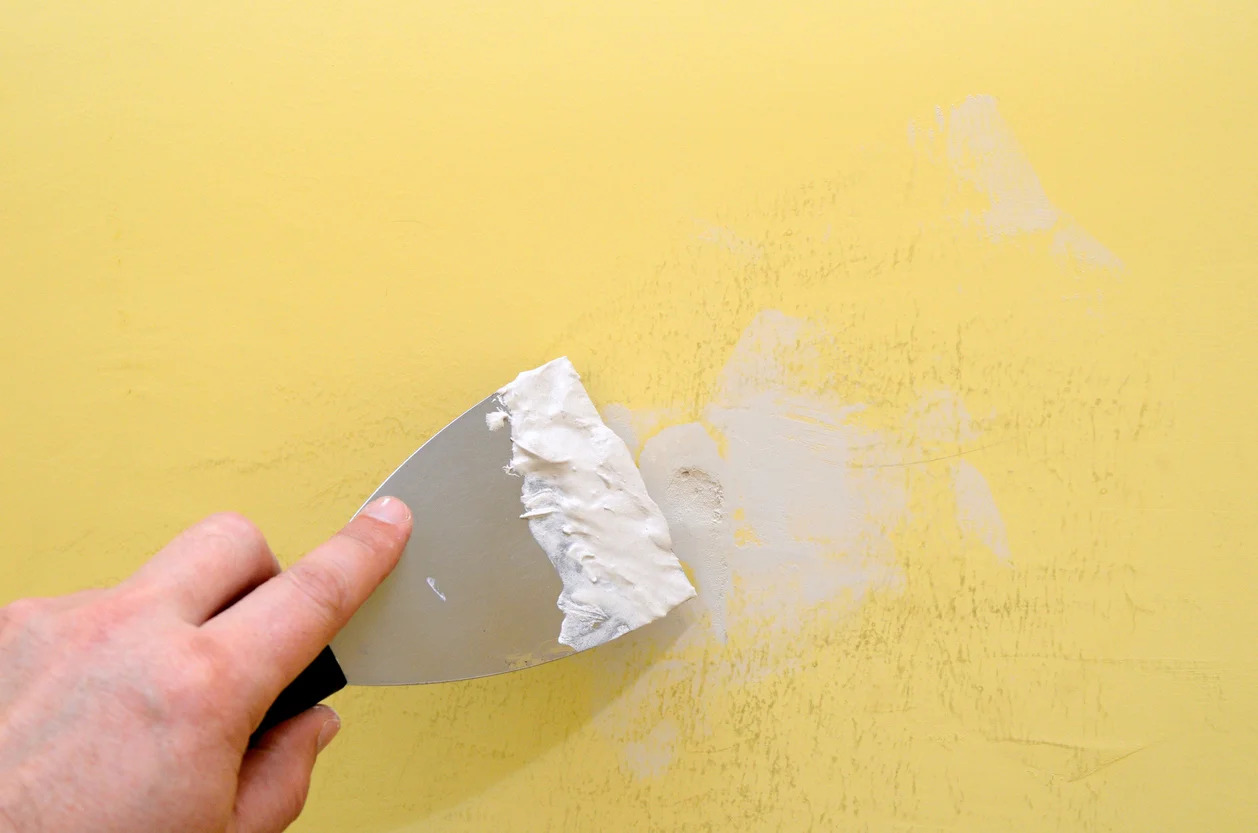
- Clean and Prepare: Begin by carefully cleaning the affected area to remove any loose spackle, dust, or debris. Use a damp cloth or sponge to gently wipe the cracked surface, ensuring it is free from contaminants that could compromise adhesion.
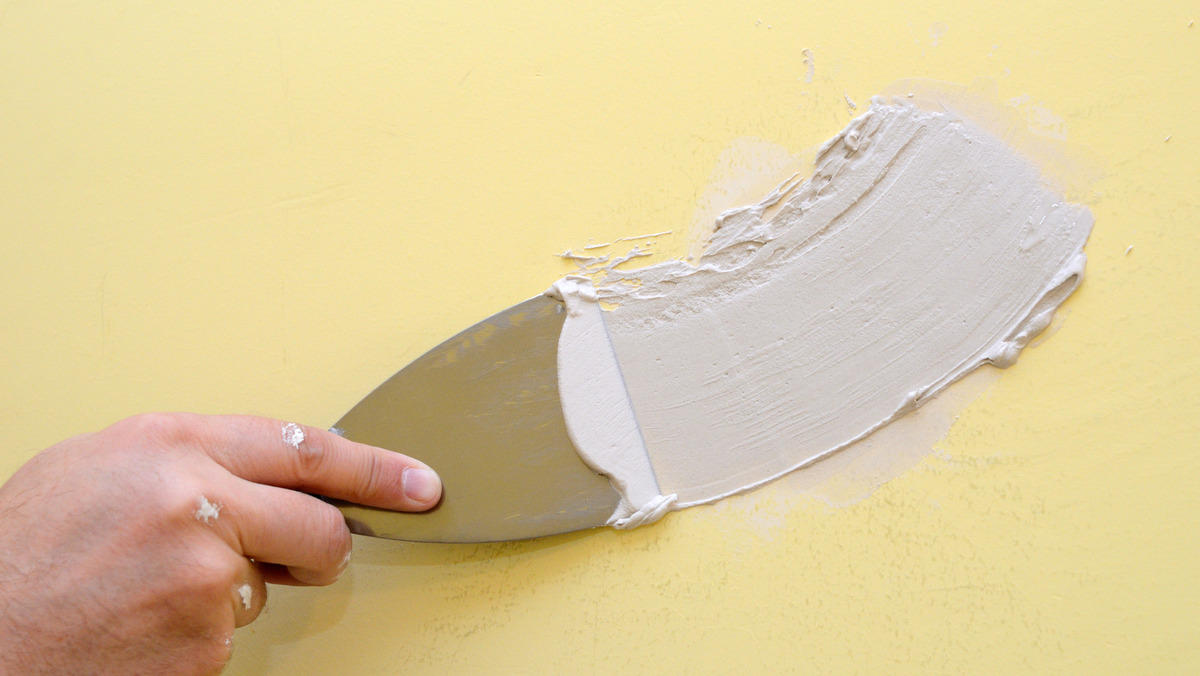
- Fill the Cracks: Utilize a high-quality, flexible spackle or joint compound specifically formulated for crack repair. Apply the compound to the cracks using a putty knife, ensuring thorough coverage and smooth application. Feather the edges of the compound to seamlessly blend with the surrounding surface.
- Allow Drying Time: Once the cracks are filled, allow the repair compound to dry completely according to the manufacturer’s recommendations. Adequate drying time is crucial for the compound to cure and bond effectively with the underlying surface.
- Sand and Blend: After the repair compound has dried, use fine-grit sandpaper to gently sand the repaired area, smoothing out any imperfections and ensuring a seamless transition between the repaired section and the surrounding spackled surface.
- Prime and Paint: Apply a suitable primer to the repaired area to enhance adhesion and uniformity. Once the primer has dried, proceed to paint the entire surface, ensuring a consistent finish that seamlessly integrates the repaired section with the rest of the spackled surface.
By diligently following these steps, you can effectively rectify cracked spackle, restoring the visual appeal and structural integrity of the treated surfaces. Attention to detail, precision in application, and the use of quality materials are pivotal in achieving seamless repairs that seamlessly blend with the surrounding spackled areas.
Remember, addressing cracked spackle in a timely and methodical manner is key to preserving the pristine appearance of your walls and ceilings, ensuring that they remain a testament to your commitment to quality and craftsmanship.
Read more: How To Spackle Cracks In Wall
Conclusion
As we conclude our exploration of spackle cracking, it’s evident that this common issue can be effectively managed through a combination of understanding, prevention, and remediation. By delving into the intricacies of spackle, identifying the common causes of cracking, and learning how to prevent and fix this issue, homeowners and professionals alike can navigate the realm of spackling with confidence and finesse.
Understanding the properties and behavior of spackle is foundational to preemptively addressing potential issues that can lead to cracking. By acknowledging the impact of environmental conditions, application techniques, and structural factors, individuals embarking on spackling endeavors can take proactive measures to mitigate these influences and preserve the integrity of spackled surfaces.
Prevention emerges as a cornerstone in the battle against spackle cracking, with meticulous surface preparation, strategic application, and environmental vigilance serving as formidable allies. By adopting best practices and investing in quality materials, the likelihood of spackle cracking can be significantly reduced, ensuring that treated surfaces retain their flawless finish for the long term.
When cracks do manifest, swift and methodical repair is crucial to restoring the visual appeal and structural integrity of spackled surfaces. By following a systematic approach that encompasses cleaning, filling, drying, and blending, individuals can effectively rectify cracked spackle, seamlessly integrating repairs with the surrounding surfaces.
Ultimately, the journey through the intricacies of spackle cracking equips homeowners and professionals with the knowledge and techniques needed to conquer this common challenge in the realm of home improvement. Armed with this expertise, they can approach spackling projects with confidence, knowing that they possess the insights and skills to maintain flawless and enduring surfaces.
As you embark on your spackling endeavors, may this guide serve as a steadfast companion, empowering you to navigate the nuances of spackle with finesse and proficiency. With a keen understanding of spackle, a proactive approach to prevention, and adeptness in remediation, you are poised to conquer spackle cracking and uphold the impeccable appearance of your living spaces.
Frequently Asked Questions about Why Is My Spackle Cracking
Was this page helpful?
At Storables.com, we guarantee accurate and reliable information. Our content, validated by Expert Board Contributors, is crafted following stringent Editorial Policies. We're committed to providing you with well-researched, expert-backed insights for all your informational needs.


0 thoughts on “Why Is My Spackle Cracking”