Home>Furniture & Design>Outdoor Furniture>How To Make A Cheap Outdoor Projector Screen
Outdoor Furniture
How To Make A Cheap Outdoor Projector Screen
Modified: October 21, 2024
Learn how to create a budget-friendly outdoor projector screen for your backyard entertainment area. Get creative with outdoor furniture and design.
(Many of the links in this article redirect to a specific reviewed product. Your purchase of these products through affiliate links helps to generate commission for Storables.com, at no extra cost. Learn more)
Introduction
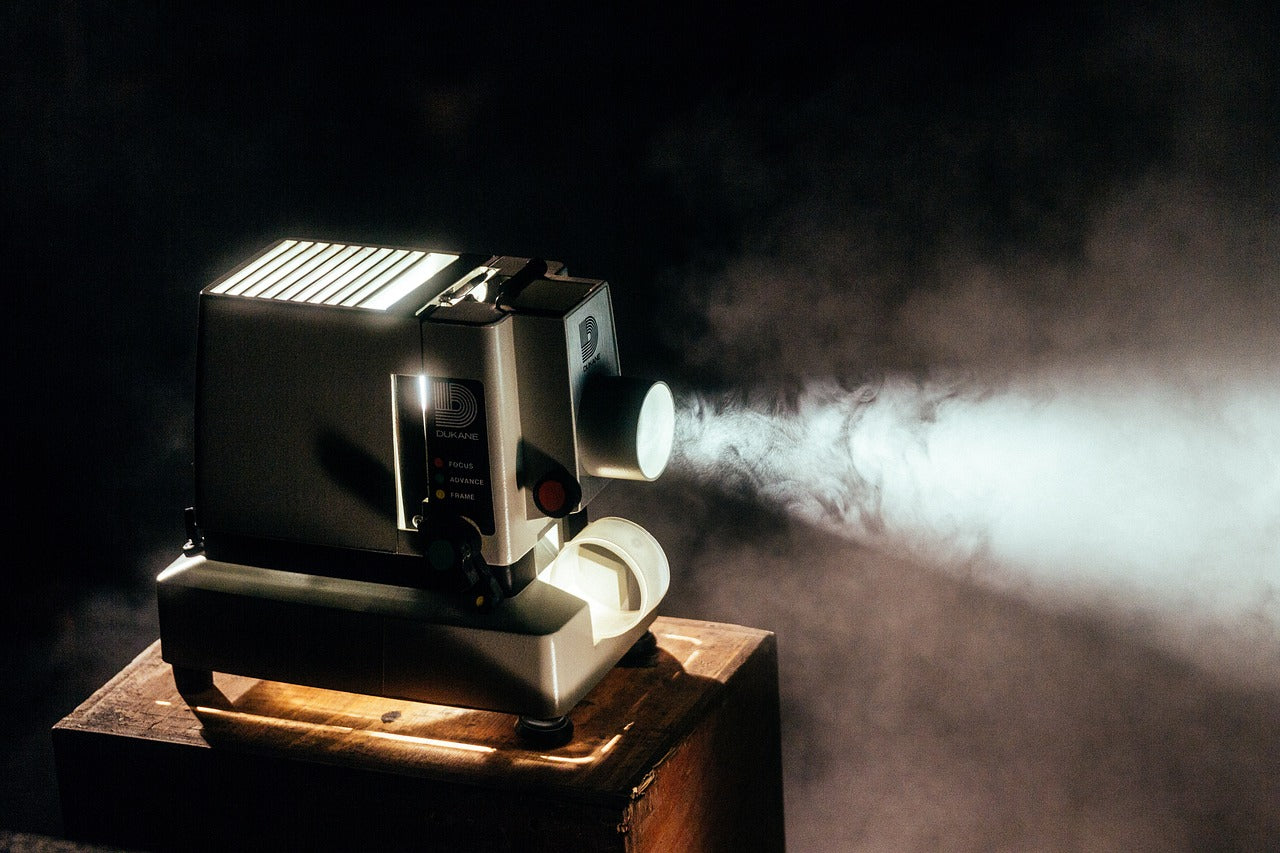
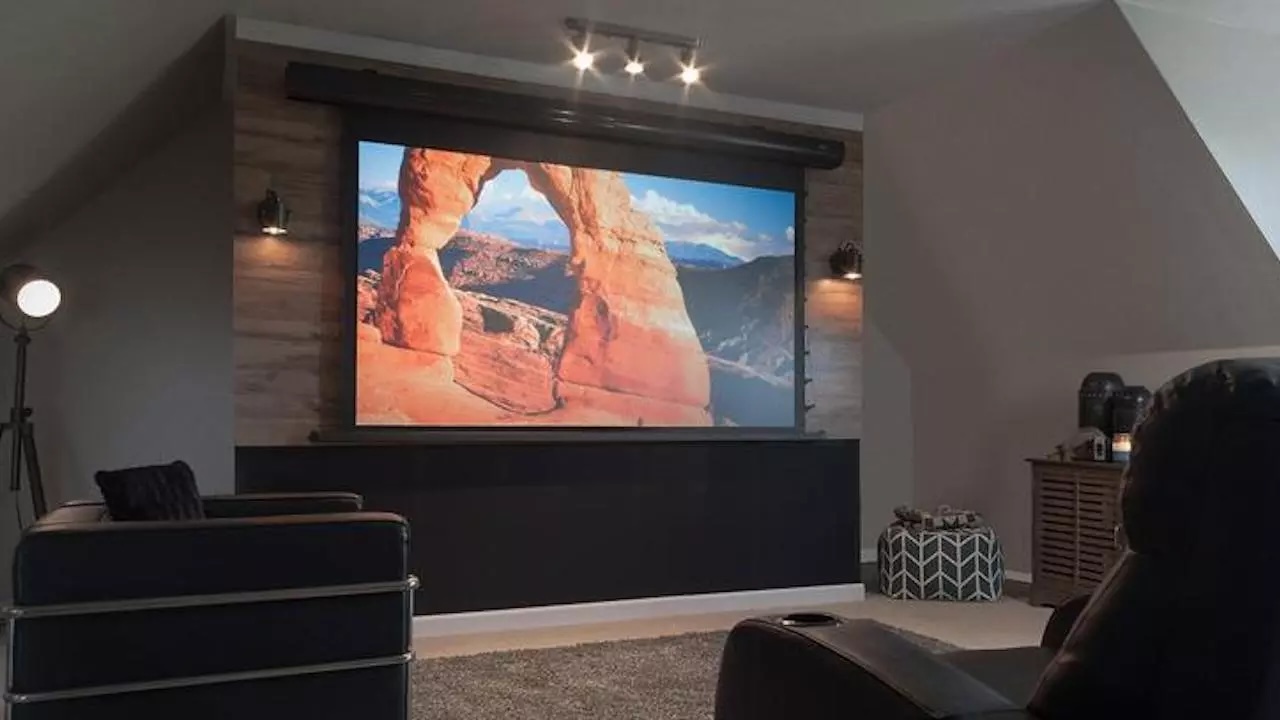
Welcome to the world of outdoor movie nights! There's something magical about watching your favorite films under the open sky, surrounded by friends and family. One key element that can elevate your outdoor movie experience is a high-quality projector screen. While there are plenty of commercial options available, creating your own DIY outdoor projector screen can be a fun and cost-effective project.
In this guide, we'll walk you through the process of making a cheap outdoor projector screen that delivers impressive results without breaking the bank. With a few simple materials and a bit of creativity, you can enjoy the thrill of outdoor cinema right in your backyard.
Whether you're hosting a neighborhood movie night, planning a romantic outdoor date, or simply looking for a new DIY project, building your own outdoor projector screen is a rewarding endeavor. Let's dive into the materials you'll need to get started!
Key Takeaways:
- Create your own outdoor projector screen using PVC pipes, screen material, and basic tools. Enjoy magical movie nights under the open sky with friends and family without breaking the bank!
- Embrace the DIY spirit and craft a cost-effective outdoor projector screen for unforgettable movie experiences. Gather materials, assemble the frame, attach the screen, and set up for a night of cinematic adventures!
Read more: How To Make A Projector Screen
Materials Needed
Before embarking on your DIY outdoor projector screen project, it’s essential to gather the necessary materials. The beauty of this endeavor lies in its simplicity and affordability. Here’s a list of the primary materials you’ll need:
- 1. PVC pipes: These will serve as the frame for your projector screen. Opt for durable, lightweight PVC pipes that are easy to work with.
- 2. Connectors: You’ll require elbow and tee connectors to assemble the PVC frame securely.
- 3. Screen material: Look for a suitable screen material that is both lightweight and capable of displaying high-quality images. There are various options available, including blackout cloth, spandex, or specialized projector screen fabric.
- 4. White fabric or paint: To enhance the screen’s reflective properties, you may need white fabric or paint to coat the screen material.
- 5. Measuring tape and marker: These basic tools will help you accurately measure and cut the PVC pipes.
- 6. Saw: Depending on the type of PVC pipes you choose, a saw may be necessary for cutting them to the required lengths.
- 7. Drill and screws: These will be used to secure the connectors and attach the screen material to the frame.
- 8. Rope or bungee cords: These will aid in securing the screen to the frame and keeping it taut for optimal viewing.
- 9. Hammer and stakes: If you’re setting up the projector screen outdoors, these tools will help anchor it securely to the ground.
By gathering these materials, you’ll be well-equipped to proceed with the construction of your DIY outdoor projector screen. Now that you have a clear understanding of the required materials, let’s move on to the first step: measuring and cutting the frame.
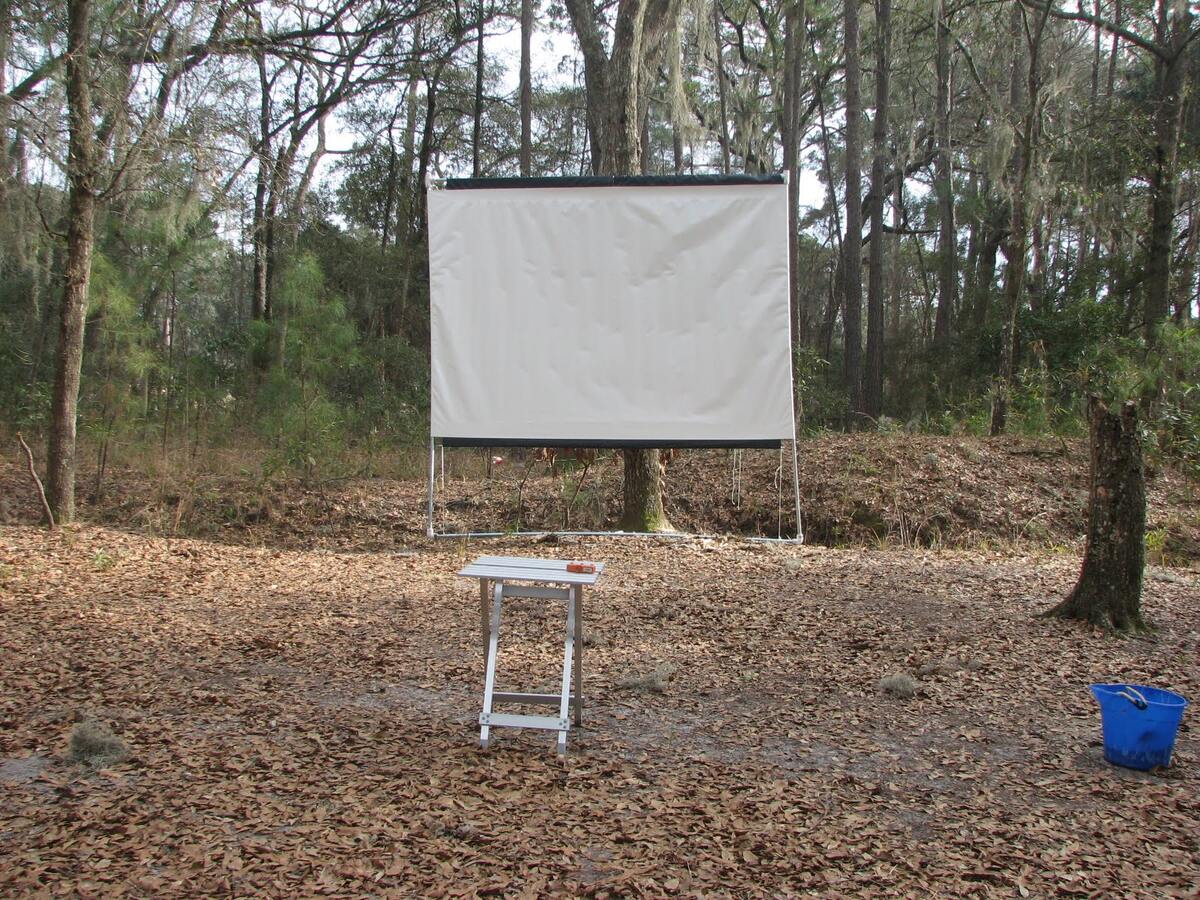
Step 1: Measure and Cut the Frame
The foundation of your outdoor projector screen is its frame, which provides structure and support for the screen material. The frame will be constructed using PVC pipes and connectors, offering a lightweight yet sturdy framework for your DIY project.
Here’s a detailed breakdown of the process:
1.1 Measuring the PVC Pipes: Begin by determining the dimensions of the screen you wish to create. Using a measuring tape, carefully measure the length and width of the desired screen size. Keep in mind the aspect ratio of your projector to ensure that the screen dimensions are compatible with the projected image.
1.2 Cutting the PVC Pipes: Once you have the measurements, use a saw to cut the PVC pipes to the appropriate lengths. It’s crucial to maintain accuracy during this step to ensure that the frame aligns perfectly and supports the screen material without any distortion.
1.3 Assembling the Frame: After cutting the PVC pipes, use elbow and tee connectors to assemble the frame according to the measured dimensions. The connectors will allow you to join the pipes securely, forming a sturdy and stable structure for the projector screen.
By meticulously measuring and cutting the PVC pipes to construct the frame, you’re laying the groundwork for a well-defined and professional-looking outdoor projector screen. With the frame in place, you’re ready to move on to the next step: assembling the frame.
Step 2: Assemble the Frame
With the PVC pipes cut to the precise measurements and the necessary connectors at hand, you’re now ready to assemble the frame for your outdoor projector screen. This step is pivotal in ensuring that the frame is structurally sound and capable of securely holding the screen material.
Here’s a comprehensive guide to assembling the frame:
2.1 Connecting the PVC Pipes: Utilize the elbow and tee connectors to join the PVC pipes according to the predetermined dimensions. Ensure that the connections are snug and secure, as this will form the rigid structure that supports the screen material.
2.2 Checking for Stability: Once the frame is assembled, carefully inspect it to confirm that all the connections are tight and the frame is stable. This step is essential for preventing any instability or wobbling when the screen is set up for use.
2.3 Reinforcing the Joints (Optional): Depending on the size of your projector screen, you may opt to reinforce the joints with additional PVC pipes or connectors to enhance the overall stability of the frame. This precaution can be particularly beneficial for larger screens or in windy outdoor settings.
By meticulously assembling the PVC frame, you’re laying the groundwork for a durable and reliable structure that will support the screen material effectively. With the frame securely in place, it’s time to move on to the next step: attaching the screen material.
Consider using a white or light-colored, weather-resistant fabric or tarp as the screen material. This will provide a smooth surface for better image quality and durability for outdoor use.
Step 3: Attach the Screen Material
As you progress with your DIY outdoor projector screen project, the next crucial step is to attach the screen material to the frame. This phase requires precision and attention to detail to ensure that the screen is taut, smooth, and capable of displaying high-quality images without distortion.
Here’s a detailed breakdown of the process:
3.1 Choosing the Screen Material: Select a suitable screen material that aligns with your preferences and budget. Options such as blackout cloth, spandex, or specialized projector screen fabric are popular choices for DIY projector screens due to their lightweight and reflective properties.
3.2 Securing the Screen Material: Begin by draping the selected screen material over the PVC frame, ensuring that it extends evenly across the entire surface. Use clamps or temporary fasteners to hold the material in place while you work on securing it to the frame.
3.3 Attaching the Material to the Frame: Using a staple gun or suitable fasteners, carefully attach the screen material to the PVC frame. Start from one edge and work your way across, pulling the material taut as you secure it to ensure a smooth and wrinkle-free surface.
3.4 Coating the Screen Material (Optional): For enhanced reflectivity and image clarity, consider applying a coat of white fabric or paint to the screen material. This step can optimize the screen’s reflective properties, resulting in a brighter and more vibrant projected image.
By meticulously attaching the screen material to the frame, you’re creating the canvas for an exceptional outdoor viewing experience. With the screen material securely in place, it’s time to move on to the final step: setting up the projector screen.
Read more: How To Hang A Projector Screen Outdoor
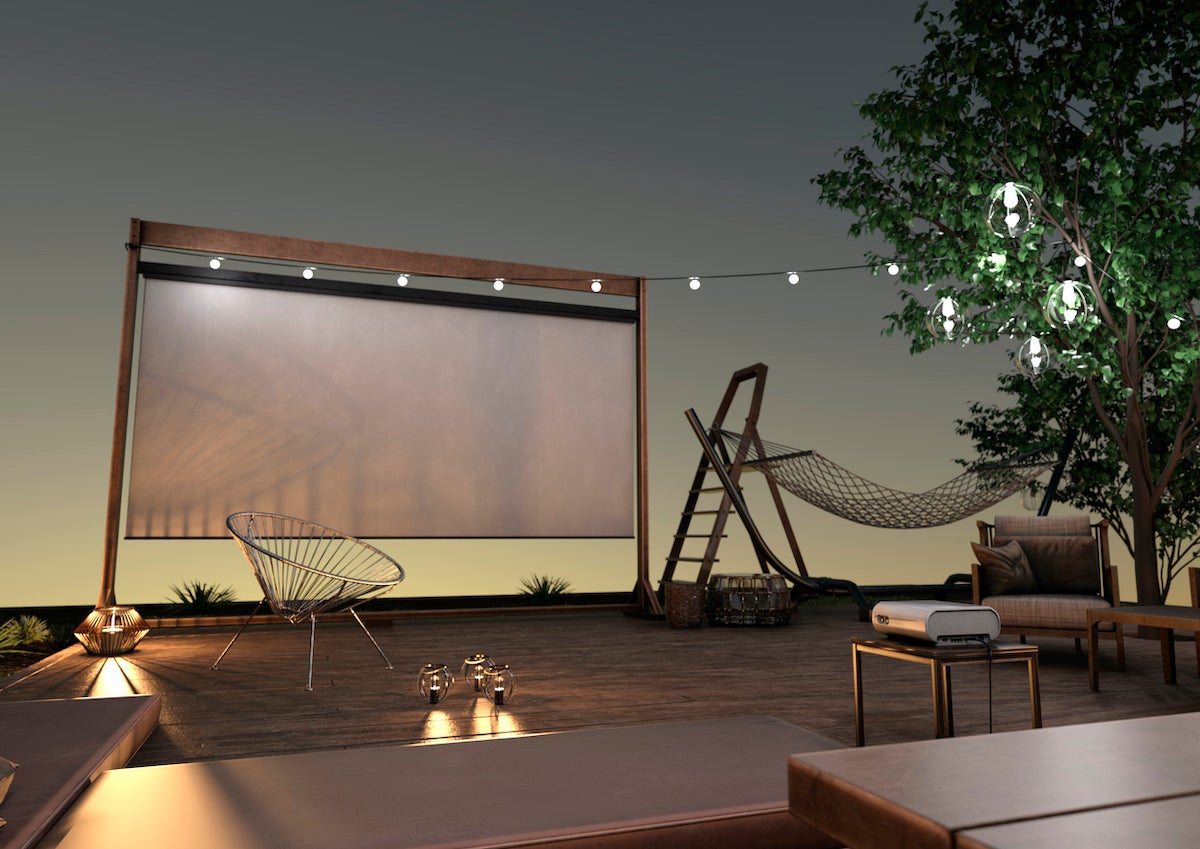
Step 4: Set Up the Screen
As you approach the final phase of your DIY outdoor projector screen project, it’s time to set up the screen and prepare for an unforgettable outdoor movie experience. Properly positioning and securing the screen is essential for achieving optimal image quality and ensuring a seamless viewing experience for you and your audience.
Here’s a comprehensive guide to setting up the projector screen:
4.1 Choosing the Location: Select a suitable outdoor location for setting up the projector screen. Consider factors such as available space, proximity to power sources for the projector, and the comfort of the viewing area for your audience.
4.2 Securing the Screen: If you’re setting up the projector screen in a breezy outdoor environment, use rope or bungee cords to secure the screen to the frame and prevent it from swaying in the wind. This step is crucial for maintaining a steady and taut screen surface.
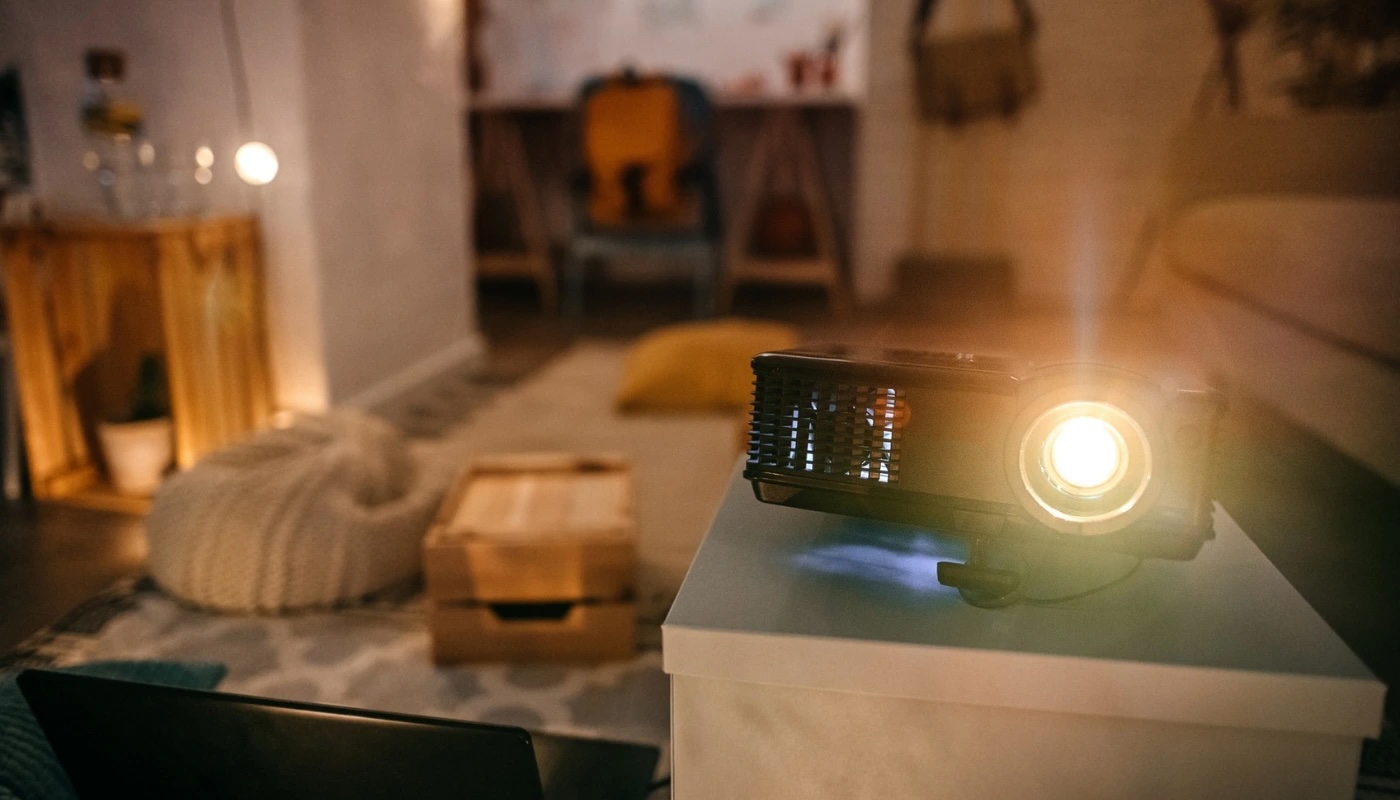
4.3 Positioning the Projector: Place the projector at an optimal distance and angle to ensure that the projected image aligns perfectly with the screen. Adjust the projector’s settings, such as focus and keystone correction, to achieve a crisp and well-aligned image on the screen.
4.4 Testing the Setup: Before the main event, conduct a test run to ensure that the projector, screen, and audio setup are functioning harmoniously. This allows you to make any necessary adjustments and fine-tune the setup for an exceptional viewing experience.
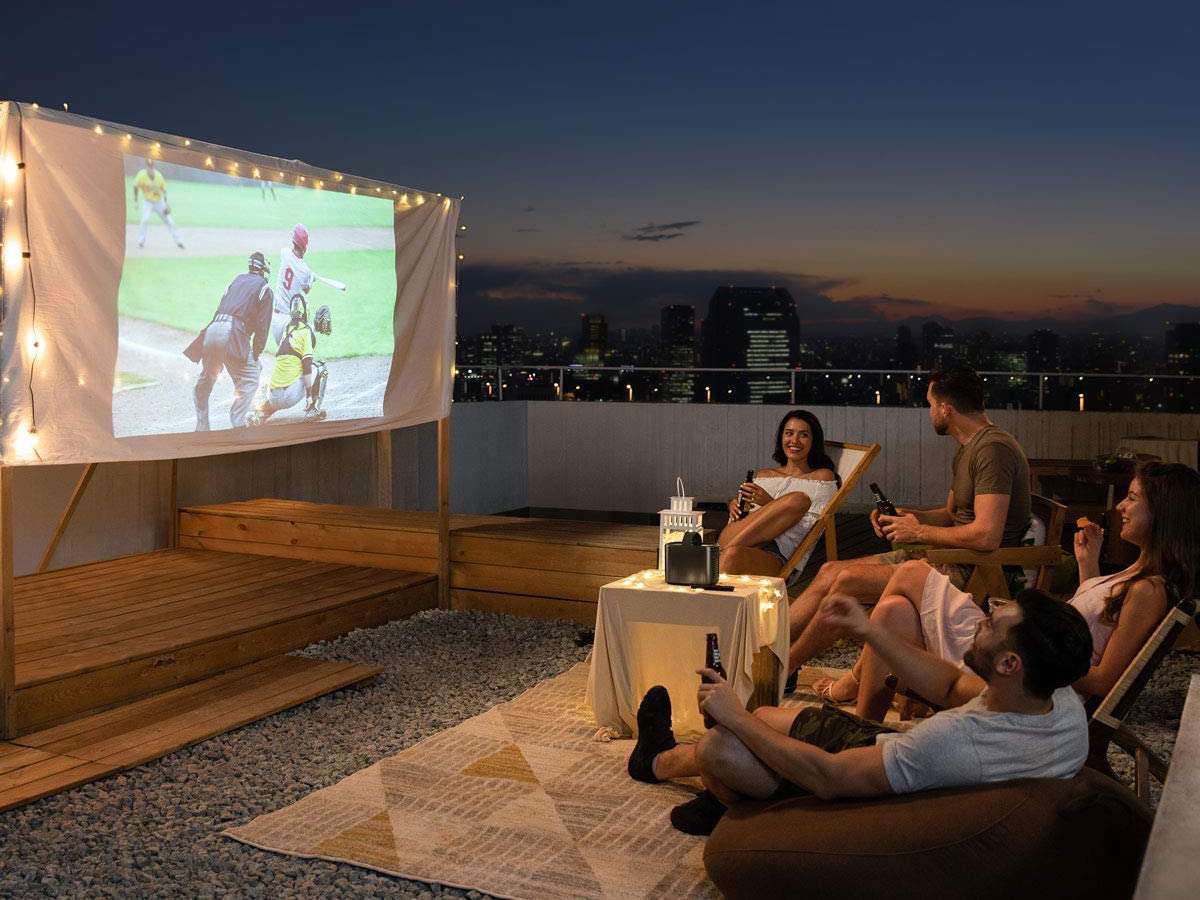
4.5 Inviting Your Audience: Once the setup is complete, it’s time to invite your friends, family, or neighbors to enjoy a captivating outdoor movie night. Create a cozy and inviting atmosphere with comfortable seating, snacks, and beverages to complement the cinematic experience.
By meticulously setting up the outdoor projector screen, you’re creating an immersive and entertaining environment for enjoying movies, sports events, or special presentations under the open sky. With the screen ready for action, you’re all set to embark on an unforgettable outdoor viewing experience.
Conclusion
Congratulations on successfully creating your own DIY outdoor projector screen! By embarking on this project, you’ve not only crafted a cost-effective and personalized entertainment solution but also unlocked the potential for memorable outdoor movie nights and immersive viewing experiences.
Building a cheap outdoor projector screen has allowed you to exercise your creativity, resourcefulness, and technical skills while enhancing your outdoor living space. Whether you’re hosting a backyard movie night, organizing a community event, or simply seeking a unique DIY project, your new projector screen opens up a world of possibilities for outdoor entertainment and social gatherings.
As you bask in the glow of your outdoor movie setup, take a moment to appreciate the craftsmanship and effort that went into creating a functional and visually impressive projector screen. The satisfaction of seeing your DIY creation come to life, accompanied by the joy and excitement of your audience, is a testament to the value of hands-on projects and the magic of outdoor cinema.
Remember, the journey doesn’t end with the completion of your projector screen. Embrace the opportunity to experiment with different screen materials, explore innovative setup configurations, and continuously refine your outdoor entertainment space to suit your preferences and needs.
Whether it’s a classic movie marathon, a thrilling sports event, or a captivating visual presentation, your DIY outdoor projector screen stands ready to deliver countless hours of enjoyment and shared experiences. So go ahead, dim the lights, cue the projector, and immerse yourself in the enchanting world of outdoor cinema created by your own hands.
With your DIY outdoor projector screen as the centerpiece, you’re all set to embark on a journey of cinematic adventures, communal gatherings, and cherished moments under the stars.
Frequently Asked Questions about How To Make A Cheap Outdoor Projector Screen
Was this page helpful?
At Storables.com, we guarantee accurate and reliable information. Our content, validated by Expert Board Contributors, is crafted following stringent Editorial Policies. We're committed to providing you with well-researched, expert-backed insights for all your informational needs.


0 thoughts on “How To Make A Cheap Outdoor Projector Screen”