Home>Technology>Home Entertainment Systems>How To Adjust Epson Projector To Fit Screen
Home Entertainment Systems
How To Adjust Epson Projector To Fit Screen
Modified: January 9, 2024
Learn how to adjust your Epson projector to perfectly fit your screen at home with our expert tips. Enhance your home entertainment system experience today!
(Many of the links in this article redirect to a specific reviewed product. Your purchase of these products through affiliate links helps to generate commission for Storables.com, at no extra cost. Learn more)
Introduction
Welcome to the world of home entertainment systems, where the magic of cinema comes to life in the comfort of your own living room. Epson projectors have become a popular choice for creating an immersive viewing experience, offering exceptional image quality and versatility. However, to truly unlock the potential of your Epson projector, it's crucial to understand how to adjust its settings to fit your screen perfectly. Whether you're a movie enthusiast, a gaming aficionado, or a sports fanatic, optimizing your projector's display is essential for enjoying a captivating visual experience.
In this comprehensive guide, we'll delve into the intricacies of adjusting an Epson projector to fit your screen, covering everything from keystone adjustments to image resizing and optimal positioning. By the end of this journey, you'll have the knowledge and confidence to fine-tune your Epson projector like a seasoned pro, ensuring that every viewing session is nothing short of spectacular.
So, grab your popcorn, dim the lights, and let's embark on this enlightening exploration of Epson projector settings. Whether you're setting up a movie night with friends, immersing yourself in the latest video game release, or hosting a sports viewing party, the insights you gain here will elevate your home entertainment experience to new heights. Let's dive in and uncover the secrets to achieving the perfect Epson projector display for your screen.
Key Takeaways:
- Master keystone adjustment for a distortion-free image on your Epson projector. Position it optimally for an immersive experience, whether it’s movie night or gaming with friends.
- Resize the image to fit your screen perfectly and create a visually immersive experience. Position your Epson projector strategically for optimal viewing and elevate your home entertainment.
Read more: How Do I Adjust Projector To Fit Screen?
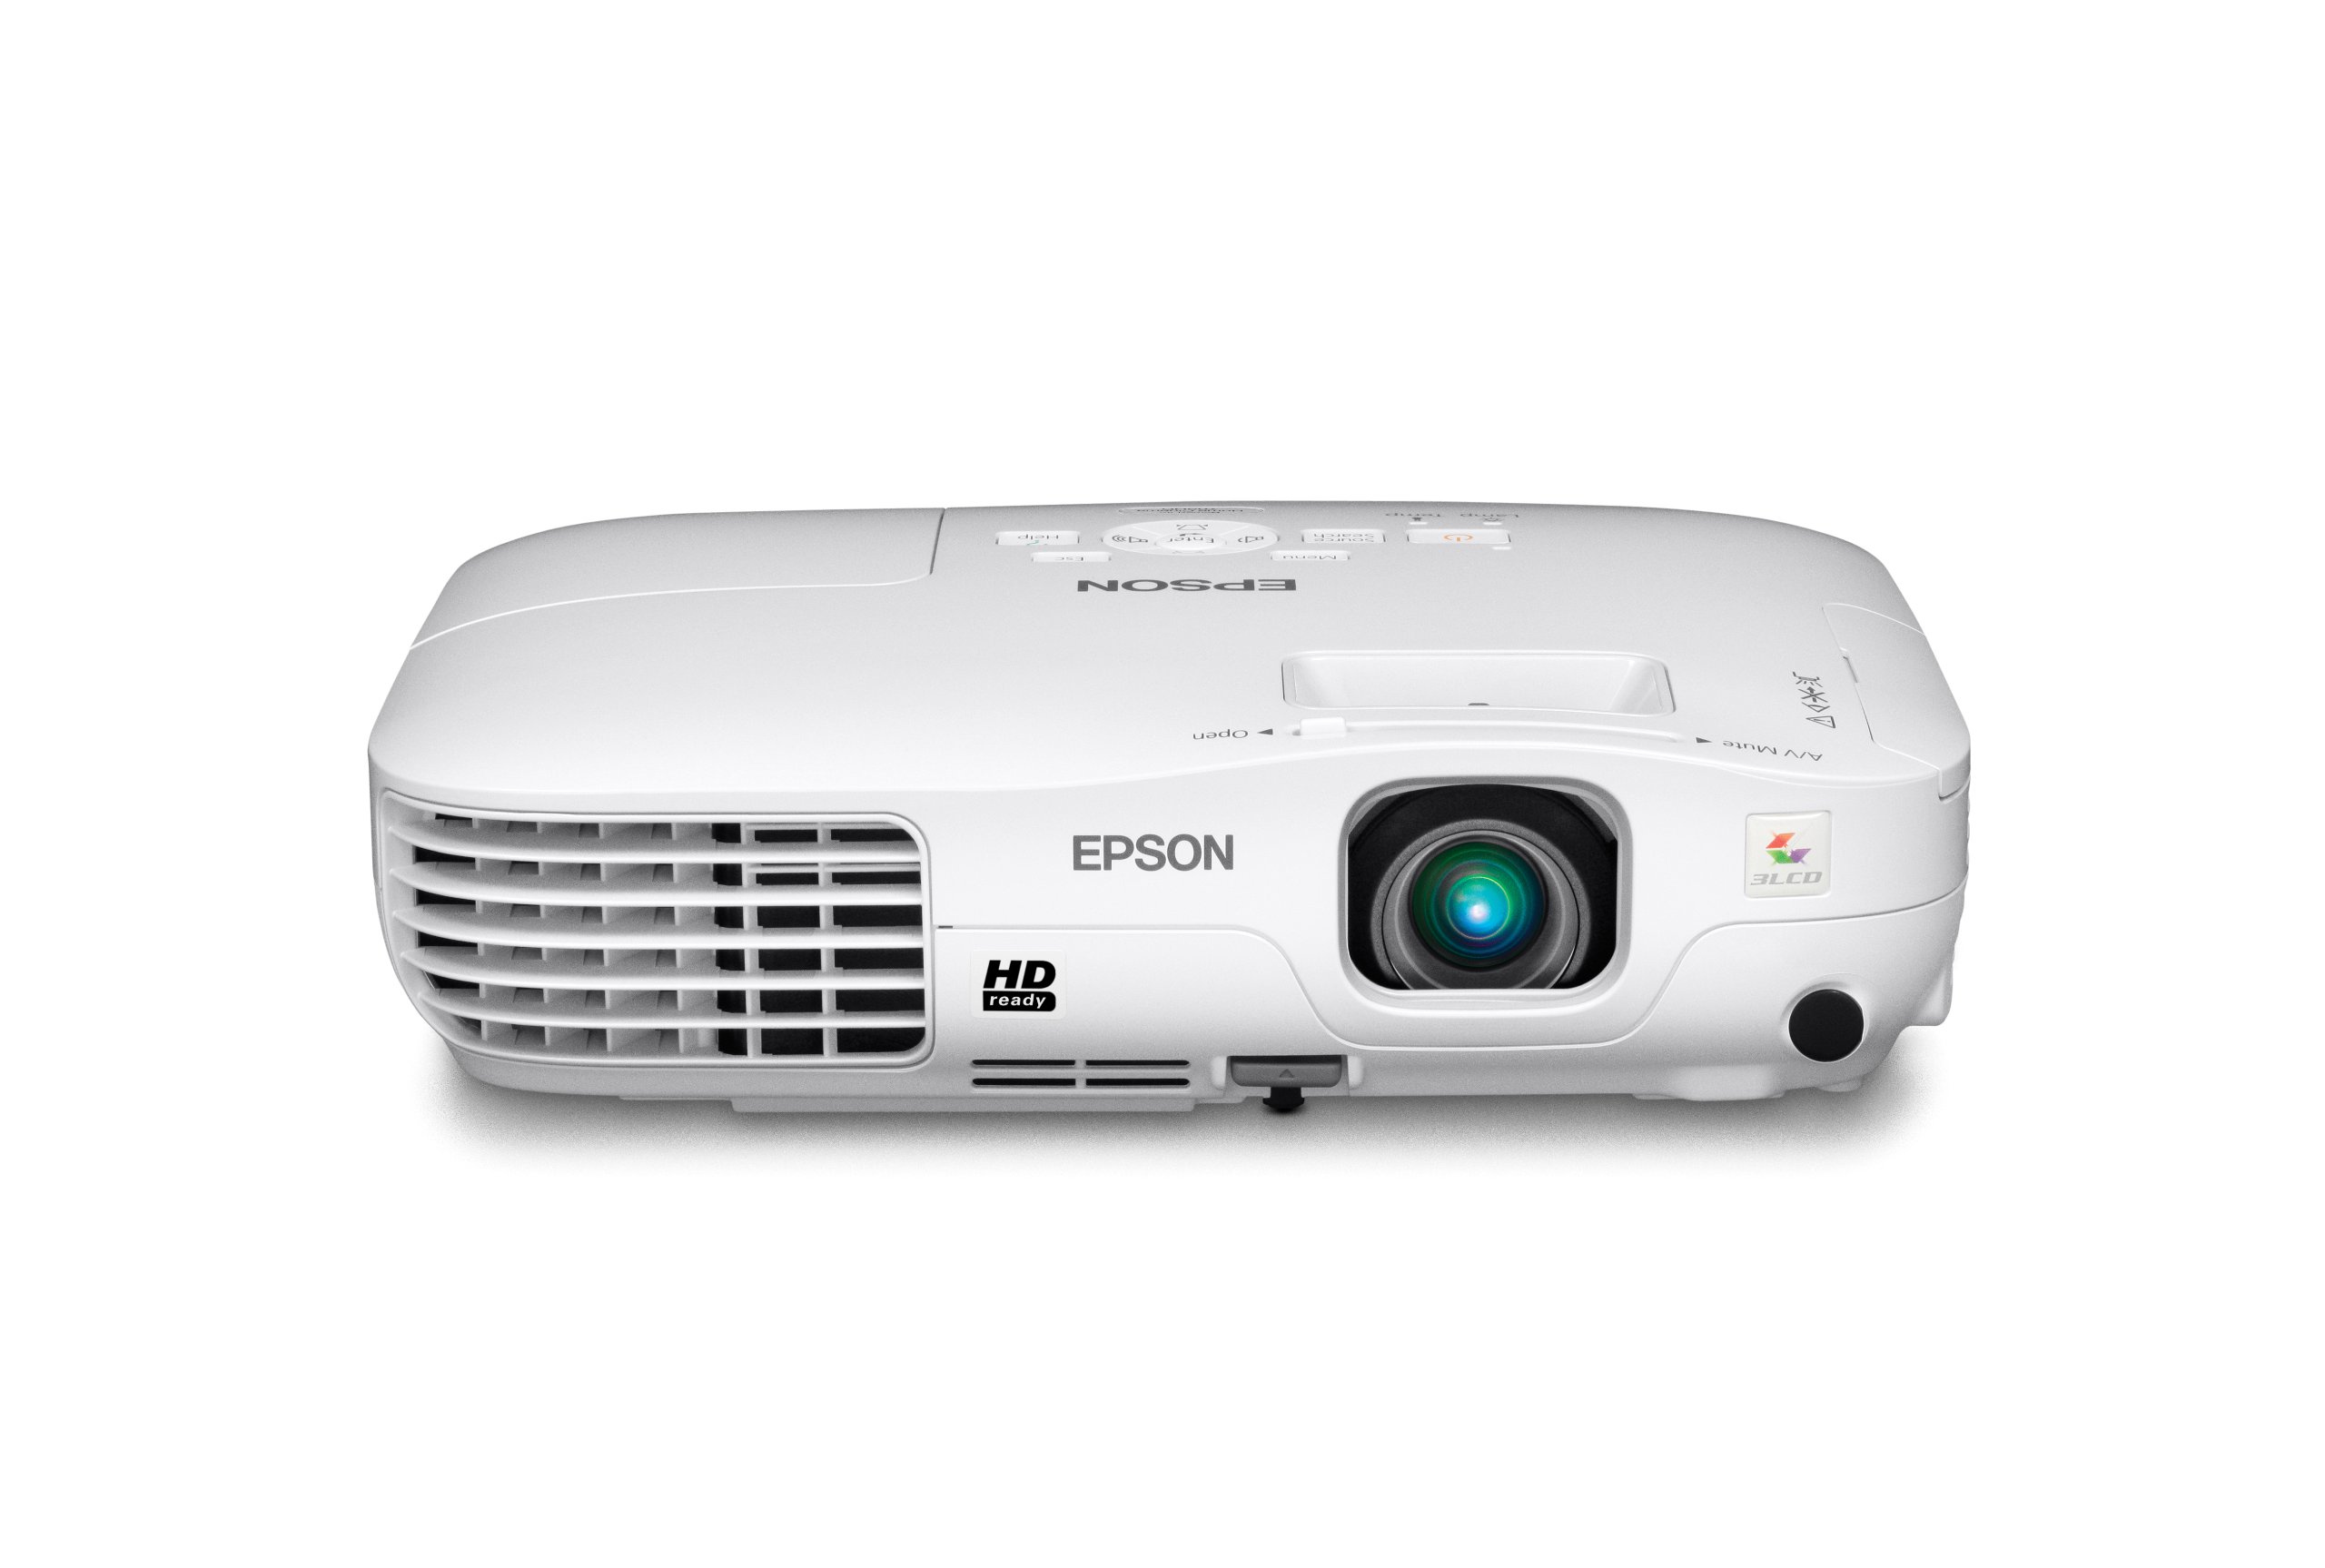
Understanding Epson Projector Settings
Before diving into the nitty-gritty of adjusting your Epson projector to fit your screen, it’s essential to familiarize yourself with the various settings and features that contribute to the overall display quality. Epson projectors offer a plethora of customizable options, allowing users to tailor the visual output to their specific preferences and environmental conditions.
One of the fundamental aspects of Epson projector settings is the keystone adjustment, which plays a critical role in correcting image distortion caused by the projector’s angle relative to the screen. Additionally, understanding how to resize the image to fit your screen dimensions and positioning the projector optimally are key components in achieving a stunning and seamless display.
Furthermore, Epson projectors often come equipped with advanced image enhancement technologies, such as color modes, brightness adjustments, and image presets, all of which contribute to the overall visual impact. Familiarizing yourself with these settings empowers you to fine-tune the projector’s output according to the content being displayed, whether it’s a vibrant movie, a fast-paced video game, or a live sports event.
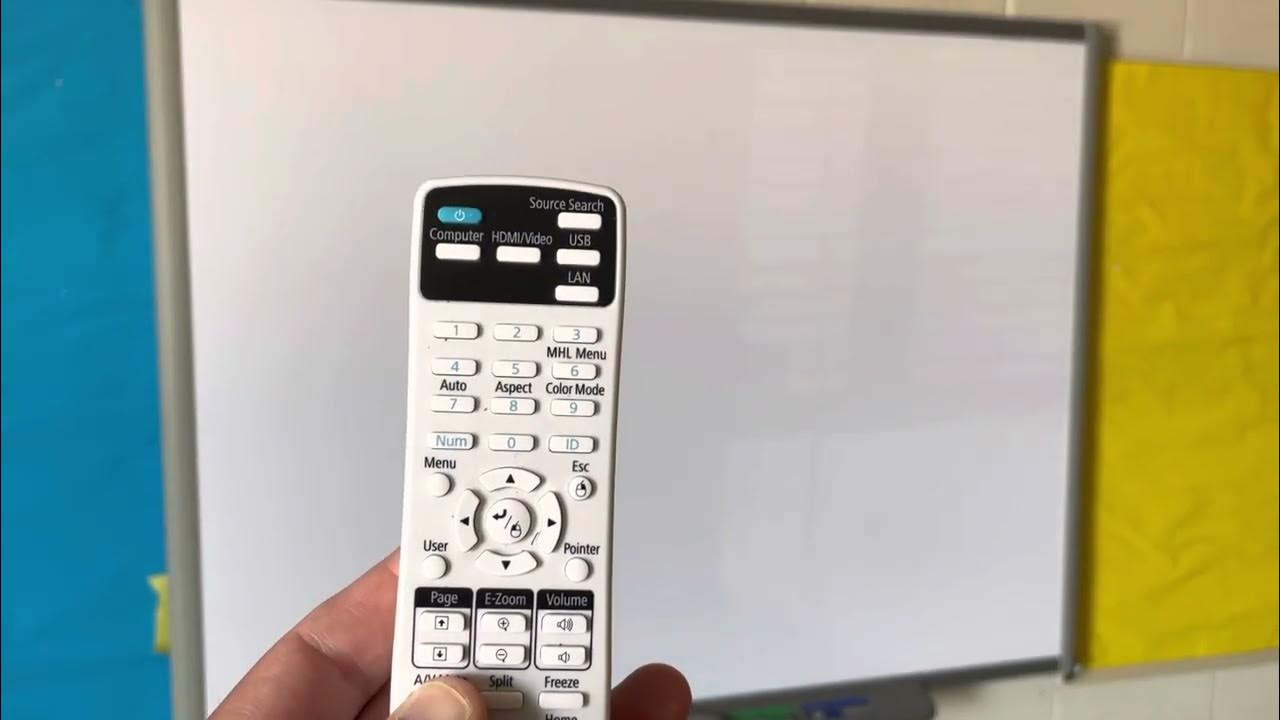
Moreover, connectivity options, such as HDMI, USB, and wireless capabilities, play a vital role in integrating the projector with various media sources, ensuring a seamless and hassle-free setup. Understanding how to navigate the projector’s menu system and access these settings is crucial for harnessing the full potential of your Epson projector.
By gaining a comprehensive understanding of Epson projector settings, you’ll be equipped with the knowledge to optimize the visual experience according to your preferences and the specific demands of each viewing scenario. With this foundation in place, let’s delve into the practical steps for adjusting your Epson projector to fit your screen perfectly.
Adjusting the Keystone
When setting up your Epson projector, achieving a perfectly aligned and distortion-free image is paramount for an immersive viewing experience. The keystone adjustment feature on Epson projectors is a valuable tool for correcting image distortion caused by the projector’s angle relative to the screen. This is particularly crucial when the projector cannot be placed directly in front of the screen due to space constraints or other limitations.
To adjust the keystone on your Epson projector, navigate to the keystone correction settings in the projector’s menu system. Depending on the model, you may have the option to manually adjust vertical and horizontal keystone, or the projector may offer automatic keystone correction for added convenience.
Manual keystone adjustment allows you to finely tune the image by digitally manipulating the projected pixels, aligning them to form a perfectly rectangular image on the screen. This is especially useful when the projector is placed at an angle or off-center, ensuring that the projected image retains its correct proportions without any distortion.
Automatic keystone correction, if available on your Epson projector, simplifies the process by instantly analyzing the projector’s angle and making real-time adjustments to eliminate image distortion. This feature is particularly handy for quick setups and situations where precise manual adjustments may be challenging to achieve.
It’s important to note that while keystone adjustment is a powerful tool for correcting image distortion, excessive keystone correction can lead to a reduction in image sharpness. Therefore, it’s advisable to position the projector as close to the center of the screen as possible and make minor keystone adjustments as needed to maintain optimal image quality.
By mastering the keystone adjustment feature on your Epson projector, you can ensure that the projected image aligns seamlessly with your screen, free from any unsightly distortion or misalignment. This sets the stage for a visually captivating viewing experience, whether you’re enjoying movies, gaming, or indulging in multimedia presentations.
With keystone adjustment under your belt, let’s explore the next crucial step in optimizing your Epson projector: resizing the image to fit your screen dimensions.
Use the projector’s keystone adjustment to square the image. If the image is too large or small, adjust the projector’s distance from the screen. Use the zoom function to resize the image to fit the screen.
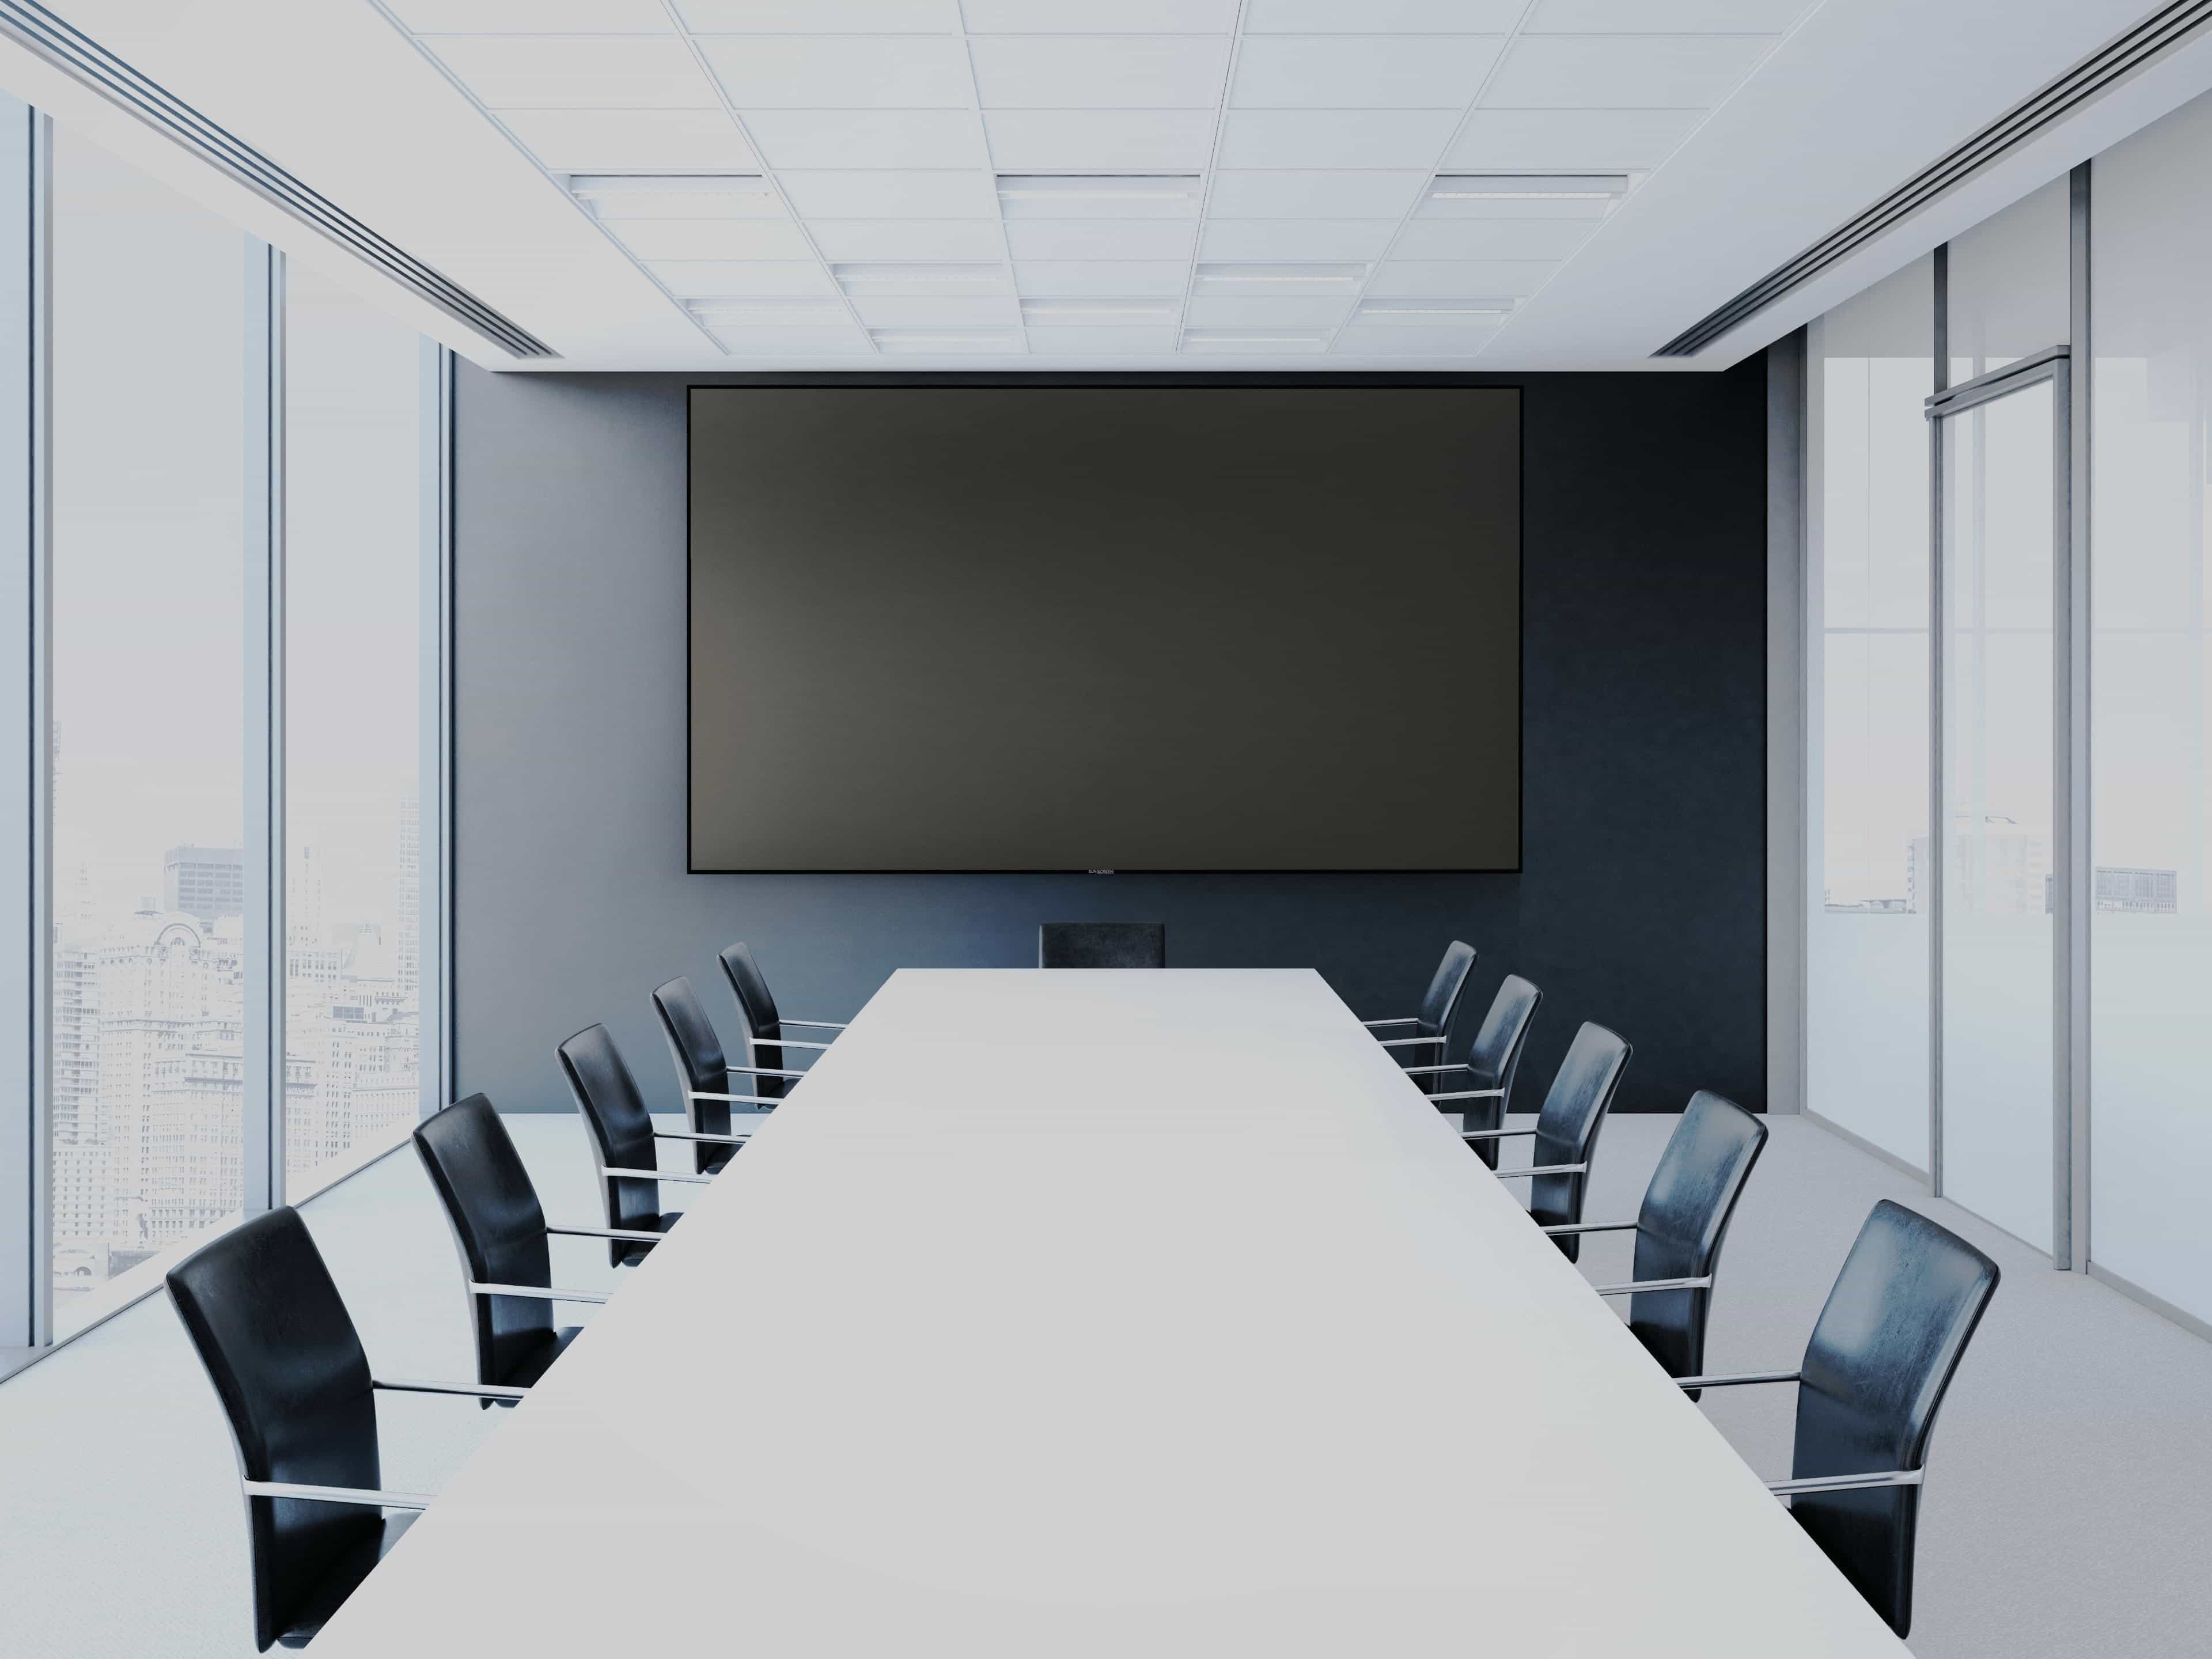
Resizing the Image
Resizing the image to fit your screen dimensions is a pivotal aspect of optimizing your Epson projector’s display. Whether you’re working with a traditional 16:9 aspect ratio screen or a custom projection surface, ensuring that the projected image fills the screen proportionally is essential for a seamless and visually pleasing experience.
To resize the image on your Epson projector, access the image resizing or aspect ratio settings within the projector’s menu system. Here, you’ll typically find options to adjust the aspect ratio to match your screen, as well as manual resizing controls for fine-tuning the image dimensions.
If you’re projecting onto a standard 16:9 screen, selecting the appropriate aspect ratio setting ensures that the projected image maintains the correct proportions, preventing any stretching or distortion. For non-standard screen sizes or custom projection surfaces, manual resizing controls allow you to precisely adjust the image width and height to perfectly fit the screen.
It’s worth noting that some Epson projectors offer lens shift capabilities, allowing you to physically adjust the position of the projected image without moving the projector itself. This feature is particularly useful for fine adjustments to the image size and position, offering added flexibility in achieving the perfect fit for your screen.
Furthermore, Epson projectors often include zoom functionality, enabling you to adjust the image size without physically moving the projector. This can be especially handy when working with varying screen sizes or when projecting from different distances, providing a convenient way to adapt the image to different viewing scenarios.
By mastering the art of resizing the image on your Epson projector, you can ensure that the projected content fills your screen with precision and accuracy, creating a visually immersive experience that leaves no portion of the screen underutilized or improperly filled. This attention to detail sets the stage for a truly captivating viewing experience, whether you’re engrossed in cinematic adventures, gaming escapades, or multimedia presentations.
With the image resized to perfection, let’s proceed to the next critical step in optimizing your Epson projector: positioning the projector for an optimal viewing experience.
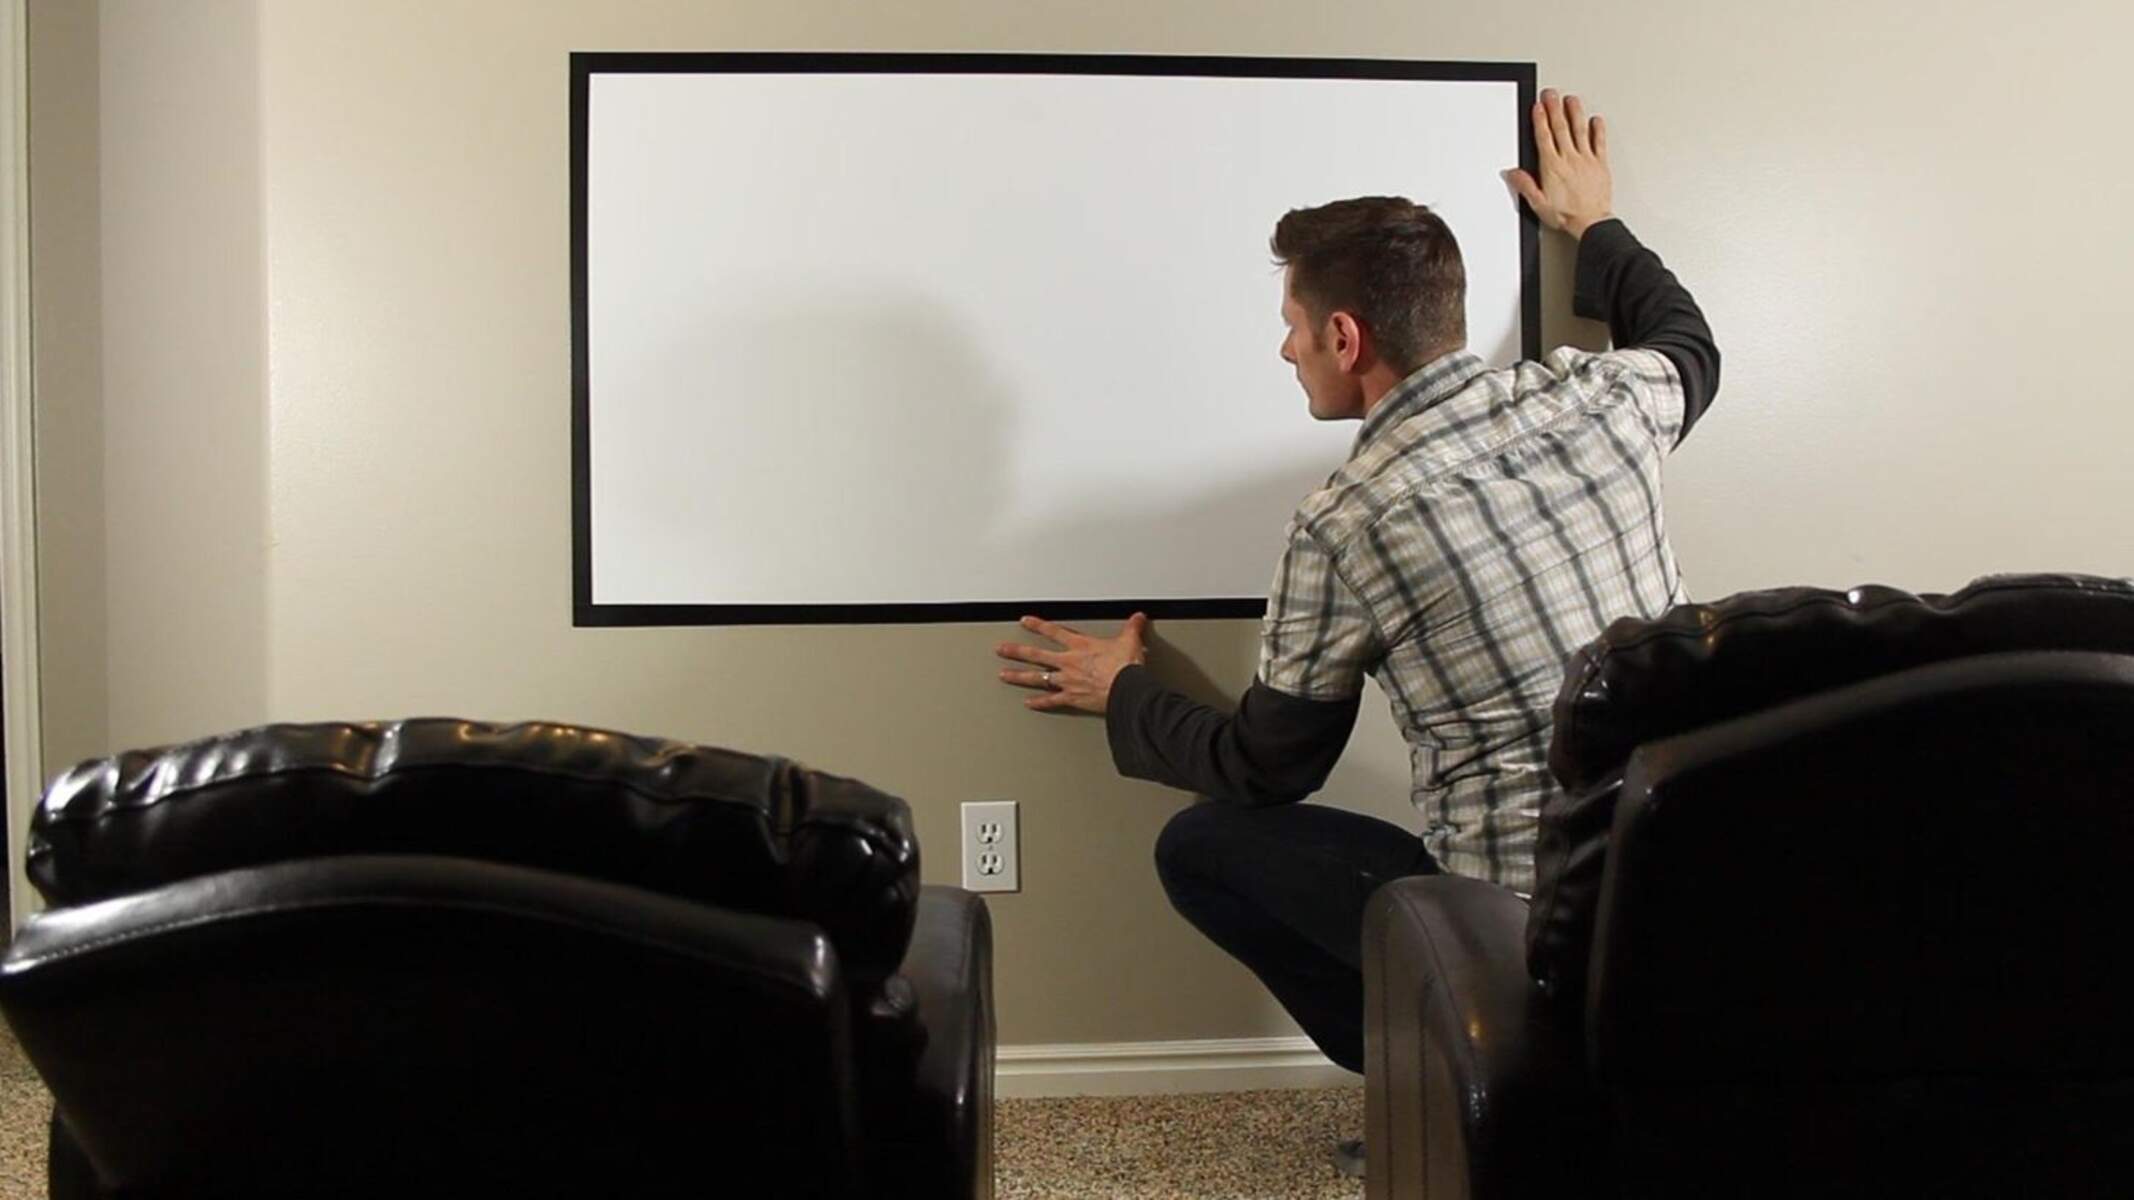
Positioning the Projector
Positioning your Epson projector plays a pivotal role in achieving an optimal viewing experience, ensuring that the projected image aligns seamlessly with your screen while maximizing visual impact. Whether you’re setting up a dedicated home theater or creating a versatile multimedia space, the placement of your projector significantly influences the overall display quality and viewing comfort.
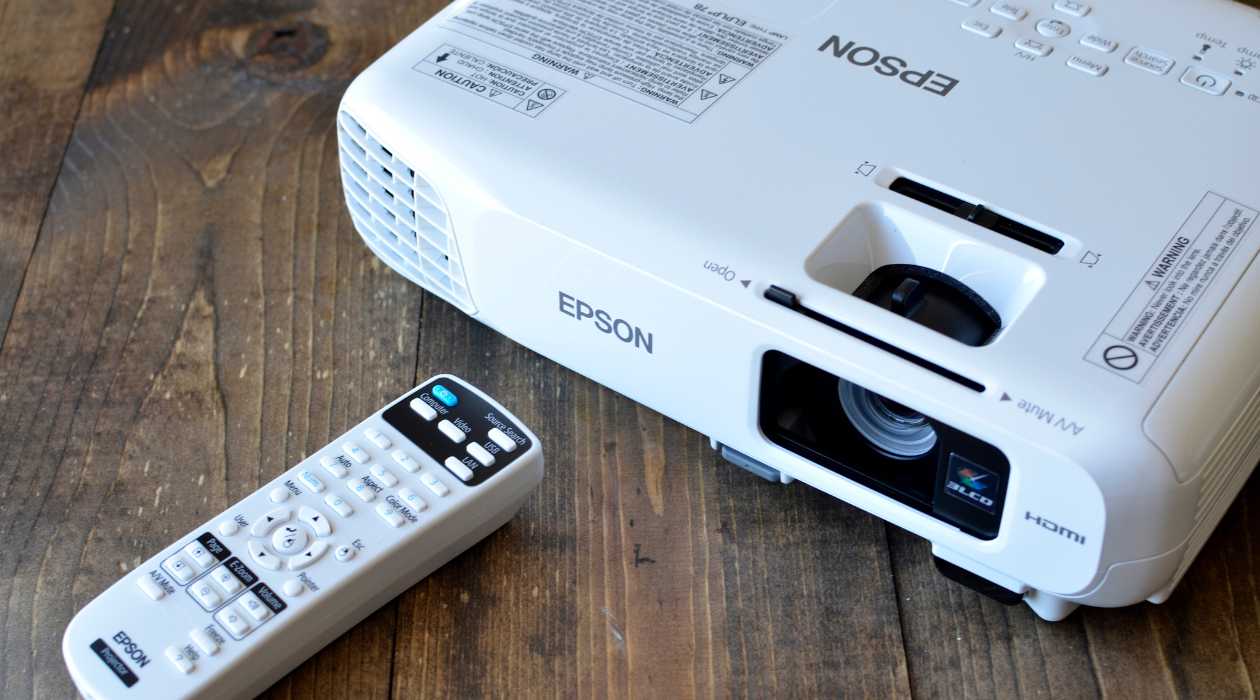
When positioning your Epson projector, consider factors such as throw distance, screen size, and the projector’s mounting or placement options. The throw distance refers to the distance between the projector and the screen, and it directly impacts the size of the projected image. Consult the projector’s user manual or specifications to determine the ideal throw distance range for your desired screen size.
If mounting the projector on the ceiling or placing it on a shelf, ensure that it is positioned at the correct height and angle to align the projected image with the screen. Many Epson projectors offer vertical and horizontal lens shift capabilities, allowing for precise adjustments to the projected image’s position without physically moving the projector.
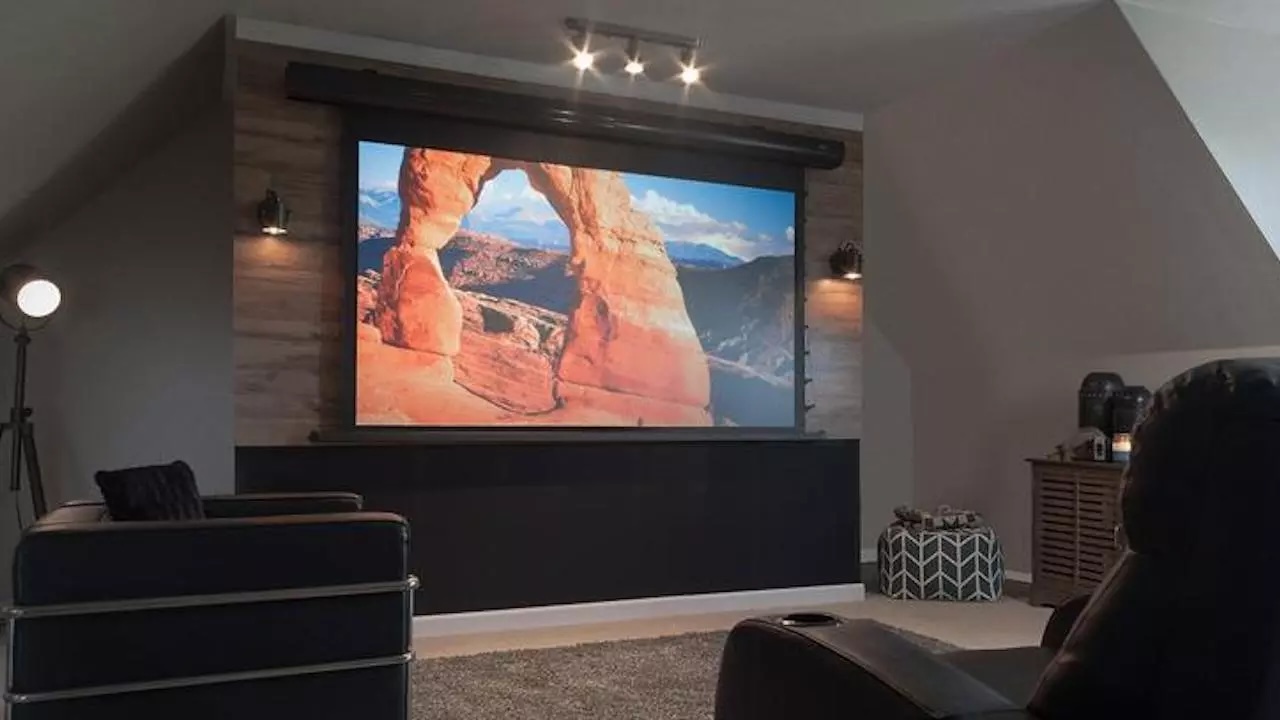
Additionally, ambient light conditions in the viewing area should be taken into account when positioning the projector. Minimizing ambient light and controlling the room’s lighting can significantly enhance the perceived image quality, resulting in deeper contrast and more vibrant colors. Consider using blackout curtains or blinds to create an optimal viewing environment.
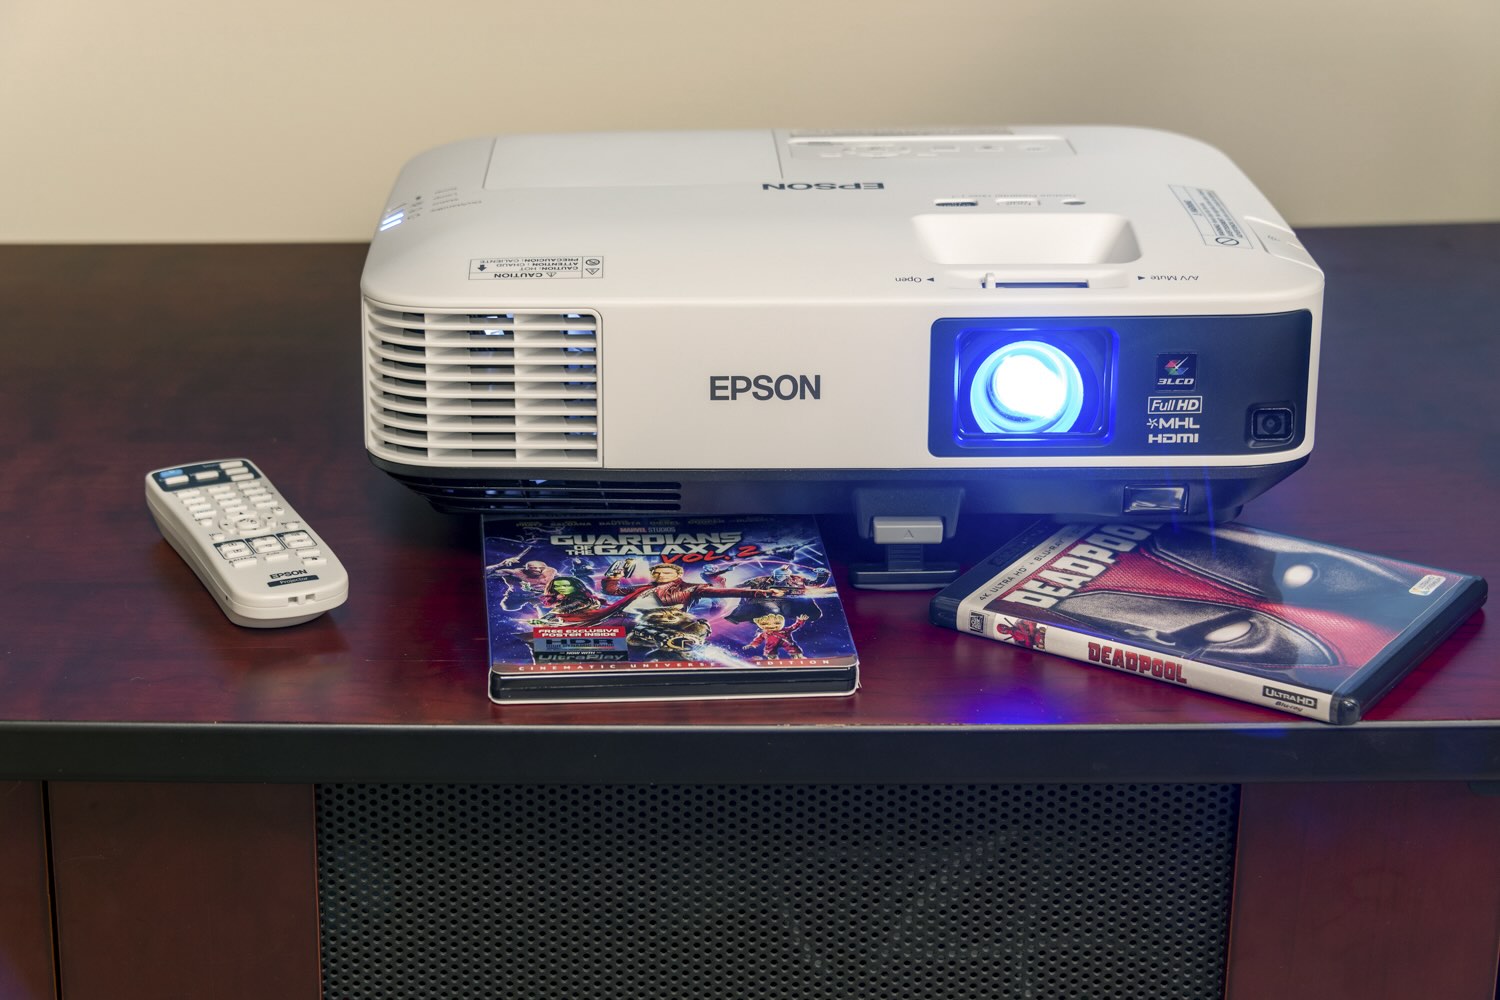
Furthermore, cable management and connectivity play a crucial role in the projector’s positioning. Ensuring easy access to power outlets and video sources, such as Blu-ray players, gaming consoles, or streaming devices, simplifies the setup process and contributes to a tidy and organized entertainment space.
For portable or temporary setups, such as outdoor movie nights or impromptu gaming sessions, the flexibility of the projector’s positioning becomes even more important. Consider investing in a portable projector stand or mount to quickly adapt to different viewing environments while maintaining optimal image alignment.
By meticulously positioning your Epson projector, you can create an immersive and visually stunning viewing experience that brings your favorite content to life with unparalleled clarity and impact. With the projector optimally positioned, you’re ready to embark on a cinematic journey, indulge in gaming adventures, or enjoy multimedia presentations with confidence and excitement.
With the projector expertly positioned, you’ve now mastered the essential steps to optimizing your Epson projector for a flawless display. Let’s recap the key insights and prepare to elevate your home entertainment experience to new heights.
Read more: How To Adjust Screen Size In BenQ Projector
Conclusion
Congratulations on embarking on this enlightening journey through the intricacies of adjusting an Epson projector to fit your screen perfectly. By delving into the nuances of keystone adjustment, image resizing, and optimal positioning, you’ve gained the knowledge and confidence to transform your home entertainment experience into a visually captivating and immersive adventure.
Understanding the various settings and features of your Epson projector is the first step toward harnessing its full potential. From keystone correction to image resizing and lens shift capabilities, each aspect contributes to the seamless and visually stunning display that elevates your viewing sessions to new heights.
As you fine-tune the keystone adjustment to eliminate image distortion, resize the image to fit your screen with precision, and position the projector for an optimal viewing experience, you’re crafting an environment where every frame comes to life with breathtaking clarity and impact.
Whether you’re indulging in cinematic marvels, immersing yourself in gaming escapades, or delivering compelling multimedia presentations, the attention to detail in adjusting your Epson projector ensures that every moment is showcased in its full glory, captivating your senses and igniting your imagination.
As you navigate the menu system, make subtle adjustments, and witness the transformation of your viewing space, remember that the art of perfecting your projector’s display is an ongoing journey. Embrace the flexibility and customization that your Epson projector offers, allowing you to adapt to various content types and viewing scenarios with ease and finesse.
With these newfound insights and skills, you’re equipped to create unforgettable moments and share captivating experiences with friends, family, and fellow enthusiasts. Whether it’s a cozy movie night, an exhilarating gaming tournament, or a dynamic multimedia showcase, your Epson projector is now a powerful ally in crafting memorable and visually stunning gatherings.
So, dim the lights, settle into your favorite spot, and let the magic of your perfectly adjusted Epson projector transport you to realms of wonder and excitement. Your home entertainment experience will never be the same, as each frame unfolds with unparalleled clarity and vibrancy, leaving an indelible impression on everyone who gathers to share in the spectacle.
Thank you for joining us on this illuminating exploration of Epson projector settings. May your viewing experiences be filled with wonder, delight, and the boundless magic of perfectly adjusted visuals.
Frequently Asked Questions about How To Adjust Epson Projector To Fit Screen
Was this page helpful?
At Storables.com, we guarantee accurate and reliable information. Our content, validated by Expert Board Contributors, is crafted following stringent Editorial Policies. We're committed to providing you with well-researched, expert-backed insights for all your informational needs.


0 thoughts on “How To Adjust Epson Projector To Fit Screen”