Home>Technology>Home Entertainment Systems>How To Make An Outdoor Projector Screen

Home Entertainment Systems
How To Make An Outdoor Projector Screen
Modified: January 9, 2024
Learn how to create the perfect outdoor projector screen for your home entertainment system. Follow our step-by-step guide. Ideal for movie nights and gatherings.
(Many of the links in this article redirect to a specific reviewed product. Your purchase of these products through affiliate links helps to generate commission for Storables.com, at no extra cost. Learn more)
Introduction
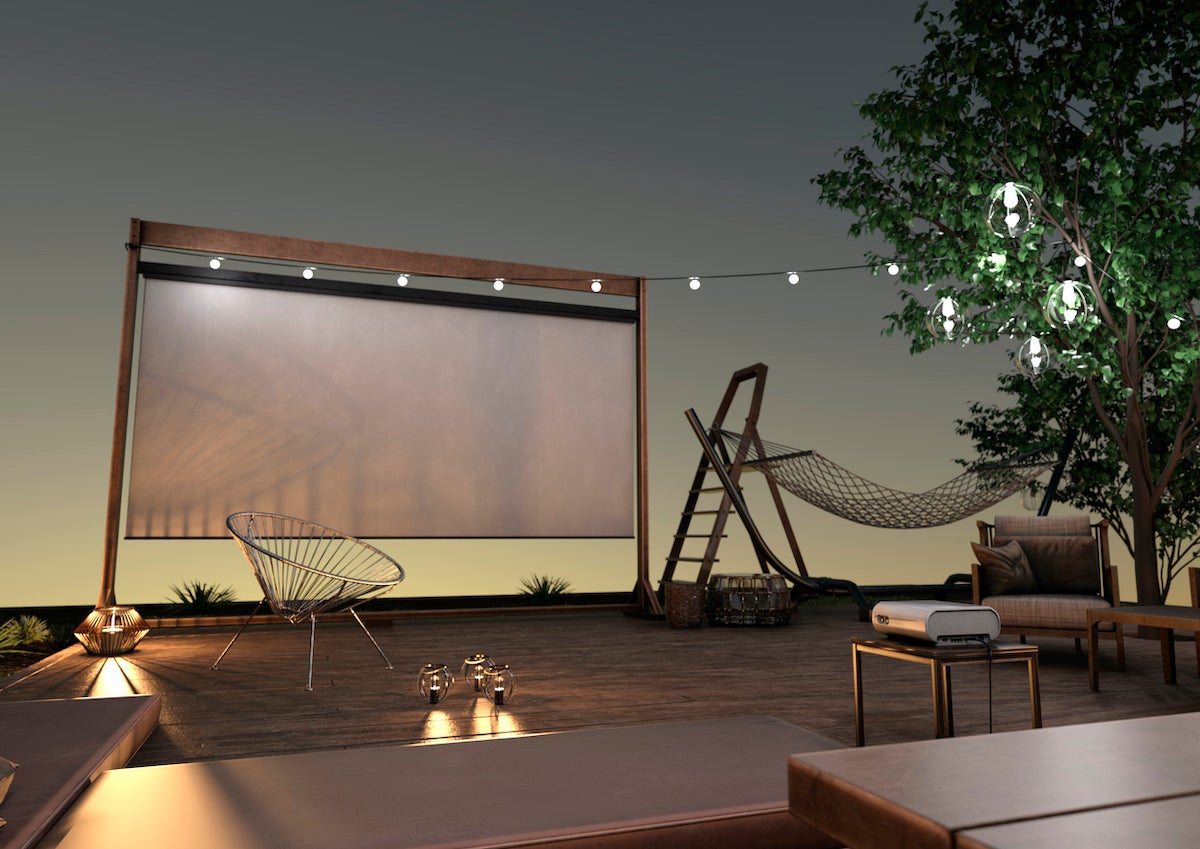
Creating an outdoor projector screen can transform your backyard into a captivating entertainment hub, perfect for hosting movie nights, sports events, or gaming marathons under the open sky. With a DIY outdoor projector screen, you can relish the magic of cinema right in your own outdoor space. This comprehensive guide will walk you through the step-by-step process of constructing a high-quality projector screen that will elevate your outdoor viewing experience to new heights.
Whether you're a seasoned DIY enthusiast or a novice looking to embark on a fun and rewarding project, building your own outdoor projector screen is an achievable endeavor that promises immense satisfaction. By following the instructions and utilizing readily available materials, you can craft a durable and impressive screen that will enhance your outdoor entertainment setup for years to come.
So, gather your tools, roll up your sleeves, and let's delve into the exciting world of DIY outdoor entertainment!
Key Takeaways:
- Create a captivating outdoor entertainment hub by building your own projector screen with simple materials and step-by-step instructions. Enjoy movie nights and gaming under the open sky with your DIY masterpiece!
- Infuse your outdoor space with creativity and fun by constructing a durable projector screen. Embrace the satisfaction of DIY success and look forward to countless shared entertainment experiences in your backyard.
Read more: How To Make An Outdoor Projector Screen
Materials Needed
To embark on this DIY outdoor projector screen project, you’ll need a few essential materials. Here’s a comprehensive list to ensure you’re well-prepared:
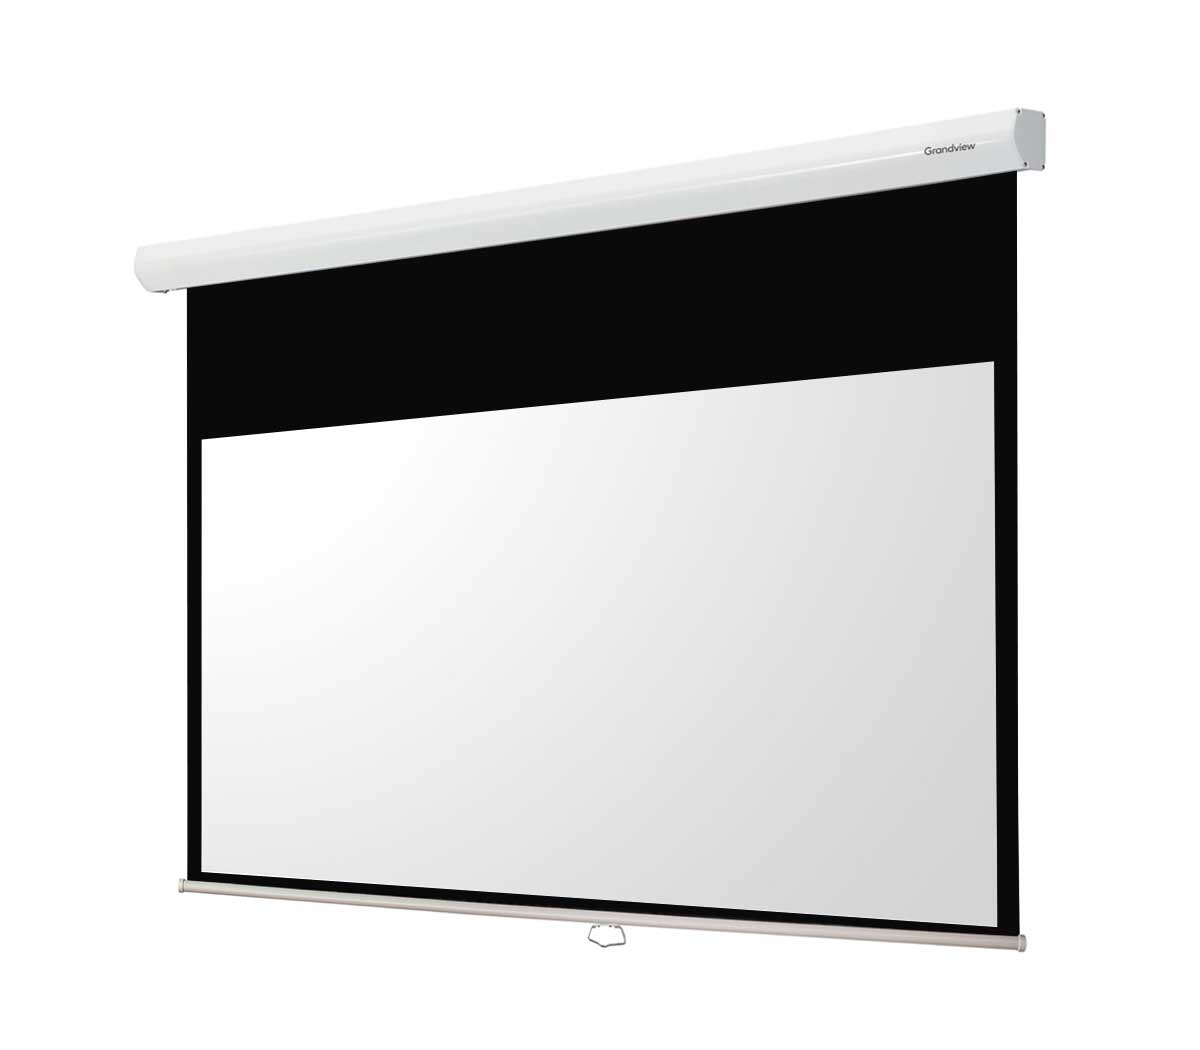
- Projector screen material: Opt for a high-quality, durable material specifically designed for projector screens. This could be a specialized fabric or a PVC-based screen material.
- 2×4 lumber: This will serve as the frame for the projector screen. Ensure that the lumber is straight and free from any warping or twisting.
- Wood screws: Select corrosion-resistant screws to assemble the frame securely.
- Corner braces: These will reinforce the joints of the frame, providing stability and longevity.
- Eye bolts: You’ll need these to hang the projector screen securely in your outdoor space.
- Measuring tape and carpenter’s square: These tools are essential for accurate measurements and precise angles during the construction process.
- Saw: Depending on your preference, you can use a circular saw, miter saw, or hand saw to cut the lumber to the required lengths.
- Drill and drill bits: A power drill will be indispensable for creating pilot holes and driving screws into the wood.
- Staple gun and staples: These will be used to attach the screen material to the frame securely.
- Outdoor fabric or paint (optional): If you wish to enhance the aesthetics of the frame, outdoor fabric or paint can be used to cover the lumber.
By ensuring that you have all these materials at your disposal, you’ll be well-equipped to commence the construction of your outdoor projector screen with confidence and ease.
Step 1: Measure and Cut the Frame
The first crucial step in constructing your outdoor projector screen is to measure and cut the frame to the appropriate dimensions. This step sets the foundation for the entire project and ensures that the screen will be sturdy and well-fitted.
Begin by measuring the area where you plan to install the projector screen. Take accurate measurements of the space to determine the ideal size for your screen. Once you have the dimensions, you can proceed to cut the 2×4 lumber to create the frame. Use a measuring tape and carpenter’s square to mark the precise lengths and angles for the frame pieces.
It’s essential to ensure that the corners are cut at perfect right angles to guarantee a square frame. This will prevent any distortion or misalignment when assembling the frame and attaching the screen material. A miter saw or circular saw can be employed to make clean and precise cuts in the lumber.
After cutting the frame components to the required lengths, double-check the measurements and make any necessary adjustments to guarantee a perfect fit. Once you’re satisfied with the cut pieces, you’re ready to proceed to the next step of assembling the frame.
Accurate measurements and precise cuts are fundamental in creating a robust and visually appealing frame for your outdoor projector screen. By dedicating attention to detail during this initial phase, you’ll lay the groundwork for a professional-quality projector screen that will deliver outstanding outdoor viewing experiences.
Step 2: Assemble the Frame
With the frame components cut to the appropriate dimensions, it’s time to assemble the structure that will form the backbone of your outdoor projector screen. This step is pivotal in ensuring the stability and durability of the screen, allowing it to withstand outdoor conditions and provide a reliable surface for projection.
Begin by laying out the cut lumber pieces in the designated assembly area. Use corner braces at the joints to secure the frame, ensuring that the corners are perfectly square. Pre-drill pilot holes to prevent the wood from splitting, and then attach the corner braces using wood screws. This method will reinforce the frame, providing additional strength and stability.
As you progress with the assembly, periodically check for squareness and alignment to guarantee that the frame is true and uniform. This meticulous approach will contribute to the overall structural integrity of the projector screen, minimizing the risk of warping or distortion over time.
Once the frame is fully assembled, conduct a final inspection to verify that all connections are secure and the frame is free from any defects. This attention to detail during the assembly process will ensure that your outdoor projector screen is robust and capable of withstanding the rigors of outdoor use.
By methodically assembling the frame with precision and care, you’ll lay the groundwork for a durable and reliable structure that will support the screen material and provide a stable platform for immersive outdoor viewing experiences.
Consider using a high-gain, reflective material for your outdoor projector screen to improve brightness and image quality, such as a specialized projector screen fabric or a white, smooth surface like a white tarp or sheet.
Step 3: Attach the Screen Material
With the frame assembled, it’s time to affix the projector screen material, transforming the wooden structure into a functional and visually impressive outdoor screen. The choice of screen material is crucial, as it directly impacts the quality of the projected images and the overall viewing experience.
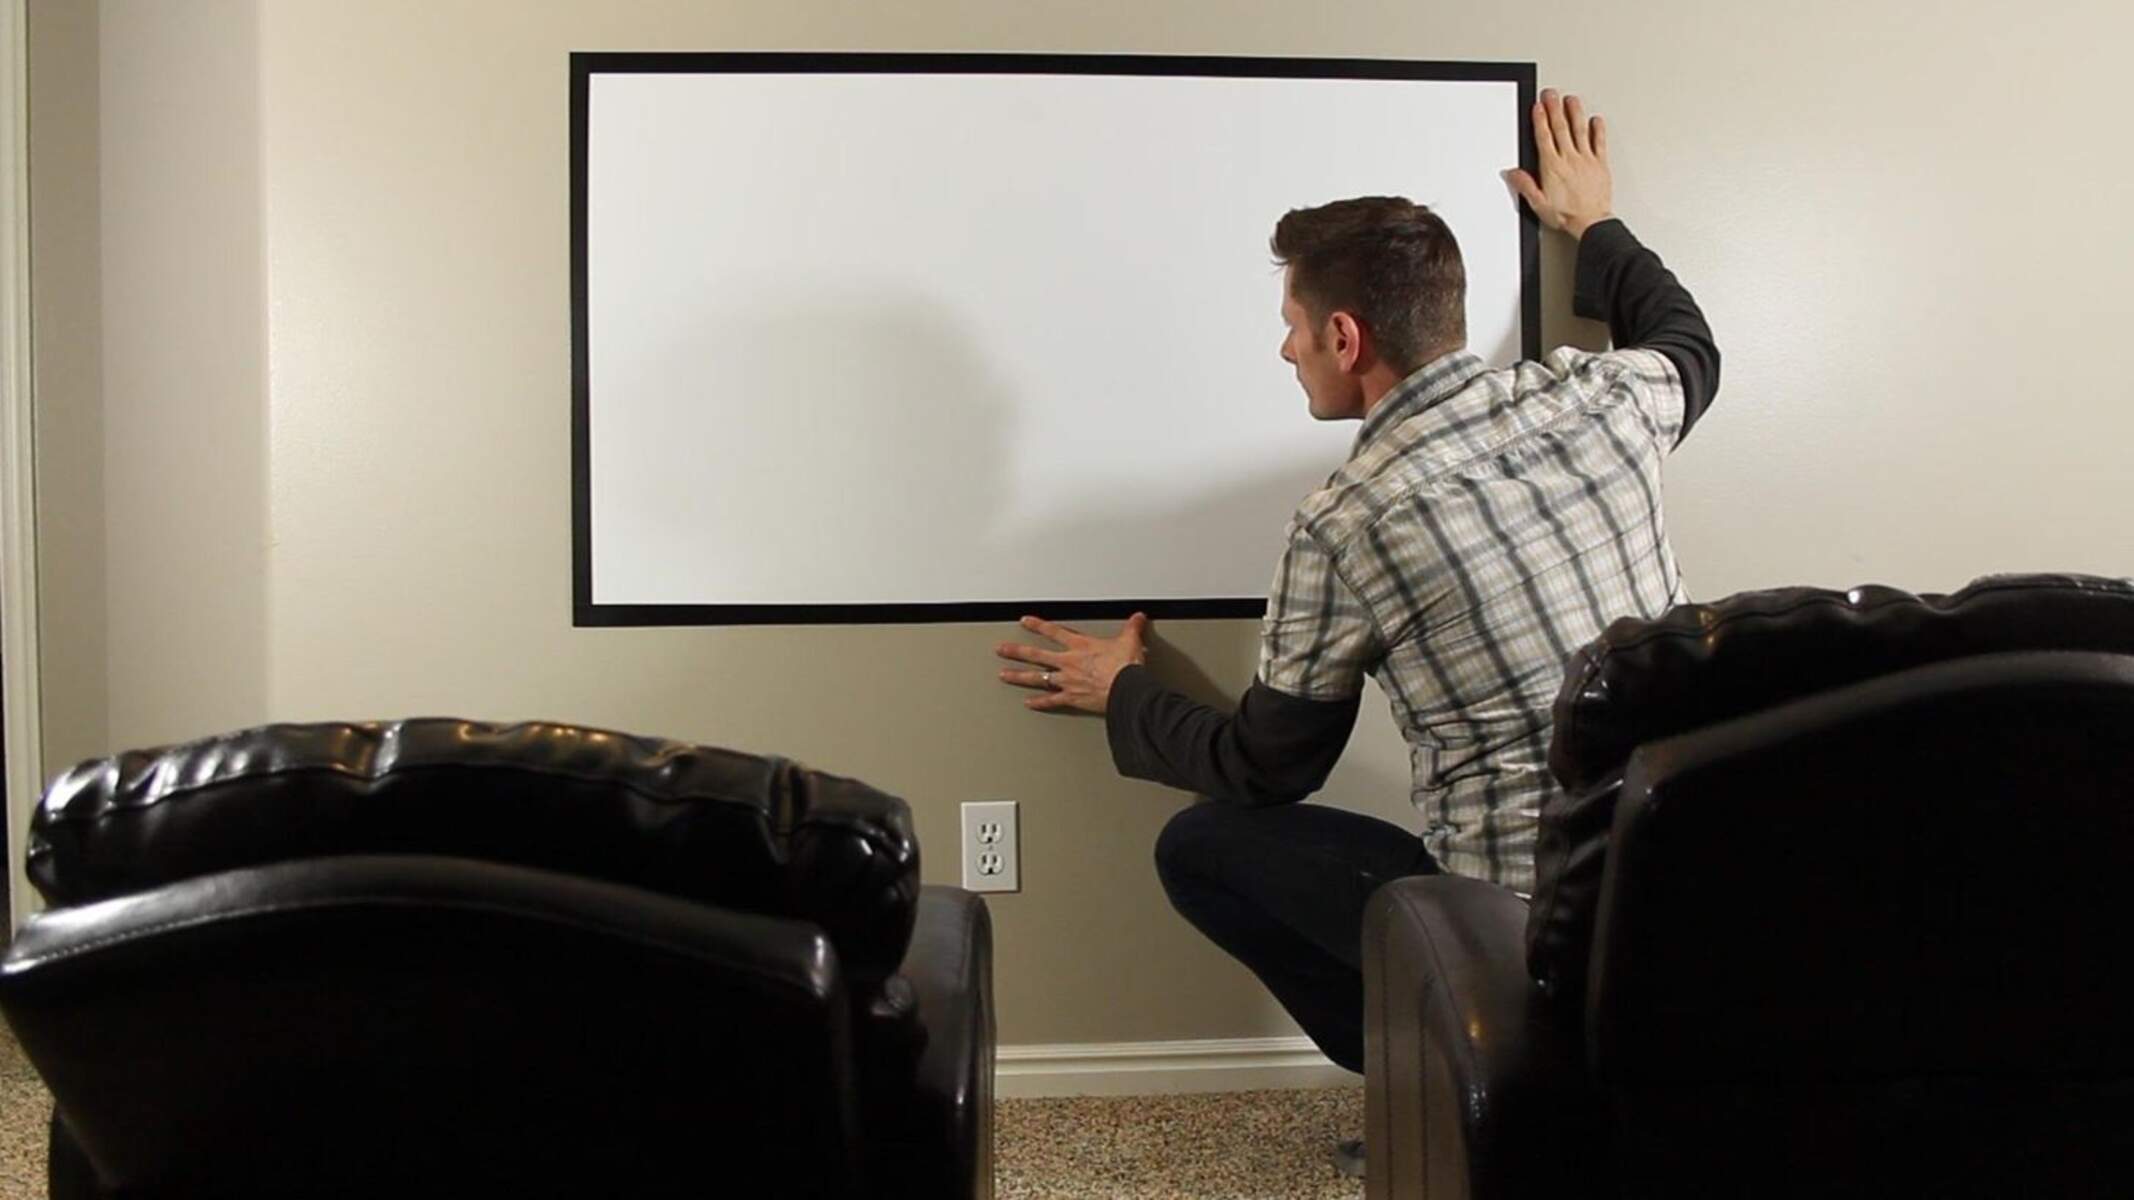
Lay the screen material over the assembled frame, ensuring that it is taut and free from wrinkles or creases. Secure the material to the frame using a staple gun, starting from the center of each side and working towards the corners. This method will help maintain even tension across the entire surface, resulting in a smooth and flat projection area.
As you progress, periodically check the tension of the screen material to guarantee that it remains uniformly taut. Adjust the positioning of the staples as needed to achieve the desired level of tightness. This meticulous approach will contribute to the creation of a flawless projection surface, optimizing the clarity and sharpness of the projected images.
Once the screen material is securely attached to the frame, trim any excess material to achieve a neat and professional appearance. Pay close attention to the edges, ensuring that they are clean and free from any loose or dangling fabric. This final touch will elevate the aesthetics of the outdoor projector screen, resulting in a polished and visually appealing finish.
By carefully attaching the screen material with precision and attention to detail, you’ll create a high-quality projection surface that is perfectly suited for outdoor viewing. The seamless integration of the screen material with the frame will set the stage for captivating and immersive entertainment experiences in your outdoor space.
Read more: How To Make A Cheap Outdoor Projector Screen
Step 4: Install Eye Bolts
Installing eye bolts is a crucial step in ensuring that your outdoor projector screen can be securely and conveniently hung in your chosen outdoor space. These simple yet robust hardware components will provide a reliable means of suspending the screen, allowing for effortless setup and removal as needed.
Begin by determining the optimal placement for the eye bolts on the top edge of the frame. Position them at evenly spaced intervals to distribute the weight of the screen evenly and prevent any sagging or distortion. Pre-drill pilot holes to accommodate the eye bolts, ensuring that they are aligned accurately and securely anchored in the frame.
Once the pilot holes are in place, screw the eye bolts into the frame, ensuring that they are firmly embedded and capable of supporting the weight of the projector screen. It’s essential to verify that the eye bolts are installed level and parallel to each other to facilitate smooth and balanced hanging of the screen.
After installing the eye bolts, conduct a thorough inspection to confirm that they are securely fastened and capable of withstanding the weight of the screen. Test the stability of each eye bolt by gently applying pressure to ensure that they are firmly anchored in the frame.
By meticulously installing the eye bolts with precision and attention to detail, you’ll create a reliable and user-friendly hanging mechanism for your outdoor projector screen. This essential step will streamline the process of setting up the screen in your outdoor space, allowing you to effortlessly enjoy captivating entertainment experiences under the open sky.
Step 5: Hang the Screen
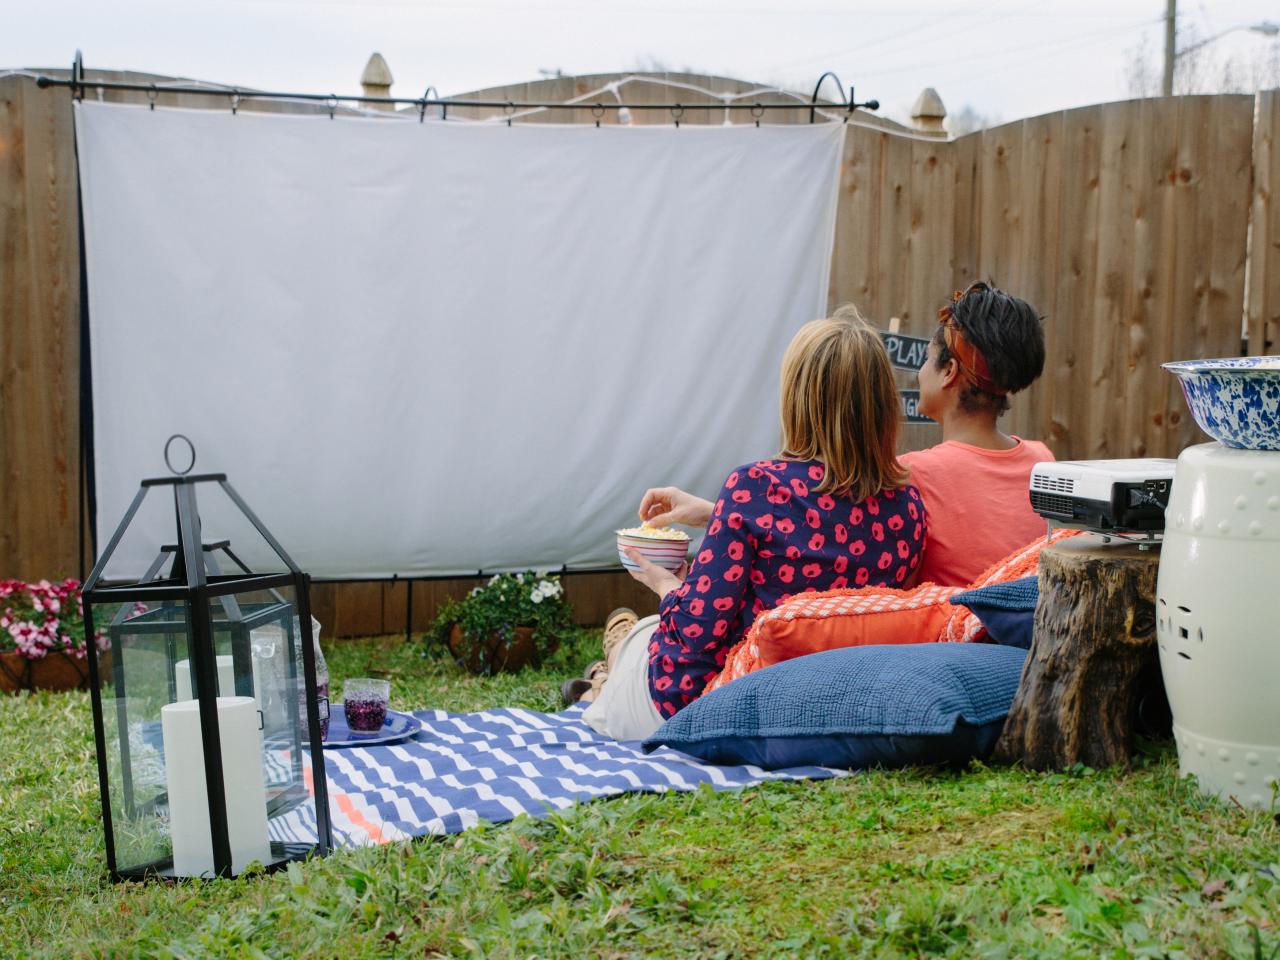
With the frame constructed, the screen material attached, and the eye bolts installed, it’s time to hang your meticulously crafted outdoor projector screen in your desired outdoor setting. This step marks the culmination of your efforts, bringing to fruition a captivating and immersive entertainment space that is perfect for hosting outdoor movie nights, sports events, or gaming sessions.
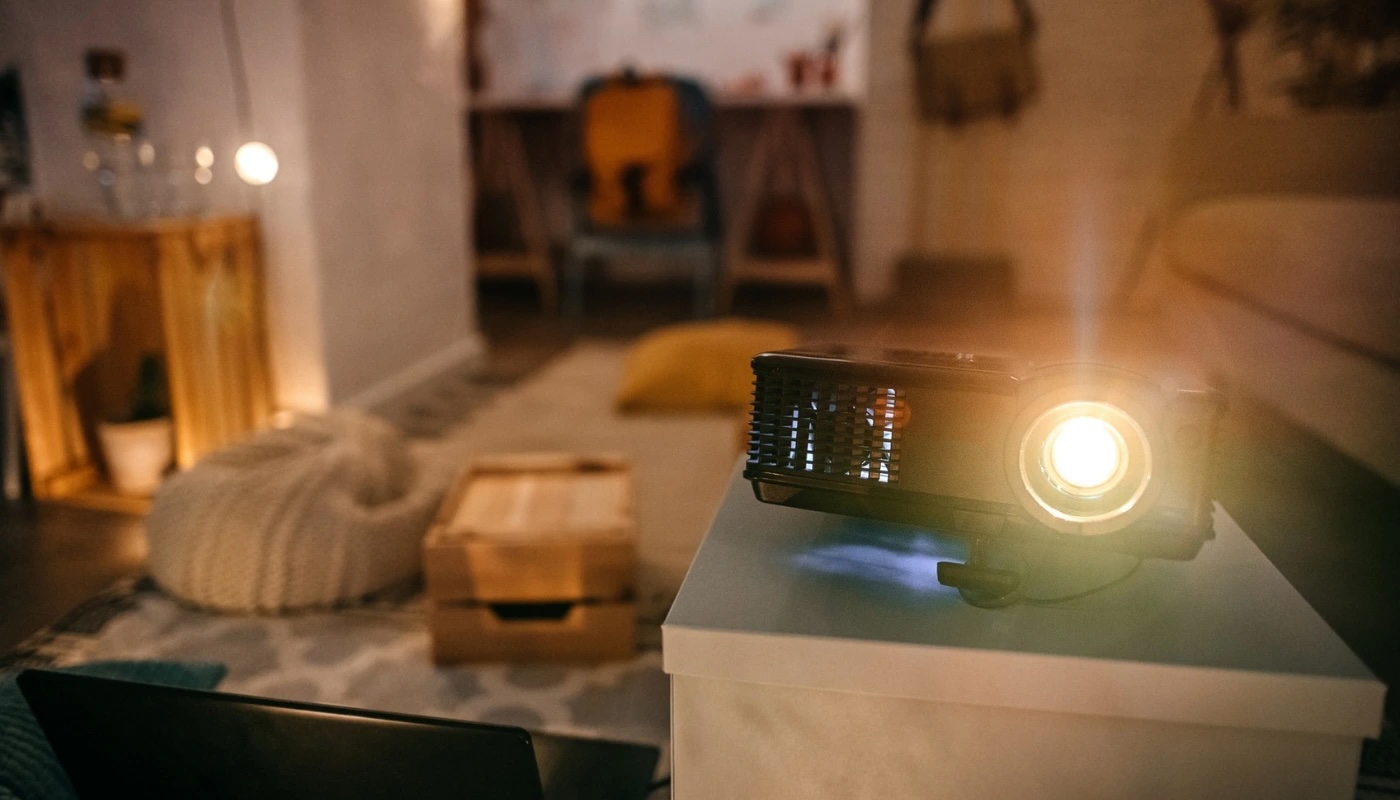
Begin by identifying the ideal location for hanging the projector screen. Choose a flat and unobstructed area that provides sufficient space for comfortable viewing and accommodates the throw distance of your projector. Whether it’s against a sturdy exterior wall, a purpose-built support structure, or a designated outdoor screen stand, ensure that the chosen location offers a stable and secure mounting surface.
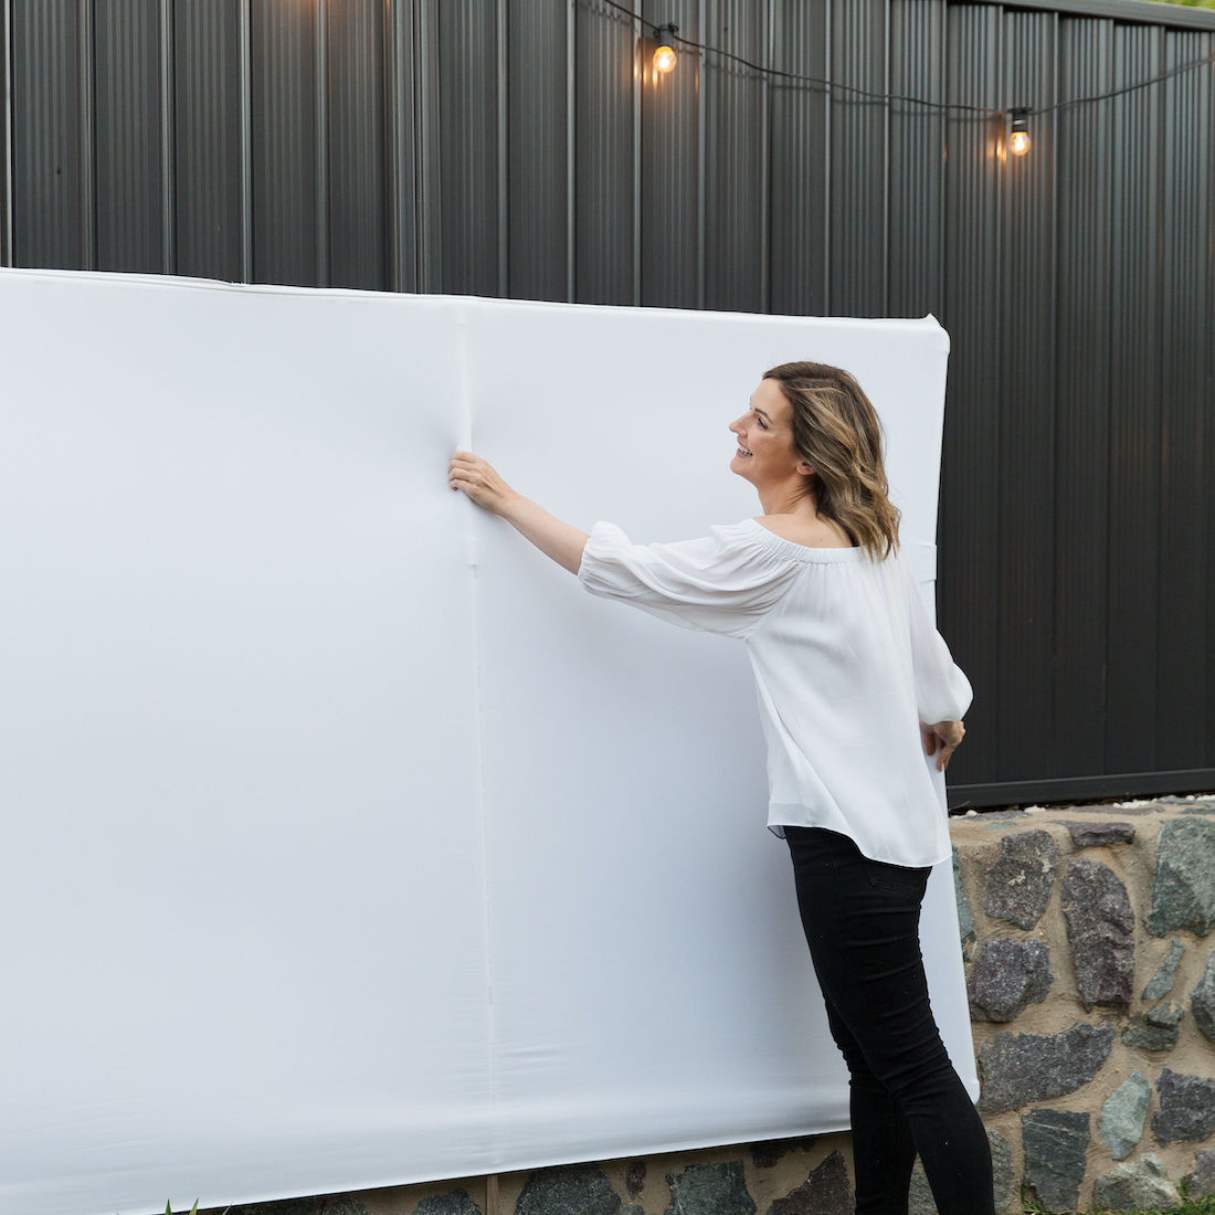
Using appropriate hardware such as carabiners or sturdy ropes, attach the eye bolts on the top edge of the screen to the mounting point in your outdoor space. Exercise caution and enlist the assistance of others to ensure safe and secure installation, especially when dealing with larger screens or challenging mounting scenarios.
Once the screen is securely hung, take a moment to admire the fruits of your labor. Revel in the satisfaction of creating a captivating outdoor entertainment setup that promises countless hours of enjoyment and shared experiences with family and friends. Test the projection quality and make any necessary adjustments to optimize the viewing experience.
By hanging the screen with care and attention to detail, you’ll usher in a new era of outdoor entertainment, where the magic of cinema and immersive gaming experiences can be enjoyed in the comfort of your own outdoor space. Embrace the excitement of unveiling your DIY outdoor projector screen and look forward to countless memorable moments under the open sky.
Conclusion
Embarking on the journey of creating your own outdoor projector screen has not only resulted in the construction of a captivating entertainment centerpiece but has also fostered a sense of accomplishment and creativity. The process of meticulously measuring, cutting, assembling, and hanging the screen has culminated in the realization of a versatile outdoor space that promises endless opportunities for immersive viewing experiences.
As you bask in the glow of your newly installed outdoor projector screen, envision the countless movie nights, sports spectacles, and gaming adventures that await. The seamless integration of the screen into your outdoor environment has expanded the boundaries of entertainment, offering a unique and enchanting venue for shared moments and cherished memories.
By infusing your personal touch into the construction of the projector screen, you’ve not only created a functional and visually impressive structure but have also imbued it with a sense of individuality and character. The care and attention invested in every step of the construction process have yielded a result that reflects your dedication to craftsmanship and the pursuit of exceptional outdoor entertainment.
As the sun sets and the stars emerge in the evening sky, your outdoor projector screen stands as a beacon of possibility, inviting you and your loved ones to partake in the magic of cinema and the thrill of immersive gaming experiences. It serves as a testament to your ingenuity and resourcefulness, enriching your outdoor space and elevating the art of entertainment.
With the installation of your DIY outdoor projector screen, you’ve not only created a captivating viewing platform but have also opened the door to a world of shared experiences, laughter, and joy. Embrace the endless potential of your outdoor entertainment oasis and relish the moments of togetherness and delight that it promises to engender.
As you embark on this new chapter of outdoor entertainment, may your DIY outdoor projector screen stand as a symbol of creativity, innovation, and the boundless joy of bringing your vision to life.
Frequently Asked Questions about How To Make An Outdoor Projector Screen
Was this page helpful?
At Storables.com, we guarantee accurate and reliable information. Our content, validated by Expert Board Contributors, is crafted following stringent Editorial Policies. We're committed to providing you with well-researched, expert-backed insights for all your informational needs.







0 thoughts on “How To Make An Outdoor Projector Screen”