Home>Technology>Home Entertainment Systems>How To Make Projector Screen Smaller

Home Entertainment Systems
How To Make Projector Screen Smaller
Modified: February 26, 2024
Learn how to make a projector screen smaller for your home entertainment system. Follow our simple steps to customize your viewing experience.
(Many of the links in this article redirect to a specific reviewed product. Your purchase of these products through affiliate links helps to generate commission for Storables.com, at no extra cost. Learn more)
Introduction
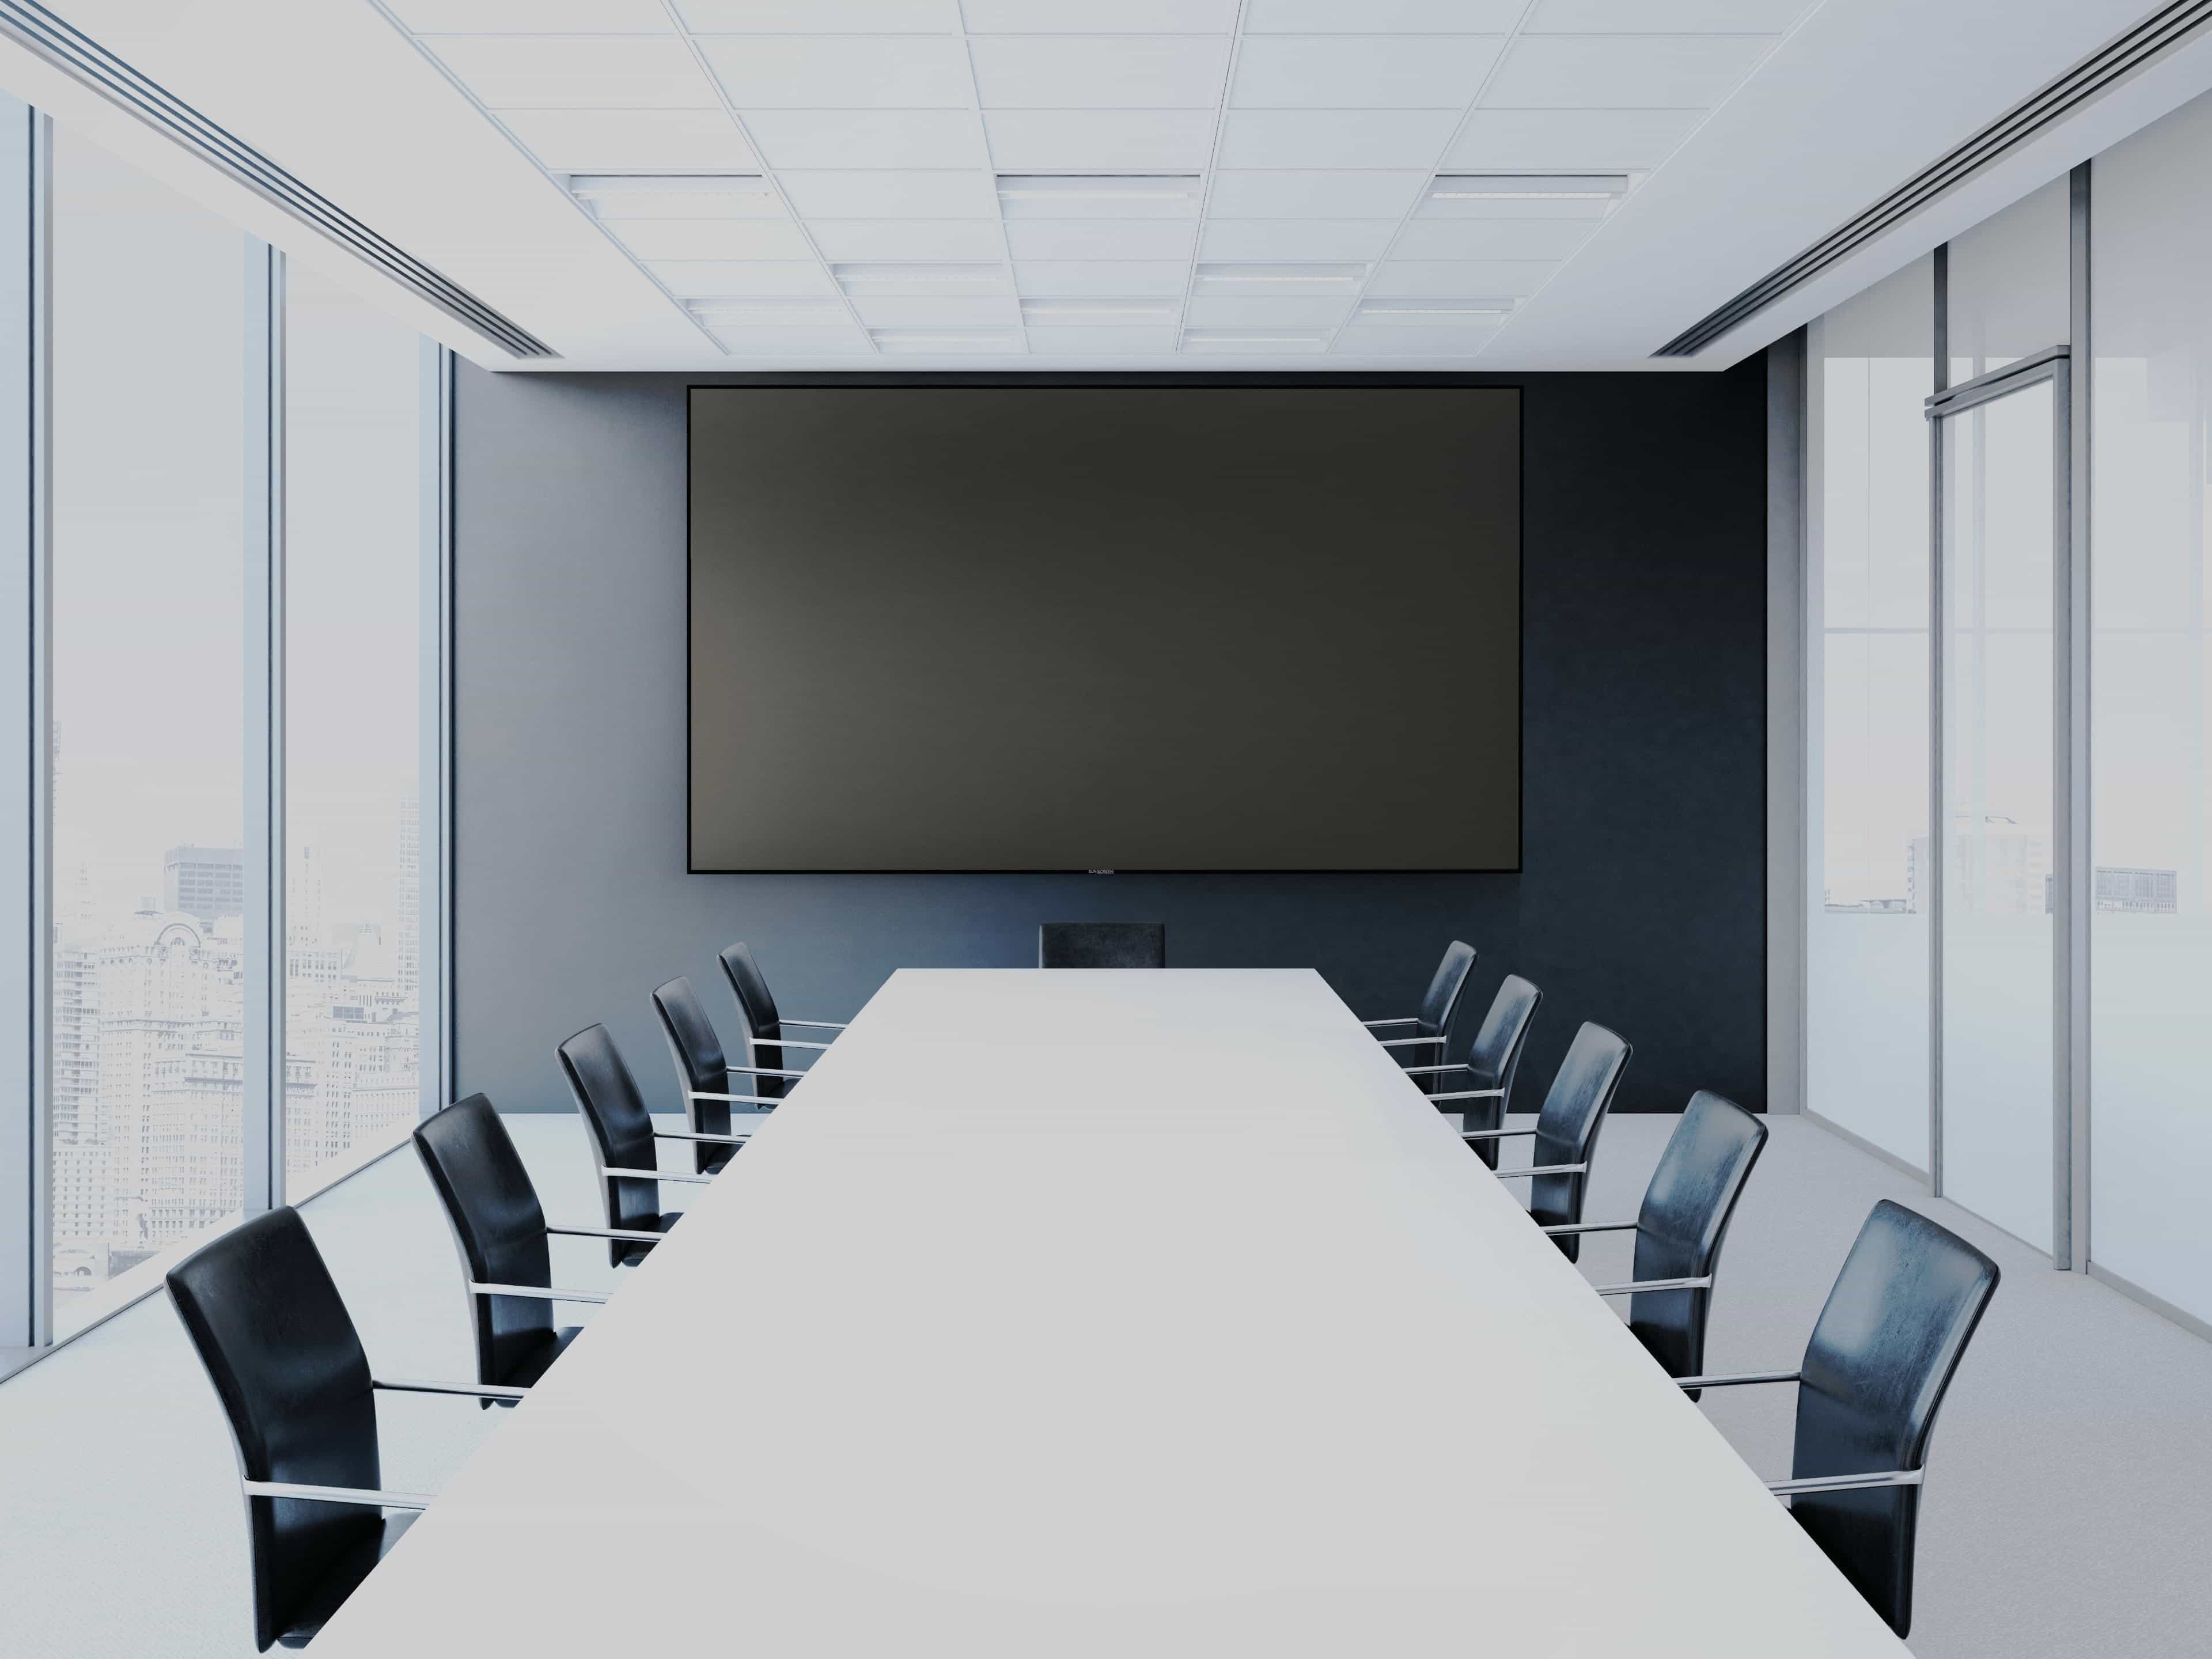
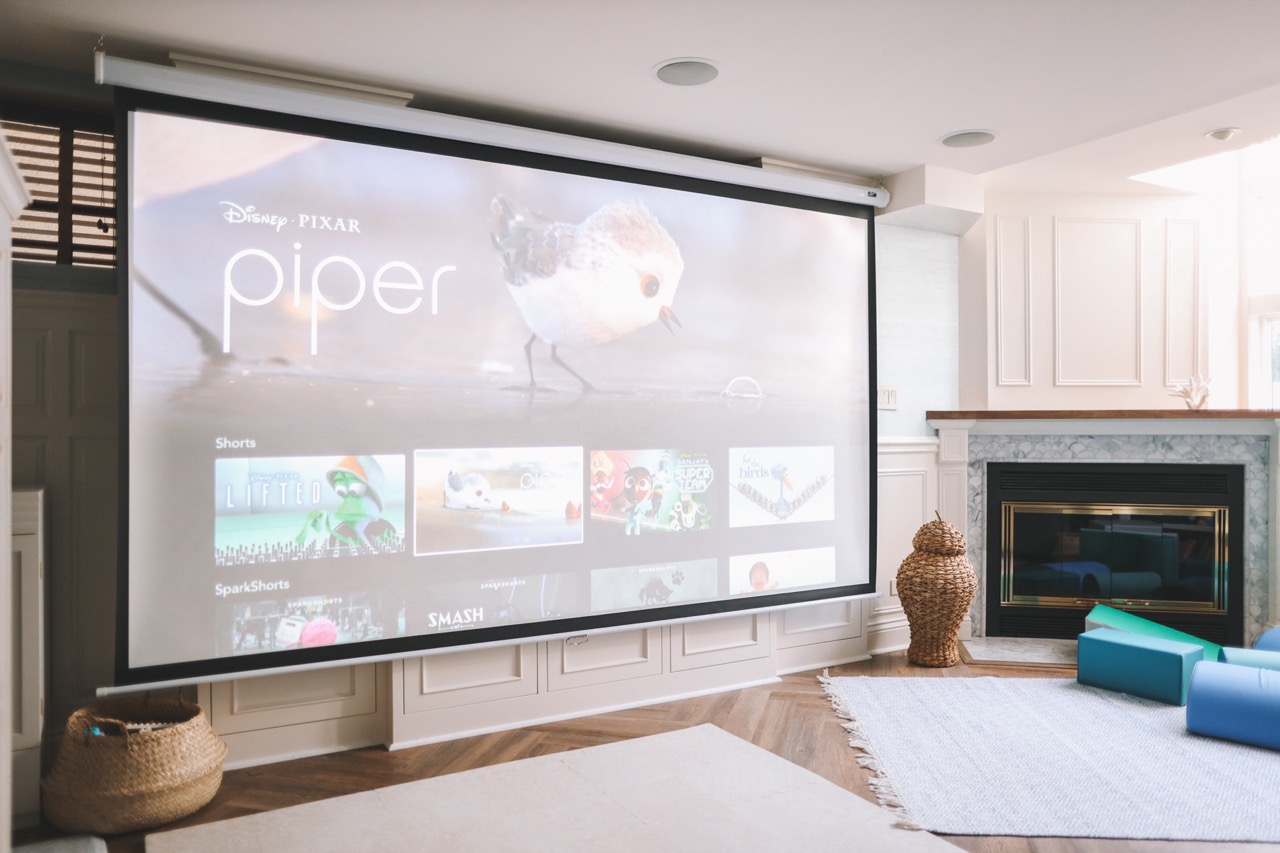
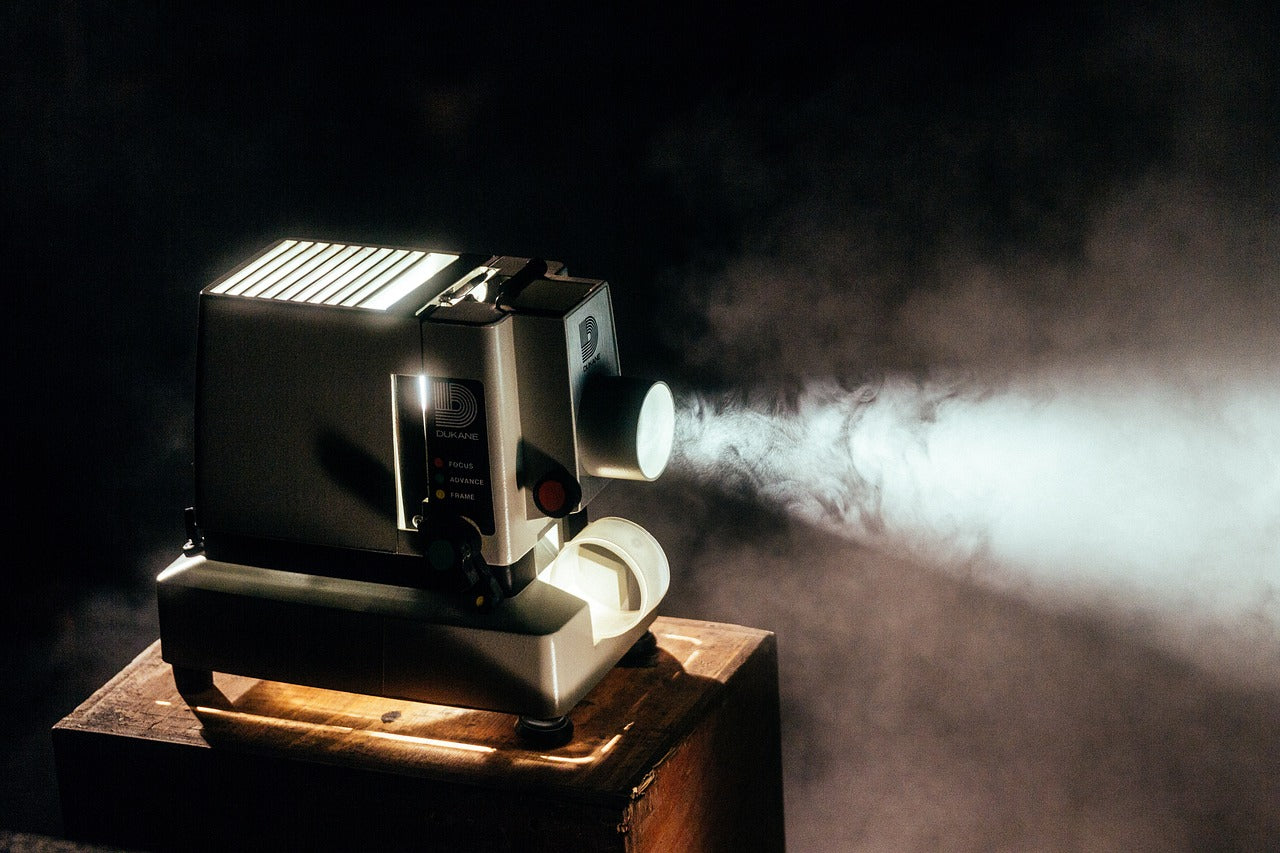
Welcome to the world of home entertainment systems, where the magic of cinema can be brought right into your living room. One of the most exciting elements of a home theater setup is the projector screen, which can transform any blank wall into a captivating movie screen. However, there are times when you might want to make your projector screen smaller, either to accommodate a different room size or to enhance the viewing experience. Whether you're looking to downsize your projection area for a more intimate movie night or to optimize the screen size for a specific space, this guide will walk you through the process step by step.
Making your projector screen smaller doesn't have to be a daunting task. With the right materials and a clear plan, you can easily adjust the size of your projection area to suit your preferences. In this comprehensive guide, we'll explore the materials you'll need, the steps to effectively resize your projector screen, and the potential benefits of customizing your viewing experience. So, let's dive in and discover how to make your projector screen smaller with confidence and ease.
Key Takeaways:
- Easily resize your projector screen by measuring, cutting, and securing new screen material. Adjust projector settings for optimal viewing and enjoy a customized cinematic experience in your home.
- Making your projector screen smaller is a fun and rewarding DIY project. With the right materials and steps, you can create a personalized home theater setup tailored to your space and preferences.
Read more: How To Make Epson Projector Screen Smaller
Materials Needed
Before you embark on the journey of resizing your projector screen, it’s essential to gather the necessary materials. Here’s a list of items you’ll need to successfully make your projector screen smaller:
- Measuring tape: A reliable measuring tape will be your best friend throughout this process, allowing you to accurately determine the dimensions of your desired screen size.
- Masking tape: This will be used to mark the new boundaries of your projector screen, ensuring a precise and uniform resizing.
- Scissors: A pair of sharp scissors will come in handy for cutting the screen material to the new dimensions.
- Projection screen material: If you need to replace the current screen material with a smaller piece, make sure to have the new material ready. There are various types of projection screen materials available, so choose one that best suits your viewing needs.
- Staple gun and staples: These will be used to secure the new screen material to the frame or wall, depending on your setup.
- Assistant: While not a physical material, having an extra pair of hands to assist with holding the screen and making precise adjustments can be incredibly helpful.
By ensuring you have these materials on hand, you’ll be well-prepared to tackle the task of resizing your projector screen with confidence and efficiency.
You can make a projector screen smaller by adjusting the zoom on the projector or by physically moving the projector closer to the screen. This will reduce the size of the projected image.
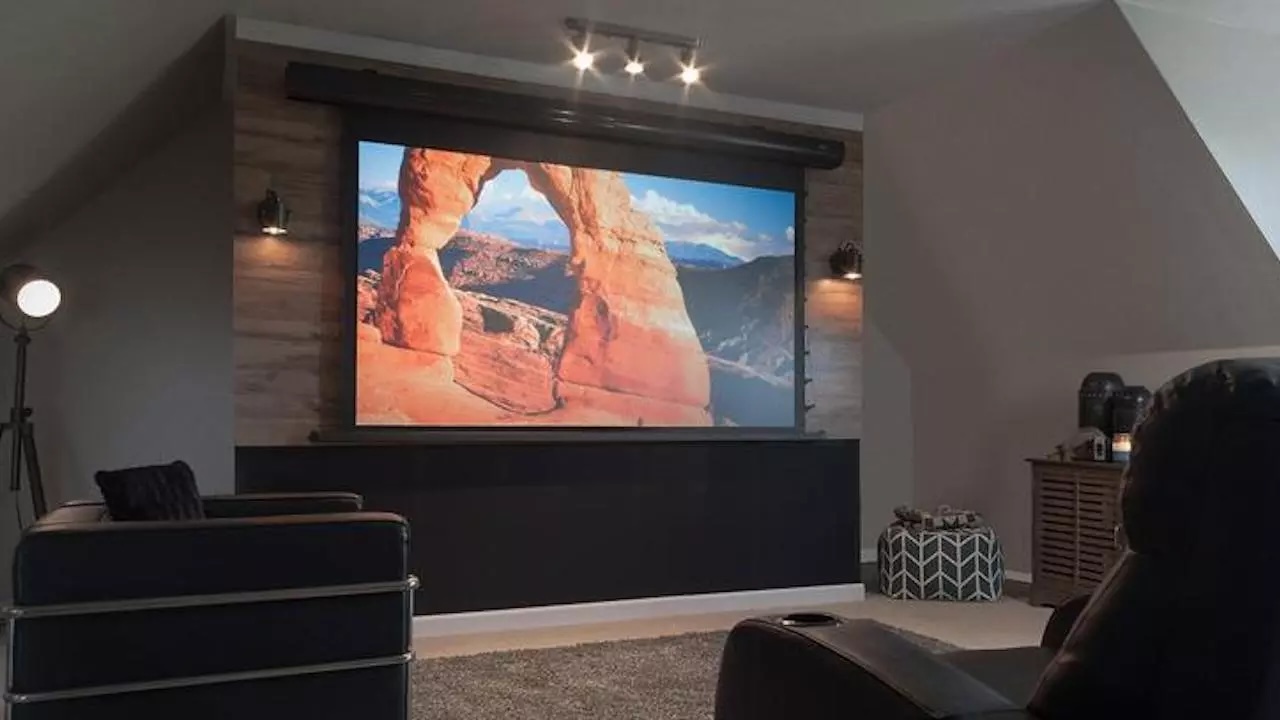
Steps to Make Projector Screen Smaller
Now that you have gathered the necessary materials, it’s time to dive into the process of making your projector screen smaller. Follow these steps to achieve a perfectly resized projection area:
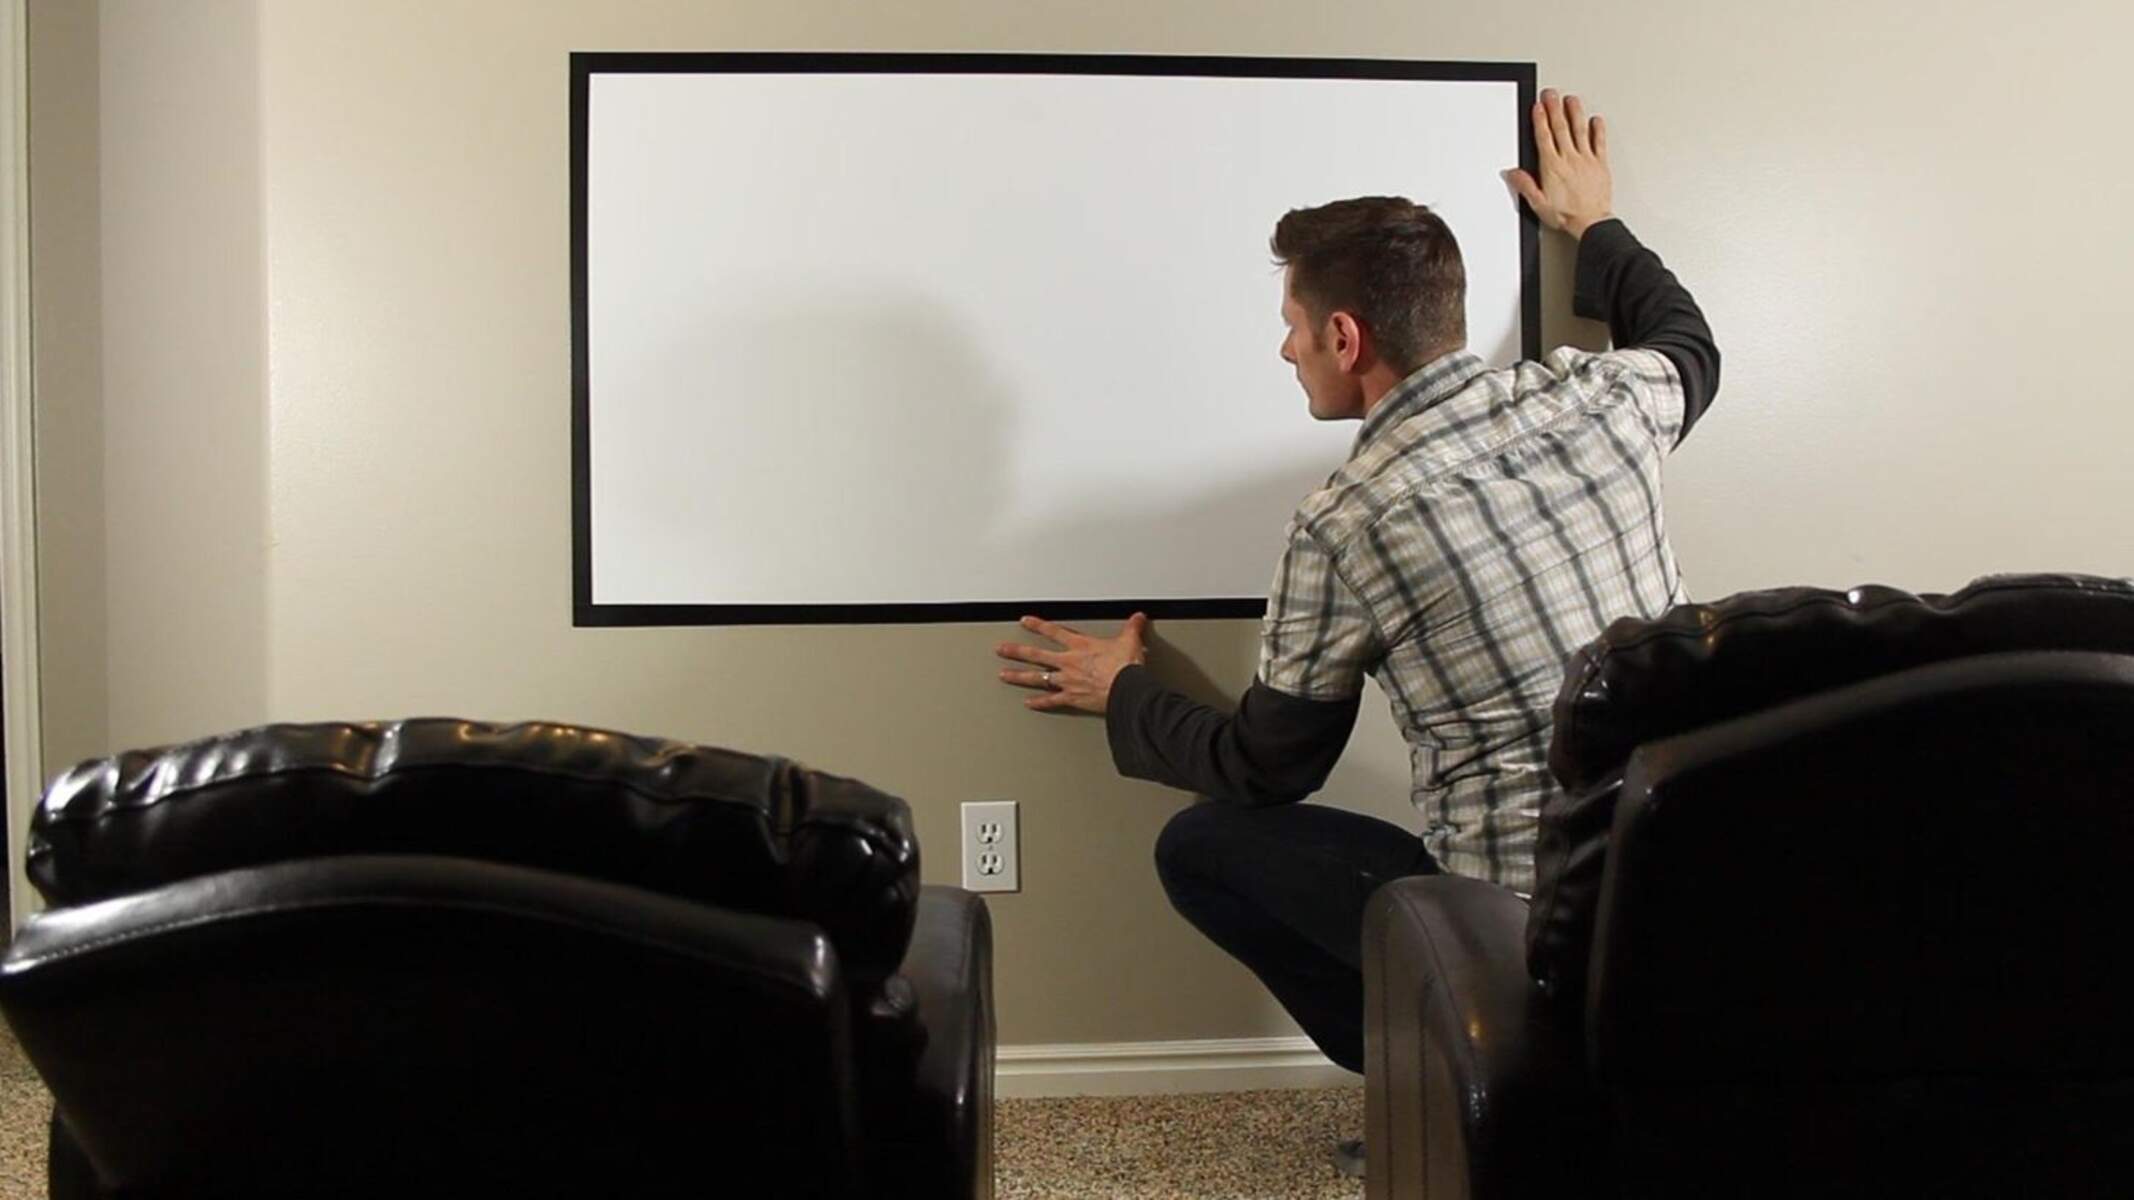
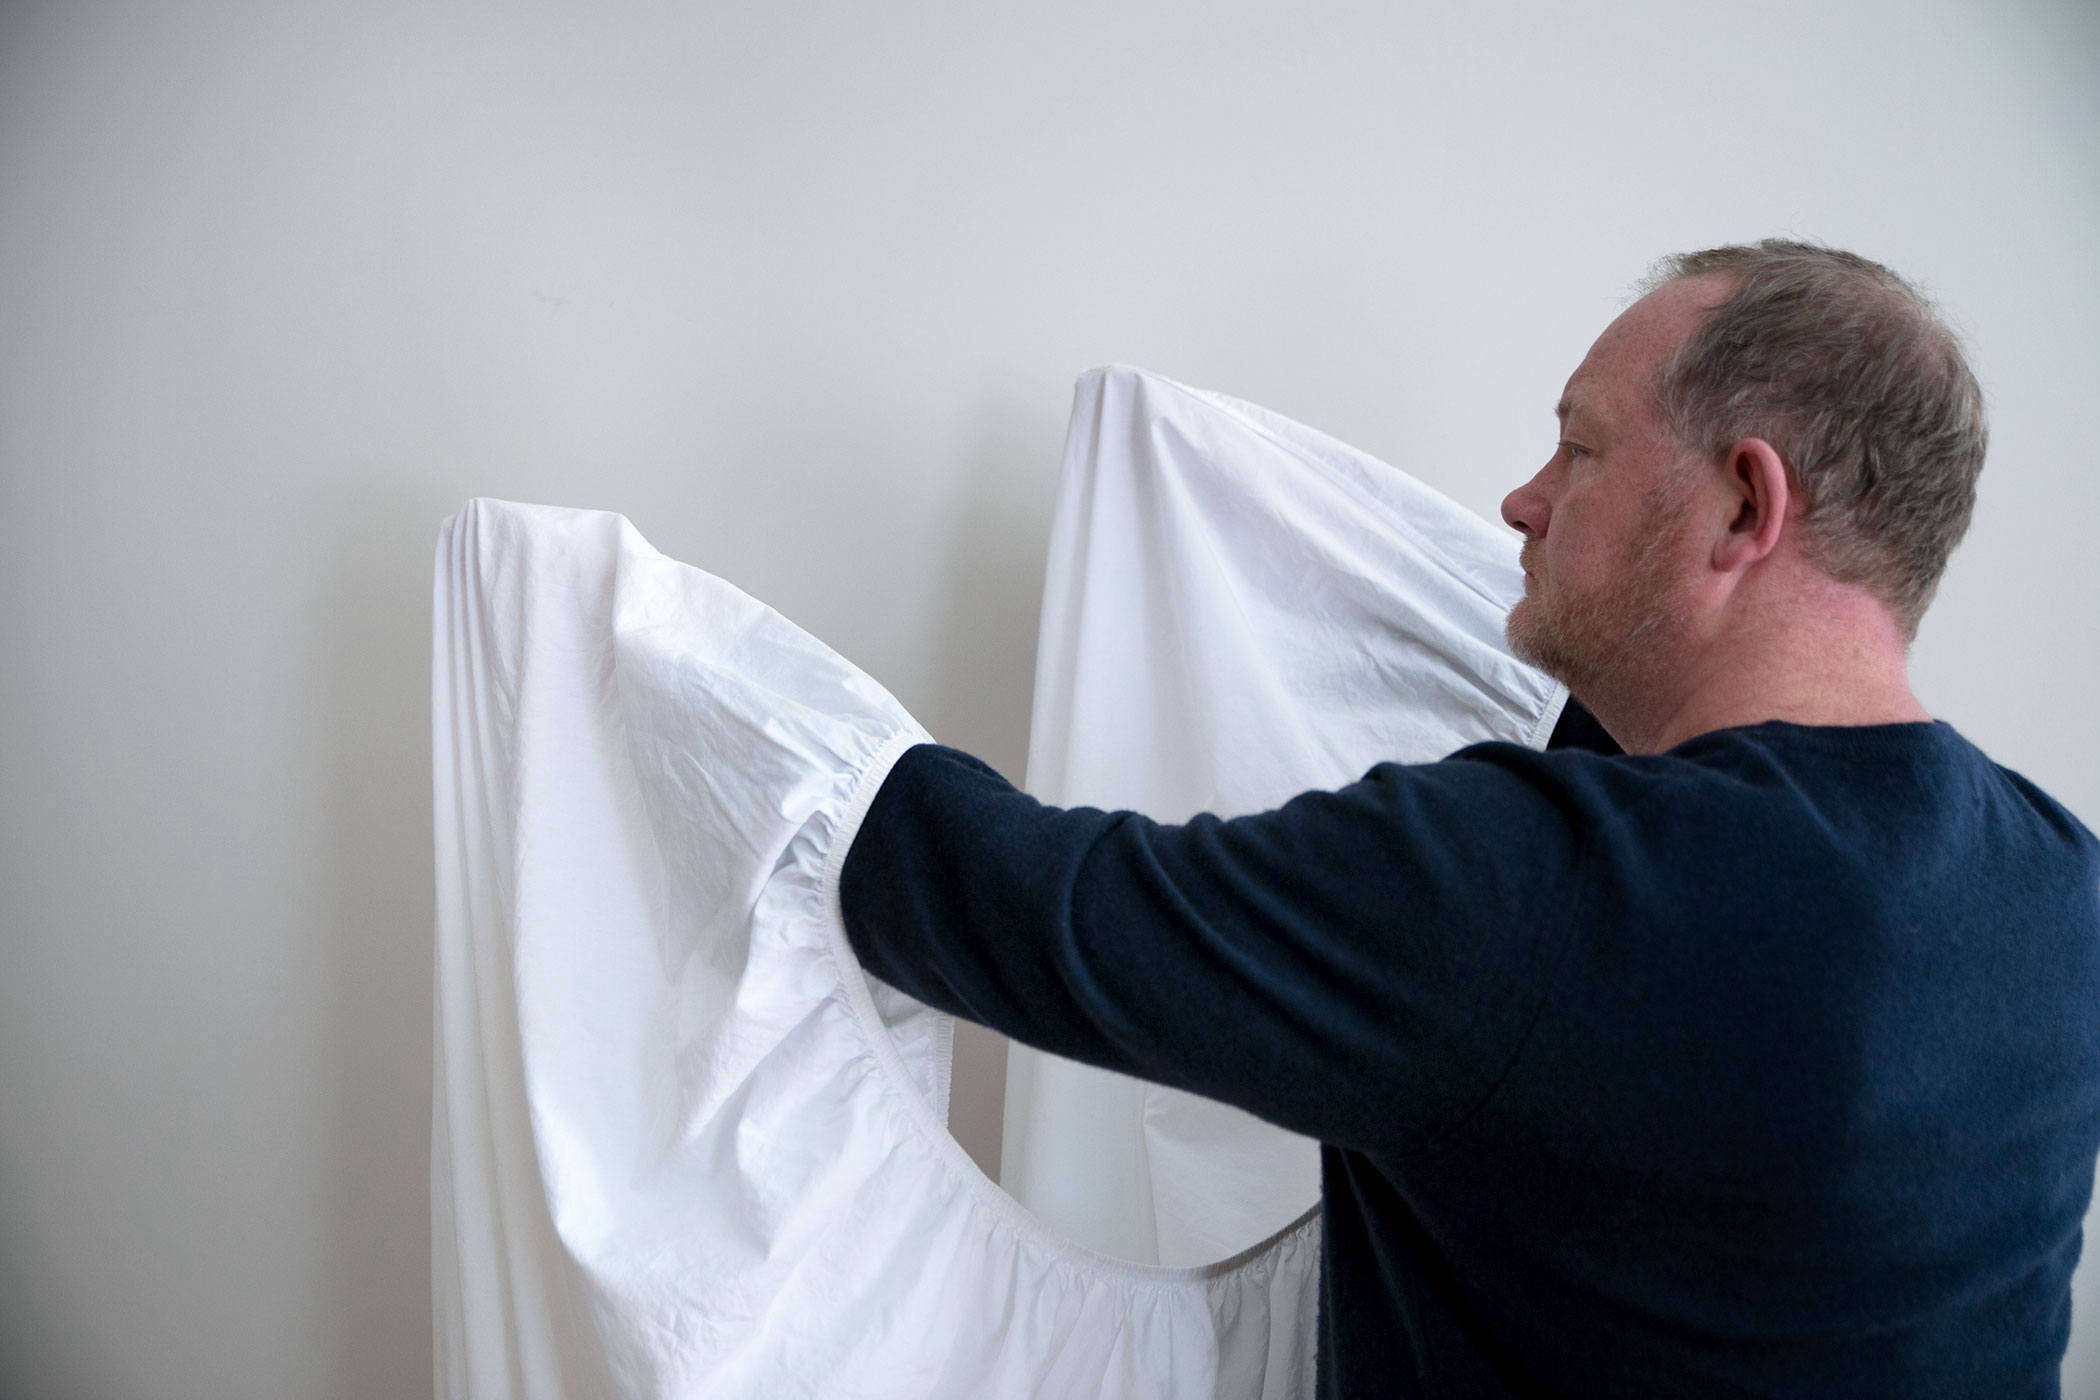
- Measure and Mark: Begin by measuring the dimensions of the new, smaller screen size you desire. Use the measuring tape to determine the exact height and width of the reduced projection area. Once you have the measurements, use the masking tape to mark the new boundaries on the wall or frame where the screen will be displayed.
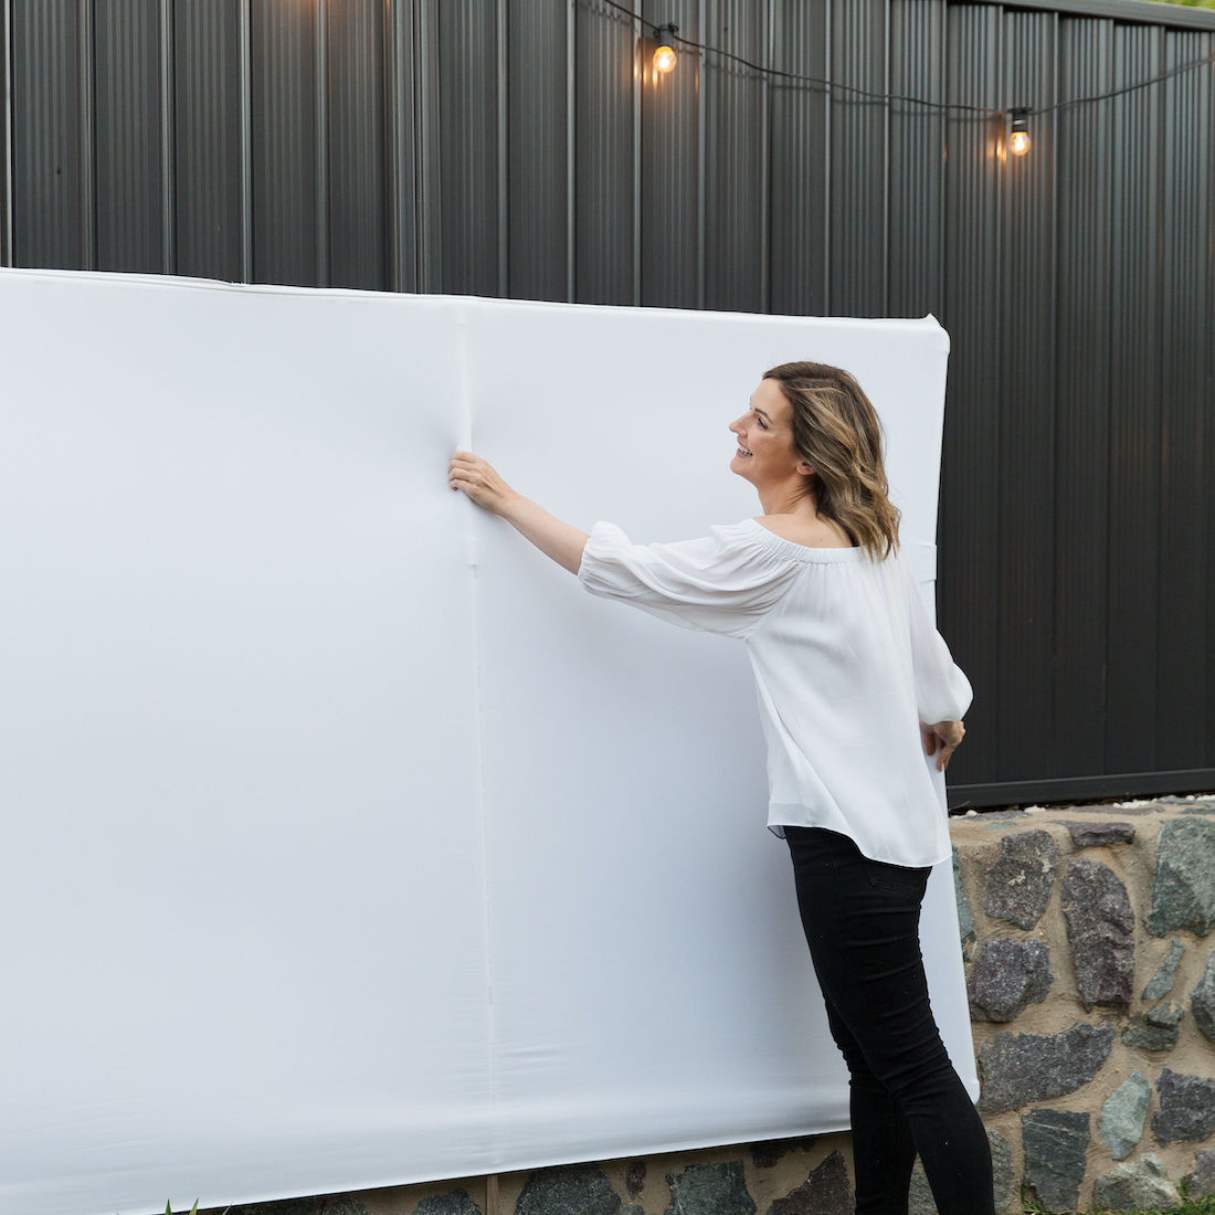
- Cut the Screen Material: If you need to replace the current screen material with a smaller piece, use the measurements from the previous step to cut the new material to the appropriate size. Carefully use the scissors to ensure clean and straight edges, as this will contribute to a professional and polished appearance.
- Secure the New Screen: With the new screen material prepared, use the staple gun to secure it in place. If your projector screen is mounted on a frame, carefully stretch the new material over the frame and staple it securely, ensuring a taut and smooth surface. If your screen is directly mounted on the wall, affix the new material using the staple gun, making sure it is evenly positioned within the marked boundaries.
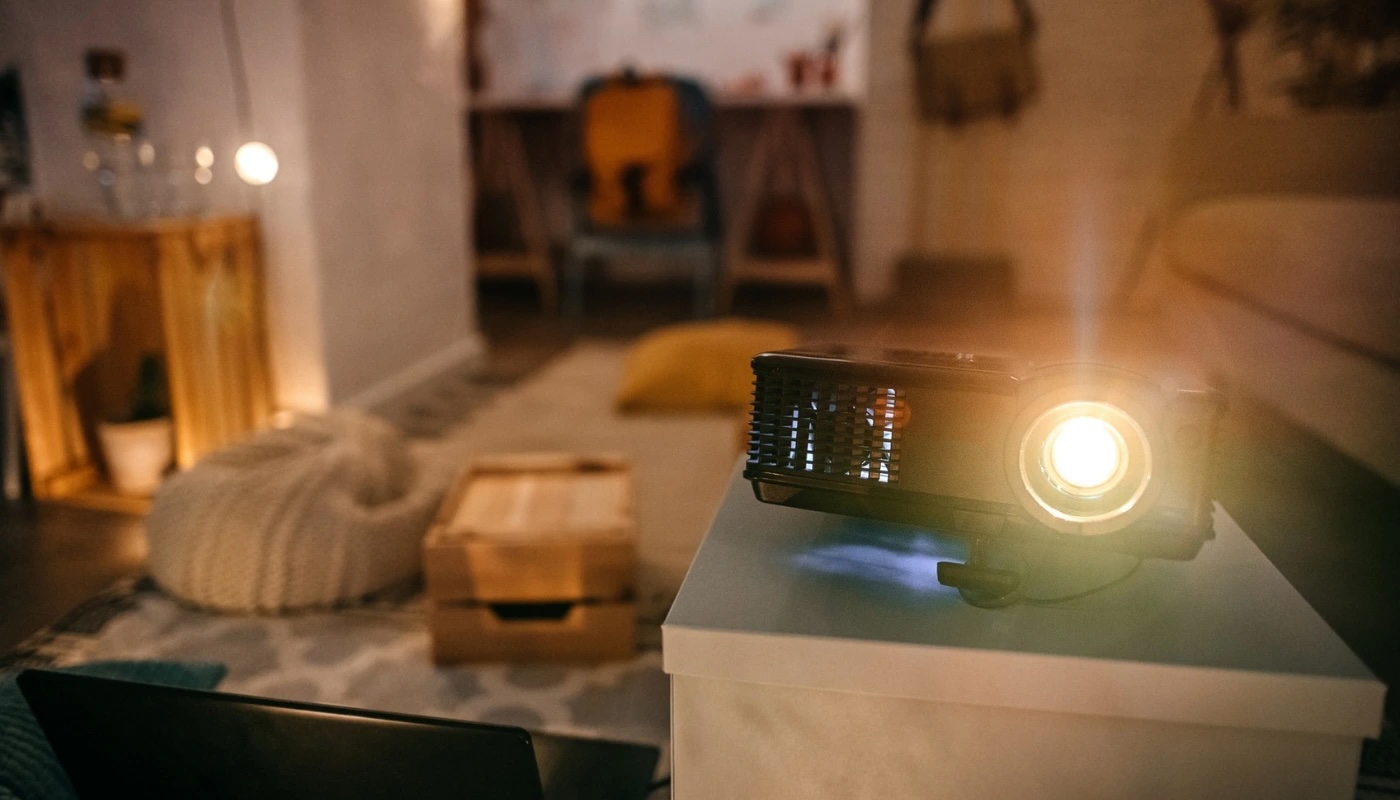
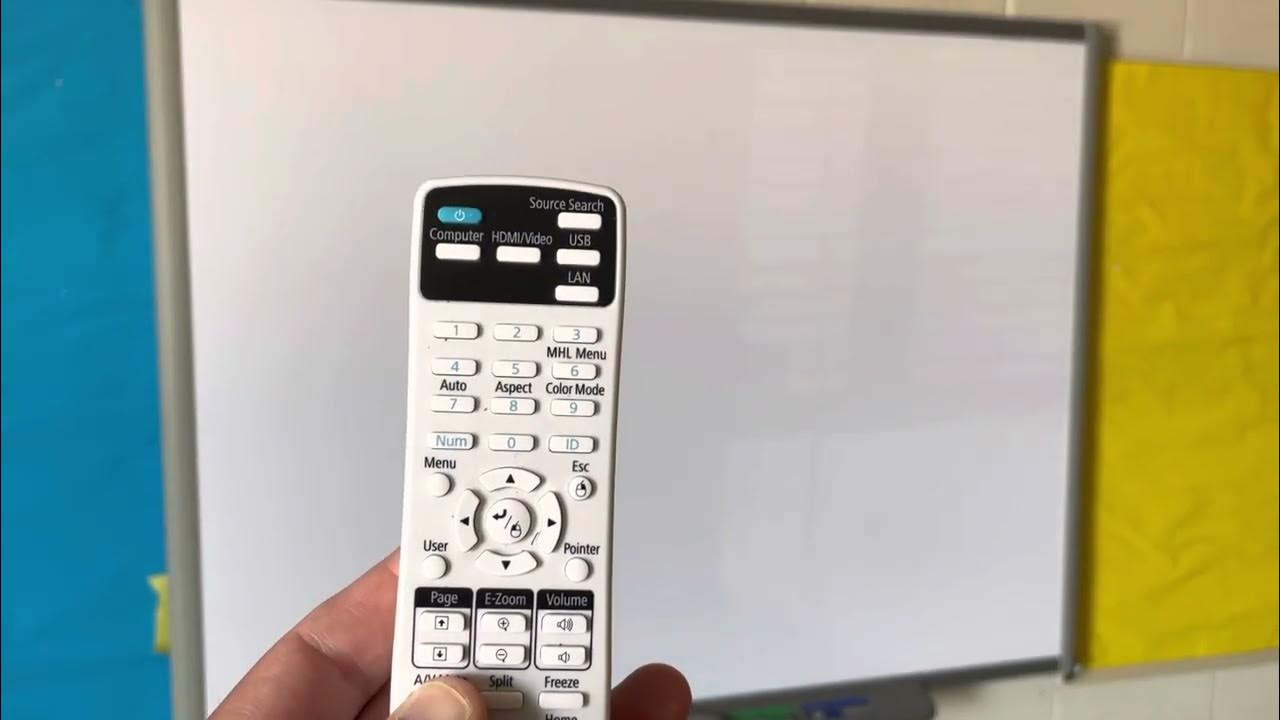
- Adjust the Projector: Once the new screen material is in place, make any necessary adjustments to the projector settings. This may involve modifying the throw distance, focus, and keystone correction to ensure the projected image fits perfectly within the resized screen area. Take your time to fine-tune the projector settings for optimal picture quality.
- Test and Enjoy: After completing the resizing process, it’s time to test your newly adjusted projector screen. Turn on your projector and play a favorite movie or show to experience the transformed viewing experience. Sit back, relax, and revel in the magic of your customized projection area.
By following these steps with precision and care, you can confidently make your projector screen smaller, tailored to your specific preferences and space requirements.
Conclusion
Resizing your projector screen can be a rewarding endeavor, allowing you to tailor your home theater experience to suit your unique preferences and space constraints. By following the steps outlined in this guide and utilizing the essential materials, you can effectively make your projector screen smaller with confidence and precision.
Customizing the size of your projection area offers a range of benefits, from optimizing the viewing experience to accommodating different room layouts. Whether you’re creating a more intimate cinematic atmosphere or adjusting the screen size to fit a specific wall space, the ability to resize your projector screen empowers you to curate the perfect home entertainment setup.
As you embark on the journey of resizing your projector screen, remember to approach the process with patience and attention to detail. Accurate measurements, clean cuts, and secure installations are key to achieving a professional and seamless result. Additionally, don’t hesitate to enlist the help of an assistant, as an extra pair of hands can make the process smoother and more enjoyable.
Once you have successfully resized your projector screen, take the time to appreciate the transformed viewing experience. Whether you’re indulging in a movie night with loved ones or immersing yourself in the latest blockbuster, your customized projection area will enhance the magic of cinema within the comforts of your home.
With the knowledge and guidance provided in this comprehensive guide, you are well-equipped to embark on the journey of making your projector screen smaller. Embrace the opportunity to personalize your home theater setup, and revel in the captivating cinematic experiences that await in your perfectly resized projection area.
Frequently Asked Questions about How To Make Projector Screen Smaller
Was this page helpful?
At Storables.com, we guarantee accurate and reliable information. Our content, validated by Expert Board Contributors, is crafted following stringent Editorial Policies. We're committed to providing you with well-researched, expert-backed insights for all your informational needs.


0 thoughts on “How To Make Projector Screen Smaller”