Articles
How To Install Wyze Doorbell
Modified: September 2, 2024
Learn how to install the Wyze Doorbell with our step-by-step guide. Discover helpful tips and tricks for installing this innovative device. Get expert advice in our articles today!
(Many of the links in this article redirect to a specific reviewed product. Your purchase of these products through affiliate links helps to generate commission for Storables.com, at no extra cost. Learn more)
Introduction
Welcome to the world of smart home technology, where even your doorbell can be upgraded to a more intelligent and convenient version. The Wyze Doorbell is a cutting-edge device that allows you to monitor your front door, receive notifications when someone is at the door, and even communicate with visitors through your smartphone.
In this article, we will guide you through the step-by-step process of installing the Wyze Doorbell. Whether you’re a tech-savvy enthusiast or a beginner, the installation is designed to be user-friendly and straightforward. So, let’s get started!
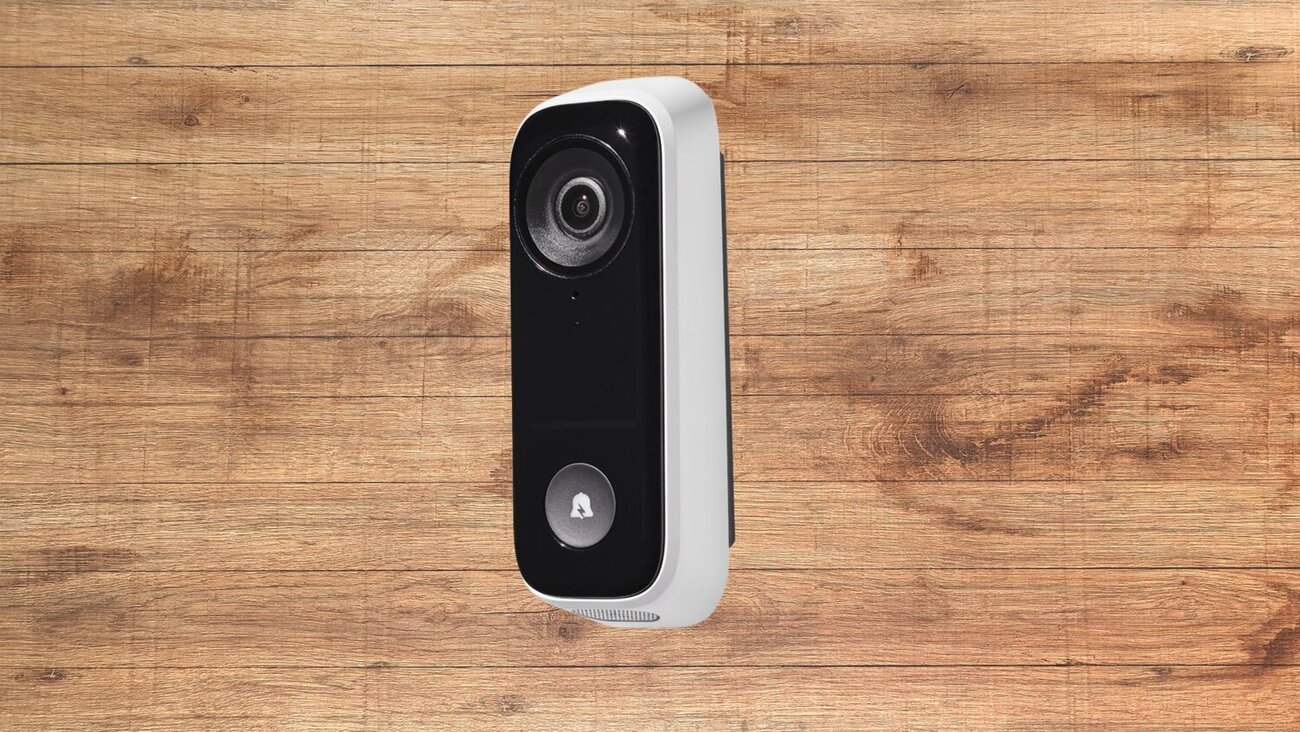
Before we dive into the installation process, let’s briefly go over what makes the Wyze Doorbell such a great addition to your home. The doorbell features a high-definition camera that provides clear visuals of anyone approaching your front door. It also has two-way audio, allowing you to communicate with visitors in real-time without ever having to open the door. Additionally, the Wi-Fi connectivity allows you to access the camera feed and doorbell functionality from anywhere using your smartphone.
With those incredible features in mind, let’s move on to the installation process. We will cover everything from gathering the required tools and materials to connecting the doorbell to the Wyze app on your phone. So, let’s jump into step one!
Key Takeaways:
- Upgrade your home with the Wyze Doorbell for enhanced security and convenience. Follow the simple step-by-step guide to install, connect, test, and customize this smart doorbell for a seamless experience.
- Enjoy peace of mind and control over your home’s security with the Wyze Doorbell. Monitor your front door, receive notifications, and communicate with visitors through your smartphone or tablet, all with the impressive features of this smart device.
Read more: How To Remove Wyze Doorbell
Step 1: Gather the Required Tools and Materials
Before you begin the installation process, it’s essential to gather all the necessary tools and materials. Having everything ready beforehand will ensure a smooth and efficient installation process. Here’s a list of what you’ll need:
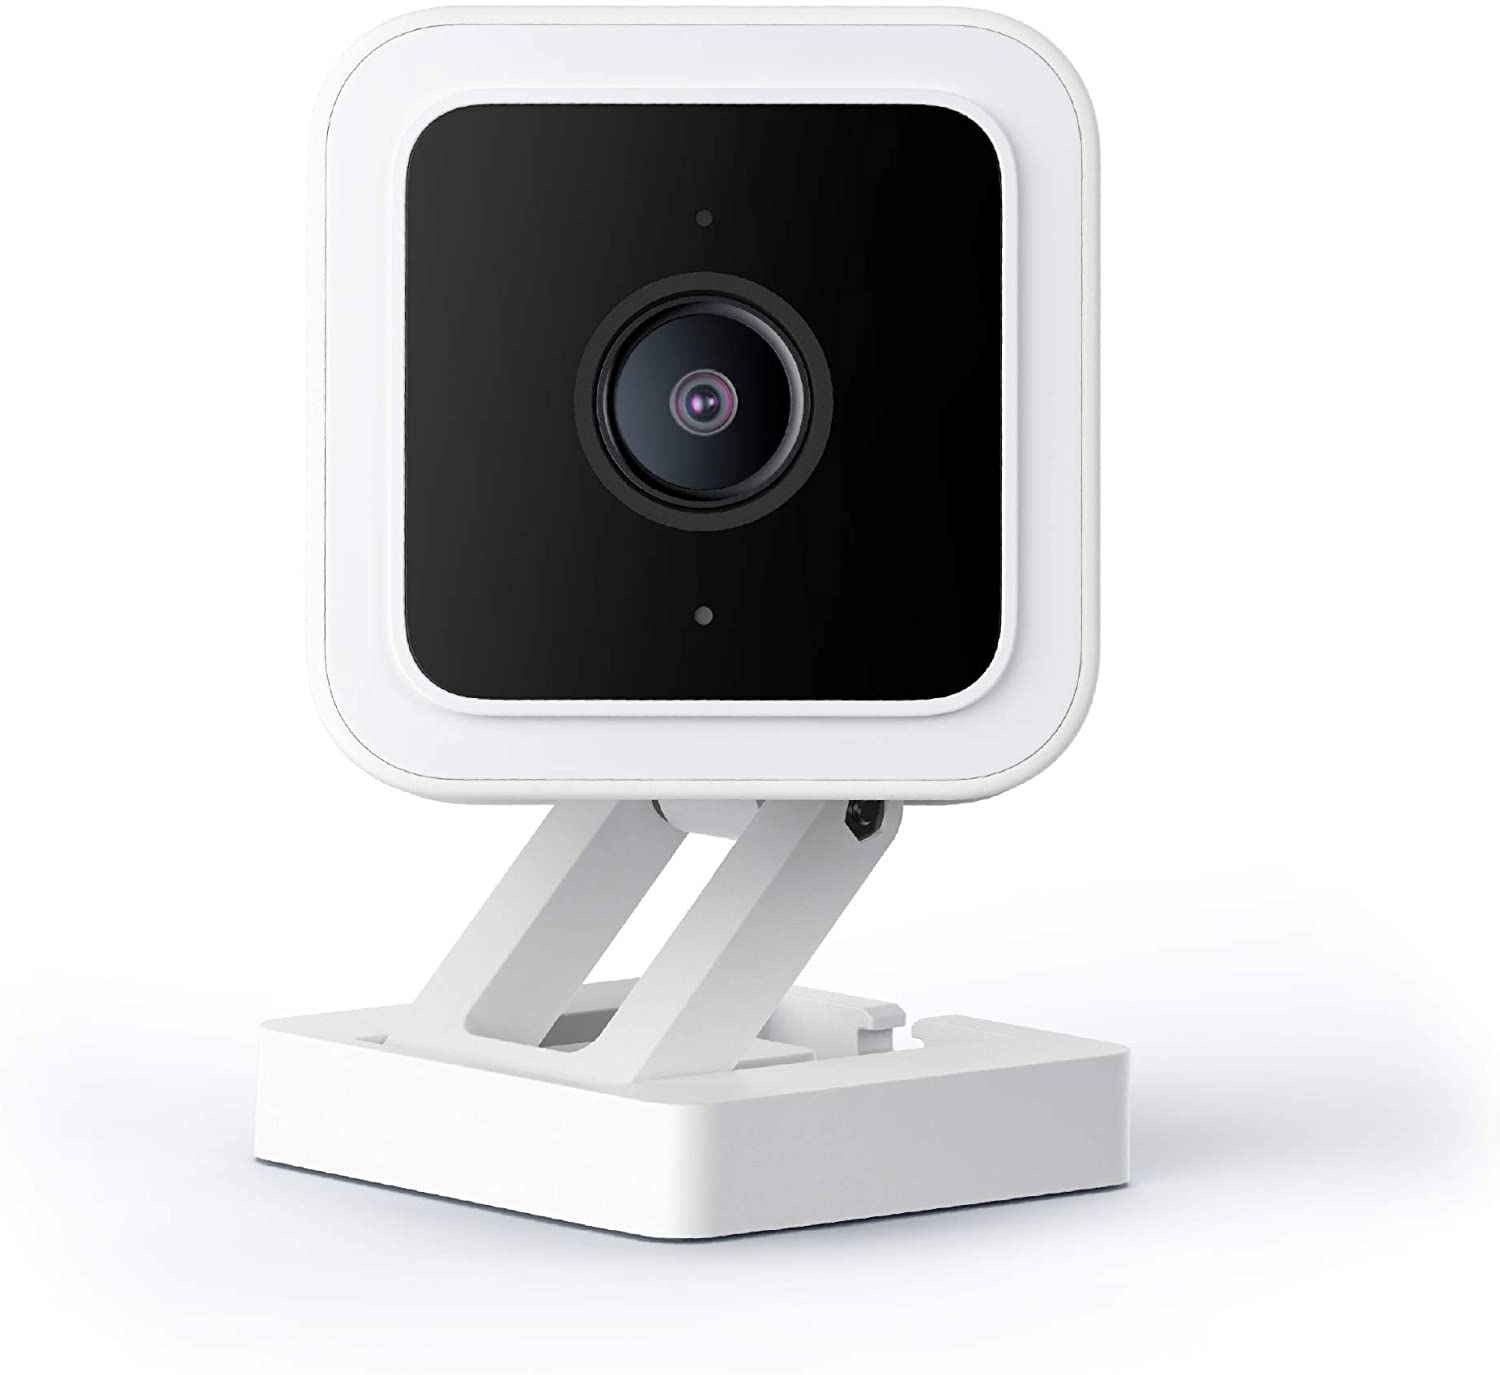
- Wyze Doorbell Kit: Make sure you have the Wyze Doorbell kit, which includes the doorbell unit, mounting bracket, and necessary wires.
- Screwdriver: You’ll need a screwdriver to secure the mounting bracket and doorbell unit.
- Drill: If you need to drill holes in your door frame or wall for the wiring, ensure you have a drill with the appropriate drill bits.
- Wire stripper: This tool will come in handy when preparing the wires for connection.
- Level: To ensure that the doorbell is properly aligned, having a level will help you achieve a straight installation.
- Smartphone or Tablet: You’ll need a smartphone or tablet to connect and set up the Wyze Doorbell through the Wyze app.
- Stud Finder (optional): If you are mounting the doorbell on a wall, a stud finder can help you locate wall studs for secure installation.
By having these tools and materials ready, you’ll be fully prepared to move on to the next steps of the installation process. Double-check the list to ensure you have everything before proceeding.
Step 2: Prepare for Installation
Now that you have gathered all the necessary tools and materials, it’s time to prepare for the installation of your Wyze Doorbell. This step involves a few important considerations to ensure a smooth and successful installation process. Let’s get started:
- Choose the Installation Location: Before you proceed, decide where you want to install the Wyze Doorbell. Typically, it’s installed near the front door, at a height that allows for easy access and clear visibility.
- Check Internet Connectivity: Ensure that you have a stable Wi-Fi connection near the installation location. The Wyze Doorbell requires a reliable internet connection to function properly.
- Inspect Doorbell Wiring: If you are replacing an existing doorbell, check the condition of the wiring. Make sure the wiring is intact and in good condition. If needed, replace any damaged wires before proceeding.
- Ensure Power Supply: The Wyze Doorbell requires constant power supply to function. If your existing doorbell is not connected to a power source, you may need to hire a professional to install a power supply transformer.
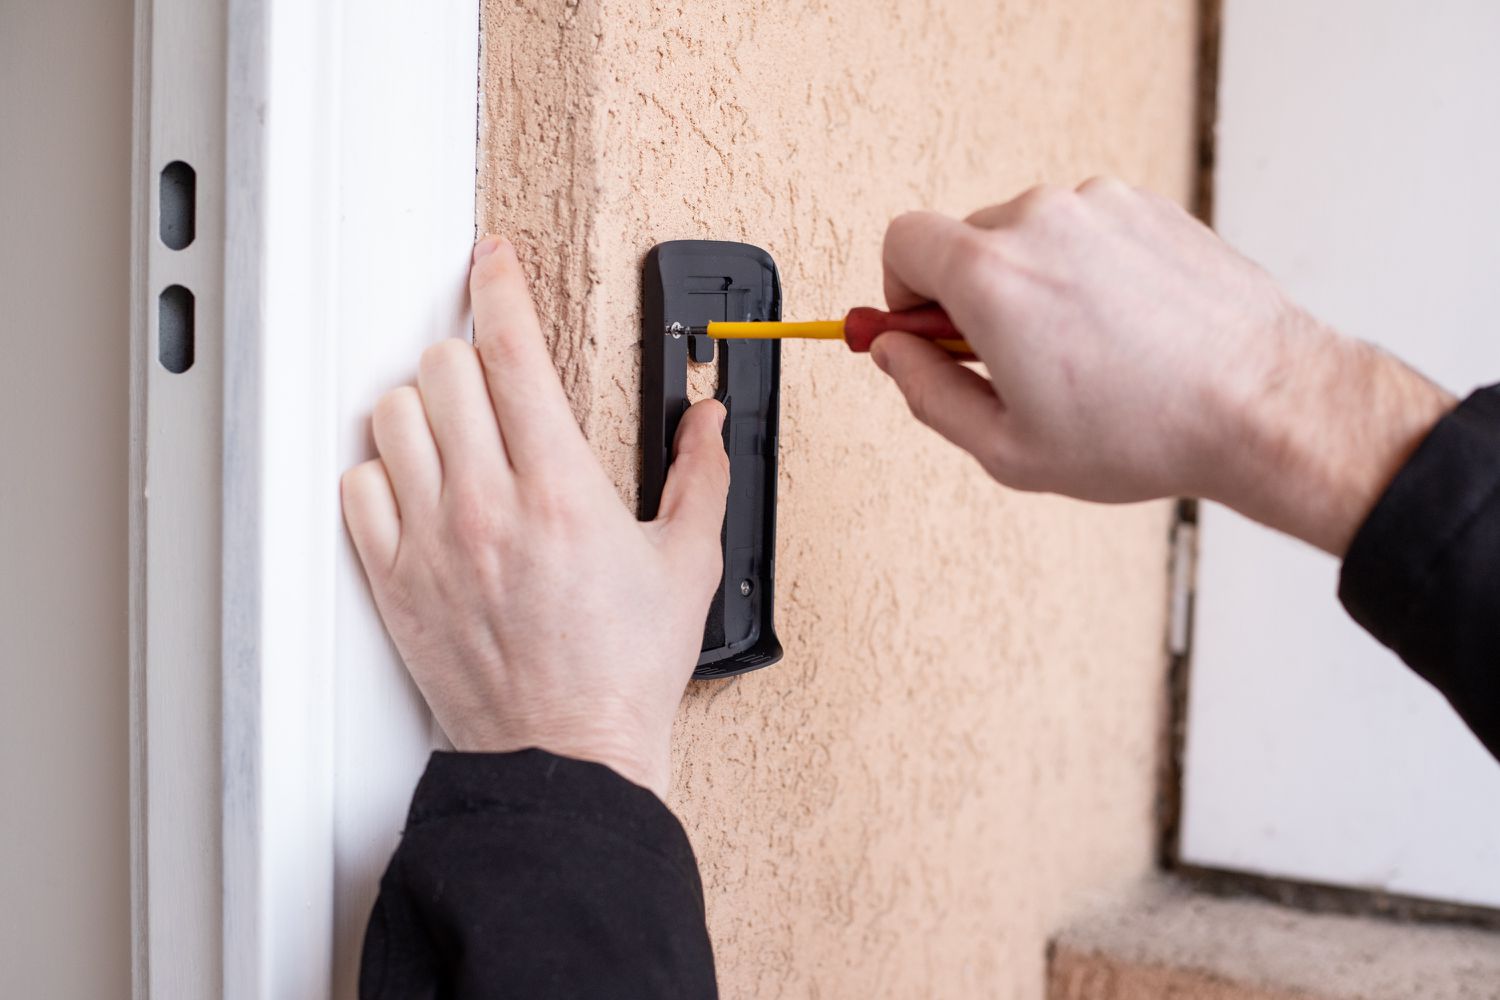
- Secure the Mounting Bracket: Take the mounting bracket from the Wyze Doorbell kit and determine the position where you want to mount it. Use a screwdriver and screws (if included) to securely attach the mounting bracket to the wall or door frame.
- Make Holes (if necessary): If you need to drill holes for wiring, use a drill with appropriate drill bits to create holes in the wall or door frame as required. Be cautious and avoid damaging any electrical or plumbing lines.
By taking the time to properly prepare for the installation, you are setting the stage for a successful and hassle-free process. Once you have completed these preparations, you are ready to move on to the next step of mounting the Wyze Doorbell. Stay tuned!
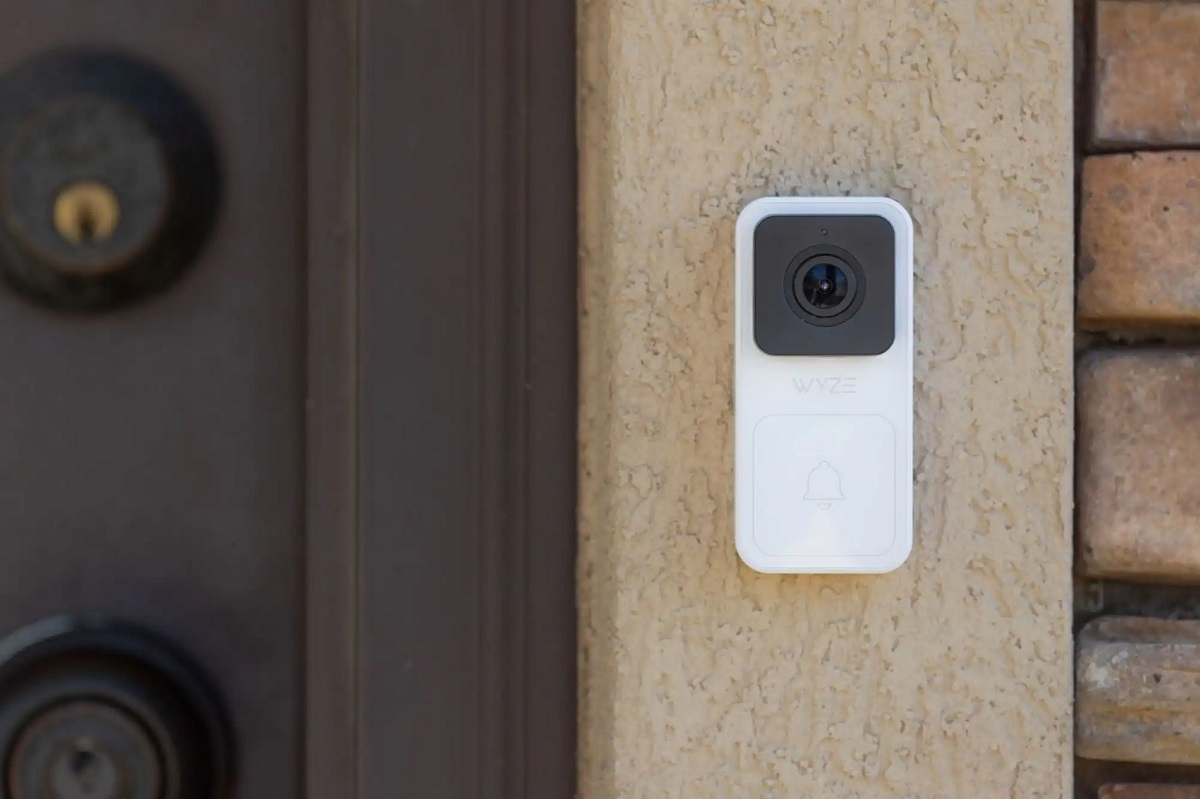
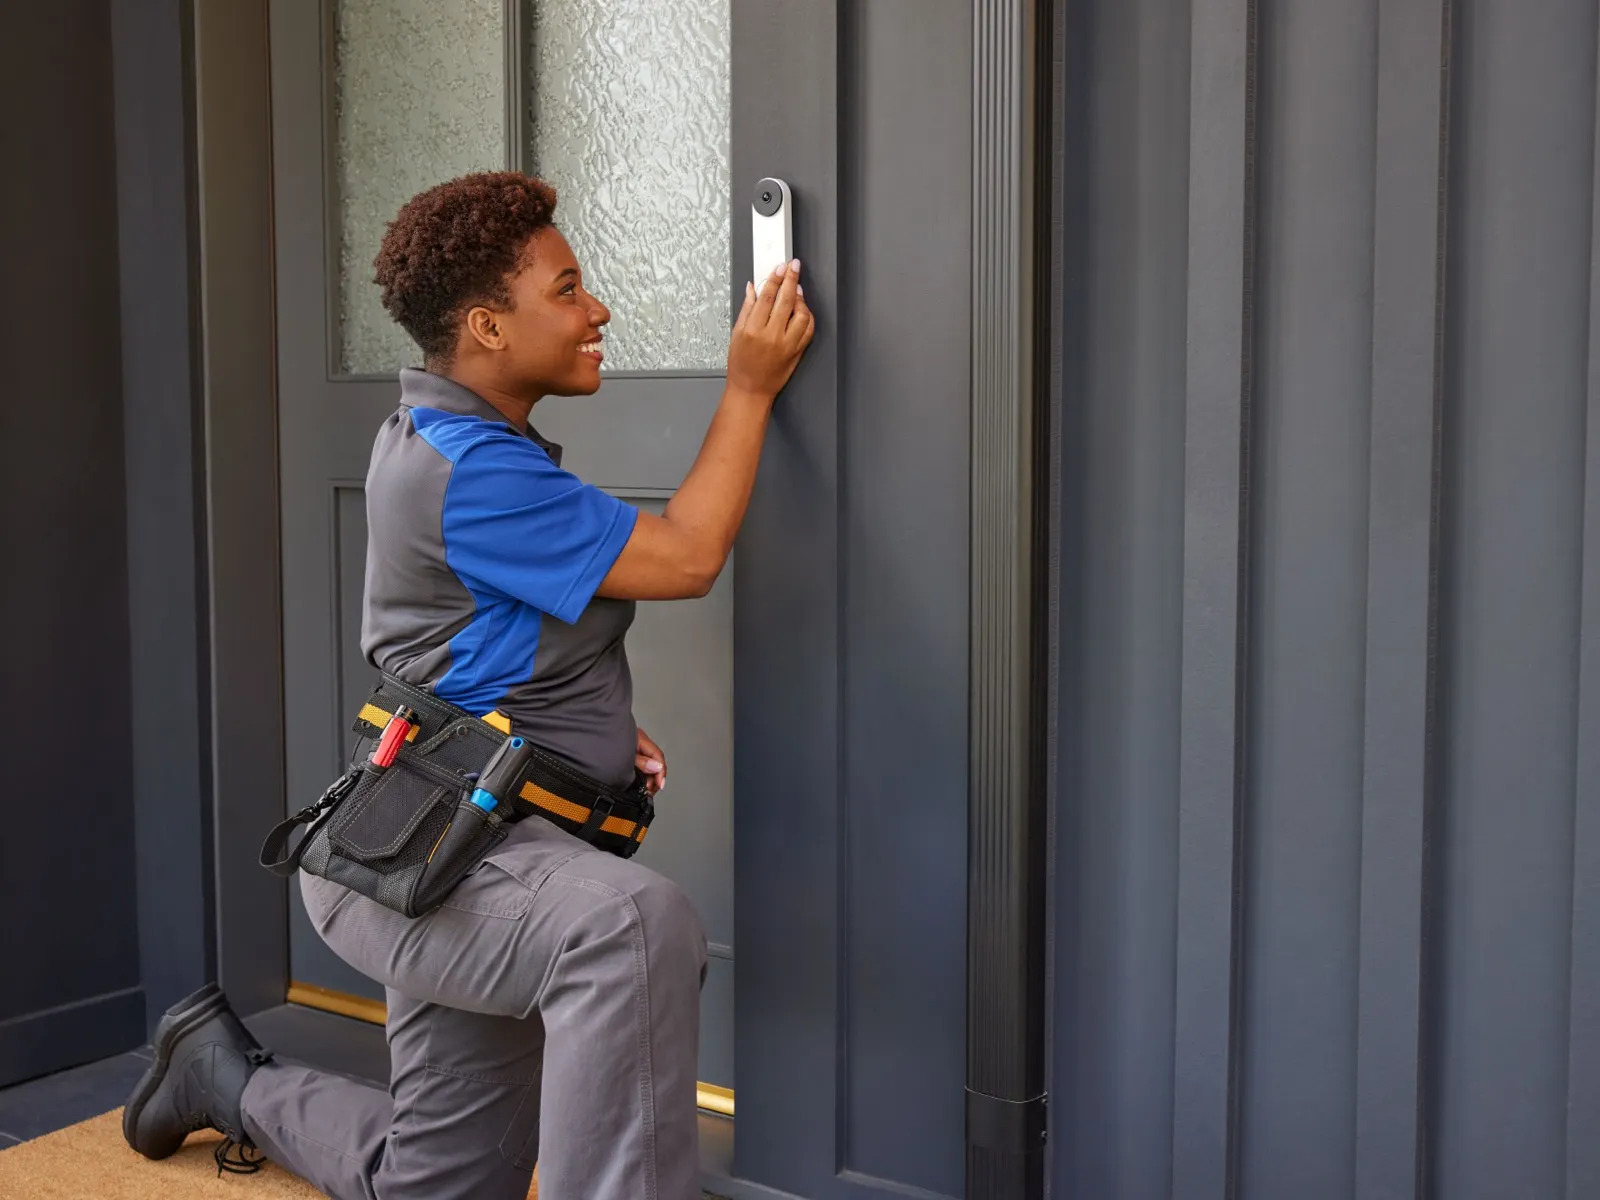
Step 3: Mount the Wyze Doorbell
Now that you have prepared for the installation, it’s time to mount the Wyze Doorbell. Follow these steps for a secure and proper installation:
- Position the Doorbell: Take the Wyze Doorbell unit and align it with the mounting bracket. Ensure that it is properly aligned and positioned.
- Secure the Doorbell: Once aligned, use a screwdriver to secure the doorbell unit to the mounting bracket using the provided screws. Tighten the screws until the doorbell is firmly attached.
- Check for Stability: Gently shake the doorbell to ensure it is securely mounted. If you notice any looseness, tighten the screws further to improve stability.
- Confirm Viewing Angle: Before finalizing the installation, check the doorbell’s viewing angle. Adjust the position if necessary to achieve an optimal view of the area you want to monitor.
- Level the Doorbell: Use a level tool to ensure that the doorbell is properly aligned and level. Make any necessary adjustments to achieve a straight and balanced installation.
By following these steps, you will successfully mount the Wyze Doorbell and ensure that it is securely attached to the mounting bracket. Once you have completed this step, you are ready to move on to the next step of wiring the doorbell. Stay tuned for further instructions!
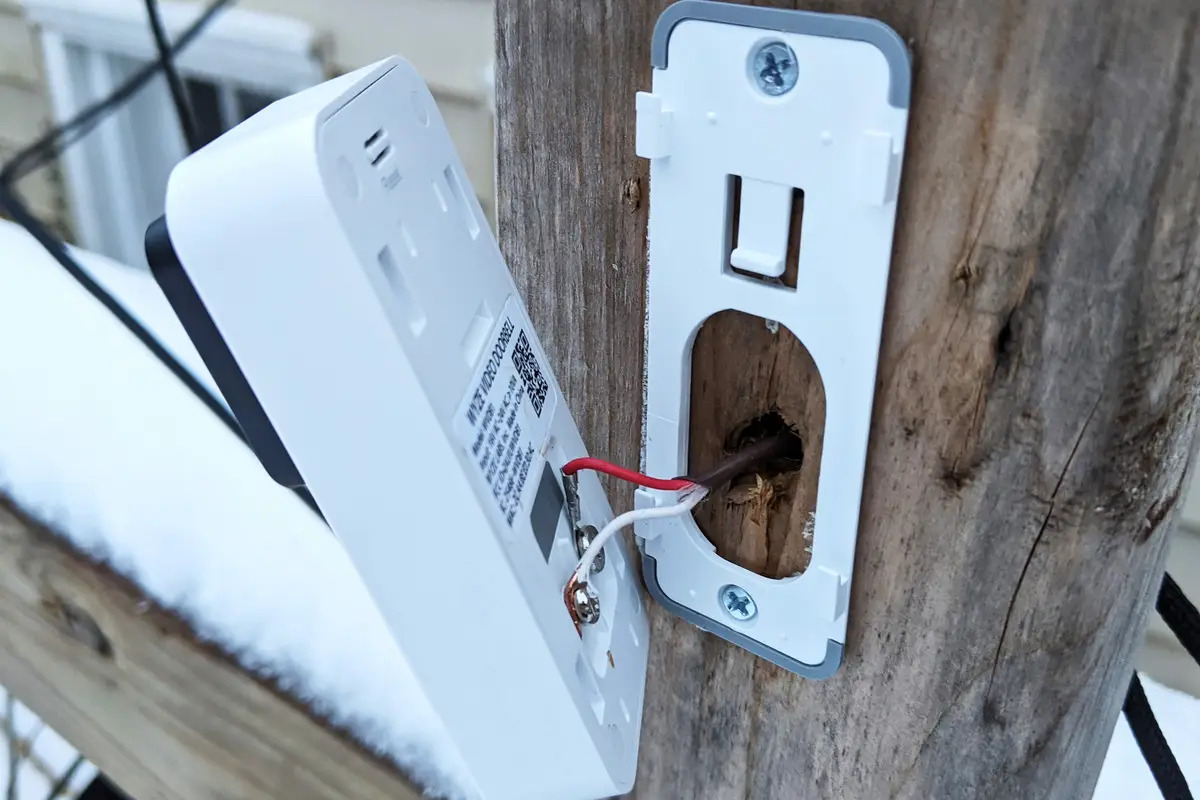
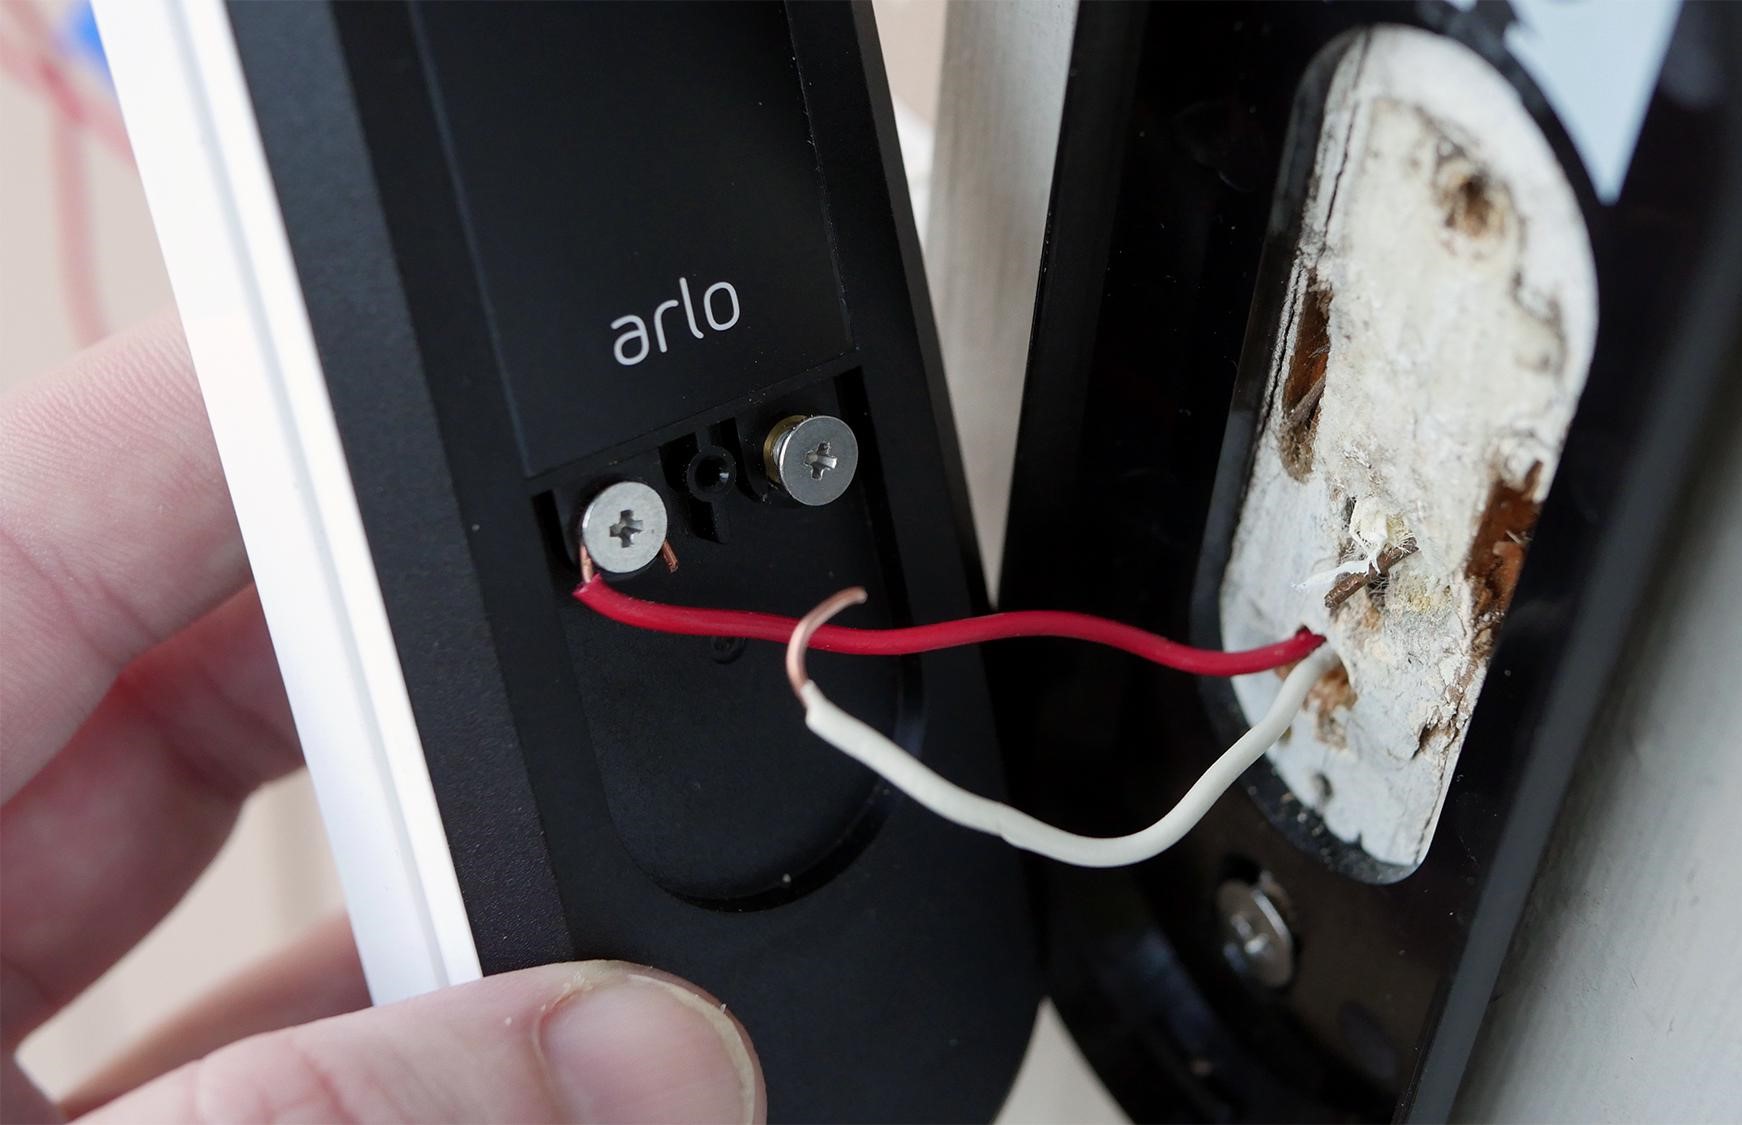
Step 4: Wiring the Doorbell
With the Wyze Doorbell securely mounted, it’s time to proceed with the wiring process. Follow these steps to connect the doorbell to the existing wiring:
- Locate the Existing Doorbell Wiring: Find the existing doorbell wiring in your home. It is usually located near the front door or in the doorbell enclosure.
- Disconnect the Power: Before working with the wiring, switch off the power supply to the doorbell circuit from your electrical panel.
- Remove the Existing Doorbell: Unscrew the existing doorbell from its mounting bracket and carefully disconnect the wires attached to it.
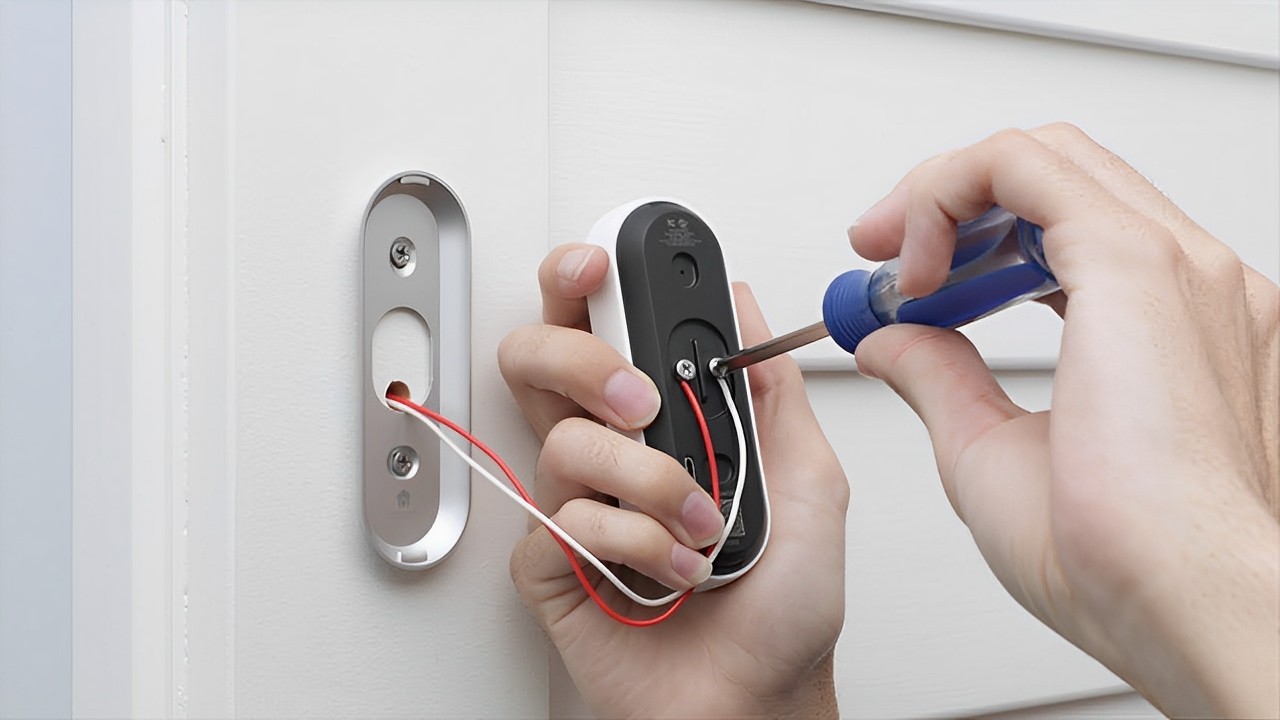
- Prepare the Wires: Strip the ends of the doorbell wires to expose around 1/4 inch (6 mm) of bare wire. Use a wire stripper for a clean and precise strip.
- Connect the Wires: Locate the two screw terminals on the Wyze Doorbell unit. Connect the wires to the appropriate terminals, ensuring that the polarity is correct. The typical configuration is connecting the wires labeled “TRANS” to the transformer side and the wires labeled “FRONT” to the front doorbell side.
- Tighten the Screws: Once the wires are connected, use a screwdriver to tighten the screws on the terminals. Ensure that the wires are securely held in place.
- Double-Check Connections: Give the wires a gentle tug to ensure they are firmly connected. Double-check that the connections are secure and there are no loose wires.
Once you have completed these steps, the Wyze Doorbell will be properly wired and connected to the existing doorbell wiring. Now, you are ready to move on to the next step of connecting the Wyze Doorbell to the Wyze app on your smartphone. Stay tuned for further instructions!
Before installing the Wyze Doorbell, ensure your existing doorbell wiring is compatible with the device. Check the voltage and wiring to avoid any installation issues.
Read more: How To Install Wyze Camera Outdoor
Step 5: Connect the Wyze Doorbell to the App
Now that the Wyze Doorbell is properly mounted and wired, it’s time to connect it to the Wyze app on your smartphone or tablet. This step will allow you to access the doorbell’s live feed, receive notifications, and customize various settings. Follow these steps to connect the Wyze Doorbell to the app:
- Download the Wyze App: If you haven’t already, download and install the Wyze app from the App Store or Google Play Store on your smartphone or tablet.
- Open the Wyze App: Launch the Wyze app on your device.
- Sign In/Create an Account: If you already have a Wyze account, sign in using your credentials. Otherwise, create a new account by following the on-screen prompts.
- Add a New Device: Tap the “+” icon or go to the “Add Device” section in the app interface.
- Select Wyze Doorbell: From the list of available devices, select the Wyze Doorbell.
- Put the Doorbell in Setup Mode: Press and hold the doorbell’s setup button until the LED light starts flashing. This puts the doorbell in setup mode, allowing it to connect to the app.
- Connect to the Doorbell: Follow the on-screen instructions in the Wyze app to connect to the Wyze Doorbell. This typically involves selecting your Wi-Fi network and entering the password.
- Wait for Connection: The app will connect to the doorbell and complete the setup process. This may take a few moments, so be patient.
- Customize Settings: Once the connection is established, you can customize various settings in the Wyze app. This includes adjusting motion detection sensitivity, setting up notifications, and more.
Once you have completed these steps, the Wyze Doorbell will be successfully connected to the Wyze app on your smartphone or tablet. You can now enjoy the full functionality of the doorbell, including live video feed and notifications. Stay tuned for the next step of testing the doorbell!
Step 6: Test the Doorbell
With the Wyze Doorbell connected to the Wyze app, it’s time to test its functionality. Follow these steps to ensure that the doorbell is working properly:
- Ensure Power Supply: Make sure that the power supply to the doorbell circuit is switched on.
- Open the Wyze App: Launch the Wyze app on your smartphone or tablet.
- Access the Doorbell’s Live Feed: Navigate to the Wyze Doorbell section in the app to access the live video feed from the doorbell camera.
- Trigger a Test Notification: From a different device or ask a friend to ring the doorbell to trigger a test notification. Check if you receive a notification on your smartphone or tablet through the Wyze app.
- Check Live Video Feed: When the doorbell is triggered, monitor the live video feed from the doorbell camera through the app. Ensure that you have a clear view and that the video quality is satisfactory.
- Test Two-Way Audio: Use the app to initiate two-way audio communication with the person at the door. Speak into your smartphone or tablet to see if the sound is transmitted clearly through the doorbell speaker.
- Adjust Settings if Necessary: While testing, pay attention to any issues or preferences you have regarding motion detection, sensitivity, or other settings. Adjust these as needed in the Wyze app to optimize the doorbell’s performance.
By following these steps and thoroughly testing the Wyze Doorbell’s functionality, you can ensure that it is working as expected. If you face any issues during the test, refer to the Wyze Doorbell documentation or contact their customer support for assistance.
Once you’re satisfied with the doorbell’s performance and have successfully tested it, you can move on to the final step of adjusting settings and customizing features according to your preferences. Let’s proceed!
Step 7: Adjust Settings and Customize Features
Now that you have tested the functionality of the Wyze Doorbell and ensured that it is working properly, it’s time to adjust the settings and customize features according to your preferences. Follow these steps to make the most of your Wyze Doorbell:
- Open the Wyze App: Launch the Wyze app on your smartphone or tablet.
- Access the Doorbell Settings: Navigate to the Wyze Doorbell section in the app.
- Adjust Motion Detection: Fine-tune the motion detection settings to your liking. You can adjust the sensitivity level and the motion detection zone to avoid unnecessary alerts.
- Set up Notifications: Customize the notification settings to receive alerts when someone is at your door. You can choose to receive push notifications, email notifications, or both.
- Explore Recording Options: Wyze offers cloud storage for recorded videos for an additional fee. If you’re interested in this feature, explore the recording options in the app and follow the prompts to set it up.
- Review Privacy Settings: Take some time to review and understand the privacy settings. Wyze Doorbell allows you to disable the camera and microphone when needed for privacy.
- Enable Additional Features: The Wyze app may offer additional features for your doorbell, such as integrations with other smart devices or scheduling options. Explore these features and enable them if desired.
- Experiment and Customize: Play around with the various settings and features to find what works best for you. Each user may have unique preferences, so customize the doorbell according to your needs.
By adjusting the settings and customizing the features of the Wyze Doorbell, you can optimize its performance and tailor it to meet your specific requirements. Take some time to explore and experiment with the options available in the Wyze app.
Congratulations! You have successfully installed, connected, tested, and customized your Wyze Doorbell. You can now enjoy the convenience and security it brings to your home. If you have any questions or further assistance, refer to the Wyze Doorbell documentation or reach out to their customer support.
Thank you for choosing the Wyze Doorbell as part of your smart home setup. Enjoy your new smart doorbell experience!
Conclusion
Installing the Wyze Doorbell is a great way to enhance the security and convenience of your home. By following the step-by-step guide in this article, you have successfully learned how to mount the doorbell, wire it, connect it to the app, test its functionality, and customize its features. You now have a smart doorbell that allows you to monitor your front door, receive notifications, and communicate with visitors through your smartphone or tablet.
The Wyze Doorbell offers impressive features like high-definition camera quality, two-way audio communication, and easy integration with the Wyze app. It provides you with peace of mind and a sense of control over your home’s security. Whether you’re at home or on the go, you can stay connected to your front door and easily manage visitor interactions.
Remember to periodically check and update the settings of your Wyze Doorbell as your needs may change over time. By fine-tuning the motion detection, adjusting notifications, and exploring additional features, you can personalize the doorbell to suit your preferences.
If you ever need assistance or have any questions, refer to the documentation provided by Wyze or reach out to their customer support. They are dedicated to helping customers make the most of their smart doorbell experience.
Thank you for choosing the Wyze Doorbell as your smart home solution. Enjoy the added security and convenience it brings to your front door. With the Wyze Doorbell, you can always stay connected and in control of your home’s entrance!
Now that you've mastered installing your Wyze Doorbell, why not step up your home's tech game even more? Our next guide covers the latest in home automation, perfect for those looking to streamline their daily routines and boost home efficiency. From voice-activated devices to automated security systems, we've rounded up the must-have technologies that are set to transform living spaces in 2024. Don't miss out on these exciting advancements; check out our detailed review to make your home smarter and your life easier.
Frequently Asked Questions about How To Install Wyze Doorbell
Was this page helpful?
At Storables.com, we guarantee accurate and reliable information. Our content, validated by Expert Board Contributors, is crafted following stringent Editorial Policies. We're committed to providing you with well-researched, expert-backed insights for all your informational needs.
0 thoughts on “How To Install Wyze Doorbell”