Home>Furniture>Bedroom Furniture>How To Assemble A Nectar Bed Frame

Bedroom Furniture
How To Assemble A Nectar Bed Frame
Modified: May 6, 2024
Learn how to easily assemble a Nectar bed frame and create the perfect bedroom furniture setup. Step-by-step instructions and tips for a hassle-free experience.
(Many of the links in this article redirect to a specific reviewed product. Your purchase of these products through affiliate links helps to generate commission for Storables.com, at no extra cost. Learn more)
Introduction
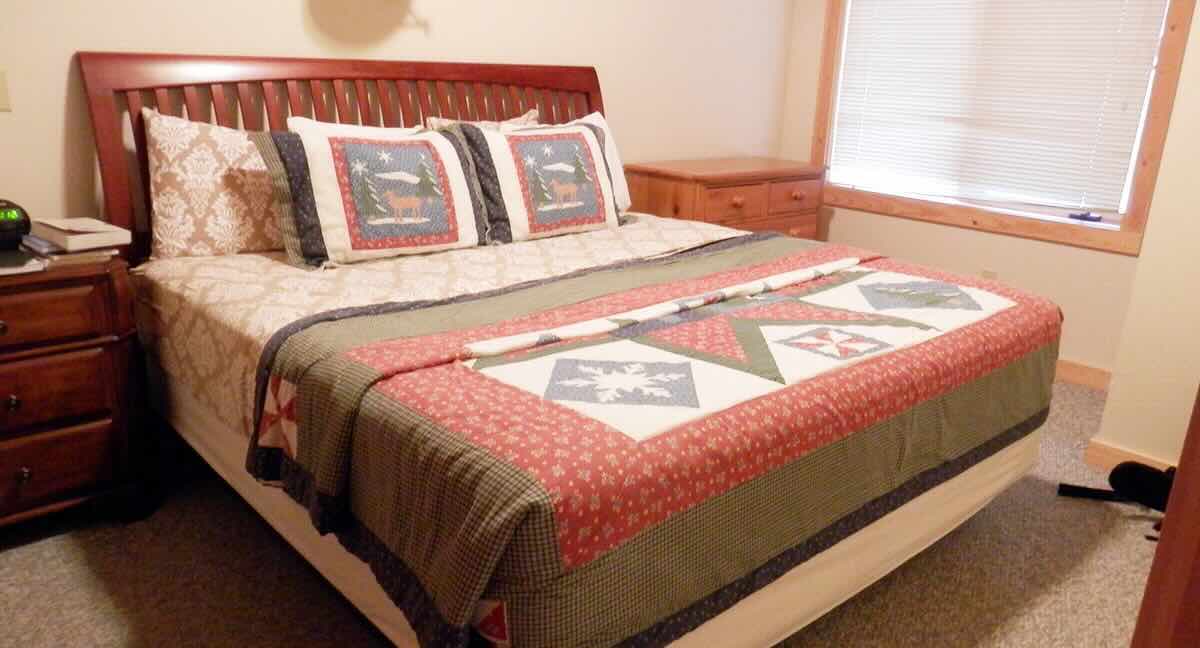
When it comes to creating a comfortable and inviting bedroom, the right furniture plays a crucial role. Among the various pieces of bedroom furniture, the bed frame is arguably the most essential. A sturdy and well-assembled bed frame not only elevates the aesthetics of the room but also provides the necessary support for a good night’s sleep.
If you have recently purchased a Nectar bed frame or are planning to do so, knowing how to assemble it properly is vital. Not only will this ensure that your bed is solid and stable, but it will also help you avoid any potential issues in the future.
In this guide, we will walk you through the step-by-step process of assembling a Nectar bed frame. We will discuss the tools and materials you’ll need, as well as provide clear instructions on each stage of the assembly. So, let’s get started and transform your bedroom into a cozy haven!
Key Takeaways:
- Assembling a Nectar bed frame requires careful unboxing, identifying components, and securing connections. Proper alignment and stability checks ensure a reliable and comfortable sleep surface.
- Regular maintenance, including tightening screws and checking for stability, is essential for the longevity of your Nectar bed frame. Enjoy a restful night’s sleep on your well-assembled foundation!
Read more: How To Assemble A Bed Frame
Tools and Materials Needed
Before you begin assembling your Nectar bed frame, it’s important to gather all the necessary tools and materials. Here’s a list of items you’ll need:
- Allen wrench or Hex key: This tool will be used to tighten the various screws and bolts.
- Phillips head screwdriver: Some components may require a screwdriver to secure them in place.
- Rubber mallet or hammer: This will come in handy for gently tapping pieces together or adjusting the frame.
- Tape measure: It’s helpful to have a tape measure on hand to ensure the frame is aligned correctly.
- Level: A level will help you confirm that the frame is horizontally balanced.
- Pliers: In case you need to tighten or loosen any nuts or bolts during the assembly process.
- Protective gloves: It’s always a good idea to wear gloves to protect your hands from any sharp edges or potential injuries.
- Step ladder: If your bed frame has a high headboard or requires reaching elevated areas, a step ladder will make the process easier and safer.
Aside from the tools, you will also need the following materials:
- Nectar bed frame components: Ensure that you have all the components included with your purchase, such as side rails, support beams, slats, and hardware.
- User manual: Carefully read the provided user manual or assembly instructions that came with your bed frame. This will provide specific guidance tailored to your Nectar bed frame model.
Now that you have all the tools and materials ready, let’s move on to the step-by-step process of assembling your Nectar bed frame.
Step 1: Unboxing the Bed Frame
Before you can start assembling your Nectar bed frame, you need to unbox it and ensure that all the components are present and in good condition. Follow these steps to unbox your bed frame:
- Find a suitable location: Choose a spacious area in your bedroom or a well-lit area where you can easily move around the bed frame components.
- Clear the space and protect the floor: Remove any obstacles or furniture from the area to create ample space. Additionally, consider placing a protective mat or cloth on the floor to prevent any scratches or damage during assembly.
- Open the box carefully: Use a utility knife or scissors to cut the tape or fasteners securing the box. Be cautious not to damage any components inside.
- Inspect the contents: Take a moment to go through the contents of the box and ensure that all the mentioned components are present. Check for any signs of damage or defects. If you find any issues, contact the retailer or Nectar customer service for assistance.
- Keep the packaging materials: If you plan on storing or moving the bed frame in the future, it’s advisable to keep the original packaging materials. They will provide added protection during transportation and storage.
Unboxing your bed frame sets the stage for a smooth assembly process. By carefully inspecting the components and confirming their condition, you can proceed to the next step with confidence.
Step 2: Identifying the Frame Components
Once you have unboxed your Nectar bed frame, it’s time to familiarize yourself with the various components. By identifying and understanding each part, you’ll have a better grasp of the assembly process. Here are the main components you will typically find:
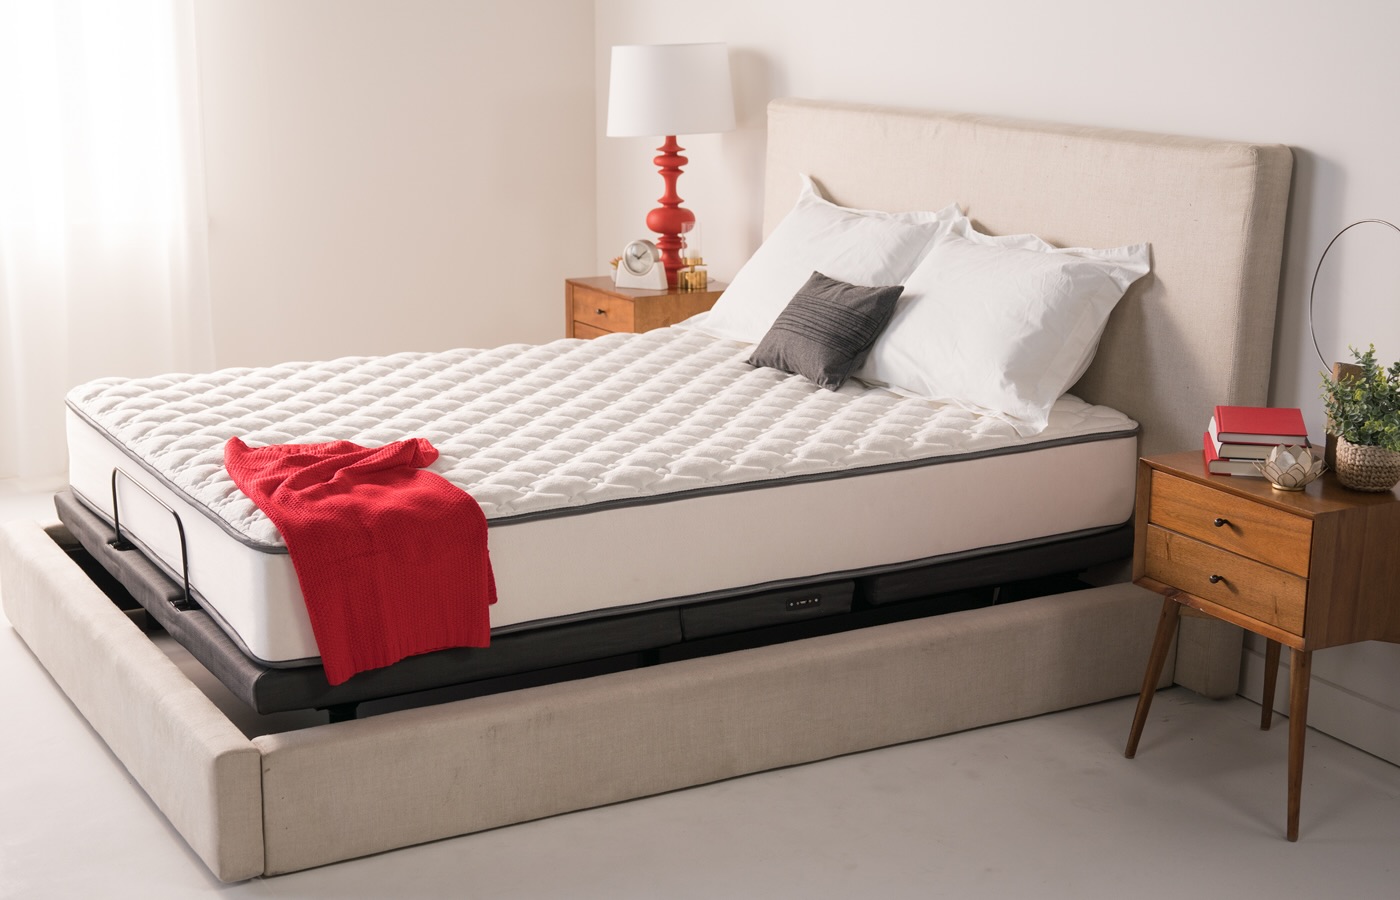
- Side rails: These are the long horizontal bars that run parallel to the headboard and footboard. They provide the main support for the mattress and box spring.
- Headboard and footboard: These are the vertical panels at the head and foot of the bed. They add stability, style, and serve as decorative elements.
- Support beams: These are the additional bars that attach to the side rails in the middle of the bed frame. They ensure proper weight distribution and prevent sagging.
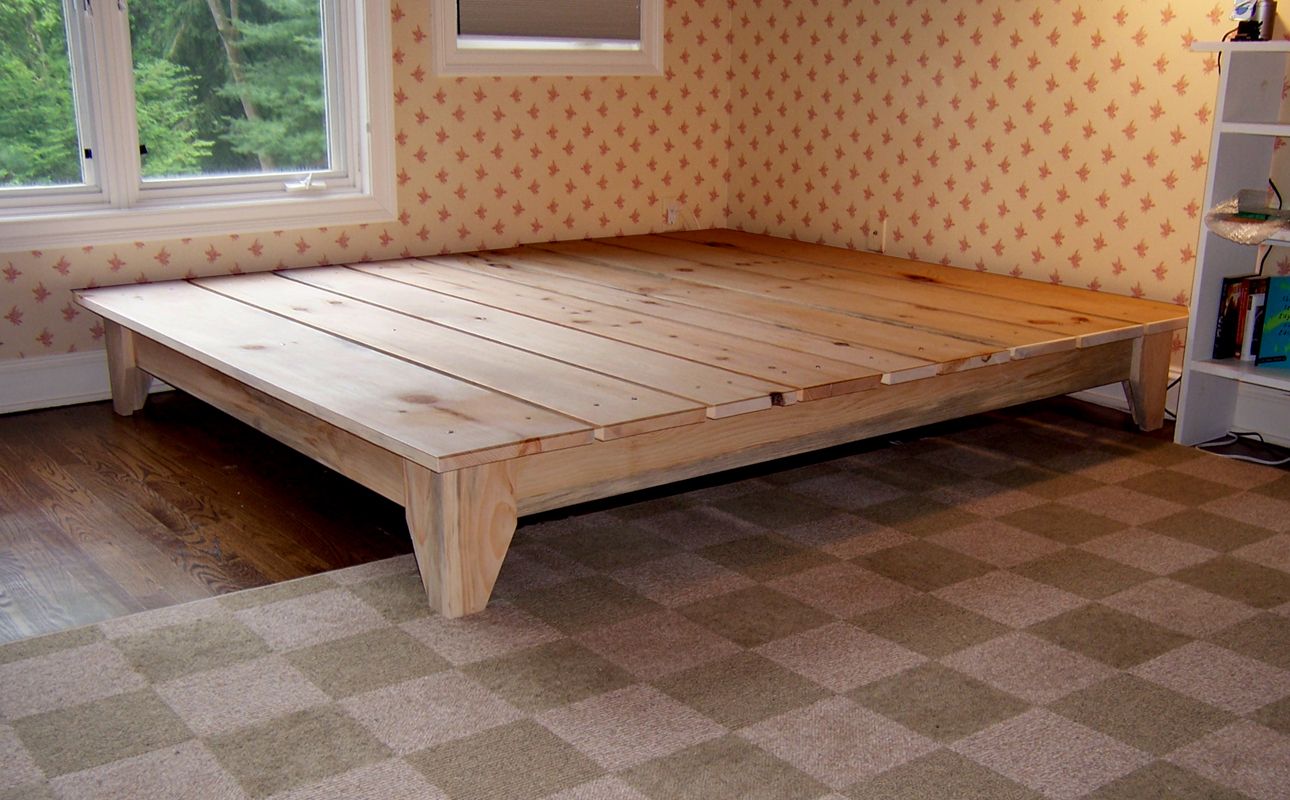
- Slats: These are the wooden or metal bars that span across the width of the bed frame. They provide additional support for the mattress and help distribute weight evenly.
- Hardware: This includes screws, bolts, and other fasteners required to connect the various components. Refer to the user manual or assembly instructions to identify specific hardware pieces.
Take a close look at each component and study how they fit together. Pay attention to any pre-drilled holes, markings, or labels that indicate their positioning during the assembly process. This step will ensure that you have a clear understanding of the bed frame’s structure and help you proceed with ease.
Once you have identified the frame components, you are ready to move on to the next step: attaching the side rails.
Step 3: Attaching the Side Rails
With the components identified, it’s time to start assembling your Nectar bed frame. The first step in the assembly process is attaching the side rails. The side rails are the long horizontal bars that will serve as the main support for your mattress and box spring. Follow these instructions to securely attach the side rails:
- Position the headboard and footboard: Lay the headboard and footboard vertically and parallel to each other, ensuring that the holes for attaching the side rails are facing inward.
- Slide the side rails into place: Take one of the side rails and slide it into the holes on one side of the headboard and footboard. Make sure the rail is aligned properly and securely inserted.
- Attach the side rail: Using the provided screws and the appropriate tool (usually an Allen wrench or Hex key), tighten the screws through the pre-drilled holes in the side rail and into the corresponding holes in the headboard and footboard. Repeat this process for the other side rail, ensuring a balanced and symmetrical assembly.
- Check for stability: Once both side rails are attached, gently wiggle the frame to ensure it feels stable and secure. If there is any wobbling or looseness, double-check that all screws are tightened properly.
Attaching the side rails is a critical step in the assembly process, as it forms the base structure of your bed frame. Take your time to ensure that the rails are aligned properly and securely fastened. With the side rails in place, you can now move on to the next step: installing the middle support beams.
Read more: How To Assemble A Metal Bed Frame
Step 4: Installing the Middle Support Beams
After securely attaching the side rails, the next step in assembling your Nectar bed frame is installing the middle support beams. These beams provide additional support and stability to prevent sagging of your mattress and ensure a comfortable sleep experience. Follow these instructions to correctly install the middle support beams:
- Identify the middle support beams: Locate the metal or wooden beams that are included with your Nectar bed frame. These beams are typically shorter in length and are designed to fit between the side rails.
- Position the support beams: Place the middle support beams evenly across the width of the bed frame, ensuring that they are centered between the headboard and footboard.
- Attach the support beams to the side rails: Using the provided screws and the appropriate tool, secure the support beams to the side rails. Ensure that the screws are tightened properly to ensure a sturdy connection.
- Double-check alignment: Once all the support beams are attached, double-check their alignment to make sure they are straight and evenly spaced. Make any necessary adjustments if needed.
Installing the middle support beams is crucial for maintaining the structural integrity of your bed frame. These beams distribute the weight of the mattress and enhance its overall support. It’s important to follow the instructions carefully and ensure a secure attachment of the beams to the side rails.
With the middle support beams in place, you can now proceed to the next step: attaching the headboard and footboard.
When assembling a Nectar bed frame, make sure to carefully follow the instructions provided in the manual to ensure proper assembly and avoid any potential issues with the frame.
Step 5: Attaching the Headboard and Footboard
Now that the side rails and middle support beams are securely in place, it’s time to attach the headboard and footboard to complete the assembly of your Nectar bed frame. The headboard and footboard not only add visual appeal to your bed but also provide additional stability. Follow these instructions to properly attach the headboard and footboard:
- Position the headboard and footboard: Carefully position the headboard and footboard at the appropriate ends of the bed frame. Align the holes on the headboard and footboard with the corresponding holes on the side rails.
- Attach the headboard and footboard: Insert the screws provided into the pre-drilled holes on the headboard and footboard, and tighten them securely into the corresponding holes on the side rails. Use the appropriate tool to ensure a tight fit.
- Double-check alignment: After attaching the headboard and footboard, double-check that they are level and aligned properly. Make any necessary adjustments to ensure a symmetrical and visually appealing look.
- Confirm stability: Gently shake the bed frame to check for stability. If there is any wobbling or loose connections, tighten the screws further to ensure a secure fit.
Attaching the headboard and footboard is an important step in completing the assembly of your Nectar bed frame. Take your time to ensure that the screws are tightened securely and that the headboard and footboard are aligned properly. With the headboard and footboard in place, you are now ready to move on to the next step: attaching the slats.
Step 6: Attaching the Slats
Attaching the slats is a crucial step in the assembly of your Nectar bed frame as they provide crucial support for your mattress. Follow these instructions to correctly attach the slats:
- Prepare the slats: Lay out the slats across the width of the bed frame, evenly spacing them apart. Ensure that they are facing the correct direction, with the curved or bowed side facing upwards.
- Position the slats: Place the first slat approximately 2-3 inches from the headboard, ensuring that it is parallel to the headboard and footboard. Align the holes on the slat with the corresponding slots or notches on the side rails.
- Attach the slats: Using the provided screws or fasteners, secure the slats to the side rails. Insert the screws through the pre-drilled holes on the slats and tighten them securely. Repeat this process for each slat, ensuring that they are evenly spaced across the bed frame.
- Double-check alignment and stability: After attaching all the slats, double-check their alignment to ensure they are straight and evenly spaced. Gently shake the bed frame to confirm its stability. Make any necessary adjustments or tighten any loose screws.
Properly attaching the slats is crucial for ensuring adequate support for your mattress. Take your time to align and secure each slat to prevent sagging and uneven weight distribution. Once the slats are securely in place, you can proceed to the next step: adjusting for proper alignment.
Step 7: Adjusting for Proper Alignment
Once you have attached the slats, it’s important to make any necessary adjustments to ensure that your Nectar bed frame is properly aligned. Proper alignment not only enhances the aesthetics of the bed but also promotes stability and comfort. Follow these instructions to adjust for proper alignment:
- Check for levelness: Use a level to ensure that the bed frame is horizontally level. Adjust the height of the side rails or support beams if necessary to achieve a balanced position.
- Confirm symmetry: Step back and visually assess the bed frame to ensure that it looks symmetrical from all angles. Make any adjustments to the positioning of the components to achieve a visually pleasing appearance.
- Measure dimensions: Use a tape measure to confirm the dimensions of the bed frame, especially if you have specific requirements for mattress size. Adjust the slats, support beams, or side rails as needed to ensure the proper dimensions.
Proper alignment is crucial to ensure that your Nectar bed frame provides optimal support and stability. Taking the time to make these adjustments will ensure that your mattress rests comfortably on the frame and maintains its shape and longevity.
With the bed frame properly aligned, it’s time to move on to the next step: securing the frame.
Read more: How To Assemble A Wooden Bed Frame
Step 8: Securing the Frame
Securing your Nectar bed frame is an essential step to ensure its stability and durability. By properly securing the frame, you will minimize any movement or potential squeaking noises. Follow these instructions to securely fasten your bed frame:
- Tighten all screws and bolts: Using the appropriate tool, go through the entire bed frame and tighten all screws and bolts. Start from the headboard and footboard, then move to the side rails and support beams. Ensure that everything is securely fastened.
- Check for excessive movement: Gently shake the bed frame to check for any excessive movement or wobbling. If you notice any, tighten the screws or bolts further to eliminate any looseness.
- Inspect connections: In a thorough manner, inspect all the connections of your bed frame. Ensure that no screws or bolts have become loose during the assembly process. If you find any loose connections, tighten them immediately.
- Reinforce if necessary: If you desire additional stability, consider using brackets or corner braces to reinforce the connections between the various components of the bed frame. This will provide extra support and minimize any potential movement.
By taking the time to securely fasten your Nectar bed frame, you can enjoy a solid and stable sleep surface. Regularly check and tighten the screws and bolts to maintain the stability of the frame over time.
With the frame securely fastened, you are ready for the final step: checking for stability.
Step 9: Checking for Stability
After completing the assembly and securing of your Nectar bed frame, it’s important to perform a thorough stability check. This step ensures that your bed frame is solid and will provide a reliable base for your mattress. Follow these instructions to check for stability:
- Apply gentle pressure: Apply light pressure from various angles on the bed frame. Lean against the headboard, footboard, and sides to test for any excessive movement or swaying. A stable frame should provide a firm and secure feel.
- Listen for any noises: Gently shake the bed frame and listen for any squeaks, creaks, or other noises. If you hear any unusual sounds, investigate the source and tighten any loose connections or lubricate any squeaky parts.
- Test weight distribution: Sit or lie down on different areas of the bed frame to test for weight distribution. Make sure there are no noticeable dips or unevenness that could affect your comfort or the longevity of your mattress.
- Check for floor protection: Ensure that the bed frame components, such as the feet or base, are equipped with proper floor protection. This will prevent any damage to your flooring and keep the bed frame in place.
By performing these stability checks, you can rest assured that your Nectar bed frame is safe, sturdy, and capable of supporting your mattress and providing a comfortable sleep experience.
Congratulations! You have successfully completed the assembly and stability check of your Nectar bed frame. Now you can enjoy a restful night’s sleep on a reliable and well-assembled bed.
Conclusion
Congratulations on successfully assembling your Nectar bed frame! By following the step-by-step instructions provided in this guide, you have created a sturdy and reliable foundation for your mattress. Now, you can enjoy a comfortable and restful sleep every night.
Remember, proper assembly is crucial for the longevity and stability of your bed frame. Take the time to gather the necessary tools and materials, carefully unbox and identify the components, and follow the instructions for each step. By doing so, you have ensured that your bed frame is solid, secure, and capable of providing the support your mattress needs.
Regularly inspect and maintain your bed frame to keep it in optimal condition. Periodically check for loose screws or bolts and tighten them as needed. Lubricate any moving parts to prevent squeaks, and address any issues promptly to prevent further damage.
As you enjoy your newly assembled Nectar bed frame, don’t forget to personalize your sleeping space with pillows, bedding, and decor that reflects your unique style and creates a cozy atmosphere. With a well-assembled bed frame and a comfortable sleep environment, you’ll be well on your way to experiencing nights of peaceful slumber.
We hope this guide has been helpful in your journey towards creating the perfect bedroom. If you have any further questions or need assistance, don’t hesitate to reach out to the Nectar customer service team. Sleep well and enjoy your newly assembled bed frame!
Now that you've mastered assembling your Nectar bed frame, why not dive deeper into understanding what lies atop it? Our next article discusses Nectar mattresses in detail, ensuring you make an informed choice for optimal sleep comfort. You'll find practical advice on selecting the right mattress for your newly assembled bed frame. Don't miss out on elevating your bedroom to a sanctuary of rest and relaxation.
Frequently Asked Questions about How To Assemble A Nectar Bed Frame
Was this page helpful?
At Storables.com, we guarantee accurate and reliable information. Our content, validated by Expert Board Contributors, is crafted following stringent Editorial Policies. We're committed to providing you with well-researched, expert-backed insights for all your informational needs.


0 thoughts on “How To Assemble A Nectar Bed Frame”