Home>Furniture>Bedroom Furniture>How To Build A Tall Bed Frame
Bedroom Furniture
How To Build A Tall Bed Frame
Modified: January 6, 2024
Learn how to build a sturdy and tall bed frame for your bedroom with our step-by-step guide. Invest in quality bedroom furniture that will last for years.
(Many of the links in this article redirect to a specific reviewed product. Your purchase of these products through affiliate links helps to generate commission for Storables.com, at no extra cost. Learn more)
Introduction
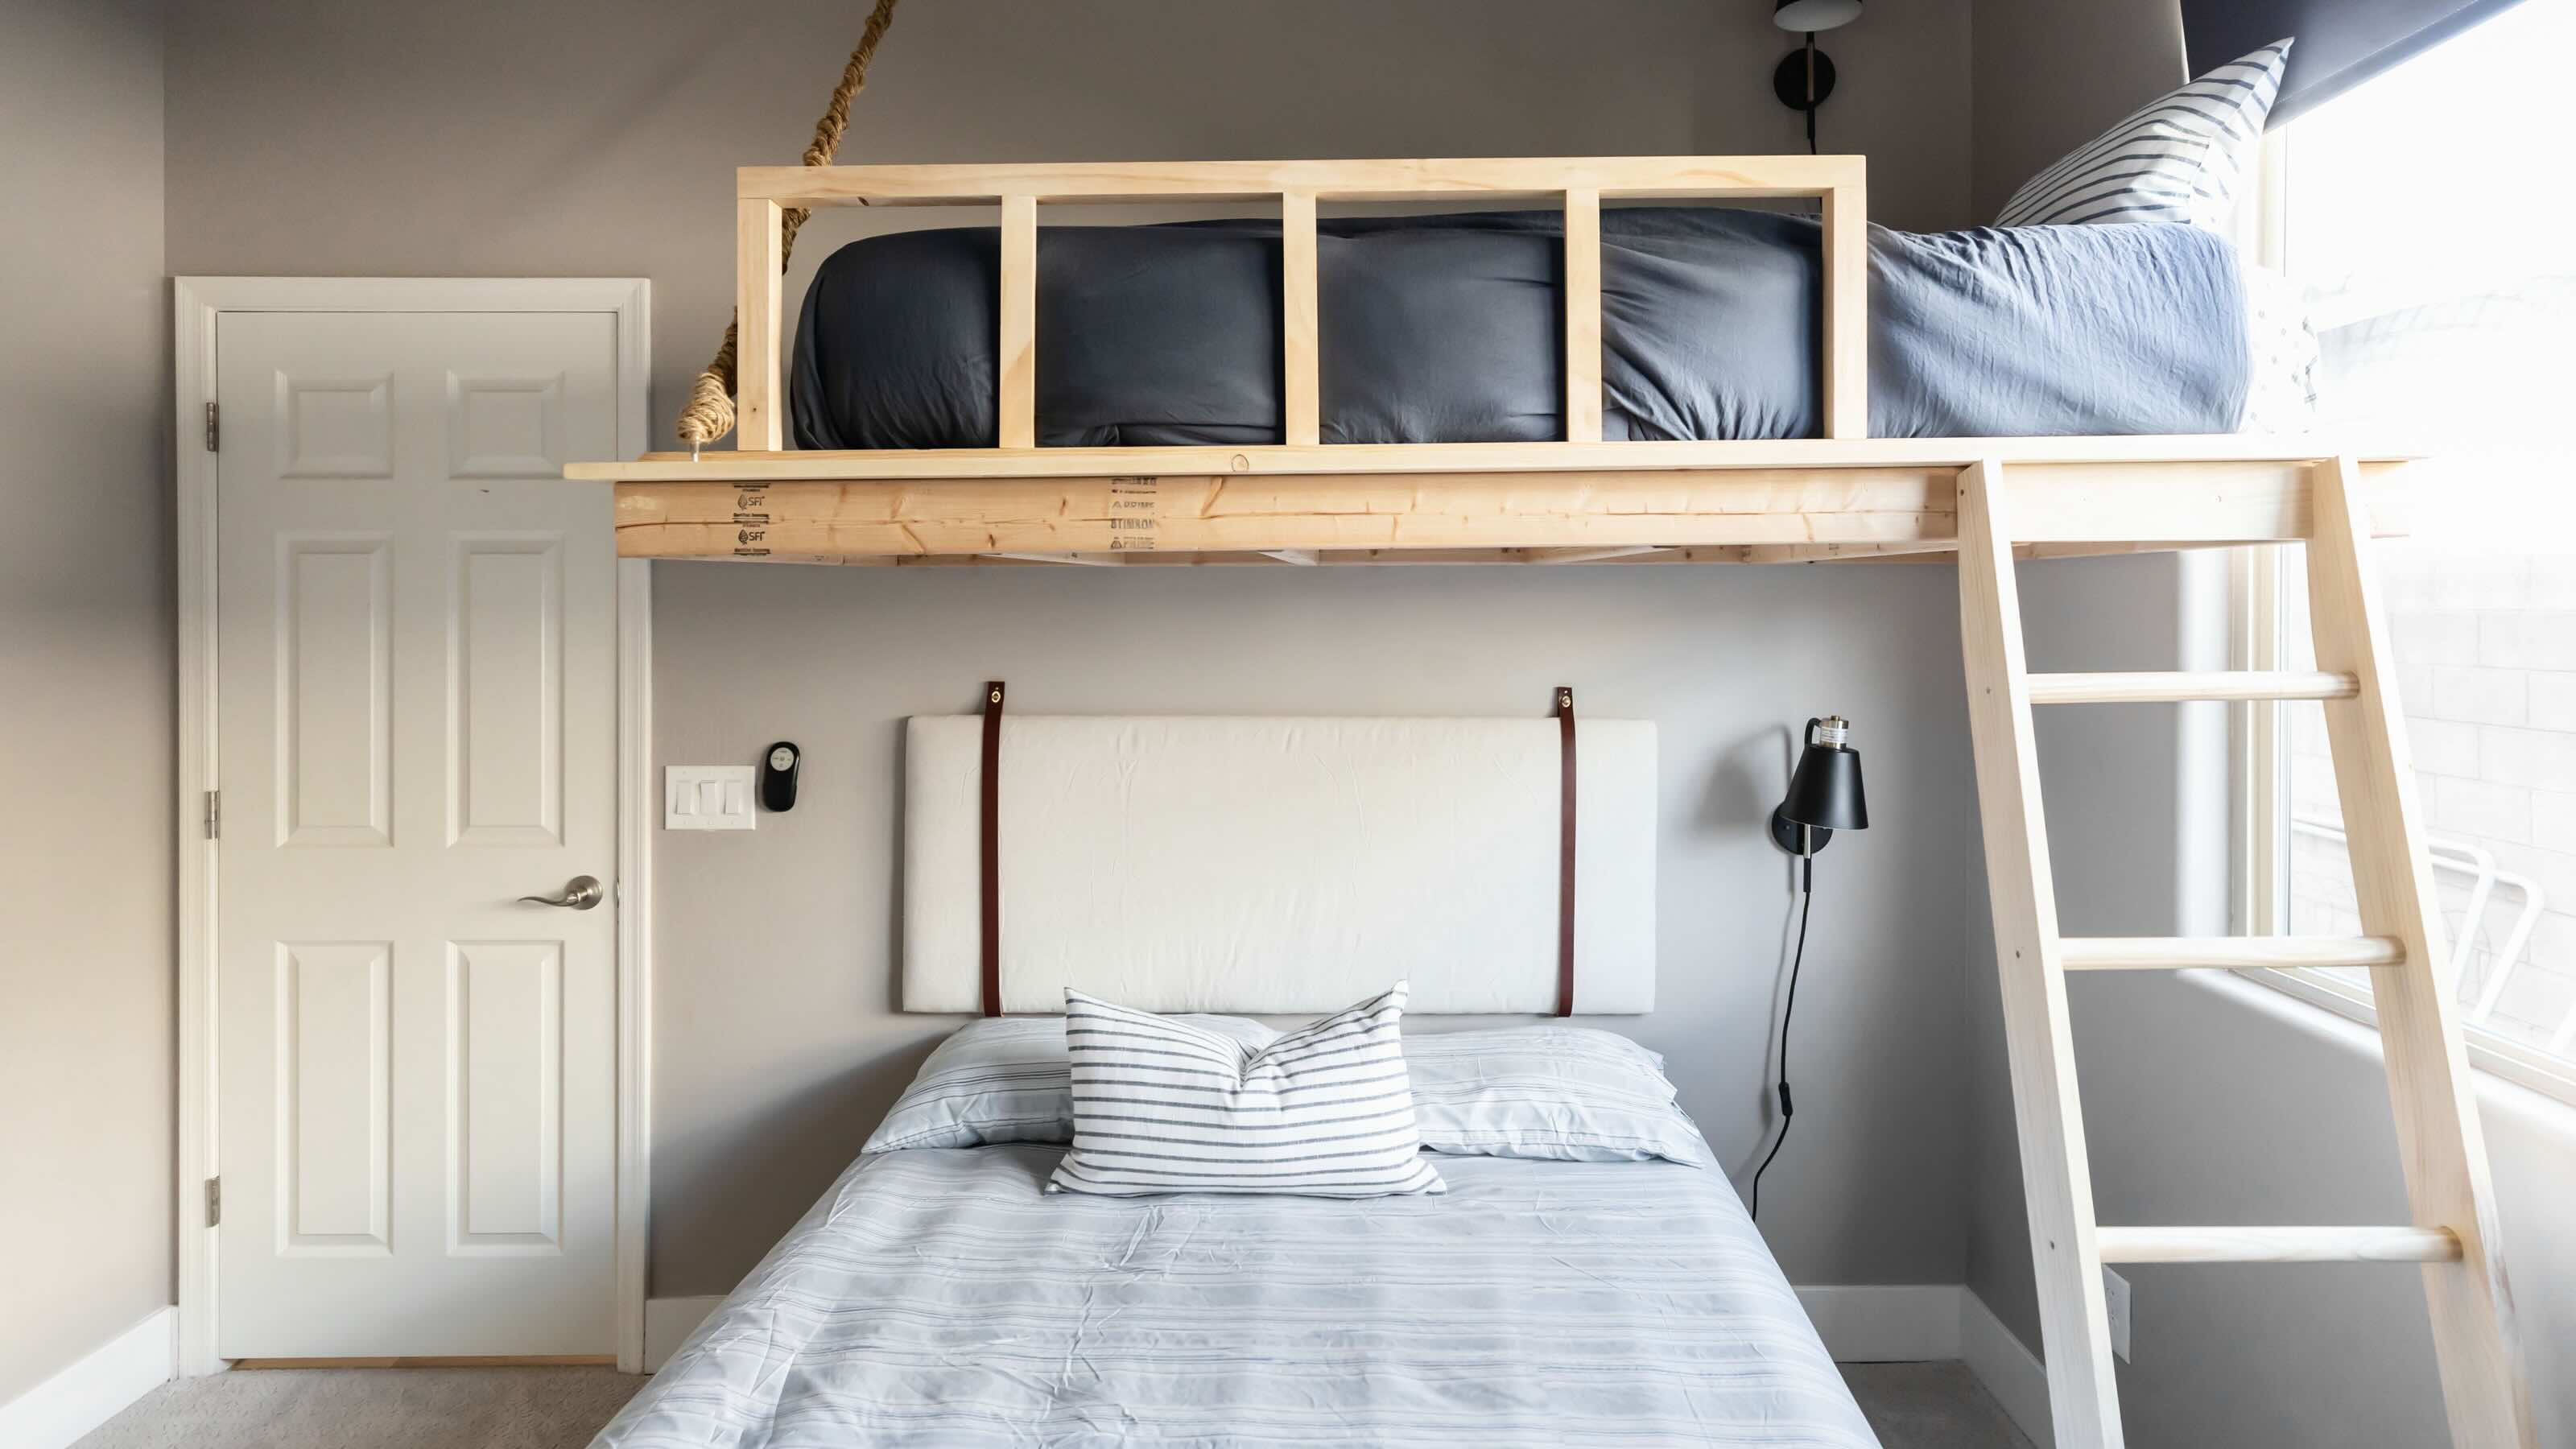
Welcome to our comprehensive guide on how to build a tall bed frame. If you’re in need of some extra storage space or simply prefer a higher bed, a tall bed frame is the perfect solution. Building your own bed frame allows you to customize the dimensions and design to suit your preferences, and it can be a rewarding and cost-effective project.
In this article, we will walk you through the step-by-step process of building a tall bed frame that is both sturdy and stylish. We will cover everything from gathering the required materials to setting up the finished bed. Whether you’re an experienced DIY enthusiast or a beginner looking to tackle your first big project, this guide will provide you with all the necessary information to successfully build your own tall bed frame.
Before we dive into the details, it’s important to note that building a bed frame involves working with tools and materials that may pose a safety risk if not handled properly. It’s essential to follow safety guidelines, wear appropriate protective gear, and exercise caution throughout the construction process. If you’re not comfortable or experienced with using power tools, it may be beneficial to seek assistance from a more experienced individual.
Now, let’s get started on building your tall bed frame!
Key Takeaways:
- Building a tall bed frame allows for customization and creativity, providing extra storage space or a higher bed. Follow safety guidelines, measure accurately, and enjoy the process of creating a functional and stylish piece of furniture.
- Adding a headboard and footboard can enhance the visual appeal of your tall bed frame, creating a personalized sleeping space. Take your time, follow the step-by-step process, and enjoy the sense of accomplishment that comes with building your own bed.
Read more: How To Build A Bed Frame
Step 1: Gather the Required Materials
Before you begin building your tall bed frame, you’ll need to gather all the necessary materials. Here’s a list of the items you’ll need:
- 2×4 lumber: This will be used for the frame and support structure of the bed. The quantity will depend on the desired dimensions of your bed frame.
- Plywood: You’ll need a sheet of plywood to create the platform for your mattress to rest on.
- Screws: Choose screws that are appropriate for the thickness of your lumber. It’s recommended to use wood screws for maximum strength.
- Drill: A power drill will make assembling the bed frame much easier and quicker.
- Saw: You’ll need a saw to cut the lumber to the desired lengths. A circular saw or a miter saw will work well for this purpose.
- Screwdriver: A screwdriver will be needed to tighten the screws and secure the components of the bed frame.
- Sandpaper: You’ll want to have sandpaper on hand to smooth any rough edges and create a finished look.
- Measuring tape: Accurate measurements are crucial for ensuring the frame is built to the correct dimensions.
- Level: A level will help ensure that your bed frame is even and balanced.
- Paint or stain (optional): If you want to add some color or enhance the appearance of your bed frame, you can choose to paint or stain the wood.
Take the time to gather all the materials before starting the construction process to avoid any delays. It’s recommended to have everything organized and easily accessible in your workspace. Having the right tools and materials on hand will make the construction process smoother and more efficient.
Once you have gathered all the required materials, you’re ready to move on to the next step: measuring and cutting the wood.
Step 2: Measure and Cut the Wood
With your materials gathered, it’s time to measure and cut the wood for your tall bed frame. Follow these steps to ensure accurate measurements and precise cuts:
- Measure the desired dimensions: Determine the length and width of your bed frame based on your mattress size and personal preferences. Make sure to account for any desired overhang or clearance around the mattress.
- Mark the measurements on the lumber: Use a measuring tape to mark the measurements on the 2×4 lumber. Double-check your measurements to ensure accuracy.
- Cut the lumber: Using a saw, carefully cut the marked pieces of lumber to the correct lengths. Take your time and ensure clean and straight cuts. Use a miter or circular saw for optimal results.
- Label the cut pieces: To avoid confusion during assembly, label each piece according to its intended location in the bed frame. This will make the construction process smoother.
- Measure and cut additional components: Depending on the design of your bed frame, you may need to measure and cut additional components, such as support beams or crossbars. Ensure they are properly sized and cut.
Remember to always prioritize safety when using power tools. Wear protective gear, such as safety glasses and gloves, and follow the manufacturer’s instructions for operating the saw.
Once you have measured and cut all the necessary pieces, you’re ready to move on to the next step, which is assembling the frame structure. Stay tuned!
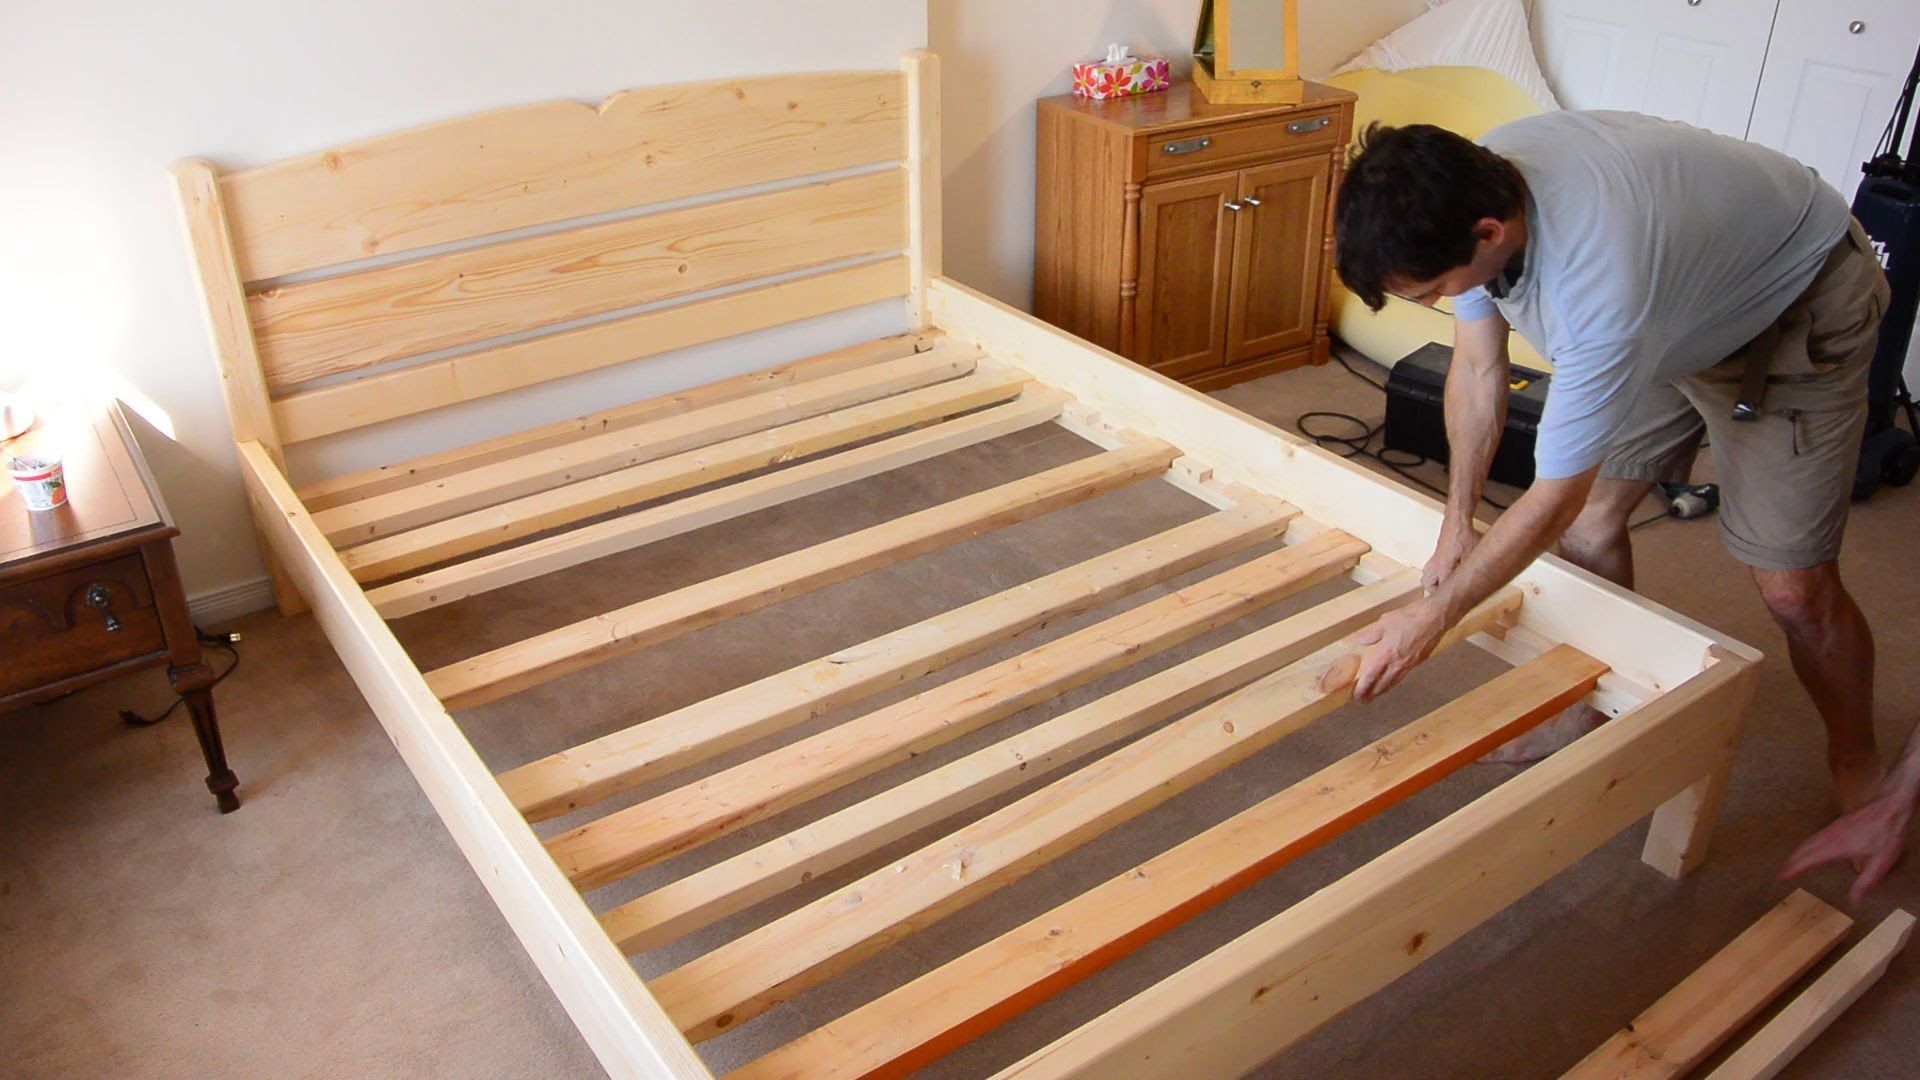
Step 3: Assemble the Frame Structure
Now that you have measured and cut the wood for your tall bed frame, it’s time to start assembling the frame structure. Follow these steps to ensure a sturdy and secure construction:
- Layout the frame pieces: Start by laying out the cut pieces of lumber in the desired configuration for your bed frame. This will give you a visual idea of how the frame will come together.
- Attach the side pieces: Take two of the longer pieces of lumber and position them vertically on the floor or work surface. Place them parallel to each other, with the appropriate spacing according to your mattress dimensions. Use a drill and screws to secure them together at the top and bottom.
- Add the crossbars: Measure the distance between the side pieces and cut crossbars to fit snugly across them. Attach the crossbars using screws, evenly spaced along the length of the side pieces. These crossbars will provide support for the plywood platform.
- Install the support beams: If you’re building a larger bed frame or want extra reinforcement, add support beams across the middle of the frame. Measure and cut the appropriate lengths of lumber for the support beams, and attach them using screws.
Make sure to use a level during the assembly process to ensure that the frame is straight and balanced. Adjust as necessary to achieve a level surface.
As you assemble the frame structure, periodically check that all screws are tightened securely. This will help prevent any wobbling or instability in the finished bed frame.
Once you have completed the assembly of the frame structure, you’re ready to move on to the next step: attaching the legs. Stay tuned!
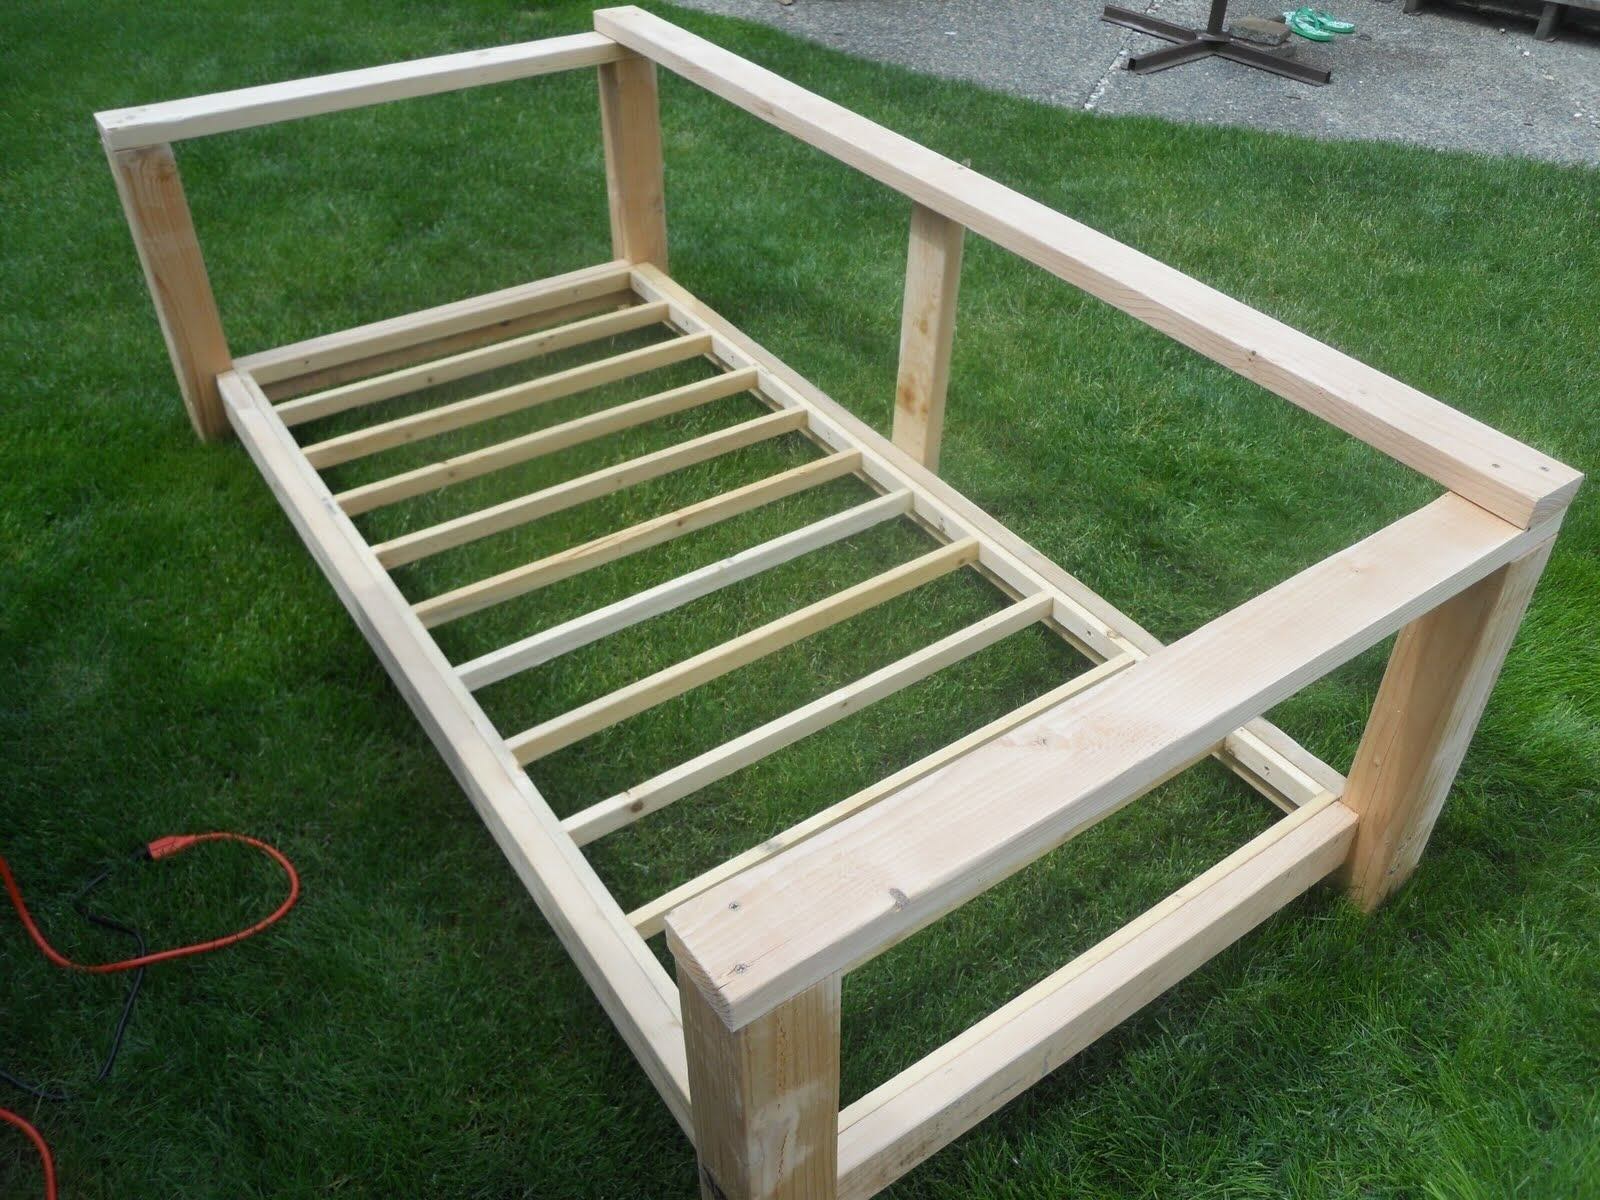
Step 4: Attach the Legs to the Frame
With the frame structure assembled, it’s time to attach the legs to the bed frame. The legs will provide stability and elevate the bed to the desired height. Follow these steps to securely attach the legs:
- Measure the desired height: Determine how high you want your bed frame to be and measure and mark that height on each of the legs. Make sure to account for any additional clearance you may need.
- Position the legs: Place the legs at the corners of the bed frame, aligning the marked height with the top of the frame structure. Ensure that they are positioned evenly and flush against the frame.
- Attach the legs: Using screws, secure the legs to the frame by driving screws through the legs and into the crossbars or support beams. Make sure the screws are long enough to go through the leg and into the frame securely.
- Check for stability: Give the bed frame a gentle shake to test its stability. If there is any wobbling or instability, reinforce the connection between the legs and the frame with additional screws or brackets.
It’s important to note that the size and type of legs you choose will depend on your personal preferences and the overall design of the bed frame. Consult with your local home improvement store or online resources for different leg options and styles.
Once the legs are securely attached, your bed frame will have gained the necessary support and elevation. In the next step, we’ll cover additional reinforcement techniques to ensure the strength and durability of your tall bed frame. Keep reading!
When building a tall bed frame, make sure to use sturdy and durable materials to support the weight of the mattress and the sleeper. Consider using thick, solid wood or metal for the frame to ensure stability and longevity.
Read more: How To Build A Pipe Bed Frame
Step 5: Reinforce the Bed Frame
Now that the legs are securely attached to the bed frame, it’s time to reinforce the structure to ensure its strength and durability. Adding reinforcements will provide extra stability and prevent the frame from sagging over time. Follow these steps to reinforce your tall bed frame:
- Add corner brackets: Install corner brackets at each corner of the bed frame where the legs meet the side and crossbars. These brackets will provide additional support and help prevent any wobbling or shifting of the frame. Secure them with screws or nails.
- Add center supports: For extra reinforcement, consider adding center supports that run from the crossbars or support beams to the center of the bed frame. These supports will distribute the weight evenly and further prevent sagging. Measure and cut the appropriate lengths of lumber and attach them securely to the frame using screws.
- Use diagonal bracing: If you want to enhance the stability of the bed frame, consider adding diagonal bracing. Measure and cut diagonal pieces of lumber that will span from the top of the legs to the opposite side of the frame. Attach the diagonal braces securely using screws or brackets. This will help prevent any side-to-side movement of the bed frame.
- Check for any loose connections: Before proceeding to the next step, give the bed frame another shake to identify any loose connections. Tighten any screws or nails that may have come loose during the reinforcement process.
By reinforcing the bed frame, you’ll ensure that it can support the weight of the mattress and occupants without any issues. This step is especially important for taller bed frames that require additional strength and stability.
Once you have completed reinforcing the bed frame, you’re ready to move on to the next step: sanding and finishing. We’ll cover those steps in the following section. Keep reading!
Step 6: Sand and Finish the Bed Frame
With the bed frame structure and reinforcements in place, it’s time to sand and finish the wood to create a smooth and polished appearance. Follow these steps to achieve a professional-looking finish:
- Sand the surfaces: Start by sanding all the visible surfaces of the bed frame. Use sandpaper, starting with a coarse grit (around 80 or 100) and gradually move to finer grits (around 220 or 320). Sand in the direction of the wood grain to avoid scratches.
- Smooth the edges: Pay attention to the edges and corners of the bed frame. Use sandpaper or a sanding block to smooth any rough or sharp edges. This will make the frame more comfortable to touch and handle.
- Clean the wood: After sanding, wipe down the bed frame with a damp cloth to remove any dust or debris. Allow the wood to dry completely before proceeding to the next step.
- Apply wood finish (optional): If desired, you can apply a wood finish to enhance the appearance of the bed frame. There are various options available, such as paint, stain, or clear coat. Follow the manufacturer’s instructions for the specific product you choose.
- Allow the finish to dry: Give the applied finish sufficient time to dry according to the manufacturer’s instructions. This will ensure that the finish properly adheres to the wood and provides the desired look.
Sanding and finishing the bed frame will not only improve its aesthetic appeal but also protect the wood from wear and tear. The type of finish you choose will depend on your personal preferences and the overall style of your bedroom.
Once the finish has dried, your bed frame is almost complete. In the next step, we’ll discuss the optional addition of a headboard and footboard to further enhance the design. Continue reading to learn more!
Step 7: Optional – Add Headboard and Footboard
If you’re looking to add a touch of style and elegance to your bed frame, consider including a headboard and footboard. These optional additions can transform the overall look of your bed and create a focal point in your bedroom. Follow these steps to add a headboard and footboard to your tall bed frame:
- Measure and cut the headboard and footboard: Determine the desired height and width of your headboard and footboard. Measure and cut the appropriate piece of plywood or solid wood to create the desired shape and dimensions. You can use a jigsaw or circular saw to cut the wood.
- Sand and finish the headboard and footboard: Just like the rest of the bed frame, sand and finish the headboard and footboard to your desired style. Apply any paint, stain, or clear coat that matches the overall aesthetic of your bedroom.
- Attach the headboard and footboard: Position the headboard and footboard where you want them to be attached to the bed frame. Use screws or brackets to secure them to the frame. Make sure they are aligned properly and securely fastened.
- Consider additional decorative elements: Depending on your design preferences, you can add additional decorative elements to the headboard and footboard, such as upholstery, trim, or decorative hardware. These details can add a personalized touch to your bed frame.
The addition of a headboard and footboard can make a significant impact on the overall aesthetic of your bed. They can provide extra support, create a sense of style, and act as a backdrop for decorative elements like pillows and throws.
With the headboard and footboard attached, your tall bed frame is now complete. In the next step, we’ll cover how to set up the bed and make it ready for use. Keep reading to learn more!
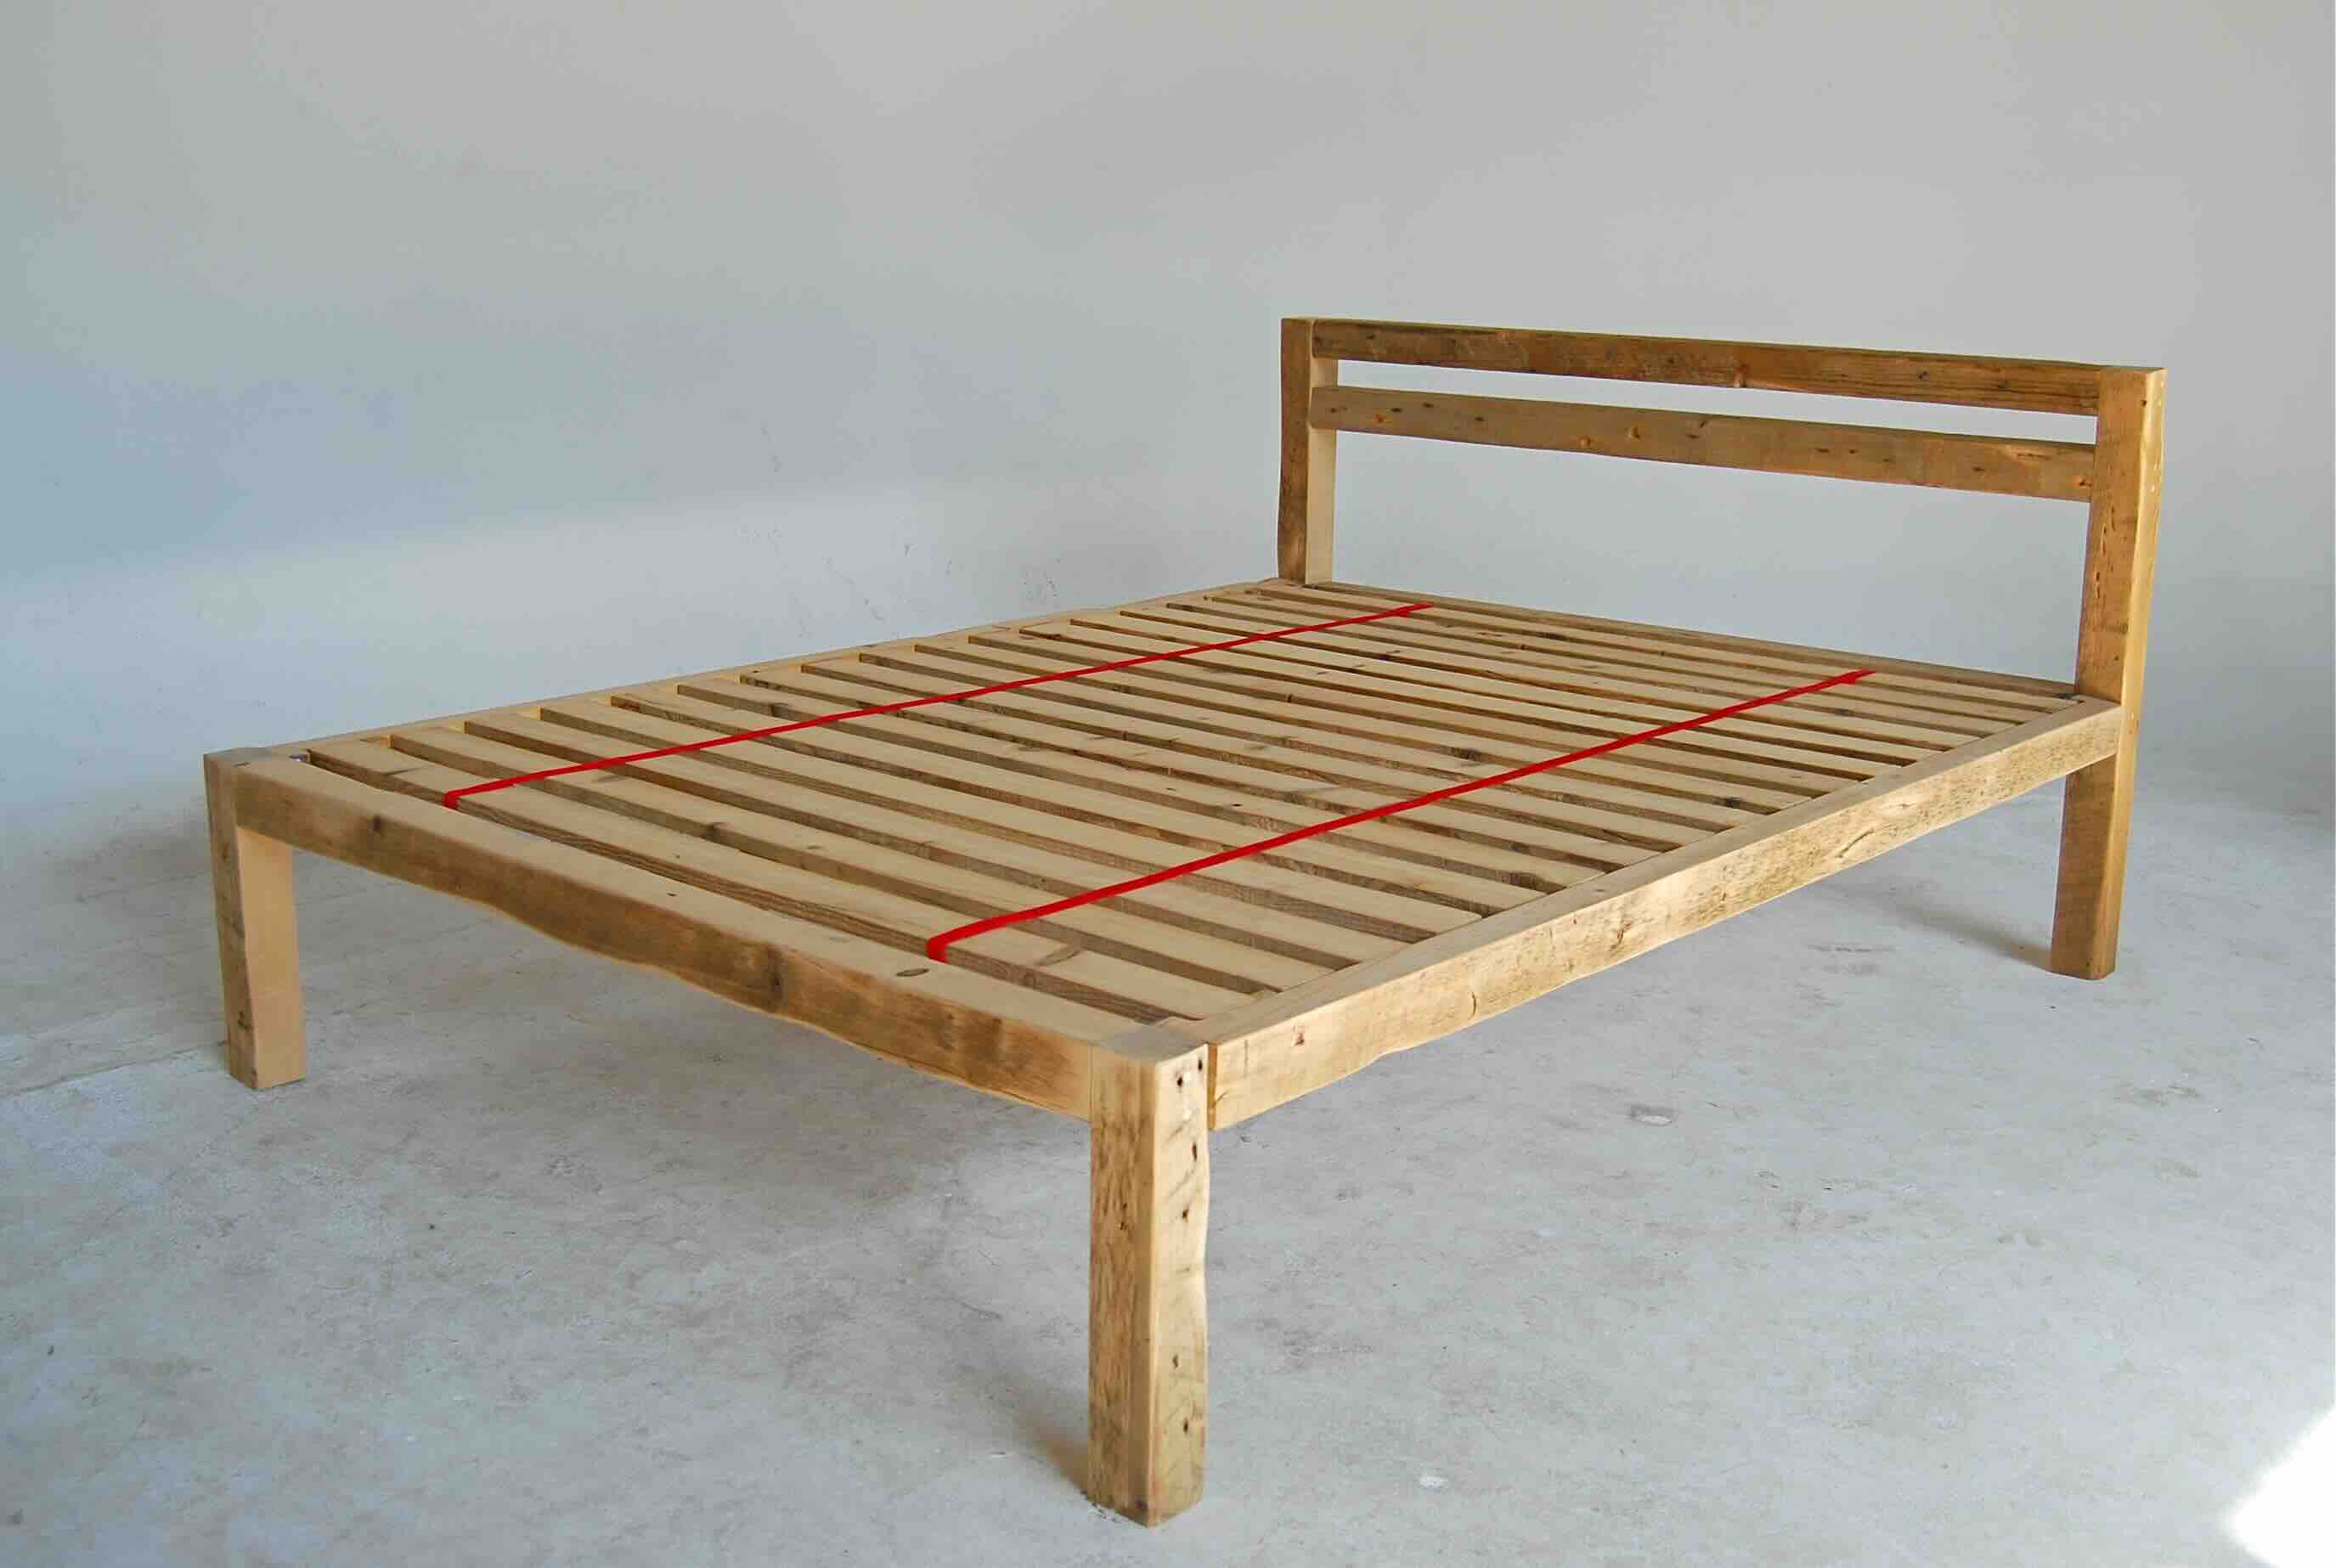
Step 8: Set Up the Bed
Congratulations! You’ve reached the final step of building your tall bed frame. Now it’s time to set up the bed and make it ready for use. Follow these steps to complete the process:
- Place the plywood platform: Carefully position the plywood platform on top of the support beams or crossbars of the bed frame. Make sure it is centered and aligned properly.
- Secure the plywood: To prevent any shifting or movement of the plywood, use screws or nails to secure it to the frame. Place the fasteners along the edges, spacing them evenly around the perimeter.
- Add the mattress: Once the plywood is securely in place, add your desired mattress on top of it. Adjust the mattress to ensure it is centered and fits within the dimensions of the frame.
- Add bedding and accessories: Dress up your bed with your favorite bedding, pillows, and decorative accessories. This is where the personal touch comes in, allowing you to create a cozy and inviting sleeping space.
- Test the bed stability: Give the bed a gentle shake to ensure it is stable and secure. If you notice any wobbling or instability, double-check the connections and tighten any loose screws or fasteners.
Once you have completed these steps, your tall bed frame is officially set up and ready to be enjoyed. Take a moment to admire your handiwork and enjoy a well-deserved good night’s sleep in your newly constructed bed.
Remember, building your own bed frame allows you to customize the design and dimensions according to your preferences. Enjoy the sense of accomplishment that comes with creating a functional and beautiful piece of furniture with your own hands.
Thank you for following our comprehensive guide on how to build a tall bed frame. We hope this step-by-step process has been helpful and inspiring. Happy sleeping!
Read more: How To Build A Bunk Bed Frame
Conclusion
Building your own tall bed frame can be a rewarding and fulfilling project that allows you to create a customized piece of furniture that suits your needs and personal style. Throughout this comprehensive guide, we have walked you through the step-by-step process of building a tall bed frame, from gathering the required materials to setting up the finished bed. By following these steps, you can create a sturdy and stylish bed frame that will provide you with years of comfort and enjoyment.
Remember, safety should always be a priority when working with tools and materials. Follow proper safety guidelines, wear protective gear, and exercise caution throughout the construction process.
With each step, we have emphasized the importance of precision, measurement, and attention to detail. Whether you’re a seasoned DIY enthusiast or a beginner, taking the time to measure accurately, cut precisely, and assemble securely will ensure the strength and stability of your bed frame.
Furthermore, we’ve discussed the option of adding a headboard and footboard to enhance the visual appeal of your bed frame. These optional additions can add a touch of style and personalization to your sleeping space.
We hope that this guide has provided you with valuable insights and inspiration to embark on your own bed frame building journey. Remember to plan ahead, take your time, and enjoy the process of creating something unique and functional.
Thank you for joining us on this adventure. Here’s to many restful nights in your newly constructed tall bed frame!
Frequently Asked Questions about How To Build A Tall Bed Frame
Was this page helpful?
At Storables.com, we guarantee accurate and reliable information. Our content, validated by Expert Board Contributors, is crafted following stringent Editorial Policies. We're committed to providing you with well-researched, expert-backed insights for all your informational needs.


0 thoughts on “How To Build A Tall Bed Frame”