Home>Furniture>Bedroom Furniture>How To Disassemble A Wedge Lock Bed Frame
Bedroom Furniture
How To Disassemble A Wedge Lock Bed Frame
Modified: December 7, 2023
Learn how to easily disassemble a wedge lock bed frame in your bedroom. The ultimate guide to disassembling your bedroom furniture for easy moving or storage.
(Many of the links in this article redirect to a specific reviewed product. Your purchase of these products through affiliate links helps to generate commission for Storables.com, at no extra cost. Learn more)
Introduction
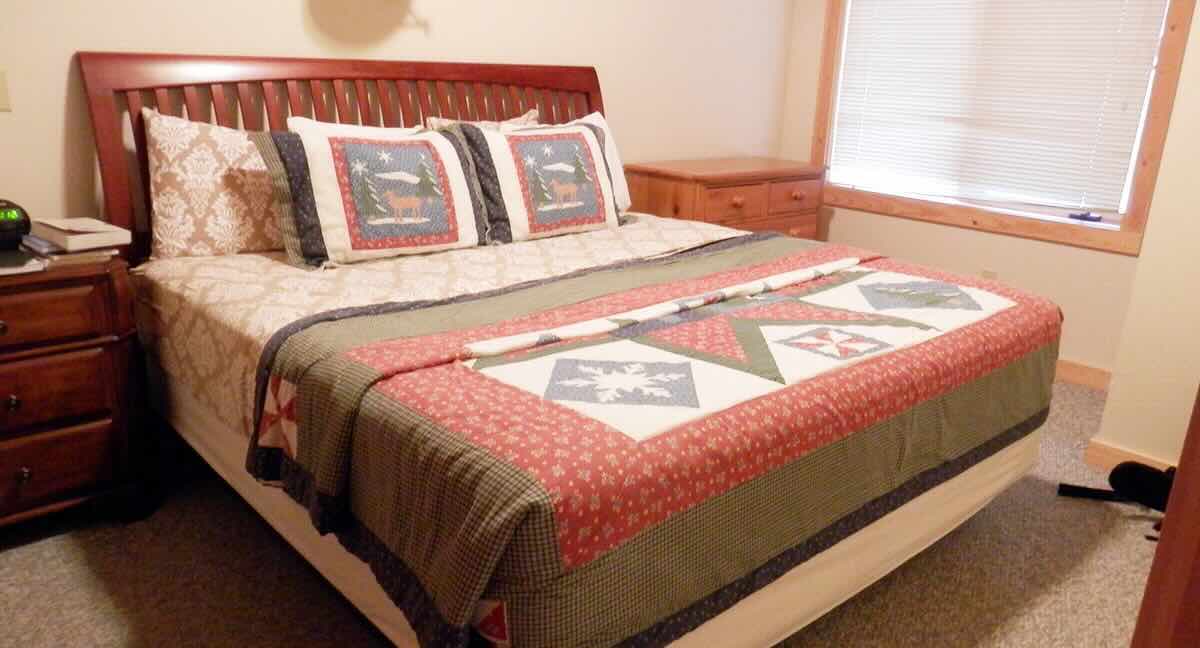
The bedroom is a sanctuary, a place where we can relax and rejuvenate after a long day. And at the heart of every cozy bedroom is the bed itself. A quality bed frame not only provides support and stability but also adds style and functionality to the space.
But what happens when you need to move or replace your bed frame? Disassembling a bed frame can seem like a daunting task, especially if you’ve never done it before. However, with the right tools and a bit of know-how, you can easily take apart a wedge lock bed frame and make it more manageable to transport or store.
In this article, we will guide you through the step-by-step process of disassembling a wedge lock bed frame. We will cover everything you need to know, from the tools and materials required to the techniques for safely disassembling and storing the different components of the frame.
So let’s get started and learn how to disassemble a wedge lock bed frame like a pro!
Key Takeaways:
- Disassembling a wedge lock bed frame requires the right tools and careful handling. From removing the mattress to packaging the disassembled parts, following the step-by-step guide ensures a smooth and hassle-free process.
- Properly packaging and storing the disassembled parts of a wedge lock bed frame is crucial for future reassembly. Organizing, labeling, and protecting the components ensures they remain well-protected and ready for use whenever needed.
Read more: How To Disassemble A Bed Frame
Tools and Materials Needed
Before you begin disassembling your wedge lock bed frame, gather the following tools and materials:
- Phillips screwdriver
- Flathead screwdriver
- Adjustable wrench
- Allen wrench (if applicable)
- Rubber mallet
- Storage bags or boxes
- Marker or labeling materials
Having these tools on hand will make the disassembly process easier and more efficient. The specific tools required may vary depending on the design of your bed frame, so it’s always a good idea to check the manufacturer’s instructions or website for any specific tool recommendations.
Additionally, having storage bags or boxes and labeling materials will help you keep track of the disassembled components and ensure that you can easily reassemble the bed frame when needed.
Now that you have all the necessary tools and materials ready, it’s time to move on to the next step!
Step 1: Remove the Mattress and Bedding
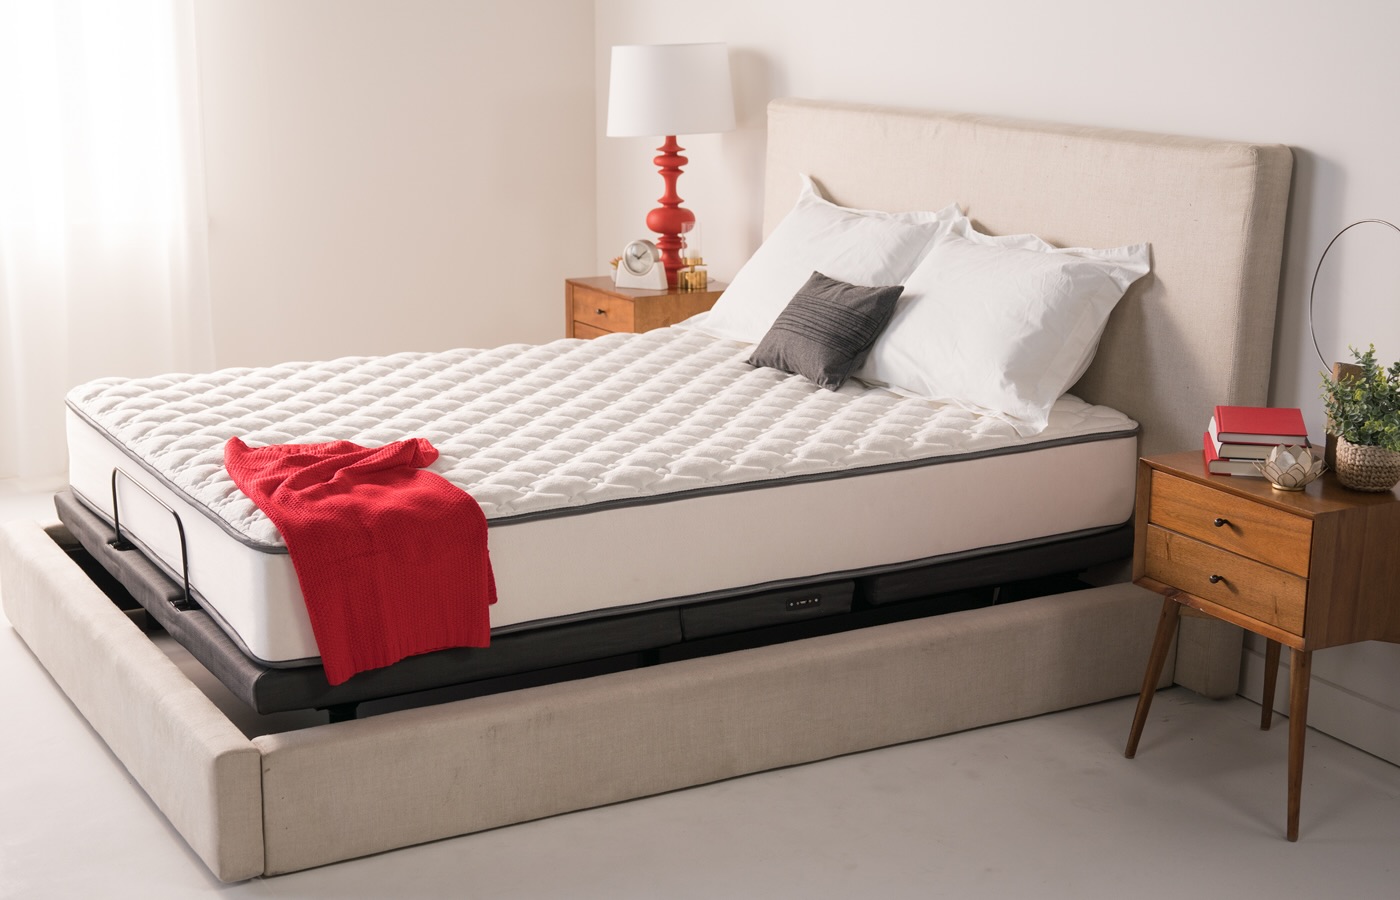
Before you start disassembling your wedge lock bed frame, it’s essential to remove the mattress and bedding. This step not only makes the frame lighter and easier to work with but also protects your bedding from accidental damage during the disassembly process.
Follow these simple steps to remove the mattress and bedding:
- Clear the bed frame: Remove any pillows, cushions, or other items from the bed to ensure a clear workspace.
- Remove the mattress: Carefully lift and remove the mattress from the bed frame. If it’s a larger mattress, such as a king or queen size, you may need an extra set of hands to help you lift it safely.
- Take off the bedding: Remove all sheets, blankets, and mattress protectors from the mattress. Fold them neatly and set them aside for washing or storage.
Once you’ve removed the mattress and bedding, you’ll have a clear space to work with and can proceed to the next step of disassembling your wedge lock bed frame.
Remember, it’s important to handle the mattress and bedding with care to avoid any tears or damage. If needed, you can use mattress straps or bungee cords to secure the mattress and bedding during transportation or storage.
With the mattress and bedding safely removed, you’re now ready to move on to disassembling the other components of your wedge lock bed frame.
Step 2: Locate and Remove the Wedge Lock Brackets
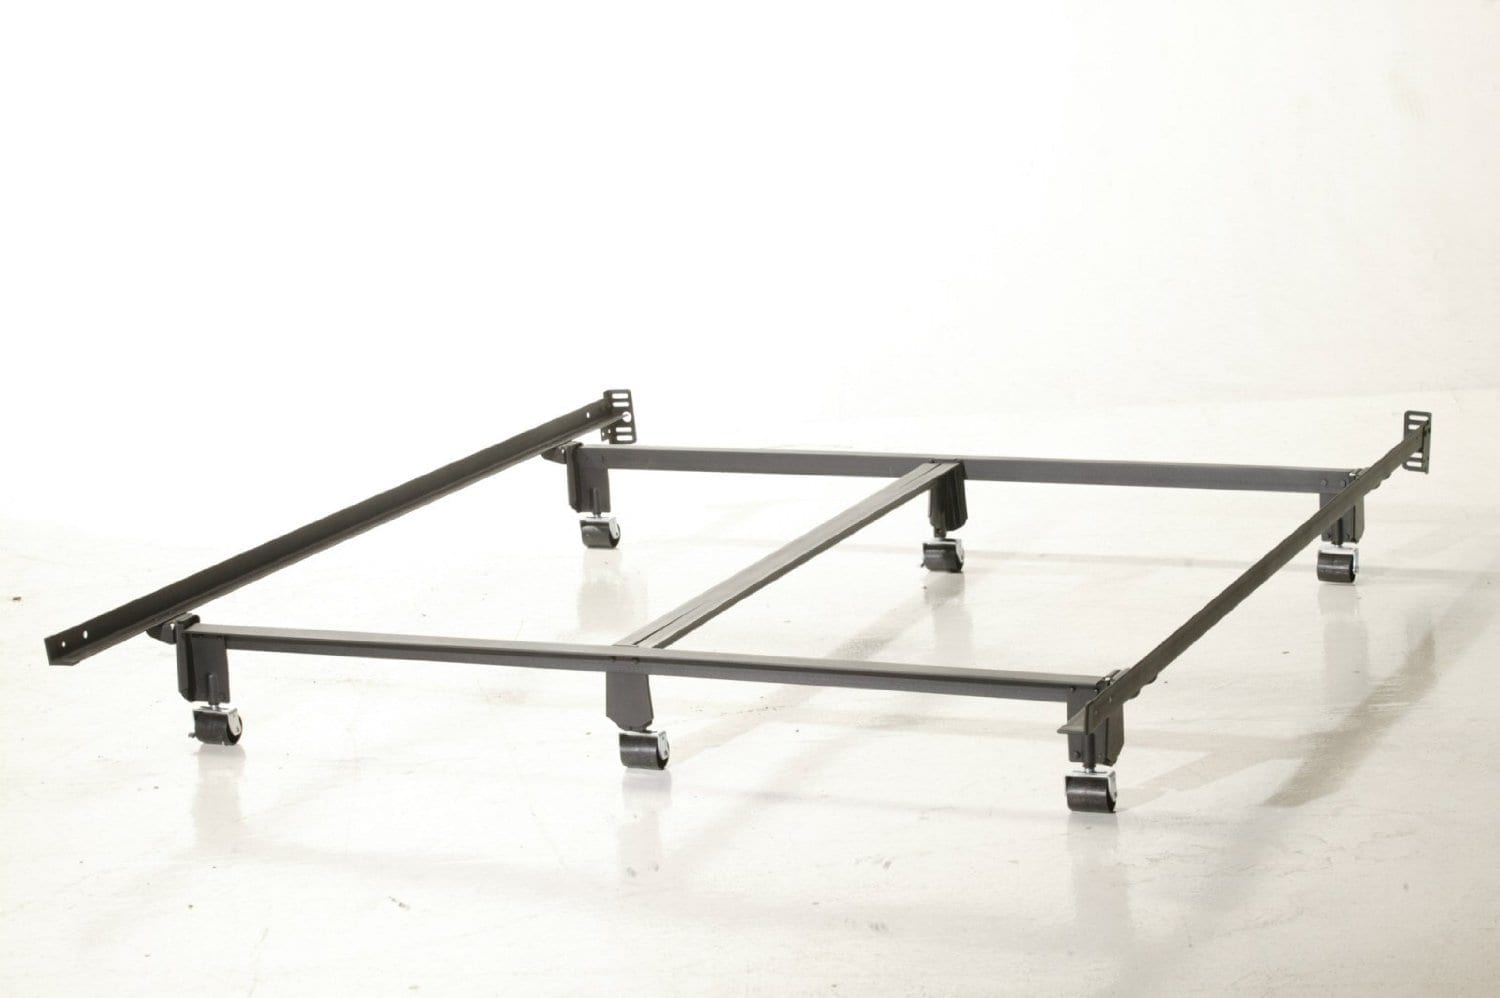
The next step in disassembling your wedge lock bed frame is to locate and remove the wedge lock brackets. These brackets are crucial for securing the bed frame and preventing it from wobbling or collapsing. Here’s how you can remove them:
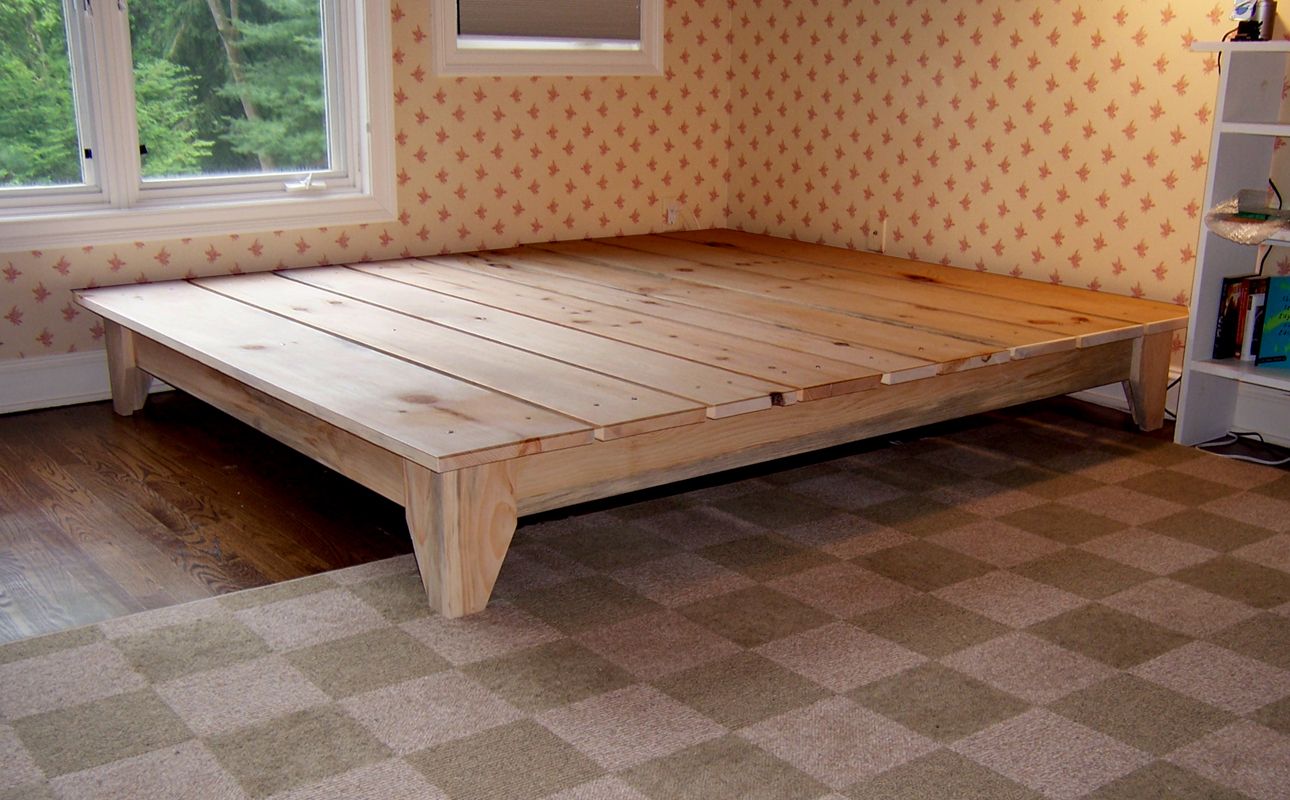
- Examine the bed frame: Take a close look at the bed frame and locate the wedge lock brackets. These brackets are usually found at the corners where the side rails connect to the headboard and footboard.
- Identify the bracket type: There are different types of wedge lock brackets, including metal brackets with screws or brackets with release levers. Determine the type of bracket used in your bed frame as the removal process may vary.
- Remove the screws or release the levers: If your wedge lock brackets have screws, use a Phillips screwdriver to unscrew and remove them. Be sure to keep track of the screws for later reassembly. If your brackets have release levers, simply press or pull the levers to release and remove the brackets.
- Repeat for all corners: Go around the bed frame and remove the wedge lock brackets from all corners. It’s important to remove all brackets to ensure safe and secure disassembly.
During the removal process, be careful to support the weight of the bed frame to prevent any accidental falls or injuries. If the brackets are tightly secured, you can use an adjustable wrench for extra leverage or a rubber mallet to gently tap them if necessary.
Label and keep the removed brackets together in a bag or labeled container, so they don’t get misplaced during storage or transportation.
With the wedge lock brackets successfully removed, you’re one step closer to disassembling your wedge lock bed frame. The next step is to unscrew the headboard and footboard, which we will cover in the following section.
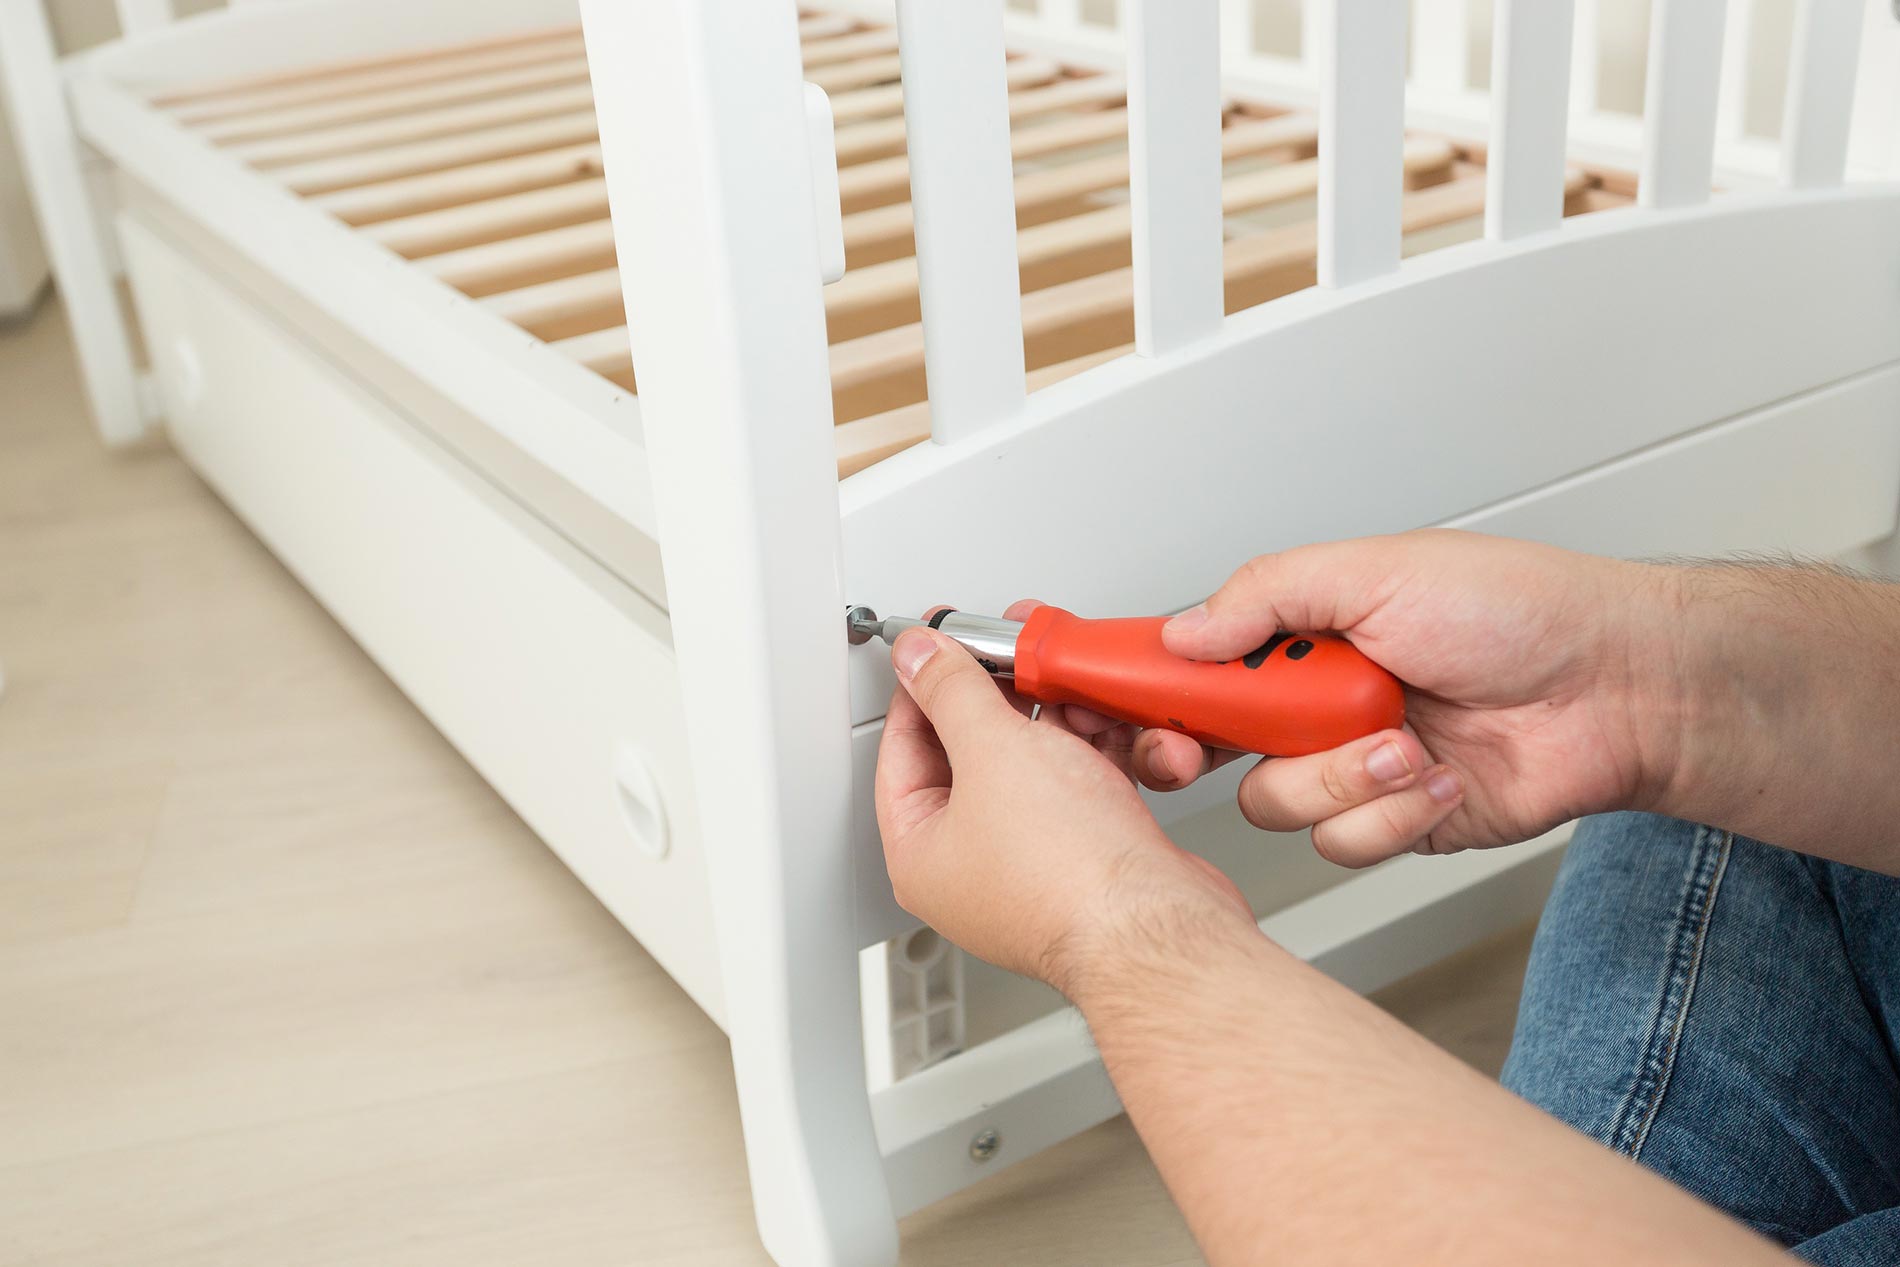
Step 3: Unscrew the Headboard and Footboard
Now that you have removed the wedge lock brackets, it’s time to move on to the next step: unscrewing the headboard and footboard from the bed frame. This step will separate the main structural components of the bed frame and make it easier to disassemble further.
- Locate the screws: Take a close look at the headboard and footboard to identify the screws that attach them to the side rails. The screws are usually located on the inside or back of the headboard and footboard.
- Use the appropriate tool: Depending on the type of screws used, you may need a Phillips screwdriver or a different screwdriver head. Ensure that you have the correct tool for unscrewing the screws.
- Unscrew the screws: Carefully unscrew the screws from the headboard and footboard. It’s best to start with the top screws and gradually work your way down. Keep track of the screws to avoid misplacing them.
- Separate the headboard and footboard: Once all the screws are removed, gently separate the headboard and footboard from the side rails. If there are any connecting brackets or pins, make sure to detach them before completely removing the headboard and footboard.
It’s important to handle the headboard and footboard with care during this step, as they may be heavy or have delicate decorative elements. If needed, ask for assistance to ensure safe handling and avoid any damage or injuries.
Once the headboard and footboard are disconnected, you can set them aside for storage or transportation. Remember to label them if necessary to ensure an easier reassembly process later on.
With the headboard and footboard successfully unscrewed, you’re now ready to move on to the next step: separating the side rails from the bed frame.
When disassembling a wedge lock bed frame, start by removing the mattress and bedding. Then, use a rubber mallet to gently tap the frame joints to loosen them before carefully pulling the pieces apart.
Read more: How To Disassemble An Adjustable Bed Frame
Step 4: Separate the Side Rails from the Bed Frame
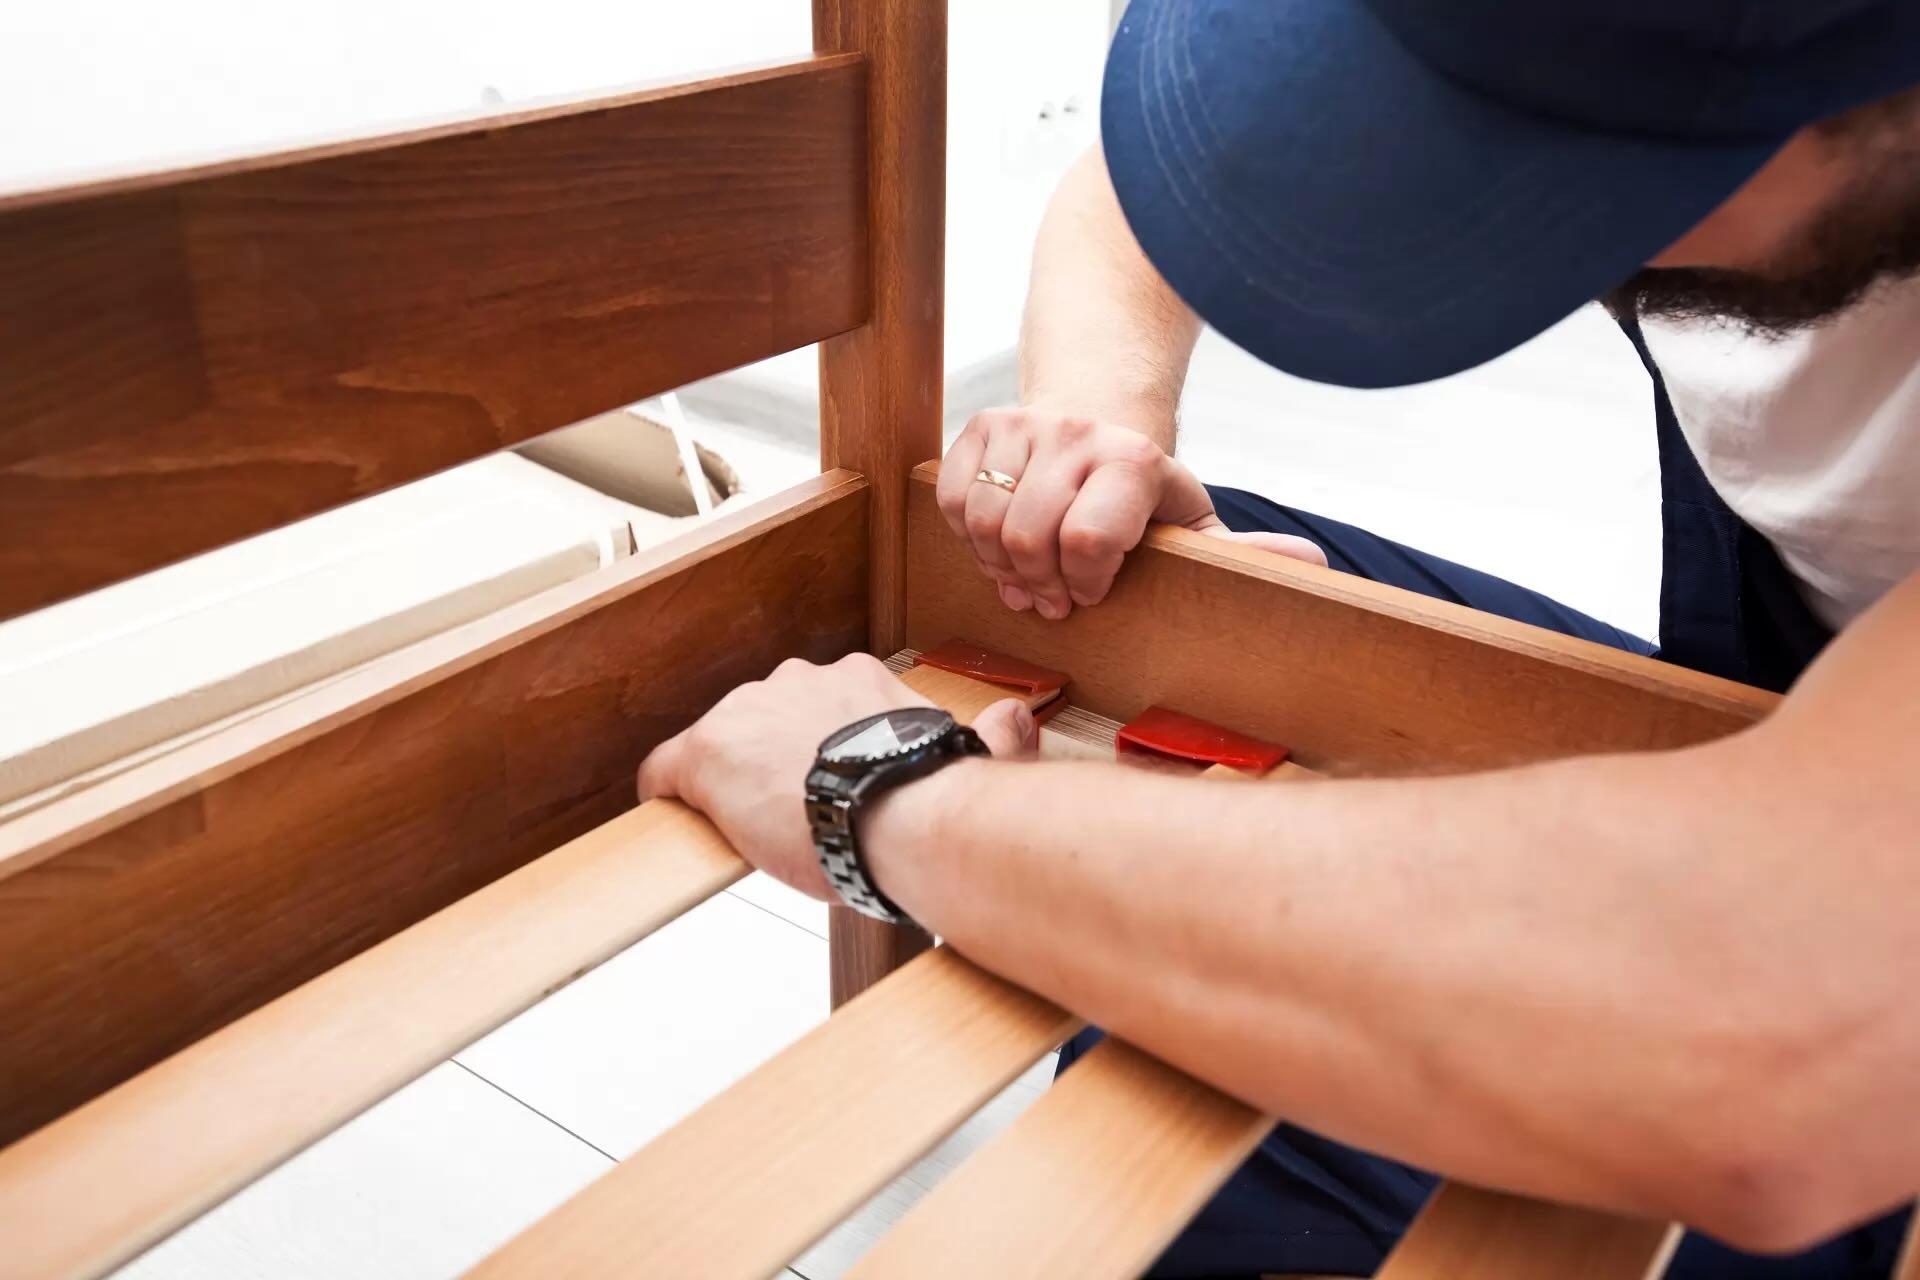
After unscrewing the headboard and footboard, it’s time to separate the side rails from the bed frame. This step will further dismantle the bed frame and make it more manageable for transportation or storage. Here’s how you can do it:
- Identify the connection points: Take a close look at the side rails and locate the points where they are connected to the bed frame. These connection points can vary depending on the design of your bed frame.
- Look for release mechanisms or screws: Check for any release mechanisms or screws that hold the side rails in place. Some bed frames may have bracket connectors that need to be released, while others may have screws that need to be unscrewed.
- Release or unscrew the connectors: Depending on your bed frame’s design, use the appropriate method to release or unscrew the connectors. If there are release mechanisms, follow the manufacturer’s instructions to safely detach the side rails. If there are screws, use a screwdriver to unscrew and remove them.
- Gently separate the side rails: Once the connectors are released or removed, gently separate the side rails from the bed frame. Be cautious of any remaining attachments or brackets and ensure a steady grip to avoid any accidents.
It’s essential to handle the side rails with care during this step, as they may be long and awkward to maneuver. Consider having someone assist you to ensure safe handling and prevent any damage or injuries.
After separating the side rails from the bed frame, you can label and store them separately. Remember to keep all the screws, connectors, and other small components together in a labeled bag or container to avoid misplacing them.
With the side rails detached, you’re almost finished with the disassembly process. But before you wrap up, let’s move on to the next step: disassembling the center support beam (if applicable).
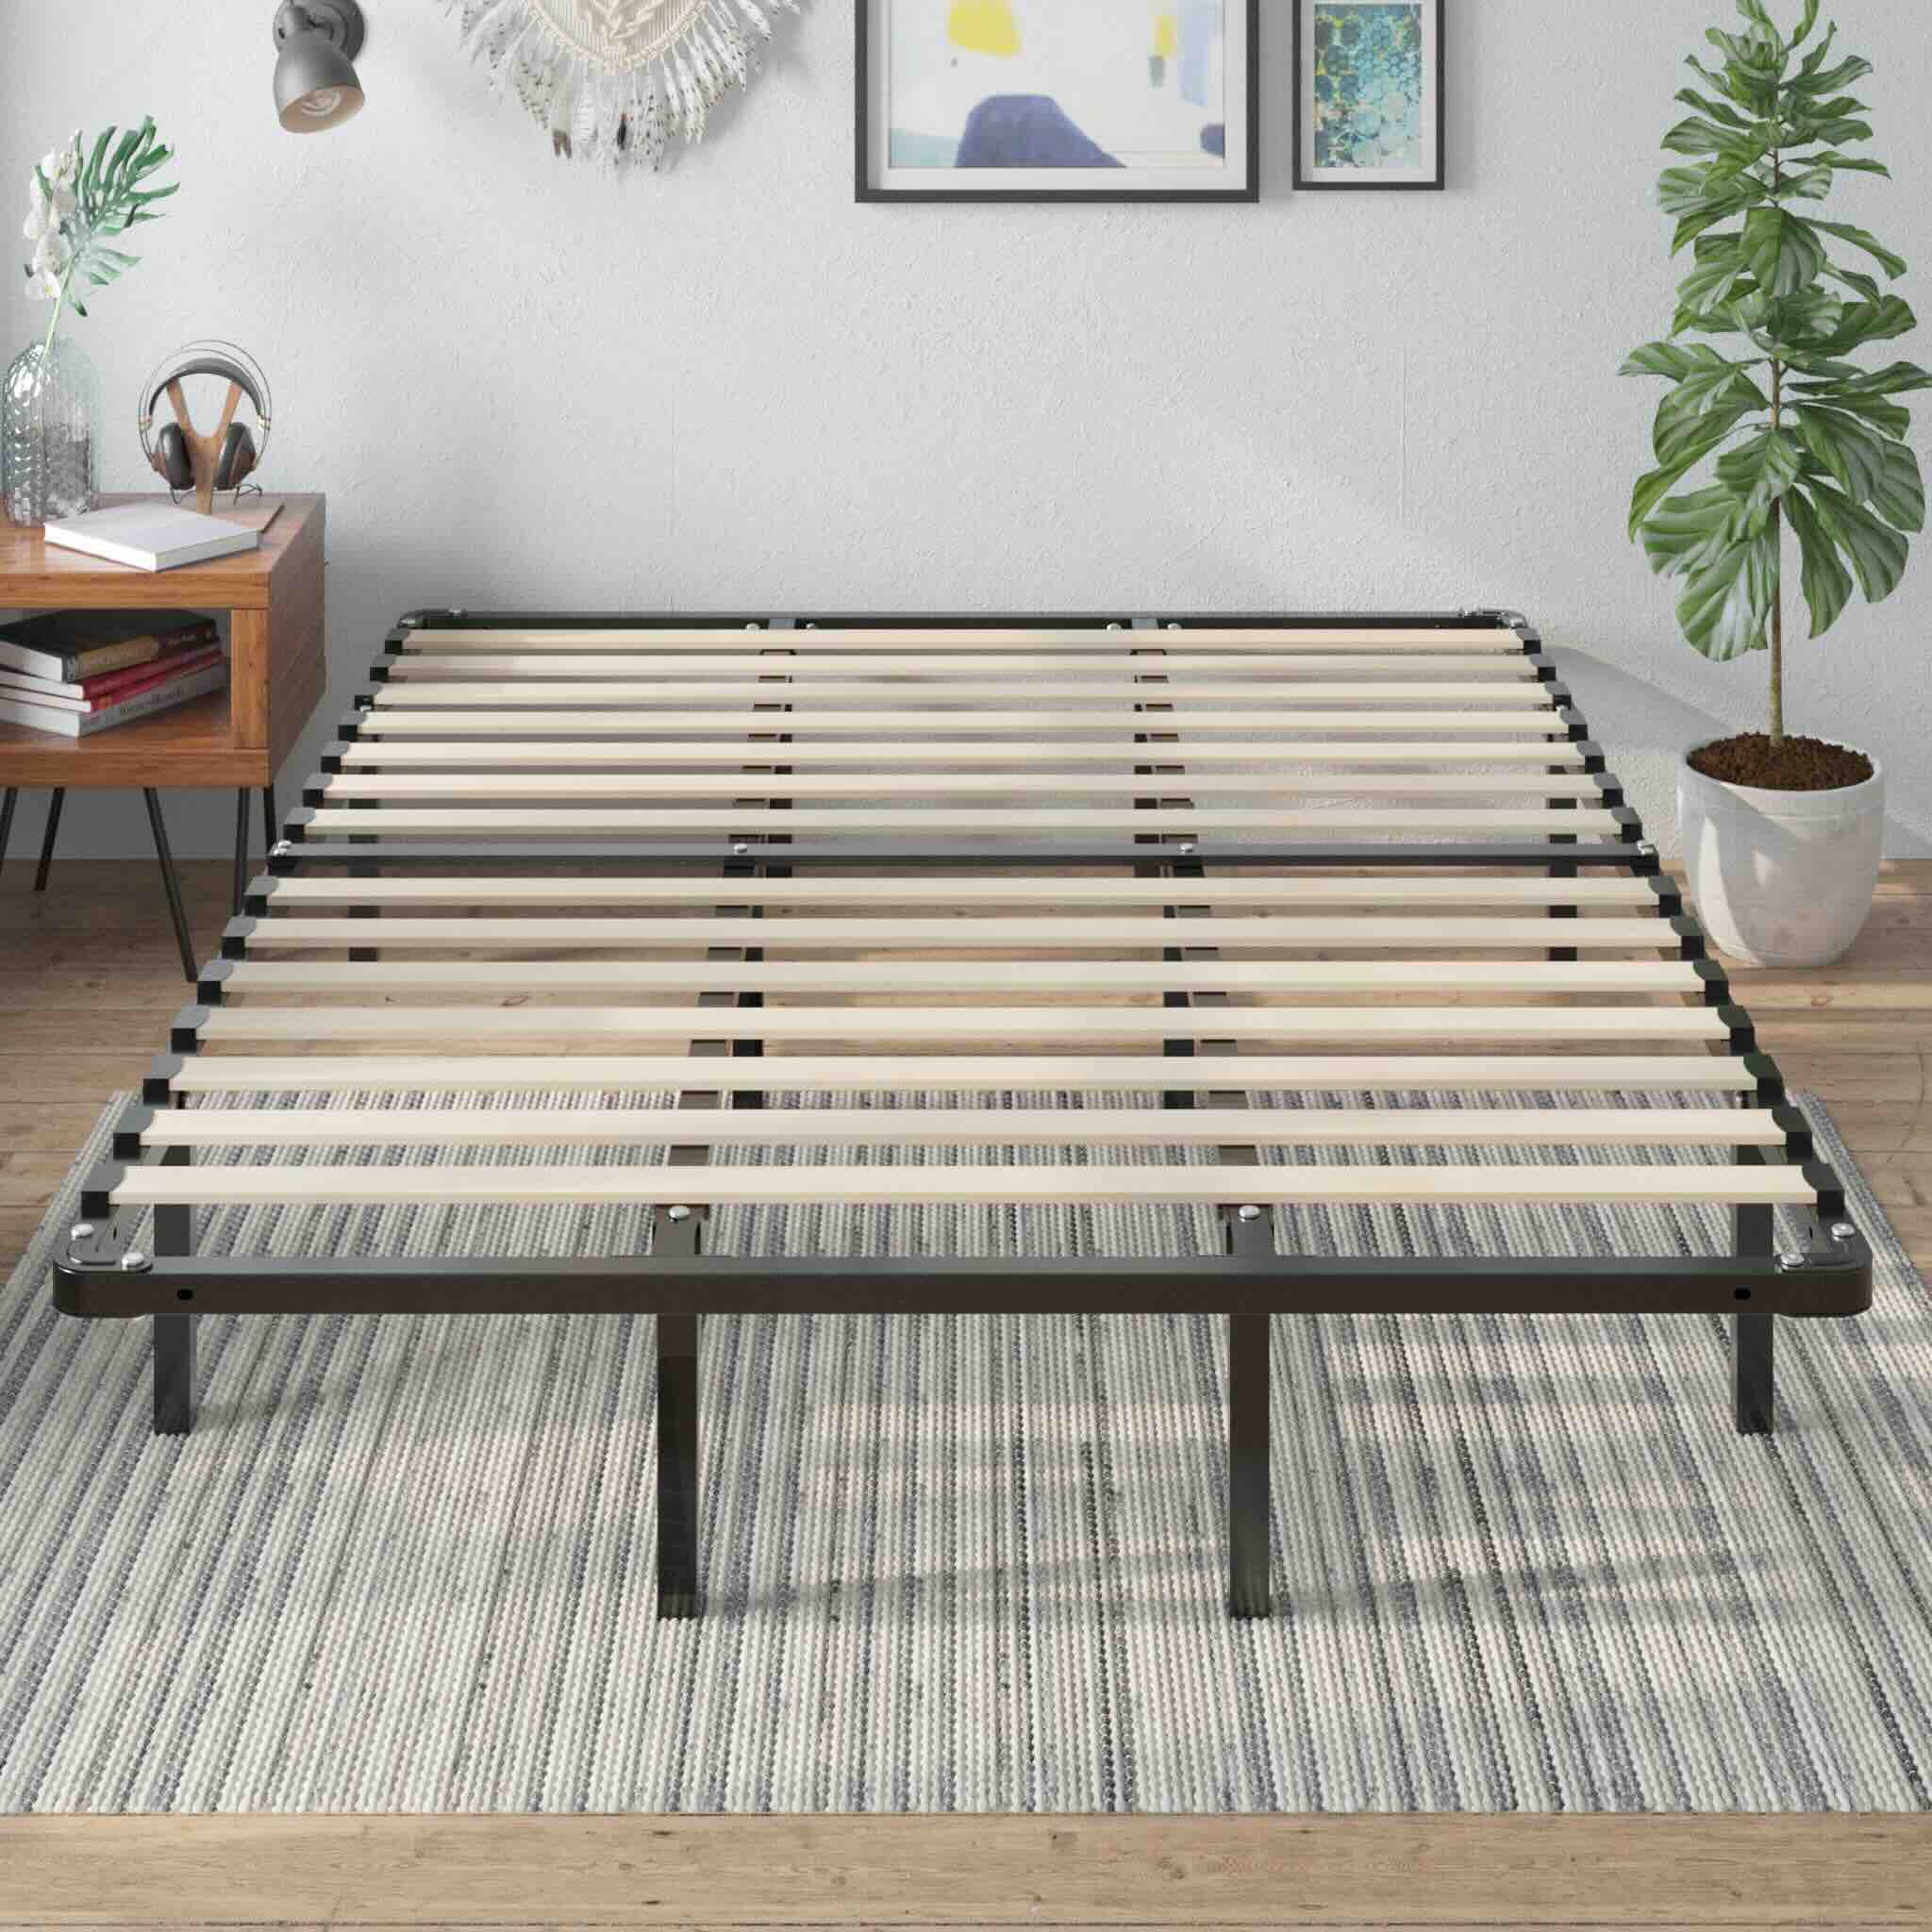
Step 5: Disassemble the Center Support Beam (if applicable)
Not all bed frames have a center support beam, but if yours does, it’s important to disassemble it properly. The center support beam provides additional stability and weight support for the mattress and bed frame. Here’s how you can disassemble it:
- Identify the center support beam: Take a look at the underside of the bed frame to locate the center support beam. It is typically positioned in the middle of the bed frame, running horizontally.
- Determine the connection points: Examine how the center support beam is connected to the bed frame. Common connection points include brackets, screws, or bolts.
- Remove the connectors: Use the appropriate tools, such as a screwdriver or wrench, to unscrew or remove the connectors that attach the center support beam to the bed frame.
- Detach the center support beam: Once the connectors are removed, carefully detach the center support beam from the bed frame. Pay attention to any additional support legs or brackets that may be attached and remove them as well.
It’s crucial to handle the center support beam with caution, as it may be heavy or have sharp edges. Take your time to ensure a safe disassembly process, and consider enlisting the help of a second person if needed.
Label and store the center support beam and its components along with the other disassembled parts of the bed frame. Keeping everything organized and properly labeled will make it easier for you to put the bed frame back together when needed.
With the center support beam disassembled (if applicable), you have successfully dismantled the key components of your wedge lock bed frame. Now it’s time to move on to the final step: packaging and storing the disassembled parts.
Step 6: Package and Store the Disassembled PartsNow that you have successfully disassembled your wedge lock bed frame, it’s important to properly package and store the disassembled parts. This will ensure that the components are protected, organized, and ready for future use. Follow these steps to package and store the disassembled parts:
- Prepare storage bags or boxes: Gather storage bags or boxes that are appropriate in size to accommodate the disassembled parts. Ensure that they are clean and sturdy enough to withstand the weight and size of the components.
- Organize and label the parts: Before placing the parts in the storage bags or boxes, organize them neatly. Group together similar components, such as brackets, screws, and connectors. Use labels or markers to identify each group and make it easier to reassemble the bed frame later.
- Protect delicate parts: If your bed frame has any delicate or decorative parts, consider wrapping them in bubble wrap or tissue paper for added protection. This will help prevent scratches or damage during storage or transportation.
- Place the parts in storage bags or boxes: Carefully place the organized and labeled components into the storage bags or boxes. Optimize the use of space by nesting smaller parts inside larger ones and ensuring a secure fit.
- Seal and store properly: Once all the disassembled parts are placed in the storage bags or boxes, seal them securely. Stack the bags or boxes in a safe and dry location, away from potential hazards or heavy items that could crush or damage them.
Don’t forget to keep the assembly instructions or any relevant documentation with the stored components. This will make it easier to reference them when you need to reassemble the bed frame in the future.
If you have larger or more complex bed frame components, consider taking photographs during the disassembly process. These photos can serve as visual aids to help you reassemble the bed frame correctly when the time comes.
By following these packaging and storage tips, you can ensure that your disassembled bed frame parts remain well-protected and ready for use whenever needed.
With the completion of this final step, you have successfully disassembled and packaged your wedge lock bed frame. Congratulations!
Remember, when it’s time to reassemble your bed frame, refer to the labels, documentation, or photographs you have stored to ensure a smooth and hassle-free process.
Good luck and enjoy your newly disassembled and stored bed frame!
Conclusion
Disassembling a wedge lock bed frame may seem like a daunting task, but with the right tools and knowledge, it can be a straightforward process. By following the step-by-step guide outlined in this article, you have learned how to safely and effectively disassemble your bed frame.
Remember to gather the necessary tools and materials before starting the disassembly process. Removing the mattress and bedding is the first step to make the bed frame lighter and easier to work with. Then, proceed to locate and remove the wedge lock brackets, unscrew the headboard and footboard, separate the side rails, and disassemble the center support beam if applicable. Finally, package and store the disassembled parts properly to ensure their safety and easy reassembly in the future.
When it comes time to reassemble your wedge lock bed frame, refer back to the labels, documentation, or photographs you have stored. Following the reverse order of the disassembly steps will help you put everything back together correctly.
Disassembling your bed frame can be beneficial when moving, redecorating, or storing the frame temporarily. It allows for easier transportation and saves space. Furthermore, it gives you the opportunity to clean or repair individual components if necessary.
With the knowledge and skills acquired from this article, you can confidently disassemble your wedge lock bed frame and make any necessary changes or adjustments. Enjoy the convenience and freedom this process provides, knowing that you have the ability to maintain and care for your bed frame in the best way possible.
Remember to always follow manufacturer instructions and exercise caution while disassembling and assembling your bed frame to avoid any accidents or damage.
Happy disassembling and reassembling your bed frame!
Frequently Asked Questions about How To Disassemble A Wedge Lock Bed Frame
Was this page helpful?
At Storables.com, we guarantee accurate and reliable information. Our content, validated by Expert Board Contributors, is crafted following stringent Editorial Policies. We're committed to providing you with well-researched, expert-backed insights for all your informational needs.


0 thoughts on “How To Disassemble A Wedge Lock Bed Frame”