Articles
How To Paint A Metal Roof
Modified: January 9, 2024
Looking for articles on how to paint a metal roof? Discover expert tips and step-by-step guides to help you achieve a professional finish with ease.
(Many of the links in this article redirect to a specific reviewed product. Your purchase of these products through affiliate links helps to generate commission for Storables.com, at no extra cost. Learn more)
Introduction
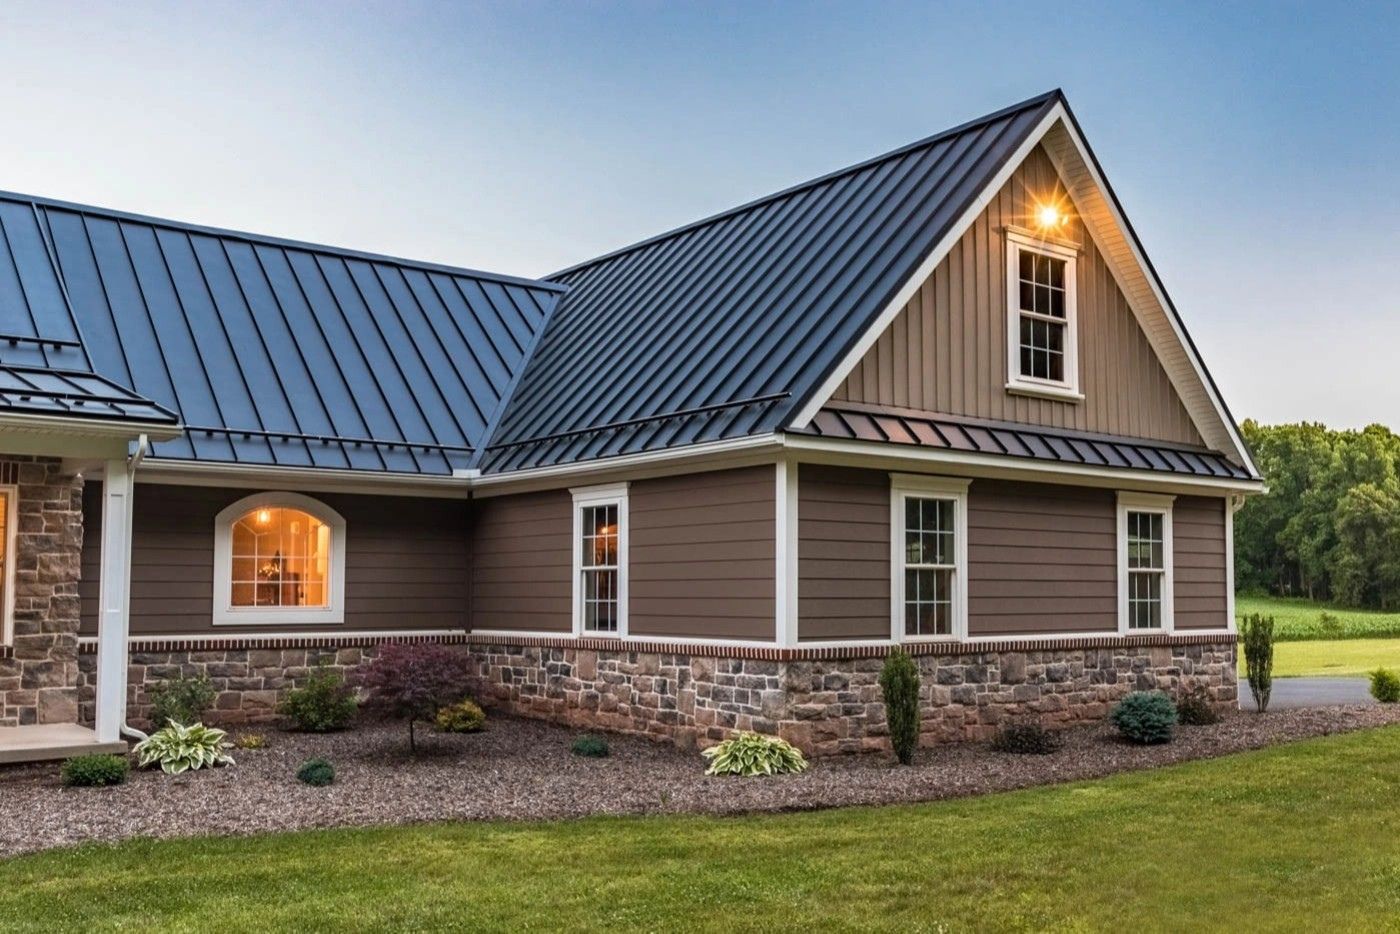
When it comes to protecting and enhancing the appearance of your home, one often overlooked area is the metal roof. Over time, exposure to the elements can cause a metal roof to fade, rust, and deteriorate. However, giving your metal roof a fresh coat of paint can not only revitalize its look but also increase its lifespan.
In this comprehensive guide, we will walk you through the steps of painting a metal roof to ensure a durable and visually appealing finish. From preparing the surface to choosing the right paint, we will cover it all. So, let’s dive in and discover how you can transform your drab metal roof into a stunning feature that enhances your home’s curb appeal.
Key Takeaways:
- Revitalize your home’s metal roof by following these comprehensive steps to achieve a durable and visually appealing finish that enhances curb appeal and protects against the elements.
- Choosing the right paint, proper surface preparation, and applying multiple coats are crucial for achieving a professional-looking and long-lasting finish for your metal roof.
Read more: How To Seal Metal Roof
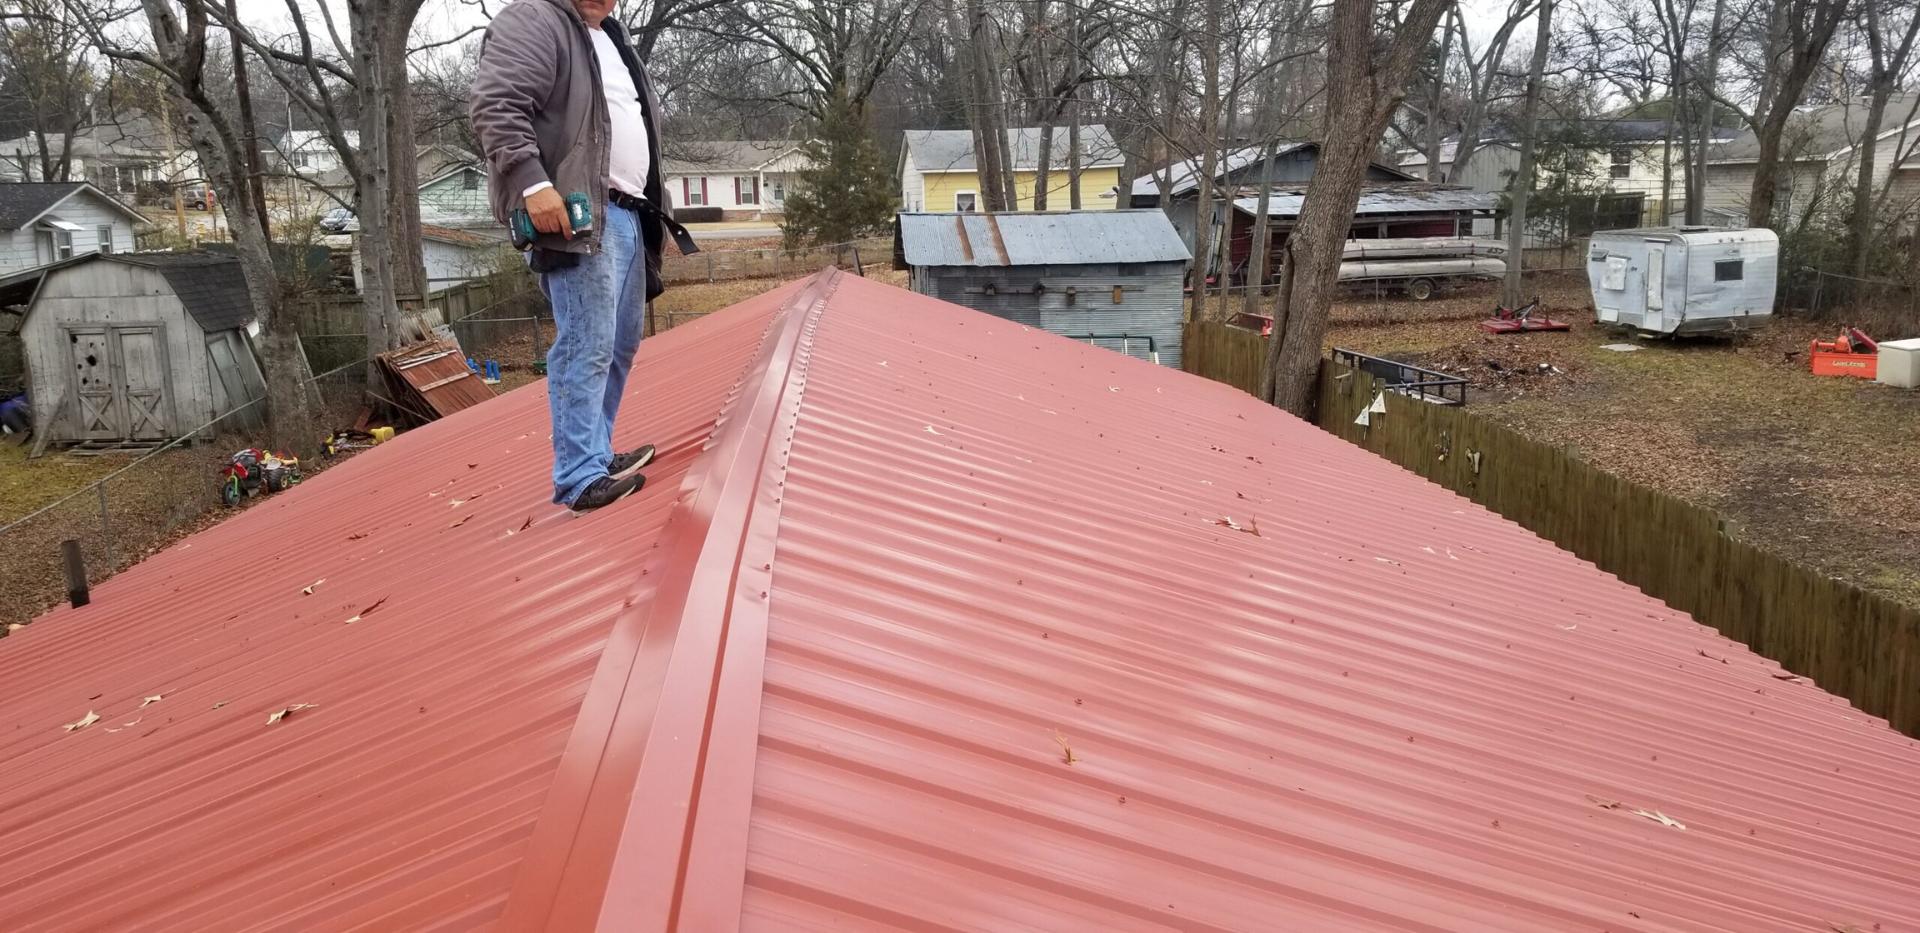
Step 1: Cleaning the Metal Roof
Before you start painting, it is crucial to thoroughly clean the metal roof to remove any dirt, debris, and contaminants that may hinder the paint’s adhesion. Here’s how you can do it:
- Begin by removing any loose debris such as leaves, sticks, and branches. Use a broom or a leaf blower to clear the roof’s surface.
- Next, use a hose to wet the roof, loosening any stubborn dirt or grime.
- Prepare a cleaning solution by mixing warm water and mild detergent. Avoid using harsh chemicals or abrasive cleaners as they can damage the metal surface.
- Apply the cleaning solution to the roof using a soft-bristle brush or a low-pressure washer. Start from the top and work your way down, ensuring all areas are thoroughly scrubbed.
- Rinse the roof with clean water to remove any residue or soap suds.
- Allow the roof to dry completely before proceeding to the next step. This is important to ensure proper paint adhesion.
By taking the time to properly clean your metal roof, you create a clean and smooth surface for the paint to adhere to. This will result in a longer-lasting and more professional-looking finish.
Step 2: Repairing Rust and Damage
Before applying paint to your metal roof, it is essential to address any rust or damage that may be present. Repairing these issues will not only improve the overall appearance of the roof but also prevent further deterioration. Here’s what you need to do:
- Inspect the roof for areas of rust and corrosion. Use a wire brush or sandpaper to remove loose rust particles.
- If there are small holes or cracks in the roof, patch them with a quality metal patching compound or epoxy. Follow the manufacturer’s instructions for application and drying time.
- For larger sections of rust or damaged metal, you may need to cut out the affected area and replace it with a new piece of metal. Ensure that the new piece is the same material and gauge as the existing roof.
- Once all repairs have been made, use a rust inhibitor or primer specifically designed for use on metal surfaces. Apply it to the repaired areas, following the manufacturer’s instructions.
Repairing rust and damage is crucial not only for aesthetic reasons but also for the structural integrity of the metal roof. By addressing these issues before painting, you can ensure a smooth and long-lasting finish that protects your roof for years to come.
Step 3: Preparing the Roof Surface
Preparing the surface of your metal roof is a critical step that will determine the success and longevity of your paint job. By properly preparing the roof, you can ensure optimal adhesion and a smooth finish. Follow these steps to prepare the surface:
- Inspect the entire roof for any loose or peeling paint. Use a scraper or wire brush to remove any flaking paint. This will create a smooth and clean surface for the new paint to adhere to.
- If there are areas with stubborn paint that won’t easily come off, consider using a chemical paint stripper. Follow the manufacturer’s instructions and take necessary safety precautions.
- Once the loose paint has been removed, use sandpaper or a sanding block to smooth out any rough areas or remaining paint edges. This will promote better paint adhesion and a more seamless finish.
- After sanding, wipe down the roof with a clean, damp cloth to remove any dust or debris. This will ensure a clean surface for the paint to bond with.
- Inspect the roof for any remaining grease, oil, or other contaminants. Use a mild detergent and water solution to clean those areas thoroughly. Rinse well and allow the roof to dry completely.
- Cover any areas that you do not want to paint, such as gutters or nearby siding, with masking tape or drop cloths to protect them from accidental paint splatters.
By taking the time to properly prepare the surface of your metal roof, you will ensure a successful and professional-looking paint job. This step is crucial in achieving a long-lasting and visually appealing finish that adds value and curb appeal to your home.
Step 4: Choosing the Right Paint
Choosing the right paint for your metal roof is essential for achieving a durable and attractive finish. The paint you select should be specifically formulated for metal surfaces and capable of withstanding the elements. Consider the following factors when choosing the right paint:
- Select a paint that is designed for exterior use and provides long-lasting protection against UV rays, moisture, and temperature changes. Look for paints that offer rust and corrosion resistance.
- Opt for a high-quality paint brand with a proven track record for metal roof applications. Research customer reviews and seek recommendations to ensure you choose a reliable and reputable product.
- Consider the color of the paint. Lighter colors tend to reflect sunlight, which can help keep your roof cooler and reduce energy costs. However, darker colors may be more visually appealing and hide dirt and stains better.
- Determine the finish you desire. Glossy finishes offer a sleek and reflective appearance, while matte or satin finishes provide a more subtle look. Choose a finish that complements the overall aesthetic of your home.
- Ensure that the paint you choose is compatible with the primer you will be using. Some paints may require a specific primer for optimal adhesion and performance.
By carefully considering these factors and selecting the right paint for your metal roof, you can ensure a long-lasting finish that not only protects your roof but also enhances the overall appearance of your home.
When painting a metal roof, be sure to clean the surface thoroughly before applying any paint. Use a pressure washer or a mixture of water and trisodium phosphate to remove dirt, rust, and any existing paint. This will ensure better adhesion and a longer-lasting finish.
Read more: How To Repair Metal Roof
Step 5: Applying the Primer
Before applying the paint to your metal roof, it is essential to apply a primer. The primer acts as a bonding agent, ensuring proper adhesion of the paint and enhancing its durability. Follow these steps to apply the primer:
- Carefully read and follow the manufacturer’s instructions on the primer can. Different primers may have varying application methods and drying times.
- Ensure that the surface of the roof is clean and free of any dust or debris. Use a brush or roller to apply the primer evenly on the entire roof surface.
- Pay special attention to areas that have been repaired or where rust and damage were present. Apply an extra coat of primer to these areas for added protection.
- Allow the primer to dry completely, following the recommended drying time specified by the manufacturer. This is typically around 24 hours, but it may vary depending on the primer you use and the weather conditions.
- Inspect the roof for any uneven areas or spots that need additional primer. Sand down any rough patches and apply additional primer as needed.
Applying a primer before painting a metal roof is crucial for ensuring optimal paint adhesion and longevity. It creates a smooth and even surface for the paint to adhere to, resulting in a more professional-looking finish that will protect your roof for years to come.
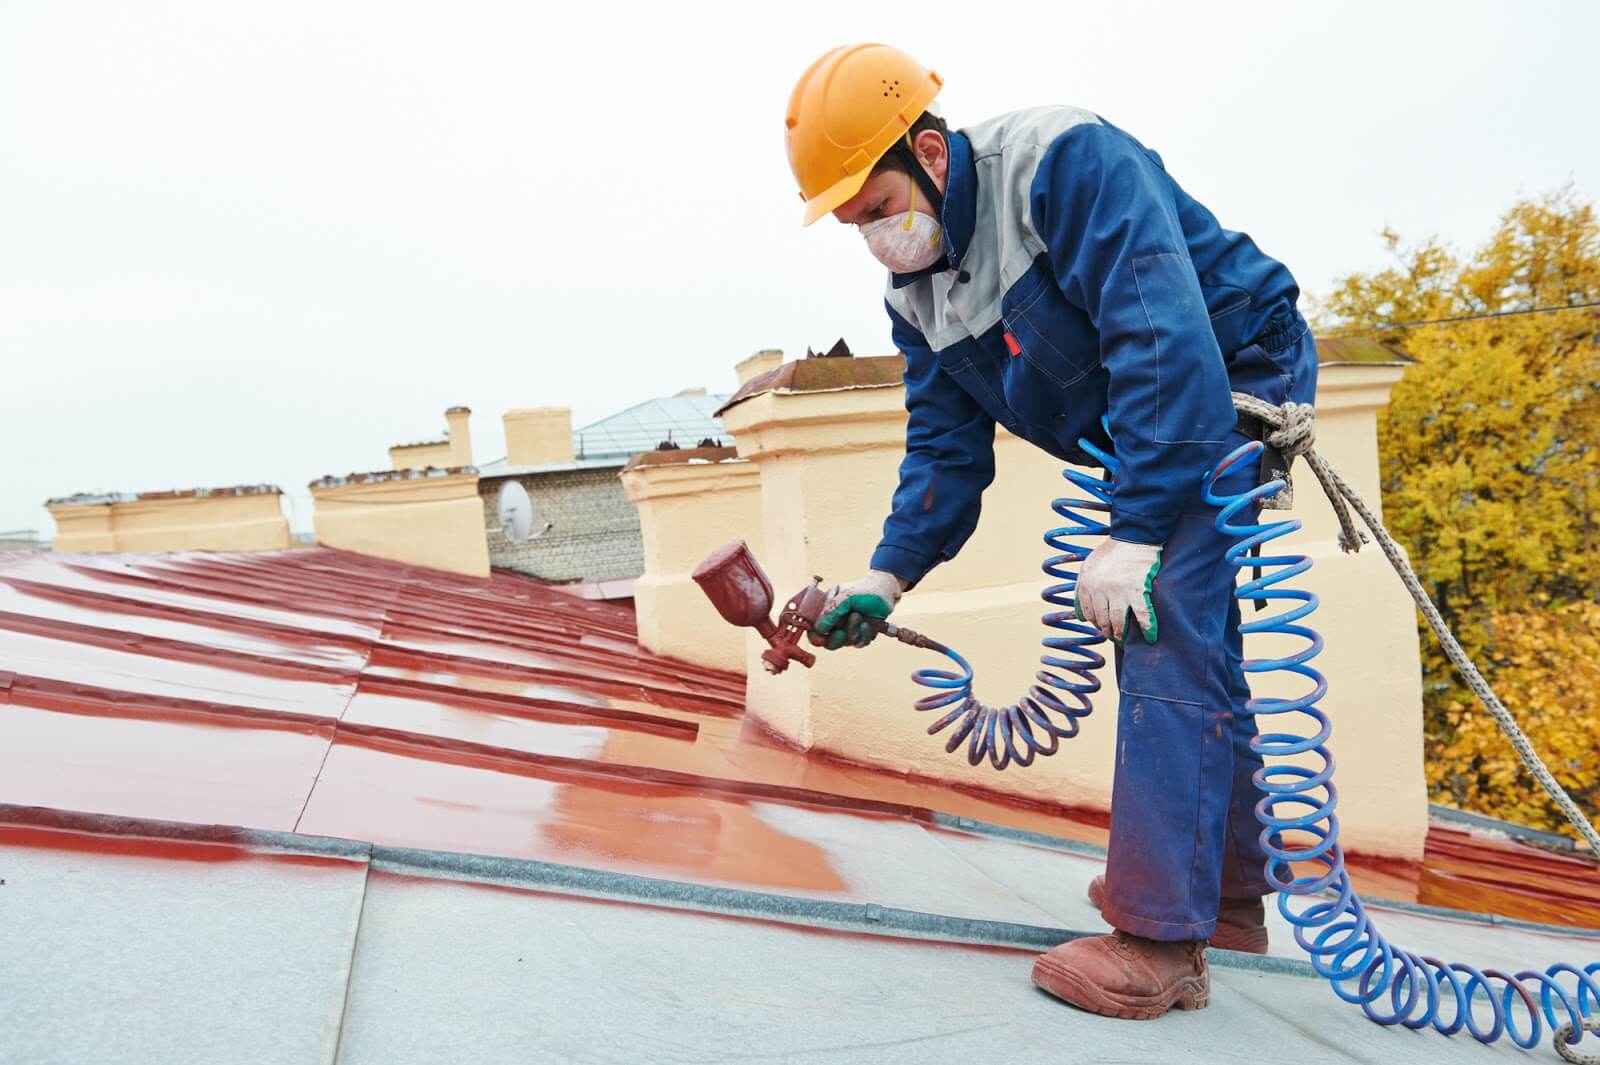
Step 6: Applying the Paint
Now that the primer has dried, it’s time to apply the paint to your metal roof. Proper application is key to achieving a smooth and even finish. Follow these steps to ensure a successful paint job:
- Stir the paint thoroughly using a stir stick to ensure even distribution of pigments and additives. Read and follow the manufacturer’s instructions on the paint can for any specific mixing instructions.
- Using a high-quality brush, roller, or paint sprayer, start applying the paint to the roof. Begin from one corner and work your way across the surface, using long, overlapping strokes.
- Ensure that the paint is applied in a thin, even layer. Avoid applying too much paint at once, as this can result in drips, sags, or an uneven finish.
- Pay attention to any specific painting instructions provided by the paint manufacturer. Some paints may require multiple coats, while others may have specific drying times between coats.
- Continue painting until the entire roof is covered, taking breaks as needed. Remember to work in manageable sections to maintain a wet edge and prevent lap marks.
Take your time during the painting process and make sure each stroke is applied smoothly and evenly. This will result in a professional-looking finish that enhances the appearance and durability of your metal roof.
Step 7: Adding Additional Coats
Adding additional coats of paint to your metal roof is essential for achieving a more durable and longer-lasting finish. Multiple coats can provide added protection against the elements and enhance the color richness. Follow these steps to apply additional coats:
- Once the first coat of paint has dried completely, assess the coverage and thickness. If you notice any thin or uneven areas, it’s time to apply another coat.
- Before applying the second coat, lightly sand the surface of the first coat with fine-grit sandpaper. This will ensure better adhesion and a smoother finish.
- Clean any dust or debris from the surface after sanding, using a clean cloth or brush.
- Apply the second coat of paint using the same technique as the first coat. Work in small sections and use long, overlapping strokes to ensure even coverage.
- If desired, you can apply a third coat in the same manner. This can further enhance the durability and color vibrancy of the paint job.
- Allow each coat to dry according to the manufacturer’s instructions before applying the next. This will typically take around 24 hours, but it may vary depending on the paint you used and weather conditions.
Adding additional coats of paint to your metal roof is a crucial step to ensure optimal protection and a flawless appearance. Take the time to apply multiple coats, allowing each one to dry thoroughly, and your roof will be beautifully transformed.
Step 8: Finishing Touches and Clean-up
After applying the final coat of paint to your metal roof, there are a few finishing touches and clean-up steps to complete the project. Follow these final steps for a polished and tidy finish:
- Inspect the roof for any paint drips, splatters, or mistakes. Use a clean cloth or sponge to gently remove any unwanted paint while it is still wet. For dried paint, you may need to use a scraper or sandpaper to carefully remove the blemishes.
- Remove any masking tape or drop cloths that were used to protect areas from paint splatter. Dispose of them properly.
- Clean your painting tools, such as brushes, rollers, and paint sprayers, according to the manufacturer’s instructions. If allowed, store them properly for future use.
- Properly dispose of any remaining paint, following local regulations and guidelines.
- Step back and admire your newly painted metal roof. Take note of how it has transformed the appearance of your home and enhanced its curb appeal.
By taking the time to complete these finishing touches and clean-up steps, you ensure a professional-looking and long-lasting finish for your metal roof. Enjoy the fruits of your labor and take pride in the rejuvenated beauty of your home’s exterior.
Read more: How To Measure For Metal Roof
Conclusion
Painting a metal roof is a rewarding and worthwhile project that can rejuvenate the appearance of your home while providing added protection. By following the steps outlined in this comprehensive guide, you can achieve a durable and visually appealing finish that will enhance your home’s curb appeal for years to come.
From thoroughly cleaning the roof to repairing rust and damage, preparing the surface, choosing the right paint, and applying it with care, each step plays a crucial role in the overall success of the project. Taking the time to properly prepare the surface and apply multiple coats of paint ensures optimal adhesion and durability, while the finishing touches and clean-up add those final touches of perfection.
Remember to choose a high-quality paint specifically formulated for metal roofs and consider factors such as color, finish, and compatibility with the primer. Take proper safety precautions, including wearing protective gear, and follow the manufacturer’s instructions at each stage of the process.
With a freshly painted metal roof, your home will not only have improved protection against the elements but also an enhanced aesthetic appeal that will make it stand out in your neighborhood. So, roll up your sleeves, gather your supplies, and get ready to transform your metal roof into a stunning feature that adds value and beauty to your home.
Frequently Asked Questions about How To Paint A Metal Roof
Was this page helpful?
At Storables.com, we guarantee accurate and reliable information. Our content, validated by Expert Board Contributors, is crafted following stringent Editorial Policies. We're committed to providing you with well-researched, expert-backed insights for all your informational needs.

0 thoughts on “How To Paint A Metal Roof”