Home>Furniture>Bedroom Furniture>How To Plug A Hole In An Air Mattress

Bedroom Furniture
How To Plug A Hole In An Air Mattress
Modified: February 25, 2024
Learn how to easily plug a hole in your air mattress with these simple steps. Keep your bedroom furniture intact and enjoy a comfortable sleep again.
(Many of the links in this article redirect to a specific reviewed product. Your purchase of these products through affiliate links helps to generate commission for Storables.com, at no extra cost. Learn more)
Introduction
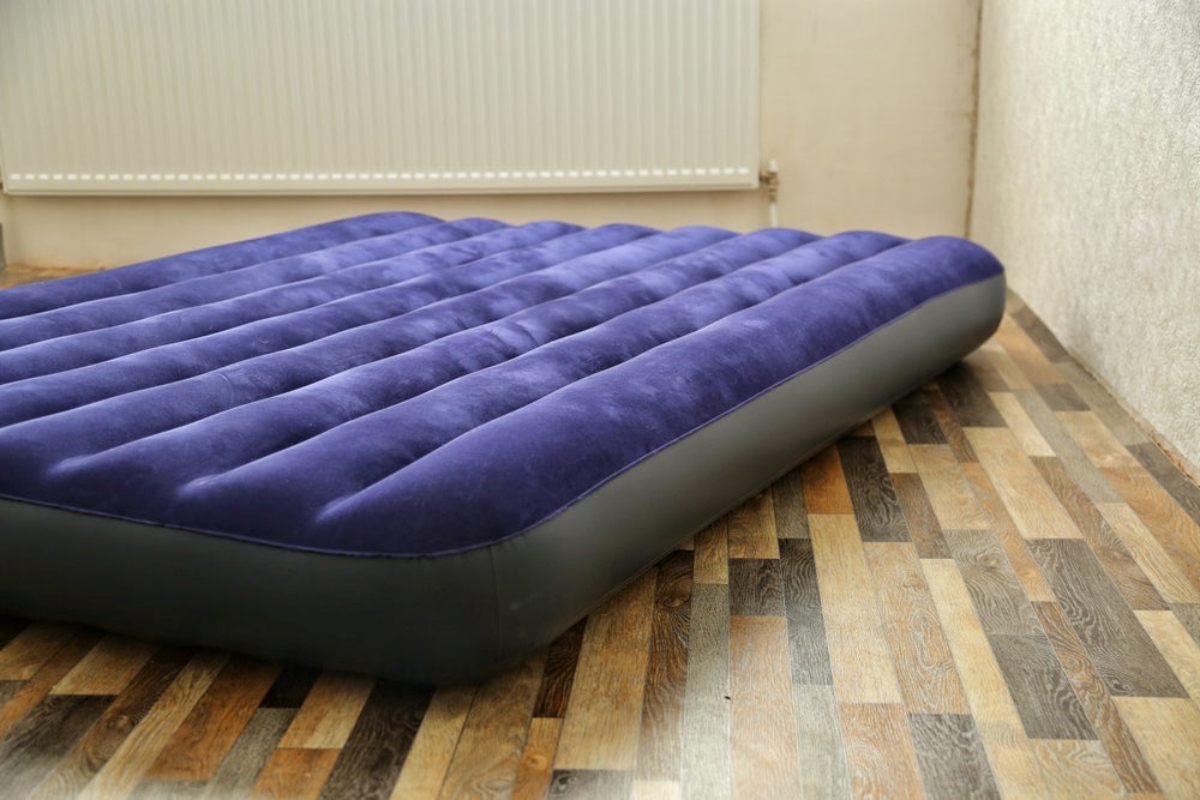
Welcome to our guide on how to plug a hole in an air mattress! Whether your air mattress has a small puncture or a large tear, we’ve got you covered. Air mattresses are a convenient and comfortable bedding option, but they are not immune to wear and tear. Thankfully, repairing a hole in an air mattress is a relatively simple process that can save you the hassle and expense of buying a new one. In this article, we will walk you through the steps necessary to effectively plug a hole in an air mattress, ensuring it remains fully functional and supportive for many more nights of restful sleep.
Before we dive into the step-by-step process, let’s briefly discuss the importance of addressing a hole in your air mattress as soon as possible. Not only can a hole cause discomfort and affect the overall quality of your sleep, but it can also lead to further damage if left unattended. Small holes can easily expand over time, resulting in larger tears that are more challenging to repair.
Additionally, a hole in an air mattress can cause the loss of air pressure, leading to a mattress that doesn’t hold its shape and support your body properly. This can result in a less comfortable sleeping surface and potentially disrupt your sleep patterns. By addressing the issue promptly, you can extend the lifespan of your air mattress and enjoy the benefits it offers for an extended period.
Now that we understand the importance of fixing a hole in an air mattress, let’s move on to the step-by-step process of plugging it. By following these instructions and using common materials, you’ll be able to restore your air mattress to its original state and continue enjoying a comfortable and supportive sleep surface.
Key Takeaways:
- Don’t let a hole deflate your comfort! Follow our guide to easily repair your air mattress and enjoy many more nights of restful sleep without the hassle of buying a new one.
- Promptly addressing a hole in your air mattress can save you money and extend its lifespan. With the right materials and steps, you can effectively plug the hole and maintain a comfortable sleeping surface for years to come.
Read more: Why Are There Holes In Electrical Cord Plugs
Step 1: Gather necessary materials
Before you begin the process of plugging a hole in your air mattress, it’s essential to gather all the necessary materials. Having everything you need on hand will ensure a smooth and efficient repair. Here are the materials you’ll need:
- Repair kit: Most air mattresses come with a repair kit that includes patches, adhesive, and instructions. If you don’t have a repair kit, you can purchase one from a local store or online. Make sure the kit is suitable for repairing vinyl or PVC materials.
- Clean cloth: You’ll need a clean cloth to wipe and dry the area around the hole. Make sure the cloth is soft and lint-free to avoid leaving any debris behind.
- Scissors: A pair of sharp scissors will be necessary to cut the patch to the desired size and shape.
- Rubbing alcohol: Rubbing alcohol or a mild detergent can be used to clean the surface around the hole and remove any dirt or oils that may hinder the adhesive’s effectiveness.
- Sandpaper: Depending on the type of air mattress you have, you may need sandpaper to roughen the area around the hole slightly. This step promotes better adhesion between the patch and the mattress.
- Marker or pencil: A marker or pencil can be useful for marking the location of the hole before applying the patch.
Once you have gathered all the necessary materials, you’ll be prepared to move on to the next step: locating the hole in your air mattress.
Step 2: Locate the hole
After gathering the necessary materials, the next step in repairing your air mattress is to locate the hole. Depending on the size of the hole and the type of air mattress you have, this may be a relatively straightforward task or require a bit of investigation.
Here’s how you can locate the hole in your air mattress:
- Inflate the mattress: Fully inflate your air mattress to make it easier to identify any potential leaks. If the hole is significant, you may be able to visually spot it at this stage.
- Listen for a hissing sound: If you can’t see any obvious signs of a hole, try listening carefully for a hissing sound. Slowly move your ear across the surface of the mattress, paying close attention for any faint sounds indicating escaping air.
- Use a soapy water solution: If you don’t hear any sounds or see any visible signs of a hole, you can create a soapy water solution by mixing water and a few drops of liquid soap in a spray bottle. Spray the solution over the surface of the inflated mattress and look for bubbles forming at a specific area. The bubbles will indicate the location of the hole.
- Inspect the mattress carefully: If none of the above methods work, inspect the mattress carefully by running your hands along the surface, paying attention to any irregularities or slight bulges. Sometimes, you may be able to feel the airflow or a slight change in texture near the hole.
Once you have located the hole, mark it using a marker or pencil. This step will ensure that you can easily identify the hole during the repair process. Now that you know where the hole is, it’s time to prepare the area for patching.
Step 3: Prepare the area
Now that you have located the hole in your air mattress, it’s crucial to prepare the area before applying the patch or adhesive. Proper preparation ensures better adhesion and increases the chances of a successful repair.
Follow these steps to prepare the area:
- Clean the area: Use a clean cloth dampened with rubbing alcohol or a mild detergent to clean the area around the hole. Wipe away any dirt, oils, or debris that could interfere with the adhesive’s effectiveness.
- Let it dry: After cleaning the area, allow it to dry completely. This step ensures that the patch or adhesive will adhere properly to the surface.
- Roughen the surface (if necessary): Depending on the material of your air mattress, you may need to lightly sand the area around the hole. Use a fine-grit sandpaper to roughen the surface. This roughening creates a better bonding surface for the patch or adhesive.
- Trim the patch: If your repair kit includes a patch, carefully trim it to an appropriate size and shape. The patch should be large enough to cover the entire hole with a small overlap around the edges.
Note: If your repair kit includes adhesive instead of a patch, follow the instructions provided to ensure proper application.
Once you have prepared the area and cut the patch (if applicable), you’re ready to move on to the next step: applying the patch or adhesive to the hole.
Step 4: Apply patch or adhesive
With the area prepared, it’s time to apply the patch or adhesive to repair the hole in your air mattress. The specific method may vary depending on the type of repair kit you have, so be sure to refer to the instructions provided. However, we’ll outline the general steps below:
- Apply adhesive: If your repair kit includes adhesive, carefully apply a thin and even layer of adhesive to the back of the patch, covering the entire surface that will come into contact with the mattress. Be sure to follow the instructions regarding the drying time, as it can vary depending on the specific adhesive being used.
- Place the patch: Once the adhesive is ready, carefully place the patch over the hole, aligning it precisely. Press down firmly to ensure proper adhesion. Use a flat, smooth surface like the back of a spoon or a roller (if provided in your repair kit) to smooth out any air bubbles and ensure good contact between the patch and the mattress.
- Hold it in place (if required): Depending on the adhesive used, you may need to hold the patch in place for a specific amount of time to allow for proper bonding. Follow the instructions provided with your repair kit for the recommended holding time.
If your repair kit includes a self-adhesive patch, simply peel off the backing and carefully place the patch over the hole, pressing down firmly to ensure a secure bond.
Remember to be cautious and precise in your application to ensure the best possible repair. Once the patch or adhesive is securely in place, allow sufficient drying time before moving on to the next step.
When plugging a hole in an air mattress, make sure to clean and dry the area around the hole before applying the patch. This will help the patch adhere better and create a stronger seal.
Read more: How To Find An Air Mattress Hole
Step 5: Allow sufficient drying time
Once you have applied the patch or adhesive to the hole in your air mattress, it’s crucial to allow sufficient drying time. This step ensures that the patch fully adheres to the surface and creates a reliable seal to prevent any further air leaks.
The drying time may vary depending on the type of adhesive used and the specific instructions provided with your repair kit. Follow these general guidelines:
- Refer to the instructions: Read the instructions provided with your repair kit to determine the recommended drying time. Different adhesives may require different lengths of time to fully set.
- Avoid using the mattress: It’s important to avoid using or inflating the air mattress during the drying process. Excessive pressure or manipulation of the repaired area may compromise the adhesion and result in an ineffective repair.
- Allow extra time: In some cases, it may be beneficial to allow additional drying time beyond what is recommended in the instructions. This can provide an extra layer of certainty that the repair has fully set and is ready for use.
During the drying time, keep the air mattress in a well-ventilated area to expedite the drying process. Make sure the area is clean and free from any potential sources of damage that could puncture the mattress.
Once the recommended drying time has passed, you can proceed to the next step: testing for leaks to ensure the effectiveness of your repair.
Step 6: Test for leaks
After allowing sufficient drying time for the patch or adhesive to set, it’s essential to test for leaks in your repaired air mattress. This step ensures that the repair has been successful and that your mattress is airtight and ready for use.
Follow these steps to test for leaks:
- Inflate the mattress: Inflate the air mattress to its full capacity, ensuring it is firm and fully expanded.
- Listen for hissing sounds: Carefully listen for any hissing sounds that may indicate air escaping from the repaired area. Pay close attention to the previously repaired hole.
- Feel for air leaks: Run your hand over the repaired spot, feeling for any airflow or changes in air pressure that suggest a leak. Use a gentle, slow sweeping motion to cover the entire area.
- Apply soapy water solution: If you suspect a leak but can’t locate it through sound or touch, you can create a soapy water solution by mixing water and a few drops of liquid soap in a spray bottle. Spray the solution over the patched area and look for any bubbles forming, indicating a leak.
If you do discover a leak or suspect that the repair has not been successful, you may need to repeat the previous steps or consider alternative repair methods. In some cases, a larger or more significant tear may require professional assistance or the replacement of the air mattress altogether.
However, if the repaired area remains airtight and shows no signs of leakage, congratulations! Your air mattress is now ready for use.
Before fully deflating the mattress and storing it away, be sure to inflate and use it for at least a brief period to ensure that the repaired area holds up under normal use. If you notice any issues or reoccurrence of leaks, address them promptly to maintain the integrity of your air mattress.
Step 7: Inflate and use the air mattress
Once you have successfully repaired your air mattress and confirmed that there are no leaks, it’s time to inflate and use the mattress. Following this step ensures that your mattress is ready to provide a comfortable and supportive sleeping surface.
Here are the steps to inflate and use your air mattress:
- Deflate and store: If your air mattress was previously deflated for repair, ensure it is completely deflated before inflating it again. Properly fold or roll the mattress before storing it, following the manufacturer’s instructions.
- Select a suitable location: Choose a clean and safe area to inflate your air mattress. Make sure there are no sharp objects or potential hazards that could puncture or damage the mattress.
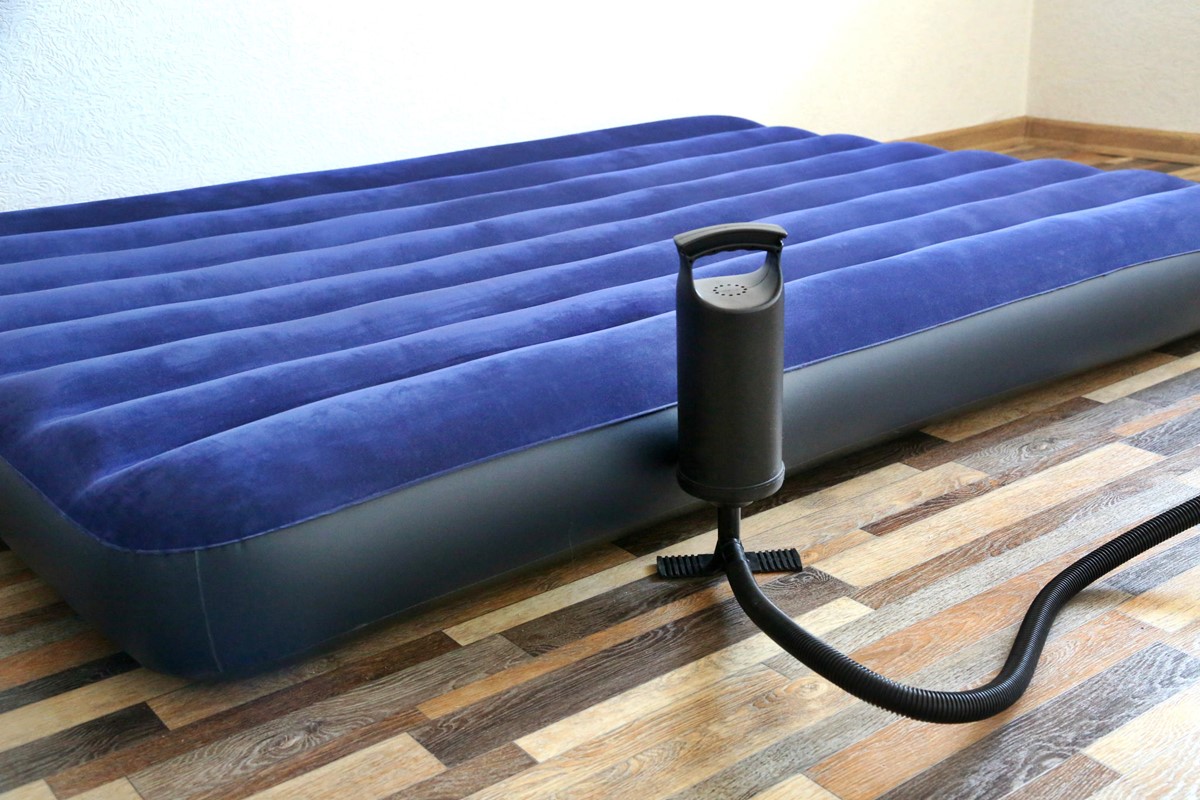
- Connect the pump: Attach the pump to the air mattress as per the manufacturer’s instructions. Different air mattresses may have different valve types, so ensure a proper connection.
- Inflate the mattress: Begin inflating the mattress using the pump. Follow the recommended inflation level provided by the manufacturer. Avoid over-inflating the mattress, as it can put strain on the repaired area and potentially cause further damage.
- Secure the valve: Once the mattress is fully inflated, secure the valve tightly to prevent any air leakage. Ensure that the valve is closed and sealed properly.
- Test the mattress: Lie down on the inflated mattress to test its comfort and firmness. Make any necessary adjustments to the inflation level to achieve your desired comfort.
Now you can enjoy a restful sleep on your newly repaired air mattress. Keep in mind that regular maintenance and care can help prolong the lifespan of your mattress. Avoid placing the mattress on rough surfaces and be cautious with sharp objects that could puncture the material.
If you notice any signs of air leakage or further damage during use, address the issue promptly to prevent further damage and ensure your continued comfort.
With proper care, your air mattress will provide you with many nights of comfortable sleep for years to come.
Conclusion
Repairing a hole in an air mattress doesn’t have to be a daunting task. By following the steps outlined in this guide, you can effectively plug a hole and restore your air mattress to its original functionality. Remember, prompt attention to the issue is essential to prevent further damage and maintain a comfortable sleeping surface.
From gathering the necessary materials to locating the hole, preparing the area, applying the patch or adhesive, allowing sufficient drying time, testing for leaks, and finally inflating and using the air mattress, each step contributes to a successful repair. Taking the time to properly address the issue will extend the lifespan of your air mattress, saving you money and ensuring a restful night’s sleep.
Additionally, maintaining regular care and practicing preventive measures can further prolong the life of your air mattress. Avoid placing it on rough surfaces, be mindful of sharp objects, and clean and store it properly when not in use.
Remember, a comfortable sleeping surface is crucial for your overall well-being and restfulness. By repairing your air mattress, you’re not only ensuring a comfortable night’s sleep for yourself but also reducing waste and contributing to a more sustainable lifestyle.
So don’t let a small hole deflate your comfort and quality of sleep. Take action, follow the steps outlined in this guide, and enjoy many more nights of rejuvenating sleep on your repaired air mattress.
Frequently Asked Questions about How To Plug A Hole In An Air Mattress
Was this page helpful?
At Storables.com, we guarantee accurate and reliable information. Our content, validated by Expert Board Contributors, is crafted following stringent Editorial Policies. We're committed to providing you with well-researched, expert-backed insights for all your informational needs.
