Home>Furniture>How To Add Long Handles To A Dresser With Knobs
Furniture
How To Add Long Handles To A Dresser With Knobs
Modified: December 7, 2023
Upgrade your dresser with long handles for a trendy and functional touch. Learn how to easily add furniture knobs to your dresser and give it a stylish makeover.
(Many of the links in this article redirect to a specific reviewed product. Your purchase of these products through affiliate links helps to generate commission for Storables.com, at no extra cost. Learn more)
Introduction
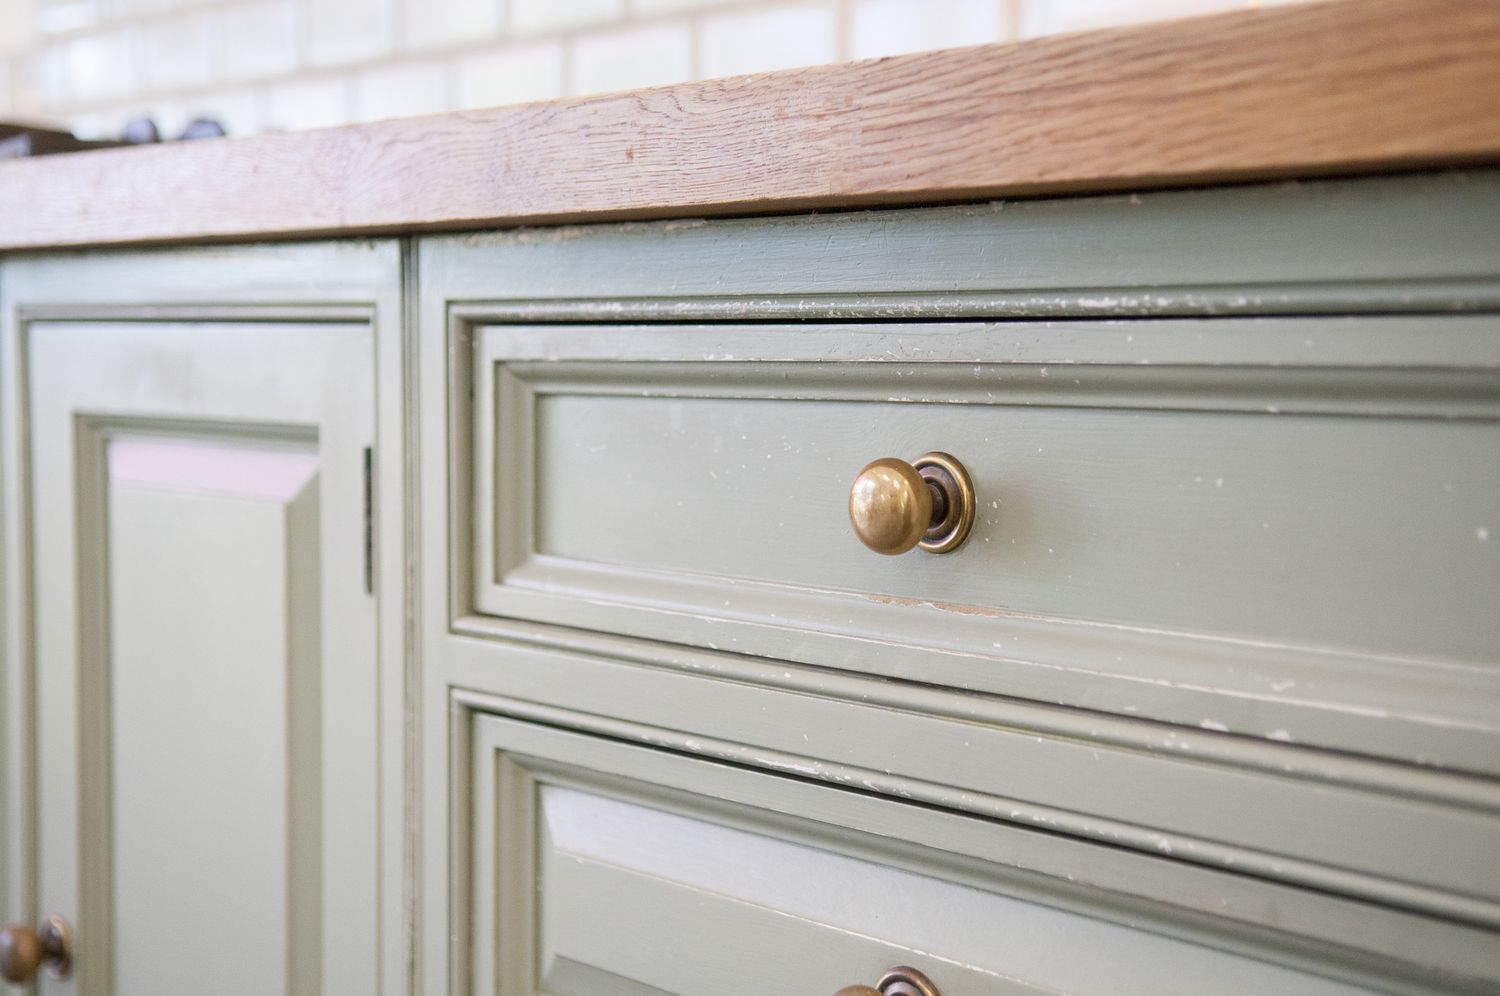
Furniture plays a vital role in our everyday lives, providing both functionality and aesthetic appeal to our living spaces. One key component of furniture that often goes unnoticed but can make a significant difference in its functionality and style is the handles. Whether it’s a dresser, cabinet, or any other piece of furniture, handles serve as the gateway to accessing the contents within.
However, sometimes the original handles that come with furniture may not suit your personal taste or needs. In such cases, adding long handles to a dresser or cabinet can be a simple and effective solution. Long handles not only provide a more comfortable grip and ease of use but can also give a fresh and updated look to your furniture.
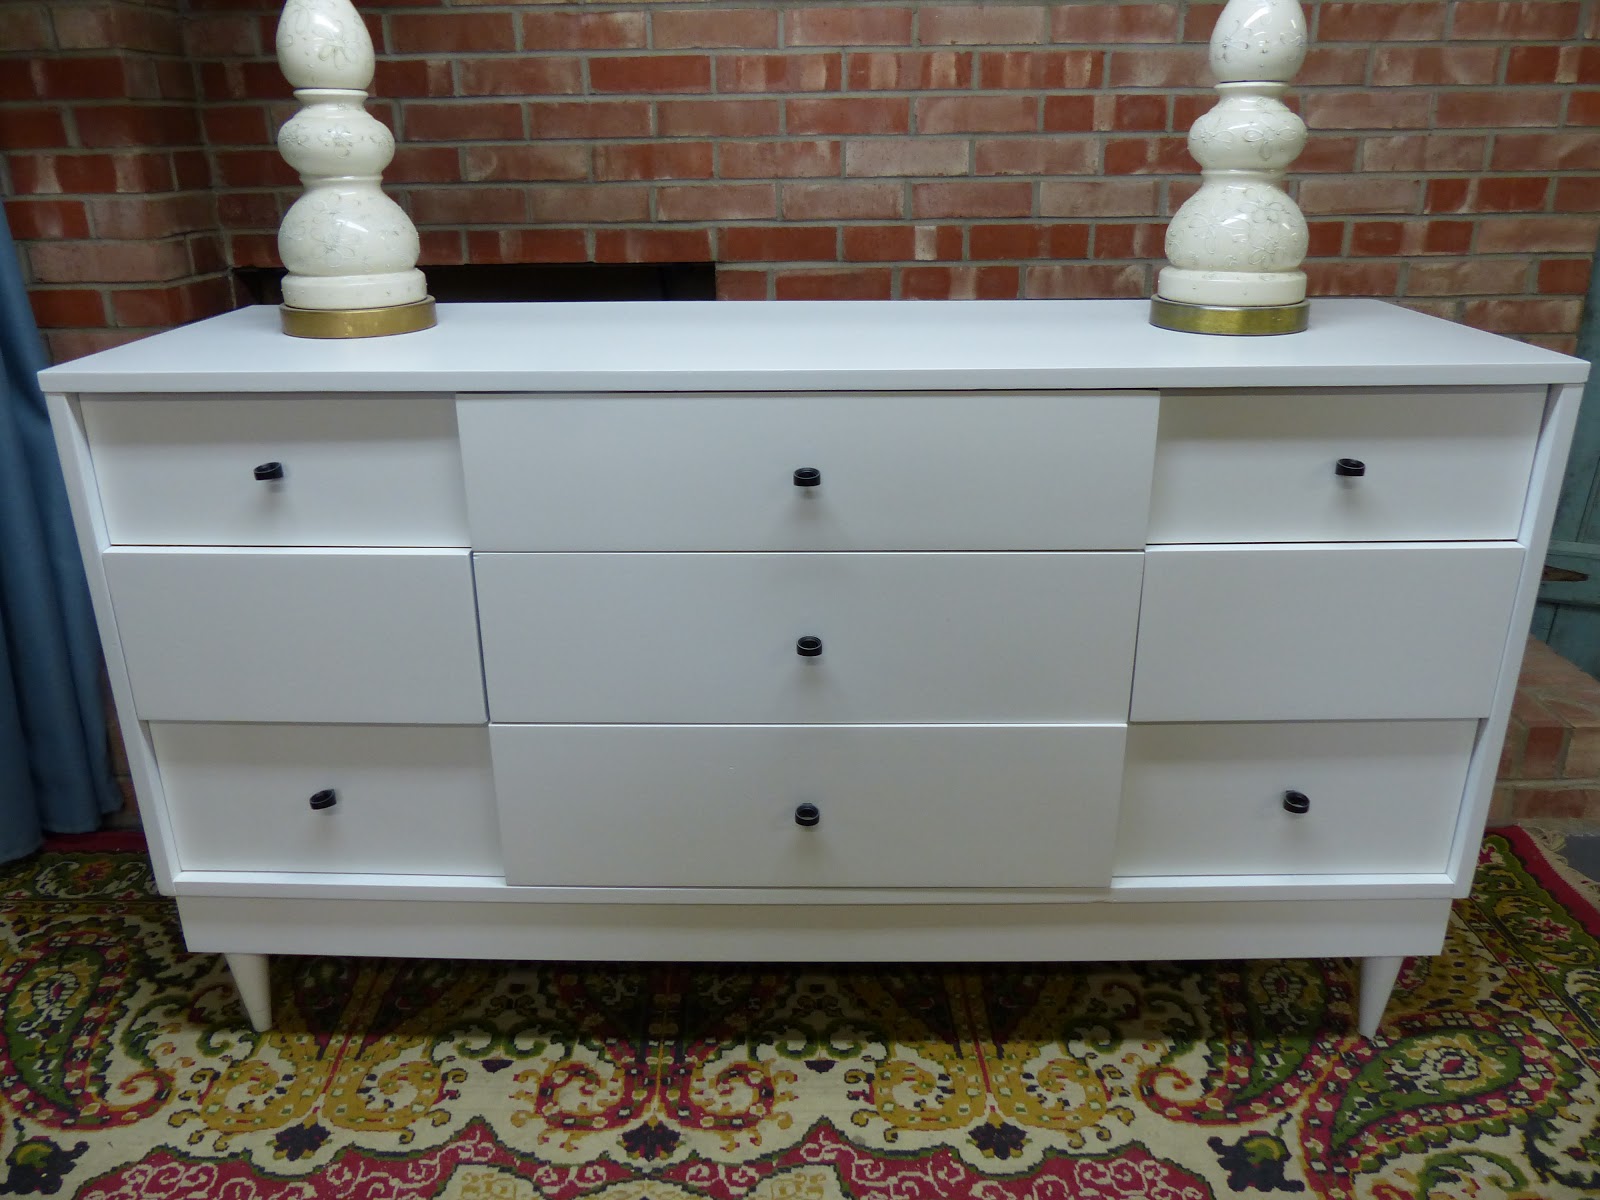
In this article, we will guide you through the process of adding long handles to a dresser with knobs, transforming its appearance and elevating its functionality. With just a few simple steps and the right tools, you can easily achieve a professional-looking result and enjoy the benefits of the new handles.
Before we begin, let’s gather the materials you will need for this project.
Key Takeaways:
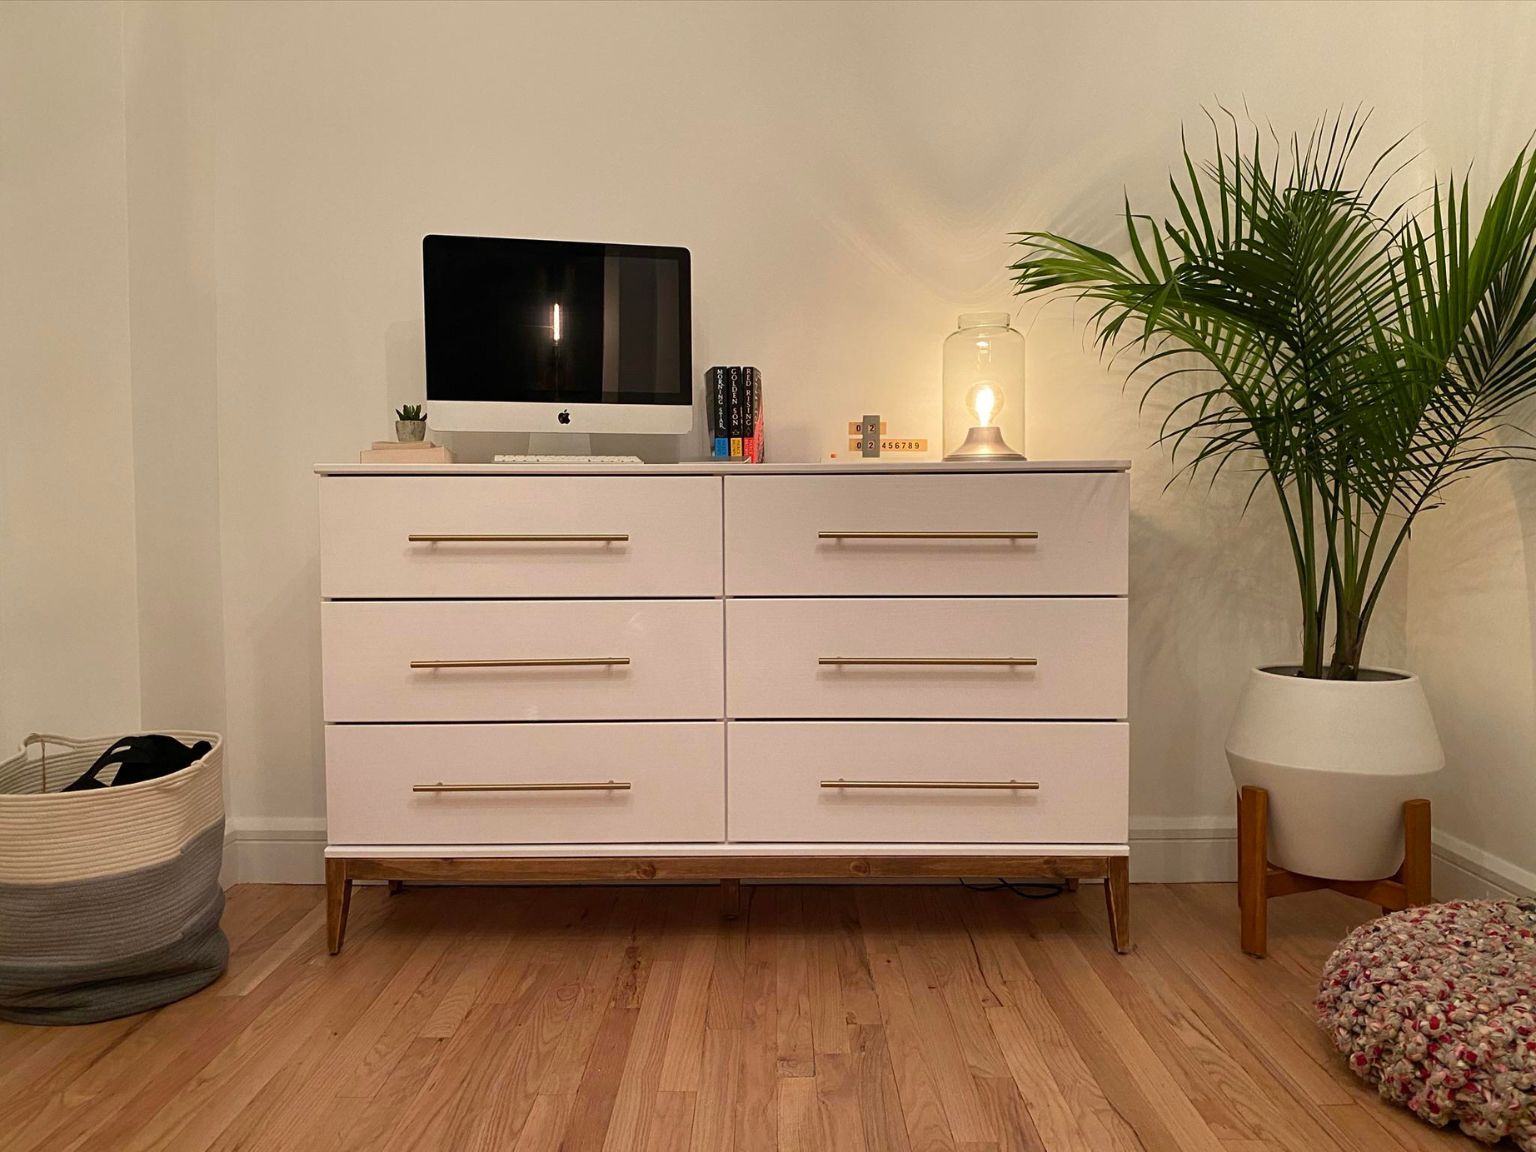
- Upgrade your dresser’s functionality and style by adding long handles. Follow simple steps to achieve a professional look and enjoy the benefits of improved usability and enhanced aesthetics.
- Transform your dresser with personalized long handles for a fresh new look. Elevate your furniture’s appeal and functionality with just a few basic tools and a touch of creativity.
Read more: How To Replace Dresser Knobs
Materials Needed
Before you start adding long handles to your dresser, make sure you have the following materials on hand:
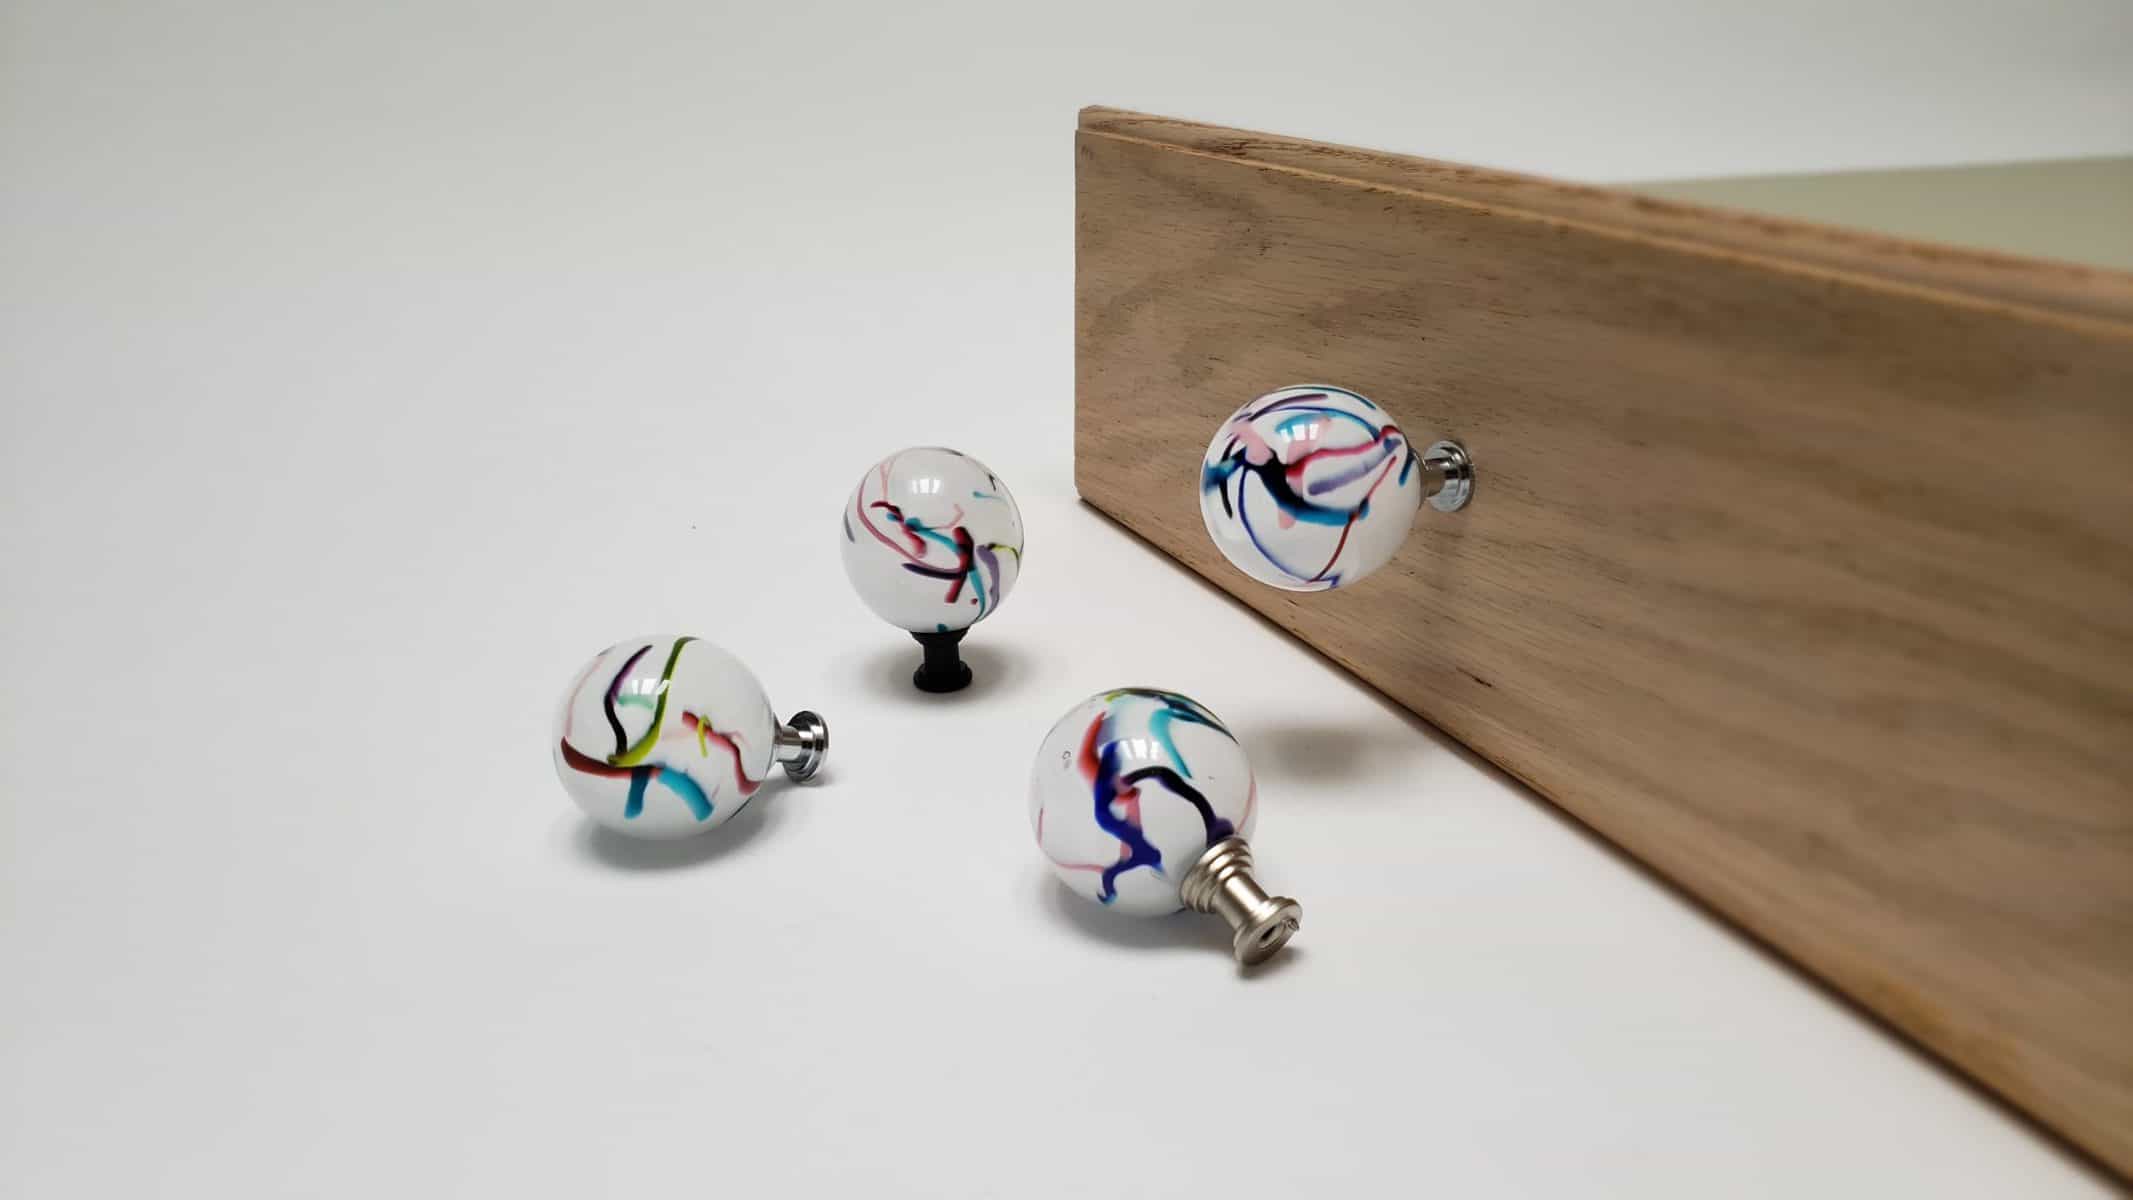
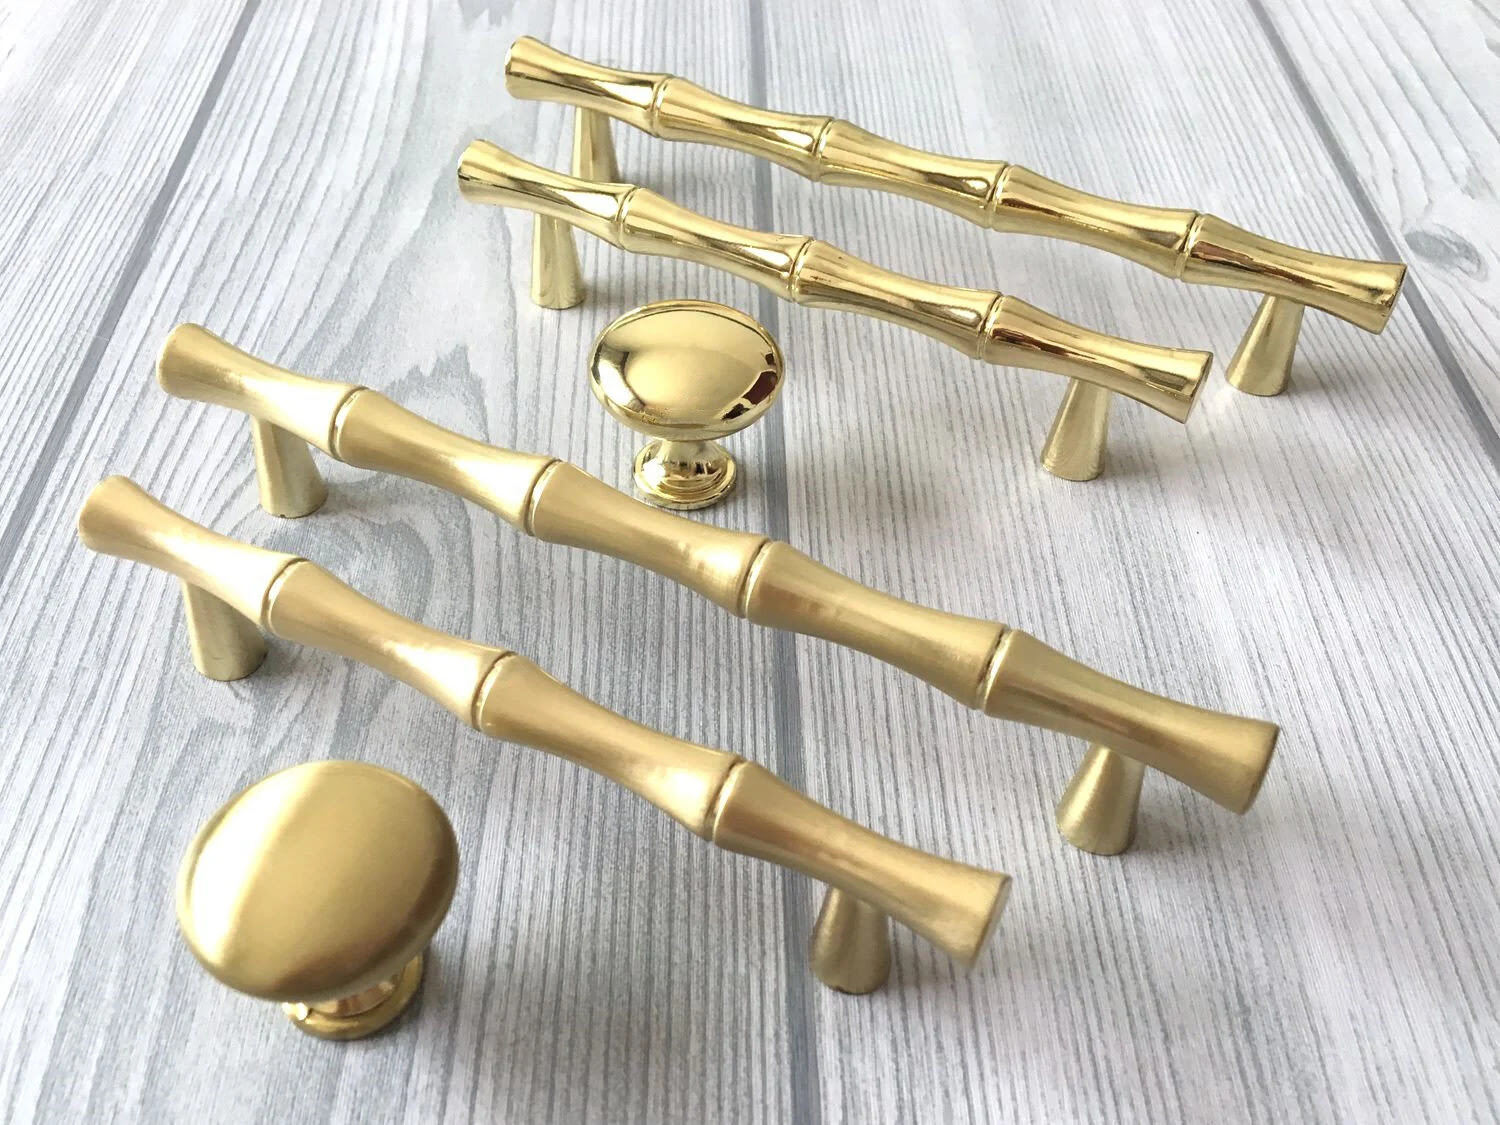
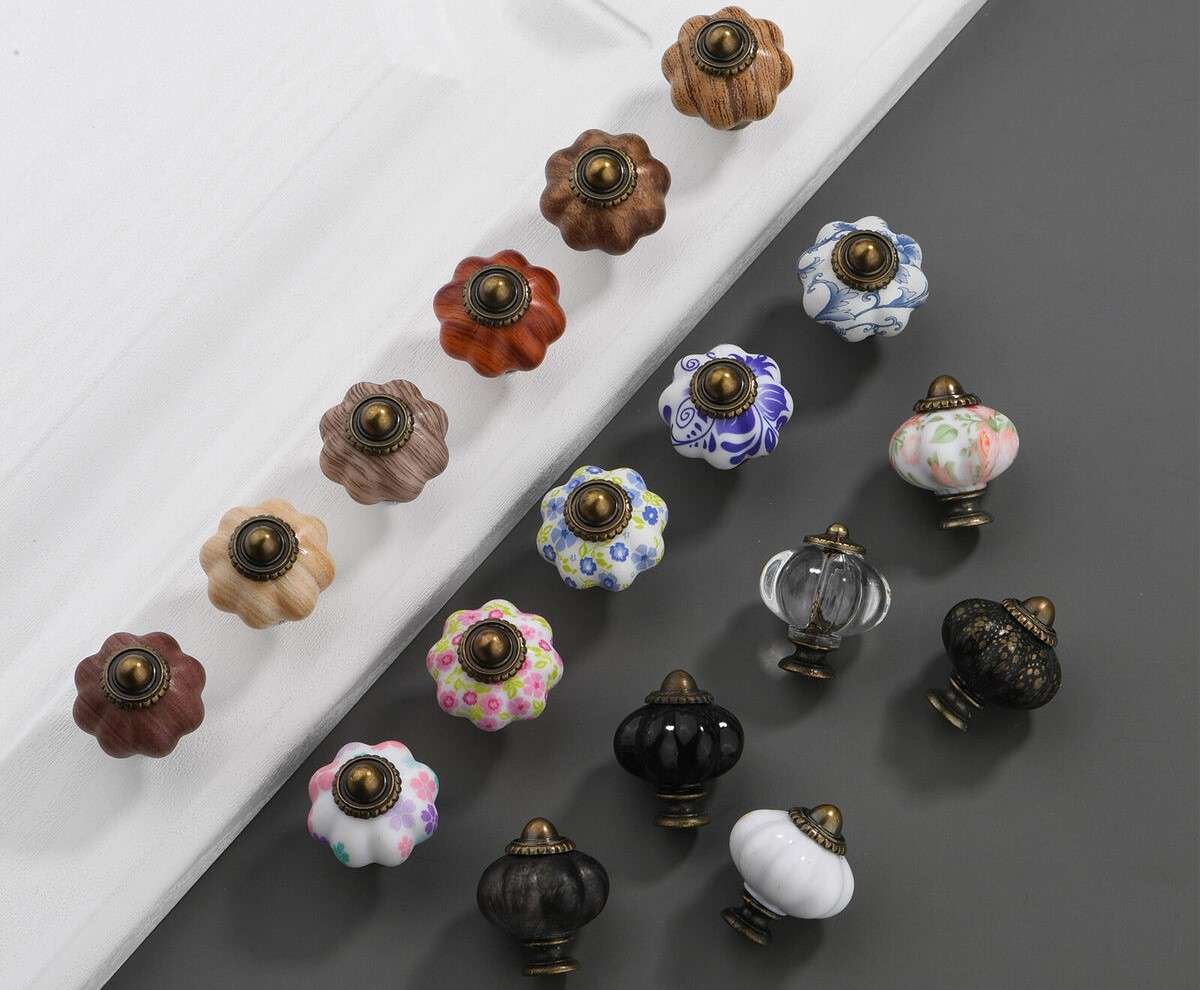
1. Long Handles: Choose handles that match your desired style and are of appropriate length for your dresser. They can be made of various materials such as metal, wood, or plastic.
2. Drill: You’ll need a power drill with the appropriate drill bit size for your handles. Ensure that the drill is charged or has a power source nearby.
3. Measuring Tape or Ruler: Accurate measurements are essential for proper handle placement. Use a measuring tape or ruler to mark the desired locations for the handle installation.
4. Pencil or Marker: Use a pencil or marker to mark the spots where you will be drilling holes for the handle installation.
5. Screwdriver: Depending on the type of handles you choose, you may need a screwdriver to secure the handles to the dresser.
6. Screws: Make sure to have screws of the appropriate size and length. They should be long enough to secure the handles firmly but not too long to poke through the other side of the drawer face.
7. Optional: Sandpaper or Wood Filler: If you’re replacing existing handles, you may need sandpaper or wood filler to smooth out any holes or imperfections left behind.
Ensure that you have these materials ready before you start the process of adding long handles to your dresser. Taking the time to gather everything beforehand will help make the installation process smoother and more efficient. Now that you have your materials ready, let’s move on to the next step: measuring and marking the placement of the handles.
Step 1: Measure and Mark
Before you begin drilling any holes, it’s important to accurately measure and mark the placement of the long handles on your dresser. This step is crucial to ensure that the handles are evenly spaced and aligned properly. Here’s how to do it:
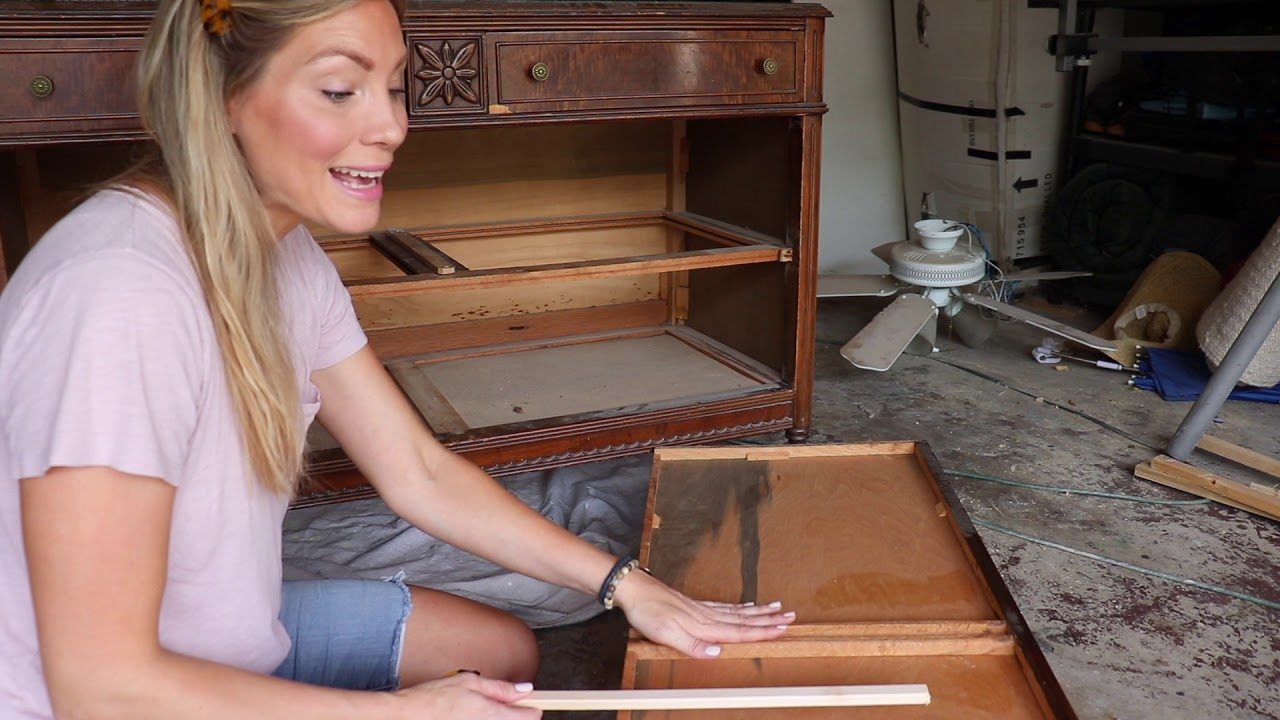
1. Empty the Dresser: Remove all the items from your dresser to provide clear and unobstructed access to the drawer fronts.
2. Determine Handle Placement: Decide where you want to place the long handles on each drawer front. Consider the size and proportions of your dresser and the overall aesthetic you want to achieve. Typically, handles are centered horizontally and positioned slightly above the midpoint vertically.
3. Measure and Mark: Use a measuring tape or ruler to measure the distance from the top edge of the drawer front to the desired location of the handle. Mark this spot lightly with a pencil or marker. Repeat this process for each drawer.
4. Ensure Consistency: To ensure uniformity across all the drawers, use a level or straight edge to connect the marks on adjacent drawers. This will help you confirm that the handles will be aligned correctly.
5. Double-Check the Measurements: Before proceeding to the next step, take a moment to double-check your measurements and make any adjustments as necessary. Accurate measurements are essential for a professional and cohesive result.
By taking the time to measure and mark the handle placement, you can ensure that your dresser has a clean and visually appealing look. Double-checking your measurements will save you from potential mistakes and ensure that the handles are aligned correctly. With the marks in place, you’re ready to move onto the next step: drilling pilot holes for the handle installation.
Step 2: Drill Pilot Holes
Now that you have marked the spots for the long handles on your dresser, it’s time to drill pilot holes. Pilot holes help guide the screws and prevent the wood from splitting or cracking during installation. Follow these steps to drill the pilot holes:
1. Choose the Right Drill Bit: Select a drill bit that matches the size of the screws you will be using. It should be slightly smaller in diameter than the screws to ensure a snug fit.
2. Attach the Drill Bit: Insert the chosen drill bit into your power drill and secure it in place. Make sure it’s tightened properly to prevent it from slipping during drilling.
3. Start Drilling: Position the drill bit over the first marked spot on the dresser. Apply light pressure and begin drilling slowly. Keep the drill straight and perpendicular to the surface to avoid any angle errors.
4. Drill to the Correct Depth: Drill the pilot hole to a depth that is slightly shorter than the length of the screws you will be using. This will ensure a secure hold without the screws poking out the other side of the drawer front.
5. Repeat for Each Marked Spot: Move on to the next marked spot and repeat the drilling process. Take your time and be precise with each hole.
6. Dust Off the Shavings: After drilling each pilot hole, use a brush or a compressed air canister to remove any wood shavings or debris from the holes.
By drilling pilot holes, you will make the installation of the long handles much smoother. These holes will guide the screws, prevent the wood from splitting, and ensure a secure attachment. With the pilot holes in place, you’re ready to move on to the next step: installing the long handles.
When adding long handles to a dresser with knobs, make sure to measure the distance between the screw holes to ensure the new handles will fit properly. Use a template to mark and drill new holes for the handles.
Step 3: Install Long Handles
With the pilot holes drilled, it’s time to install the long handles onto your dresser. Follow these steps to ensure a successful installation:
1. Align the Handles: Hold one handle up to the marked spot on the dresser. Make sure it is aligned properly and centered horizontally. Take a step back and visually verify the alignment before proceeding.
2. Insert the Screws: Insert the screws into the holes on the backside of the handle. Start with just one screw to hold the handle in place temporarily.
3. Attach the Handle: With one screw loosely inserted, hold the handle firmly against the dresser and align it with the pilot holes. Slowly and carefully insert the remaining screws into the pilot holes.
4. Securely Tighten the Screws: Using a screwdriver, tighten the screws one at a time in a diagonal pattern (top-right, bottom-left, top-left, bottom-right). Avoid overtightening, as it can damage the screw or strip the wood.
5. Repeat for other Handles: Follow the same steps for each handle, ensuring proper alignment and securing all the screws in place.
Take your time during the installation process to ensure that each handle is attached properly and securely. Proper alignment and evenly tightened screws will result in a professional and visually appealing finish.
Once all the long handles are installed, admire your dresser’s new look and move on to the next step: securing the handles with screws.
Read more: How To Paint A Dresser Knobs
Step 4: Secure Handles with Screws
Now that you have installed the long handles onto your dresser, it’s important to ensure their stability and security by properly securing them with screws. Follow these steps to complete the process:
1. Check the Handle Fit: Before proceeding, double-check that all the handles fit snugly against the dresser and are aligned correctly. Make any necessary adjustments if needed.
2. Remove One Screw at a Time: Start by removing one screw from each handle at a time. This will allow you to secure the handle properly without any movement.
3. Apply Wood Glue (Optional): If you want to add extra strength to the handle attachment, you can apply a small amount of wood glue into the pilot hole before reinserting the screw. This will create a stronger bond between the handle and the dresser.
4. Insert and Tighten Screws: Reinsert the screw into the pilot hole and use a screwdriver to tighten it securely. Repeat this process for each handle, working one screw at a time.
5. Verify Handle Stability: After all screws are tightened, check the stability of each handle by giving it a gentle tug. Ensure that they are securely attached and do not wobble or move.
By securing the handles with screws, you ensure their longevity and prevent any accidental loosening or damage. This additional step adds an extra level of stability and reliability to your dresser.
With the handles securely attached, the next step is to test and adjust them to ensure they sit comfortably and function properly. Let’s move on to step 5.
Step 5: Test and Adjust
After securing the long handles with screws, it’s essential to test and adjust them to ensure they sit comfortably and function properly. Follow these steps to complete this final stage of the handle installation process:
1. Test the Handles: Gently pull and push each handle to ensure that they operate smoothly. The handles should not feel loose or wobbly. If you notice any issues, such as stiffness or misalignment, it may require further adjustment.
2. Adjust Alignment (if necessary): If the handles appear misaligned or crooked, you can make minor adjustments by loosening the screws slightly. Gently reposition the handle to the desired position, then retighten the screws. Repeat this process as needed until the handles are properly aligned.
3. Check Clearance and Accessibility: Check that the long handles do not interfere with the opening and closing of the drawers. Ensure that there is enough clearance for a comfortable grip and that the handles do not touch neighboring furniture or fixtures.
4. Reinstall Drawer Contents: Once you are satisfied with the handle alignment and functionality, reinsert the items back into the drawers and organize them as desired.
5. Final Check: Give the handles one last test by opening and closing the drawers several times. Make sure they feel comfortable, secure, and function smoothly.
By testing and adjusting the handles, you can ensure their proper functionality and optimize the user experience. Taking the time to address any alignment or functionality issues will result in a finished product that not only looks great but also functions seamlessly.
With the handles tested, adjusted, and working well, you have successfully completed the process of adding long handles to your dresser. Step back and admire the transformation of your furniture, and enjoy the improved functionality and enhanced style it brings.
Conclusion
Adding long handles to a dresser with knobs is a simple yet impactful way to upgrade your furniture’s functionality and aesthetic appeal. By following the steps outlined in this guide, you can achieve professional-looking results and give your dresser a fresh new look.
Start by measuring and marking the desired handle placement, ensuring that the handles are evenly spaced and aligned. Then, drill pilot holes to guide the screws and prevent any damage to the wood. Next, install the long handles onto the dresser, making sure they are aligned properly and securely attached with screws. Finally, secure the handles with screws, ensuring their stability and longevity.
Throughout the process, take the time to test and adjust the handles to ensure they function smoothly and comfortably. Make any necessary alignment adjustments and check the clearance and accessibility of the handles.
The addition of long handles not only improves the usability of your dresser but also adds a touch of personal style and flair to your space. The upgraded handles enhance the overall look and feel of your furniture, making it both visually appealing and user-friendly.
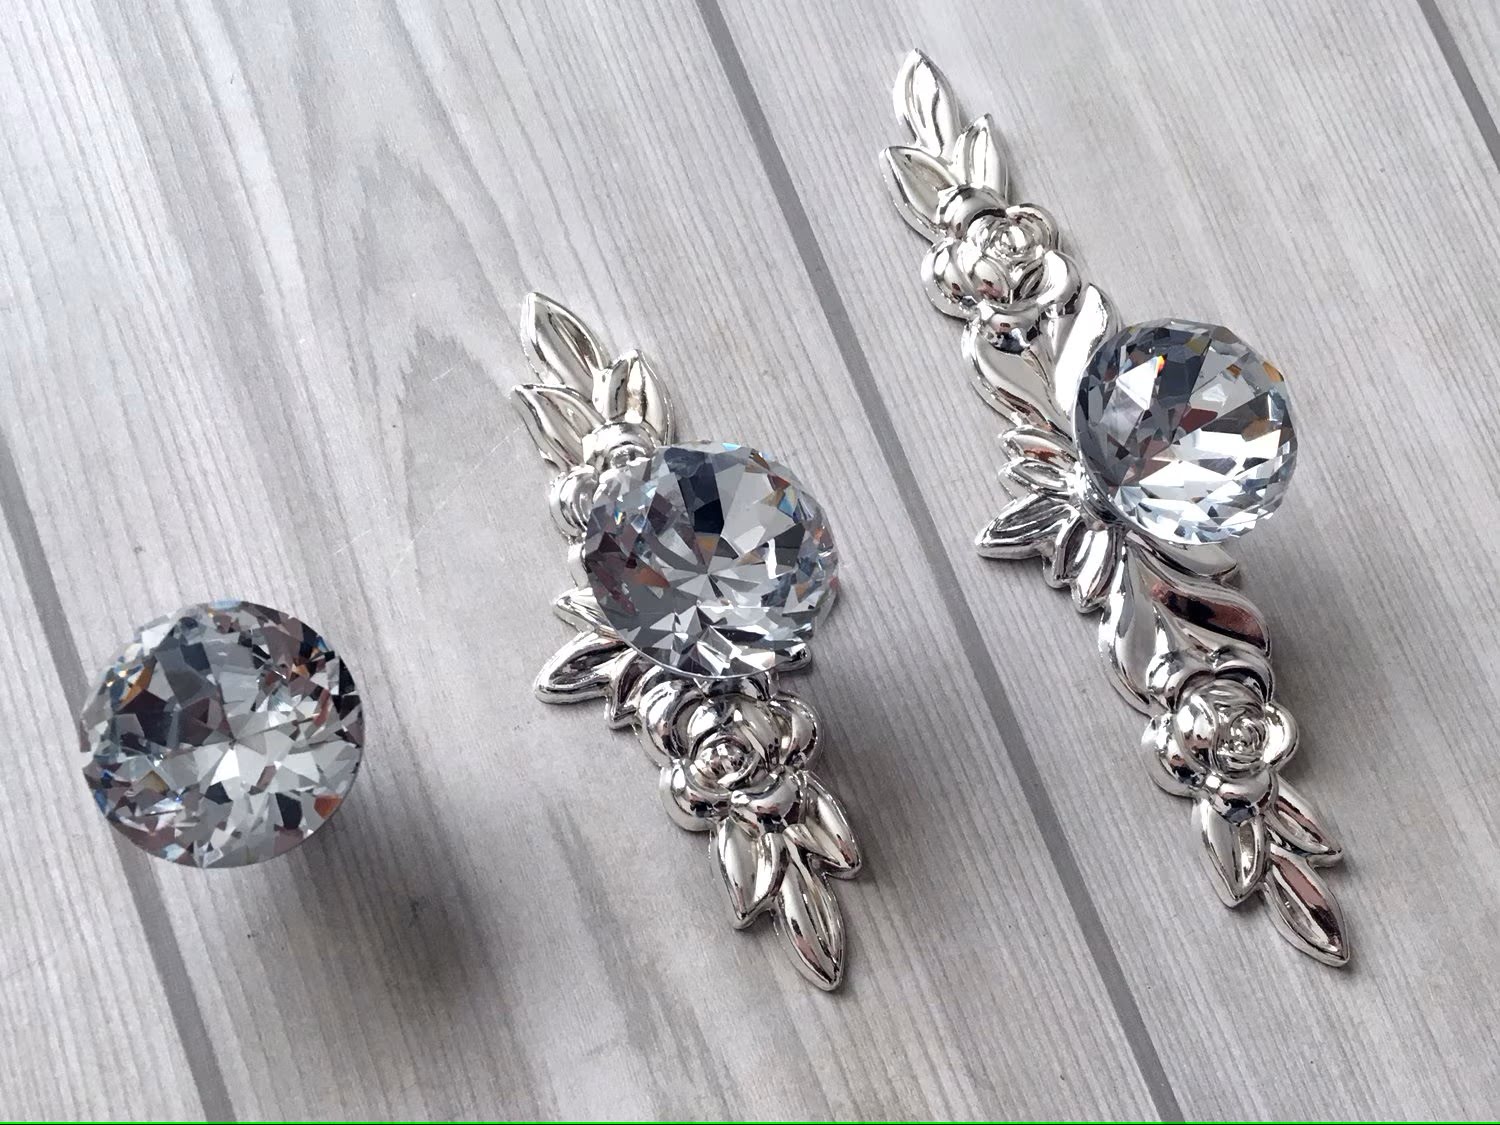
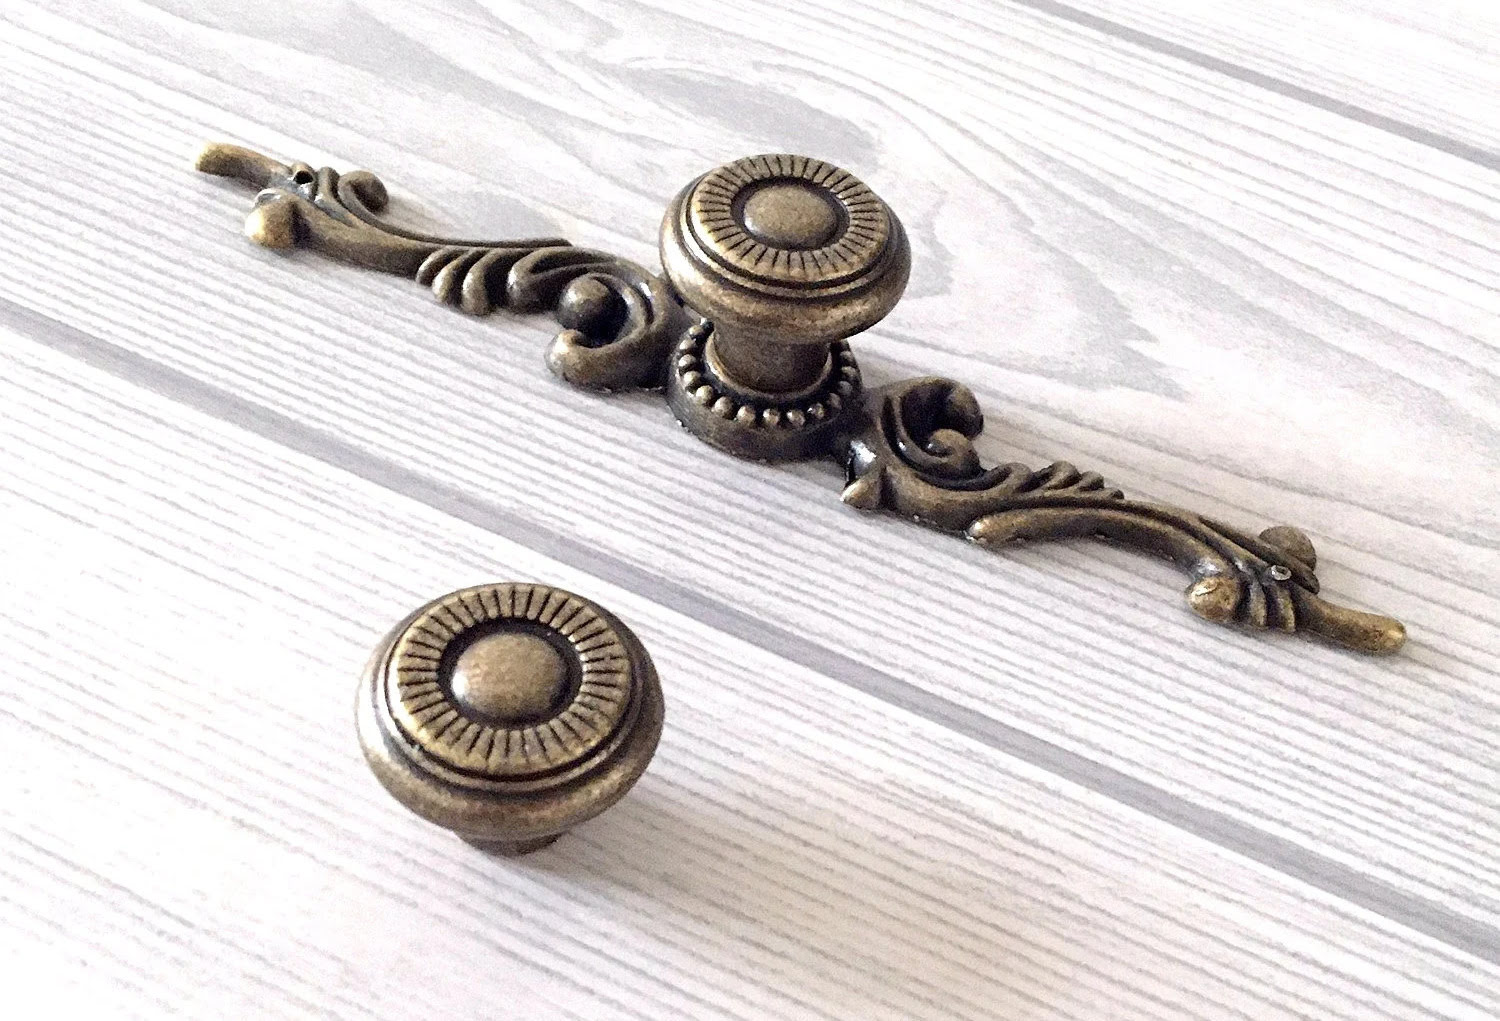
Remember to choose long handles that complement your dresser’s style and match your personal taste. There is a wide variety of options available, from sleek and modern designs to ornate and vintage-inspired styles. Choose handles that resonate with your unique style and elevate the aesthetic of your dresser.
With a few simple steps, some basic tools, and a little bit of time, you can transform your dresser and give it a fresh new look with long handles. So go ahead, breathe new life into your furniture, and enjoy the enhanced functionality and beauty it brings to your living space.
Frequently Asked Questions about How To Add Long Handles To A Dresser With Knobs
Was this page helpful?
At Storables.com, we guarantee accurate and reliable information. Our content, validated by Expert Board Contributors, is crafted following stringent Editorial Policies. We're committed to providing you with well-researched, expert-backed insights for all your informational needs.


0 thoughts on “How To Add Long Handles To A Dresser With Knobs”