Furniture
How To Add Legs To An IKEA Malm Dresser
Modified: August 22, 2024
Learn how to easily add stylish legs to your IKEA Malm dresser to give it a customized furniture look. Transform your space with this simple furniture makeover!
(Many of the links in this article redirect to a specific reviewed product. Your purchase of these products through affiliate links helps to generate commission for Storables.com, at no extra cost. Learn more)
Introduction
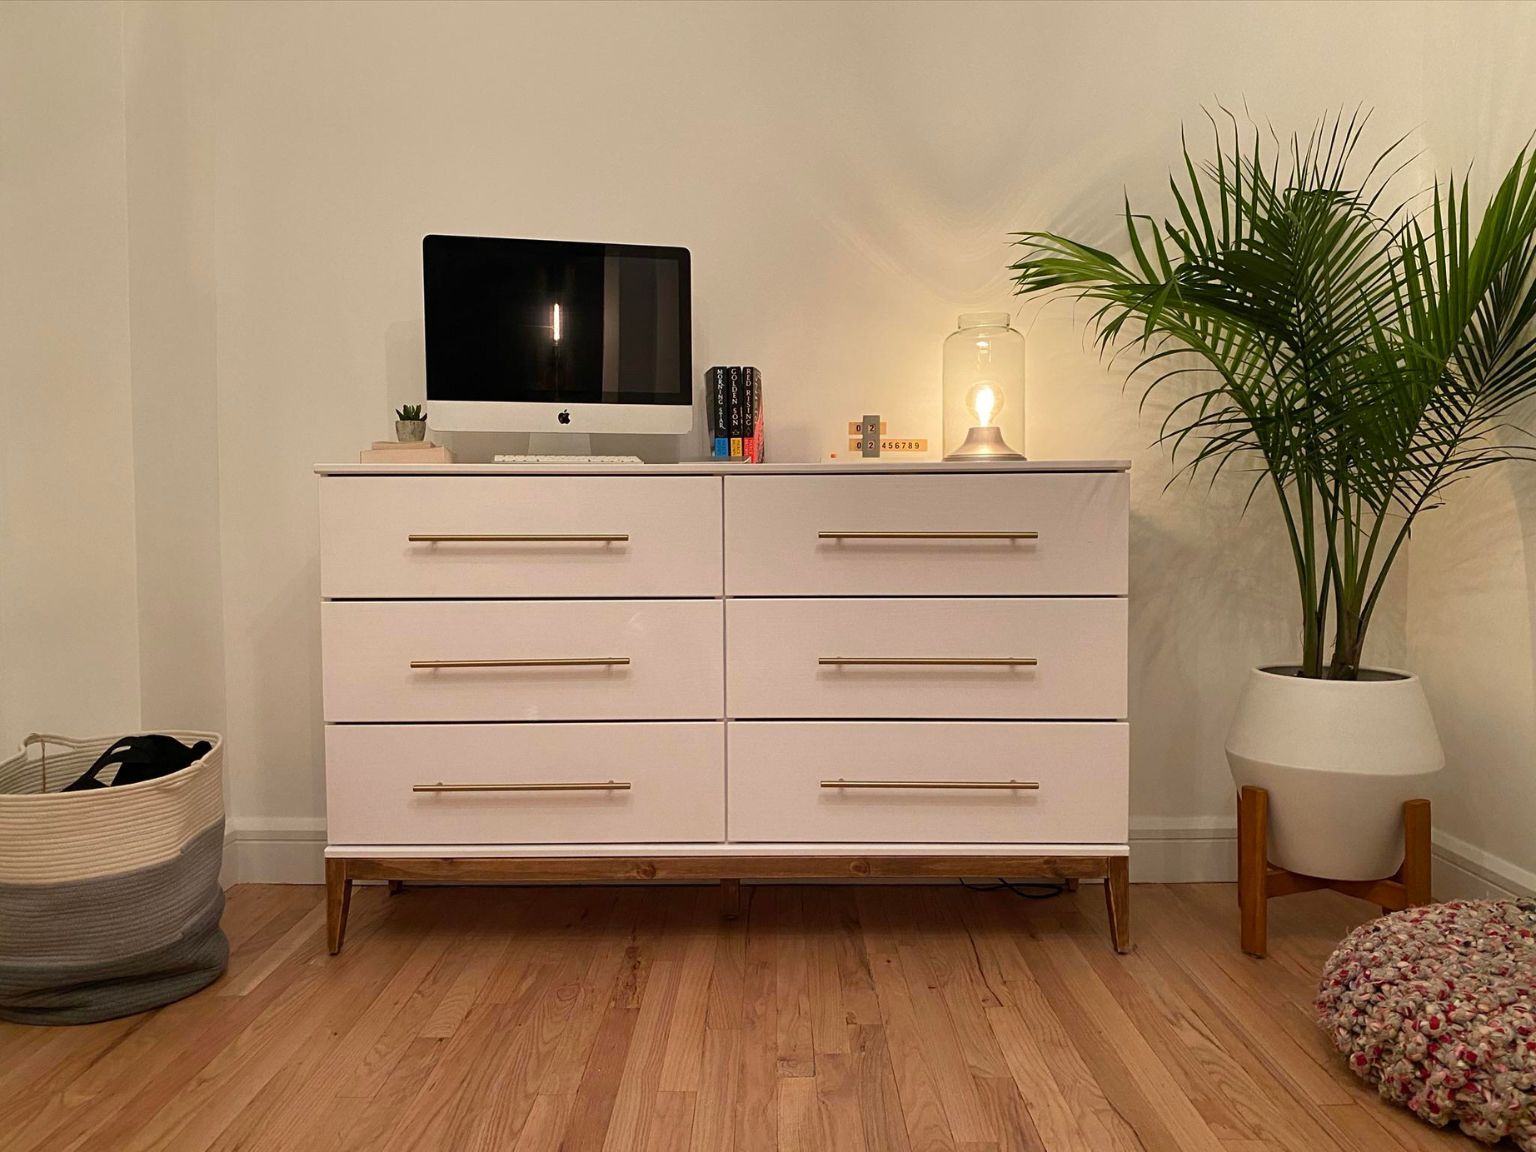
Are you looking to give your IKEA Malm dresser a fresh new look? Adding legs to your IKEA Malm dresser can dramatically change its appearance and elevate its style. With a few simple steps, you can transform your plain dresser into a chic and functional piece of furniture.
In this guide, we will walk you through the process of adding legs to your IKEA Malm dresser. Whether you’re a DIY enthusiast or just starting out, this project is perfect for anyone looking to personalize their furniture and showcase their creativity.
By adding legs to your dresser, you not only give it a stylish upgrade but also create extra storage space underneath. This can be especially beneficial if you have limited floor space. Additionally, raising the dresser off the ground can make cleaning underneath much easier.
Before we dive into the steps, let’s gather the materials you’ll need for this project.
Key Takeaways:
- Elevate your IKEA Malm dresser’s style and functionality by adding legs. Create extra storage space and make cleaning easier while showcasing your creativity with this simple DIY project.
- Transform your plain dresser into a chic and personalized piece of furniture. Enjoy the satisfaction of customizing your living space and adding your unique touch to your home.
Read more: How To Build An IKEA Malm Dresser
Materials Needed
Before you begin adding legs to your IKEA Malm dresser, you’ll want to make sure you have all the necessary materials on hand. Here’s a list of what you’ll need:
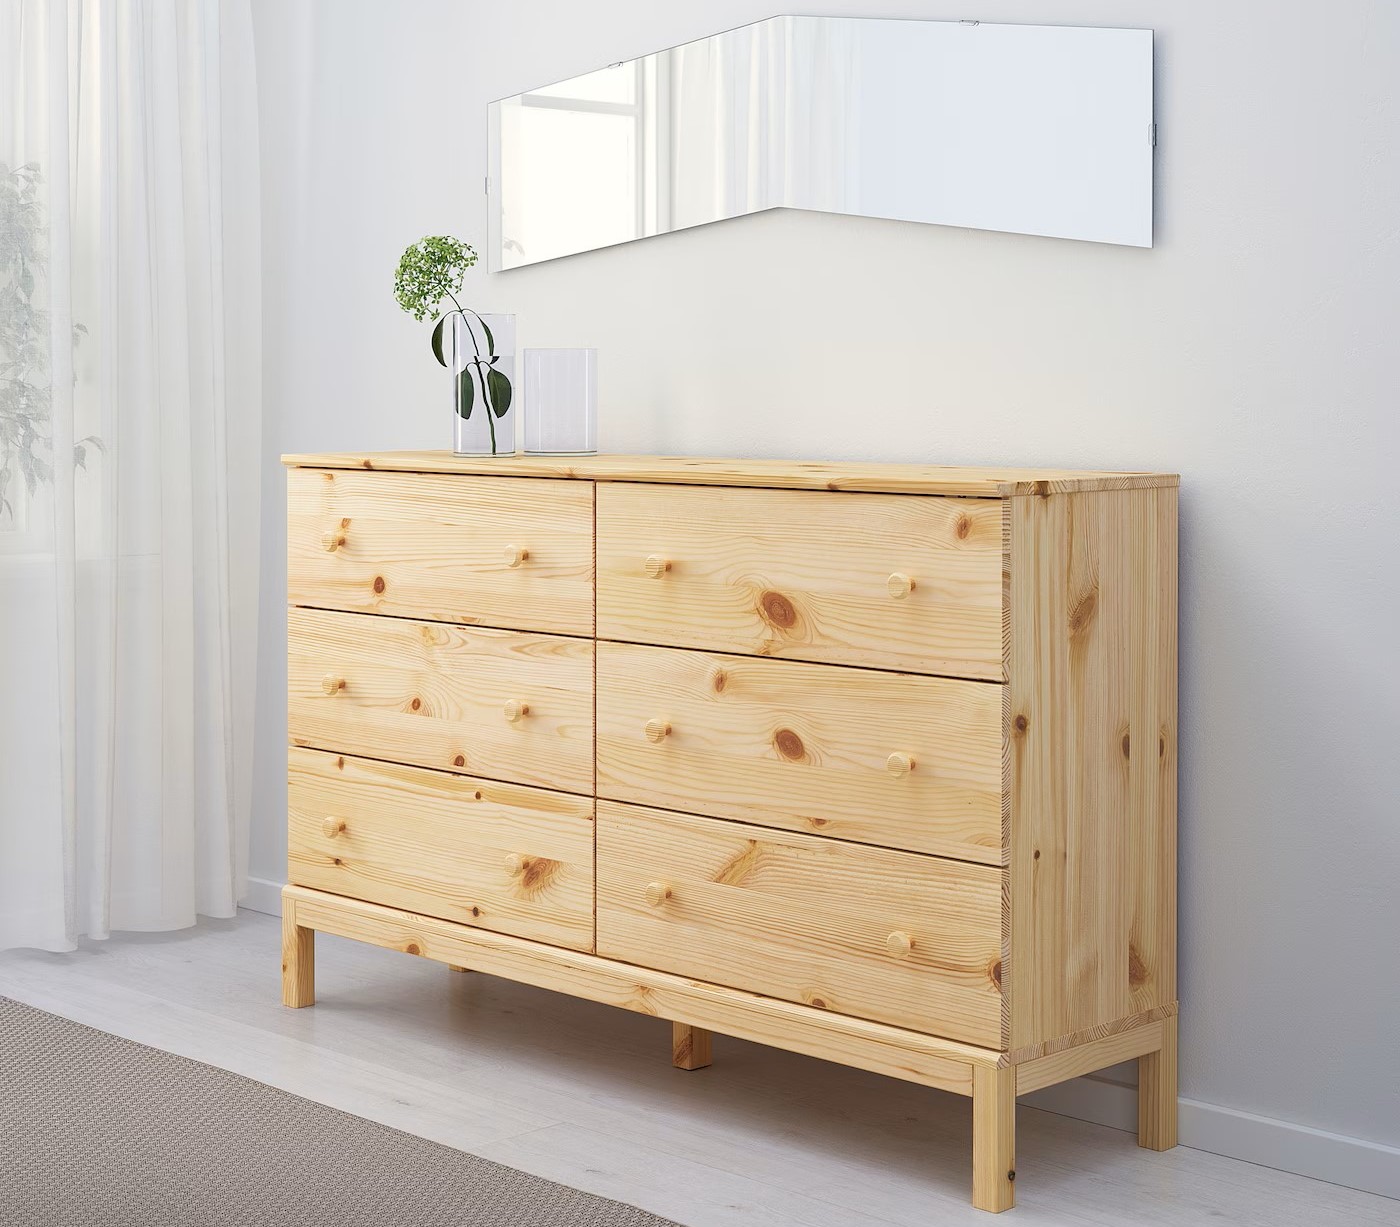
- IKEA Malm dresser: Choose the size and color that best suits your style and needs.
- Furniture legs: Select legs that complement the design of your dresser. You can find a variety of options, including wooden, metal, or acrylic legs, in different heights and styles.
- Leg mounting plates: These plates will be used to attach the legs to the bottom of the dresser.
- Measuring tape: You’ll need a measuring tape to ensure accurate placement of the leg mounting plates.
- Pencil: Use a pencil to mark the spots where you’ll be attaching the leg mounting plates.
- Power drill: A power drill will be necessary to attach the leg mounting plates securely to the bottom of the dresser.
- Screws: Make sure you have screws that are appropriate for the size of the leg mounting plates and the material of your dresser.
- Screwdriver or drill bit: Depending on your preference and the type of screws you’re using, you’ll need either a screwdriver or a drill bit to screw in the screws.
Make sure to gather all these materials before you begin the project. This will ensure a smooth and efficient process.
Step 1: Gather Your Tools
Before you start adding legs to your IKEA Malm dresser, it’s important to gather all the necessary tools. Having everything prepared beforehand will make the process much smoother and more efficient. Here are the tools you’ll need for this project:
- Measuring Tape: This will be used to measure the distance for placing the leg mounting plates accurately.
- Pencil: Use a pencil to mark the spots where the leg mounting plates will be attached.
- Power Drill: You’ll need a power drill to securely attach the leg mounting plates to the bottom of the dresser.
- Screwdriver or Drill Bit: Depending on the type of screws you’re using, you’ll need either a screwdriver or a drill bit to screw in the screws.
- Level: A level will help ensure that the dresser sits evenly and the legs are properly aligned.
- Protective Gear: It’s always a good idea to wear gloves and safety glasses when using power tools for added protection.
By gathering these tools before you begin, you’ll be well-prepared and ready to tackle the project with ease.
Step 2: Prepare the Dresser
Before you can add legs to your IKEA Malm dresser, it’s important to properly prepare the dresser. Follow these steps to ensure a smooth and clean surface for attaching the leg mounting plates:
- Empty the dresser: Remove all items from the dresser and set them aside in a safe place. This will make it easier to work on the dresser and prevent any damage to your belongings.
- Turn the dresser upside down: Carefully flip the dresser upside down, ensuring that it is stable and secure. You may want to ask for assistance, especially if the dresser is large or heavy.
- Remove any existing feet or base: If your IKEA Malm dresser has any existing feet or base, you’ll need to remove them before adding the new legs. Use a screwdriver or drill to loosen and remove any screws or attachments.
- Clean the bottom surface: Take a damp cloth or sponge and wipe down the bottom surface of the dresser. Remove any dust, dirt, or debris to ensure a clean and smooth surface for attaching the leg mounting plates.
- Dry the dresser: Allow the dresser to dry completely before proceeding. This will ensure that the leg mounting plates adhere properly to the dresser’s surface.
By properly preparing the dresser, you’ll create a solid foundation for attaching the legs and ensure the longevity of your newly upgraded piece of furniture. Now that the dresser is ready, it’s time to move on to measuring and marking the placement for the legs.
Step 3: Measure and Mark Placement for Legs
One of the crucial steps in adding legs to your IKEA Malm dresser is measuring and marking the proper placement for the legs. This ensures that your dresser will be balanced and stable. Follow these steps to achieve accurate leg placement:
- Measure the distance: Use a measuring tape to determine the distance from the outer edges of the bottom surface of the dresser to where you want the legs to be placed. Make sure to measure and mark each corner of the dresser.
- Consider the desired height: Decide on the height you want the dresser to be when the legs are attached. Keep in mind that the height of the legs will affect the overall look and functionality of the dresser.
- Mark the placement: With a pencil, carefully mark the spots where the leg mounting plates will be attached. Make sure to align the marking with the measurements you took earlier.
- Double-check the alignment: Use a level to ensure that the pencil marks are aligned and the dresser will sit evenly once the legs are attached. Adjust the marks if necessary.
Accurate measurements and proper marking are essential to achieve a balanced and aesthetically pleasing result. Take your time with this step to ensure precision, as it will directly impact the stability and appearance of your dresser. Once you’re satisfied with the markings, it’s time to move on to attaching the leg mounting plates.
When adding legs to an IKEA Malm dresser, make sure to measure and mark the placement of the legs accurately before attaching them. Use a level to ensure the dresser is balanced and stable once the legs are installed.
Read more: How To Add Legs To A Dresser
Step 4: Attach the Leg Mounting Plates
With the placement marked, it’s time to attach the leg mounting plates to the bottom of your IKEA Malm dresser. The leg mounting plates provide a secure and stable foundation for your legs. Follow these steps to attach the mounting plates:
- Align the mounting plates: Take the leg mounting plates and align them with the pencil marks you made in the previous step. Ensure that the plates are centered and evenly spaced.
- Mark the screw holes: Use a pencil or pen to mark the screw holes on the dresser through the pre-drilled holes on the mounting plates.
- Pre-drill pilot holes: Using a power drill and a drill bit that is slightly smaller than the screws you’ll be using, pre-drill pilot holes on the marked spots. This will make it easier to screw in the screws and reduce the risk of splitting the wood.
- Attach the mounting plates: Position the mounting plates on the dresser and secure them in place by screwing in the screws through the pre-drilled pilot holes. Use a screwdriver or a drill with a screwdriver bit to securely fasten the mounting plates.
- Double-check the alignment: After attaching all the mounting plates, double-check that they are aligned and securely in place. Make any necessary adjustments if needed.
By attaching the leg mounting plates correctly, you’re creating a solid base for the legs to be securely attached. Once the mounting plates are in place, you’re ready to move on to the next step: screwing in the legs.
Step 5: Screw in the Legs
Now that the leg mounting plates are securely attached, it’s time to screw in the legs to your IKEA Malm dresser. Follow these steps to ensure a proper and stable attachment:
- Select the legs: Choose the legs you want to use for your dresser. Make sure they are the appropriate size and style that complements your overall design.
- Align the legs: Position one leg over each leg mounting plate, aligning the screw holes on the leg with the holes on the mounting plate.
- Screw in the legs: Using a screwdriver or a drill with a screwdriver bit, insert screws through the screw holes on the legs and tighten them securely into the mounting plates.
- Double-check for stability: Once all the legs are attached, gently rock the dresser side to side and back and forth to ensure that it remains stable.
It’s important to tighten the screws securely to ensure the legs are firmly attached to the dresser. Carefully follow the instructions provided with the legs or mounting plates to ensure a proper installation. If necessary, use a wrench or pliers to hold the leg in place while tightening the screws.
Once all the legs are securely attached, you’re ready to move on to the next step: checking for stability.
Step 6: Check for Stability
After screwing in the legs, it’s important to check the stability of your dresser to ensure it can safely support the added weight. Follow these steps to check for stability:
- Test the dresser: Gently press down on each corner and side of the dresser to check for any wobbling or instability. Take note of any areas that feel uneven or shaky.
- Adjust the legs: If you notice any instability, try adjusting the legs by tightening or loosening the screws. This will help level the dresser and provide better stability.
- Use a level: Place a level on top of the dresser surface to check if it sits evenly. If it tilts to one side, adjust the legs accordingly until the dresser is level.
- Make necessary adjustments: If the dresser remains unstable, consider adding shims or padding under the legs to compensate for any uneven flooring or surfaces.
Ensuring the stability of your dresser is crucial for durability and safety. A stable dresser not only adds to the aesthetic appeal but also prevents accidents or damage to your belongings. Take the time to make any necessary adjustments to achieve a sturdy and level piece of furniture.
Now that you have checked for stability, move on to the final step: repeating the process for the remaining legs.
Step 7: Repeat for Remaining Legs
In the final step, you’ll repeat the process of attaching the leg mounting plates and screwing in the legs for the remaining corners of your IKEA Malm dresser. Follow these steps to complete the transformation:
- Position the dresser: Carefully turn the dresser around so that one of the remaining corners is accessible.
- Attach the leg mounting plates: Align the leg mounting plates with the markings you made earlier for the remaining corners. Make sure they are centered and evenly spaced.
- Mark and pre-drill holes: Use a pencil or pen to mark the screw holes on the dresser through the pre-drilled holes on the mounting plates. Pre-drill pilot holes on the marked spots using a power drill and a drill bit that is slightly smaller than the screws.
- Screw in the legs: Position the legs over the leg mounting plates, aligning the screw holes on the legs with the holes on the mounting plates. Use a screwdriver or a drill with a screwdriver bit to screw in the screws and securely attach the legs.
- Check for stability: Test the stability of the dresser by gently pressing down on each corner and side. Make any necessary adjustments to the legs to ensure stability and levelness.
Repeat these steps for the remaining corners of the dresser until all the legs are attached securely. By consistently following the process, you will achieve a balanced and stylish piece of furniture.
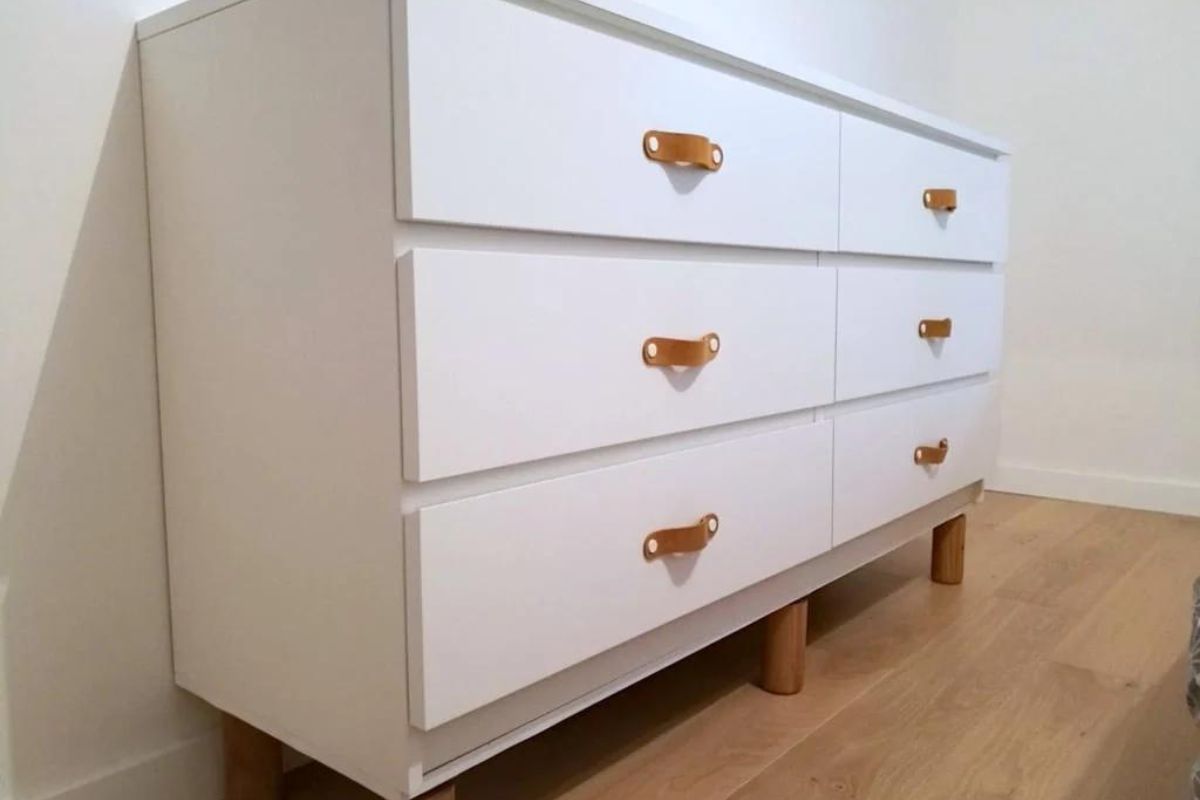
With the legs successfully added to your IKEA Malm dresser, take a step back and admire your transformed piece of furniture. The addition of legs not only enhances the visual appeal but also provides added functionality and convenience. Enjoy the sense of accomplishment that comes with completing this DIY project.
Congratulations! You have successfully added legs to your IKEA Malm dresser and created a personalized and stylish piece of furniture that suits your unique taste and style.
Read also: 9 Superior Malm Dresser for 2025
Conclusion
Adding legs to your IKEA Malm dresser is a simple yet impactful way to transform its appearance and functionality. By following the steps outlined in this guide, you have successfully upgraded your dresser into a chic and personalized piece of furniture.
Throughout this process, we discussed the materials you’ll need, gathering the necessary tools, preparing the dresser, measuring and marking the placement for the legs, attaching the leg mounting plates, screwing in the legs, checking for stability, and repeating the process for the remaining legs.
By taking the time to properly prepare the dresser, measure accurately, and secure the legs firmly in place, you have created a stable and stylish furniture piece that can be enjoyed for years to come.
Remember to consider the style and height of the legs during the selection process, as they will greatly influence the overall look and functionality of the dresser. Whether you choose wooden, metal, or acrylic legs, make sure they complement your aesthetic preferences and suit the purpose of the dresser.
As you admire your newly transformed IKEA Malm dresser, take pride in the fact that you have personalized your furniture and added your unique touch to your living space. This DIY project not only offers an opportunity for creative expression but also enables you to make the most of your furniture by creating additional storage space and ease of cleaning.
We hope that this guide has been informative and has inspired you to embark on more DIY projects in the future. With a little creativity and some simple tools, you can transform any piece of furniture into a customized and eye-catching masterpiece.
So go ahead, unleash your creativity, and continue to explore the world of furniture customization. Enjoy the satisfaction of creating a space that truly reflects your personality and style!
Now that you've mastered adding legs to your dresser, why not tackle more DIY projects around your home? Our guide on DIY home improvement offers practical tips and creative ideas to transform your living space. With easy-to-follow steps, you'll learn to revamp rooms, fix common issues, and add personal touches that make a house truly feel like home. Don't wait to refresh your surroundings; start your next project today!
Frequently Asked Questions about How To Add Legs To An IKEA Malm Dresser
Was this page helpful?
At Storables.com, we guarantee accurate and reliable information. Our content, validated by Expert Board Contributors, is crafted following stringent Editorial Policies. We're committed to providing you with well-researched, expert-backed insights for all your informational needs.


0 thoughts on “How To Add Legs To An IKEA Malm Dresser”