Furniture
How To Add Drawer Slides To An Old Dresser
Modified: August 17, 2024
Learn how to add drawer slides to an old dresser and transform it into functional furniture. Upgrade your storage with this step-by-step guide.
(Many of the links in this article redirect to a specific reviewed product. Your purchase of these products through affiliate links helps to generate commission for Storables.com, at no extra cost. Learn more)
Introduction
Adding drawer slides to an old dresser is a great way to revamp its functionality and improve its usability. Whether you’re looking to restore an antique dresser or update a worn-out piece of furniture, installing new drawer slides can make a significant difference. Drawer slides allow the drawers to glide smoothly in and out, providing easy access to your belongings.
In this guide, we will walk you through the step-by-step process of adding drawer slides to an old dresser. It’s a relatively simple DIY project that requires a few basic tools and some patience. By following our instructions, you’ll be able to transform your dresser into a functional and stylish piece of furniture.
Before we get started, it’s important to note that there are different types of drawer slides available, including side-mount slides, bottom-mount slides, and center-mount slides. We’ll be focusing on side-mount slides, as they are the most commonly used and offer excellent stability and ease of installation.
Now, let’s gather our materials and get started on this exciting furniture transformation!
Key Takeaways:
- Revamp old dressers with new drawer slides for improved functionality and style. Follow the step-by-step guide for a DIY furniture transformation using basic tools and materials.
- Ensure smooth and effortless drawer movement by measuring, installing, and testing drawer slides. Add finishing touches for a polished and revitalized dresser.
Read more: How To Fix A Dresser Drawer Slides
Step 1: Gather the Necessary Materials
Before you begin, it’s important to have all the necessary materials on hand to ensure a smooth installation process. Here’s a list of the items you’ll need:
- Drawer slides: Measure the length of your drawers and purchase side-mount drawer slides that match the size. Make sure to buy a set of slides for each drawer that needs to be replaced.
- Measuring tape: A measuring tape will come in handy for accurately measuring the dimensions of your drawers and determining the placement of the drawer slides.
- Pencil: Use a pencil to mark the positions where you’ll be attaching the drawer slides.
- Screwdriver or drill driver: Depending on the type of screws provided with your drawer slides, you’ll need either a screwdriver or a drill driver to secure the slides to your dresser.
- Screws: Most drawer slides come with screws included, but it’s a good idea to have some extra screws of the appropriate size in case you need them.
- Level: A level will help ensure that your drawer slides are installed straight and level, preventing any issues with the drawers’ movement.
- Safety goggles: It’s always a good idea to protect your eyes when working with tools or handling screws and other hardware.
Once you have gathered all these materials, you’ll be well-equipped to proceed with the installation process. Take a moment to familiarize yourself with the materials and make sure you have everything you need before moving on to the next step.
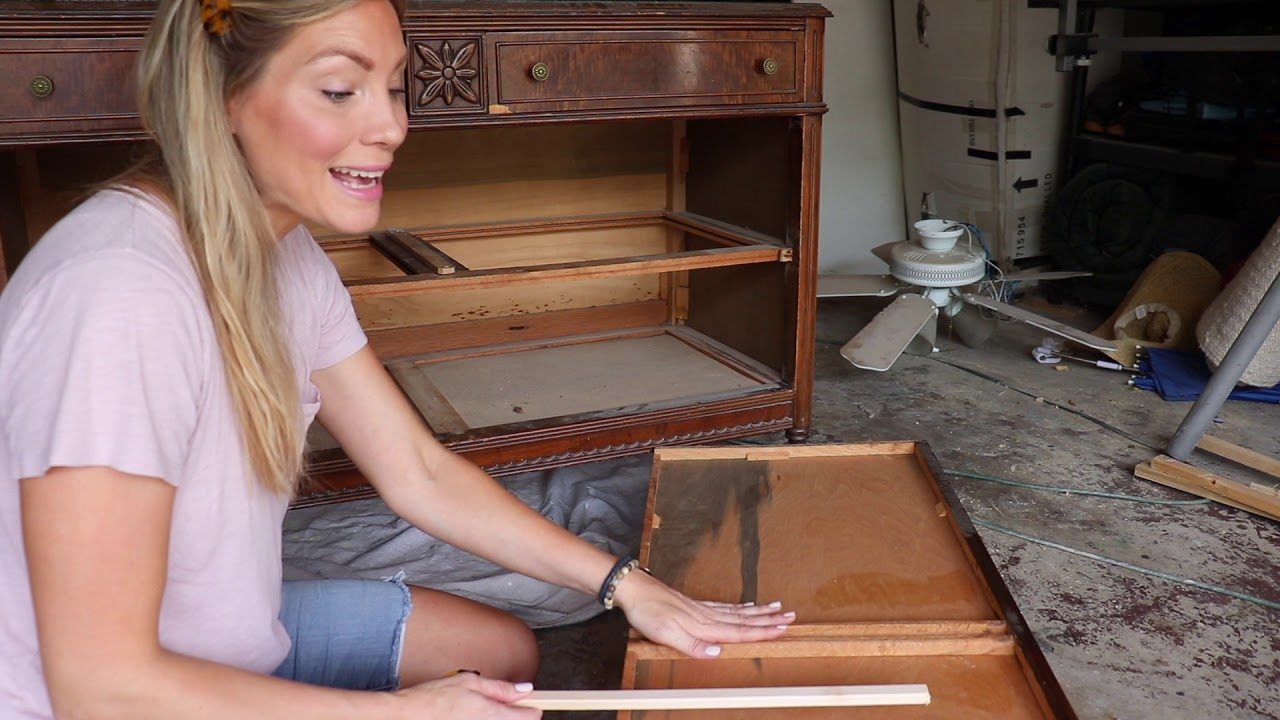
Step 2: Remove the Old Drawer Slides
With your materials ready, it’s time to remove the old drawer slides from your dresser. This process may vary depending on the type of slides you currently have, but generally, the steps are as follows:
- Empty the drawers: Before you can remove the old slides, make sure the drawers are empty and free of any belongings.
- Remove the drawers: Carefully remove each drawer from the dresser, ensuring that you have enough space to work.
- Inspect the old slides: Take a close look at the existing drawer slides to determine how they are attached. Some slides may be screwed onto the drawer and dresser, while others may be held in place with nails or staples.
- Remove the mounting screws: Using a screwdriver or drill driver, remove the mounting screws that secure the old slides to the drawers and the dresser. If the slides are attached with nails or staples, use a prying tool to carefully detach them.
- Detach the old slides: Once the mounting screws or fasteners are removed, gently pull the old slides away from the drawers and the dresser. Be cautious not to damage the wood or the existing holes.
- Remove any remaining hardware: Check for any additional hardware, such as brackets or supports, that may still be attached to the drawers or the dresser. Remove these as well.
- Clean the area: Take a moment to clean any residue or debris left behind by the old slides. This will ensure a smooth installation process for the new drawer slides.
By following these steps, you’ll be able to effectively remove the old drawer slides and prepare your dresser for the installation of new slides. Make sure to take your time and be gentle to avoid any unnecessary damage to the drawer or the dresser.
Step 3: Measure and Mark for New Drawer Slides
Now that you’ve removed the old drawer slides, it’s time to measure and mark the positions for the new slides. This step is crucial to ensure that your drawers will slide smoothly and align properly with the dresser. Here’s how to do it:
- Measure the drawer height: Use a measuring tape to determine the height of each drawer. This measurement will help you position the drawer slides correctly.
- Mark the center point: Divide the height of the drawer by two to find the center point. Use a pencil to mark this point on the inside of the drawer, near the front and back edges.
- Measure the slide length: Measure the length of the drawer slides you purchased. Subtract the width of the drawer from this measurement to determine the length of the slide that will be attached to the dresser.
- Mark the slide position: Using the measurements from step 3, position the slides on the inside of the dresser. Place the slides flush with the front edge of the dresser, ensuring that the slide length is centered on the mark you made in step 2.
- Mark the screw holes: With the slides in position, use a pencil to mark the locations of the screw holes on both the drawer and the dresser. This will guide you when attaching the slides.
- Repeat for each drawer: Repeat steps 2-5 for each drawer that needs new slides. Make sure to measure and mark the appropriate positions for each drawer, as the sizes may vary.
By carefully measuring and marking the positions for the new drawer slides, you’ll ensure that the installation process goes smoothly and your drawers fit perfectly in the dresser. Take your time during this step to ensure accuracy and precision.
Step 4: Attach the Drawer Slide Brackets
Now that you have measured and marked the positions for the new drawer slides, it’s time to attach the slide brackets to both the drawers and the dresser. The slide brackets serve as the anchor points for the drawer slides and provide stability and smooth movement. Follow these steps to attach the brackets:
- Start with the drawer: Take one of the drawers and position it in front of you. Place one slide bracket on each side of the drawer, lining them up with the marked screw holes.
- Align the brackets: Make sure the brackets are aligned vertically with the marked center point on the drawer. This will ensure that the slides are centered and the drawer moves smoothly.
- Attach the brackets: Using the screws provided with the drawer slides, secure the brackets to the sides of the drawer. Make sure to tighten the screws firmly, but be careful not to overtighten and damage the wood.
- Repeat for the dresser: Now, move on to the dresser itself. Take one slide bracket and align it with the marked screw holes on the inside of the dresser, near the front and back edges. Repeat this step for the other side.
- Attach the brackets to the dresser: Similar to the previous step, use the screws provided to attach the slide brackets to the dresser. Ensure that they are securely fastened, as they will bear the weight of the drawers.
By attaching the brackets to both the drawers and the dresser, you’ll establish a solid foundation for the drawer slides. This step is crucial for ensuring stability and smooth operation. Take your time to align the brackets accurately and tighten the screws securely.
When adding drawer slides to an old dresser, make sure to measure the drawer and the opening carefully to ensure a proper fit. Use a level to ensure the slides are installed straight for smooth operation.
Read more: How To Fix An Old Dresser Drawers
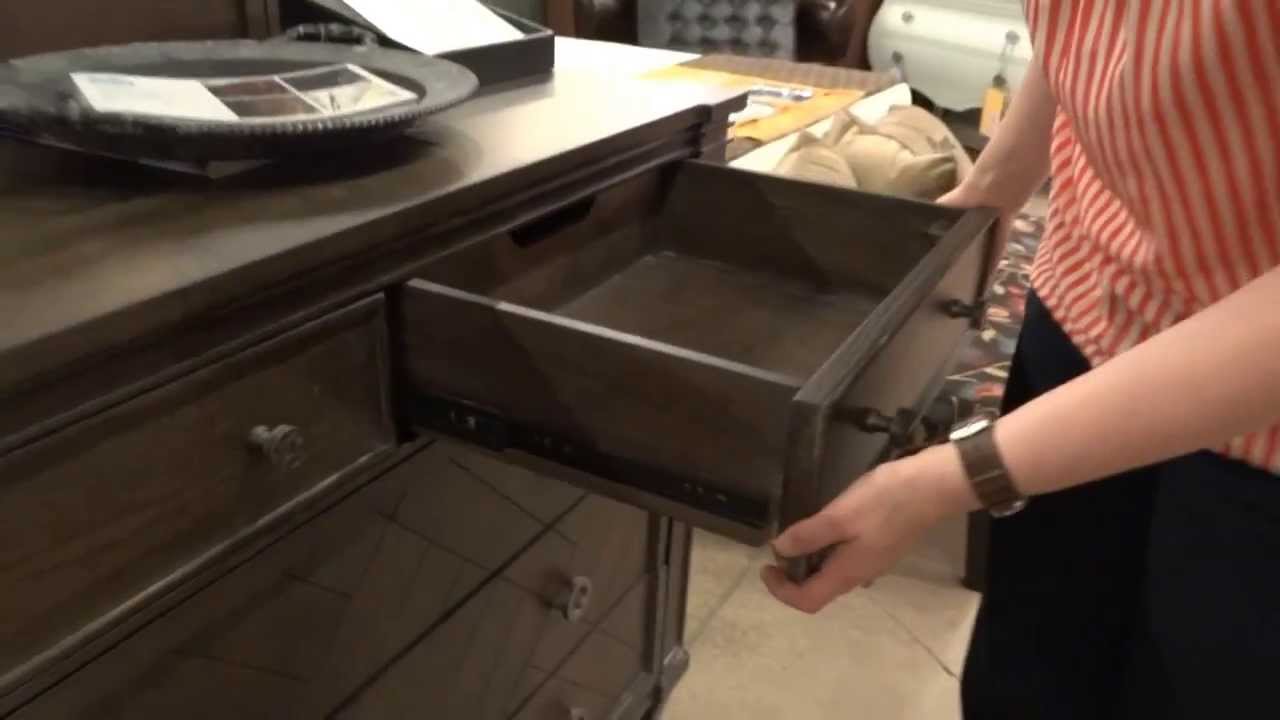
Step 5: Install the Drawer Slides
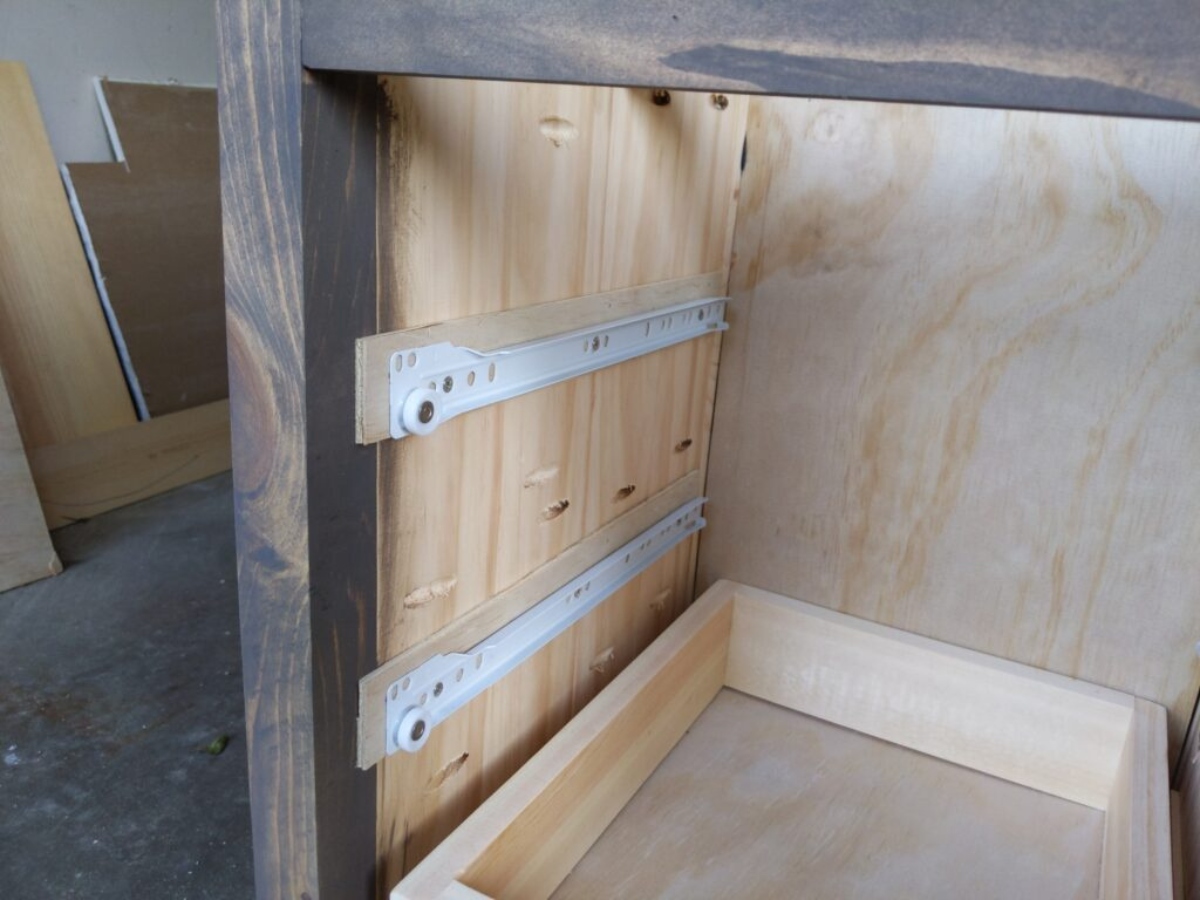
With the slide brackets securely attached, it’s time to install the drawer slides onto the brackets. This step will allow the drawers to glide smoothly in and out of the dresser. Follow these steps to install the drawer slides:
- Prepare the drawer slides: Take out one of the drawer slides and position it so that the smaller, inner part rests on top of the larger, outer part. This configuration will ensure that the slides align correctly when the drawer is inserted.
- Attach the inner slides: Position the inner slide onto the slide bracket attached to the drawer. Line up the pre-drilled holes on the slide with the corresponding holes on the bracket.
- Secure the inner slides: Using the screws provided, attach the inner slide to the bracket. Make sure to tighten the screws securely, but be careful not to overtighten and strip the holes.
- Install the outer slides: With the inner slides attached, position the outer slides onto the slide brackets attached to the dresser. Slide them in until they align with the inner slides attached to the drawers.
- Secure the outer slides: Using the screws provided, attach the outer slides to the slide brackets on the dresser. Ensure that they are securely fastened to provide optimal stability and movement.
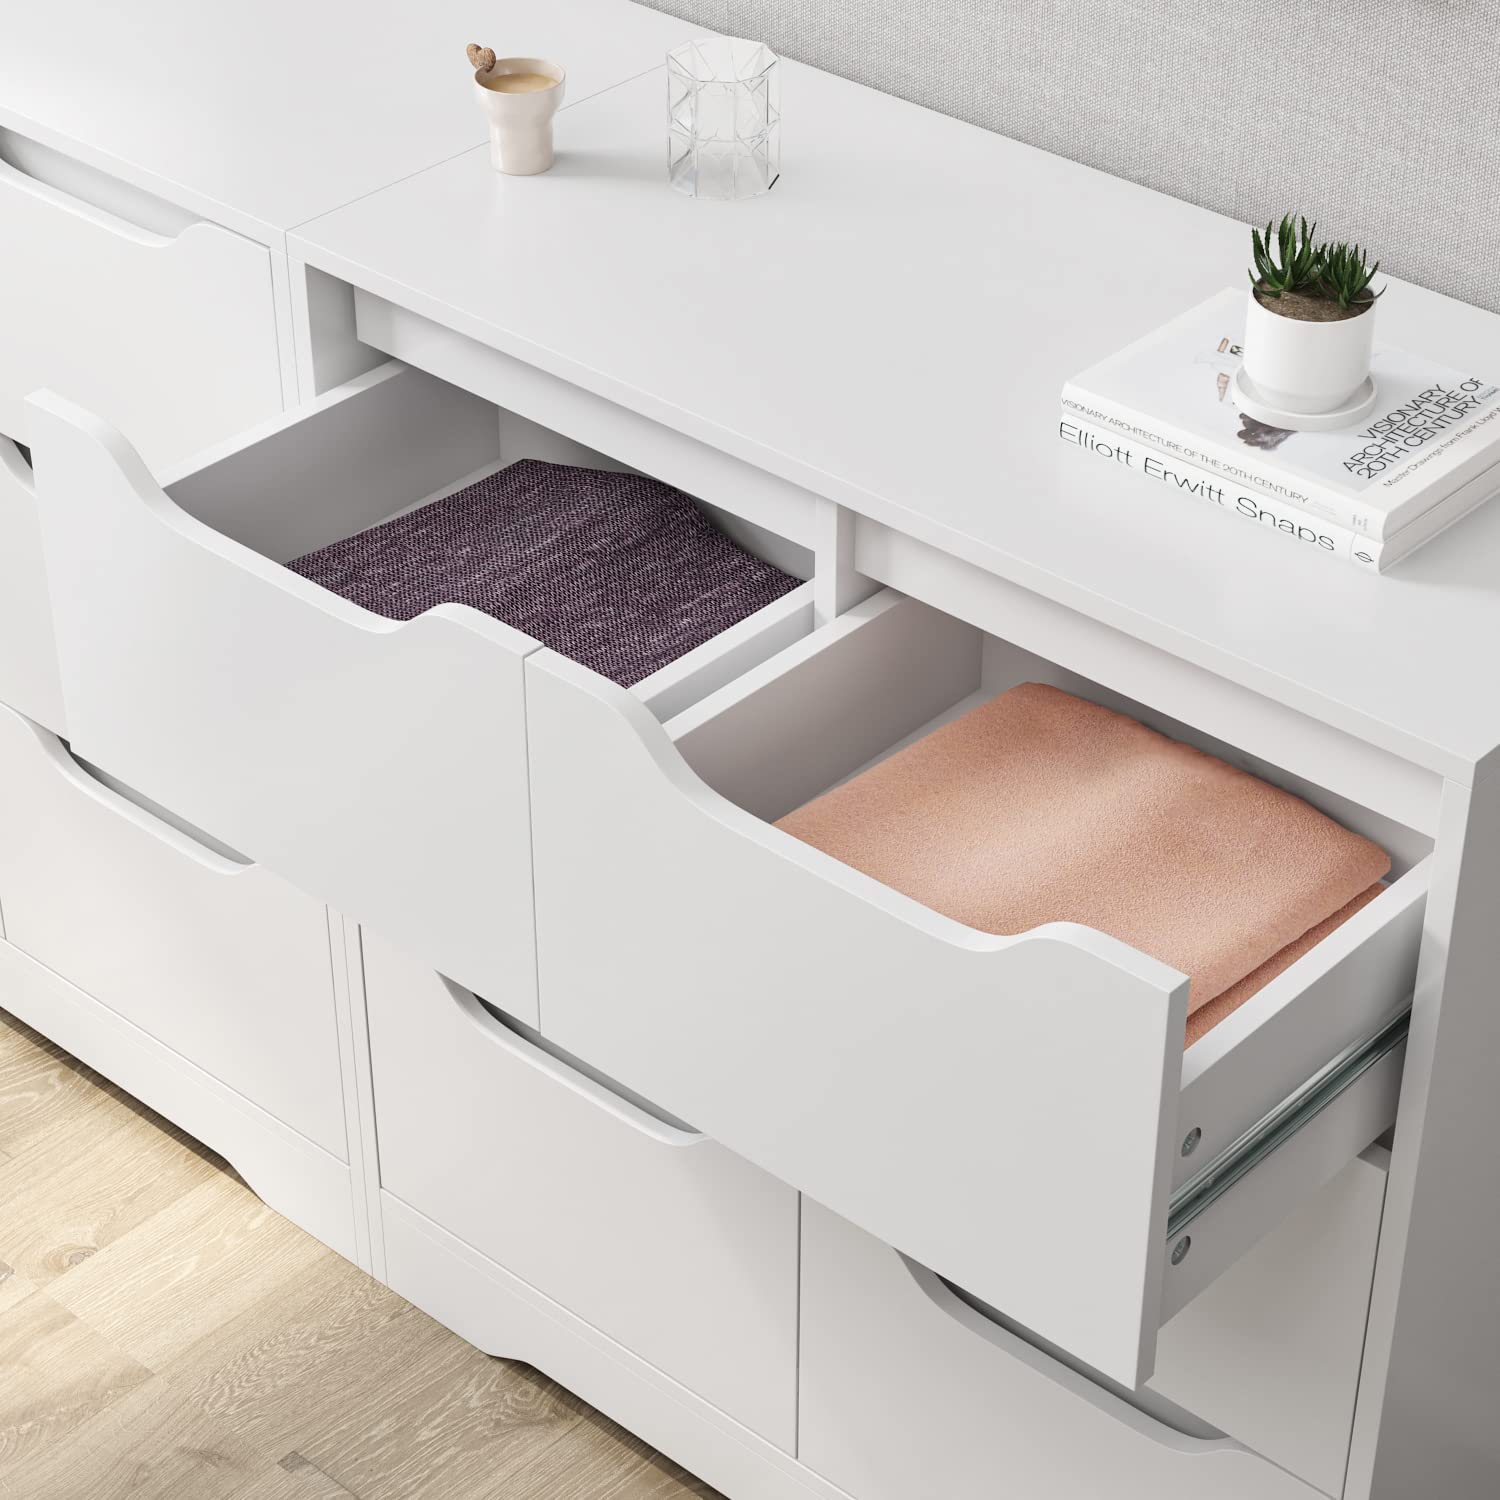
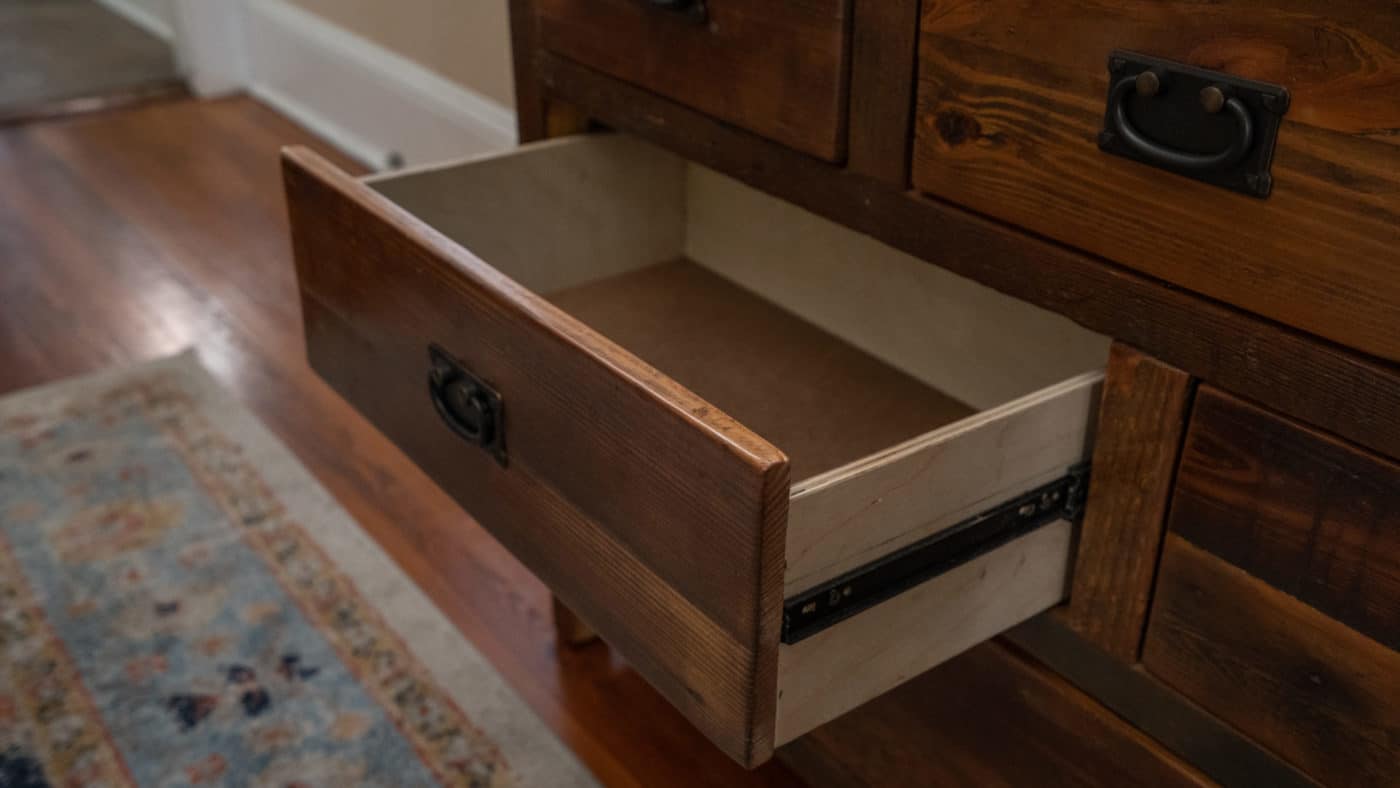
- Test the drawer slides: Once all the slides are installed, carefully insert the drawer into the dresser. Test the movement of the drawer by sliding it in and out. Make sure it glides smoothly and aligns properly with the dresser.
By following these steps, you will successfully install the drawer slides, allowing your drawers to operate smoothly and effortlessly. Take your time during this step to ensure the slides are aligned correctly and securely fastened.
Step 6: Test the Drawer Slides
After installing the drawer slides, it’s important to test them to ensure they function properly before moving on to the final steps. This step will help you identify any issues or adjustments that need to be made. Follow these steps to test the drawer slides:
- Slide the drawer in and out: Gently slide the drawer in and out of the dresser to test the movement. Pay attention to how smoothly the drawer glides and if it aligns properly with the dresser.
- Check for any obstructions: As you slide the drawer, make sure there are no obstructions or uneven surfaces that hinder the movement. If you encounter any resistance, investigate the cause and make necessary adjustments.
- Ensure proper alignment: Check if the drawer aligns evenly with the dresser when fully closed. Make sure there is no visible gap or misalignment.
- Test multiple times: Repeat the sliding motion several times to ensure consistent and smooth movement. This will help identify any potential issues that may arise with repeated use.
- Make adjustments if needed: If you notice any problems during testing, such as sticking or misalignment, make the necessary adjustments. This may include tightening screws, repositioning slide brackets, or lubricating the slides with a silicone-based lubricant.
Testing the drawer slides is an essential step to ensure that your drawers work correctly and provide easy access to your belongings. By taking the time to test and make necessary adjustments, you’ll achieve a functional and reliable drawer system.
Step 7: Attach the Drawer Fronts
Now that the drawer slides are installed and functioning smoothly, it’s time to attach the drawer fronts. This step will give your dresser a polished and finished look. Follow these steps to attach the drawer fronts:
- Position the drawer front: Start by placing the drawer front in the desired position on the drawer. Make sure it is centered and aligned with the surrounding drawers or dresser frame.
- Secure the drawer front: Once you have positioned the drawer front, use clamps or masking tape to hold it firmly in place. This will prevent any movement while attaching it.
- Pre-drill holes: Using a drill, pre-drill pilot holes through the backside of the drawer front and into the drawer box. This will prevent the wood from splitting when you attach the screws.
- Attach the drawer front: With the pilot holes drilled, use screws to secure the drawer front to the drawer box. Start by attaching the top and bottom screws, then work your way to the sides. Make sure to tighten the screws securely but be careful not to overtighten and damage the wood.
- Verify alignment: Once the drawer front is attached, double-check its alignment with the surrounding drawers or the dresser frame. Make any necessary adjustments to ensure a uniform and cohesive look.
- Repeat for all drawers: Repeat the above steps for each drawer front, making sure to position and align them correctly. Take your time to ensure consistency in appearance.
By following these steps, you’ll be able to attach the drawer fronts securely and create a cohesive aesthetic for your dresser. Take care to align the drawer fronts properly and tighten the screws securely for stability.
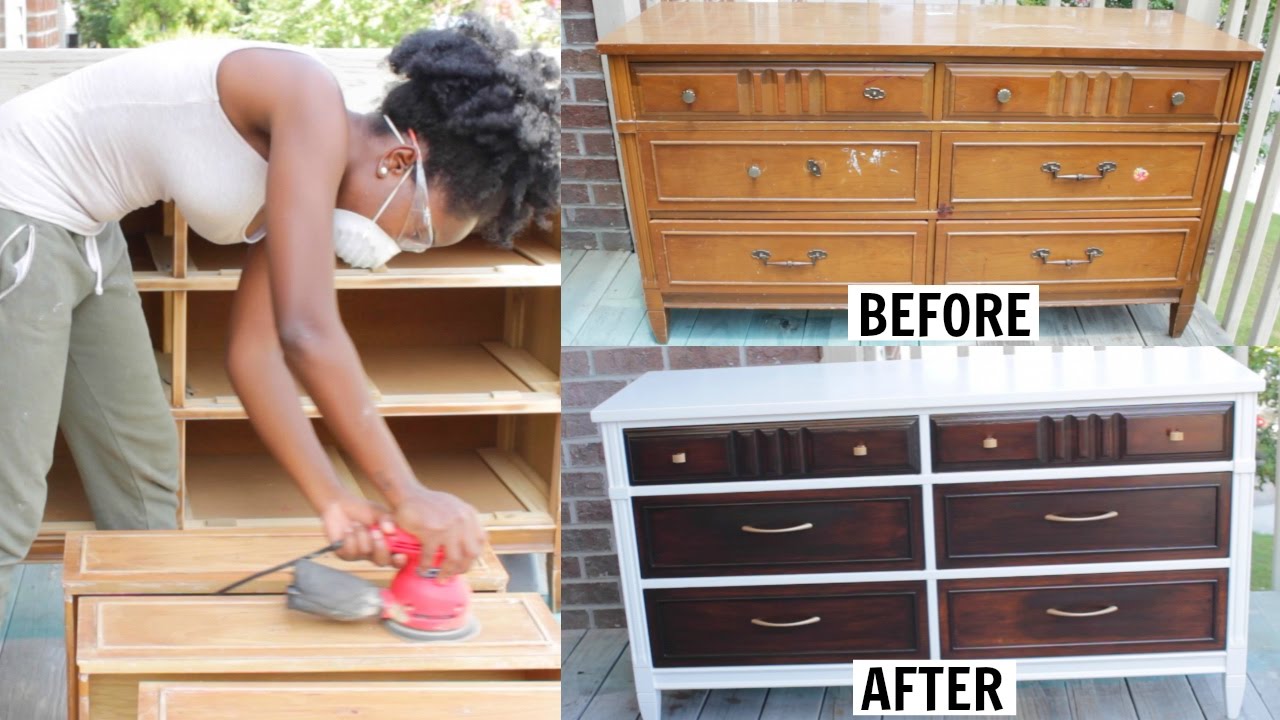
Step 8: Final Adjustments and Finishing Touches
As you near the completion of the drawer slide installation process, there are a few final adjustments and finishing touches to consider. These steps will ensure that your newly installed drawer slides are functioning optimally and that the overall look of your dresser is polished and aesthetically pleasing. Here’s what you need to do:
- Check for smooth operation: Open and close each drawer several times to ensure that the movement is smooth and effortless. If you notice any sticking or resistance, make any necessary adjustments to the slides or drawers to resolve the issue.
- Make leveling adjustments: Use a level to verify if the dresser is sitting evenly. If it isn’t, adjust the legs or the placement of furniture pads underneath the legs to ensure that the dresser is level. This will help the drawers slide properly.
- Apply finish or paint: If desired, apply a fresh coat of finish or paint to the dresser to give it a renewed look. Make sure to allow sufficient drying time before reattaching the drawer fronts.
- Clean and polish: Take a moment to clean the entire dresser, including the drawers and the drawer fronts. Use a recommended wood cleaner or polish to restore its shine and remove any dust or dirt.
- Reinstall the drawers: Finally, reinsert all the drawers back into their respective slots. Ensure that they fit snugly and align properly with the drawer fronts and the dresser frame.
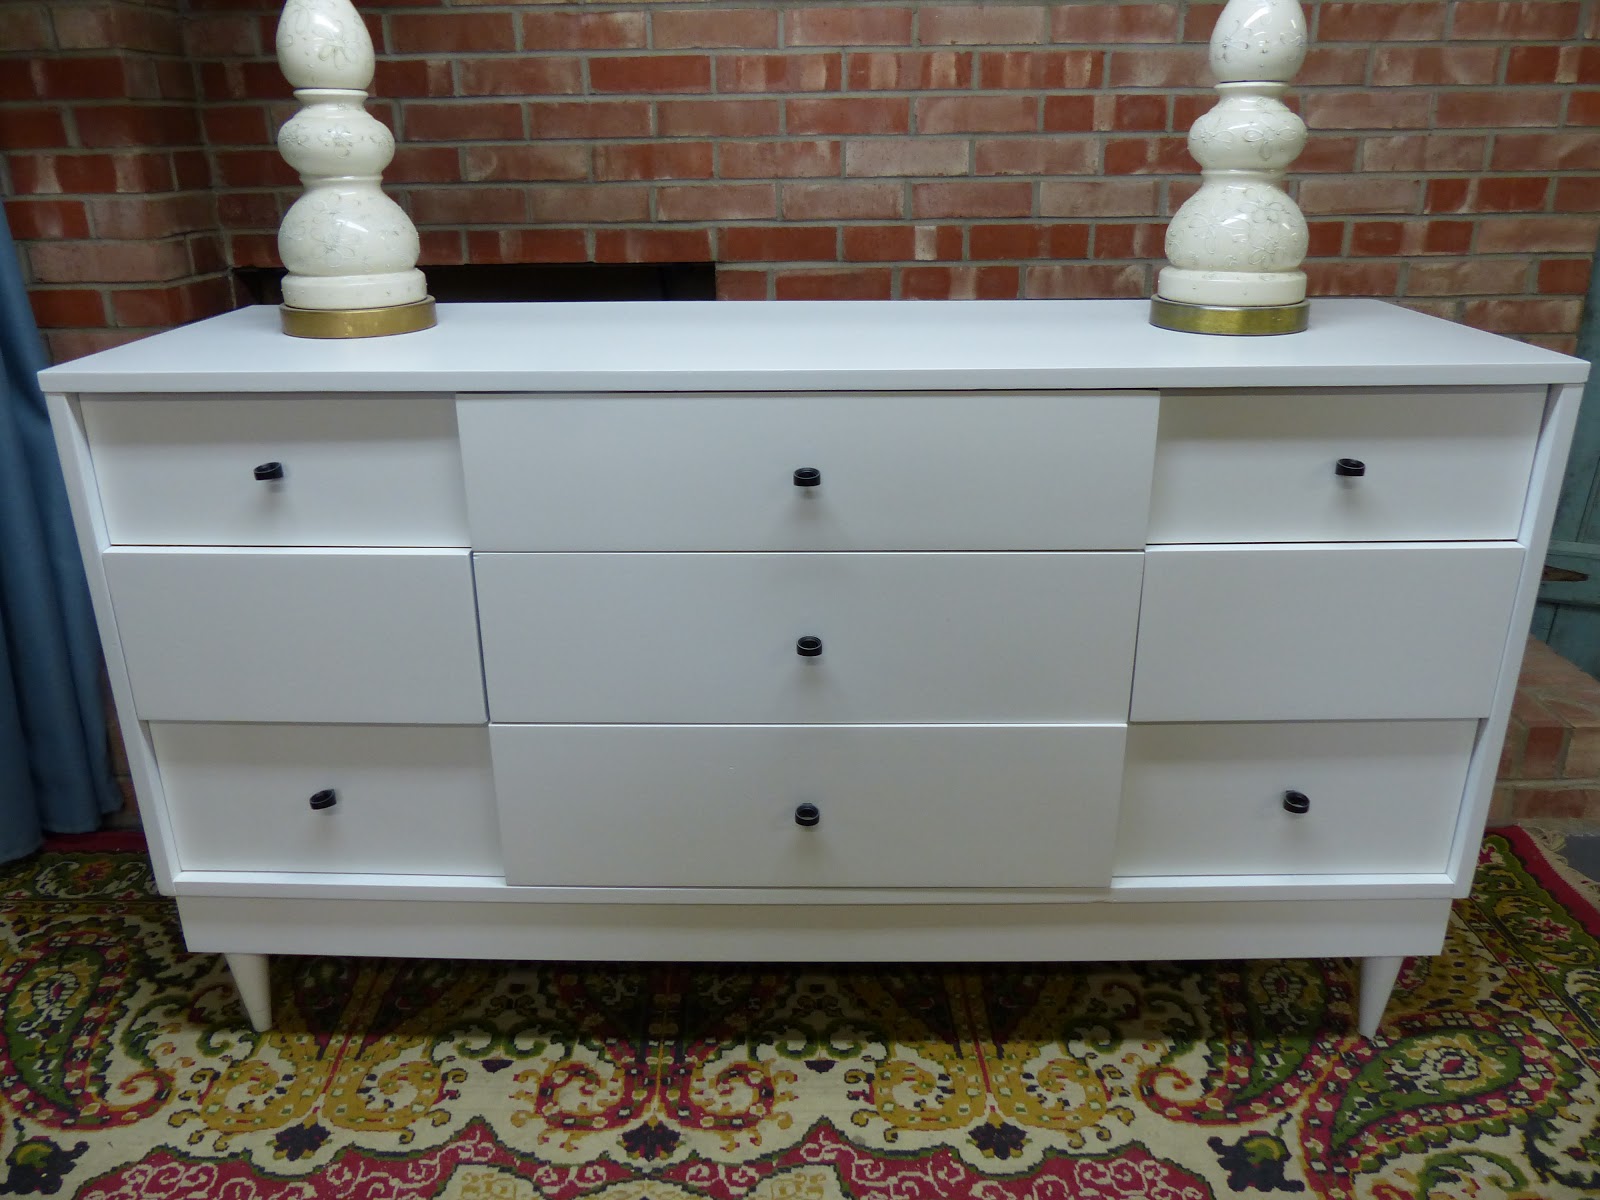
- Enjoy your revamped dresser: Step back and admire your hard work! Your dresser is now equipped with brand new drawer slides, providing convenient access and improved functionality.
By addressing these final adjustments and adding finishing touches, you’ll ensure that your drawer slide installation is complete and successful. Take your time to make any necessary tweaks and enjoy the fresh look and improved performance of your dresser.
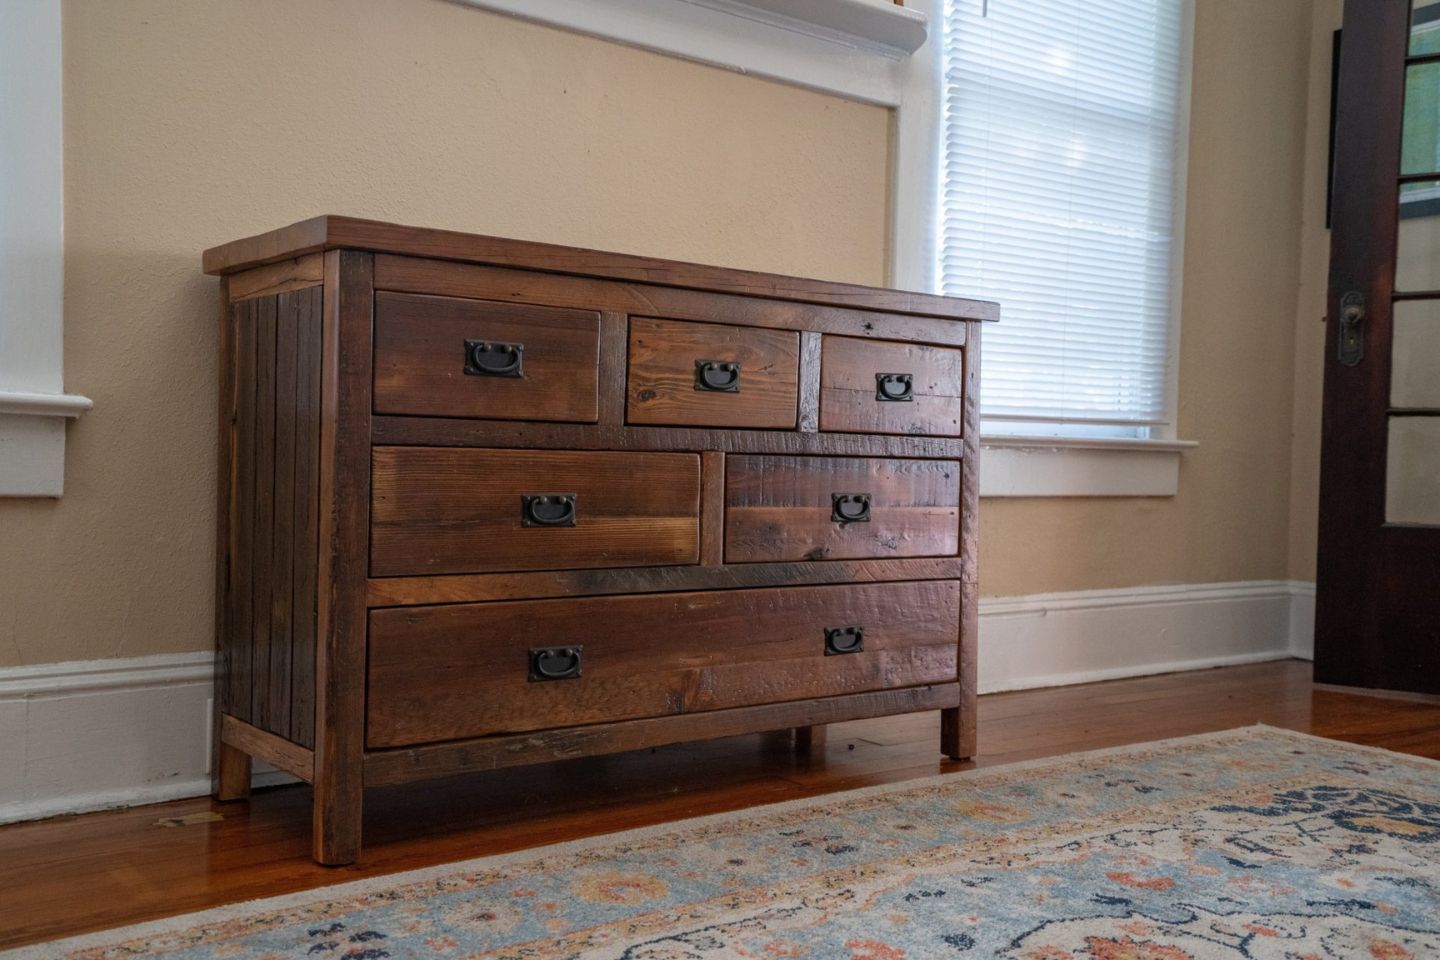
Conclusion
Congratulations! You have successfully learned how to add drawer slides to an old dresser, transforming it into a functional and stylish piece of furniture. By following the step-by-step process outlined in this guide, you have revitalized your dresser and improved its usability.
Throughout the installation process, you gathered the necessary materials, removed the old drawer slides, measured and marked for the new slides, attached the slide brackets, installed the drawer slides, tested their functionality, attached the drawer fronts, made final adjustments, and added finishing touches. Each step was crucial in ensuring a smooth and efficient installation.
With the newly installed drawer slides, your dresser’s drawers will slide smoothly, allowing for easy access to your belongings. The added stability and functionality will enhance your daily life and help keep your belongings organized.
Remember to regularly maintain and lubricate the drawer slides to keep them operating smoothly over time. This will ensure their durability and longevity, allowing you to enjoy your revamped dresser for years to come.
Now that you have successfully completed this DIY project, you can apply the skills and knowledge gained to other furniture restoration or renovation projects. Don’t be afraid to get creative and explore other ways to enhance the functionality and appearance of your furniture.
Thank you for following this guide, and we hope you enjoy your newly upgraded dresser!
Frequently Asked Questions about How To Add Drawer Slides To An Old Dresser
Was this page helpful?
At Storables.com, we guarantee accurate and reliable information. Our content, validated by Expert Board Contributors, is crafted following stringent Editorial Policies. We're committed to providing you with well-researched, expert-backed insights for all your informational needs.


0 thoughts on “How To Add Drawer Slides To An Old Dresser”