Furniture
How To Replace Dresser Knobs
Modified: October 20, 2024
Learn how to easily replace dresser knobs and update the look of your furniture. Find step-by-step instructions and tips for choosing the perfect replacement knobs.
(Many of the links in this article redirect to a specific reviewed product. Your purchase of these products through affiliate links helps to generate commission for Storables.com, at no extra cost. Learn more)
Introduction
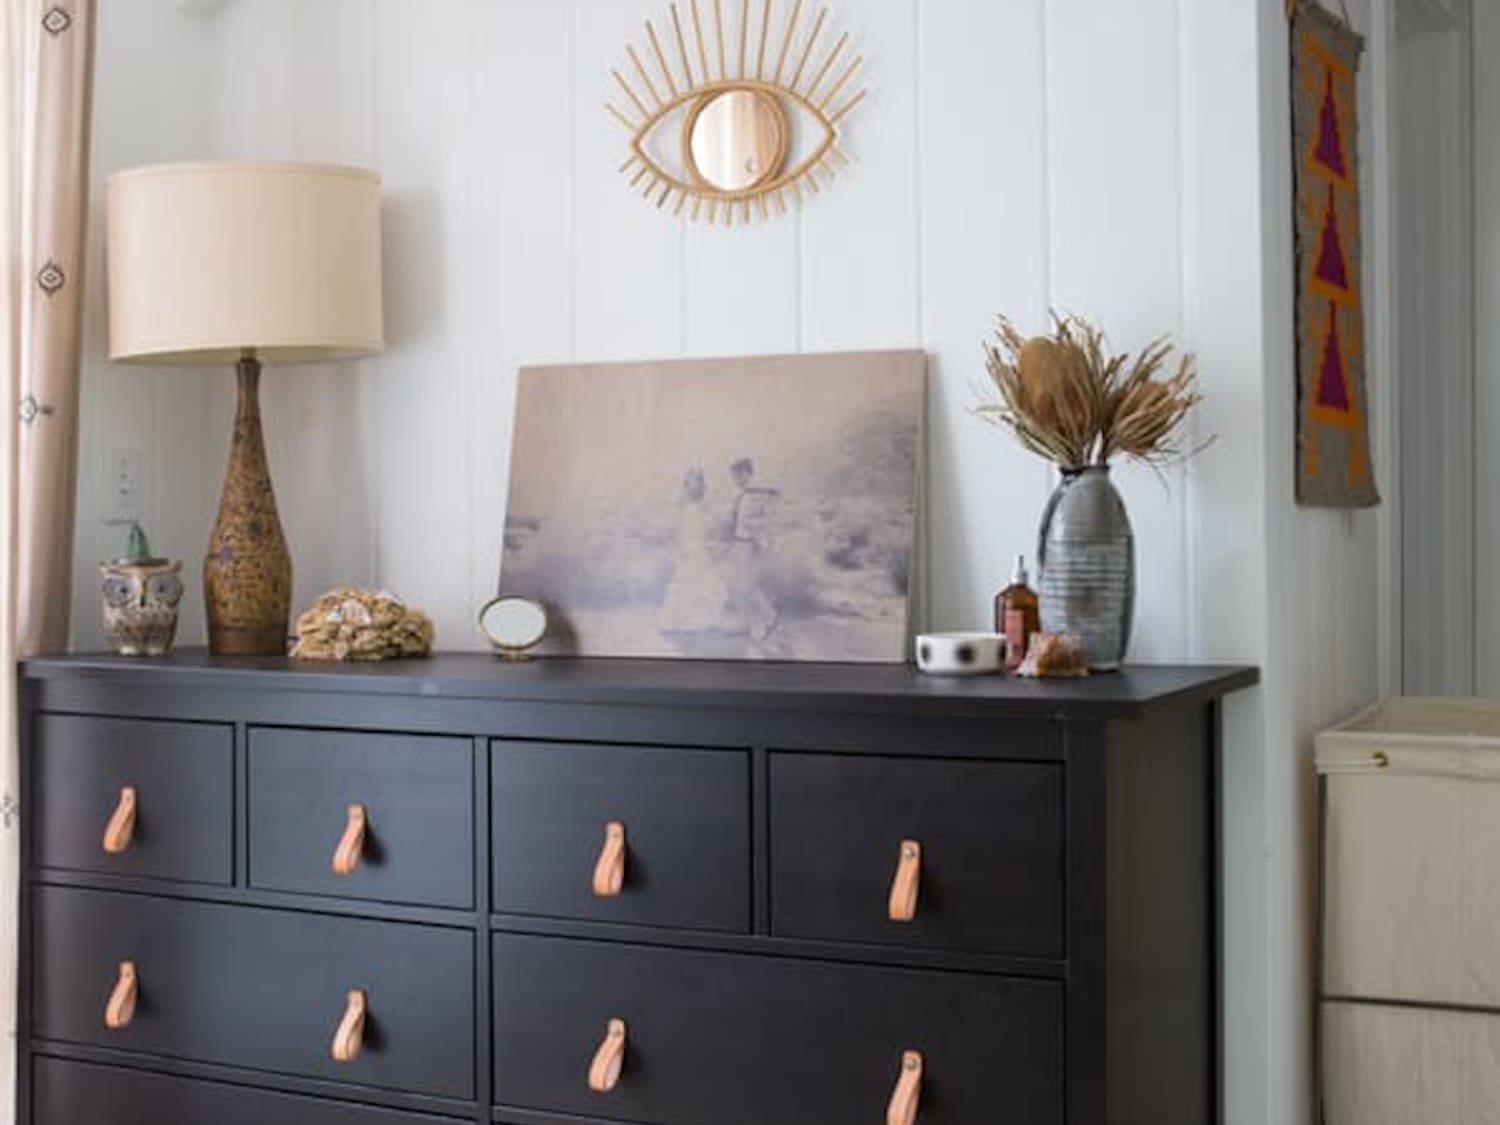
Welcome to our comprehensive guide on how to replace dresser knobs! Dresser knobs are not just functional, but they also add a touch of style and personality to your furniture. Over time, you may find that your old dresser knobs are worn out, damaged, or no longer aligned with your aesthetic preferences. Fortunately, replacing dresser knobs is a relatively simple and budget-friendly DIY project that can instantly refresh the look of your furniture.
In this article, we will walk you through the step-by-step process of replacing dresser knobs. Whether you are upgrading the knobs on an antique dresser or giving a modern piece a makeover, this guide will provide you with the information and tips you need to successfully complete the project.
Before we dive into the details, let’s take a quick look at the tools and materials you’ll need for this project.
Key Takeaways:
- Refresh your furniture with new dresser knobs using simple DIY steps. Measure, choose, and install knobs to instantly update the look of your dresser.
- Transform the appearance of your furniture by replacing dresser knobs. Enjoy the process and personalize your space with the perfect knobs for your style.
Tools and Materials Needed
Before you get started, gather the following tools and materials:
- Screwdriver – Ensure that you have both a flathead and a Phillips head screwdriver to accommodate different types of screws.
- Drill – If you’re planning to install knobs that require new holes, a drill with the appropriate drill bit size is necessary.
- Measuring Tape – To ensure accurate placement of the new knobs, have a measuring tape handy.
- Pencil – Use a pencil to mark the desired location for the new knobs.
- Wood Filler – If you’re replacing knobs with a different size or style, you may need to fill the old screw holes before drilling new ones. Wood filler will help you achieve a smooth and even surface.
- Sanding Block – A sanding block is useful for preparing the surface and ensuring a clean finish.
- New Dresser Knobs – Select knobs that fit your desired style and match the existing hardware or décor in the room. Consider the material, finish, and design options available.
- Optional: Masking Tape – Using masking tape can help prevent any accidental scratches or damage to the dresser surface while installing the new knobs.
Once you have all these tools and materials ready, you’re prepared to proceed with the dresser knob replacement process. Let’s jump into the first step: removing the old dresser knobs.
Step 1: Remove the Old Dresser Knobs
The first step in replacing dresser knobs is to remove the old ones. Follow these simple steps:
- Inspect the existing knobs – Take a close look at the knobs to identify the type of fastening mechanism they have. Most dresser knobs will have either a screw or a bolt holding them in place.
- Locate the fastening mechanism – Look at the back of the dresser or inside the drawer to find the screw or bolt that secures the knob.
- Use the correct screwdriver – Select the appropriate screwdriver (either flathead or Phillips head) based on the type of fastening mechanism. Insert the screwdriver into the screw slot or bolt head.
- Turn counter-clockwise to loosen – Start turning the screw or bolt counter-clockwise to loosen and remove it. Depending on the design, you may need to unscrew it fully or only loosen it enough to release the knob.
- Remove the knob – Once the screw or bolt is loosened, gently pull the knob away from the dresser. If it feels stuck, wiggle it slightly while pulling to release any adhesive or friction holding it in place.
- Set aside the old knobs – Place the removed knobs in a safe area to avoid misplacing them.
Repeat these steps for each dresser knob you wish to replace. Take note of any differences in the hardware or fastening mechanisms for future reference when installing the new knobs.
With the old knobs successfully removed, you’re ready to proceed to the next step: measuring and choosing new knobs.
Step 2: Measure and Choose New Knobs
Once you have removed the old dresser knobs, it’s time to measure and choose the new knobs that will bring a fresh look to your furniture. Follow these steps:
- Measure the hole spacing – Use a measuring tape to determine the distance between the centers of the old knob holes. This measurement is crucial for ensuring that the new knobs will align properly.
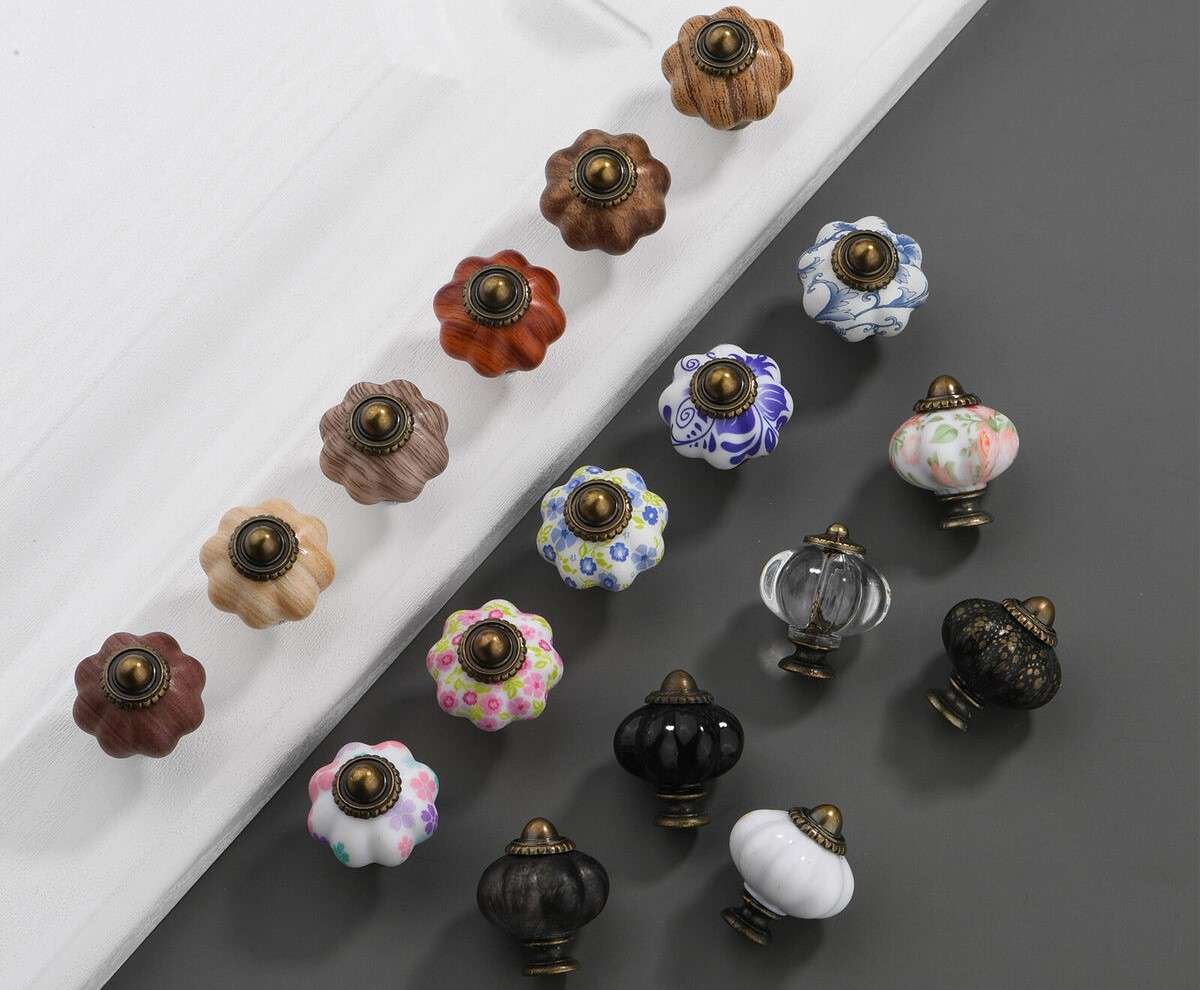
- Consider the knob size and style – Take into account the overall size and style of your dresser when selecting new knobs. You may want to choose a knob size that complements the proportions of your furniture, as well as a style that fits the overall theme or design scheme of the room.
- Check the knob material and finish – Consider the material and finish options available for the new knobs. Common materials include metal, wood, glass, and ceramic, each offering different aesthetic qualities. Additionally, choose a finish that matches your desired look, such as brushed nickel, antique bronze, or polished chrome.
- Take your time choosing – Take the opportunity to explore different options and compare them against your dresser and room. You can gather inspiration from interior design blogs, magazines, or even visit a local hardware store to see the knobs in person.
- Purchase the new knobs – Once you’ve decided on the style, size, material, and finish of your new knobs, purchase them from a hardware store or online retailer. Consider buying a few extra knobs in case you need replacements or want to switch them out in the future.
By measuring and choosing new knobs that fit your dresser and personal taste, you’ll be well on your way to transforming the look of your furniture. With the new knobs in hand, let’s move on to the next step: filling the old screw holes.
Step 3: Fill Old Screw Holes
Before you can install the new dresser knobs, it’s important to fill the old screw holes to create a smooth and even surface. Follow these steps to fill the old screw holes:
- Inspect the holes – Take a close look at the old screw holes to ensure they are clean and free of any debris or old filler material.
- Prepare the wood filler – Get your wood filler ready by following the manufacturer’s instructions. This typically involves mixing the filler or opening a pre-mixed tube.
- Apply the wood filler – Use a putty knife or a similar tool to apply the wood filler to the old screw holes. Fill the holes completely, making sure to overfill slightly to account for any settling that may occur as the filler dries.
- Smooth the filler – Smooth the surface of the filled holes with the putty knife or a sanding block to create a flush and seamless finish. If needed, wipe away any excess filler using a damp cloth.
- Allow the filler to dry – Follow the manufacturer’s instructions to determine how long the wood filler needs to dry. This can range from a few hours to overnight, depending on the product.
- Sand the filled areas – Once the filler is dry, use a fine-grit sandpaper or sanding block to gently sand the filled areas until they are smooth and level with the surrounding surface.
- Clean the surface – After sanding, clean the dresser surface with a damp cloth to remove any dust or debris generated during the sanding process.
Filling the old screw holes is an essential step to ensure a flawless installation of the new dresser knobs. Once you have filled and smoothed the holes, you’re ready to move on to the next step: drilling new screw holes.
When replacing dresser knobs, make sure to measure the distance between the screw holes on the new knobs to ensure they will fit the existing holes on the dresser. This will help you avoid the need to drill new holes.
Read also: 12 Incredible Dresser Drawer Knobs for 2025
Step 4: Drill New Screw Holes
With the old screw holes filled and smoothed, it’s time to drill new screw holes for installing the new dresser knobs. Follow these steps to drill the new screw holes:
- Mark the knob placement – Using a measuring tape and a pencil, mark the desired location for each new knob on the dresser. Ensure that the measurements are accurate and aligned with your aesthetic preferences.
- Choose the right drill bit – Select a drill bit that matches the diameter of the screws that came with your new knobs. The drill bit should be slightly smaller in diameter than the screws to create a snug fitting.
- Secure the dresser – If necessary, secure the dresser in a steady position to prevent it from moving during the drilling process. You can use clamps or have a helper hold it in place.
- Drill the new screw holes – Carefully position the drill bit on the marked spot and begin drilling at a slow to medium speed. Apply consistent pressure and allow the drill to gradually create the new hole. Avoid drilling too quickly or pressing too hard, as this can damage the dresser’s surface.
- Check the depth – As you drill, periodically check the depth of the hole by placing the screw against the drilled hole. The screw should fit snugly and reach the desired depth without protruding from the other side of the dresser.
- Repeat for each hole – Repeat the drilling process for each marked spot until all the new screw holes are created.
- Clean up any debris – After drilling the new holes, use a damp cloth or vacuum to clean up any wood shavings or debris from the drilling process.
By carefully drilling new screw holes, you’ll ensure that the new knobs fit securely and align perfectly on the dresser. With the new holes drilled, let’s move on to the next step: attaching the new dresser knobs.
Step 5: Attach New Dresser Knobs
Now that you have the new screw holes drilled, it’s time to attach the new dresser knobs. Follow these steps to properly install the new knobs:
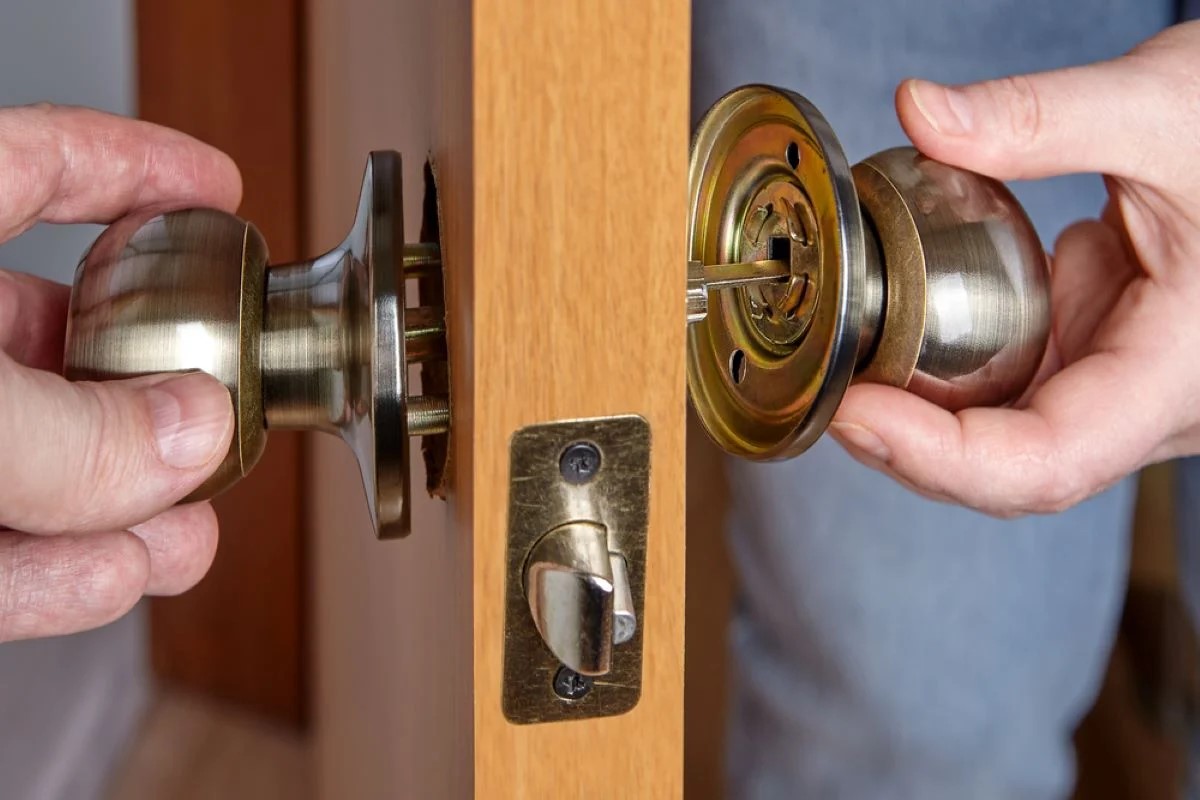
- Insert the screws – Insert the screws that came with your knobs into the newly drilled holes on the dresser. Make sure the screws are properly aligned with the holes.
- Tighten the screws – Using a screwdriver or a drill with a screwdriver bit, tighten the screws clockwise until they are snug. Be careful not to overtighten, as this can strip the screw threads or damage the knob.
- Check the knob alignment – Before fully tightening the screws, check the alignment of the knob. Ensure that it is centered and level with the surrounding knobs or drawer fronts. Make any necessary adjustments before fully securing the screw.
- Repeat for each knob – Repeat the process of inserting and tightening the screws for each new knob you are installing on the dresser.
- Ensure all knobs are secure – Once all the new knobs are attached, check that each one is securely fastened and does not wobble or feel loose. If any knobs are not secure, tighten the screws
- Remove any adhesive residue (if applicable) – If your new knobs came with adhesive backing, carefully remove any protective covering or adhesive residue from the knob surfaces.
- Step back and admire – Stand back and admire your newly installed dresser knobs! Take a moment to appreciate how they enhance the appearance of your furniture.
By following these steps, you will ensure that the new dresser knobs are correctly attached and securely fastened. Once all the knobs are firmly in place, let’s move on to the final step: testing and adjusting the knob placement.
Step 6: Test and Adjust Knob Placement
Now that the new dresser knobs are installed, it’s important to test and adjust their placement if needed. Follow these steps to ensure the knobs function properly and align perfectly:
- Test the knob functionality – Open and close each drawer or cabinet door to ensure that the knobs operate smoothly. Check for any obstructions or interference that may hinder the knob’s movement.
- Assess the knob alignment – Step back and evaluate the overall appearance of the dresser. Pay attention to the alignment and spacing of the knobs. Ensure that they are evenly placed and visually balanced.
- Make adjustments if necessary – If you notice any knobs that are not aligned properly or do not appear visually balanced, you can make subtle adjustments. Loosen the screws slightly, adjust the position of the knob, and then retighten the screws until the desired alignment is achieved.
- Test and adjust again – After making adjustments, test the functionality of the knobs once more to ensure they operate smoothly without any obstructions or misalignment.
- Stand back and admire the final result – Once you are satisfied with the knob placement and functionality, step back and admire the final result. Take pride in the refreshed look of your dresser with the new knobs.
Remember, the goal is to have knobs that not only look great but also provide a comfortable and functional grip. By testing and adjusting the placement, you can ensure a seamless and enjoyable experience every time you use your dresser.
Congratulations! You have successfully replaced the dresser knobs and transformed the look of your furniture. Enjoy the updated aesthetic and the satisfaction of completing a DIY project.
Now you have the knowledge and confidence to replace dresser knobs on any piece of furniture. Whether you’re adding a modern touch to an antique dresser or giving your bedroom furniture a quick makeover, this skill will come in handy. Get creative and have fun exploring different knob styles and designs to customize your furniture to your liking.
Happy knob replacing!
Conclusion
Replacing dresser knobs is a simple and effective way to give your furniture a refreshed and personalized look. With the steps outlined in this guide, you now have the knowledge and confidence to tackle this DIY project with ease.
From removing the old dresser knobs to drilling new screw holes and attaching the new knobs, each step plays a crucial role in achieving a professional and polished result. By taking the time to measure and choose the right knobs, fill the old screw holes, drill new ones, and ensure proper alignment, you can transform the appearance of your furniture.
Remember to choose knobs that not only complement your dresser but also reflect your personal style and aesthetic preferences. Consider the material, finish, and design options available to find the perfect knobs that enhance the overall look and feel of the furniture piece.
Additionally, testing and adjusting the knob placement ensures both functionality and visual appeal. By ensuring that the knobs operate smoothly and align perfectly, you can enjoy a seamless and comfortable user experience every time you open a drawer or cabinet.
By following this comprehensive guide, you now have the skills to replace dresser knobs on any piece of furniture. Whether you’re updating an entire room or giving a single dresser a makeover, this DIY project is budget-friendly and customizable to your unique style.
So go ahead, unleash your creativity, and embark on your knob-replacing adventure. Enjoy the process of transforming your furniture and revel in the satisfaction of completing a DIY project that adds a personal touch to your living space.
Happy knob replacing!
Frequently Asked Questions about How To Replace Dresser Knobs
Was this page helpful?
At Storables.com, we guarantee accurate and reliable information. Our content, validated by Expert Board Contributors, is crafted following stringent Editorial Policies. We're committed to providing you with well-researched, expert-backed insights for all your informational needs.


0 thoughts on “How To Replace Dresser Knobs”