Furniture
How To Paint A Dresser Knobs
Modified: February 26, 2024
Learn how to paint dresser knobs and give your furniture a fresh new look. Transform your outdated dresser into a stylish piece with our step-by-step guide.
(Many of the links in this article redirect to a specific reviewed product. Your purchase of these products through affiliate links helps to generate commission for Storables.com, at no extra cost. Learn more)
Introduction
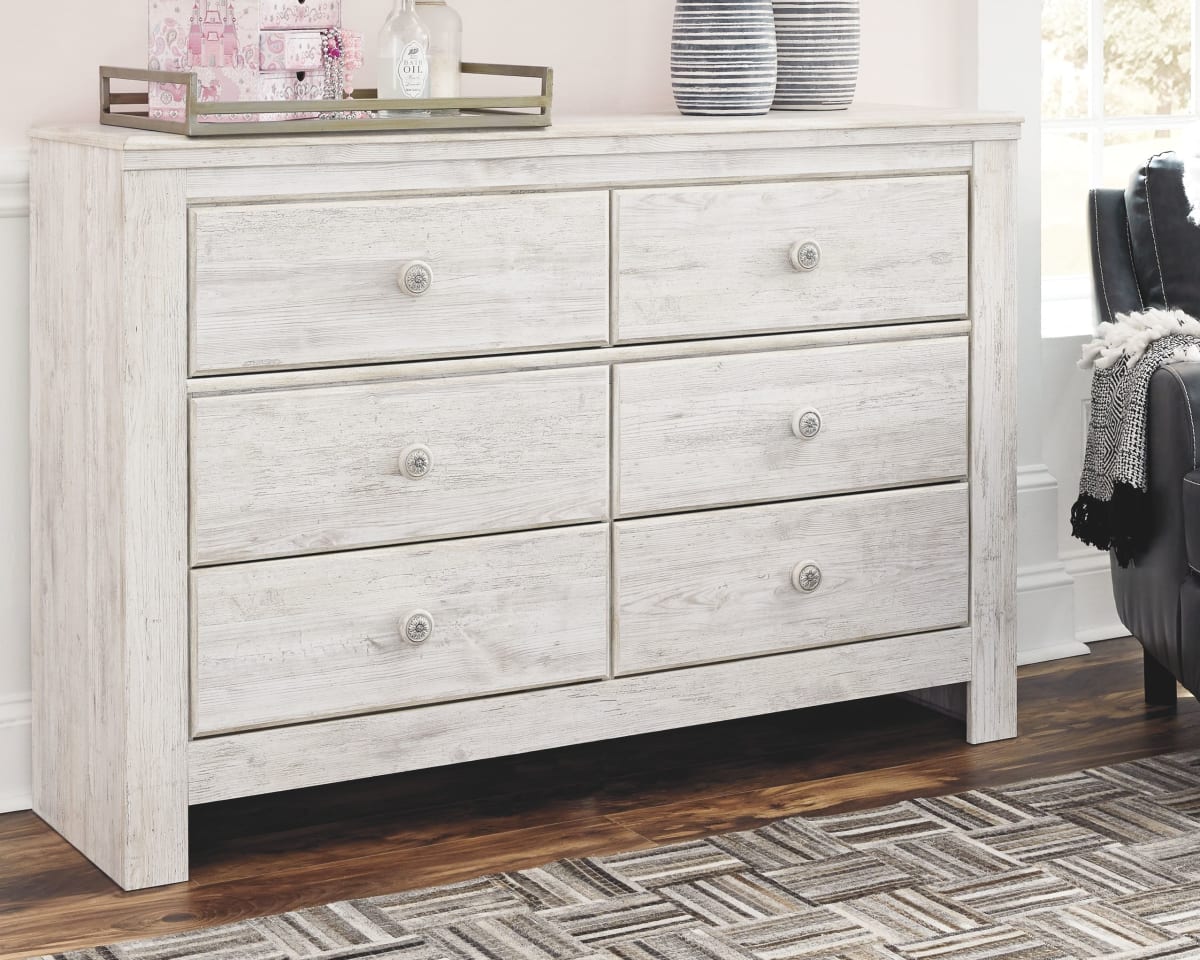
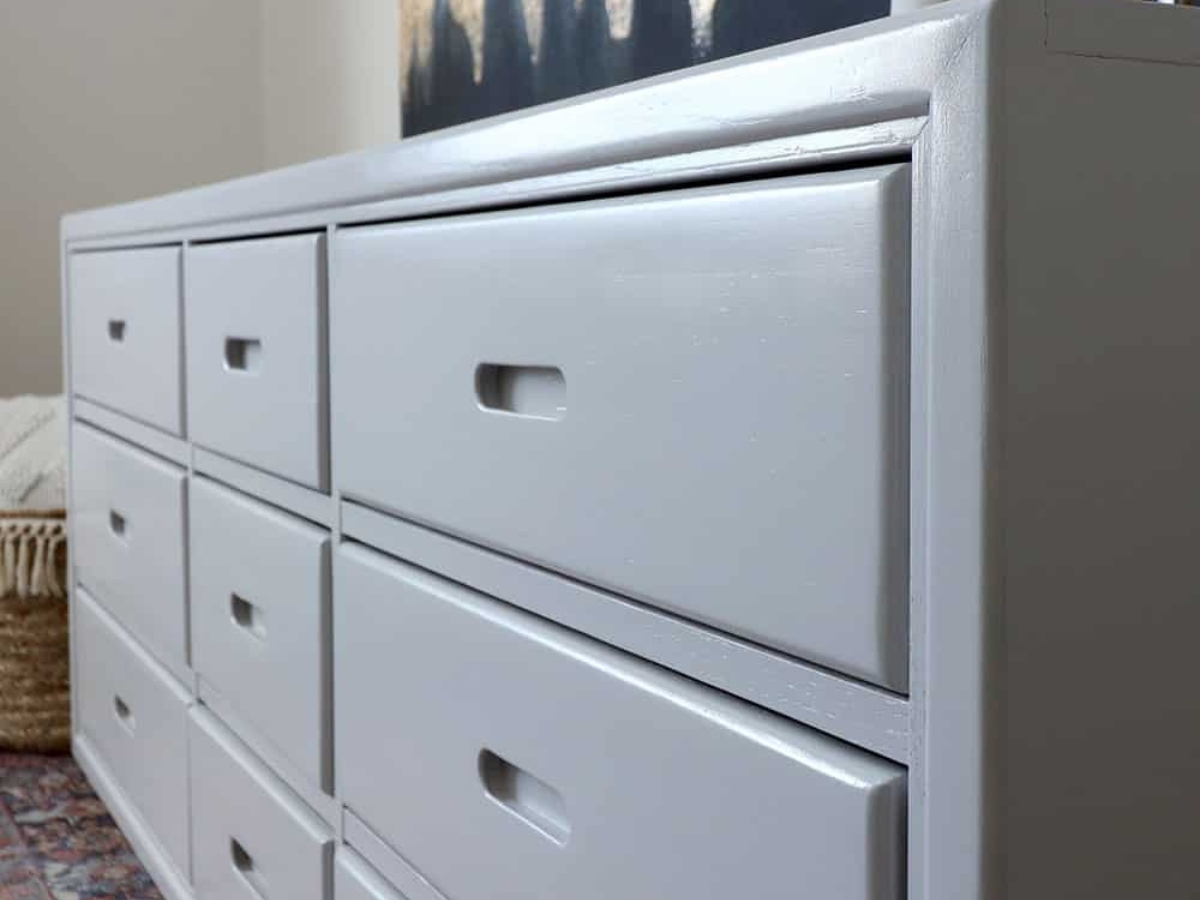
Painting dresser knobs can be a simple and cost-effective way to update the look of your furniture and add a personal touch to your space. Whether you want to refresh an old dresser or customize new knobs to match your decor, this DIY project allows you to unleash your creativity and transform the look of your furniture.
With a few basic materials and some easy steps, you can achieve professional-looking results and give your dressers a fresh, new look. In this article, we will guide you through the process of painting dresser knobs, from preparation to finishing touches. So, grab your paintbrush, put on your creative hat, and let’s get started!
Key Takeaways:
- Transform your furniture with a personalized touch by painting dresser knobs. Unleash your creativity, follow the step-by-step guide, and enjoy the satisfaction of a DIY furniture makeover.
- Achieve professional-looking results and update your space cost-effectively. Choose high-quality materials, experiment with colors and techniques, and revitalize your dressers with freshly painted knobs.
Read more: How To Replace Dresser Knobs
Materials Needed
Before diving into the painting process, it’s important to gather the necessary materials. Here’s a list of supplies you’ll need to successfully paint your dresser knobs:
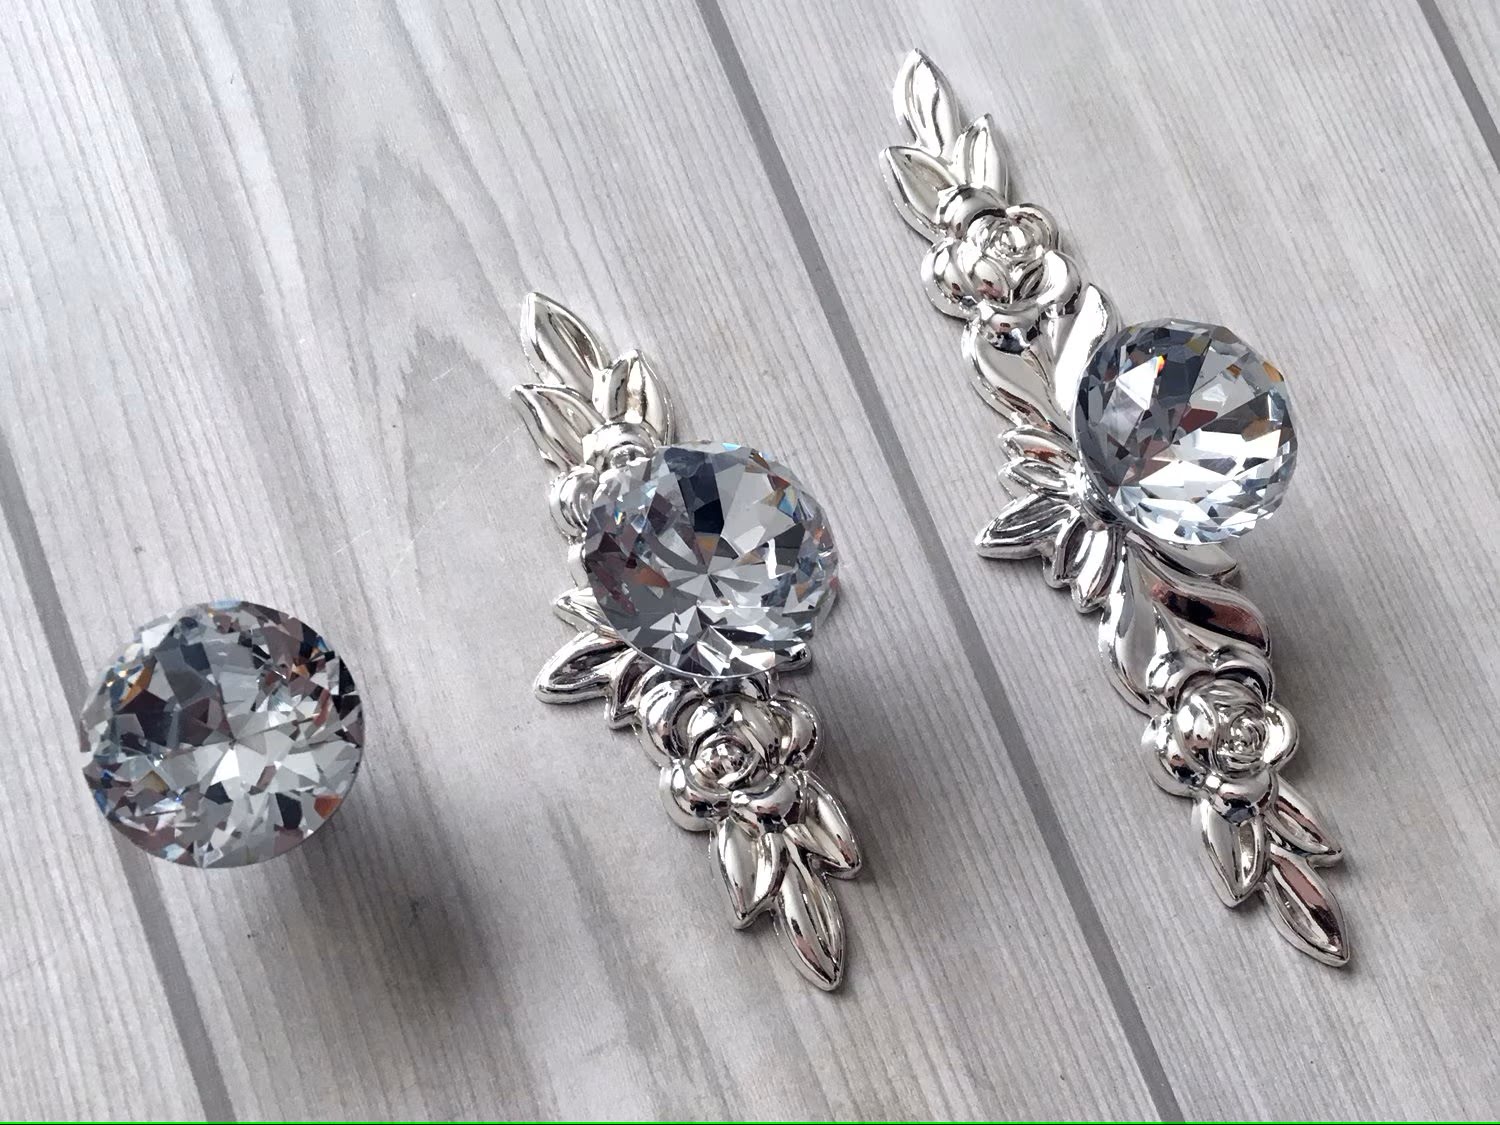
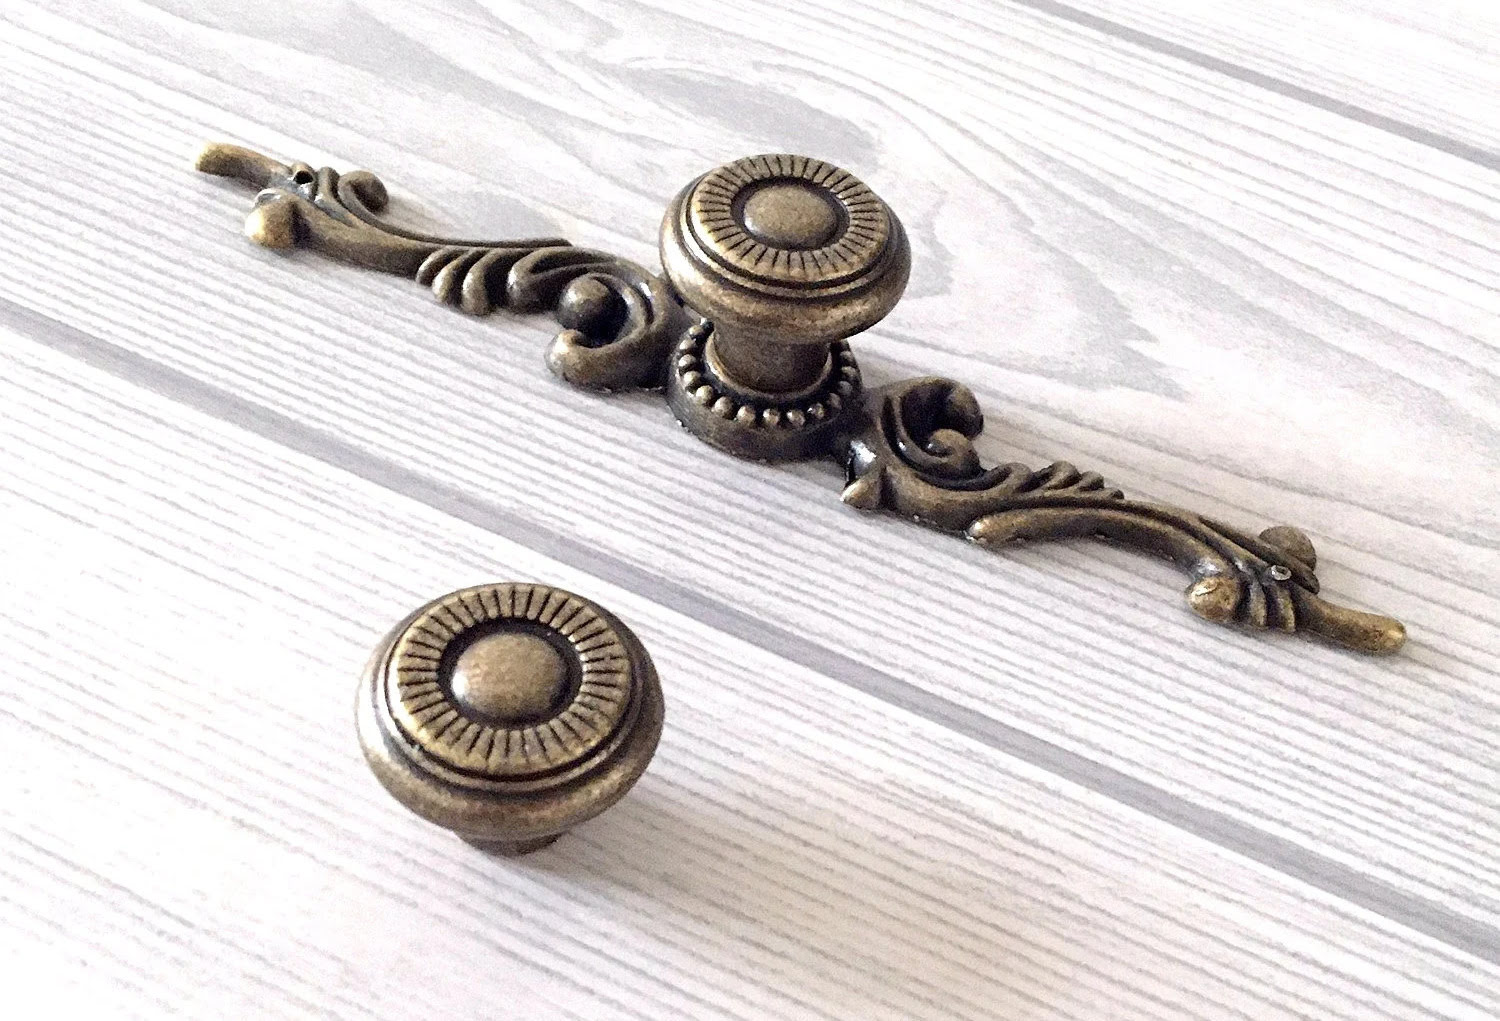
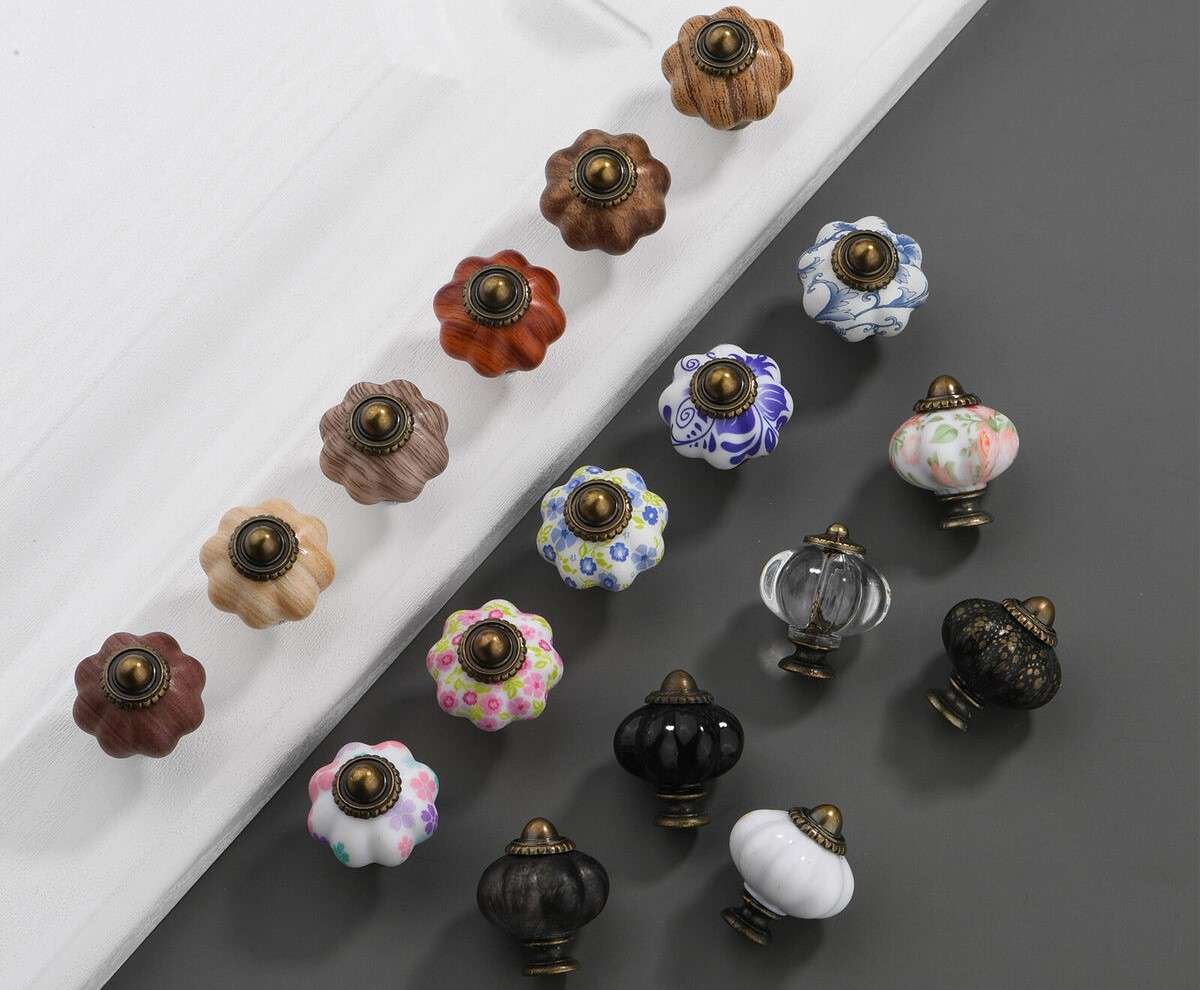
- Drawer knobs
- Paintbrushes of different sizes
- Sandpaper or sanding block
- Primer
- Acrylic or latex paint in your desired color
- Clear sealant or varnish (optional)
- Paint palette or paper plate
- Drop cloth or old newspaper
- Masking tape or painter’s tape
- Cleaning solution or mild soap
- Lint-free cloth or paper towels
Make sure to choose drawer knobs that are suitable for painting. Wooden, ceramic, and metal knobs work well for this project. Additionally, select high-quality paintbrushes to achieve smooth and even coats of paint. Sandpaper or sanding blocks with various grits will help to prepare the knobs for painting by smoothing any rough edges or existing coatings.
Lastly, consider if you want to seal the knobs with a clear sealant or varnish for added protection and durability. This step is optional but can help prolong the lifespan of your newly painted knobs.
Step 1: Remove the Knobs
The first step in painting dresser knobs is to remove them from the drawers. This will make the painting process much easier and ensure even coverage. Follow these simple steps to remove the knobs:
- Empty the contents of the drawers to avoid any obstructions.
- Using a screwdriver or a drill with the appropriate attachment, carefully remove the screws holding the knobs in place.
- Place the screws in a safe place to avoid misplacing them.
It’s important to note that some knobs may have hidden screws, such as those located beneath a decorative faceplate or cover. Take a closer look at the knobs and identify any additional screws that need to be removed. Once all the screws are out, gently pull the knobs away from the drawer fronts.
If you encounter any resistance when removing the knobs, try spraying some WD-40 or a similar lubricant around the base of the knobs to help loosen them. Use caution and apply gentle pressure to avoid damaging the knobs or the drawer fronts.
Once the knobs are successfully removed, set them aside in a safe place until you are ready to paint them. Now that you have removed the knobs, you can proceed to the next step of the painting process.
Step 2: Clean the Knobs
After removing the knobs, it’s important to clean them thoroughly to ensure a smooth painting process. Over time, dresser knobs can accumulate dirt, grime, and even grease, which can affect the adhesion and finish of the paint. Follow these steps to clean the knobs effectively:
- Fill a bowl or sink with warm water and add a small amount of mild soap or cleaning solution. Alternatively, you can use a gentle all-purpose cleaner.
- Submerge the knobs in the soapy water and let them soak for a few minutes to loosen any dirt or debris. If the knobs are made of wood or have delicate finishes, avoid leaving them in the water for too long.
- Using a soft sponge or cloth, gently scrub the knobs to remove any dirt or grime. Pay special attention to crevices, corners, and intricate details.
- Rinse the knobs thoroughly under running water to remove any soap residue.
- Pat the knobs dry using a lint-free cloth or paper towels. Ensure they are completely dry before moving on to the next step.
Cleaning the knobs not only removes dirt and grime but also creates a clean surface for the paint to adhere to. By taking the time to clean the knobs properly, you’ll achieve better results and a more professional finish.
Remember, different materials may require specific cleaning methods. For example, if you have brass or metal knobs, you can use a metal cleaner or brass polish to restore their shine. Consult the manufacturer’s guidelines or do a small patch test before applying any specialized cleaners to ensure compatibility with the knobs’ materials.
Now that the knobs are clean and dry, you’re ready to move on to the next step: sanding the knobs to create a better surface for paint adhesion.
Step 3: Sand the Knobs
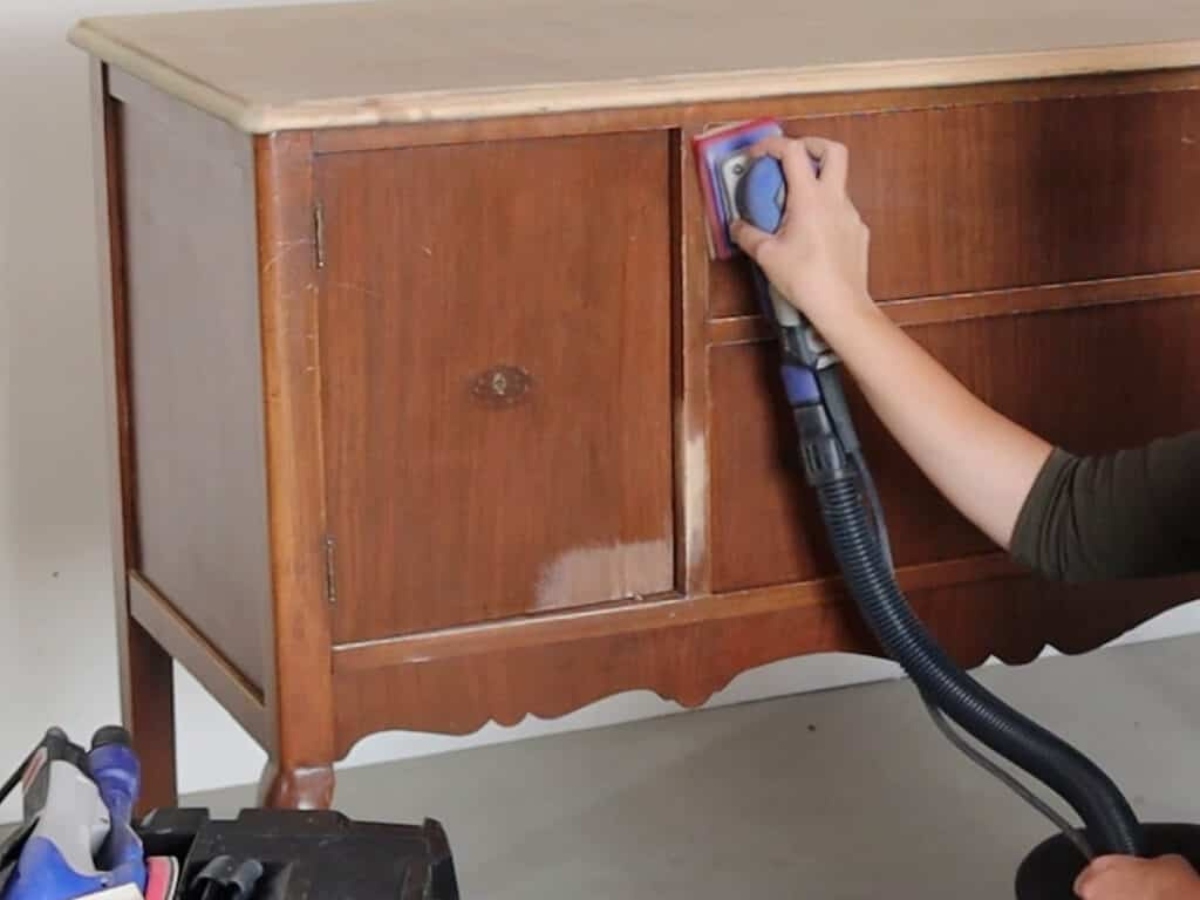
Sanding the knobs is an essential step to ensure that the paint adheres properly and creates a smooth, long-lasting finish. Sanding helps to remove any existing coatings, roughen the surface, and provide better adhesion for the primer and paint. Follow these steps to sand the knobs effectively:
- Begin by wrapping a small piece of sandpaper around your finger or a sanding block.
- Gently sand the surface of the knobs in a circular motion. Ensure that you cover the entire surface, including the edges and any intricate details.
- Use a fine-grit sandpaper (around 220-320 grit) for most materials. If the knobs have a thick finish or layers of paint, you may need to start with a coarser grit (around 120-150 grit) and gradually move to finer grits.
- Avoid putting too much pressure while sanding, as it can damage the knobs. Use light to medium pressure and let the sandpaper do the work.
- After sanding the knobs, wipe off any dust or debris with a clean, lint-free cloth or a tack cloth. Ensure that the knobs are completely clean and free from any sanding residue.
Sanding creates a slightly rough texture on the knobs, allowing the primer and paint to adhere better. It also helps to smooth out any imperfections or rough edges. However, if your knobs are already made of a porous material like unfinished wood, you may not need to sand them.
Remember, if you’re working with metal knobs, use a wire brush or a steel wool pad to remove rust or tarnish before sanding. This will help create a smooth and clean surface for painting.
With the knobs sanded and cleaned, it’s time to move on to the next step: priming the knobs before applying the paint.
Read also: 14 Unbelievable Dresser Knobs for 2024
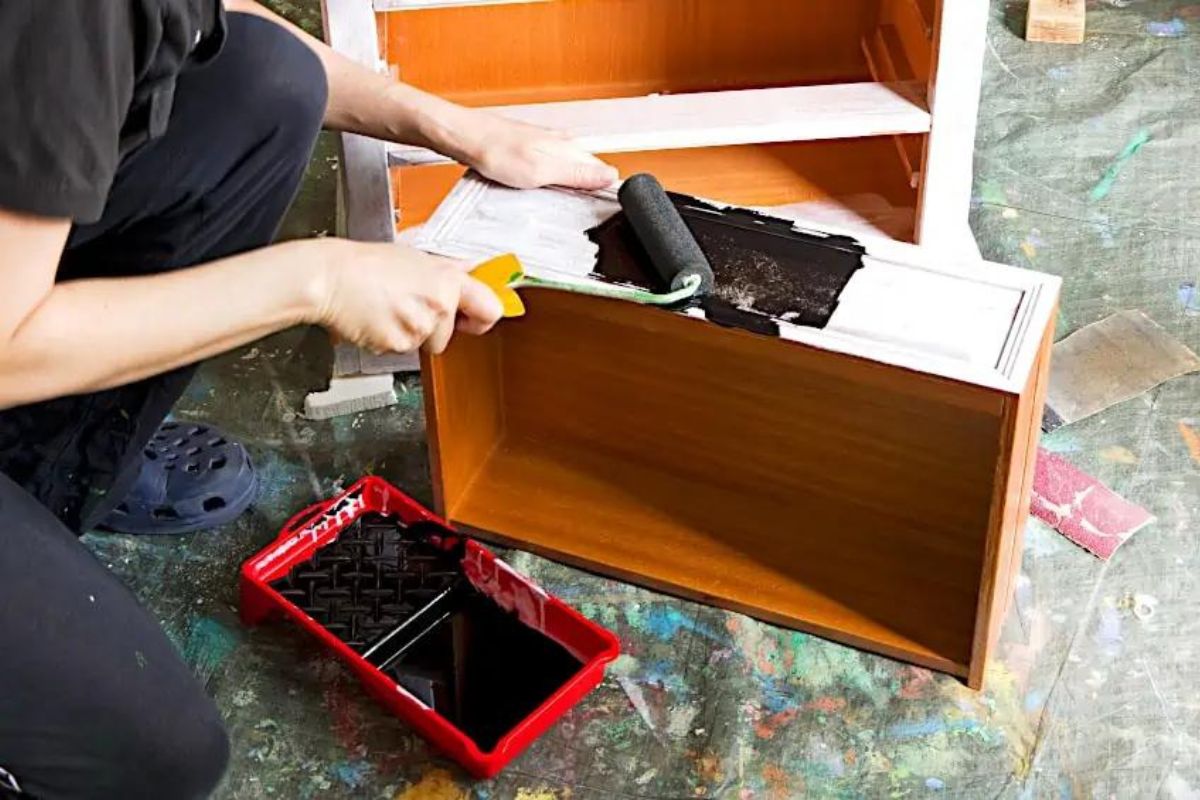
Step 4: Prime the Knobs
Priming the knobs is an important step to ensure a smooth and durable paint finish. Primer creates a barrier between the surface of the knobs and the paint, allowing for better adhesion and preventing the paint from chipping or peeling over time. Follow these steps to prime the knobs effectively:
- Place the knobs on a covered surface, such as a drop cloth or a piece of old newspaper, to protect your work area from primer overspray or drips.
- Shake the can of primer thoroughly to ensure proper mixing.
- Hold the can of primer approximately 6-8 inches away from the knobs to achieve a fine mist.
- Spray an even coat of primer over the knobs, making sure to cover all sides and angles.
- Allow the primer to dry completely according to the manufacturer’s instructions. This typically takes about 1-2 hours but may vary depending on the type of primer used.
- If necessary, lightly sand the knobs with a fine-grit sandpaper after the primer has dried. This will help to smooth out any imperfections or rough texture.
- Once sanded, wipe off any dust or debris with a clean, lint-free cloth or a tack cloth to ensure a clean surface for painting.
Priming the knobs not only improves paint adhesion but also helps to block any stains or discoloration on the knobs, ensuring a more even and vibrant paint finish. It also provides a consistent base color, allowing the paint to appear true to its color without being affected by the original knob color.
Choose a primer that is suitable for the material of your knobs. For example, if the knobs are made of metal, use a metal primer specifically designed to adhere to metal surfaces. If you’re unsure, consult the primer manufacturer’s guidelines or ask for assistance at your local home improvement store.
With the knobs properly primed and ready, it’s time to move on to the next step: painting the knobs in your desired color.
Before painting dresser knobs, make sure to clean them thoroughly with soap and water to remove any dirt or grease. Sand the surface lightly to help the paint adhere better. Use a primer before applying the paint for a smoother and more durable finish.
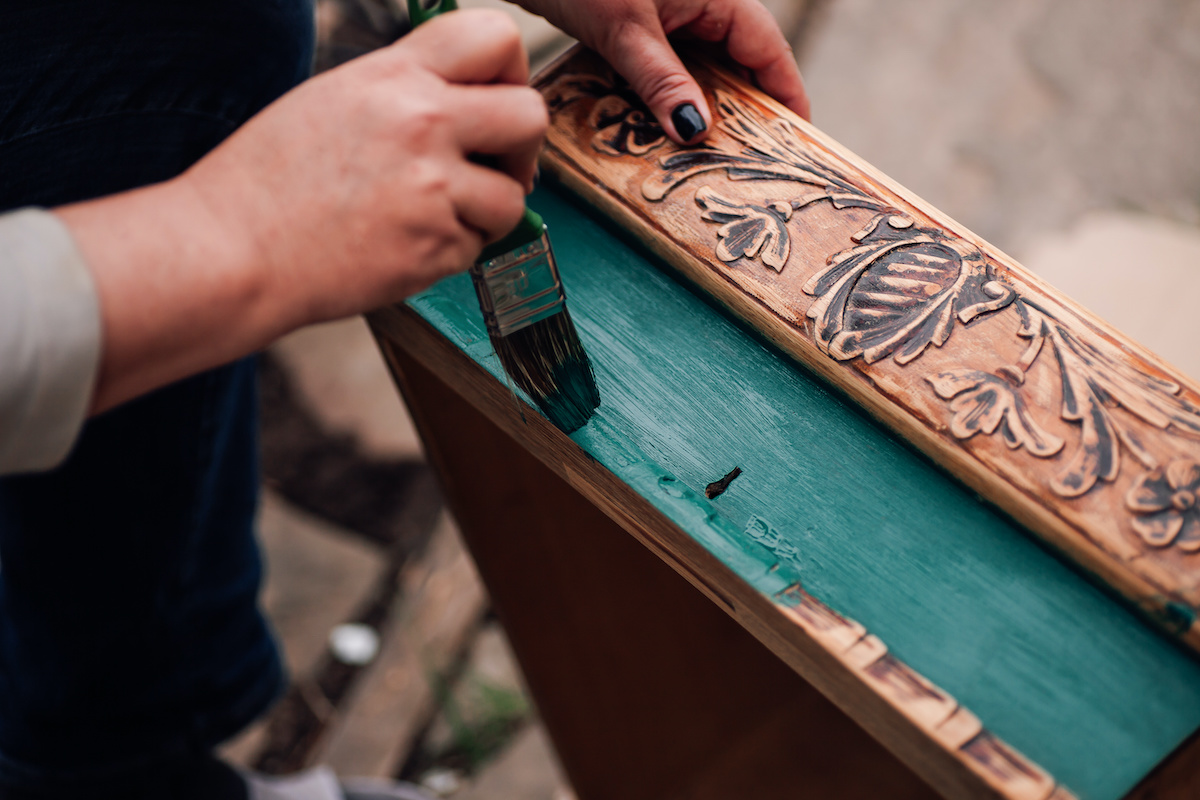
Step 5: Paint the Knobs
Now that the knobs are primed and prepared, it’s time to add some color! Painting the knobs allows you to customize their look and tie them into your overall decor scheme. Follow these steps to paint the knobs effectively:
- Prepare your paint by pouring a small amount onto a paint palette or a paper plate. Stir the paint well to ensure a smooth consistency.
- Using a small brush, apply a thin and even coat of paint onto the knobs. Start from the top of the knobs and work your way down, ensuring that all sides and edges are covered.
- Take your time, using smooth and steady strokes to achieve a flawless finish. Allow the first coat to dry completely according to the paint manufacturer’s instructions. This typically takes about 1-2 hours.
- If necessary, apply a second coat of paint to ensure full coverage and a more vibrant color. Allow the second coat to dry completely as well.
When painting, it’s important to use the appropriate type of paint for your knobs. Acrylic or latex paint are great options for most materials, as they dry quickly and provide a durable finish. However, if your knobs are made of metal, consider using metal-specific paint to ensure better adhesion and longevity.
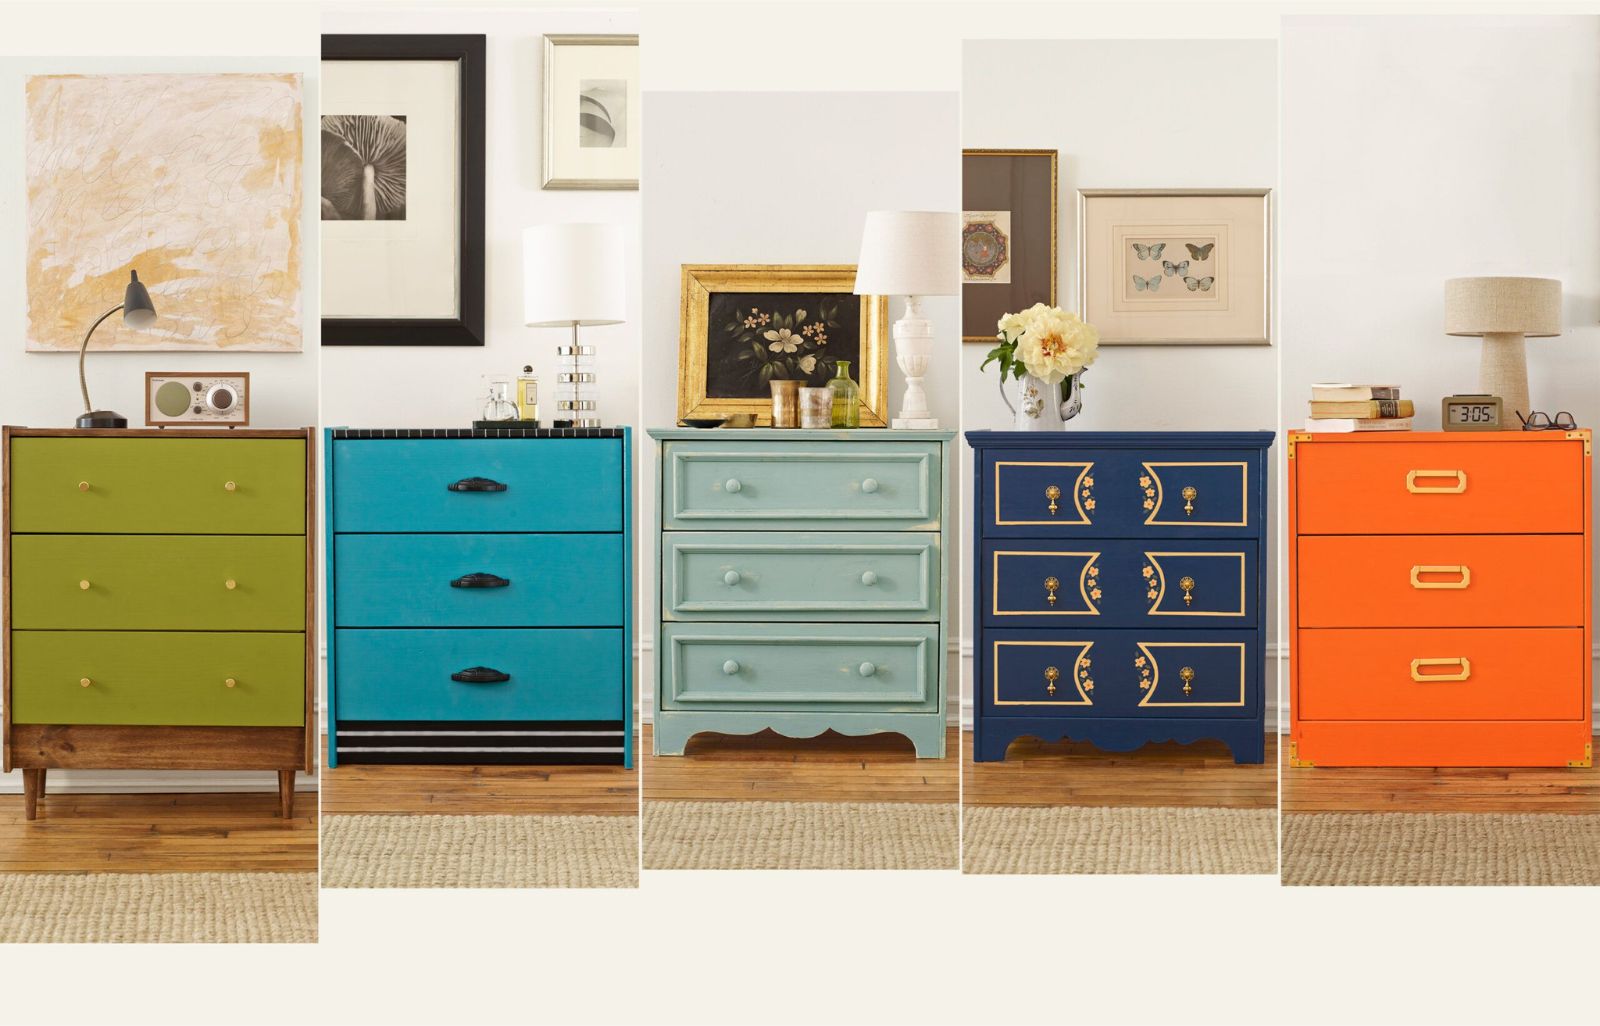
Choose a paint color that complements your furniture and overall design scheme. Whether you prefer a bold and vibrant hue or a subtle and neutral shade, let your creativity shine through. Experiment with different colors and finishes to achieve the desired look for your knobs.
To create a more unique and decorative effect, you can try techniques like ombré, stenciling, or adding patterns or designs. Use smaller brushes, sponges, or even toothpicks to create intricate designs or details on the knobs. Let your imagination run wild!
Once the paint has dried completely, you can move on to the next step: applying a second coat (optional) or sealing the knobs for added protection.
Step 6: Apply a Second Coat (Optional)
Applying a second coat of paint is an optional step but can provide a more even and vibrant finish to your dresser knobs. It helps to ensure full coverage and enhances the durability of the paint. If you feel that the first coat did not provide the desired color intensity or if there are any areas that need touch-ups, follow these steps to apply a second coat:
- Ensure that the first coat of paint is completely dry. Refer to the paint manufacturer’s instructions for the recommended drying time.
- If necessary, gently sand any imperfections or rough spots using a fine-grit sandpaper. Wipe off any dust with a clean, lint-free cloth or a tack cloth.
- Prepare your paint by stirring it well to ensure a smooth consistency.
- Using the same technique as before, apply a thin and even second coat of paint to the knobs, making sure to cover all areas that need touch-ups.
- Allow the second coat to dry completely. This may take another 1-2 hours, depending on the paint and the environmental conditions.
Applying a second coat can help to eliminate any streaks or unevenness from the first coat, ensuring a more professional-looking finish. It also enhances the color intensity and provides added protection to the knobs.
If you’re satisfied with the coverage and the color of your knobs after the first coat, you may choose to skip this step and move directly to the next step: letting the knobs dry completely.
Now that you have successfully added color to your knobs, it’s time to allow them to dry before reattaching them to the dresser and completing the transformation.
Step 7: Let the Knobs Dry
After applying the paint and, if applicable, the second coat, it’s crucial to allow the knobs to dry completely. Proper drying time ensures that the paint cures and hardens, providing a durable and long-lasting finish. Follow these steps to ensure the knobs dry properly:
- Find a well-ventilated area where the knobs can be left undisturbed to dry. Avoid placing them in direct sunlight or in areas with high humidity.
- Refer to the paint manufacturer’s instructions for the recommended drying time. Typically, it can take anywhere from 24 to 72 hours for the paint to fully dry and cure.
- Resist the temptation to handle or touch the knobs during the drying process, as this can leave fingerprints or smudges and potentially damage the paint.
- Check the knobs periodically to ensure that they are drying evenly and to identify any potential issues. If you notice any areas that need touch-ups, allow the knobs to dry completely before making any adjustments.
Proper drying time is crucial for achieving a flawless paint finish. Rushing the drying process may result in smudging, smearing, or surface damage, compromising the overall appearance of the knobs.
While waiting for the knobs to dry, you can take this time to clean your brushes and dispose of any materials you no longer need. This way, you’ll be ready for the final step: reattaching the knobs to the dresser.
Once the knobs are completely dry, you can move on to the final step: reattaching them to the drawers and enjoying the renewed look of your furniture.
Step 8: Reattach the Knobs
After the paint has dried and you’re satisfied with the finished look of the knobs, it’s time to reattach them to the dresser. Follow these steps to efficiently and securely reattach the knobs:
- Retrieve the screws that were removed earlier and ensure they are clean and in good condition.
- Hold the knob against the drawer front in the desired position.
- Insert the screw through the back of the drawer front and into the hole in the knob.
- Using a screwdriver or drill, tighten the screw, ensuring that the knob is securely attached without being too tight.
- Repeat this process for each knob, making sure they are evenly attached and aligned.
When reattaching the knobs, take care not to overtighten the screws, as this can damage both the knob and the drawer front. Just tighten them enough to ensure a secure fit. Give each knob a gentle tug to verify that they are properly attached and won’t come loose easily.
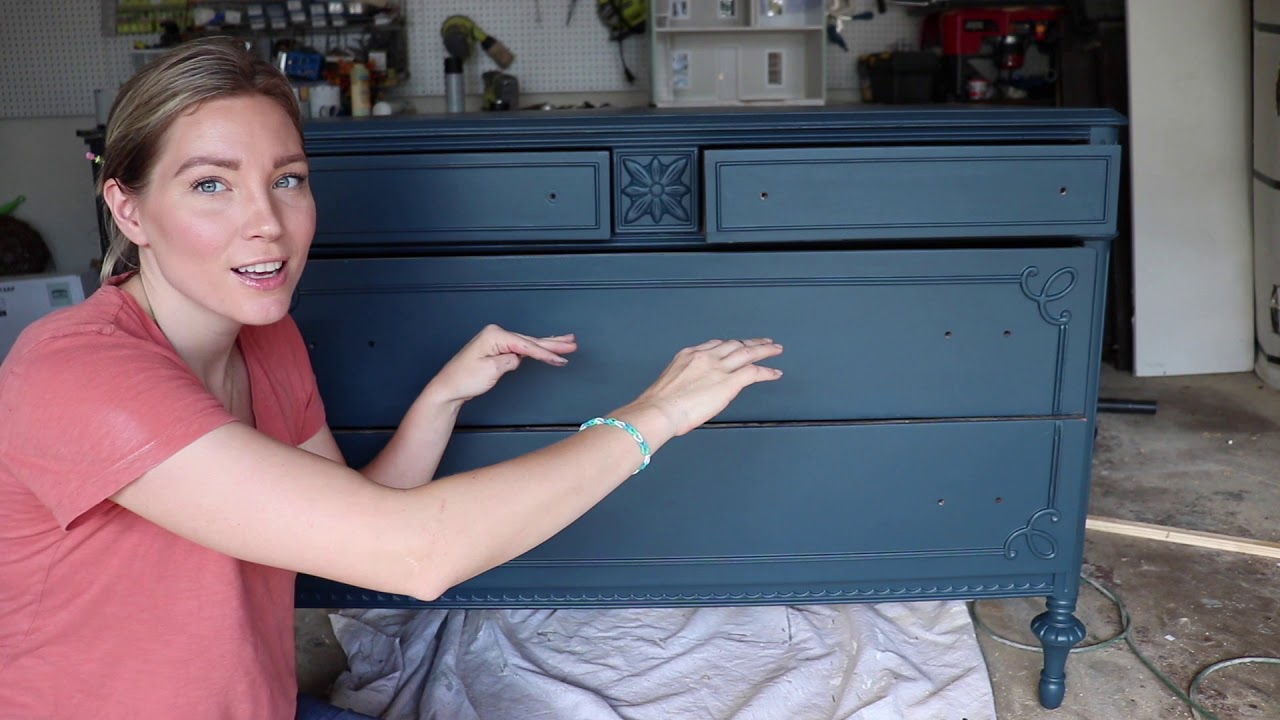
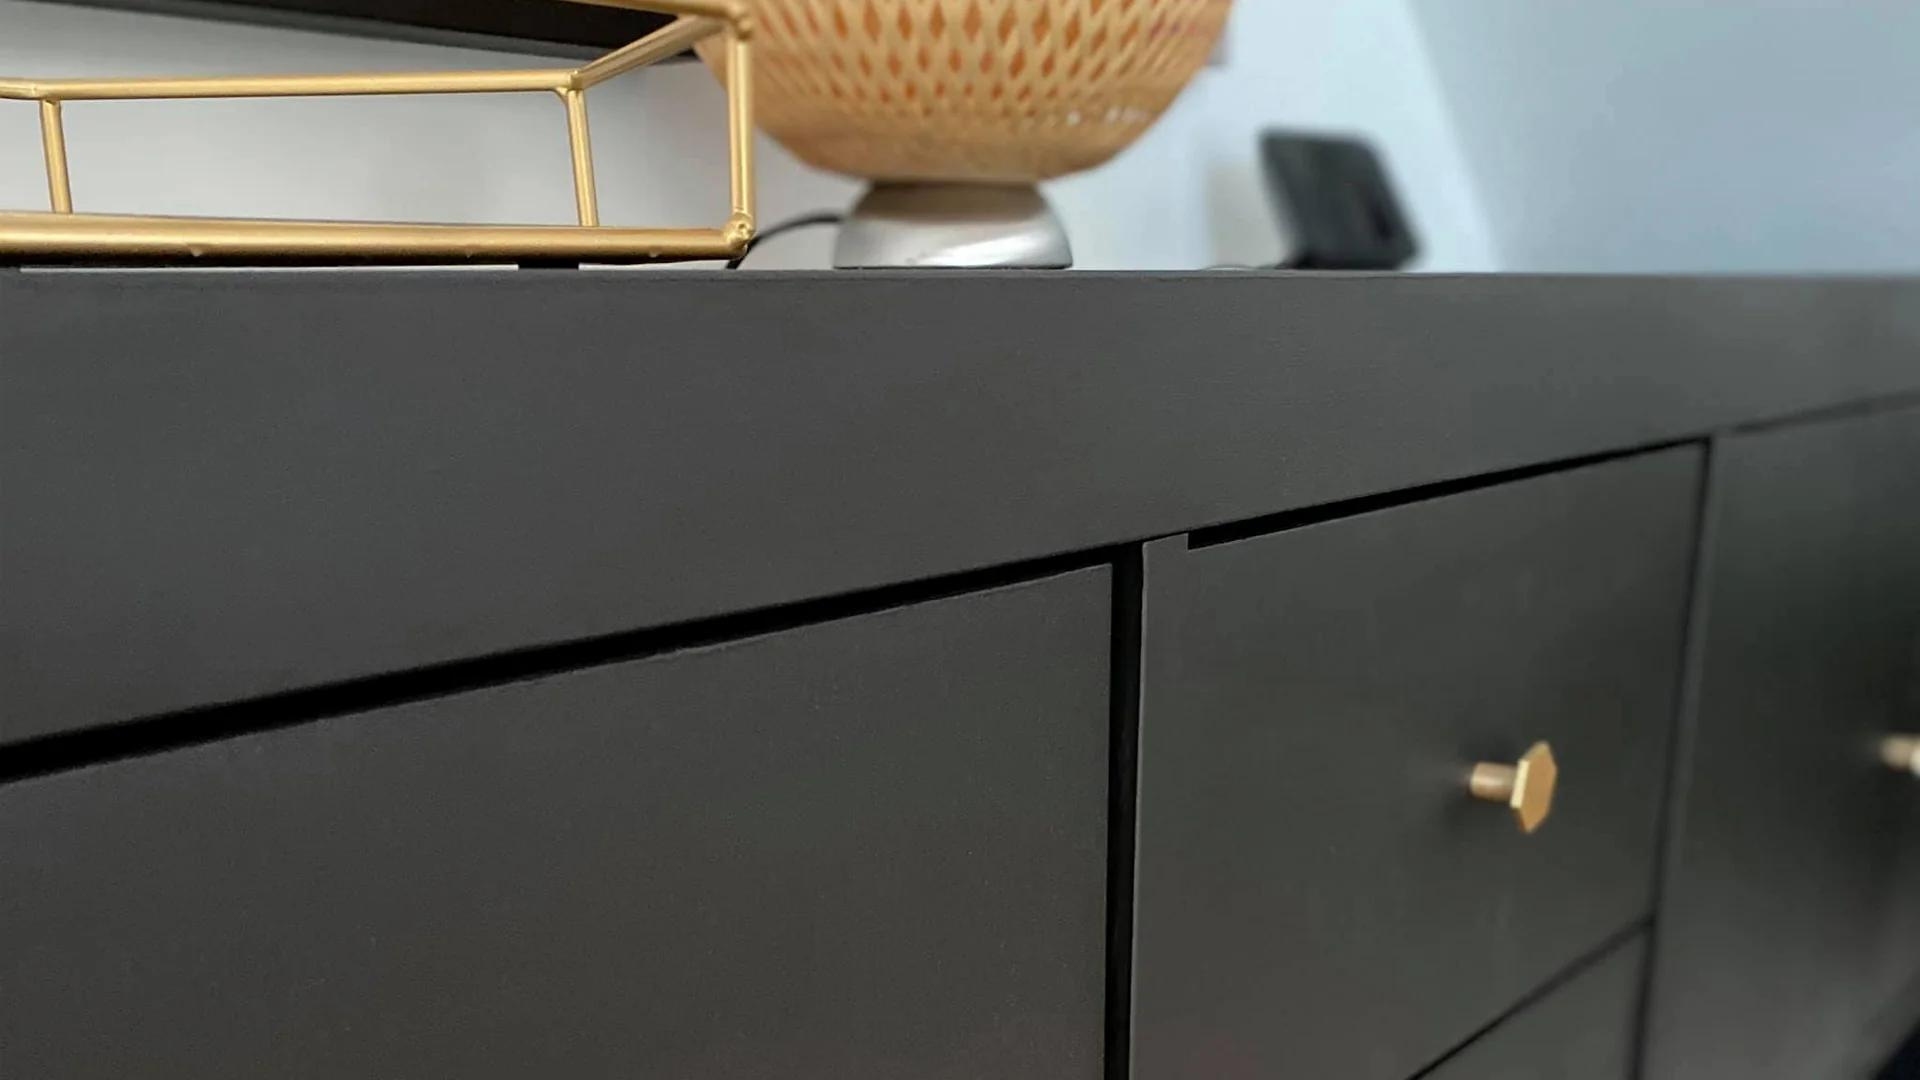
Once all the knobs are securely reattached, step back and admire the revitalized look of your dresser. The newly painted knobs have breathed new life into your furniture, adding a personal touch and enhancing its overall aesthetic.
Remember, it’s important to handle the dresser with care, especially in the first few days after reattaching the knobs, to allow the paint to fully cure and harden. Avoid placing any heavy objects or exerting excessive force on the knobs to maintain their pristine condition.
Congratulations! You have successfully completed the process of painting and reattaching dresser knobs. A small DIY project like this has the power to transform the entire look and feel of your furniture, giving it a fresh and personalized touch.
Now, step back and revel in the satisfaction of your handiwork. Enjoy the revamped appearance of your dresser, knowing that you achieved it with your own creativity and skill.
Thank you for following along with this step-by-step guide. We hope you found the information helpful and that you now have the confidence to tackle future DIY projects. Happy decorating!
Conclusion
Painting dresser knobs is an enjoyable and rewarding DIY project that allows you to add a personal touch to your furniture while giving it a fresh and updated look. With the right materials, proper preparation, and careful execution, you can achieve professional-looking results and transform the overall aesthetic of your dressers.
By following the steps outlined in this guide, you have learned how to remove the knobs, clean and sand them to create a smooth surface, prime them for better adhesion, apply the paint, and optionally add a second coat. Additionally, you have discovered the importance of allowing the knobs to dry properly before reattaching them to the drawers.
Remember to choose high-quality materials, including suitable paint and brushes, to ensure a durable and long-lasting finish. Take your time throughout the process and pay attention to detail, as this will contribute to the overall success of your project.
Through this DIY project, you have the opportunity to unleash your creativity and customize the knobs to match your personal style and home decor. Experiment with different colors, finishes, and techniques to achieve the desired look and make a statement with your furniture.
Not only does painting dresser knobs contribute to the visual appeal of your space, but it also offers a cost-effective solution for updating dated furniture. Rather than investing in new dressers, you can breathe new life into existing ones by giving their knobs a fresh coat of paint.
We hope that this step-by-step guide has provided you with the knowledge and confidence to embark on your own dresser knob painting project. Embrace your creativity, enjoy the process, and revel in the satisfaction of transforming your furniture with your own hands.
Happy painting and decorating!
Frequently Asked Questions about How To Paint A Dresser Knobs
Was this page helpful?
At Storables.com, we guarantee accurate and reliable information. Our content, validated by Expert Board Contributors, is crafted following stringent Editorial Policies. We're committed to providing you with well-researched, expert-backed insights for all your informational needs.

0 thoughts on “How To Paint A Dresser Knobs”