Furniture
How To Cover A Lamp Shade
Modified: January 9, 2024
Learn how to cover a lamp shade with our easy step-by-step guide. Transform your furniture and create a stunning new look for your space.
(Many of the links in this article redirect to a specific reviewed product. Your purchase of these products through affiliate links helps to generate commission for Storables.com, at no extra cost. Learn more)
Introduction
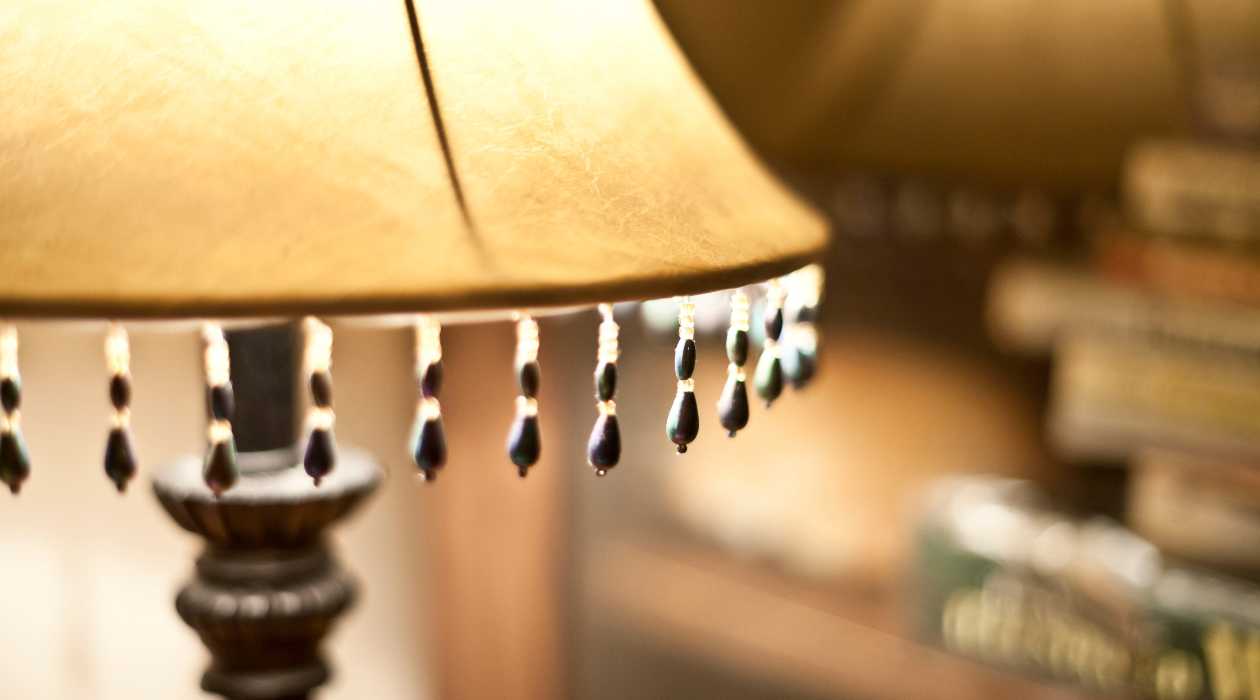
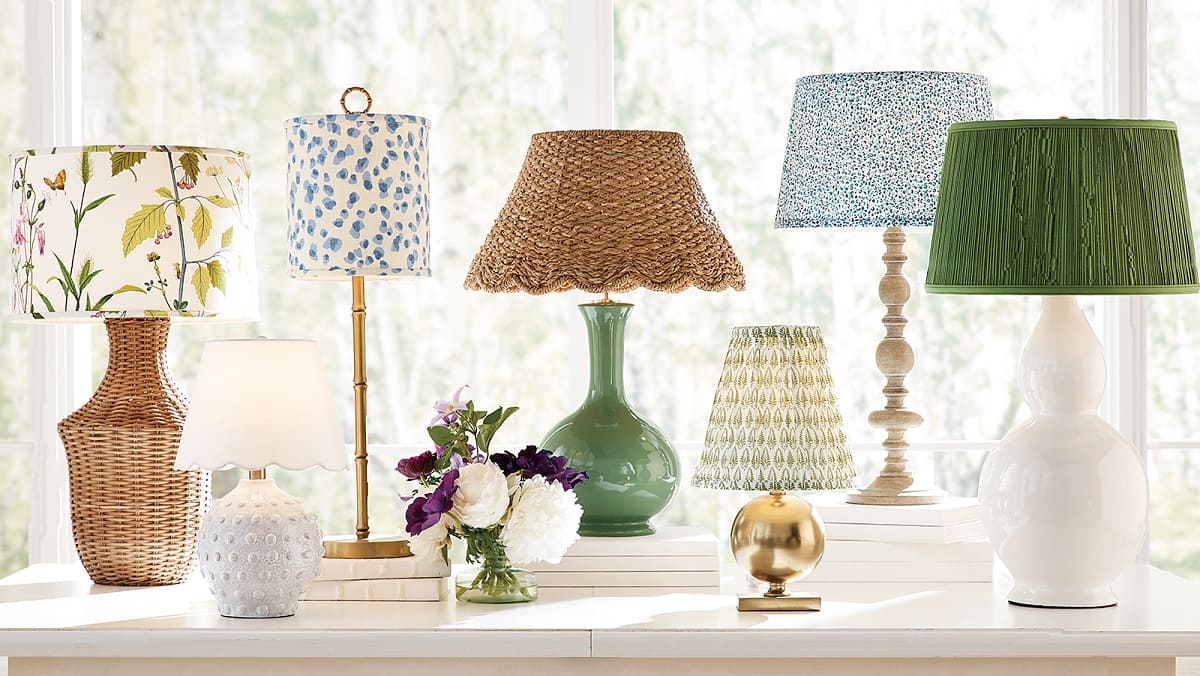
When it comes to home decor, sometimes even the smallest details can make a big difference. One such detail is the lamp shade. It may seem like a minor element, but the right lamp shade can elevate the style and ambiance of a room. If you want to give your lamp a new look or match it with your existing decor, covering the lamp shade is an excellent solution.
Covering a lamp shade is a simple and affordable way to customize it to your taste. Whether you prefer a fabric, paper, or decorative material, the process can be easily accomplished with a few tools and materials. In this article, we will guide you through the steps to cover a lamp shade, transforming it from plain to personalized in no time.
Before we dive into the process, let’s make sure you have everything you need to get started.
Key Takeaways:
- Elevate your home decor by covering a lamp shade with your choice of material, adding a personalized touch that complements your interior design and creates a warm, stylish ambiance.
- Unleash your creativity and transform an ordinary lamp shade into a personalized accent for your room. Experiment with materials, patterns, and embellishments to achieve a stunning, unique look that reflects your style.
Read more: How To Put A Lamp Shade On
Tools and Materials Needed
Before you begin covering your lamp shade, gather the following tools and materials:
- Fabric, paper, or decorative material of your choice
- Lamp shade
- Measuring tape
- Scissors
- Double-sided tape or fabric glue
- Trim or ribbon (optional)
- Embellishments like buttons, beads, or fabric flowers (optional)
- Iron (if using fabric that requires ironing)
Having these tools and materials ready will ensure a smooth and efficient process as you cover your lamp shade. Once you have gathered everything, you can proceed to the next step: measuring the lamp shade.
Step 1: Measure the Lamp Shade
The first step in covering a lamp shade is to measure its dimensions. This will help you determine the amount of covering material you will need and ensure a proper fit. Here’s how to do it:
- Remove the lamp shade from the lamp base and place it on a flat surface.
- Measure the height of the lamp shade from the top edge to the bottom edge. Use a measuring tape to get an accurate measurement.
- Next, measure the circumference of the lamp shade at its widest point. This will determine the length of the covering material you will need.
- If the lamp shade has a tapered shape, measure the circumference at both the top and bottom edges.
- Note down these measurements for reference when choosing and preparing the covering material.
By measuring the lamp shade accurately, you can ensure that the covering material you choose will fit properly and look seamless once applied. With the measurements in hand, you’re ready to move on to the next step: choosing the covering material.
Step 2: Choose the Covering Material
Choosing the right covering material for your lamp shade is crucial in achieving the desired aesthetic and functionality. Here are some considerations to keep in mind when selecting the covering material:
- Style and Theme: Determine the style and theme you want to achieve for the lamp shade. Consider the overall decor of the room and choose a material that complements it. For a classic or traditional look, fabrics like silk or linen can be a great option. If you prefer a more contemporary or eclectic style, patterned or textured materials can add visual interest.
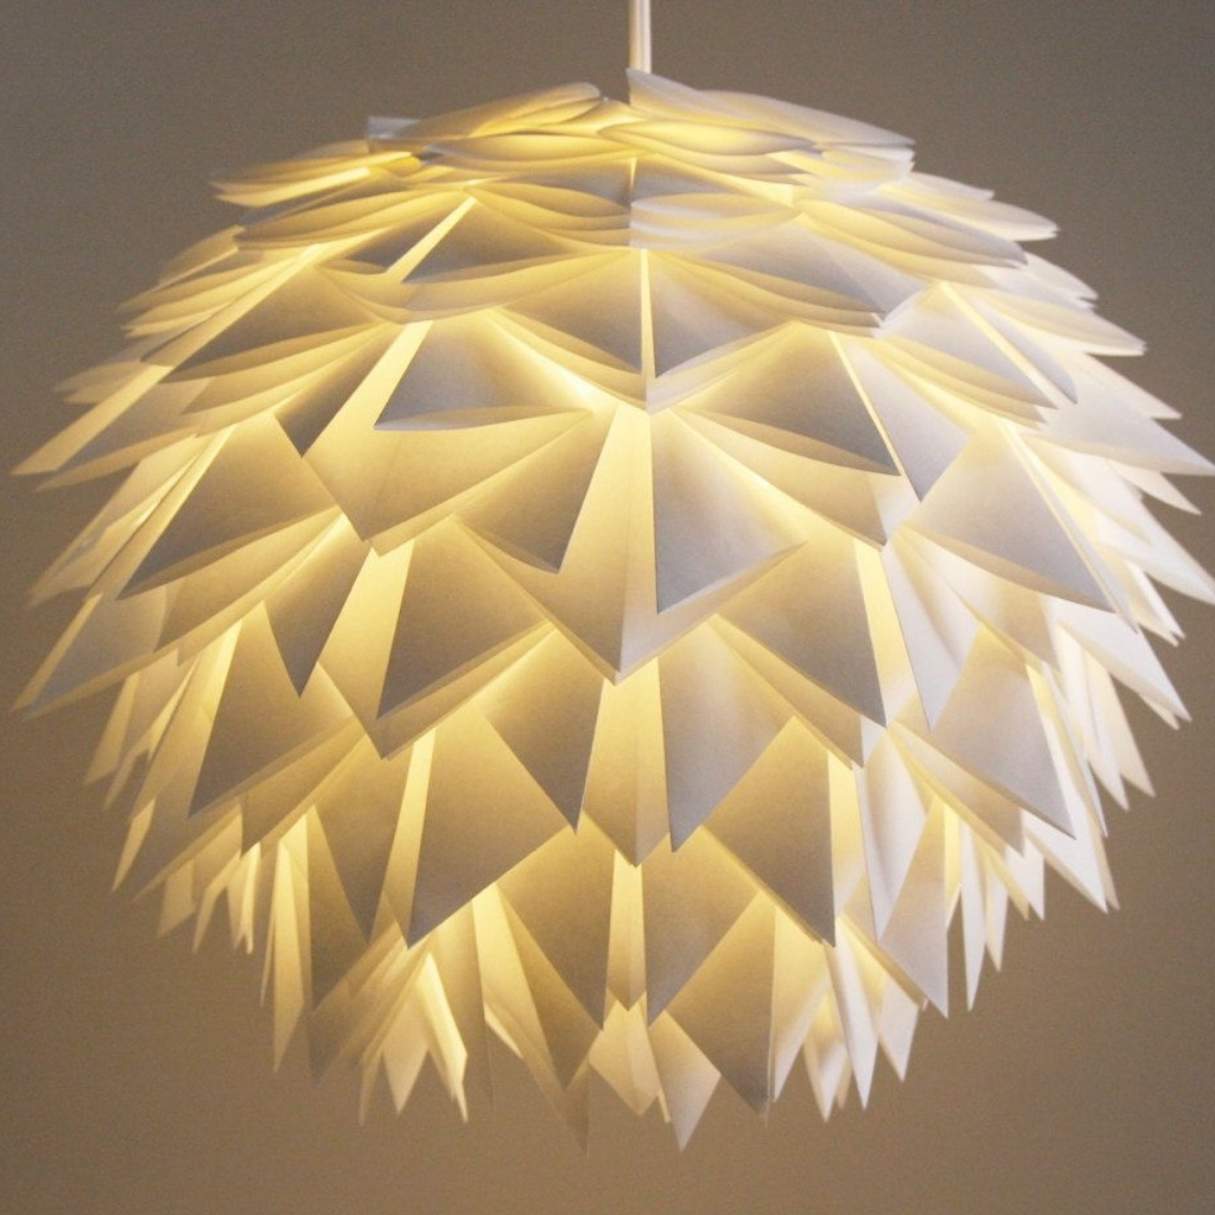
- Lighting Needs: Consider the level of light diffusion you want for the lamp shade. Different materials will filter and diffuse light differently. Fabric materials tend to soften and create a warm glow, while paper or translucent materials allow more light to pass through, making them suitable for task lighting or ambient lighting.
- Durability and Maintenance: Think about the practicality of the material. Consider factors such as its durability, ease of cleaning, and resistance to fading or damage from prolonged exposure to light and heat. This will ensure that your lamp shade stays looking beautiful and functional for a long time.
- Budget: Consider your budget when selecting the covering material. Fabrics can range from inexpensive cotton to luxurious silk, while paper and decorative materials can be more cost-effective. Choose a material that fits within your budget without compromising on quality and style.
Once you have considered these factors, you can explore various options such as fabrics, papers, or even unconventional materials like lace or burlap. Visit fabric stores, home decor shops, or explore online sources to find a covering material that suits your preferences and needs.
With the covering material chosen, you are ready to move on to the next step: preparing the material for application.
Step 3: Prepare the Covering Material
Before you can apply the covering material to the lamp shade, it’s important to prepare it properly. This will ensure a smooth and professional-looking finish. Here’s how to do it:
- If you have chosen a fabric material, start by ironing it to remove any wrinkles or creases. Set the iron to the appropriate heat setting for the fabric and use a pressing cloth if necessary to protect delicate fabrics. Ironing will also make the material easier to work with during the application process.
- If the covering material requires a specific pattern or design placement, carefully lay it out to align the pattern correctly. This step is especially important for fabrics with large prints or intricate patterns.
- If you are using paper material, ensure that it is cut to the correct size and shape. Trim off any excess or uneven edges to create a clean and precise fit for the lamp shade.
- For both fabric and paper materials, make sure they are cut with an additional 1-2 inches of allowance on all sides. This will provide enough material to secure it in place and allow for adjustments during the application process.
- If you plan to add any trim or ribbon as embellishments, prepare them by measuring and cutting them to the desired length. This will make it easier to attach them later on.
By taking the time to properly prepare the covering material, you can ensure a professional and polished result. With the material ready, it’s time to move on to the exciting part – applying it to the lamp shade!
Read more: How To Dye Lamp Shades
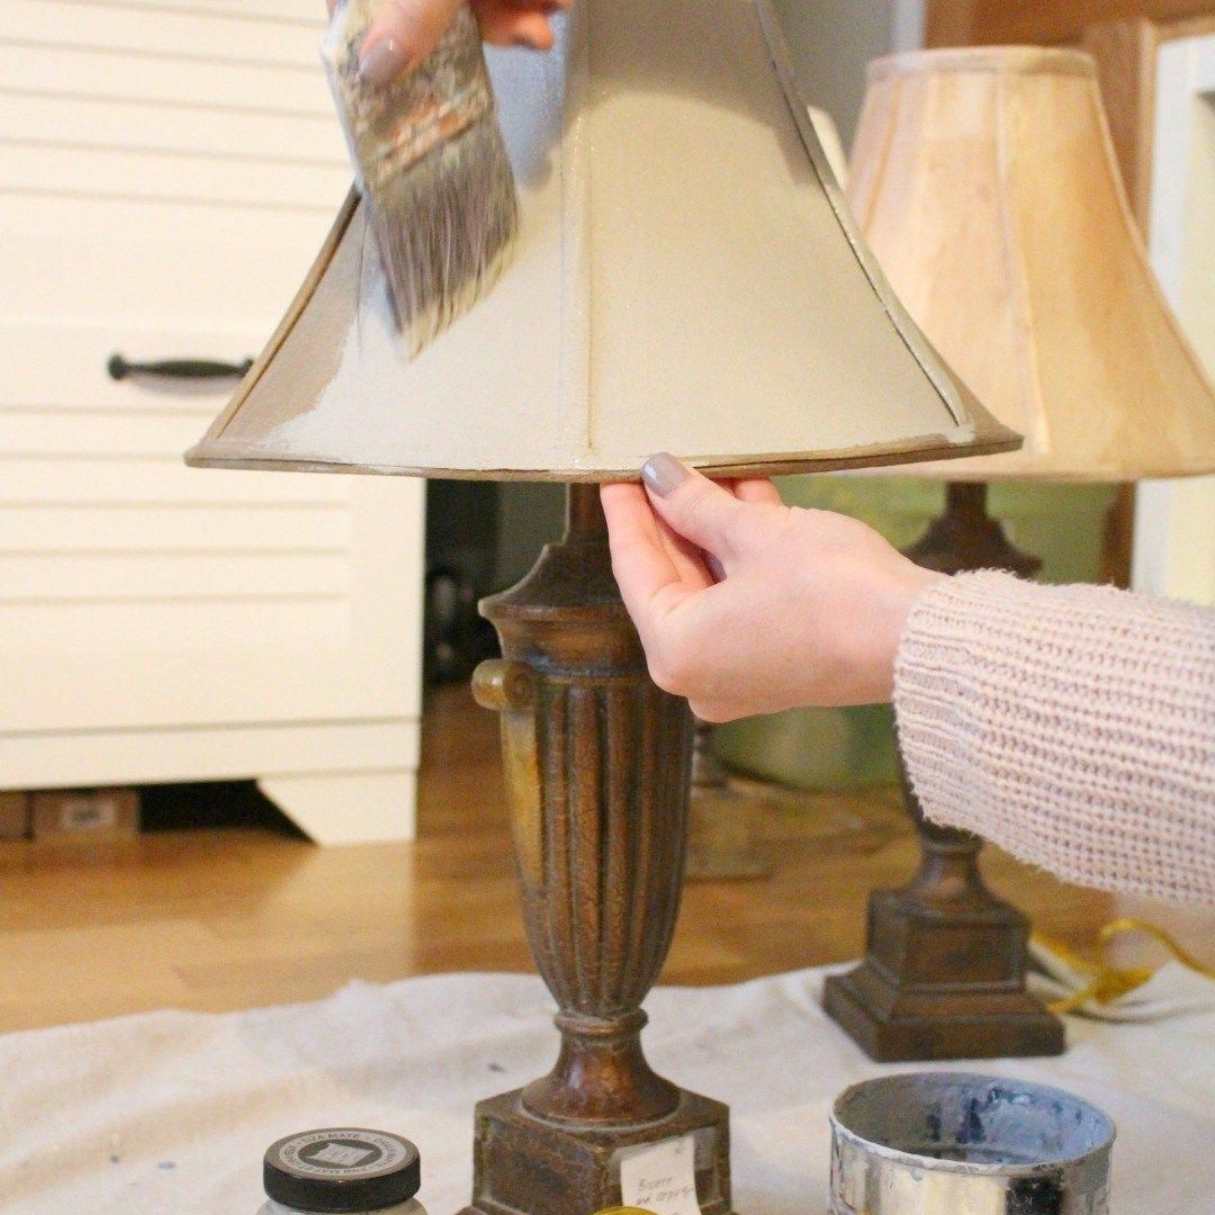
Step 4: Apply the Covering Material to the Lamp Shade
Now comes the moment to transform your lamp shade by applying the chosen covering material. Follow these steps to ensure a seamless and professional-looking result:
- If you are using double-sided tape, start by applying strips of tape along the vertical edges of the lamp shade. Make sure to leave a small gap between each strip to allow for flexibility during the application process.
- If you are using fabric glue, apply a thin and even layer onto the backside of the covering material. Be sure to cover the entire surface to ensure proper adhesion.
- Starting at the seam or the backside of the lamp shade, carefully align the top edge of the covering material with the top edge of the lamp shade. Smooth it down with your hands, working from top to bottom to eliminate any air bubbles or wrinkles.
- Continue to wrap the covering material around the lamp shade, using your fingers to press it firmly against the double-sided tape or glue underneath. Go slowly and take your time to ensure a tight and secure fit.
- Smooth out any wrinkles or folds as you go along, using your hands or a soft cloth. Make sure the material is taut and even all the way around the lamp shade.
- If you are using fabric glue, pay extra attention to the seam or overlap area. Apply additional glue if necessary to ensure a strong bond.
Take your time during this step to ensure that the covering material is applied smoothly and evenly. Any imperfections can be adjusted and smoothed out as you go along. Once the material is securely applied, it’s time to move on to the next step: securing it in place.
When covering a lamp shade, make sure to choose a fabric that is heat-resistant and allows light to pass through. Measure and cut the fabric to fit the shade, then use fabric glue or double-sided tape to secure it in place. Smooth out any wrinkles for a clean finish.
Step 5: Secure the Covering Material in Place
After applying the covering material to your lamp shade, it’s essential to secure it in place to ensure a long-lasting and professional finish. Here’s how to do it:
- If you have used double-sided tape, go around the top and bottom edges of the lamp shade, pressing down firmly to secure the covering material in place. Make sure the material is stretched tautly to avoid any sagging or looseness.
- If you have used fabric glue, allow it to dry completely according to the manufacturer’s instructions. This will ensure that the material is securely bonded to the lamp shade.
- If there are any visible seams or overlaps in the covering material, use a needle and thread to hand-stitch them together. This will provide extra reinforcement and a neat appearance.
- If you prefer a more decorative touch, you can use trim or ribbon to further secure the covering material. Apply a thin line of fabric glue along the edges of the trim or ribbon, and carefully press it onto the lamp shade, covering the raw edges of the covering material.
- Go around the lamp shade, smoothing out any loose edges or wrinkles and ensuring that everything is securely in place.
By properly securing the covering material, you can prevent it from shifting or loosening over time. This will ensure that your lamp shade maintains its professional and polished look for years to come.
Now that the covering material is securely in place, it’s time to move on to the next step: trimming any excess material for a clean finish.
Step 6: Trim Excess Covering Material
With the covering material securely in place, it’s time to give your lamp shade a clean and finished look by trimming any excess material. Follow these steps to achieve a polished result:
- Start by carefully inspecting the top and bottom edges of the lamp shade. If there is any excess material extending beyond these edges, use a pair of sharp scissors to trim it off. Be cautious not to cut too close to the edges to avoid unraveling or exposing the raw edges of the covering material.
- Check for any stray threads or loose fibers along the edges of the covering material. Use small scissors or a pair of tweezers to carefully remove them, ensuring a neat and clean appearance.
- If you have used double-sided tape, ensure that any exposed tape is neatly covered by the covering material. Adjust and press down as needed to hide the tape from view.
- Smooth out any uneven edges or wrinkles along the covering material, using your hands or a soft cloth. Take your time to ensure that everything is even and tidy.
Trimming the excess covering material not only gives your lamp shade a professional finish but also prevents any loose or hanging edges that may be prone to damage or fraying over time. This step adds that final touch to your newly covered lamp shade, ensuring a refined and polished appearance.
Now that your lamp shade is looking fantastic, let’s move on to the next step: adding any additional embellishments for a personal touch.
Step 7: Add any Additional Embellishments
Once you have covered and trimmed your lamp shade, you can further personalize it by adding additional embellishments. This step allows you to get creative and add a unique touch to your lamp shade. Here are some ideas to consider:
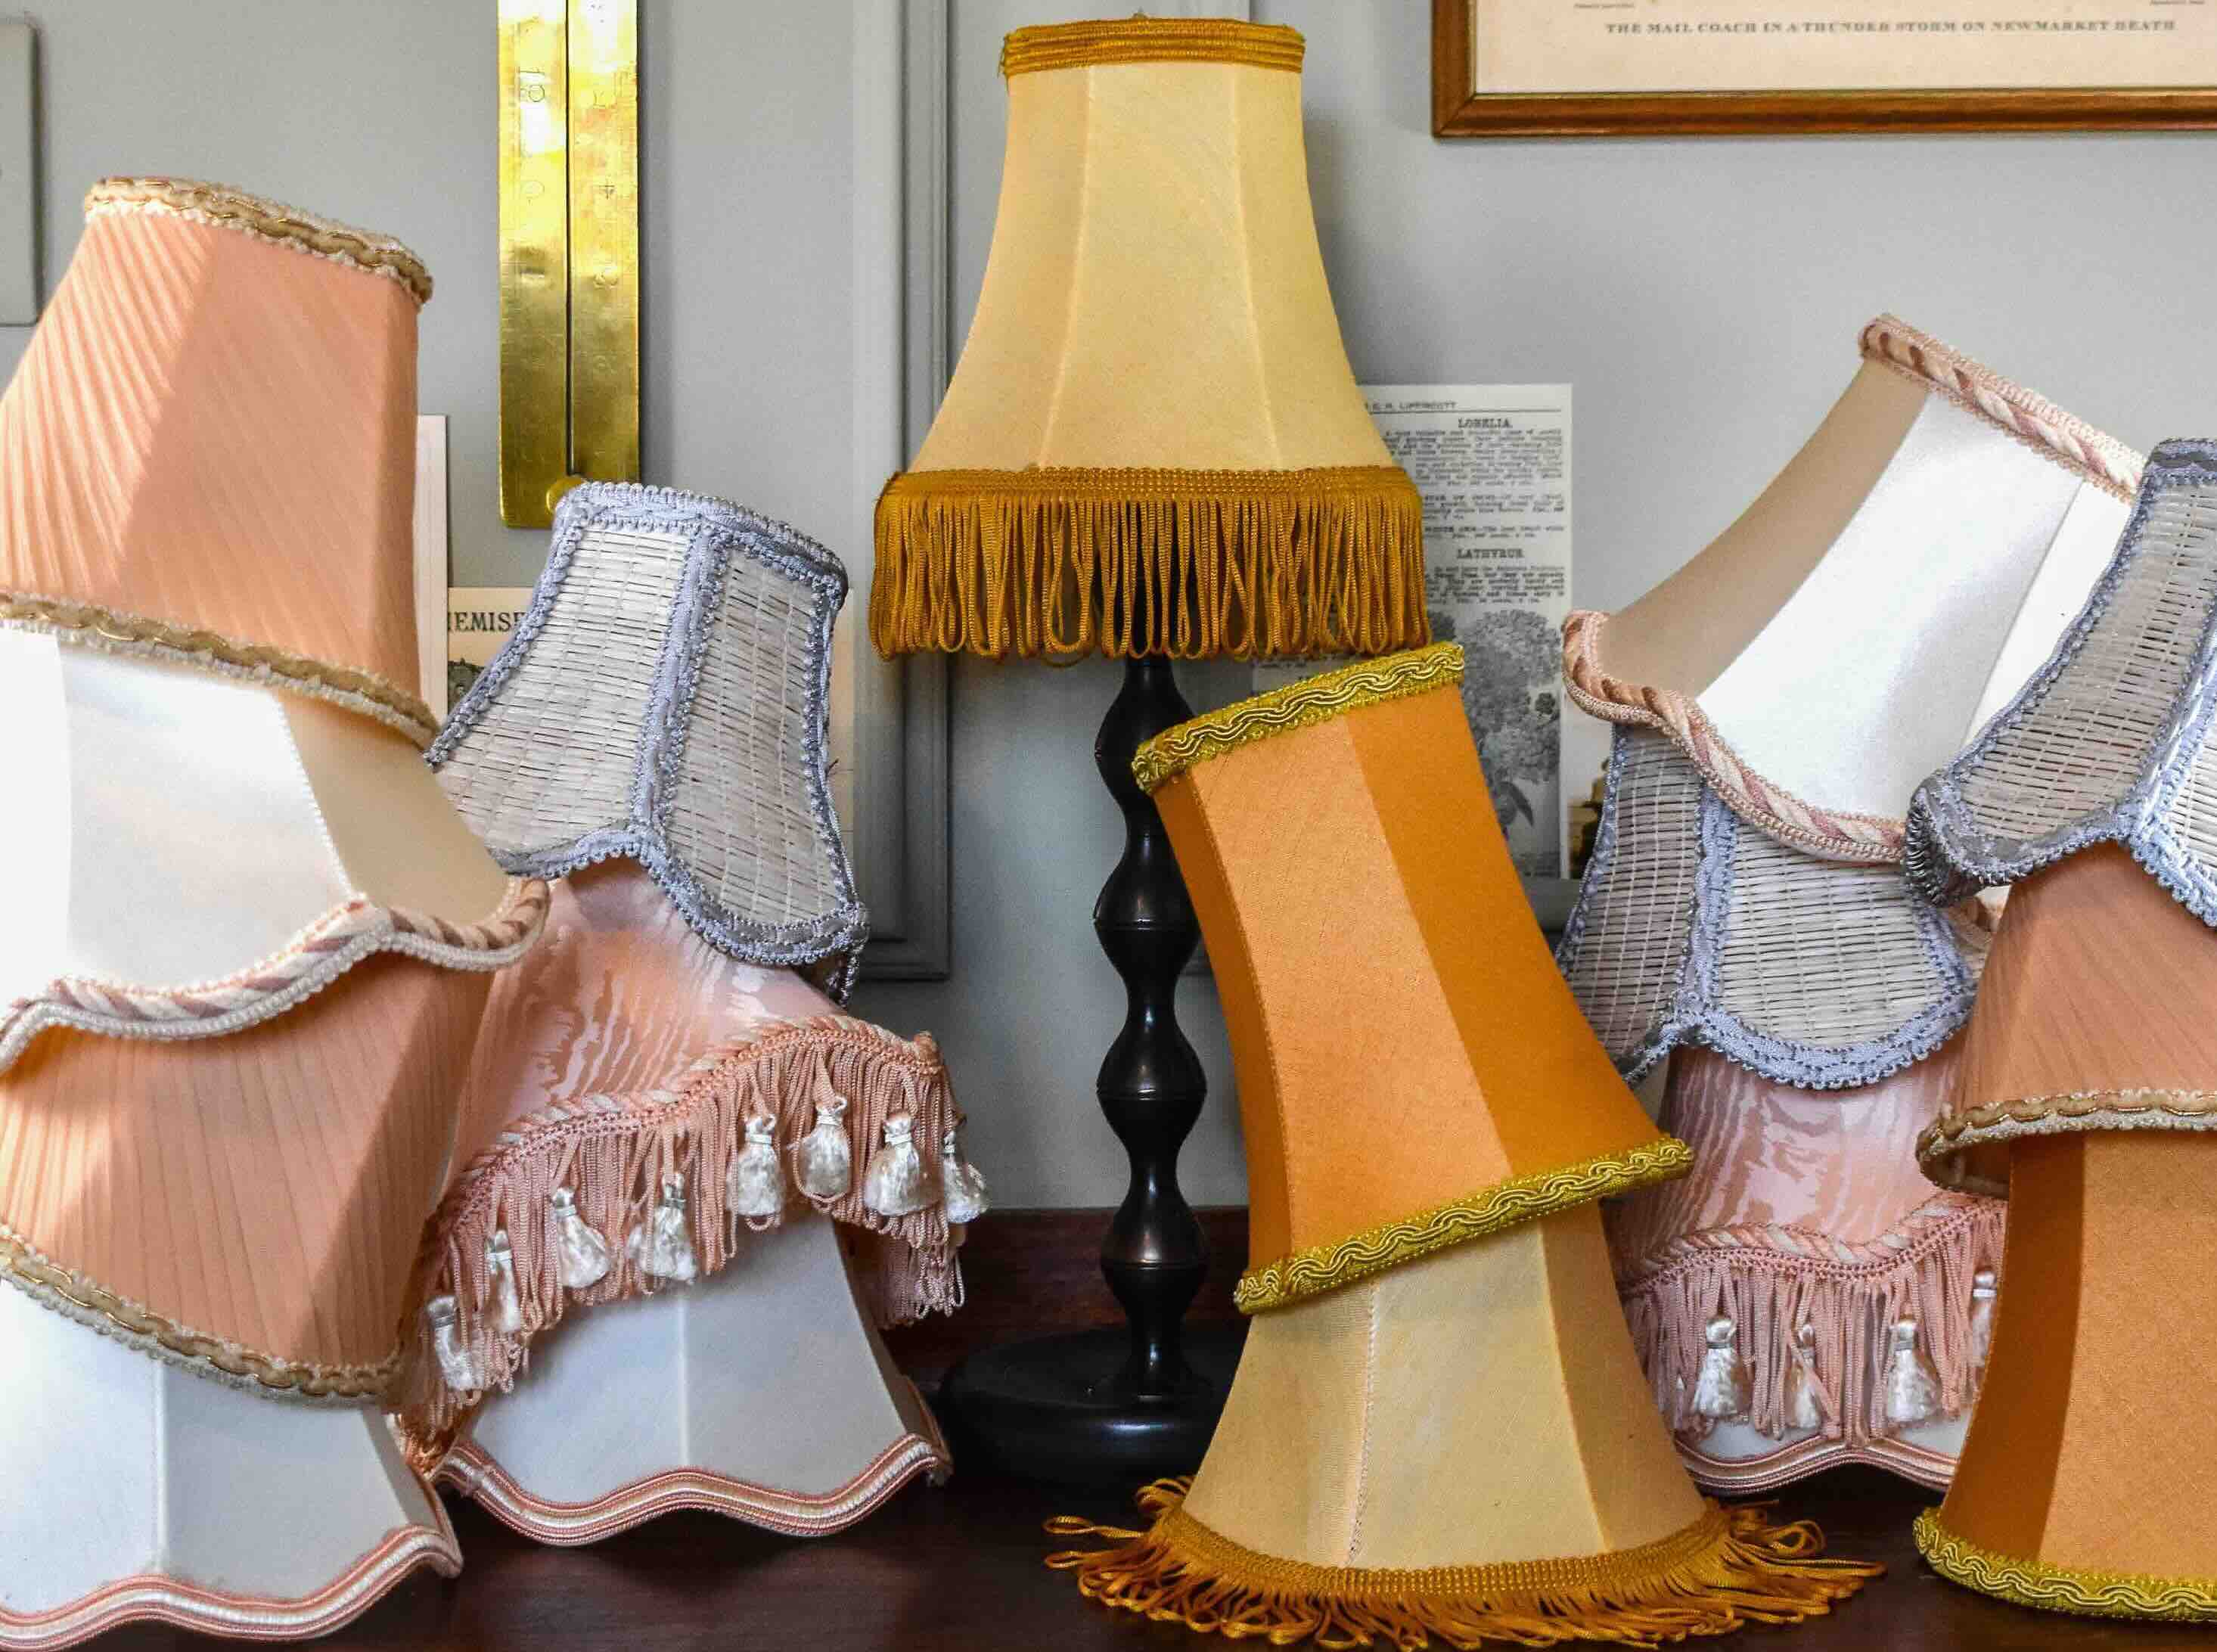
- Trim or Ribbon: If you haven’t already, you can attach trim or ribbon along the top and/or bottom edges of the lamp shade. This can add a decorative border and enhance the overall look. Use fabric glue or a hot glue gun to securely affix the trim in place.
- Buttons or Beads: Consider adding buttons or beads to the covering material for added texture and visual interest. Arrange them in a pattern or randomly to create a custom design. Attach them using needle and thread or fabric glue.
- Fabric Flowers or Embroidery: For a more intricate embellishment, you can create fabric flowers or embroider designs onto your lamp shade. These details can add a unique and artistic flair. Explore tutorials and techniques online for inspiration and guidance.
- Paint or Stencils: If you are using a plain covering material, you can add visual interest by painting or stenciling designs onto it. Use fabric or craft paint and brushes, or invest in stencils to create unique motifs and patterns.
Remember to consider the overall style and theme of your room when choosing embellishments. The goal is to enhance the lamp shade’s appearance while still ensuring it complements the surrounding decor. Take your time and experiment with different embellishments until you achieve the desired effect.
Once you have added any additional embellishments, take a step back and admire your beautifully customized lamp shade. The final step is to test it out and ensure it looks just as amazing when in use.
Read more: How To Store Lamp Shades
Step 8: Test the Lamp Shade
After all the hard work of covering, securing, trimming, and embellishing your lamp shade, it’s time to test it out and ensure that it meets your expectations. Follow these steps to give it a thorough examination:
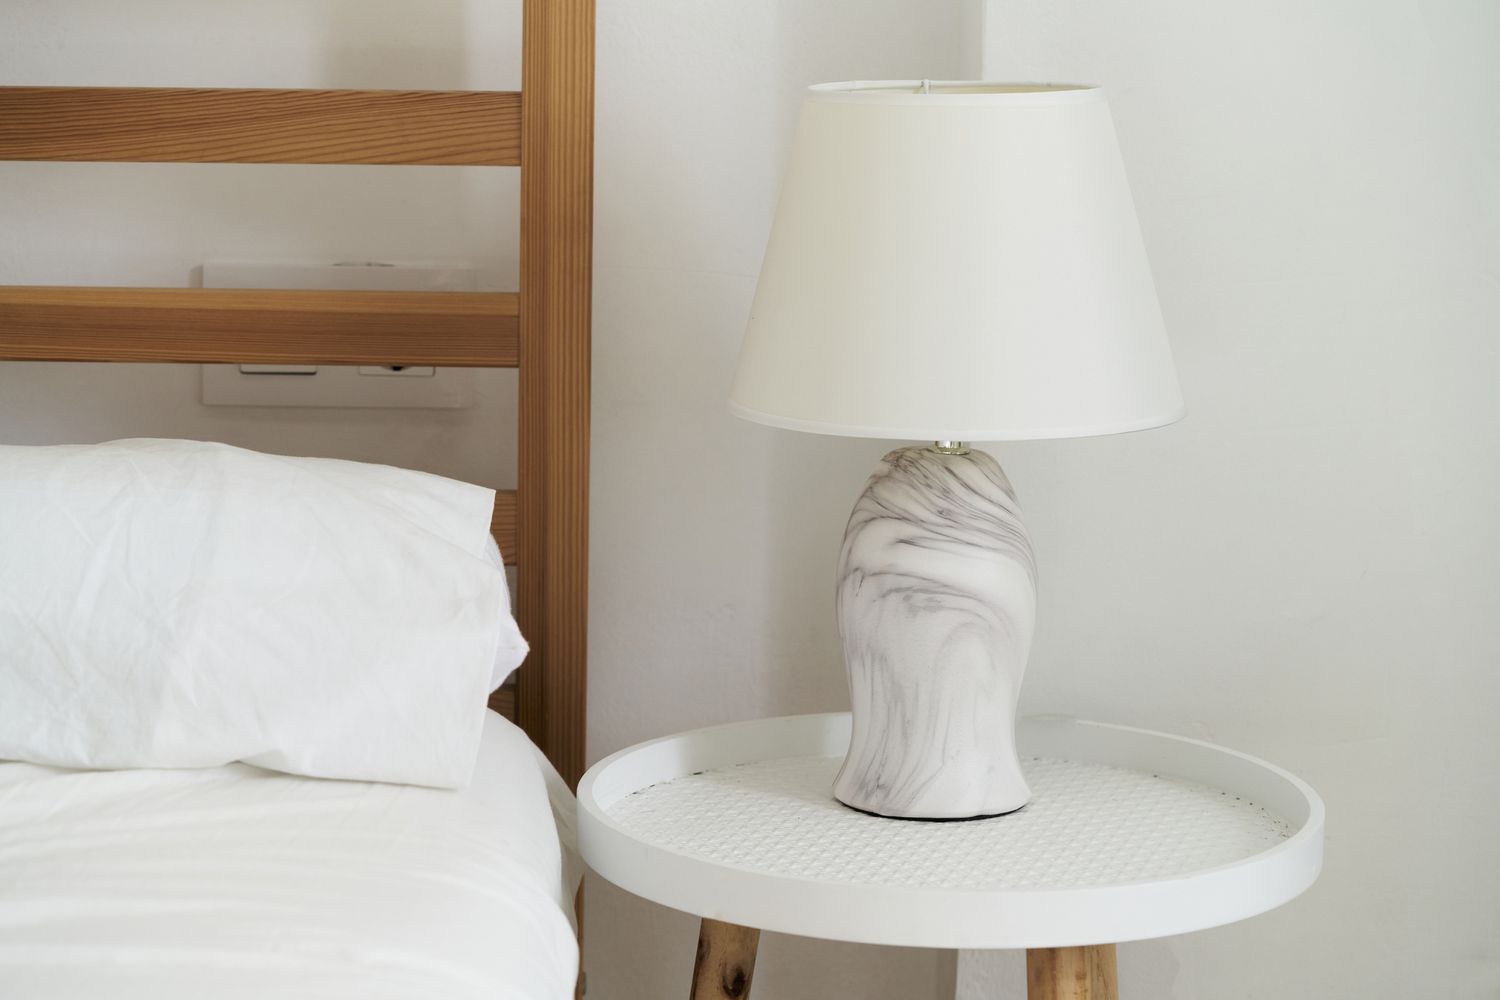
- Reassemble your lamp by attaching the lamp shade back onto the base.
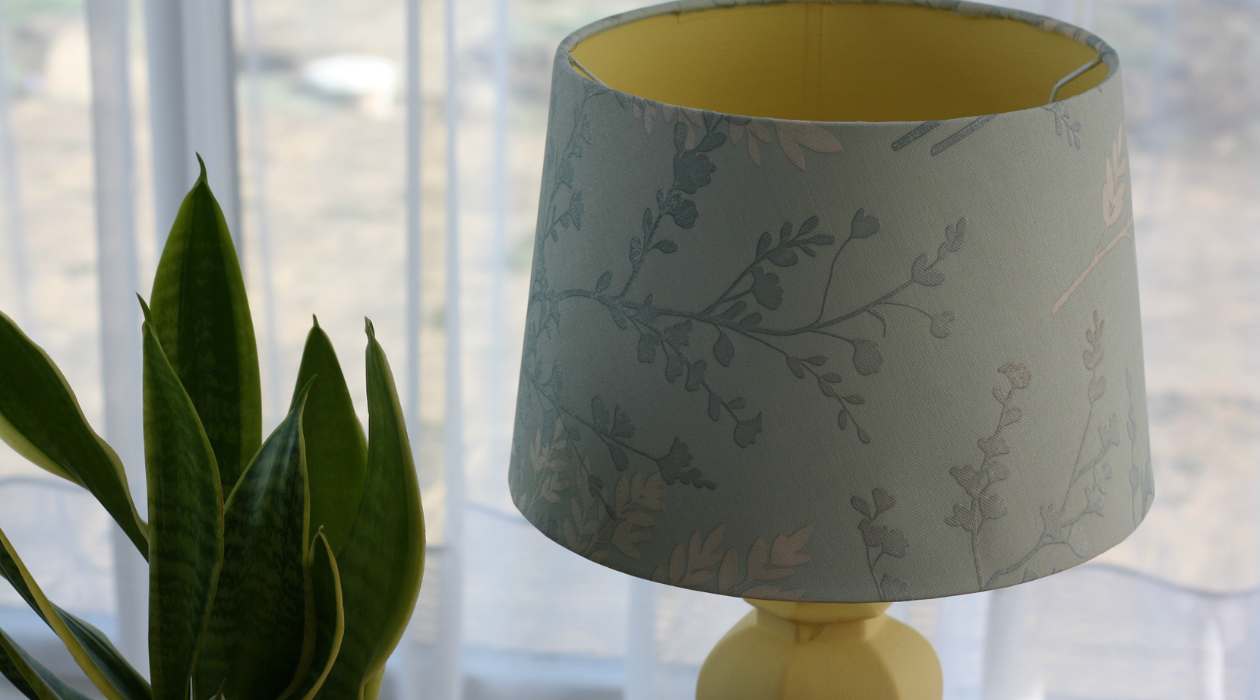
- Switch on the lamp and observe the effect of the covering material on the light. Pay attention to how the material diffuses the light and creates ambiance in the room. Make sure it meets your desired level of lighting.
- Take a step back and view the lamp shade from different angles. Confirm that the covering material is evenly applied, with no visible wrinkles, loose edges, or unevenness.
- Examine the lamp shade in both natural and artificial lighting conditions to ensure that the covering material looks cohesive and complements the room’s atmosphere.
- Check that any additional embellishments, such as trim, buttons, or embroidery, are securely attached and enhance the overall aesthetic of the lamp shade.
If you are satisfied with the appearance and functionality of your newly covered lamp shade, congratulations! You have successfully transformed an ordinary lamp shade into a personalized and stylish accent for your room. Enjoy the warm glow and the visual impact it brings to your space. If you notice any issues or areas for improvement, take note and make the necessary adjustments to achieve your desired result.
Remember, covering a lamp shade is a fun and creative project that allows you to add your personal touch to your home decor. Feel free to experiment with different materials, patterns, and embellishments to create a lamp shade that truly reflects your style and enhances the ambiance of your living space.
With this final step complete, you can stand back and admire your handiwork. Your covered lamp shade is now ready to bring delight and illumination to your home!
Happy decorating!
Conclusion
Transforming the look of your lamp shade by covering it with a new material is a simple yet effective way to enhance your home decor. By following the step-by-step process outlined in this article, you can easily achieve a personalized and stylish lamp shade that complements your interior design.
From measuring the lamp shade and selecting the perfect covering material to securing it in place and adding embellishments, each stage of the process plays a crucial role in creating a professional and polished finish. Paying attention to details like trimming excess material and testing the lamp shade ensures that the final result exceeds your expectations.
Remember to unleash your creativity and experiment with various materials, patterns, and embellishments to make your lamp shade truly unique. Consider the style and theme of your room when selecting the covering material, and choose options that are both visually appealing and functional.
With the right tools, materials, and a little bit of patience, you can achieve a stunning lamp shade that adds warmth, charm, and personality to your living space. So, go ahead and get started on this enjoyable DIY project – your lamp shade will thank you!
Happy decorating!
Frequently Asked Questions about How To Cover A Lamp Shade
Was this page helpful?
At Storables.com, we guarantee accurate and reliable information. Our content, validated by Expert Board Contributors, is crafted following stringent Editorial Policies. We're committed to providing you with well-researched, expert-backed insights for all your informational needs.