Furniture
How To Fix A Wobbly Lamp Shade
Modified: September 2, 2024
Learn how to fix a wobbly lamp shade with our easy step-by-step guide. Improve the stability of your furniture and enjoy a well-balanced lamp.
(Many of the links in this article redirect to a specific reviewed product. Your purchase of these products through affiliate links helps to generate commission for Storables.com, at no extra cost. Learn more)
Introduction
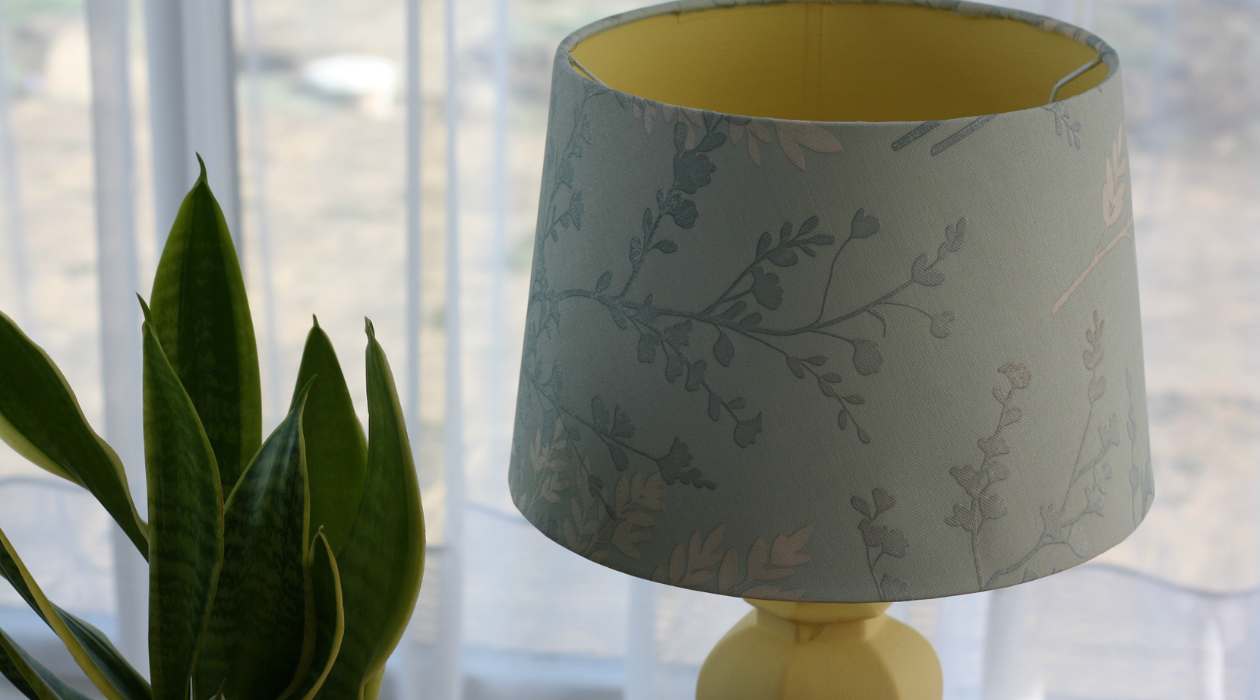
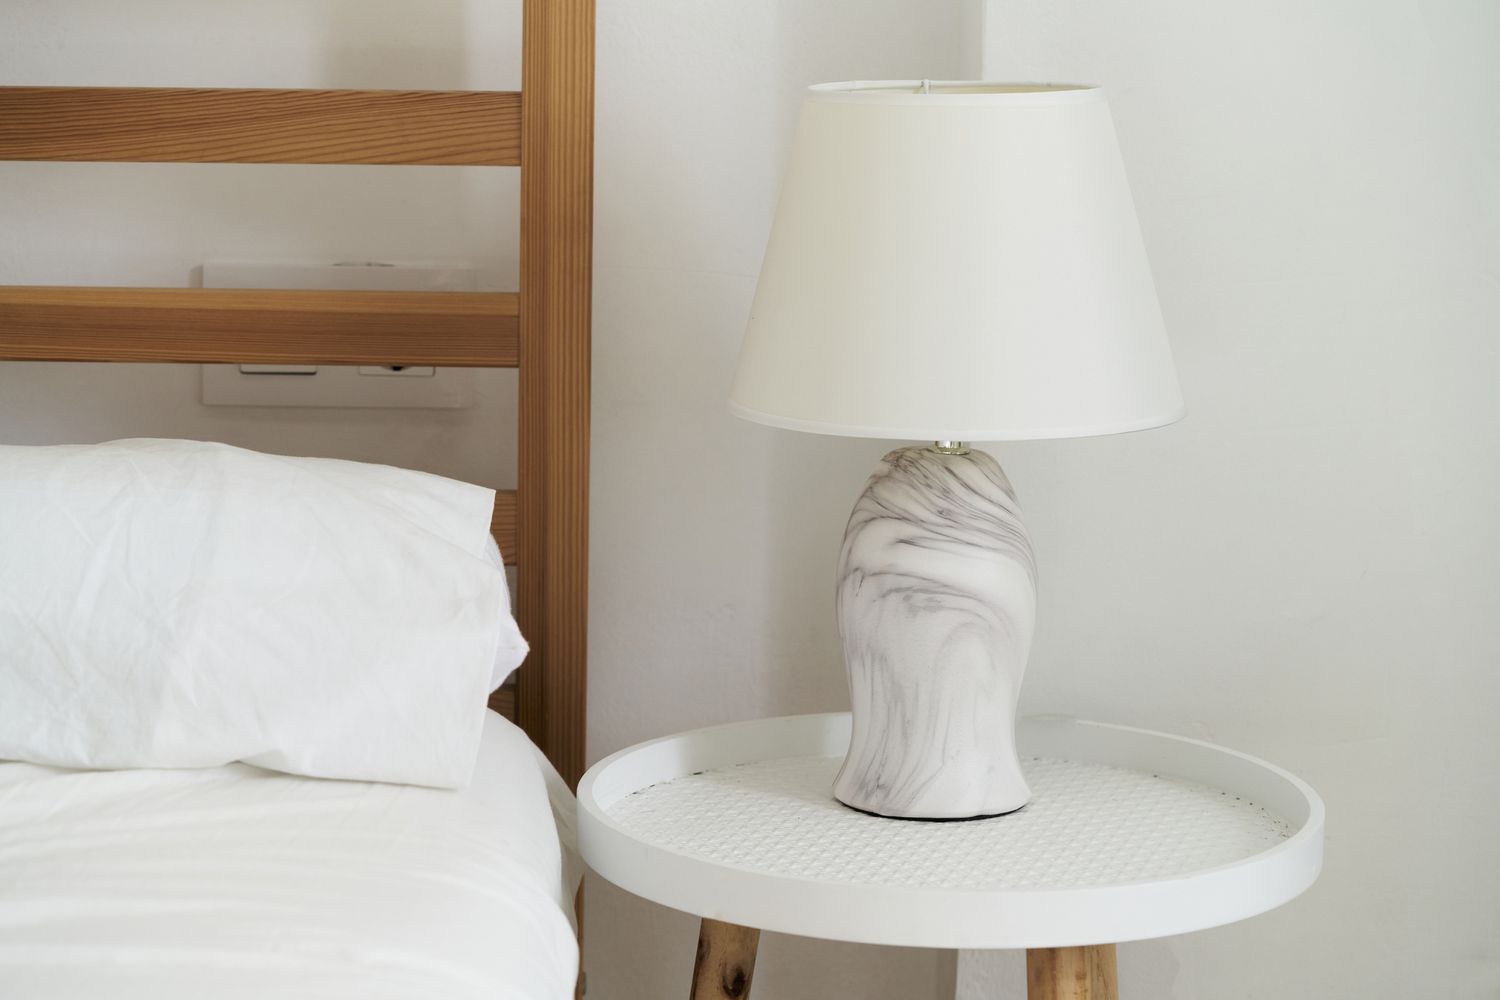
When it comes to interior design and home decor, lighting plays a crucial role in creating the right ambiance and atmosphere. Lamps are not only functional but also serve as decorative accessories, adding a touch of elegance and style to any room. However, over time, you may notice that your lamp shade starts to wobble or become unstable, which can be not only annoying but also a safety hazard. If you find yourself dealing with a wobbly lamp shade, fear not, as there are simple steps you can take to fix the issue and restore stability to your beloved lamp.
In this article, we will walk you through the process of fixing a wobbly lamp shade, step by step. We will provide detailed instructions and highlight the tools and materials you will need to get the job done. So, let’s dive in and make your lamp shade steady once again!
Key Takeaways:
- Easily fix a wobbly lamp shade by checking and tightening the harp, adjusting the frame, and adding adhesive pads. Enjoy a stable and stylish lighting fixture in just a few simple steps!
- Restoring stability to your lamp shade is a DIY breeze with basic tools and materials. Follow the step-by-step guide to eliminate wobbling and enhance the functionality and aesthetics of your lamp.
Read more: How To Fix A Wobbly Dresser
Tools and Materials Needed
Before we begin, let’s gather the tools and materials you will need to fix your wobbly lamp shade:
- Phillips screwdriver or flathead screwdriver (depending on the type of screws used)
- Pliers
- Lamp harp (if necessary)
- Adhesive pads or rubber feet
Make sure you have all these items at hand before you start the repair process. This will ensure that you can complete the task without any interruptions or delays.
Step 1: Remove the Lamp Shade
The first step in fixing a wobbly lamp shade is to remove it from the lamp base. This will give you easy access to the components that may be causing the instability.
To remove the lamp shade, follow these simple steps:
- Turn off and unplug the lamp from the power source to ensure your safety throughout the repair process.
- Gently lift the lamp shade off the lamp base. Depending on the type of lamp, you may need to unscrew any fasteners or release any clips holding the shade in place.
- Once the lamp shade is detached, set it aside in a safe and clean location to prevent any damage or dirt accumulation.
By removing the lamp shade, you can now focus on examining and adjusting the lamp’s components to fix the wobbling issue.
Step 2: Check and Tighten the Harp
The harp is a metal frame that supports the lamp shade and attaches to the lamp base. A loose or improperly secured harp can cause the lamp shade to wobble. In this step, we will check the harp and tighten it if necessary.
Follow these steps to check and tighten the harp:
- Inspect the harp for any visible signs of damage or misalignment. Look for bent or loose sections.
- If the harp appears to be in good condition, use a screwdriver to tighten the screws that hold the harp in place. Be sure to tighten them securely, but avoid over-tightening as it can cause damage.
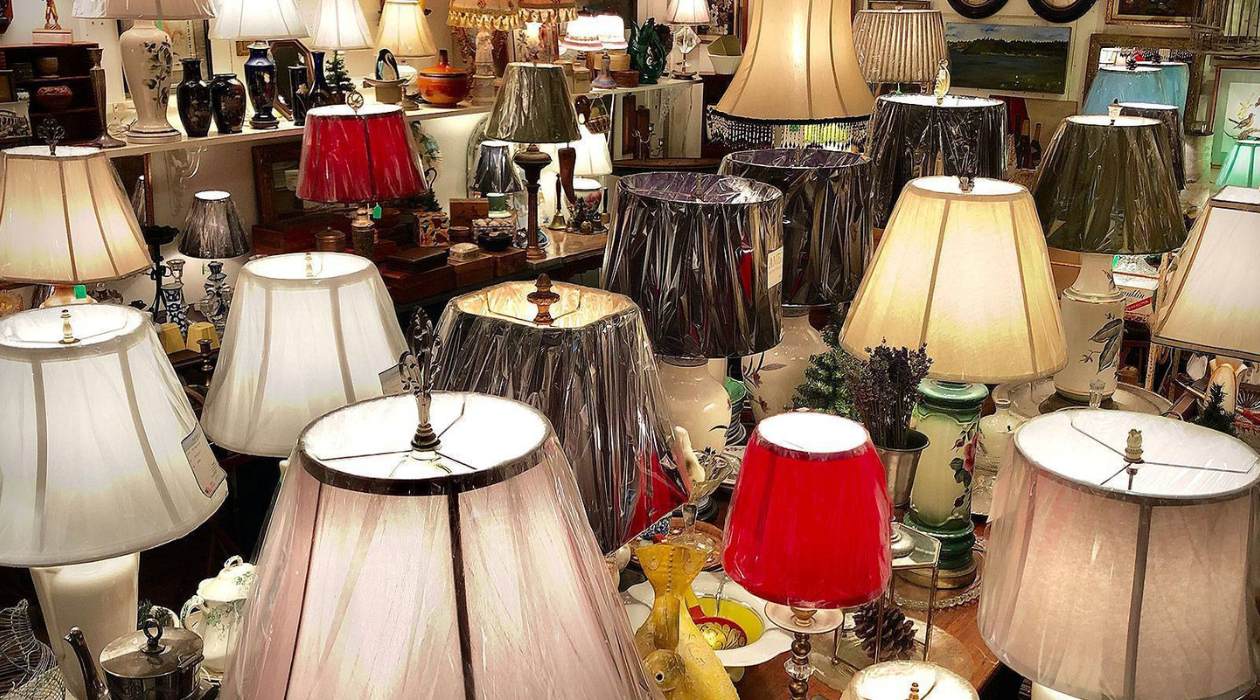
- If the harp is bent or damaged beyond repair, you may need to replace it. Measure the height of the existing harp and purchase a new one of the same size.
- If you need to replace the harp, unscrew the old harp from the lamp base and attach the new harp using the same screws.
By checking and tightening the harp, you can ensure that the lamp shade sits securely and stable on the lamp base. This step will help eliminate any wobbling caused by a loose harp.
Step 3: Tighten the Lamp Shade Frame
In this step, we will focus on tightening the lamp shade frame. Over time, the screws or fasteners that hold the lamp shade frame together can become loose, leading to a wobbly shade. By tightening these components, you can restore stability to the lamp shade.
Follow these steps to tighten the lamp shade frame:
- Inspect the lamp shade frame for any loose screws or fasteners. Use a screwdriver or pliers, depending on the type of screws used, to tighten them.
- Make sure to check all sides of the frame and tighten any loose components you come across.
- If you encounter any missing or broken screws, replace them with new ones that match the size and style of the existing hardware.
By tightening the lamp shade frame, you can ensure that all elements of the shade are securely held together. This will eliminate any wobbling or instability caused by loose or missing screws.
Check the lamp harp and make sure it’s straight and secure. If it’s wobbly, tighten the screws or replace the harp. If the shade itself is wobbly, consider adding a small amount of adhesive felt to the top of the harp to create a more secure fit.
Read more: How To Fix Wobbly Toilet
Step 4: Adjust the Lamp Harp Height
In some cases, a wobbly lamp shade may be caused by an improper height adjustment of the lamp harp. The lamp harp is the metal bracket that supports the lamp shade and connects it to the lamp base. If the harp is too high or too low, it can cause the lamp shade to sit unevenly and wobble.
Follow these steps to adjust the lamp harp height:
- Measure the height of the lamp shade from the bottom edge to the top rim.
- Using pliers, carefully bend the harp’s brackets up or down to adjust the height. Start with small adjustments and test the stability of the lamp shade after each adjustment.
- Continue adjusting the harp until the lamp shade sits securely and level on the lamp base.
It’s important to note that the lamp harp should typically extend a few inches above the top of the lamp shade to ensure proper support. However, adjusting the height may be necessary to eliminate any wobbling caused by an incorrect harp position.
By adjusting the lamp harp height, you can ensure that the lamp shade sits evenly and securely on the lamp base, minimizing any wobbling or instability.
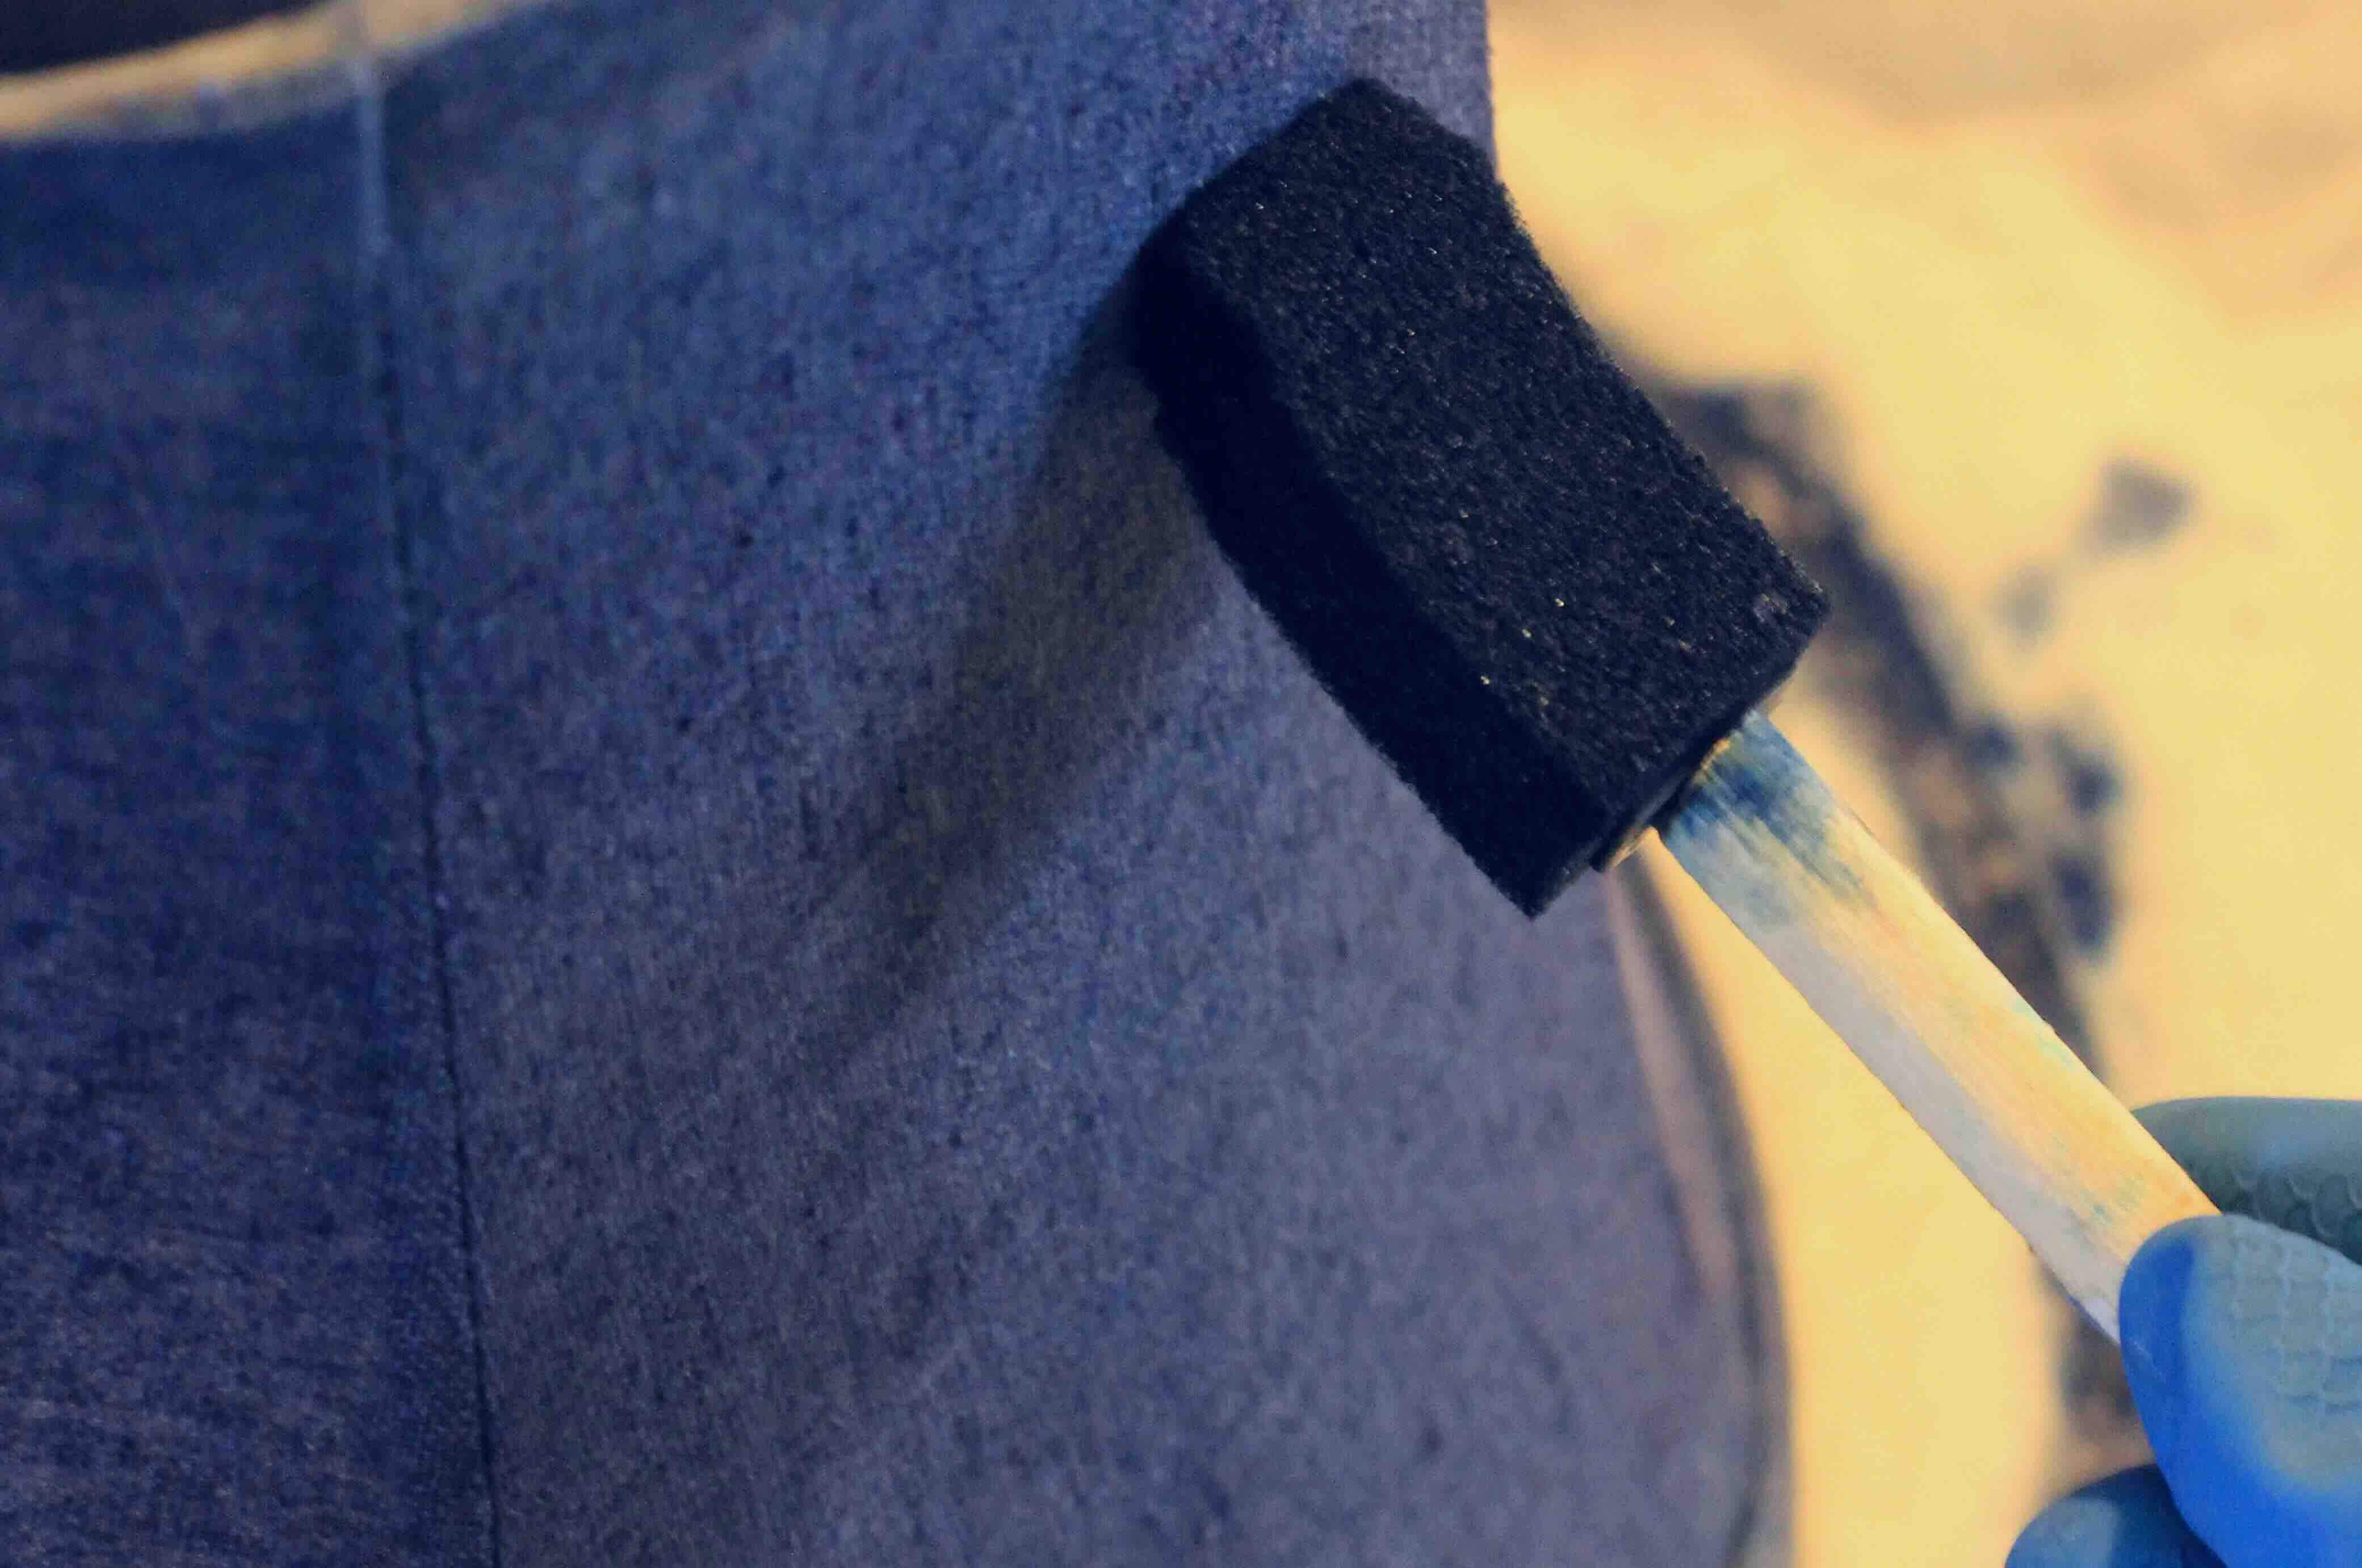
Step 5: Attach Adhesive Pads or Rubber Feet
If you have tried the previous steps and your lamp shade still wobbles, attaching adhesive pads or rubber feet to the bottom of the lamp base can provide extra stability.
Follow these steps to attach adhesive pads or rubber feet:
- Clean the bottom surface of the lamp base to ensure proper adhesion.
- Measure and mark the desired locations for the adhesive pads or rubber feet on the bottom of the lamp base.
- Peel the backing off the adhesive pads or remove the adhesive backing from the rubber feet.
- Press the adhesive pads or rubber feet firmly onto the marked locations on the lamp base.
The adhesive pads or rubber feet will create a non-slip surface that helps prevent the lamp from moving or wobbling on slippery or uneven surfaces. This can be particularly helpful if you are placing your lamp on a delicate tabletop or uneven flooring.
By attaching adhesive pads or rubber feet to the lamp base, you can enhance the stability of the lamp and minimize any wobbling or movement.
Step 6: Replace or Adjust the Lamp Harp
If the previous steps did not resolve the wobbling issue, it may be necessary to replace or adjust the lamp harp. The lamp harp is the metal bracket that supports the lamp shade and connects it to the lamp base. If the harp is damaged or not properly aligned, it can cause the lamp shade to wobble.
Follow these steps to replace or adjust the lamp harp:
- If the harp is visibly damaged or bent beyond repair, purchase a new harp that matches the size and style of your existing one. Measure the height of the existing harp to ensure proper replacement.
- Remove the old harp from the lamp base by unscrewing the screws that hold it in place.
- If the harp is not damaged but simply misaligned, use pliers to carefully bend the harp’s brackets to adjust the alignment.
- Attach the new harp or reattach the adjusted harp to the lamp base using the same screws or new ones if needed.
Replacing or adjusting the lamp harp can provide a more secure and stable support for the lamp shade. This step is especially important if the wobbling is caused by a damaged or misaligned harp.
By ensuring a proper and functional lamp harp, you can eliminate any wobbling or instability in your lamp shade.
Step 7: Reattach the Lamp Shade
After addressing the issues that may have caused the lamp shade to wobble, it’s time to reattach the lamp shade to the lamp base.
Follow these steps to reattach the lamp shade:
- Ensure that the lamp base is clean and free from any dust or debris.
- Align the brackets or clips on the lamp shade with the harp or attachment points on the lamp base.
- Gently lower the lamp shade onto the lamp base, making sure it fits securely.
- If your lamp shade uses screws or fasteners to attach to the lamp base, tighten them to secure the shade in place.
- Double-check that the lamp shade is correctly positioned and stable on the lamp base.
By reattaching the lamp shade properly and ensuring a secure fit, you can eliminate any remaining wobbling or instability.
Once you have reattached the lamp shade, step back and admire your stable and stylish lamp. Enjoy the improved functionality and aesthetics of your beautiful lighting fixture!
Read more: How To Put A Lamp Shade On
Conclusion
A wobbly lamp shade can be an annoyance and a safety concern, but fortunately, it is a problem that can be easily fixed. By following the steps outlined in this guide, you can restore stability to your lamp shade and ensure that it sits securely on the lamp base.
Throughout the repair process, we covered various aspects, including checking and tightening the lamp harp, adjusting the lamp shade frame, and even attaching adhesive pads or rubber feet for added stability. These steps address common causes of lamp shade wobbling and offer practical solutions to resolve the issue.
Remember, safety is a priority when working with lamps. Always make sure to turn off and unplug the lamp before beginning any repairs. Additionally, handle the lamp and its components carefully to avoid any injuries or damages.
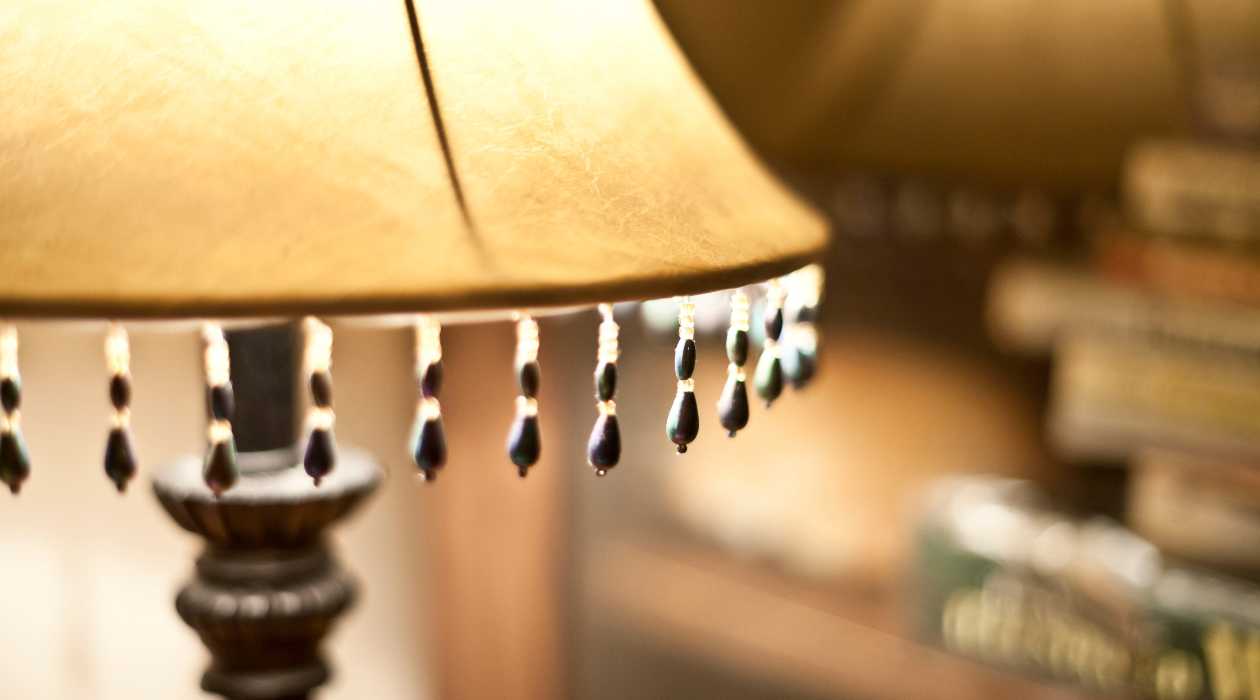
Once you have successfully fixed your wobbly lamp shade, you can enjoy the renewed stability and beauty it brings to your space. Properly functioning lighting not only enhances the ambiance of a room, but it also adds a touch of sophistication to your overall decor.
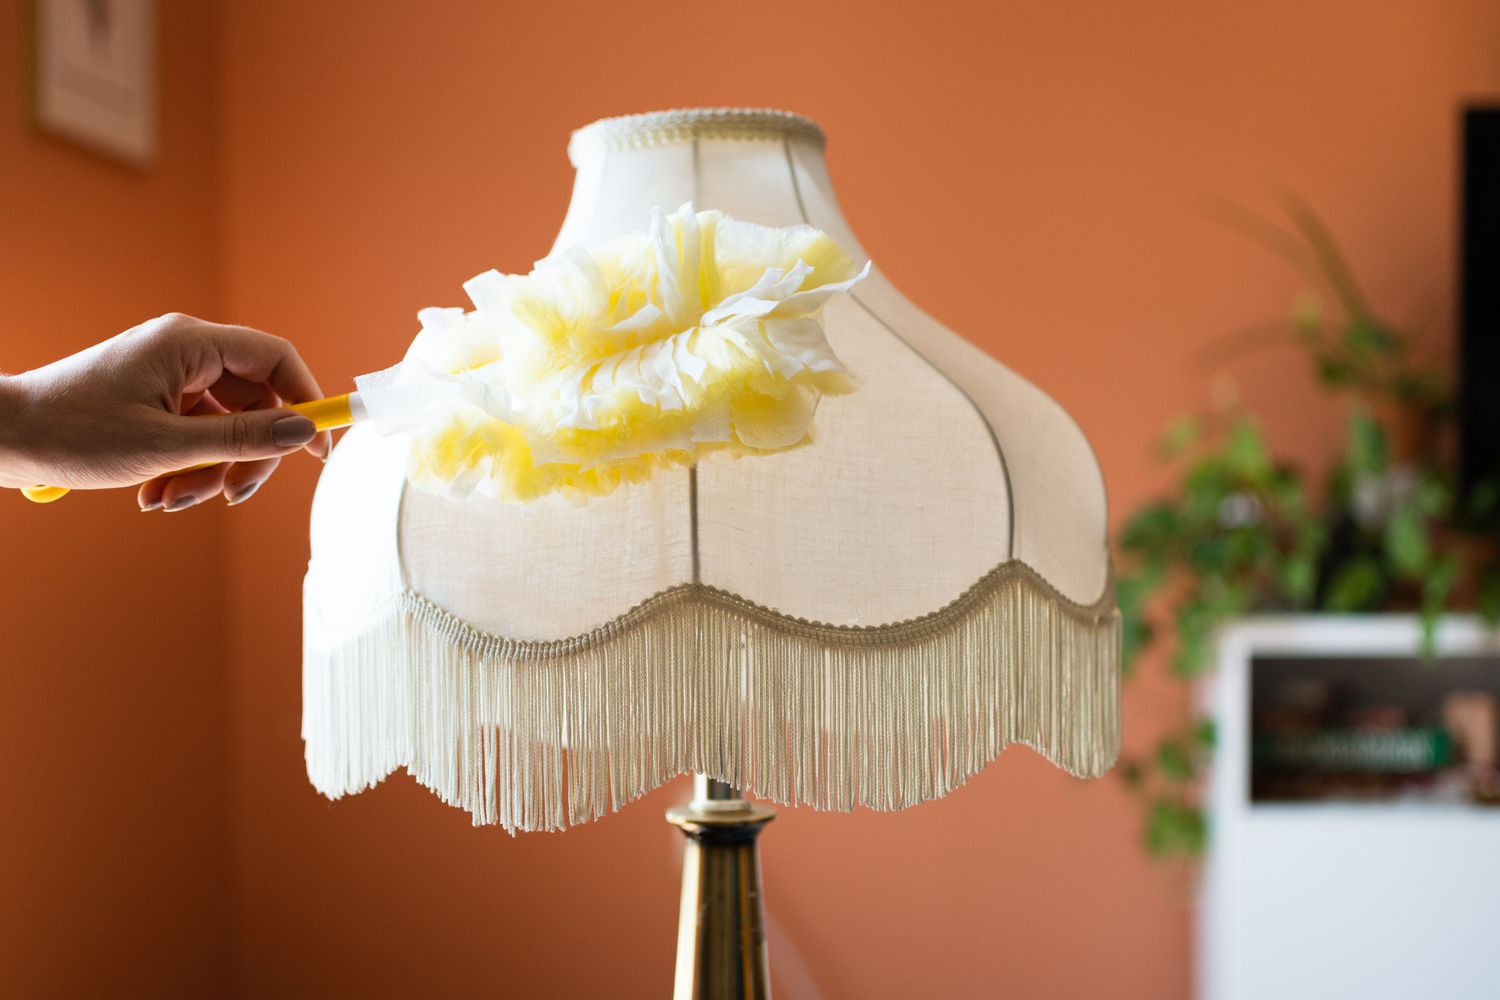
Whether it’s a cozy reading nook, a bedside table, or a desk lamp, a steady lamp shade will enhance both the functionality and visual appeal of your lighting fixture. Take pride in your DIY repair skills and bask in the satisfaction of a job well done.
We hope this guide has helped you address the wobbling issue with your lamp shade. Now, go ahead and illuminate your space with confidence, knowing that your lamp shade is secure and stable!
Now that you’ve mastered fixing a wobbly lamp shade, why stop there? For those inspired to tackle more projects around the house, our guide on DIY home improvement provides practical tips for enhancing your living space. If routine upkeep is on your mind, you’ll find our article on home maintenance indispensable for keeping your abode in top shape. And should another lamp shade act up, our detailed instructions on how to fix lamp shade will surely come in handy. Dive into these resources and turn your home into a haven of comfort and style!
Frequently Asked Questions about How To Fix A Wobbly Lamp Shade
Was this page helpful?
At Storables.com, we guarantee accurate and reliable information. Our content, validated by Expert Board Contributors, is crafted following stringent Editorial Policies. We're committed to providing you with well-researched, expert-backed insights for all your informational needs.