Furniture
How To Decorate Lamp Shades
Modified: January 6, 2024
Learn how to decorate lamp shades with furniture-inspired designs and add a touch of style to your home. Find creative ideas and step-by-step instructions for effortless lamp shade transformations.
(Many of the links in this article redirect to a specific reviewed product. Your purchase of these products through affiliate links helps to generate commission for Storables.com, at no extra cost. Learn more)
Introduction
Welcome to the world of lampshade décor! Having the right lampshade can significantly enhance the ambiance and aesthetic appeal of any room. But why settle for a plain and ordinary lampshade when you can transform it into a unique and personalized work of art?
Decorating your lampshade is a fun and creative way to add character and style to your living space. Whether you’re looking to breathe new life into an old lamp or want to create a one-of-a-kind piece for a new one, this article will guide you through the process of decorating lampshades with ease.
In this step-by-step guide, we will explore various techniques and ideas to help you unleash your inner artist and bring your lampshade to life. From choosing the right lampshade to applying the finishing touches, we’ll cover all the essential aspects of lampshade decoration.
So, let’s dive in and learn how to transform your ordinary lampshade into a stunning focal point that will impress everyone who enters your space. Get ready to unleash your creativity and let your imagination run wild!
Key Takeaways:
- Transform your lampshade into a personalized work of art by choosing the right base, preparing it, and applying creative decorations. Let your imagination run wild and enjoy the process of turning an ordinary lampshade into a stunning focal point.
- Express your unique style and creativity by decorating your lampshade with fabric, trims, paint, decoupage, and embellishments. Embrace the journey of self-expression and enjoy the warm and inviting glow of your artistic achievement.
Step 1: Choose the Right Lamp Shade
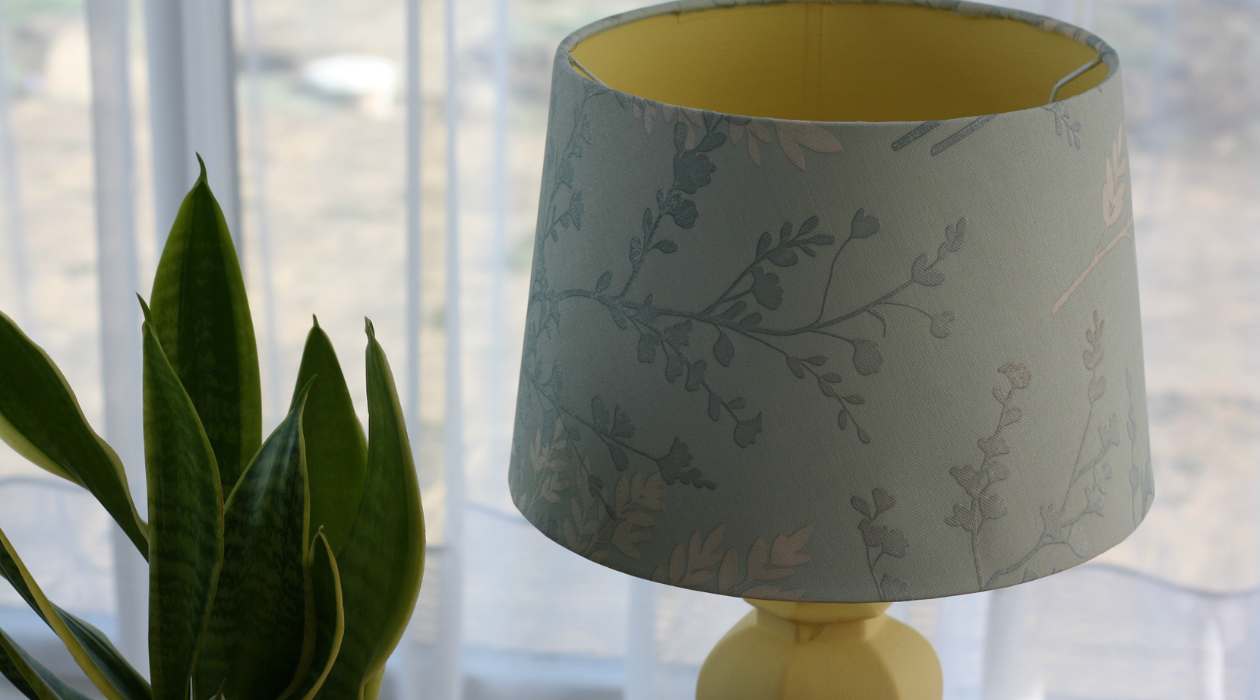
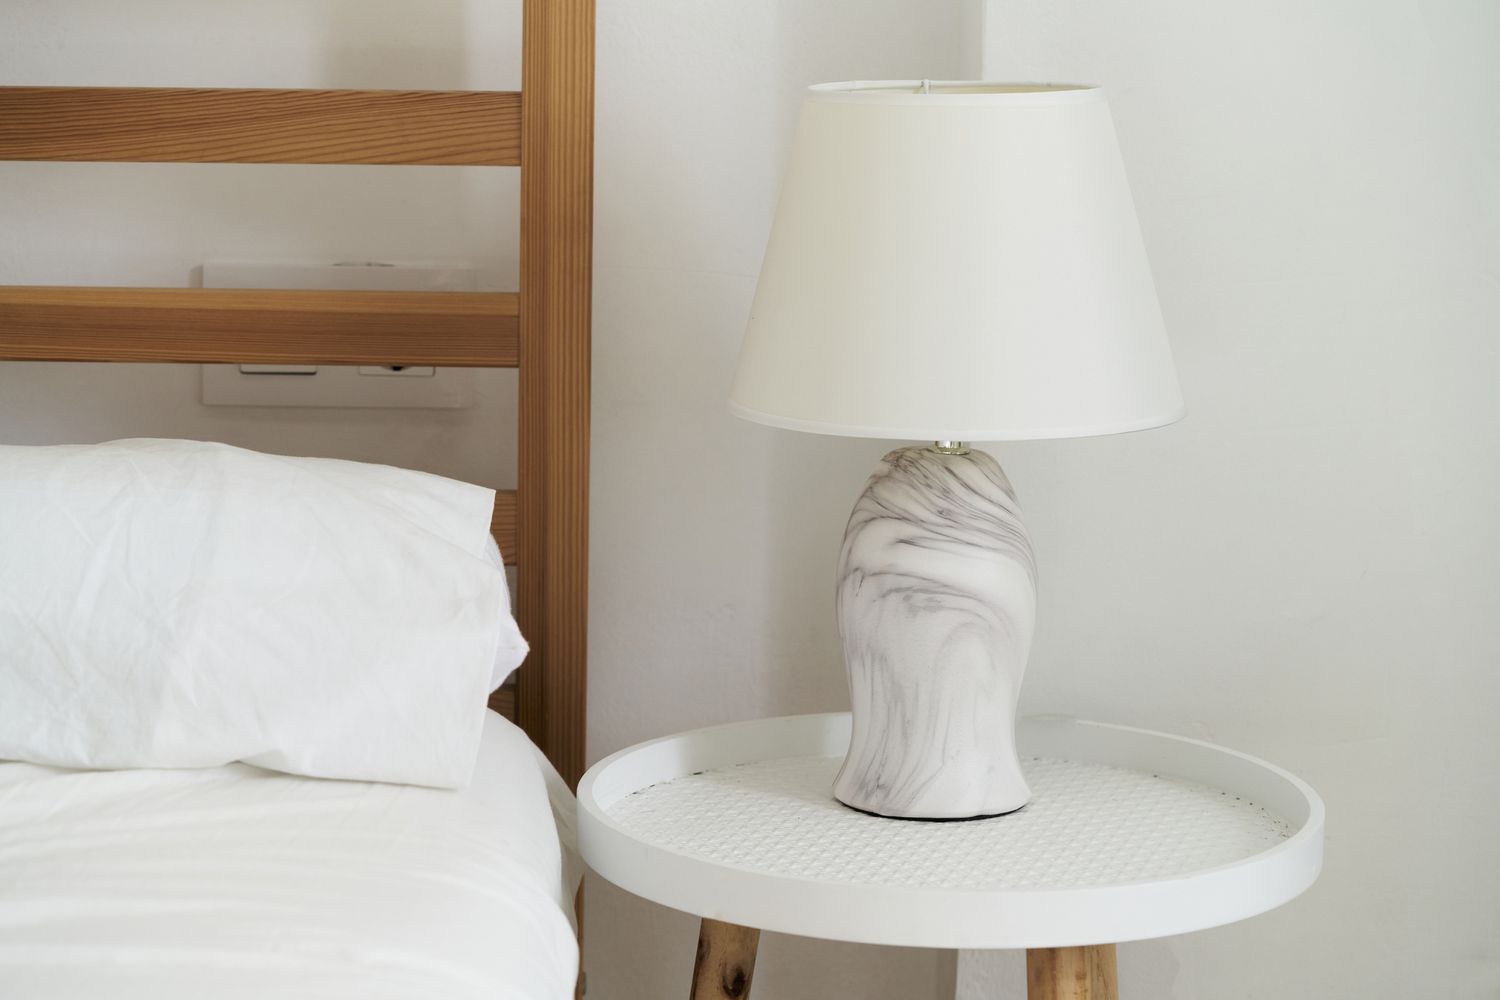
The first step in decorating a lampshade is to choose the right base. The lampshade you select will serve as the canvas for your creative designs, so it’s essential to consider a few factors before making a choice.
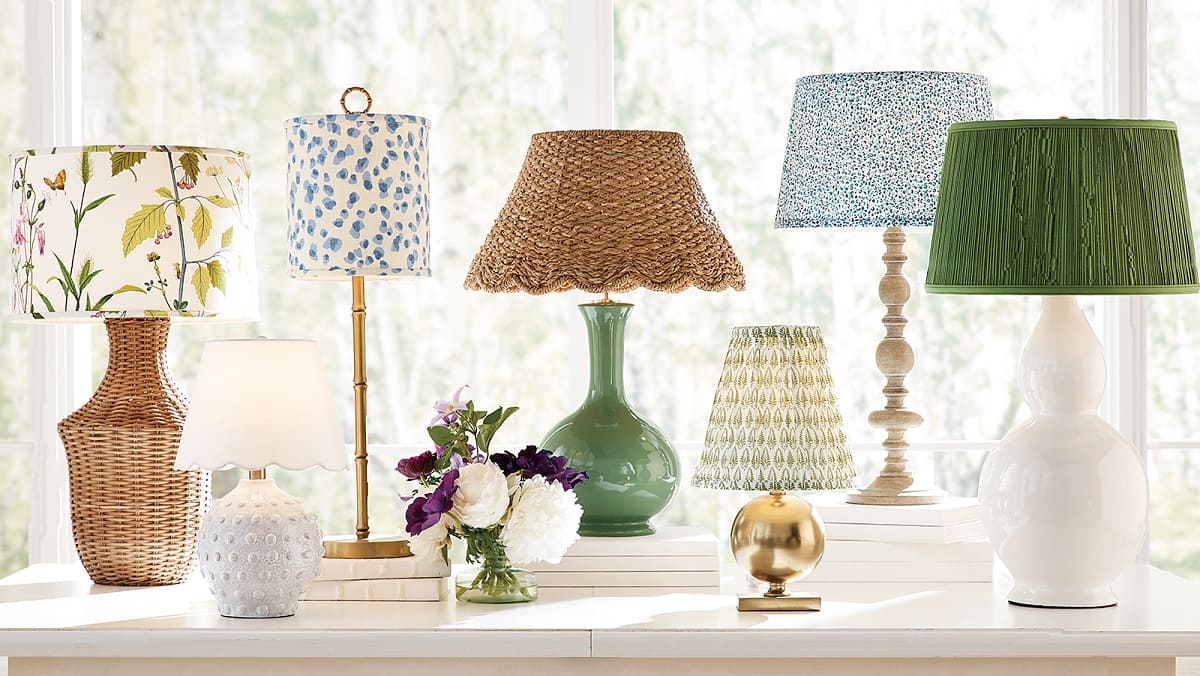
- Size: Consider the size of your lamp and the space it will occupy. Choose a lampshade that is proportionate to the lamp’s base and fits seamlessly into the room.
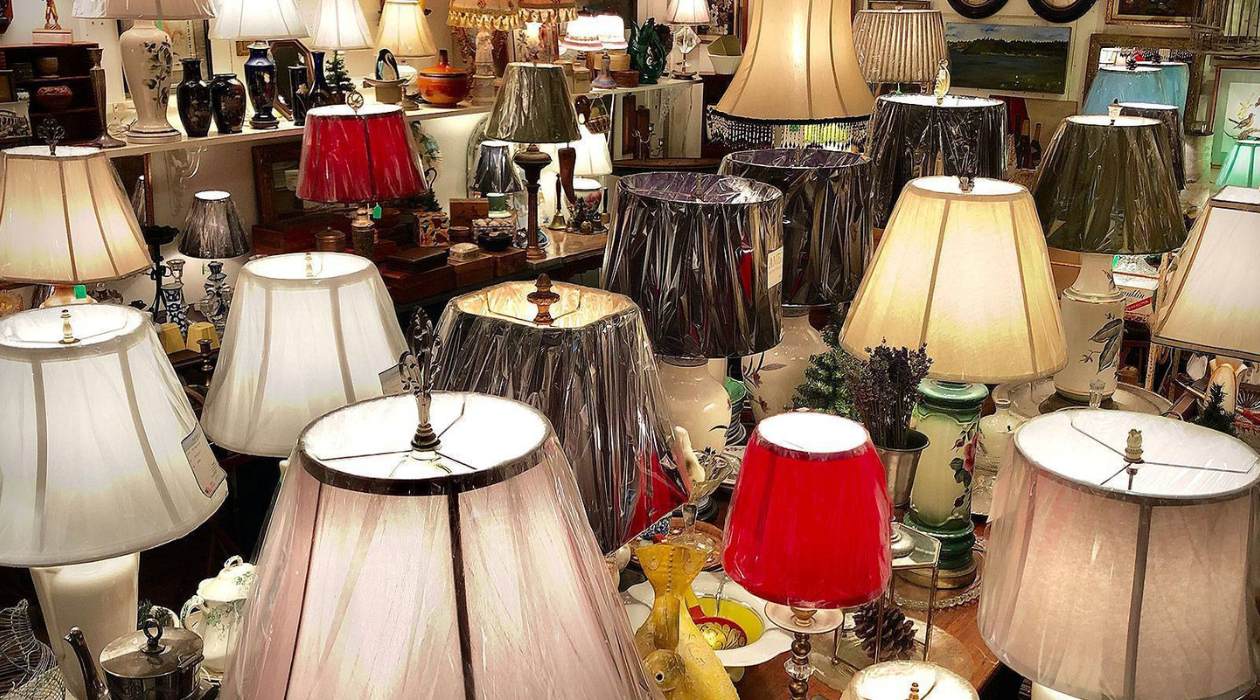
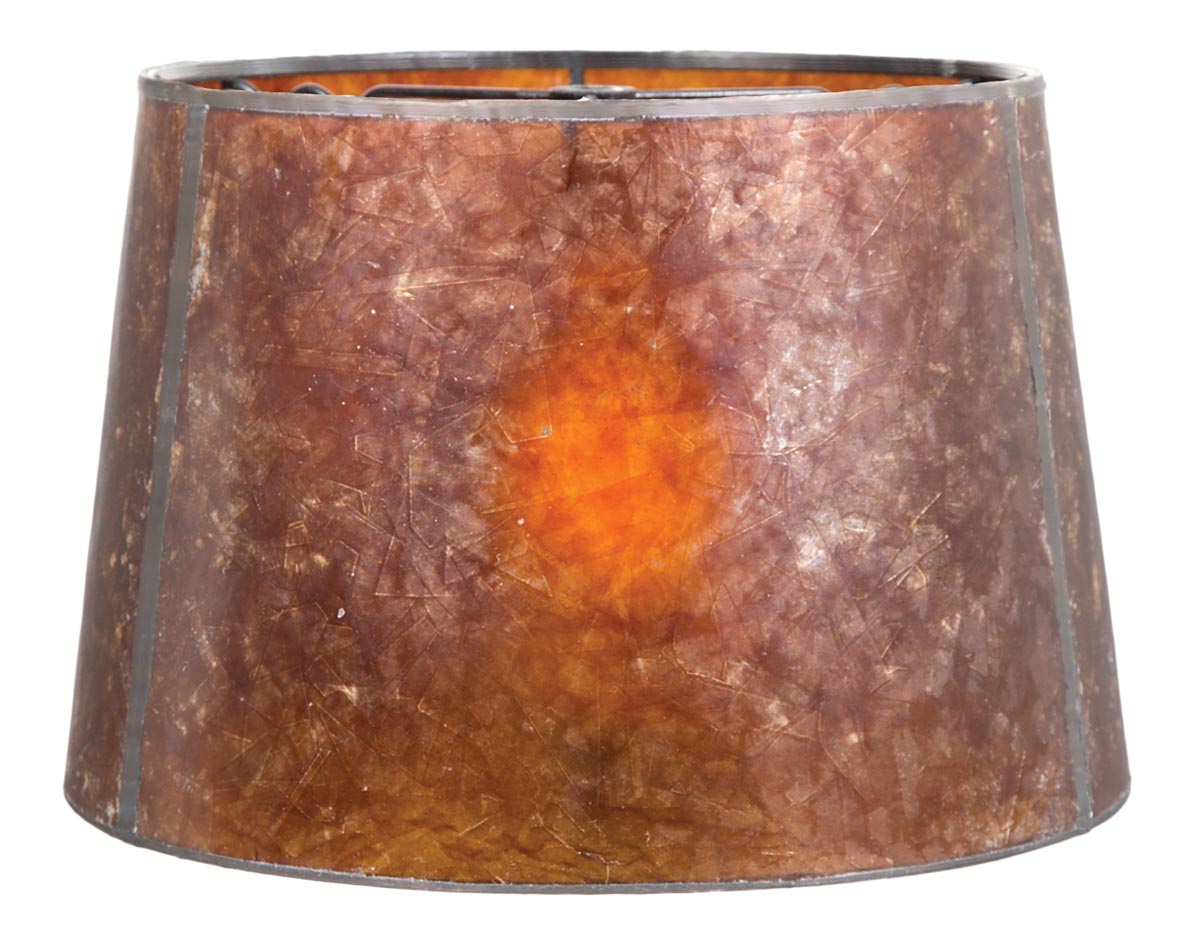
- Shape: Lampshades come in various shapes, including drum, empire, bell, square, and more. Consider the overall aesthetic of your room and choose a shape that complements the existing décor.
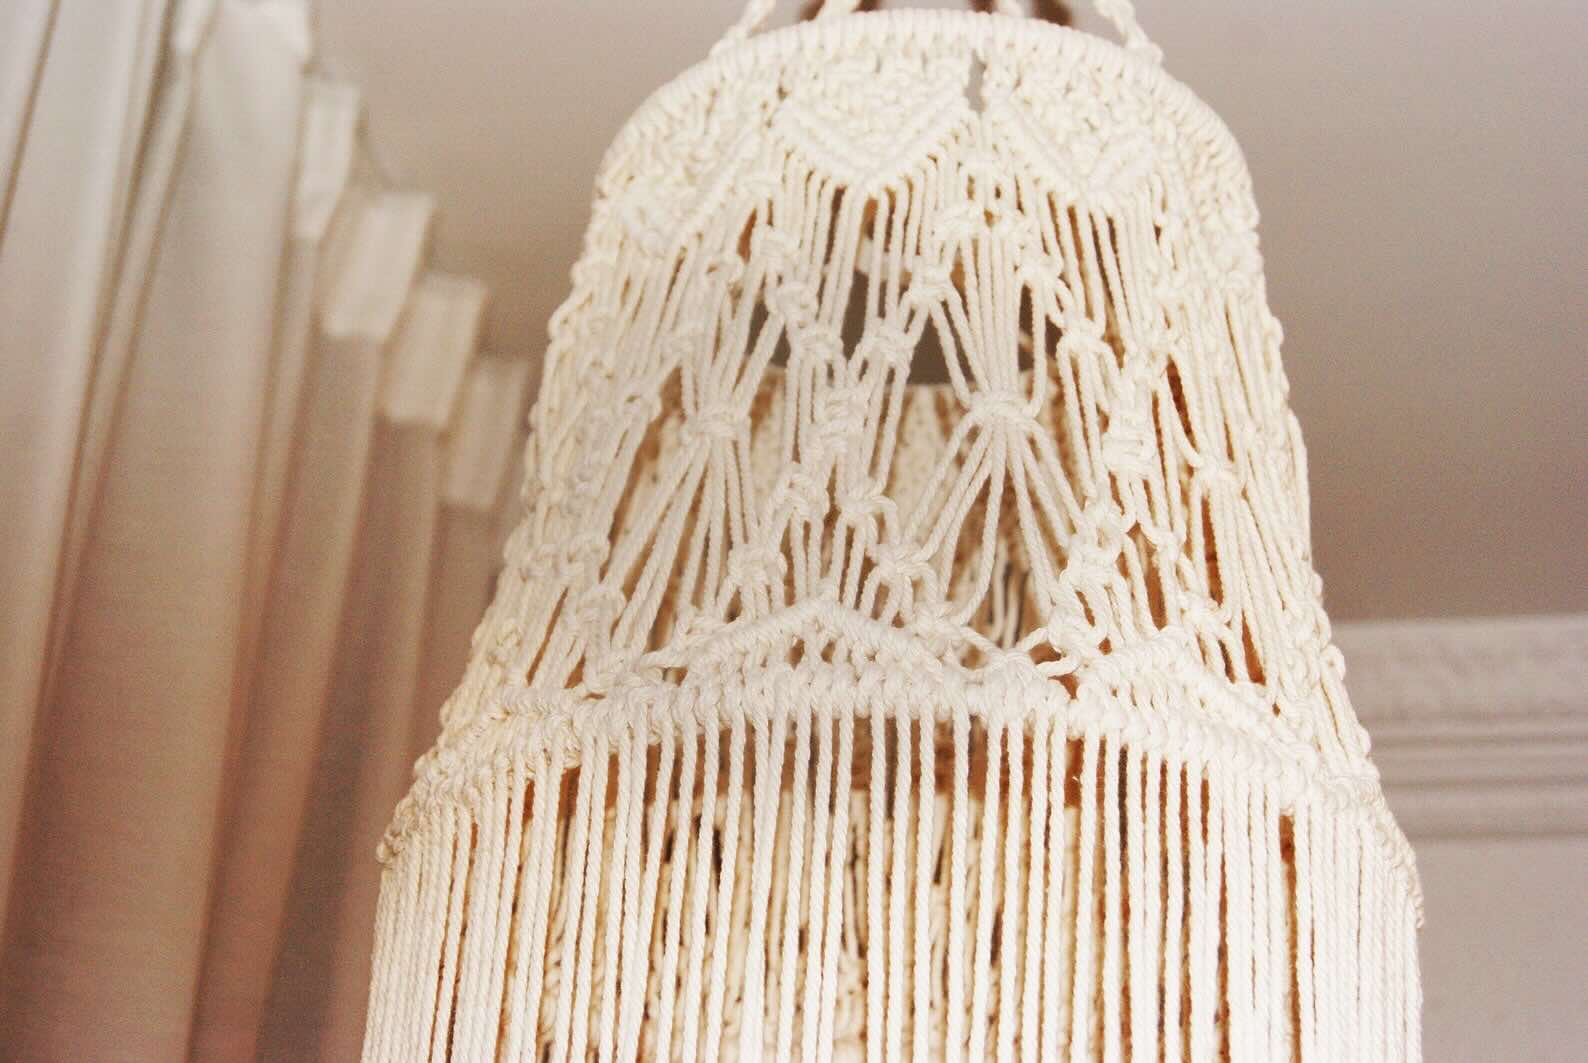
- Material: Lampshades are available in a variety of materials, such as fabric, paper, glass, and metal. Consider the style you want to achieve and the lighting needs of the room when selecting the material.
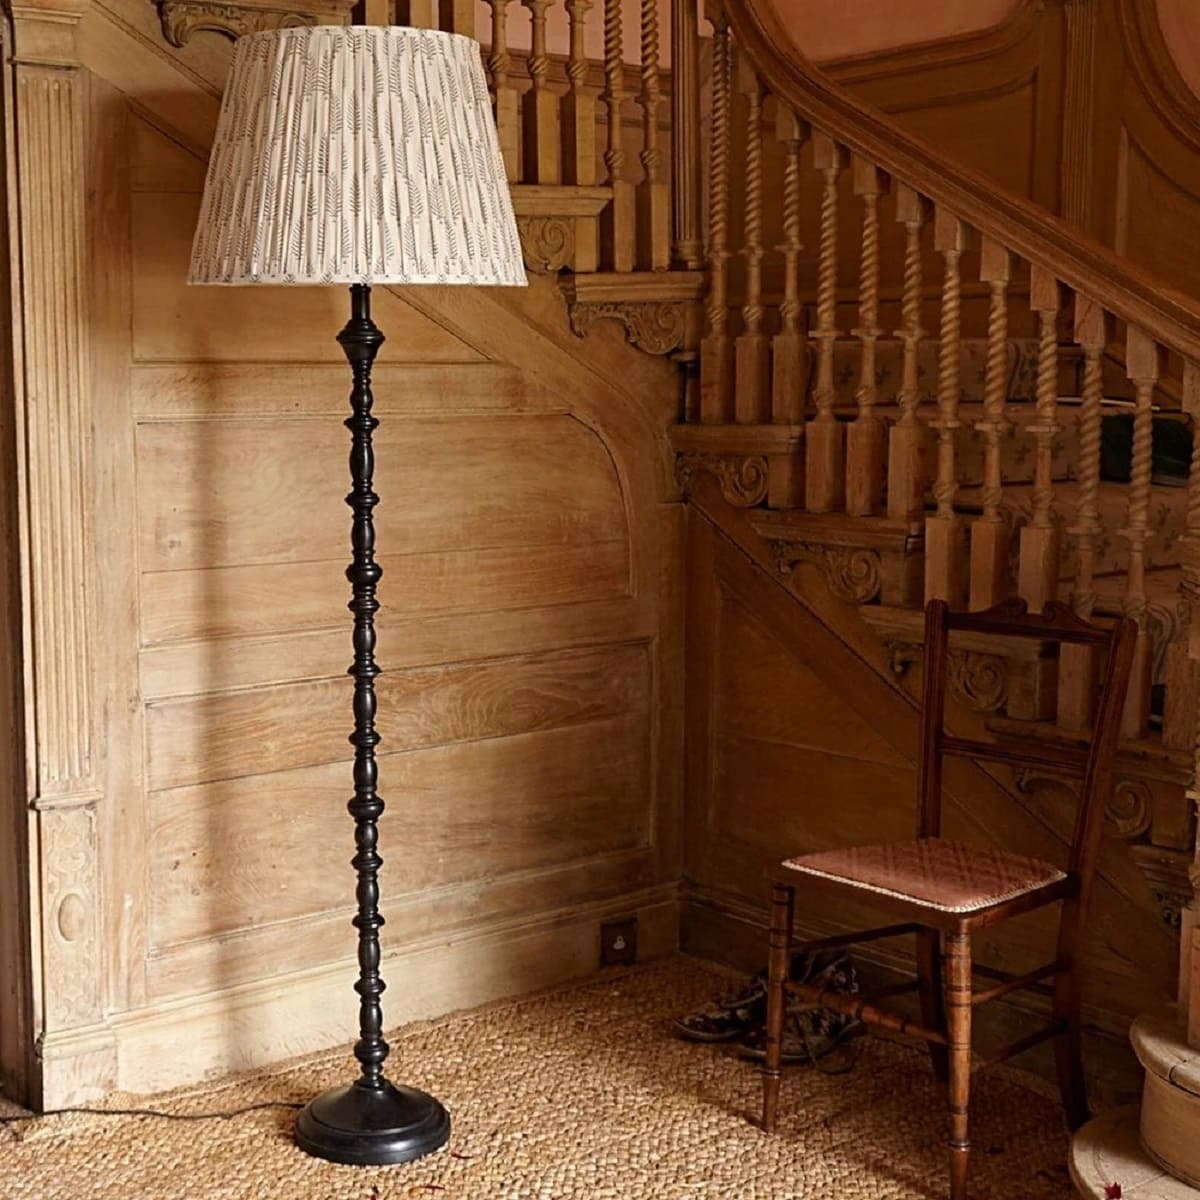
- Color and Pattern: Choose a lampshade color and pattern that harmonizes with the room’s color scheme and adds visual interest. Consider how the light will interact with the shade to create the desired ambiance.
Remember, the lampshade you choose will be the starting point for your decorating journey, so take your time to explore different options and select one that fits your style and vision.
Step 2: Prepare Your Lamp Shade
Before you begin adding decorations to your lampshade, it’s important to properly prepare it. This step ensures that the surface is clean and ready to receive your creative touches.
Here are some essential preparations to consider:
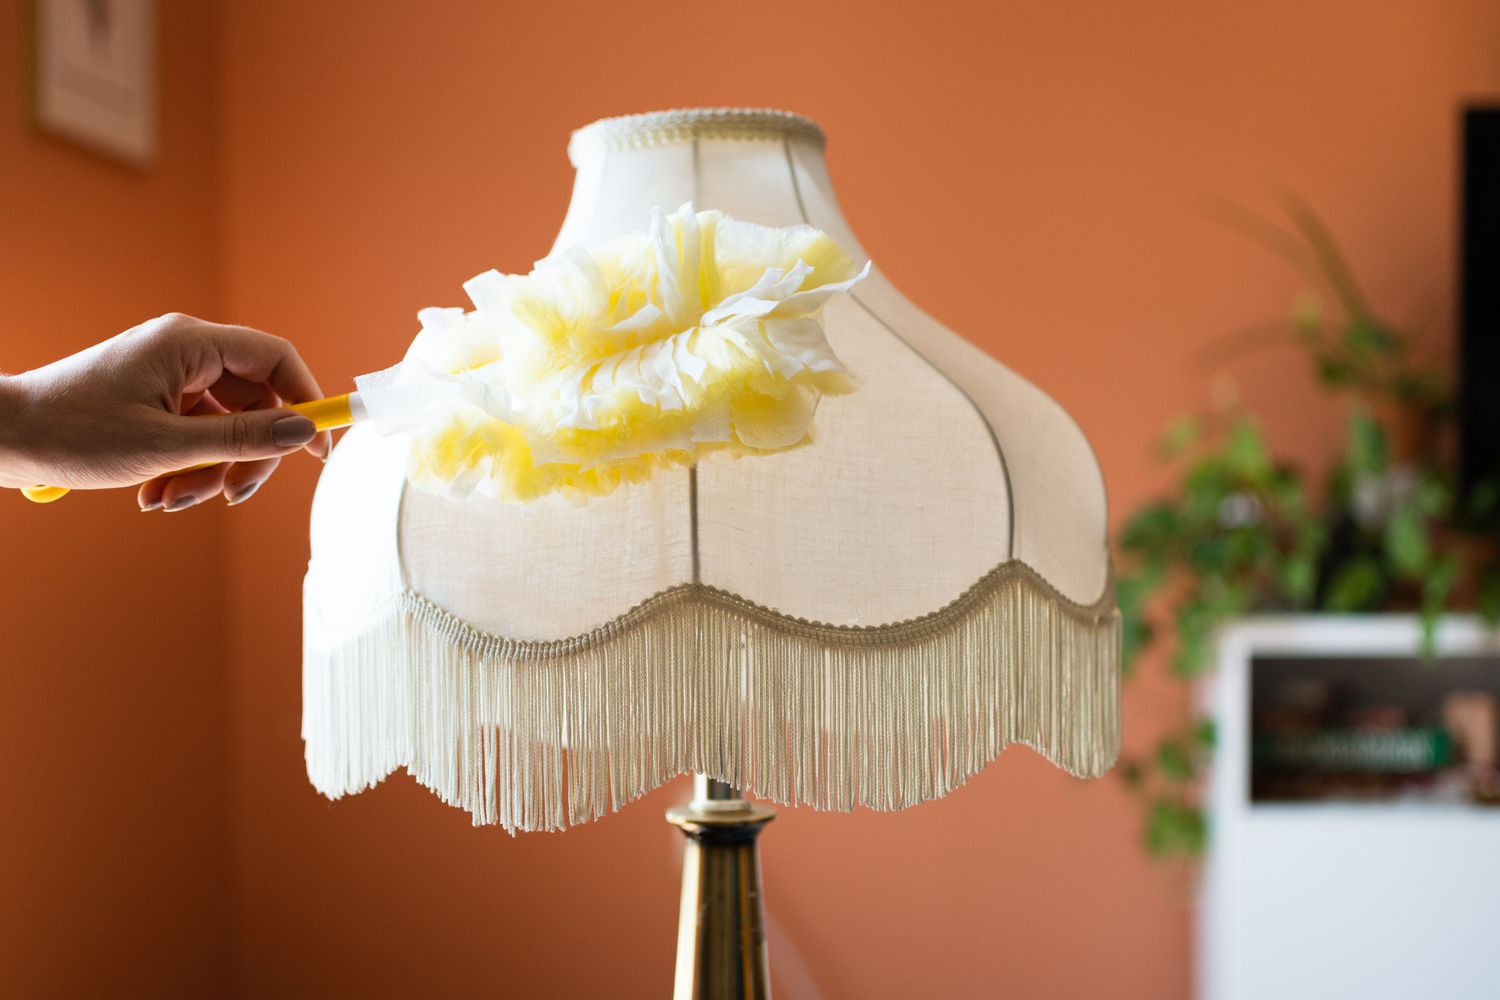
- Clean the Lampshade: Dust and debris can accumulate on the surface of the lampshade over time. Use a soft cloth or a brush attachment on your vacuum cleaner to gently remove any dirt or dust. If the lampshade is fabric, you may consider spot cleaning it following the manufacturer’s instructions.
- Repair Any Damage: Inspect the lampshade for any tears, dents, or loose parts. If you notice any damage, take the time to repair it before proceeding with the decoration process. Utilize craft glue or other suitable adhesives to mend any tears or fix loose elements.
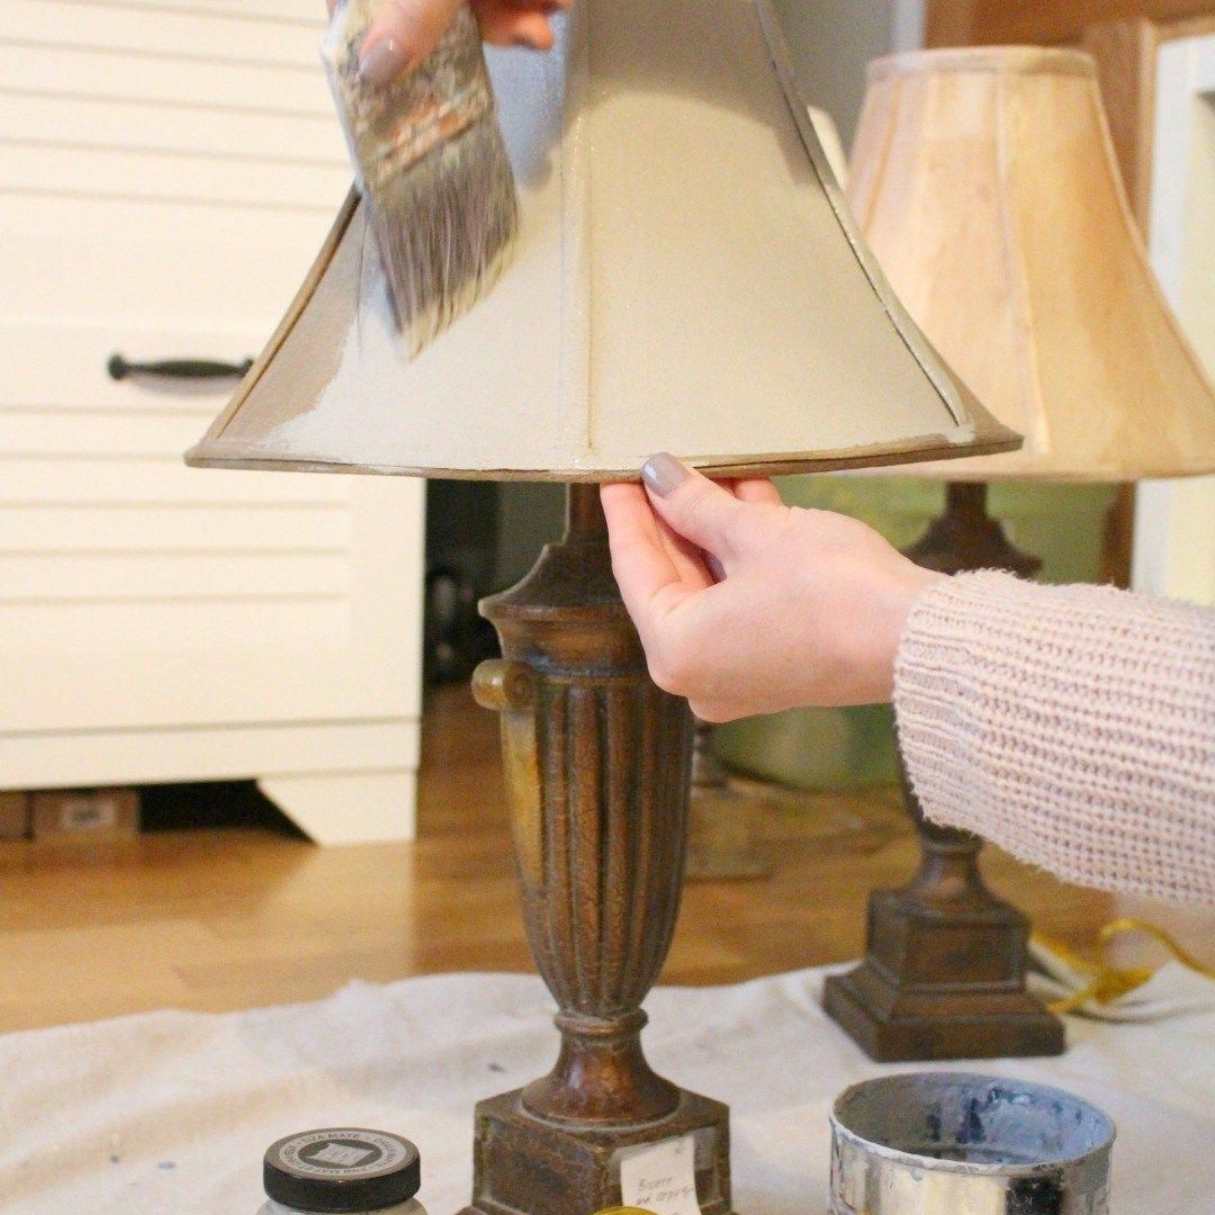
- Consider a Base Coat: Depending on the material of your lampshade and the desired outcome, you may want to apply a base coat of paint or primer. This step can help create a smooth surface and enhance the adherence of the decorative elements you will later apply. Select a paint or primer that is suitable for the lampshade’s material.
By preparing your lampshade properly, you are setting the foundation for a successful and long-lasting decoration. Take your time with this step to ensure that your lampshade is in the best possible condition before moving forward.
Step 3: Select Your Decorating Materials
Once your lampshade is prepared, it’s time to gather the materials you will need to adorn it with your chosen design. The materials you select will depend on your personal style and the overall aesthetic you wish to achieve.
Here are some popular decorating materials you can consider:
- Fabric: Fabric is a versatile option for lampshade decoration. You can choose from a wide range of colors, patterns, and textures to create a customized look. Consider using fabric glue or double-sided adhesive tape to attach fabric directly to the lampshade or create fabric covers for individual sections.
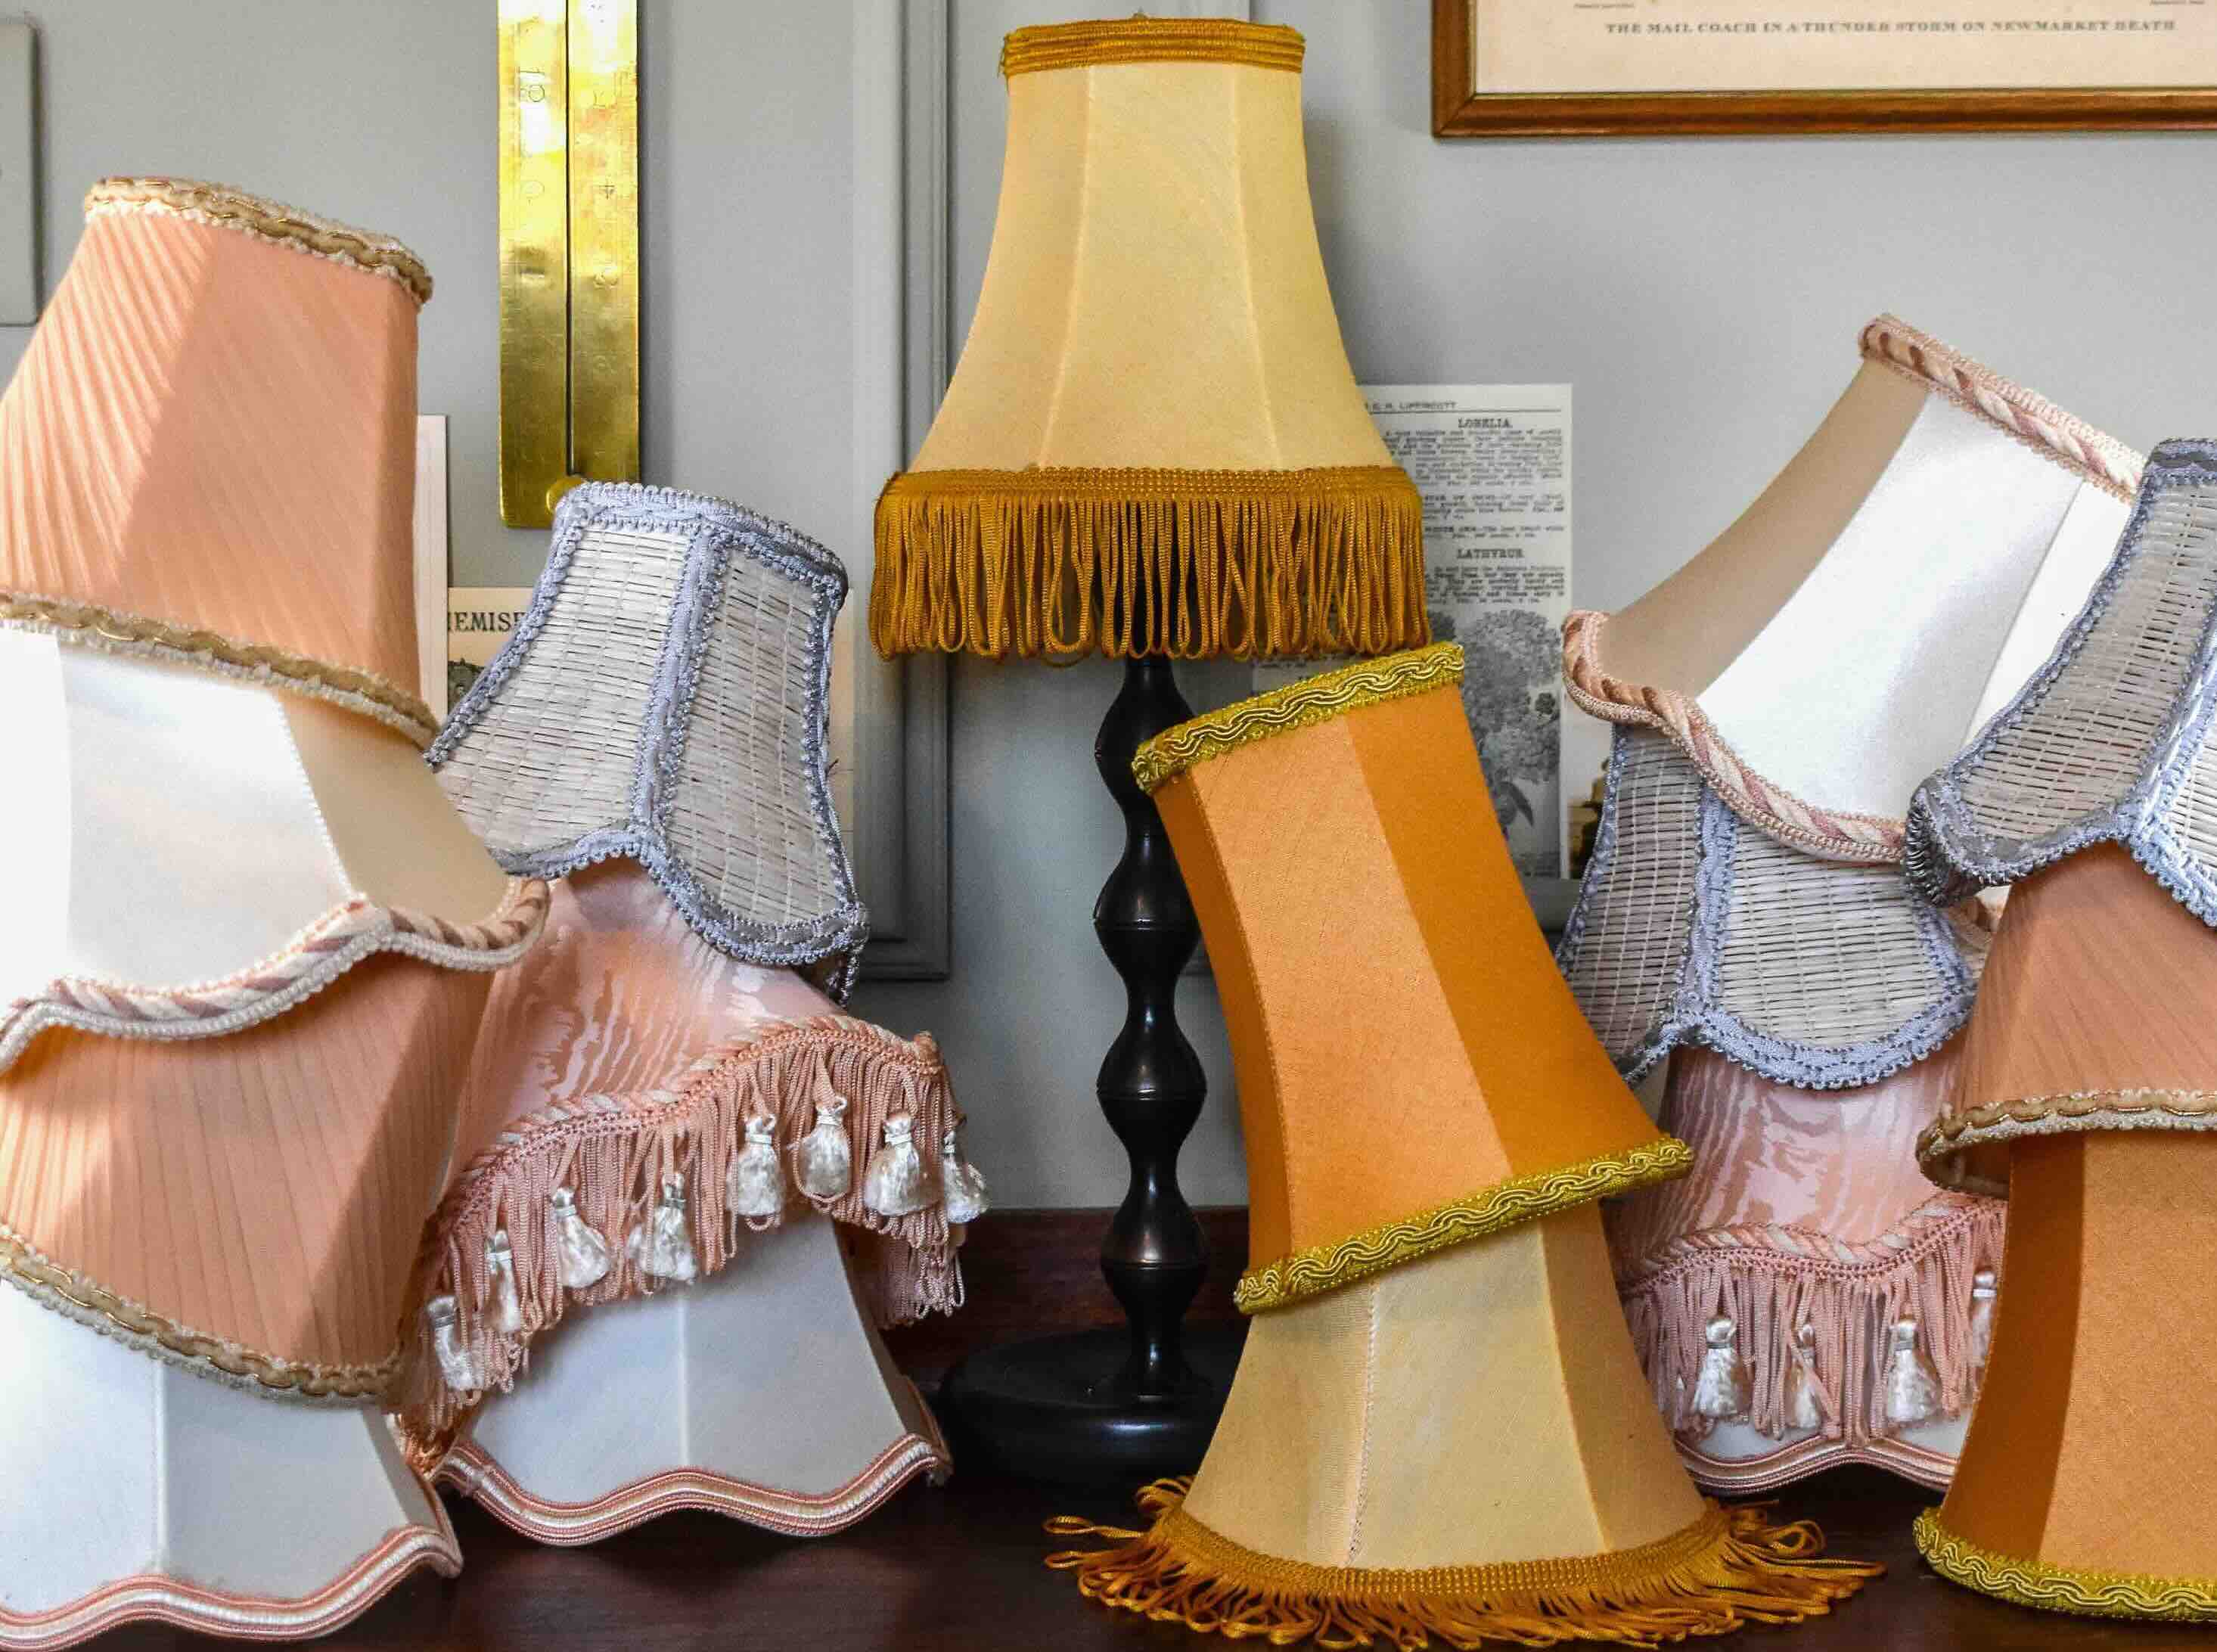
- Trims and Ribbons: Adding trims or ribbons can instantly elevate the look of your lampshade. Choose from various styles, such as lace, pom-poms, or satin ribbons, to add a touch of elegance or playfulness to your design. Attach them using fabric glue or a hot glue gun.
- Paint: Paint offers endless possibilities for lampshade decoration. Use acrylic or fabric paint to create designs, patterns, or even hand-painted motifs on the lampshade. You can utilize stencils or freehand painting to achieve the desired look.
- Decoupage: Decoupage involves adhering cutouts of paper, fabric, or decorative napkins onto the lampshade’s surface. This technique allows for intricate designs and patterns, giving your lampshade a unique and artistic flair. Apply decoupage medium and use a brush to smooth out any wrinkles or air bubbles.
- Embellishments: Including embellishments like beads, sequins, buttons, or feathers can add a touch of glamour and texture to your lampshade. Experiment with different combinations and placements to create a visually stunning effect. Attach them securely using craft glue or a hot glue gun.
Take the time to explore various materials and experiment with different combinations to find the perfect mix for your lampshade decoration. Remember to choose materials that are suitable for the lampshade’s surface and ensure proper adhesion for long-lasting results.
Consider using fabric or paint to add a pop of color or pattern to your lamp shade. This can easily update the look of the lamp and tie it in with your existing decor.
Step 4: Decide on a Design or Theme
Before diving into the actual decoration process, it’s essential to decide on a design or theme for your lampshade. This step will help you maintain a cohesive and visually pleasing outcome.
Here are some tips to help you brainstorm and choose a design:
- Consider the Room’s Style: Take into account the overall style and color scheme of the room where the lampshade will be placed. You want the design to complement and enhance the existing aesthetics.
- Draw Inspiration: Look for inspiration from magazines, interior design websites, or even nature and art. Pay attention to patterns, shapes, and color combinations that catch your eye and reflect your personal taste.
- Personalize: Incorporate elements that hold personal significance or represent your interests. This could be a favorite color, a pattern that reminds you of a special place, or a theme that holds sentimental value.
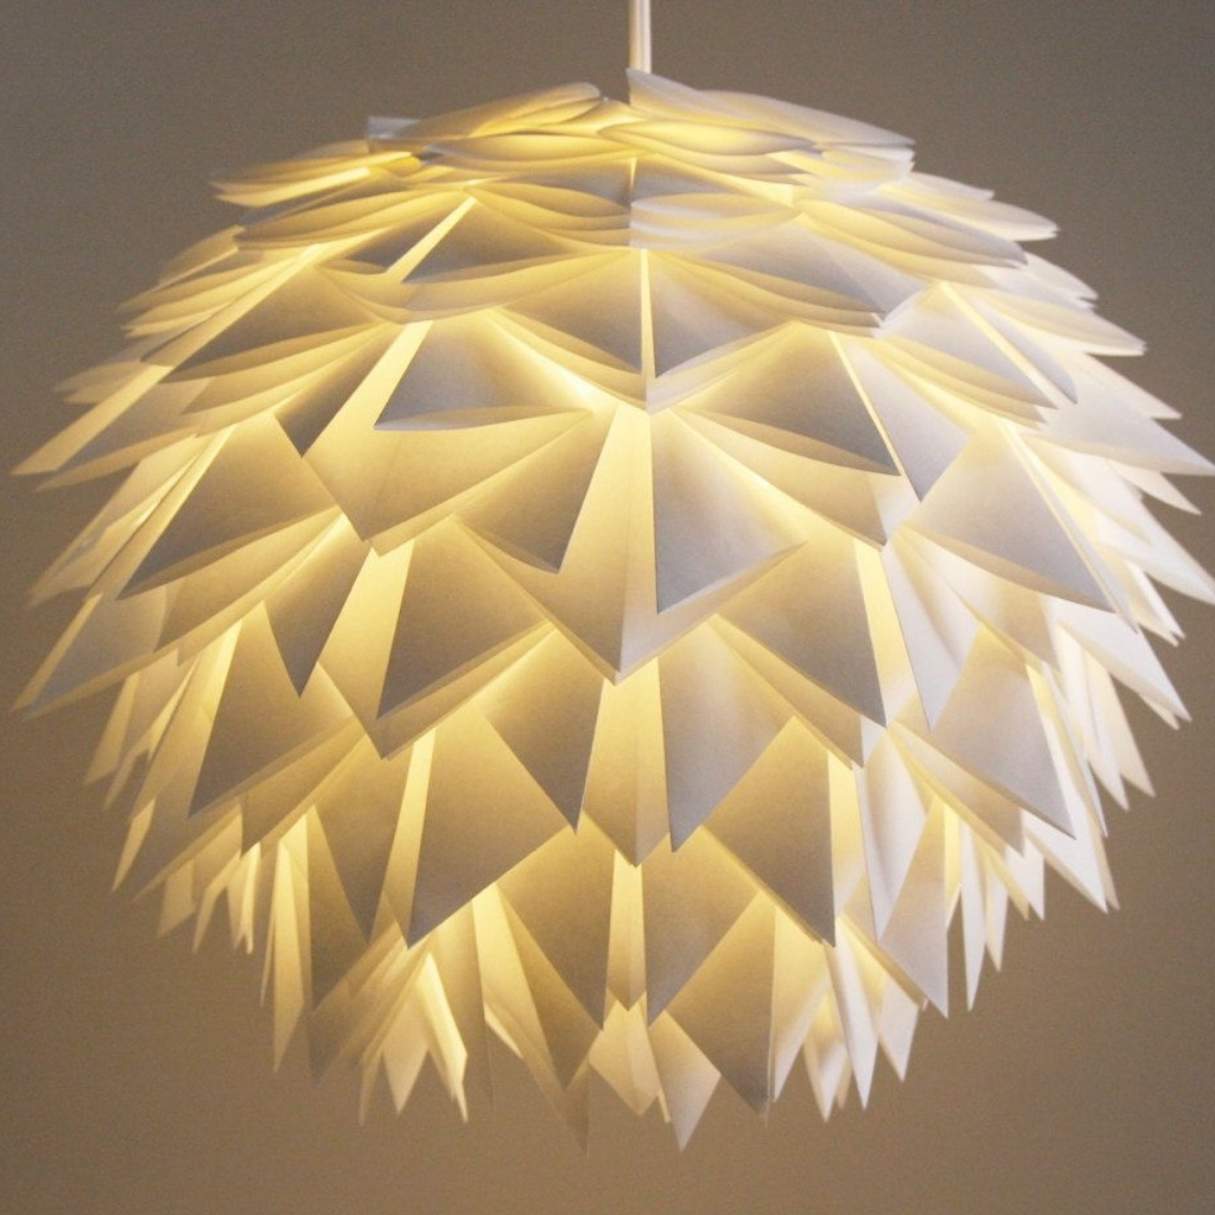
- Consider the Lighting Effect: Keep in mind how the design will interact with light. A well-thought-out design can create beautiful patterns and shadows when illuminated.
- Experiment: Don’t be afraid to think outside the box and try unconventional designs. Play with different materials, textures, and patterns to create a truly unique lampshade.
By having a clear design or theme in mind, you can approach the decorating process with a focused vision. This will help you make informed decisions about the materials and techniques you will use.
Read more: How To Put A Lamp Shade On
Step 5: Apply Decorations to Your Lamp Shade
Now it’s time to bring your design to life by applying the chosen decorations to your lampshade. This step is where your creativity truly shines, as you transform the plain surface into a visually captivating masterpiece.
Here are some techniques you can use to apply decorations:
- Adhesive Application: Depending on the materials you’ve chosen, you can use adhesive methods like fabric glue, hot glue, or double-sided tape to attach fabric, trims, ribbons, or other embellishments to the lampshade. Apply the adhesive evenly and press the decorations firmly to ensure a secure bond.
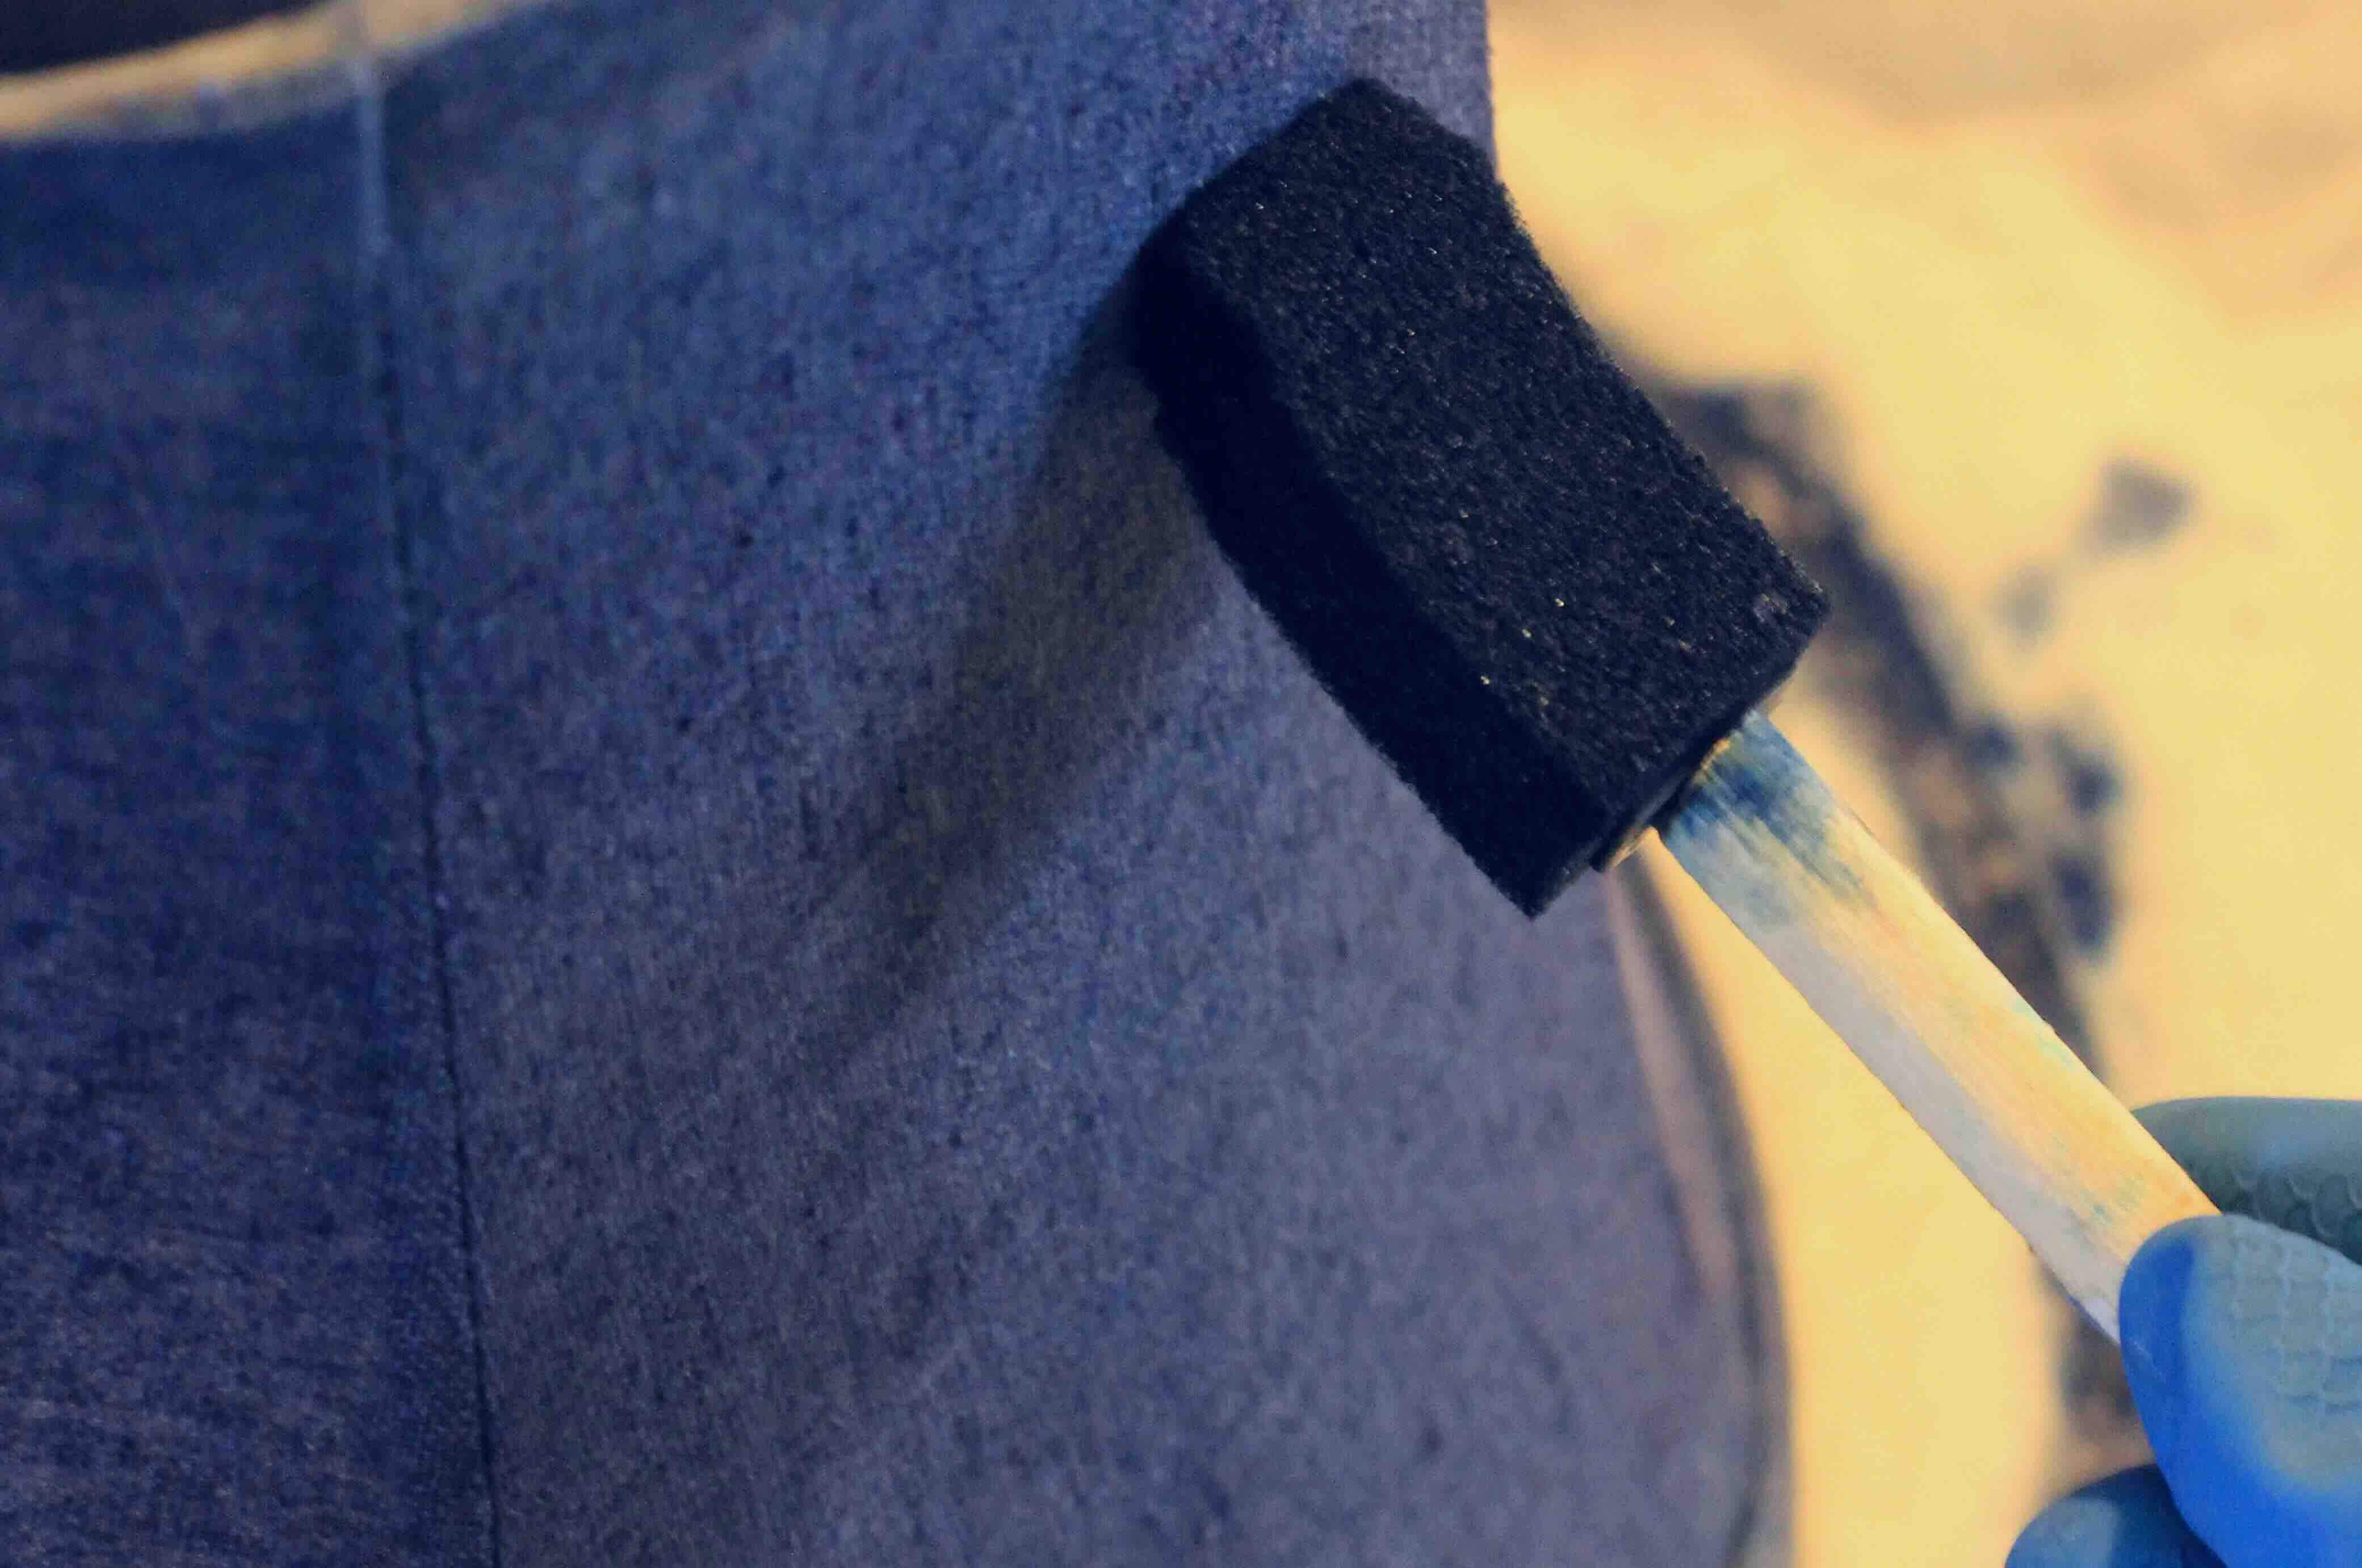
- Painting Techniques: If you’re using paint, explore different painting techniques to achieve your desired design. You can use brushes, sponges, or even stencils to create patterns, gradients, or textures on the lampshade’s surface. Allow each layer to dry before applying additional coats or details.
- Decoupage Method: If decoupage is part of your design, carefully position the cutouts or decorative paper onto the lampshade’s surface. Apply a layer of decoupage medium over the cutouts, smoothing out any wrinkles or bubbles as you go. Allow the decoupage to dry completely before adding additional layers or sealing with a top coat.
- Embellishments Placement: Strategically position your chosen embellishments on the lampshade’s surface. Whether they are beads, sequins, buttons, or feathers, make sure they are securely attached with craft glue or a hot glue gun. Arrange them in a pattern or randomly, depending on your design concept.
As you apply decorations, step back and assess the progress periodically. This will allow you to make any necessary adjustments and ensure that your design is shaping up as envisioned.
Remember, don’t be afraid to experiment and have fun during this stage. The act of applying decorations is where your artwork truly comes to life, and the possibilities are endless!
Step 6: Finishing Touches and Final Tips
Now that you’ve decorated your lampshade, it’s time to add the finishing touches and ensure that your creation is polished and ready to shine. This final step will give your lampshade that extra touch of perfection.
Here are some finishing touches and final tips to consider:
- Inspect and Clean: Take a close look at your decorated lampshade to ensure that all decorations are securely attached and properly aligned. Use a soft cloth or brush to gently remove any stray glue or dust particles that may have accumulated during the decoration process.
- Seal and Protect: If you’ve used paint or decoupage, consider applying a sealant or protective coating over the decoration. This will protect it from wear and tear and ensure its longevity. Select an appropriate sealant for the materials used.
- Test the Lighting Effect: Place the lampshade on your lamp base and test the lighting effect. Make any adjustments if needed to optimize the design and the way light interacts with it. This step helps ensure that your lampshade not only looks beautiful when not illuminated but also creates a mesmerizing effect when the light shines through.
- Reposition or Add Accessories: Assess if your decorated lampshade needs any additional accessories or if certain elements need repositioning. You can add decorative trinkets, fabric ties, or even a decorative finial on top of the lampshade to enhance the overall look.
- Enjoy and Show Off Your Creation: Finally, proudly display your newly decorated lampshade in your desired spot. Allow yourself to bask in the admiration of your artistic achievement and share it with others. Your lampshade can become a conversation piece and a reflection of your unique style and creativity.
Remember that decorating a lampshade is a journey of self-expression and creativity. Don’t be afraid to experiment, adapt, and personalize your design every step of the way. Enjoy the process and have confidence in your artistic abilities.
Now, sit back, relax, and delight in the warm and inviting glow that your decorated lampshade brings to your living space.
Conclusion
Congratulations on completing your lampshade decoration project! By putting in the effort and creativity, you have transformed an ordinary lampshade into a unique and eye-catching piece of art. Throughout this guide, you’ve learned the step-by-step process of choosing the right lampshade, preparing it, selecting materials, deciding on a design, applying decorations, and adding the finishing touches.
Decorating a lampshade allows you to express your personal style and add a personal touch to your living space. Whether you prefer a minimalist and contemporary design or a bold and eclectic one, the possibilities are endless. Remember to consider the size, shape, material, color, and pattern of your lampshade when making choices. Strive to create a cohesive look that complements your existing decor.
As you embark on your decoration journey, don’t forget to take your time, experiment, and embrace your creativity. Allow yourself to deviate from traditional design concepts and explore unconventional ideas. After all, the beauty of lampshade decoration lies in its ability to transform a functional item into a unique piece of art that reflects your personality.
Lastly, don’t be afraid to showcase your decorated lampshade. Place it in a prominent position in your home and watch as it becomes a focal point and conversation starter. Let your friends and family admire your DIY skills and marvel at the beauty of your creation.
Remember, the joy of lampshade decoration is not just in the end result but the creative process itself. So, have fun, let your imagination run wild, and enjoy the satisfaction of turning an ordinary lampshade into a true work of art!
Frequently Asked Questions about How To Decorate Lamp Shades
Was this page helpful?
At Storables.com, we guarantee accurate and reliable information. Our content, validated by Expert Board Contributors, is crafted following stringent Editorial Policies. We're committed to providing you with well-researched, expert-backed insights for all your informational needs.