Furniture
How To Make A Lamp Shade Frame
Modified: September 2, 2024
Learn how to make a lamp shade frame for your furniture. Step-by-step instructions on creating a beautiful and functional lampshade.
(Many of the links in this article redirect to a specific reviewed product. Your purchase of these products through affiliate links helps to generate commission for Storables.com, at no extra cost. Learn more)
Introduction
Creating your own lamp shade frame can be a rewarding and creative project that adds a personal touch to your home decor. Whether you’re looking to update an old lamp or customize a new one, making a lamp shade frame allows you to choose the perfect materials and design to complement your style.
In this article, we will guide you through the step-by-step process of making a lamp shade frame. From selecting the right frame material to attaching fabric and adding embellishments, you’ll learn all the techniques needed to create a beautiful and unique lamp shade.
Not only is making a lamp shade frame a fun DIY project, but it also allows you to save money compared to buying a ready-made shade. Plus, you have the freedom to experiment with different shapes, sizes, and decorative elements to perfectly match your interior design.
So, let’s dive into the exciting world of lamp shade making and discover how you can create a one-of-a-kind piece that will light up your space with style and elegance!
Key Takeaways:
- Create a personalized lamp shade frame to save money and express your creativity. Experiment with different materials, shapes, and embellishments to match your interior design and add a unique touch to your home decor.
- Crafting a lamp shade frame is a rewarding DIY project that allows you to shape, wrap, and decorate a one-of-a-kind piece. Prioritize safety, take your time, and enjoy the process of bringing your creativity to life.
Read more: How To Make A Paper Lamp Shades
Materials Needed
To make a lamp shade frame, you will need the following materials:
- Wire or metal rods: These will be used to create the frame structure. You can choose between wire or metal rods depending on your preference and the desired strength of the frame.
- Wire cutters or a hacksaw: These tools will be used to cut the wire or metal rods to the desired length.
- Pliers: Pliers will come in handy for bending and shaping the wire or metal rods.
- Measuring tape: You’ll need a measuring tape to ensure accurate dimensions for your lamp shade frame.
- Fabric: Select a fabric that matches your decor and complements the style of your lamp. Consider the thickness and opacity of the fabric, as it will affect the amount of light that is diffused through the shade.
- Fabric glue or sewing materials: Depending on the fabric you choose, you may need fabric glue or a sewing machine to attach the fabric to the lamp shade frame.
- Trim or embellishments: If desired, you can add trim or embellishments to decorate your lamp shade. This can include ribbon, lace, fringe, beads, or any other decorative elements you prefer.
- Adhesive: If you’re using trim, you may need adhesive to secure it to the fabric and frame.
- Lamp base and hardware: Lastly, you’ll need a lamp base and hardware to attach the lamp shade frame. Ensure that the lamp base is compatible with the size and weight of your lamp shade.
Once you have gathered all the materials, you’ll be ready to proceed to the next steps of creating your lamp shade frame. Let’s continue the process by choosing the right frame material!
Step 1: Choosing the Frame Material
The first step in making a lamp shade frame is to choose the right material for the frame. The material you select will depend on your desired design, durability requirements, and personal preferences.
Here are some popular options for lamp shade frame materials:
- Wire: Wire is a versatile and commonly used material for making lamp shade frames. It is flexible, making it easy to shape into various designs. You can choose from different gauges of wire, depending on the level of sturdiness you need for your lamp shade. However, keep in mind that wire frames may require additional supports for larger or heavier shades.
- Metal rods: Metal rods are a more durable option for lamp shade frames. They provide extra strength and stability, making them suitable for larger or heavier shades. Metal rods are available in various thicknesses, allowing you to choose the appropriate size for your specific project.
- Bamboo or rattan: For a unique and natural look, consider using bamboo or rattan to form the frame of your lamp shade. These materials can add a touch of warmth and texture to your design. Keep in mind that they may require additional reinforcement to ensure stability.
- PVC pipe: If you’re looking for a lightweight and affordable option, PVC pipe can work well for smaller lamp shades. It is easy to cut and assemble, offering flexibility in design.
When selecting the frame material, consider the size and weight of your lamp shade, as well as the overall aesthetic you want to achieve. If you’re unsure, consult with a local hardware store or a professional lamp shade maker for recommendations based on your specific project requirements.
Now that you have chosen the frame material, it’s time to move on to the next step: measuring and cutting the frame material.
Step 2: Measuring and Cutting the Frame Material
Once you have chosen the material for your lamp shade frame, the next step is to measure and cut it to the desired length. Accurate measurements are crucial to ensure that your lamp shade fits perfectly and looks professionally made.
Before you begin, make sure you have all the necessary tools, such as wire cutters or a hacksaw, depending on the material you are using.
Follow these steps to measure and cut the frame material:
- Measure the circumference of your lampshade base: Use a measuring tape to determine the circumference of the lampshade base where the frame will be attached. This measurement will determine the length of the frame material you need.
- Add extra length for overlapping: To create a seamless frame, add a few extra inches to the measured length. This additional length will allow the frame ends to overlap and be joined securely.
- Mark the frame material: Using a pencil or marker, mark the measured length on the frame material. Double-check the measurement to ensure accuracy.
- Cut the frame material: Using wire cutters or a hacksaw, carefully cut the frame material at the marked points. Take your time and make clean, straight cuts to ensure proper alignment of the frame.
- Smooth the edges: After cutting the frame material, use a file or sandpaper to smooth any rough edges. This will prevent any sharp edges from snagging or tearing the fabric during the next steps.
Remember to take proper safety precautions when cutting the frame material, such as wearing protective gloves and eye goggles if necessary.
Once you have measured and cut the frame material, you’re ready to move on to the next step: shaping the frame.
Step 3: Shaping the Frame
Now that you have your cut frame material, it’s time to shape it into the desired form for your lamp shade. Shaping the frame will give it structure and define the overall silhouette and design of your shade.
Follow these steps to shape the frame:
- Refer to your lamp shade design or template: If you have a specific design or template for your lamp shade, use it as a reference to guide your shaping process. This will help ensure that your frame matches the intended design.
- Use pliers or hands to bend the frame: Depending on the material and its flexibility, use pliers or your hands to carefully bend and shape the frame. Start at one end and work your way around, bending the frame to create the desired curves and angles.
- Check for symmetry: As you shape the frame, regularly check for symmetry and balance. Use your eyes and a measuring tape to ensure that both sides of the frame are evenly shaped.
- Make adjustments as needed: If you’re not satisfied with the shape, make any necessary adjustments by bending the frame further. Take your time and ensure that the frame maintains its structural integrity during the shaping process.
It’s important to note that different lamp shade designs may require specific shapes and angles. For example, a drum-shaped shade will have different shaping requirements compared to a bell-shaped shade. Refer to your design or use your creativity to shape the frame according to your vision.
Once you’re happy with the shape of your lamp shade frame, it’s time to move on to the next step: adding cross-supports to enhance stability.
Read more: How To Make A Macrame Lamp Shade
Step 4: Adding Cross Supports
Adding cross supports to your lamp shade frame is an essential step to enhance its stability and durability. Cross supports reinforce the structure, ensuring that the frame maintains its shape and can support the fabric securely.
Follow these steps to add cross supports to your lamp shade frame:
- Determine the number and placement of cross supports: Assess the size and shape of your lamp shade frame to determine how many cross supports you will need. Generally, it is recommended to have at least three cross supports evenly spaced around the frame.
- Measure and cut the support material: Use wire or metal rods of the same material as your frame to cut the cross supports. Measure the distance between two opposite points on the frame where the cross support will be placed. Cut the support material to match this length.
- Bend the support material: Use pliers or hands to bend the support material into an L-shape. The shorter side of the L-shape should be long enough to insert into the frame, while the longer side will rest against the inner surface of the frame.
- Attach the cross supports: Insert the shorter side of the L-shaped support material into the frame at the desired location. Secure it by bending the wire or using pliers to twist the wire ends together. Ensure that the support is firmly attached to the frame.
- Repeat for additional cross supports: If you have determined that your lamp shade frame requires multiple cross supports, repeat the above steps for each support.
The addition of cross supports will provide stability to your lamp shade frame and prevent it from losing its shape over time. It is important to evenly space the cross supports to distribute the tension of the fabric and support the weight of the shade.
Once you have added the necessary cross supports, you’re ready to move on to the next step: attaching the frame ends.
When making a lamp shade frame, ensure that the wire or metal frame is sturdy enough to support the weight of the shade material and the light bulb. Use pliers to bend and shape the frame to the desired design.
Step 5: Attaching the Frame Ends
Attaching the frame ends is a crucial step in the construction of your lamp shade frame. This ensures that the frame retains its shape and provides a secure base for attaching the fabric.
Follow these steps to attach the frame ends:
- Overlap the frame ends: Take the two ends of your frame material and carefully overlap them, ensuring that the shape and curvature of the frame align properly.
- Secure the frame ends: Use pliers or wire to tightly wrap and secure the frame ends together. This will hold the frame in place and maintain its desired shape.
- Double-check the alignment: Once the frame ends are securely attached, double-check that the frame is symmetrical and aligned properly. Make any necessary adjustments to ensure that the frame is even and balanced.
It’s important to ensure that the frame ends are firmly attached to prevent any unraveling or shifting during the next steps of the lamp shade making process. Take your time and make sure the attachment is secure.
With the frame ends securely attached, you’re now ready to move on to the next step: wrapping the frame with fabric.
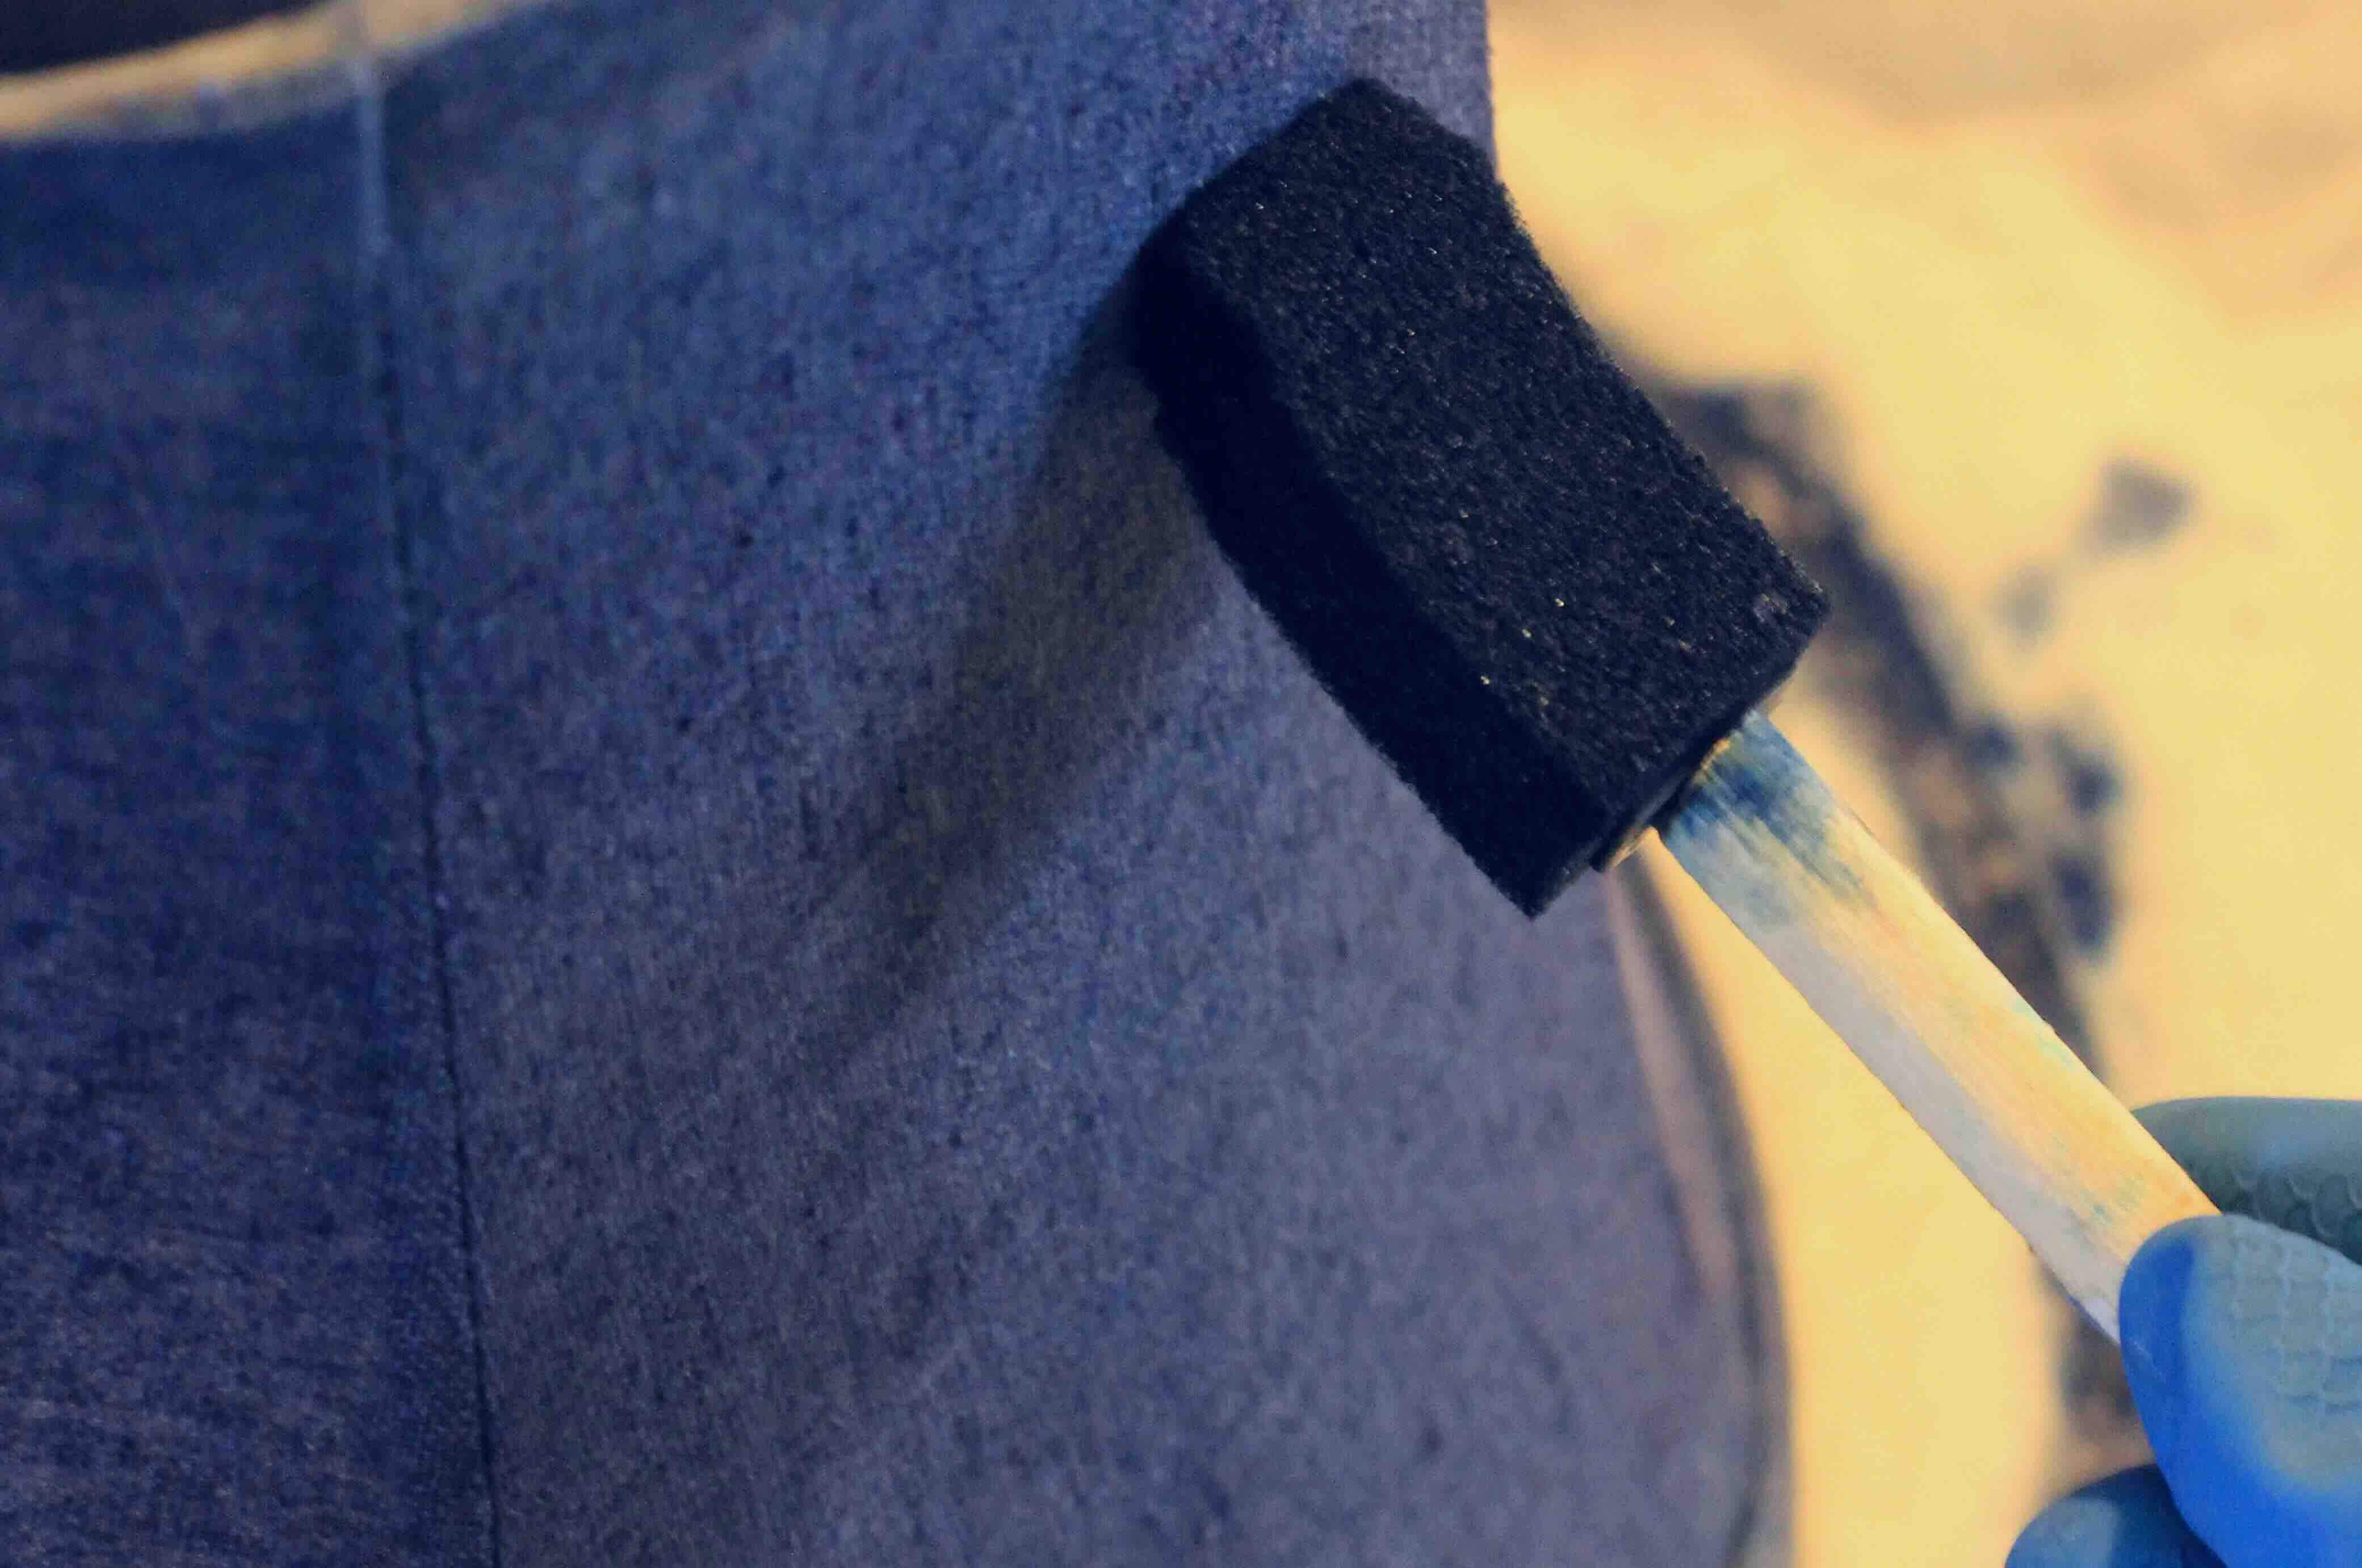
Step 6: Wrapping the Frame with Fabric
Wrapping the frame with fabric is an exciting step that adds the desired aesthetic to your lamp shade. The choice of fabric will determine the overall look and feel of the shade, so select one that complements your decor and personal style.
Follow these steps to wrap the frame with fabric:
- Choose the fabric: Select a fabric that suits your lamp shade design and the ambiance you want to create in your space. Consider the color, pattern, and texture of the fabric. Ensure that it is suitable for lamp shades and can withstand the heat generated by the bulb.
- Measure and cut the fabric: Measure the length and width of the lamp shade frame, taking into account the desired overlap. Add a few extra inches to ensure that you have enough fabric to securely cover the frame. Use fabric scissors to cut the fabric according to your measurements.
- Position the fabric: Position the fabric over the frame, ensuring that it covers the entire frame and has the desired overlap on all edges. Smooth out any wrinkles or creases in the fabric.
- Secure the fabric: Use fabric clips or pins to temporarily secure the fabric to the frame. This will help keep it in place while you work on securing it permanently.
- Double-check the alignment: Before permanently securing the fabric, double-check the alignment and ensure that the fabric is straight and even around the frame.
It’s important to note that different lamp shade designs may require specific fabric wrapping techniques. For example, a drum-shaped shade may require the fabric to be stretched tightly, while a gathered or pleated shade may require more fabric for the desired design elements.
Once you are satisfied with the fabric placement and alignment, you’re ready to move on to the next step: securing the fabric to the frame.
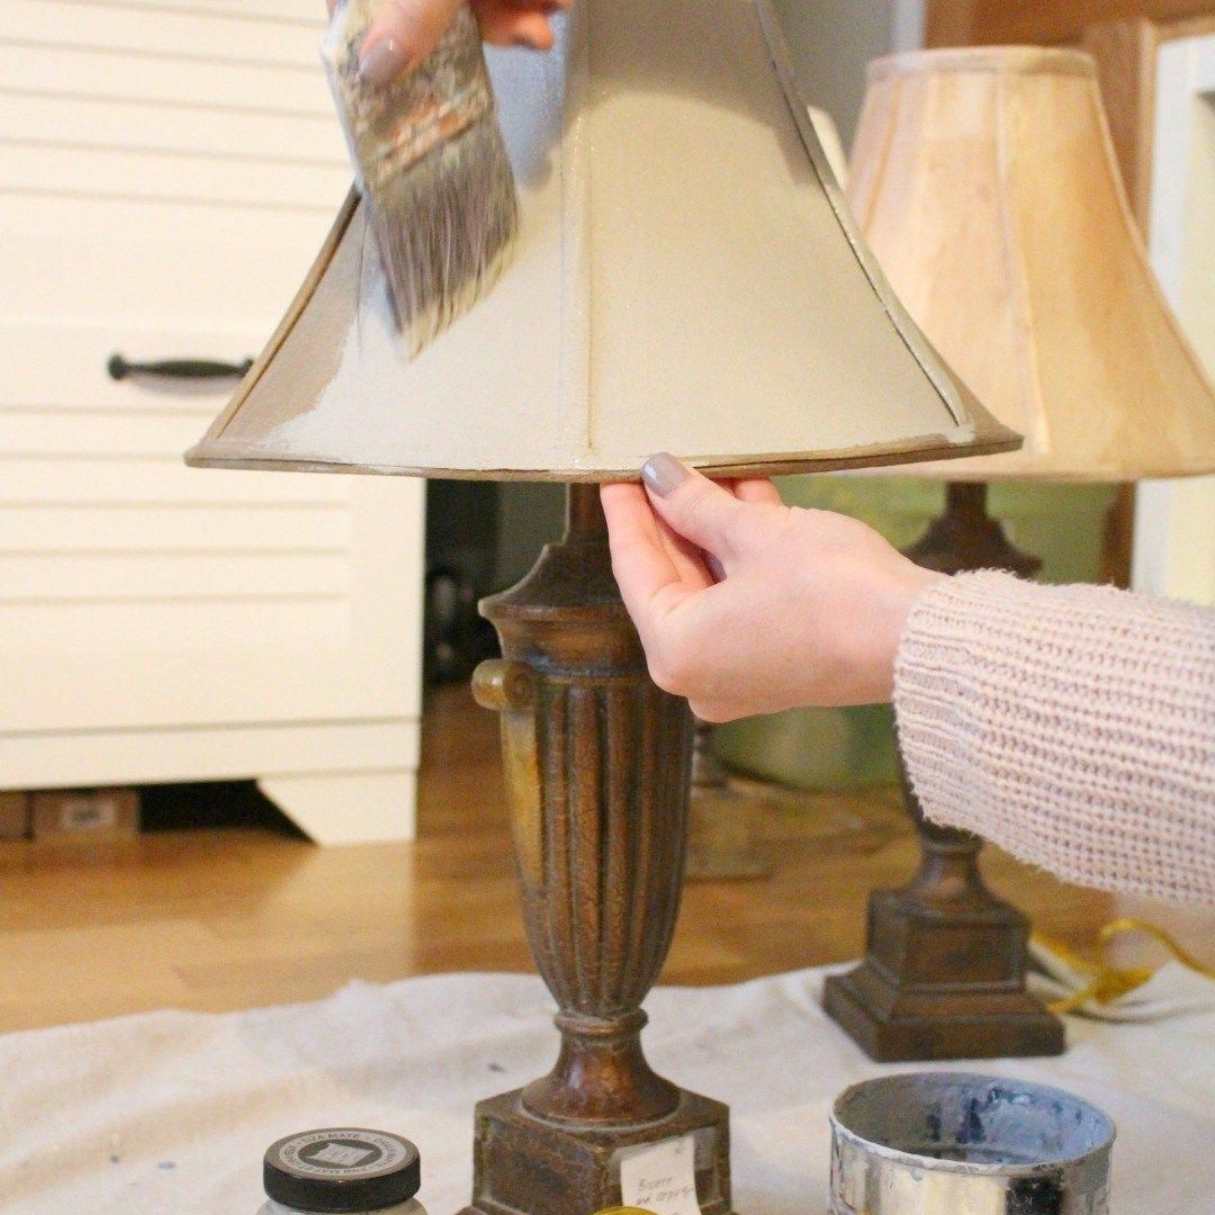
Step 7: Securing the Fabric to the Frame
Securing the fabric to the frame is a vital step in creating a well-constructed lamp shade. This ensures that the fabric stays in place and looks neat and professional. The method you choose to secure the fabric will depend on the type of fabric and your personal preference.
Follow these steps to securely attach the fabric to the frame:
- Remove the temporary fabric clips or pins: Start by removing the temporary fabric clips or pins that were holding the fabric in place.
- Apply fabric glue or use a sewing machine: If you are using a fabric that can be easily glued, apply fabric glue along the inside edge of the frame and press the fabric onto it for a secure bond. Alternatively, if you are skilled with a sewing machine, you can sew the fabric onto the frame for added durability.
- Work in sections: To ensure an even and smooth appearance, work in small sections at a time. Apply the fabric glue or sew the fabric in place along one section and move on to the next, repeating the process until the entire frame is covered.
- Smooth out wrinkles or creases: As you secure the fabric, make sure to smooth out any wrinkles or creases that may have formed. This will give your lamp shade a polished and finished look.
- Trim off any excess fabric: Once the fabric is securely attached, trim off any excess fabric along the edges of the frame. Be careful not to cut too close to the frame to avoid any fraying or unraveling.
Take your time during this step to ensure that the fabric is evenly and securely attached to the frame. Pay attention to details and make any necessary adjustments to achieve a clean and professional finish.
With the fabric securely attached, you’re now ready to move on to the next step: adding trim or embellishments to enhance the lamp shade’s appearance.
Read more: How To Make A Mica Lamp Shades
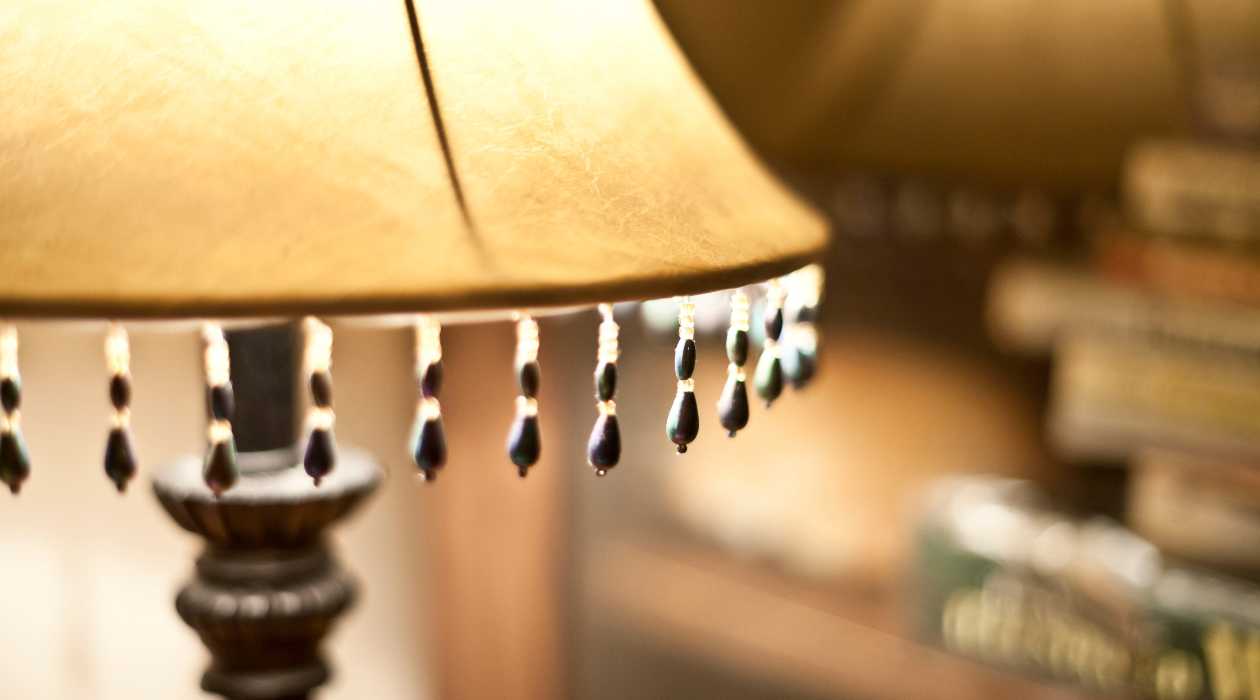
Step 8: Adding Trim or Embellishments
Adding trim or embellishments to your lamp shade frame can elevate its visual appeal and personalize it to match your style. The choice of trim or embellishments is entirely up to you, allowing for endless possibilities to customize your lamp shade.
Follow these steps to add trim or embellishments to your lamp shade:
- Select the trim or embellishments: Choose the type of trim or embellishments that align with your desired aesthetic. Options can include ribbon, lace, fringe, beads, tassels, or any other decorative elements that catch your eye.
- Measure and cut the trim: Measure the length of each section of the lamp shade where you want to add trim or embellishments. Use fabric scissors to cut the trim to the appropriate length.
- Apply adhesive, sew, or use a hot glue gun: Depending on the trim or embellishments you’ve chosen, you can use fabric glue, sew them onto the fabric, or apply a small amount of hot glue to secure them in place. Ensure that the chosen method is suitable for the fabric and trim.
- Attach the trim or embellishments: Carefully place the trim or embellishments along the designated sections of the lamp shade. Press them firmly into place, making sure they adhere securely.
- Double-check the alignment and spacing: As you attach the trim or embellishments, double-check that they are aligned properly and evenly spaced. Adjust as needed to create a visually pleasing arrangement.
Adding trim or embellishments allows you to add personality and style to your lamp shade. Be creative and experiment with different combinations to achieve a look that complements your space.
Once you are satisfied with the placement of the trim or embellishments, you’re ready to move on to the final step: mounting the lamp shade frame.
Step 9: Mounting the Lamp Shade Frame
Mounting the lamp shade frame is the final step in creating your custom lamp shade. This involves attaching the frame to the lamp base, ensuring it is securely positioned for use.
Follow these steps to mount the lamp shade frame:
- Prepare the lamp base: Ensure that the lamp base is clean and free from any dust or debris. Remove any existing lamp shade if present.
- Position the lamp shade frame: Carefully place the lamp shade frame onto the lamp base. Adjust its position to achieve the desired height and placement. Ensure that the frame sits securely on the lamp base without wobbling or shifting.
- Secure the frame to the lamp base: Depending on the design of your lamp base, you may use various attachment methods. Common options include metal brackets, screws, or a lamp finial that secures the frame in place. Consult the manufacturer’s instructions or seek professional assistance if needed.
- Test the stability and alignment: Once the frame is attached to the lamp base, gently shake the lamp shade to ensure that it is stable and securely mounted. Check that the frame is level and aligned correctly.
- Double-check the fit and appearance: Take a step back and assess the lamp shade’s fit and overall appearance. Make any adjustments if necessary, ensuring that the lamp shade is centered and visually appealing.
It’s important to ensure that the lamp shade is securely mounted to prevent any accidents or damage. If you encounter any difficulties during the mounting process, consult a professional or refer to the manufacturer’s instructions for guidance.
With the lamp shade frame successfully mounted to the lamp base, you have completed the process of creating your custom lamp shade. Admire your craftsmanship and enjoy the beautiful glow it will provide to your space.
Congratulations! You have now mastered the art of making a lamp shade frame from scratch. This DIY project allows you to showcase your creativity and add a personal touch to your home decor. Whether you choose a simple and elegant design or opt for a bold and intricate look, your custom lamp shade will be a conversation starter and a unique expression of your style.
Remember to take safety precautions when working with tools and materials, and always follow proper instructions and guidelines. Happy lamp shade crafting!
Conclusion
Congratulations on completing the journey of creating your own lamp shade frame! By following the steps outlined in this article, you have acquired the knowledge and skills to craft a beautiful and personalized lamp shade that adds a unique touch to your home decor.
Creating your own lamp shade frame offers several advantages. Not only does it allow you to save money compared to purchasing a ready-made shade, but it also gives you the opportunity to choose the perfect materials and design that aligns with your style and preferences. The process of shaping the frame, wrapping it with fabric, and adding trim or embellishments allows you to express your creativity and create a truly one-of-a-kind piece.
Throughout this DIY project, it’s important to remember to prioritize safety. Ensure that you have the necessary tools and materials, and follow proper guidelines when working with wire, cutting tools, and adhesives. Take your time and carefully measure, cut, and shape the frame to achieve accurate and balanced proportions.
The joy of creating your own lamp shade goes beyond the end result. It’s about the satisfaction of seeing your craftsmanship come to life and the pride of having a functional and visually appealing piece that reflects your unique taste and style. As you bask in the warm glow emanating from your custom lamp shade, take a moment to appreciate the creativity, effort, and personal touch you have brought to your living space.
Now that you have unlocked the world of lamp shade making, feel free to experiment with different shapes, materials, and decorative elements to create an array of stunning lamp shades that can transform any room. Remember to consider the lighting needs of each space, allowing the lamp shade to diffuse light effectively while providing a pleasing ambiance.
Thank you for joining us on this DIY journey. We hope this article has inspired you to embark on new creative projects and continue exploring the realm of furniture and home decor. Happy crafting!
Frequently Asked Questions about How To Make A Lamp Shade Frame
Was this page helpful?
At Storables.com, we guarantee accurate and reliable information. Our content, validated by Expert Board Contributors, is crafted following stringent Editorial Policies. We're committed to providing you with well-researched, expert-backed insights for all your informational needs.


0 thoughts on “How To Make A Lamp Shade Frame”