Furniture
How To Replace A Lamp Shade
Modified: September 2, 2024
Learn how to easily replace a lamp shade on your furniture. Our step-by-step guide will help you refresh your decor and bring new life to your space.
(Many of the links in this article redirect to a specific reviewed product. Your purchase of these products through affiliate links helps to generate commission for Storables.com, at no extra cost. Learn more)
Introduction
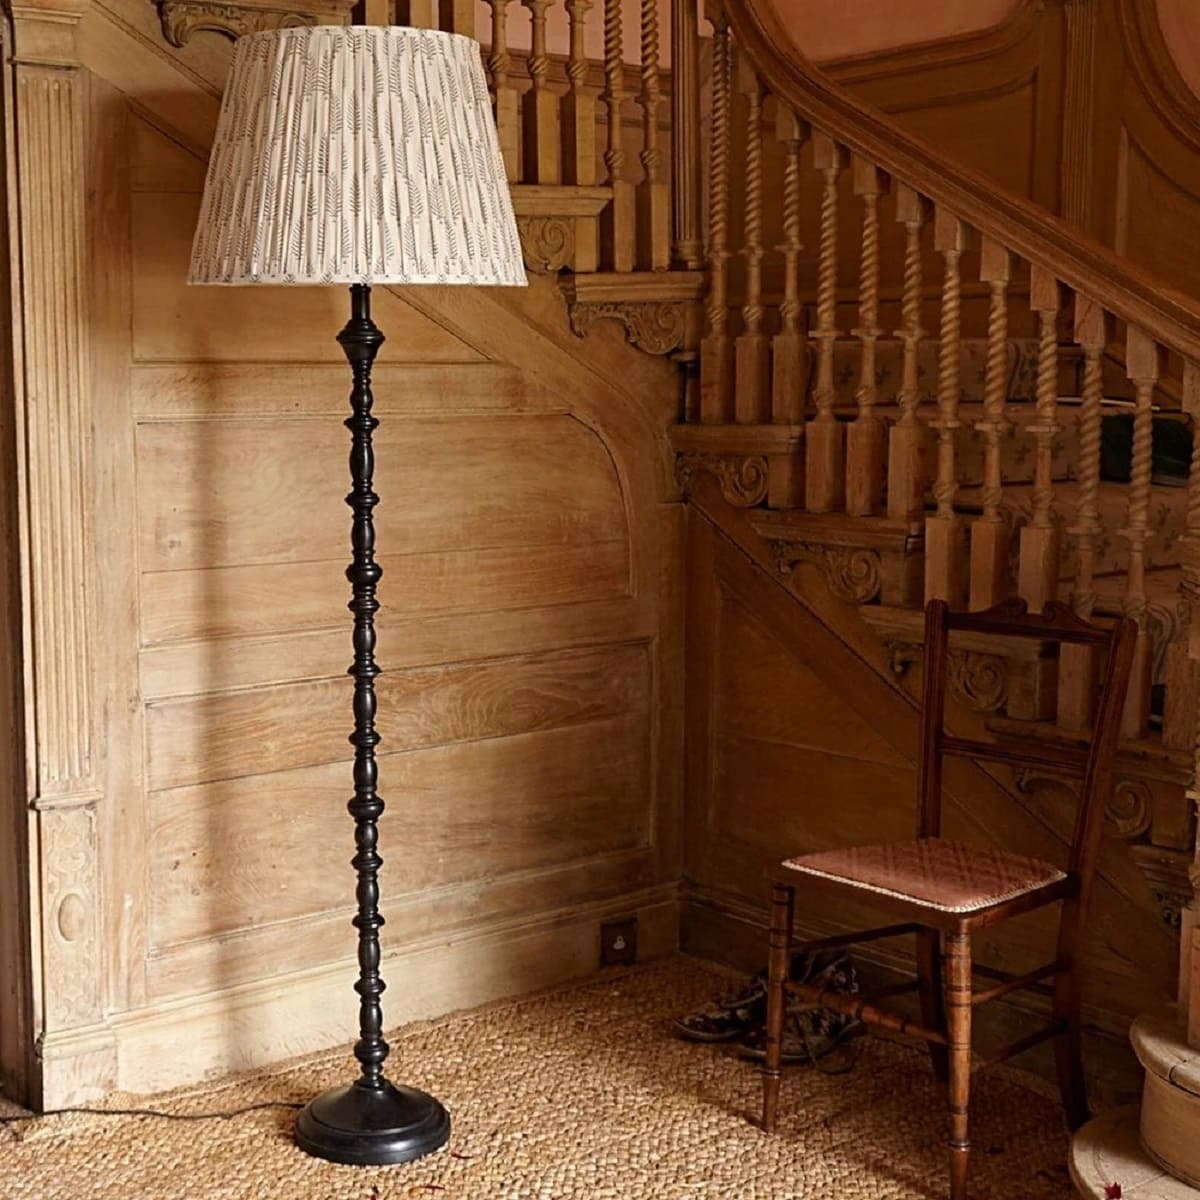
Welcome to this comprehensive guide on how to replace a lamp shade! The lamp shade plays a crucial role in enhancing both the functionality and aesthetic of a lamp. Over time, lamp shades may wear out, fade, or simply no longer match your décor. Fortunately, replacing a lamp shade is a simple task that can breathe new life into your lamps.
In this guide, we will walk you through the step-by-step process of replacing a lamp shade, from gathering the necessary materials to testing the new shade. Whether you’re a DIY enthusiast or a novice, you’ll find these instructions easy to follow.
So, let’s get started and learn how to replace a lamp shade to revamp the look of your lighting fixtures.
Key Takeaways:
- Easily update your lamps by replacing the lamp shade with the right size, style, and material. Follow the simple steps to revamp your lighting fixtures and enhance your room’s ambiance.
- Test the new lamp shade to ensure proper fit, lighting effect, and stability. Enjoy the refreshed look and functional lighting it brings to your space.
Read more: How To Put A Lamp Shade On
Step 1: Gather materials
Before you begin replacing the lamp shade, it’s essential to gather all the necessary materials. Having everything prepared in advance will save you time and ensure a smooth process. Here are the materials you’ll need:
- New Lamp Shade: Choose a lamp shade that fits the size and style of your lamp. Measure the height, top diameter, and bottom diameter of your old shade to find a suitable replacement.
- Tape Measure: Use a tape measure to accurately measure the dimensions of your old lamp shade. This will help you find a replacement shade of the correct size.
- Scissors or Wire Cutters: You may need these tools to remove any ties or fastenings holding the old lamp shade in place.
- Protective Gloves: It’s always a good idea to wear protective gloves while handling lamp shades, especially if they have sharp edges or are made of delicate materials.
- Step Ladder or Sturdy Chair: Depending on the height of your lamp, you may need a step ladder or a sturdy chair to reach it comfortably.
- Pen and Paper: You may want to jot down any measurements or important information during the process.
Now that you have all the required materials, you’re ready to move on to step two: choosing the right lamp shade.
Step 2: Choose the right lamp shade
Choosing the right lamp shade is crucial to ensure that it fits your lamp properly and complements your décor. Here are some factors to consider when selecting a new lamp shade:
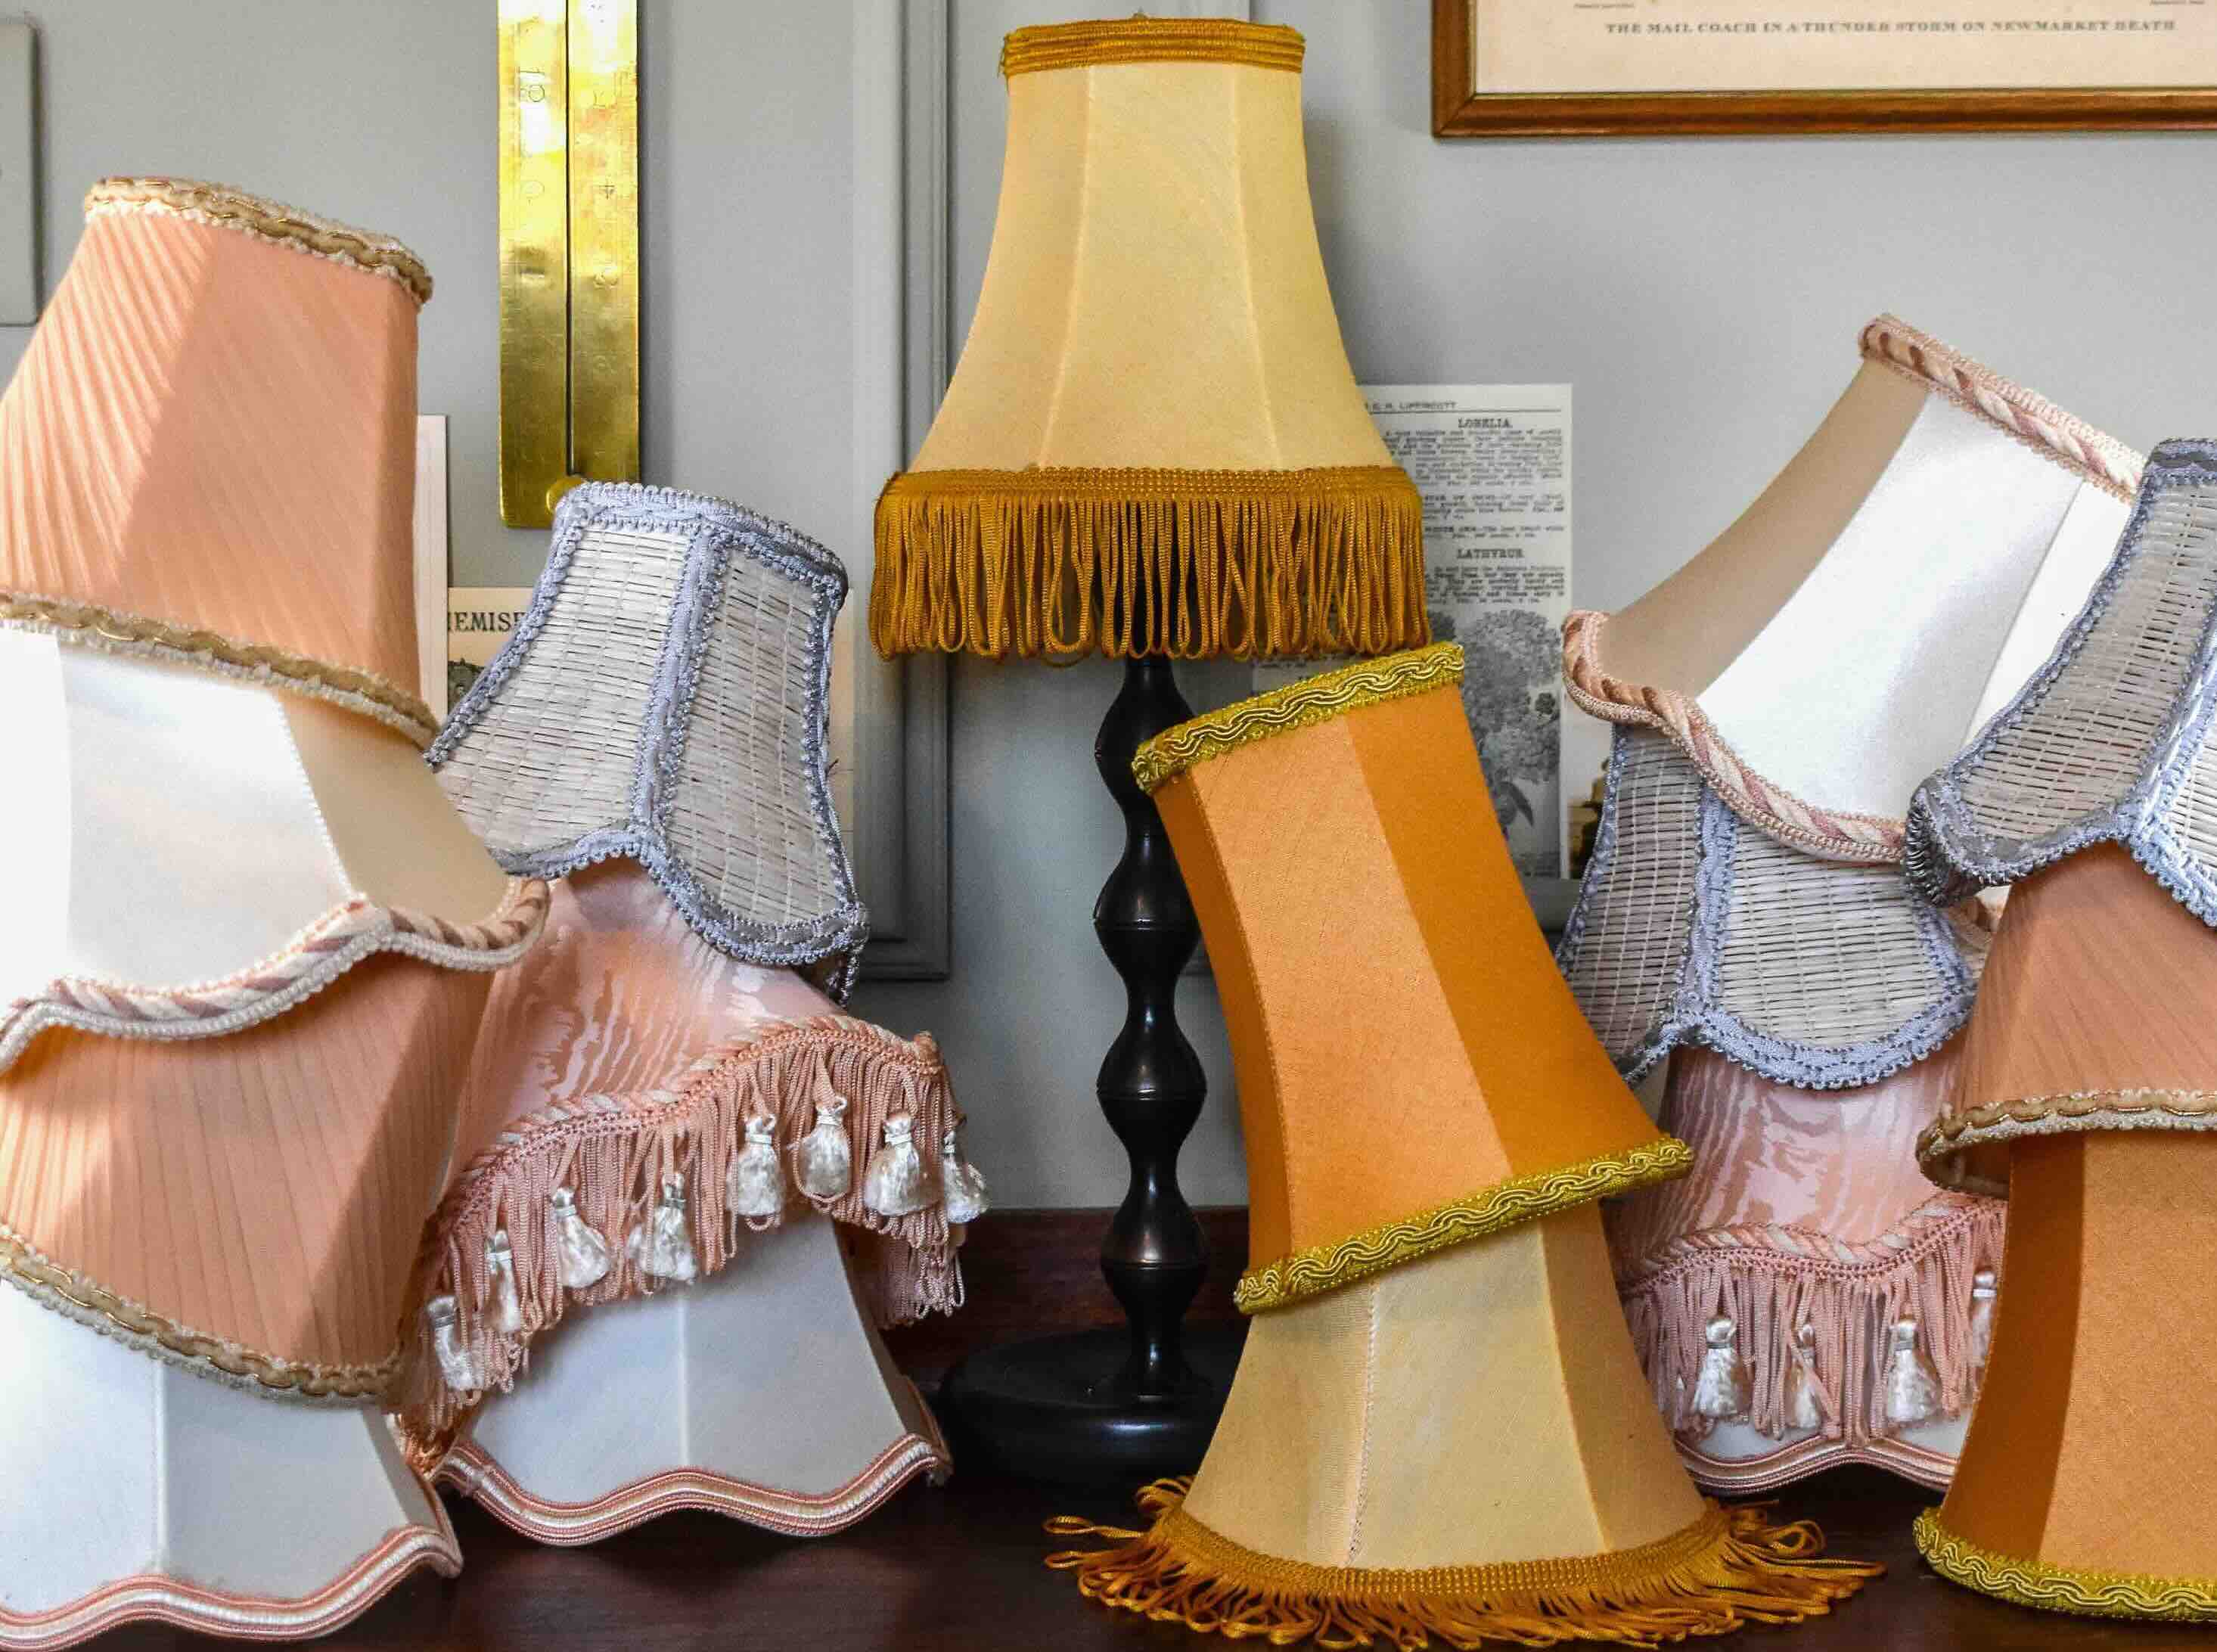
- Size: Measure the height, top diameter, and bottom diameter of your old lamp shade. Use these measurements as a guide to find a replacement shade that matches the size of your lamp.
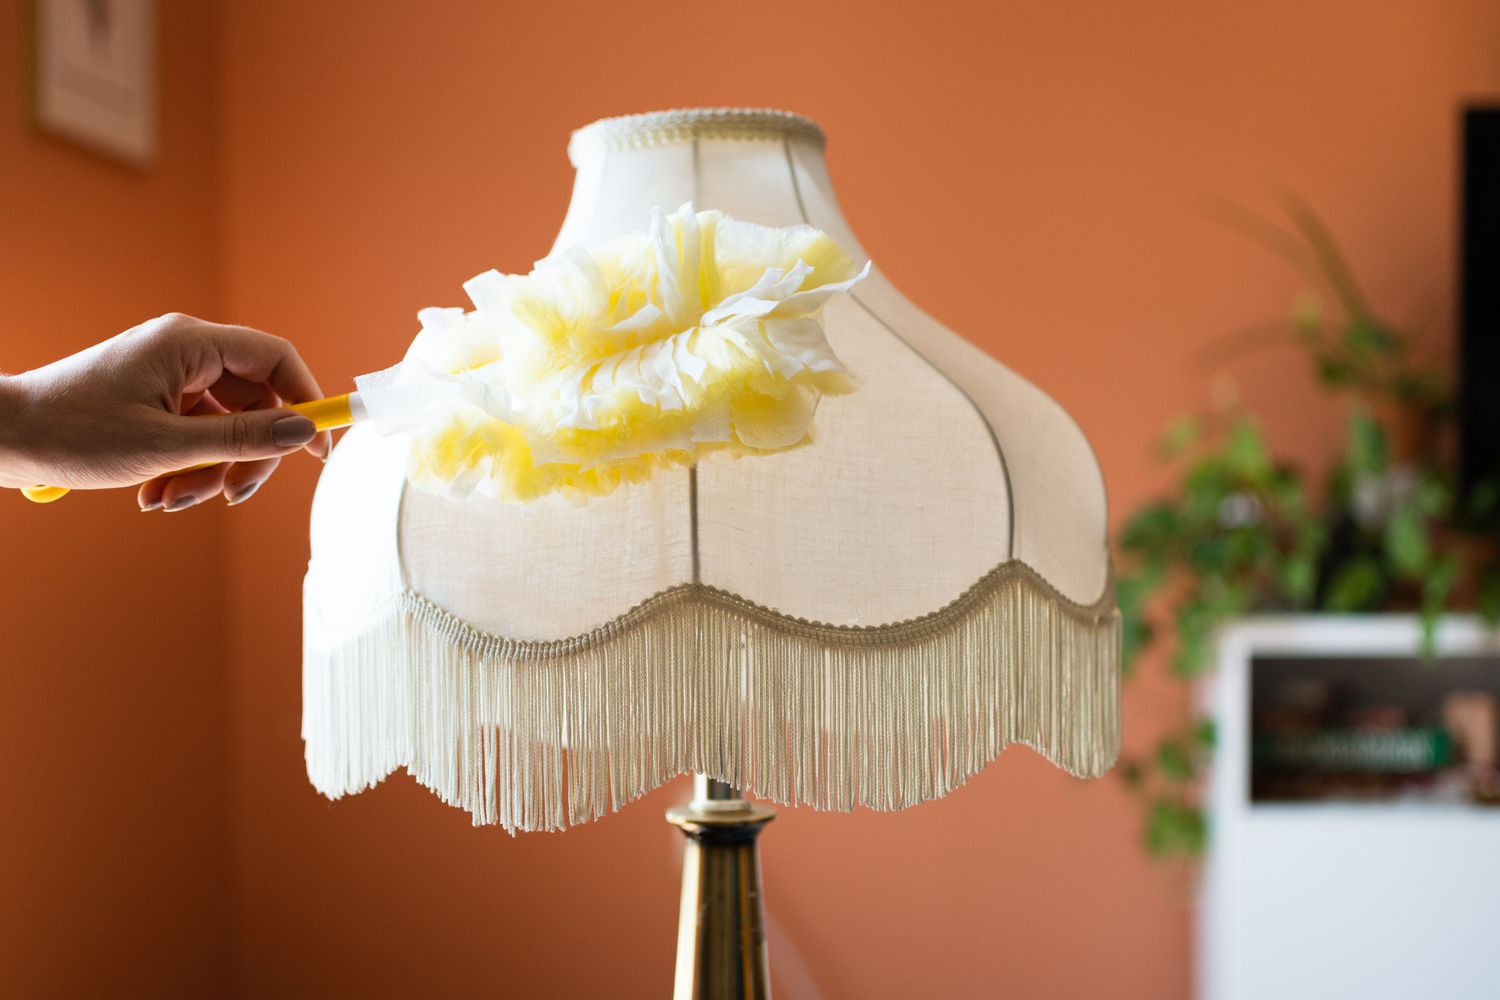
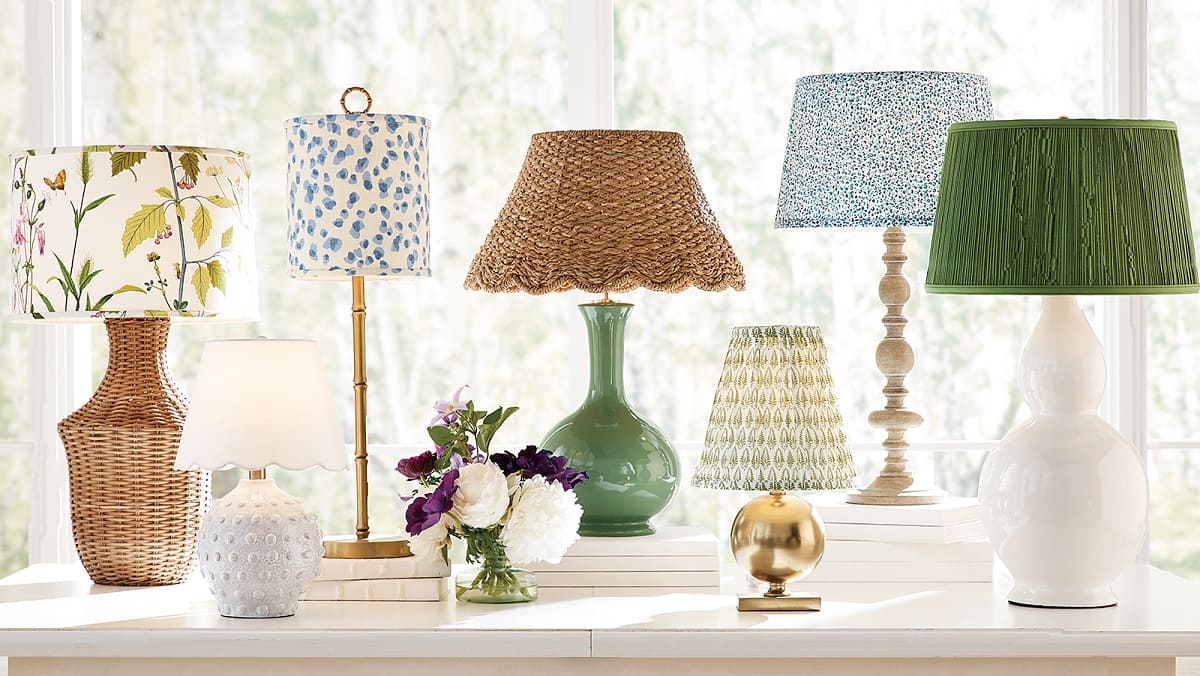
- Style: Consider the overall style and theme of your room. Do you prefer a classic, contemporary, or eclectic look? Choose a lamp shade that complements the existing furniture and décor.
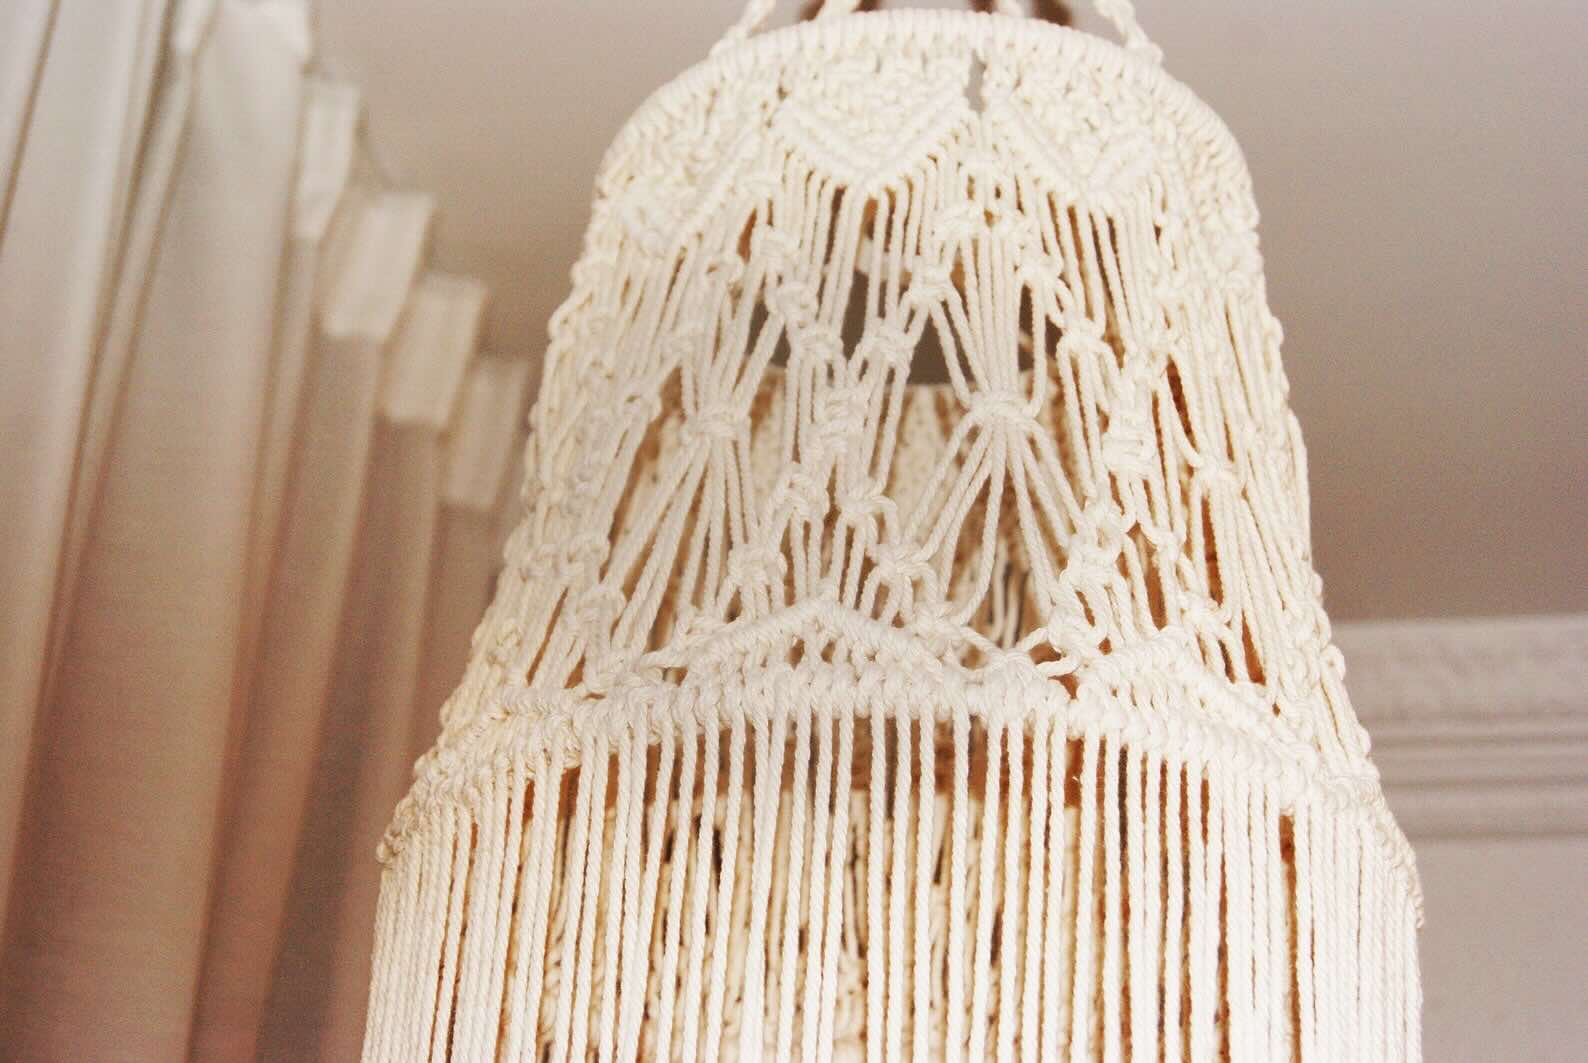
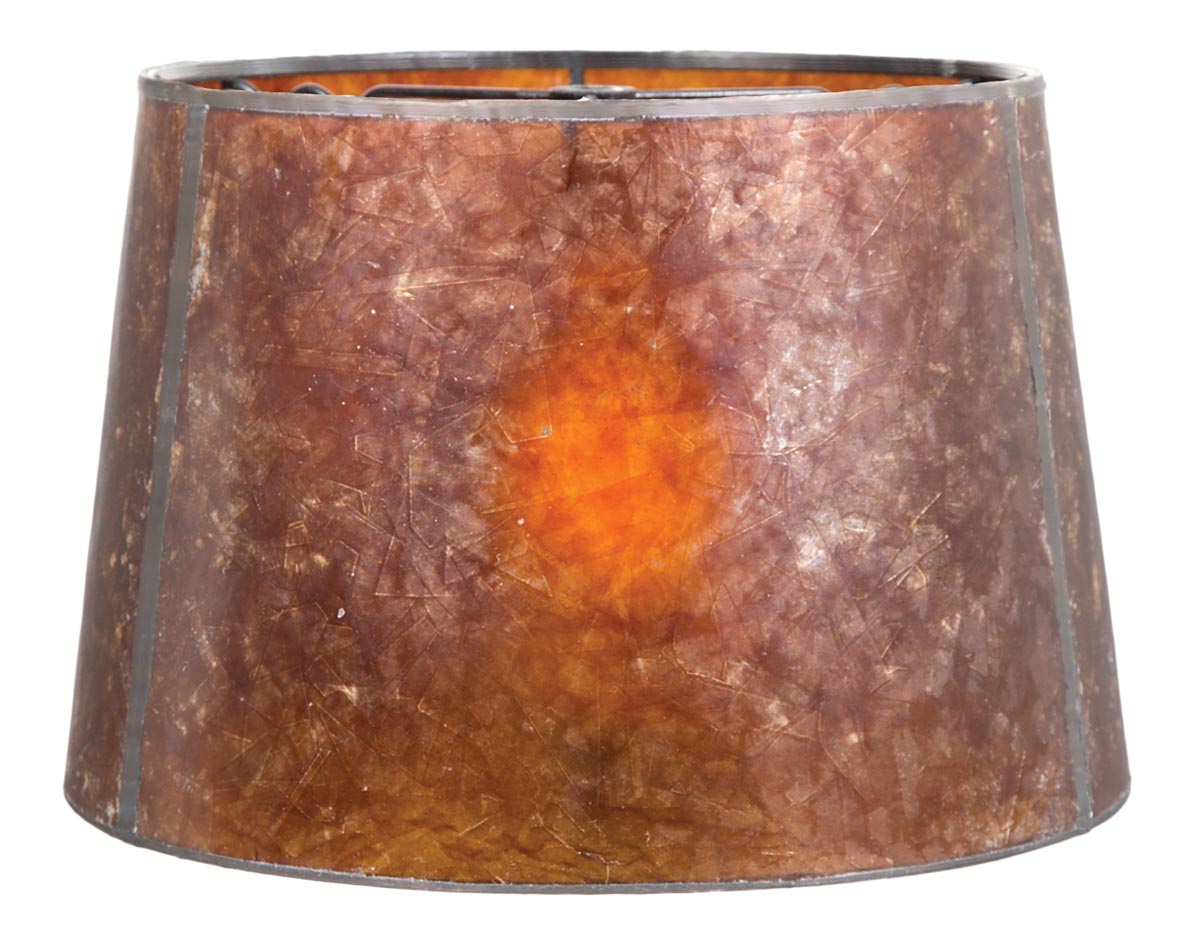
- Material: Lamp shades come in various materials such as fabric, paper, glass, or metal. Consider the durability and maintenance requirements of each option and choose one that suits your preferences.
- Color and Pattern: Decide on the color and pattern of the lamp shade. Do you want a solid color shade for a minimalist look, or do you prefer a patterned shade to add visual interest?
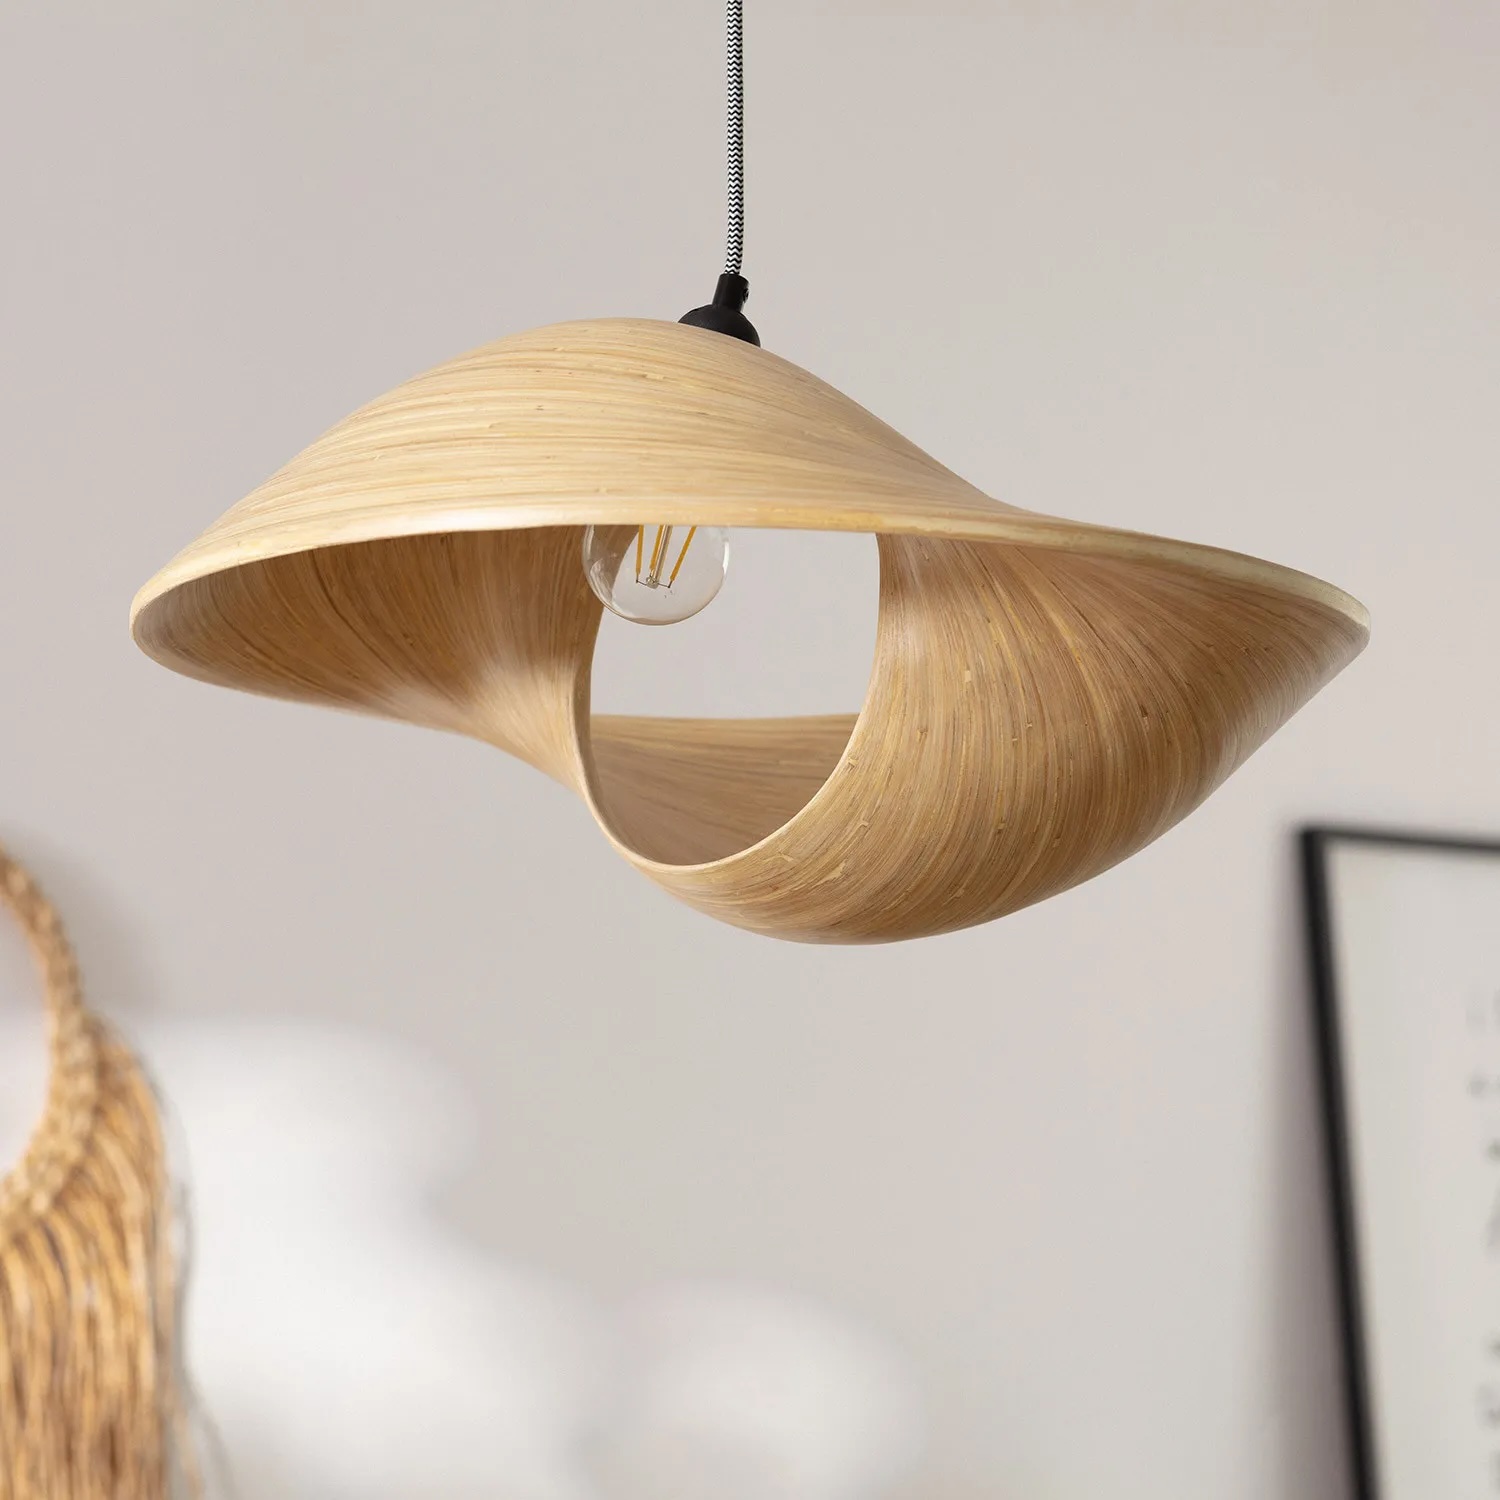
- Lighting Effect: Different lamp shades can create different lighting effects. A light-colored shade will allow more light to pass through, while a darker or opaque shade will create a more subdued ambiance.
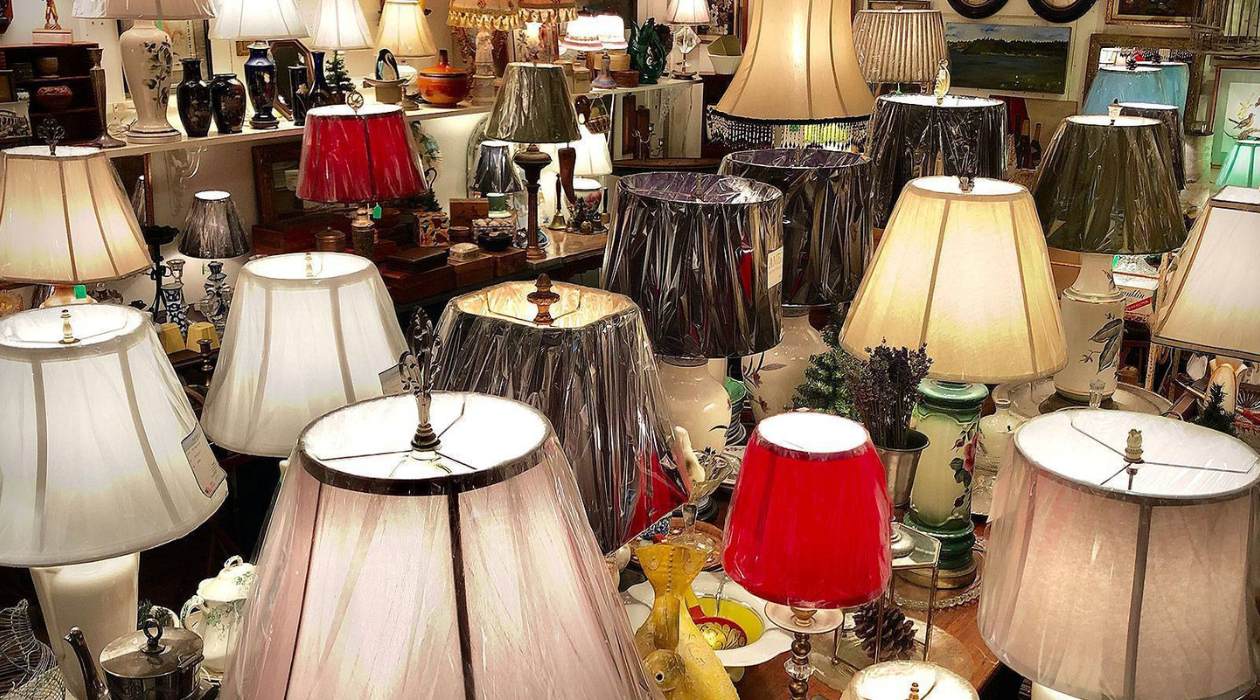
Once you have a clear idea of the style and specifications you’re looking for, explore local home improvement stores, lighting specialty stores, or online retailers to find a wide range of lamp shades to choose from. Don’t be afraid to take your time and compare options to find the perfect shade for your lamp.
Now that you’ve chosen the right lamp shade, it’s time to move on to step three: removing the old lamp shade.
Step 3: Remove the old lamp shade
Once you have your new lamp shade ready, it’s time to remove the old one. Here’s how you can do it:
- Turn off and unplug the lamp: Before working on the lamp, ensure that it is turned off and unplugged from the power source. Safety should always be a priority.
- Inspect the current lamp shade: Take a close look at how the old lamp shade is attached to the lamp. It may be secured with screws, clips, or a harp (a metal frame that holds the shade in place).
- Remove any fastenings: If the lamp shade is held in place with screws or clips, use a screwdriver or pliers to loosen and remove them. If there is a harp, squeeze the sides of the harp towards each other and lift it out of the lamp.
- Detach the old lamp shade: Carefully lift the old lamp shade off the lamp base. Be mindful of any cords or other components that may be attached to it.
- Inspect the lamp base: While you have the lamp shade removed, take a moment to inspect the lamp base for any signs of damage, loose wiring, or other issues. It’s a good opportunity to address any necessary repairs or maintenance.
Remember to handle the old lamp shade with care and set it aside for proper disposal or reuse if it’s still in good condition. Now that you have successfully removed the old lamp shade, it’s time to move on to step four: installing the new lamp shade.
When replacing a lamp shade, make sure to measure the top and bottom diameters of the old shade to ensure the new one will fit properly. Also, consider the height and shape of the new shade to match the style of the lamp.
Step 4: Install the new lamp shade
With the old lamp shade removed, it’s time to install the new one. Follow these steps to ensure a proper installation:
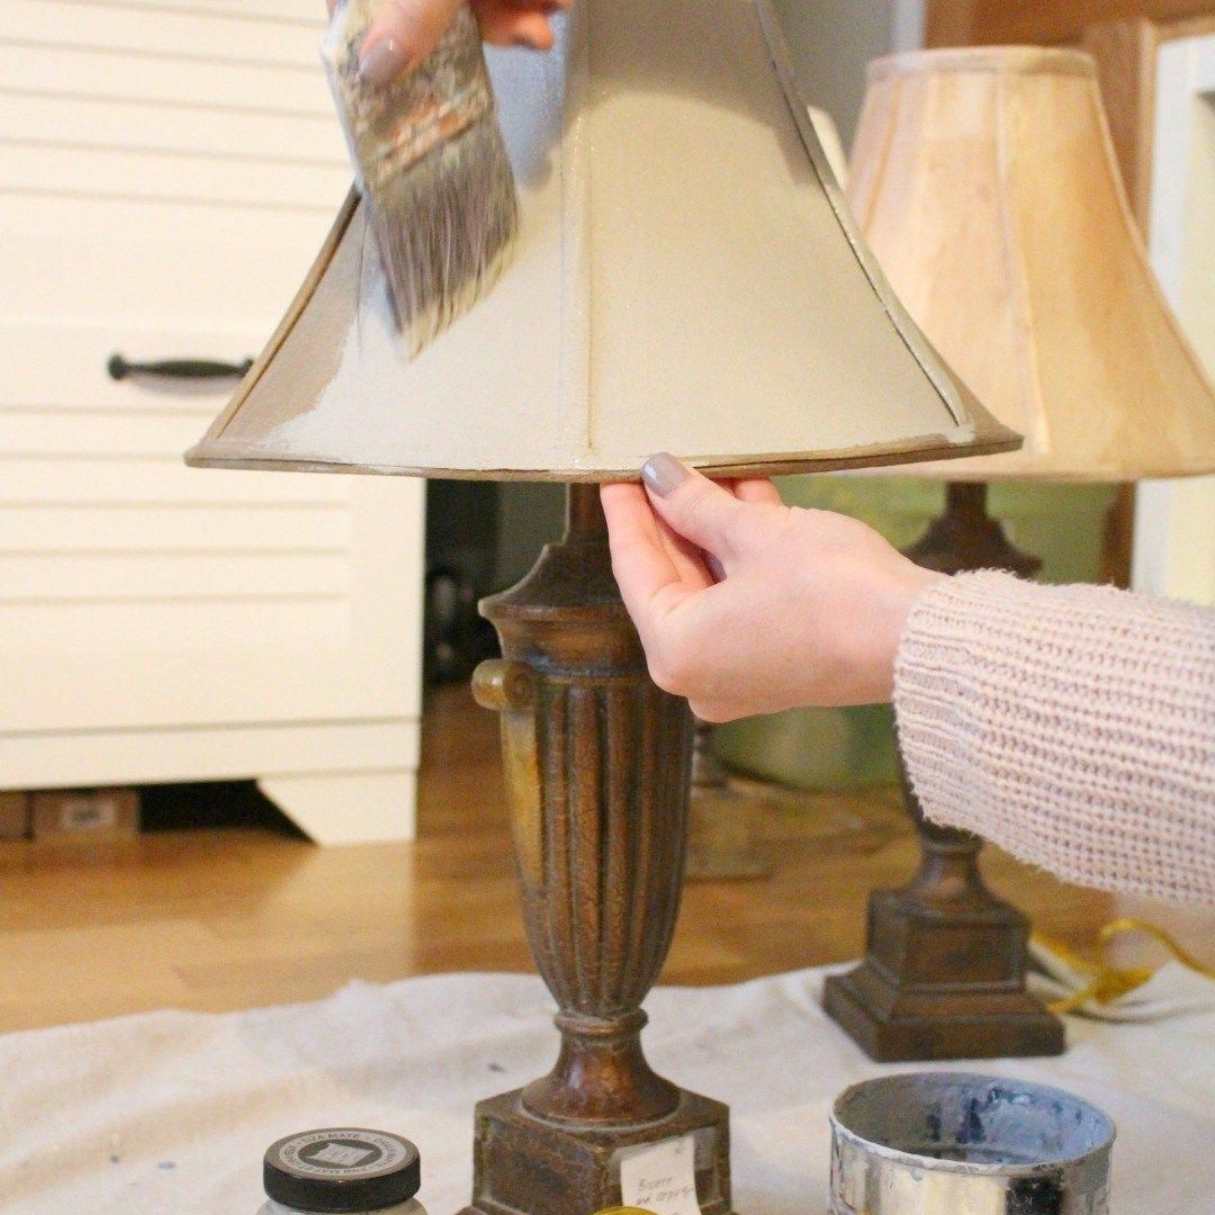
- Place the new lamp shade: Gently position the new lamp shade onto the lamp base. Make sure it is centered and sits securely without wobbling.
- Attach the lamp shade: If your new lamp shade has a harp, lower it into the base and secure it by twisting the finial (the decorative knob) onto the harp. If your lamp shade doesn’t have a harp, it may attach directly to the base using clips or other fastening mechanisms.
- Adjust the lamp shade position: Once the new lamp shade is attached, take a step back and assess its position. Ensure that it is even and straight. Adjust the angle or position if necessary to achieve the desired look.
- Tighten any fastenings: If your lamp shade is attached with screws or clips, tighten them to secure the shade in place. Be careful not to overtighten, as it may damage the shade.
- Check for stability: Give the lamp shade a gentle shake to ensure it is stable and securely attached. If it feels loose, recheck the fastenings and make any necessary adjustments.
Once you have successfully installed the new lamp shade, you’re ready to move on to step five: adjusting the lamp shade if necessary.
Read more: How To Cover A Lamp Shade
Step 5: Adjust the lamp shade if necessary
After installing the new lamp shade, you may find that some adjustments are needed to achieve the perfect look and lighting. Here’s what you can do:
- Level the lamp shade: If the lamp shade appears uneven or crooked, gently rotate it until it is level. Make small adjustments until you achieve a balanced and visually pleasing position.
- Ensure proper fit: Take a step back and assess the overall fit of the lamp shade. Is it sitting too low or too high? Adjust the position if necessary to create a harmonious balance between the base and the shade.
- Consider the lighting effect: Turn on the lamp and observe the lighting effect produced by the new shade. Does it cast the desired amount of light? If it feels too bright or too dim, you can experiment by using different wattage or type of light bulbs to achieve the desired illumination.
- Experiment with angles: Rotate the lamp shade slightly to see how it affects the direction and spread of light. Play around with different angles to find the most pleasing and functional lighting arrangement for your space.
- Make additional adjustments: If you’re not satisfied with the look or lighting, don’t hesitate to make further adjustments. Remember, it’s all about finding the right balance and creating the desired ambiance for your room.
By taking the time to adjust the lamp shade as needed, you can ensure that it not only enhances the appearance of your lamp but also provides the perfect lighting for your space.
Now that you have made any necessary adjustments, it’s time to move on to the final step: testing the new lamp shade.
Step 6: Test the new lamp shade
Congratulations, you have successfully replaced the lamp shade! Now it’s time to test it and make sure everything is working as expected. Follow these steps to ensure a proper test:
- Turn on the lamp: Plug in the lamp and turn it on to test the new shade. Observe if the light is properly diffused and if the shade effectively covers the bulb.
- Check for any issues: Pay attention to any flickering, buzzing, or other abnormal behavior from the lamp. If you notice any issues, turn off the lamp and double-check the installation and wiring connections.
- Assess the lighting effect: Take a moment to evaluate the overall lighting effect in the room. Is the illumination pleasing and appropriate for the space? Make any necessary adjustments to the positioning of the lamp or the type of light bulb used to achieve the desired ambiance.
- Ensure stability: Give the lamp a gentle shake to confirm that the new shade is securely attached and stable. If you feel any wobbling or movement, check the fastenings again and make any necessary adjustments.
- Enjoy the new look: Once you are satisfied with the test results, take a step back and admire the refreshed appearance of your lamp. The new shade should enhance the overall aesthetics of the room and provide functional lighting.
Keep in mind that it’s always a good idea to periodically check the lamp shade and its attachment to the lamp base for any signs of wear or loosening. This will ensure that your lamp continues to function properly and safely in the long term.
With the testing complete, you have successfully replaced and tested the new lamp shade. Enjoy the renewed ambiance and functionality that it brings to your space!
Before we conclude, here’s a brief summary of the steps we covered in this guide:
- Gather materials – Collect all the necessary materials for replacing the lamp shade.
- Choose the right lamp shade – Consider the size, style, material, color, and lighting effect of the new shade.
- Remove the old lamp shade – Safely detach the old shade from the lamp base.
- Install the new lamp shade – Properly position and secure the new shade onto the lamp base.
- Adjust the lamp shade if necessary – Make any necessary adjustments to level the shade and achieve the desired lighting effect.
- Test the new lamp shade – Turn on the lamp, observe its performance, and ensure stability.
We hope this guide has been helpful in guiding you through the process of replacing a lamp shade. Now, go ahead and enjoy your beautifully illuminated space!
HTML Encoding by https://www.freeformatter.com/html-escape.html#ad-output
Conclusion
Replacing a lamp shade is a simple yet impactful way to update the look and functionality of your lamps. By following the steps outlined in this guide, you can easily replace a lamp shade and enjoy the refreshed ambiance it brings to your space.
Remember to gather all the necessary materials before starting, choose a lamp shade that fits your lamp and complements your décor, and carefully remove the old lamp shade. When installing the new shade, ensure it is properly attached and make any necessary adjustments for a level and balanced look.
Testing the new lamp shade is crucial to ensure everything is functioning correctly. Assess the lighting effect, stability, and overall performance of the lamp to make any final adjustments as needed.
With the new lamp shade in place, take a moment to appreciate the transformed look and enhanced lighting in your room. Lamp shades can make a significant difference in the atmosphere and add a touch of style to your space.
Remember to periodically check the lamp shade and its attachment to maintain its condition and safety. Whether you update the lamp shade for aesthetic reasons or to replace a worn-out one, this simple DIY task will bring new life to your lamps and elevate the overall aesthetics of your home.
Thank you for following along with this comprehensive guide on how to replace a lamp shade. We hope it has been informative and helpful in guiding you through the process. Now, go ahead and enjoy the beautifully illuminated and stylishly refreshed space!
HTML Encoding by https://www.freeformatter.com/html-escape.html#ad-output
Frequently Asked Questions about How To Replace A Lamp Shade
Was this page helpful?
At Storables.com, we guarantee accurate and reliable information. Our content, validated by Expert Board Contributors, is crafted following stringent Editorial Policies. We're committed to providing you with well-researched, expert-backed insights for all your informational needs.