
Furniture
How To Make A Lamp Shade
Modified: February 25, 2024
Learn how to make a beautiful lamp shade for your furniture with our step-by-step guide. Transform your space with this DIY project today!
(Many of the links in this article redirect to a specific reviewed product. Your purchase of these products through affiliate links helps to generate commission for Storables.com, at no extra cost. Learn more)
Introduction
When it comes to home decor, lighting plays a crucial role in setting the ambiance and adding a sense of style to a room. A well-chosen lamp shade can make all the difference, transforming an ordinary lamp into a true statement piece. But why settle for a generic store-bought lamp shade when you can create a unique and personalized one yourself?
In this article, we will guide you through the process of making your own lamp shade. Whether you’re looking to update an existing lamp or create a brand new one, this DIY project will allow you to unleash your creativity and showcase your own personal flair.
Before diving into the steps, it’s essential to gather the necessary materials. Here is a list of items you will need:
- Lamp shade frame
- Fabric of your choice
- Measuring tape
- Scissors
- Fabric glue
- Double-sided tape
- Trim (optional)
Now that you have your materials ready, let’s get started on creating your very own lamp shade masterpiece!
Key Takeaways:
- Unleash Your Creativity: Making your own lamp shade allows you to personalize your lighting, showcase your style, and create a unique ambiance in your living space. Embrace the DIY journey and enjoy the satisfaction of a job well done.
- Transform Ordinary into Extraordinary: With the right frame, fabric, and attention to detail, you can turn a simple lamp into a stunning statement piece. Let your creativity shine as you craft a custom lamp shade that reflects your personality and style.
Read more: How To Make A Paper Lamp Shades
Materials Needed
Before we delve into the process of making a lamp shade, it’s important to gather all the necessary materials. Here’s a list of items you’ll need:
- Lamp shade frame: The first and most essential item on your list is a lamp shade frame. These frames come in various shapes and sizes, so choose one that suits your design vision and fits your lamp base.
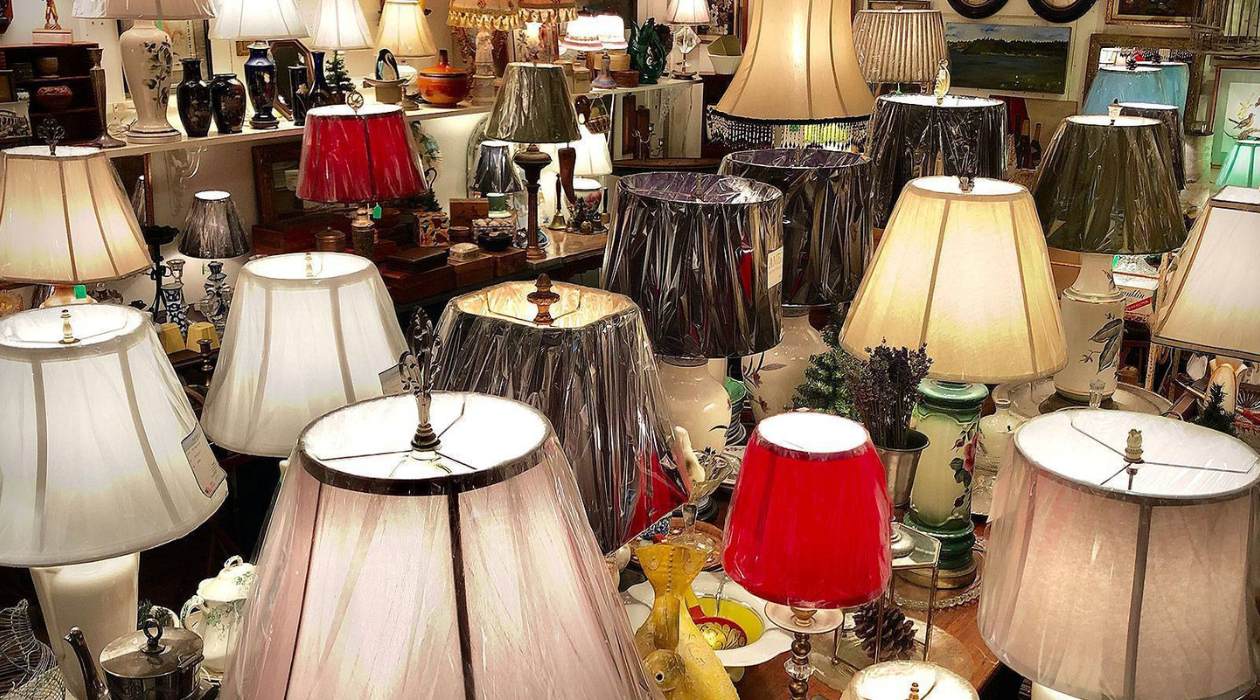
- Fabric of your choice: Select a fabric that compliments your decor and personal style. You can choose from a wide array of options, including cotton, linen, silk, or even patterned fabrics for a more eclectic look.
- Measuring tape: To ensure a properly fitted lamp shade, you’ll need a measuring tape to measure the dimensions of your frame and fabric.
- Scissors: A pair of sharp scissors will be needed to cut the fabric to size and trim any excess.
- Fabric glue: Fabric glue is essential for attaching the fabric to the lamp shade frame securely. Make sure to choose a glue that dries clear for a neat finish.
- Double-sided tape: Double-sided tape is useful for securing the edges of the fabric to the frame, providing an extra layer of stability.
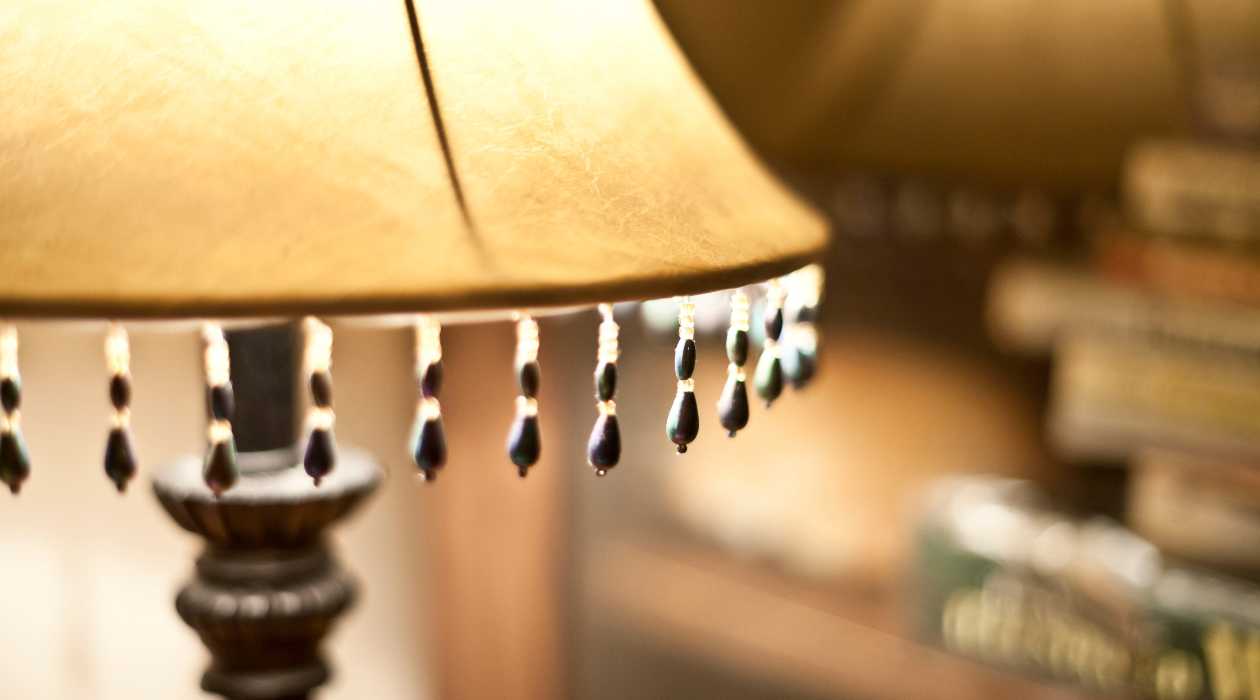
- Trim (optional): If you want to add an extra decorative touch, consider using trim such as ribbon, lace, or fringe to embellish the edges of your lamp shade.
Having all these materials at your disposal will ensure a smooth process, allowing you to create a beautiful and functional lamp shade that will enhance your living space. Now that you have everything ready, let’s move on to the step-by-step process of making your own lamp shade from scratch.
Step 1: Choose the Frame
The first step in making your own lamp shade is selecting the right frame. The frame serves as the foundation of the shade and determines its shape and size. Depending on your personal preference and the style of your lamp base, you can choose from a variety of frame options.
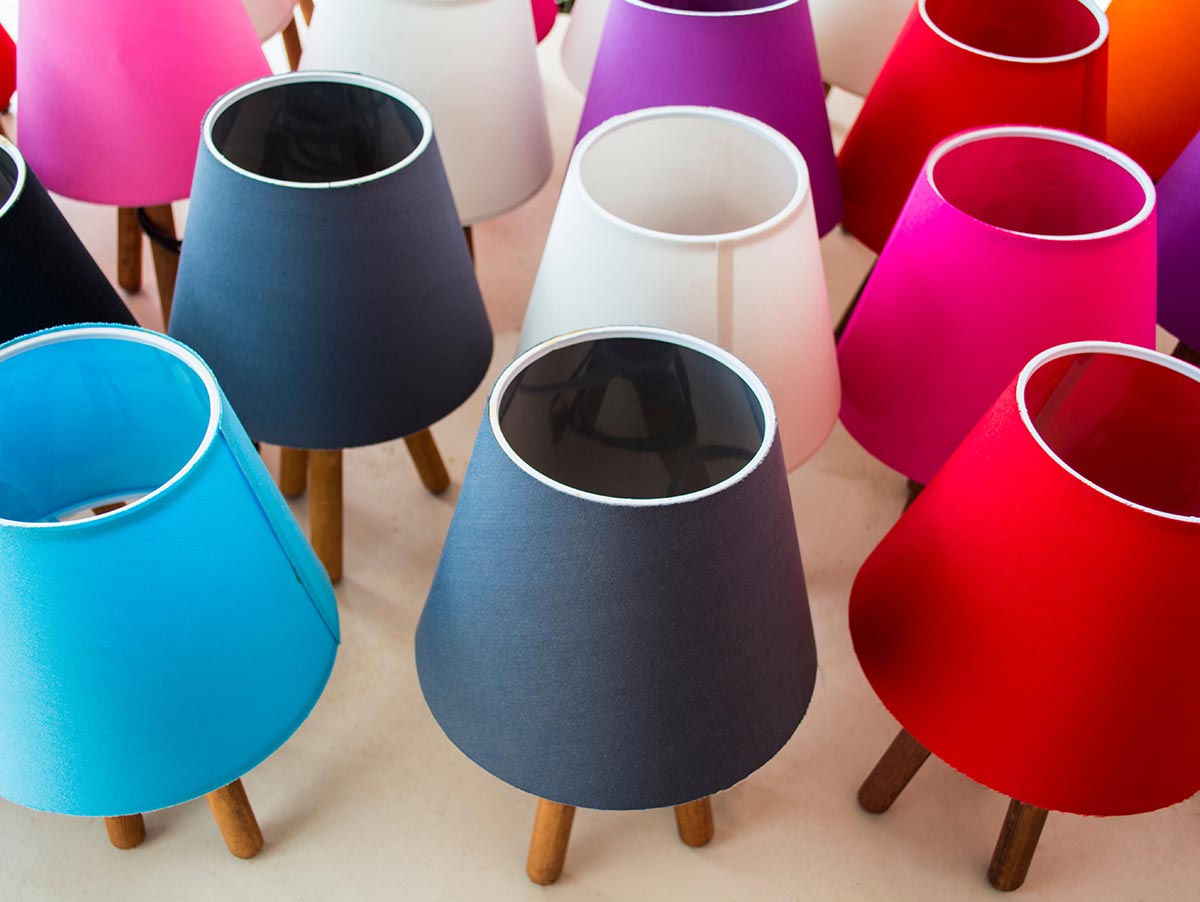
When choosing a frame, consider factors like the size and shape of your lamp base, the style of your room, and the overall aesthetic you want to achieve. Lamp shade frames come in various shapes, including drum, square, rectangle, oval, and cone. Each shape creates a different visual effect and casts a unique pattern when the lamp is turned on.
In addition to shape, you’ll need to consider the size of the frame. Measure the height and diameter of your lamp base to determine the appropriate dimensions for your shade. Keep in mind that the shade should be slightly wider than the base to ensure proper coverage and balance.
Once you’ve determined the shape and size of your lamp shade, you can start exploring different frame materials. Common options include metal, wire, and plastic. Metal frames provide durability and stability, while wire frames offer flexibility and are ideal for creating unique shapes. Plastic frames are lightweight and affordable but may not be as sturdy as their metal counterparts.
Consider the overall design and aesthetic of your space when choosing the frame material. If you’re aiming for a more industrial or modern look, a metal frame might be the best choice. For a softer, more organic feel, a wire or plastic frame could be more suitable.
Remember, the frame will be the structure that holds your lamp shade together, so it’s important to select one that is both functional and visually appealing. Take your time to explore different options and find the frame that best matches your vision for your lamp shade.
Step 2: Select the Fabric
Once you have chosen the frame for your lamp shade, the next step is to select the fabric that will cover it. The fabric you choose will not only determine the overall appearance of the shade but also play a crucial role in how the light filters through, creating a unique ambiance in your room.
When selecting the fabric, consider the color, pattern, texture, and translucency. Choose a color that complements the décor of your room and adds a touch of style. You can opt for a fabric that blends seamlessly with the existing color scheme or goes for a contrasting color to create a focal point.
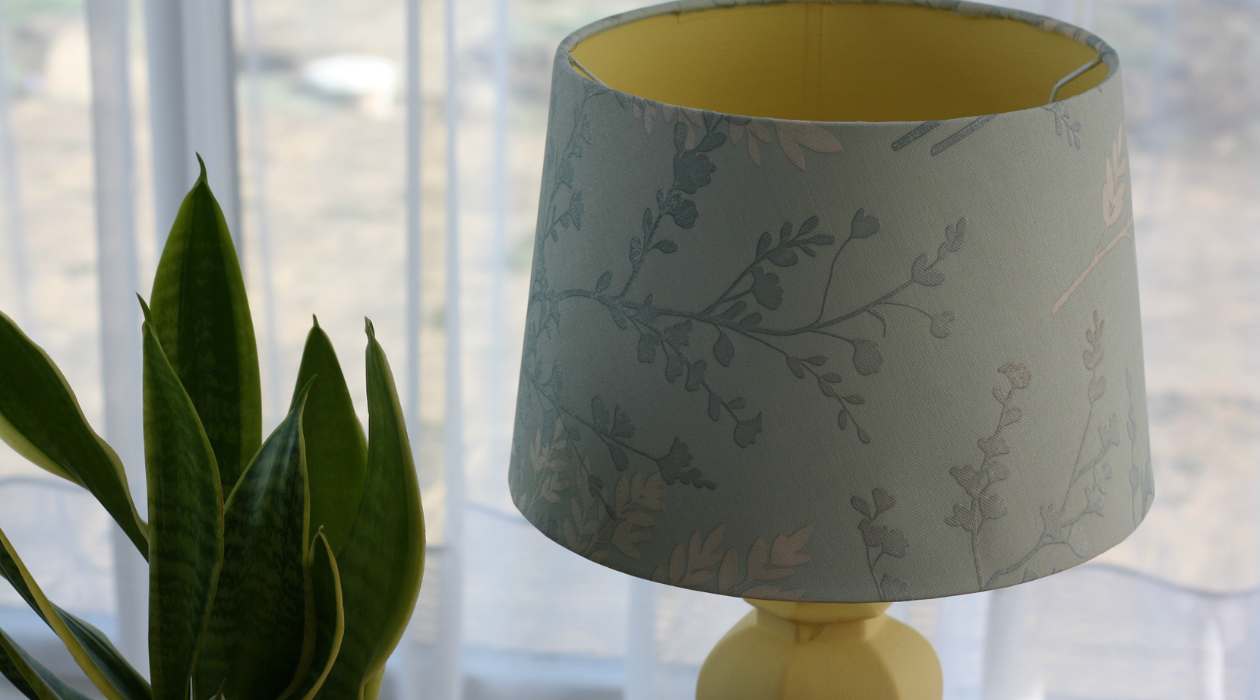
In addition to color, consider the pattern of the fabric. Whether you prefer a solid color, stripes, florals, or geometric patterns, choose a design that aligns with your personal taste and the overall aesthetic of your room.
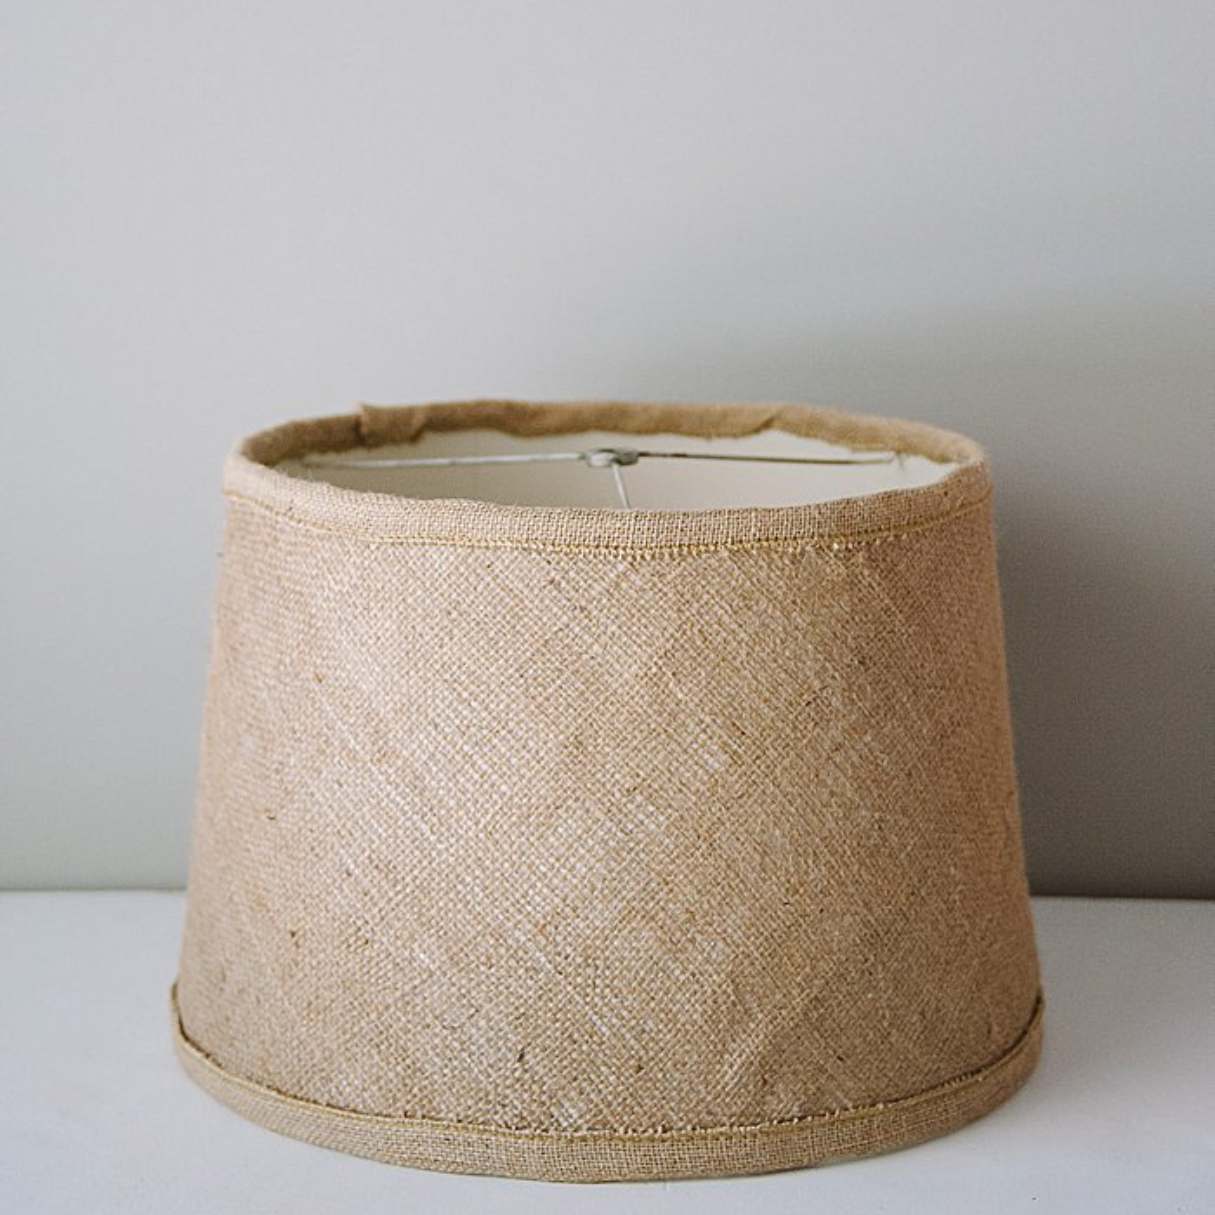
Texture is another important aspect to consider. Fabrics with different textures can add depth and visual interest to your lamp shade. You can choose from smooth and sleek fabrics like silk or satin for a more elegant and refined look, or opt for textured fabrics like linen or burlap for a more rustic or natural feel.
Translucency is also a crucial consideration when selecting your fabric. The level of translucency will determine how much light shines through the lamp shade. If you want a bright and vibrant glow, choose a fabric with a higher level of translucency. On the other hand, if you prefer a softer and more intimate ambiance, opt for a fabric with a lower level of translucency.
It is also important to select a fabric that is suitable for lamp shade use. Make sure to choose a fabric that is fire-resistant and can withstand the heat generated by the light bulb. Avoid synthetic fabrics that could melt or catch fire. Natural fibers like cotton, linen, and silk are typically safe choices.
Take your time to browse through fabric samples or visit a fabric store to find the perfect fabric for your lamp shade. Consider bringing samples home to see how they look in your space and how they interact with the lighting. Remember, the fabric you choose will greatly impact the final look and feel of your lamp shade, so choose wisely!
Step 3: Prepare the Fabric
Now that you have selected the perfect fabric for your lamp shade, it’s time to prepare it for the assembly process. Properly preparing the fabric will ensure a smooth and professional-looking finish.
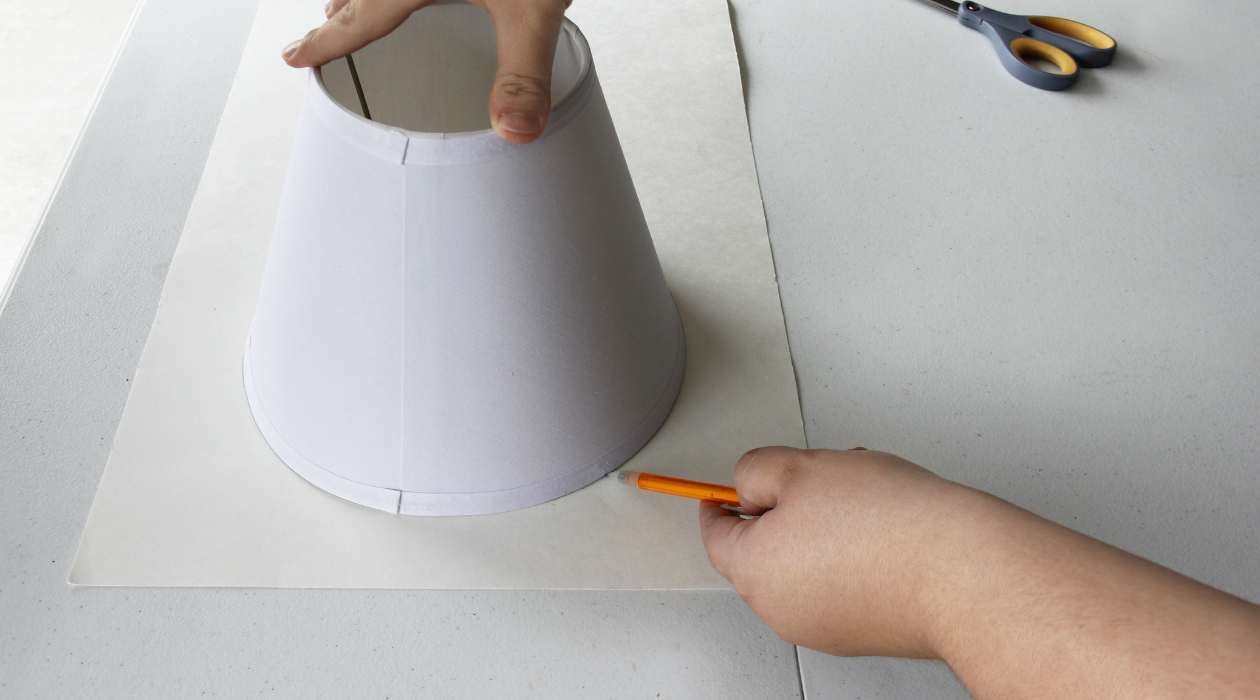
The first step in preparing the fabric is to measure and cut it to the appropriate size. Use a measuring tape to determine the dimensions needed for your lamp shade. Take into account the height, circumference, and any additional allowances for overlaps or hems. Mark the measurements on the fabric and use sharp scissors to cut it accordingly. Make sure to cut the fabric in a straight line to maintain a neat appearance.
Next, if your fabric has a pattern or design, you’ll need to align it properly. Lay the fabric flat on a clean surface and position it so that the pattern is centered and aligned with the edges of the fabric. This step is crucial in ensuring a visually pleasing final result.
It’s also important to ensure that the fabric is free from any wrinkles or creases. If necessary, iron the fabric at a low temperature to remove any wrinkles. Make sure not to apply too much heat, as it can damage certain types of fabric.
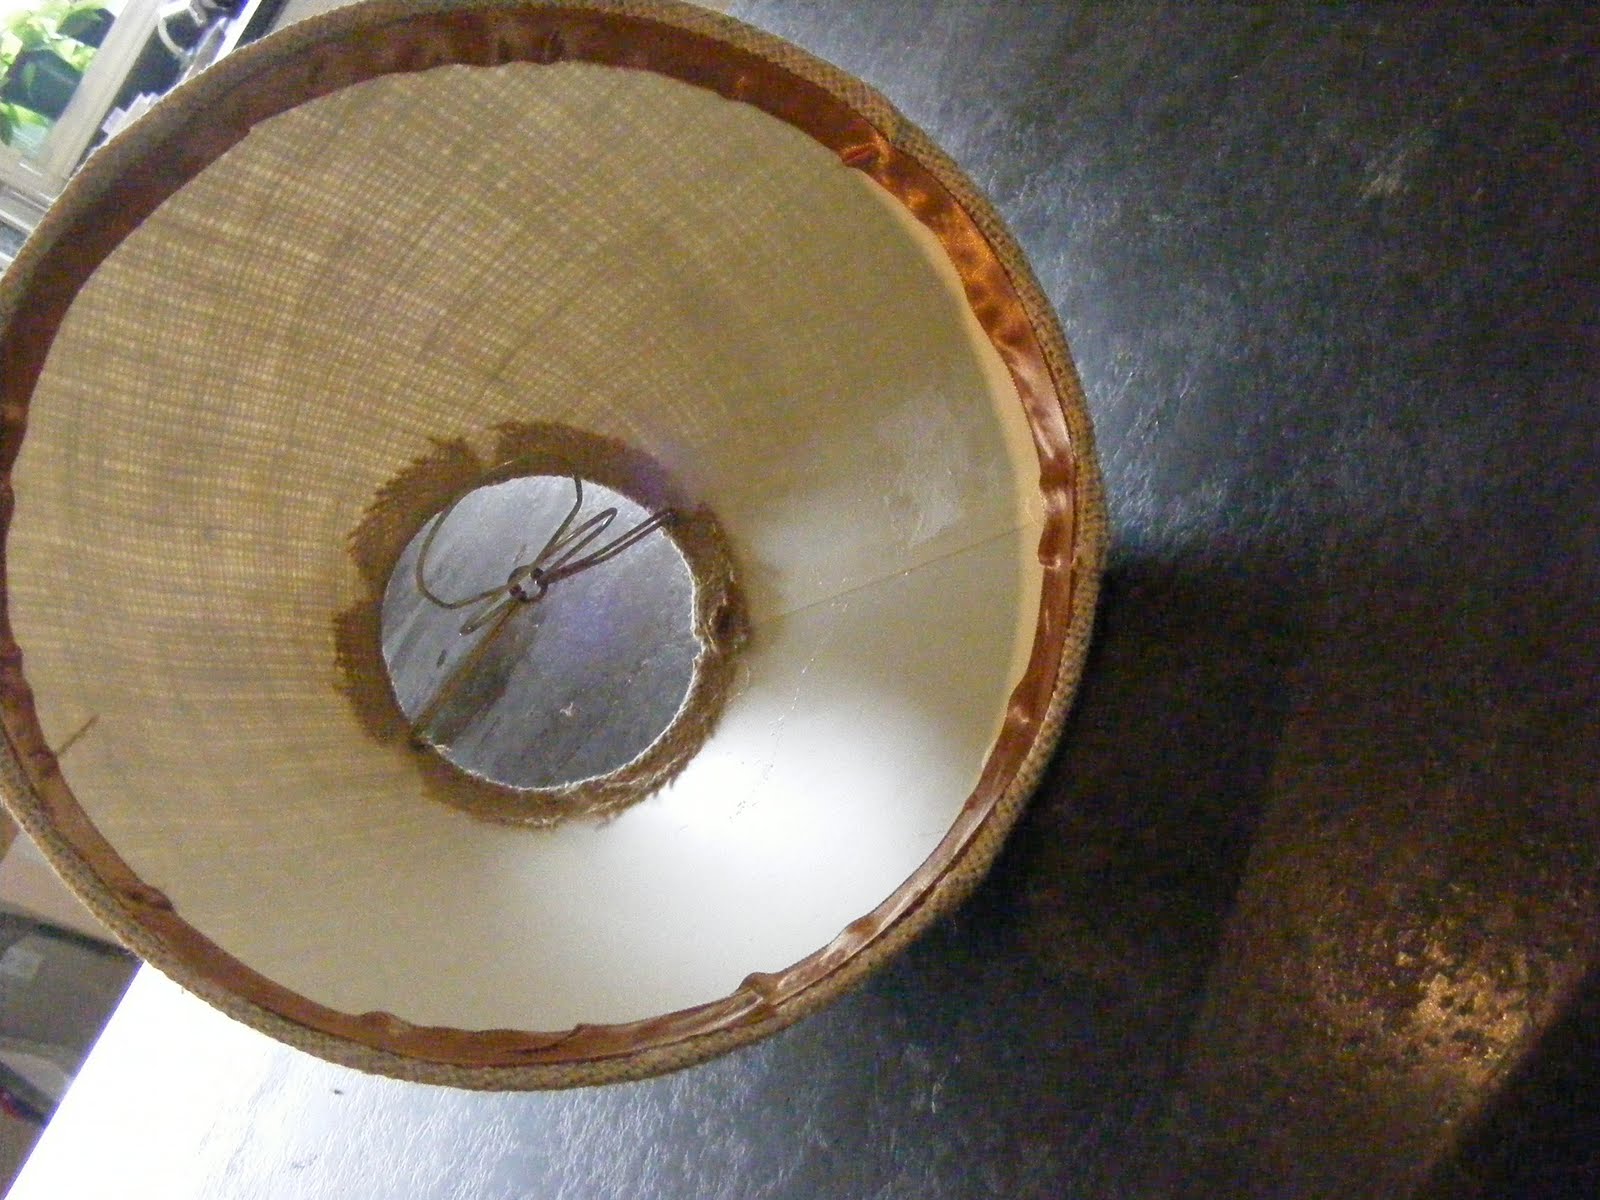
Additionally, consider adding a lining or backing to your fabric. A lining can provide extra durability, light diffusion, and a finished look to your lamp shade. Choose a lining fabric of a similar weight and color as your main fabric and cut it to the same dimensions. Use fabric glue or double-sided tape to attach the lining to the backside of the main fabric, ensuring that the edges are aligned.
Lastly, if you’re planning to add any trim or embellishments to your lamp shade, now is the time to prepare them as well. Cut the trim to the desired length and make any necessary adjustments or arrangements before moving on to the next step.
By properly preparing your fabric, you’ll ensure that it is the perfect size, properly aligned, and free from any wrinkles or creases. This will lay the foundation for a professional-looking and well-crafted lamp shade. With your fabric ready, you’re now ready to move on to attaching it to the lamp shade frame.
When making a lamp shade, choose a fabric that is heat-resistant and allows light to pass through. This will ensure the safety and functionality of the lamp shade.
Read more: How To Make A Mica Lamp Shades
Step 4: Attach the Fabric to the Frame
With your fabric prepared, it’s time to start attaching it to the lamp shade frame. This step requires precision and attention to detail to ensure a snug and secure fit.
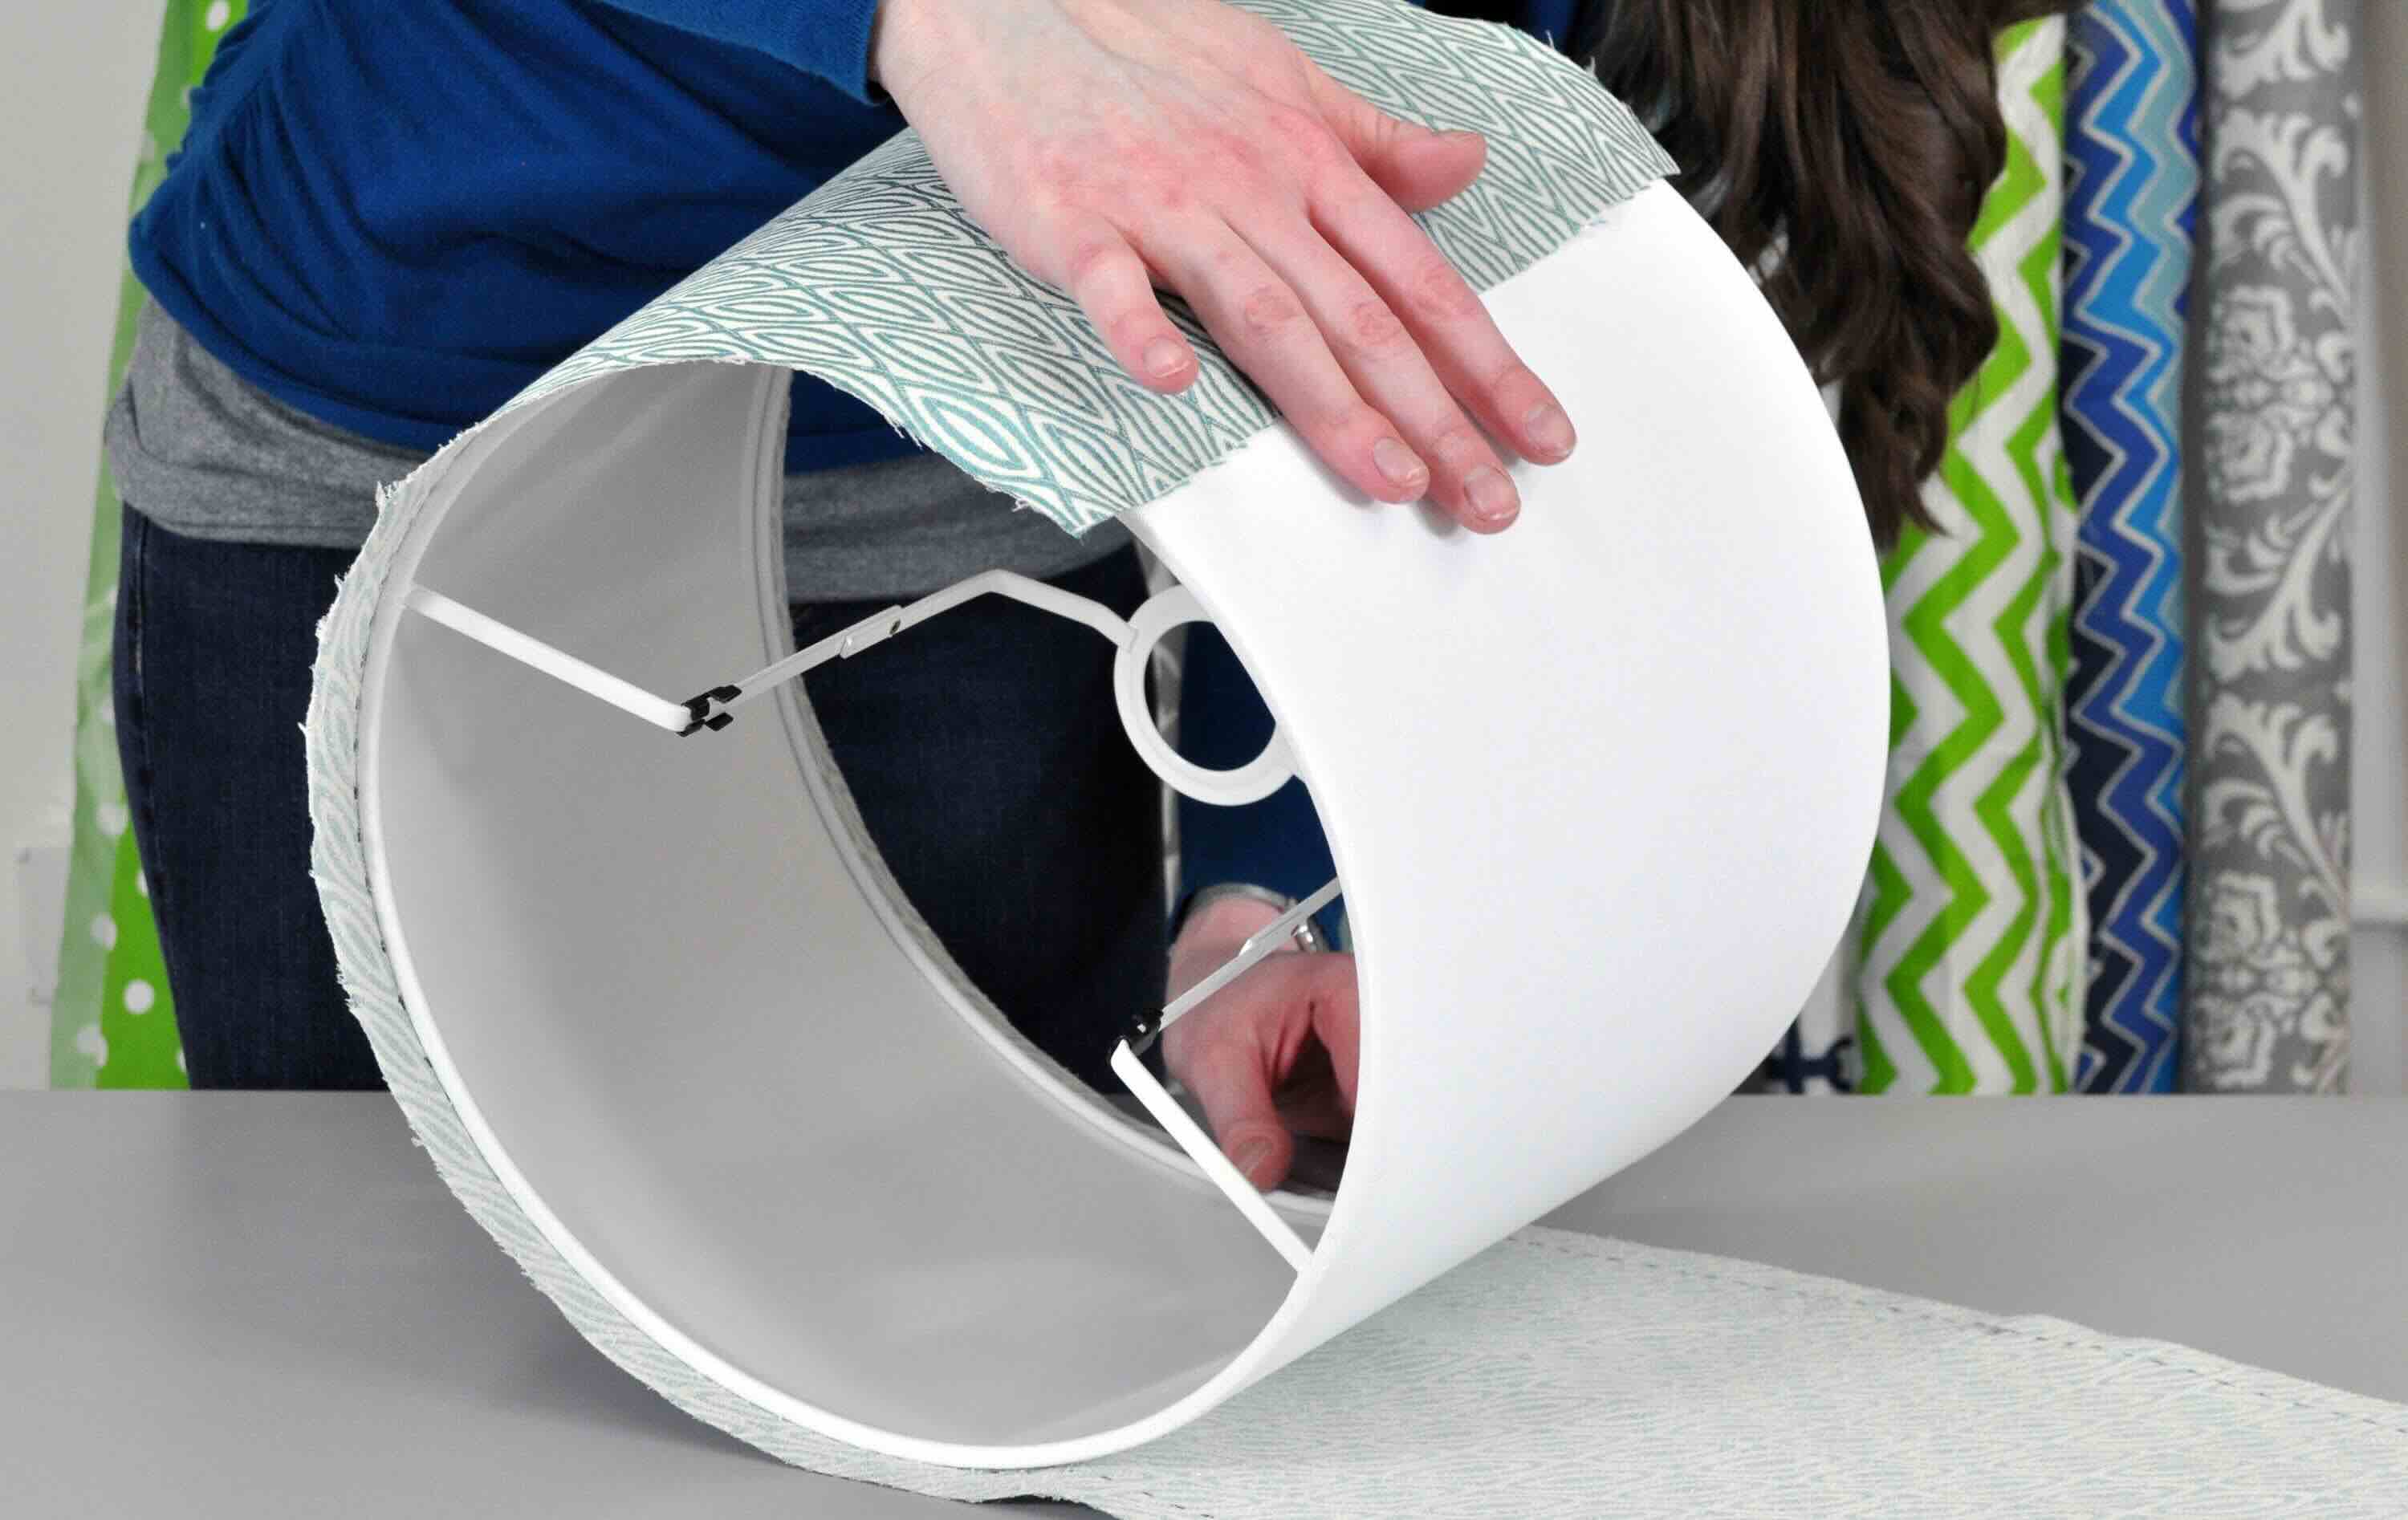
First, lay your fabric flat on a clean surface with the patterned or finished side facing downwards. Place the frame on top of the fabric, making sure that the edges of the frame align with the edges of the fabric. Take note of any notches or tabs on the frame that will help you secure the fabric later.
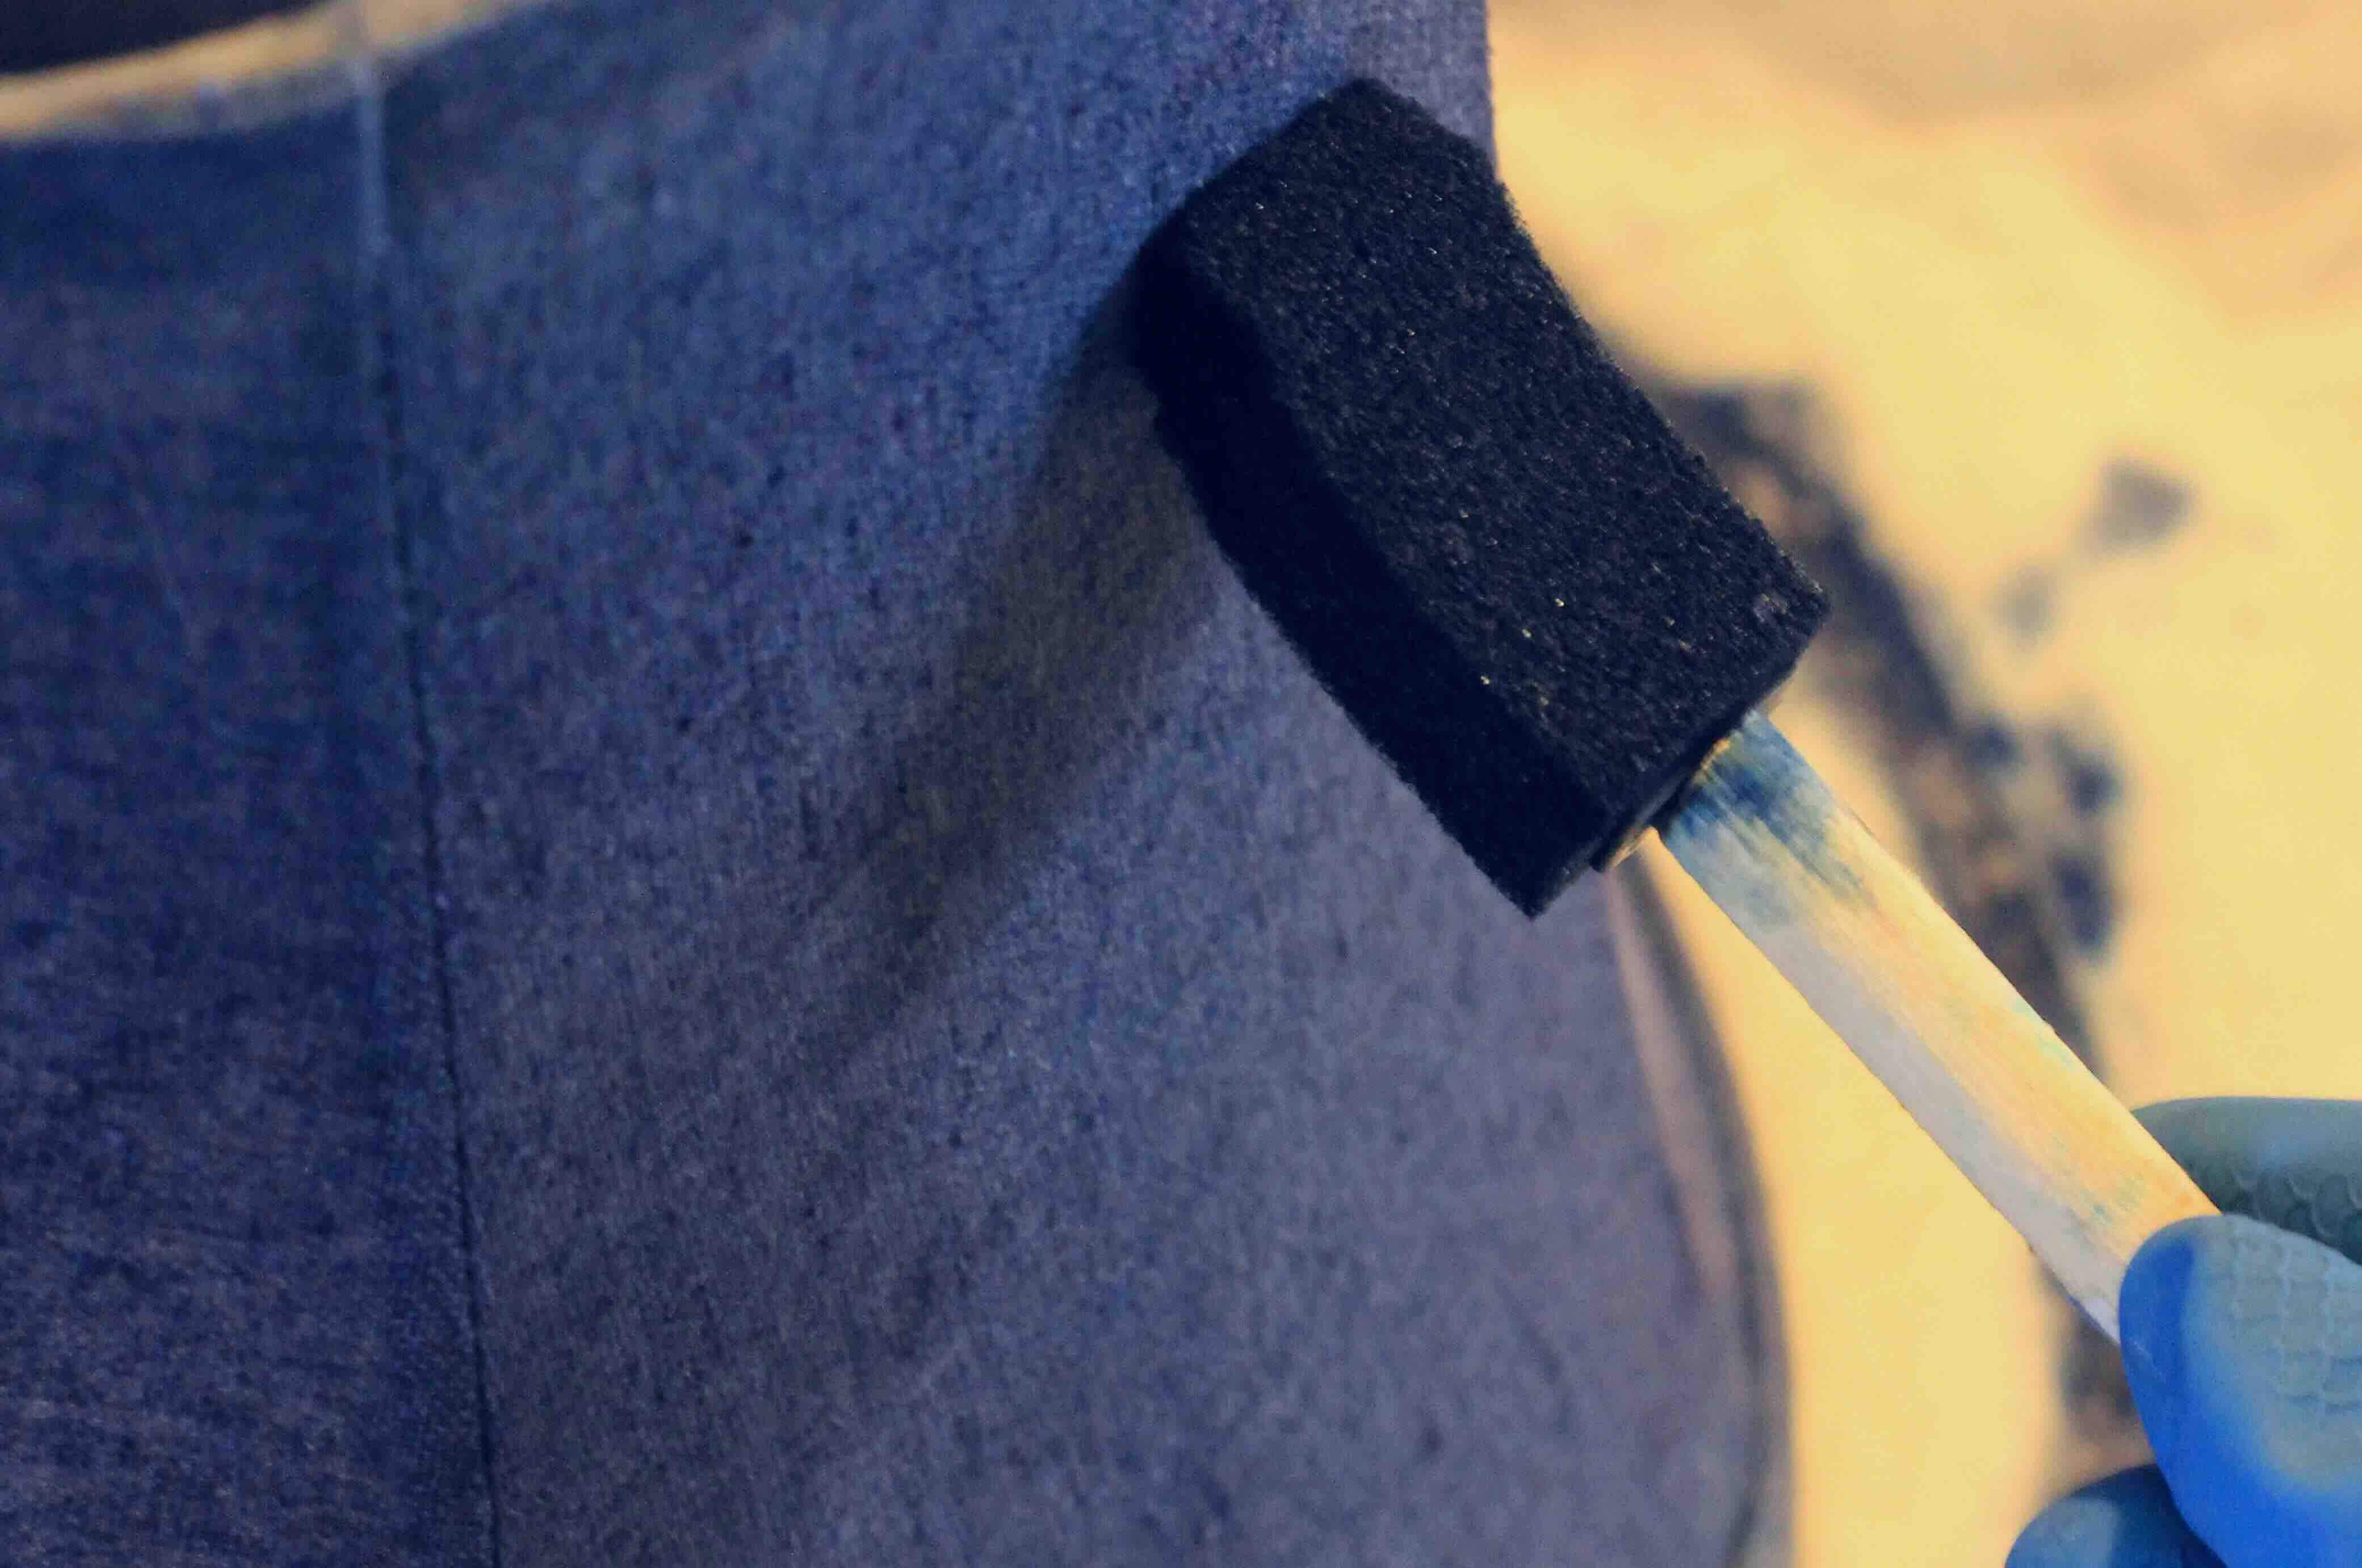
Starting at one end, begin folding the fabric over the frame, using fabric glue or double-sided tape to adhere it. Make sure to apply the adhesive evenly and work in small sections to prevent the fabric from shifting. As you go along, smooth out any wrinkles or bubbles, ensuring a smooth and tight application.
Continue folding the fabric over the frame, working your way around the circumference. If your lamp shade has a conical shape, you may need to use pins or clips to hold the fabric in place temporarily as you work your way to the top.
When you reach any notches or tabs on the frame, fold the fabric neatly around them, securing it with fabric glue or tape. These notches and tabs are designed to hold the fabric in place and ensure a clean and finished look.
As you near the end of attaching the fabric, make sure that it is pulled taut and there are no loose areas. Trim any excess fabric if necessary, leaving around half an inch for folding and securing.
Be careful not to add too much tension or force while attaching the fabric, as it may distort the shape of the lamp shade. Take your time and ensure a smooth and even attachment.
Once the fabric is securely attached to the frame, gently flip the lamp shade over and check for any areas that may require additional tightening or adjustment. Smooth out any wrinkles or adjust the fabric as needed to ensure a perfect fit.
With the fabric successfully attached to the frame, you’re one step closer to completing your custom lamp shade. The next step will be to trim any excess fabric and add the finishing touches.
Step 5: Trim the Excess Fabric
Now that you have successfully attached the fabric to the lamp shade frame, it’s time to trim any excess fabric for a clean and polished look. Trimming the excess fabric will give your lamp shade a professional finish and ensure that all edges are neat and tidy.
Start by carefully examining the edges of your lamp shade. Using a pair of sharp scissors, trim any excess fabric that extends beyond the frame. Be sure to trim the fabric close to the frame, but take care not to cut into the frame itself. Trim small sections at a time, checking the appearance as you go along to maintain an even and balanced look.
When trimming the fabric, make sure to follow the shape of the frame closely. If your lamp shade has curved or irregular edges, take your time to carefully trim the fabric to match the contours of the frame. This will result in a clean and professional appearance.
If you have added any trim or embellishments to your lamp shade, take extra care when trimming the fabric around those areas. Ensure that the trim is securely attached and that the fabric is trimmed neatly around it, creating a seamless integration.
As you trim the excess fabric, periodically check the overall appearance of the lamp shade. Smooth out any wrinkles or smooth down any loose edges that may have occurred during the trimming process. Adjust the fabric as needed to ensure a snug and flawless fit on the frame.
Take your time during this step to ensure precision and attention to detail. It’s essential to achieve a clean and professional finish for your custom lamp shade.
Once you have trimmed the excess fabric and are satisfied with the appearance of your lamp shade, it’s time to move on to the final step: installing the lamp shade onto your lamp base.
Step 6: Install the Lamp Shade
Congratulations! You’re now in the final step of creating your own lamp shade – installing it onto your lamp base. Proper installation will ensure that your lamp shade sits securely and enhances the overall aesthetic of your lamp.
Start by placing the lamp shade frame onto the top of your lamp base, making sure it fits securely and aligns properly. Depending on the design of your lamp base, there might be a threaded rod or other attachment mechanism that the lamp shade needs to slide onto.
If your lamp base has a harp, align the notches or tabs on the lamp shade frame with the harp’s attachment points. Slide the lamp shade down over the harp and ensure it is centered and straight. The harp should secure the lamp shade in place and provide stability.
If your lamp base does not have a harp, it may have a different attachment method, such as a screw-on mechanism or a spider fitting. Follow the manufacturer’s instructions or consult a professional to ensure the lamp shade is properly attached and secure.
Once the lamp shade is in place, step back and take a moment to admire your hard work. Adjust the lamp shade if necessary to make sure it is sitting straight and evenly on the lamp base.
Now it’s time to turn on the light and see the transformation. The fabric you carefully selected and attached to the lamp shade frame will determine how the light filters through, creating a beautiful and unique ambiance in your space.
Make any final adjustments to the lamp shade or the position of the lamp itself to achieve the desired lighting effect and overall appearance in the room.
Keep in mind that lamp shades may need occasional dusting or cleaning to maintain their beauty. Follow the care instructions for the specific fabric you used to ensure its longevity.
By following these step-by-step instructions, you have successfully created your own custom lamp shade. Not only did you personalize your lighting fixture, but you also showcased your creativity and craftsmanship. Enjoy the warm glow and the delightful ambiance your new lamp shade brings to your living space!
Finally, step back and bask in the satisfaction of a job well done. Your unique lamp shade is now a stylish focal point and a testament to your DIY skills.
Thank you for joining us on this DIY journey, and we hope you continue to explore more creative projects to enhance your home decor.
Conclusion
Creating your own lamp shade is not only a fulfilling DIY project but also a fantastic way to personalize your home decor. By following the steps outlined in this guide, you have learned how to choose the right frame, select the perfect fabric, and prepare, attach, trim, and install the fabric to create a beautiful lamp shade that reflects your style and taste.
Throughout this process, you have unleashed your creativity and transformed a simple lamp into a statement piece. You have carefully considered the shape, size, color, pattern, texture, and translucency of the fabric, ensuring it complements your existing decor and creates the desired ambiance in your space.
Making your own lamp shade allows you to customize and add a personal touch to your home lighting. You no longer have to settle for mass-produced options; instead, you can proudly display your own craftsmanship and showcase your unique personality and style.
Remember, the key is to take your time, pay attention to detail, and let your creativity guide you. Whether you’re revamping an old lamp or creating a new one from scratch, the process of making a lamp shade is not just about the end result, but about the enjoyment of the journey.
So, the next time you’re in need of a lamp shade, consider putting your DIY skills to the test and creating your own. Not only will you have a one-of-a-kind piece, but you’ll also have the satisfaction of knowing that you crafted it with your own hands.
Thank you for joining us on this DIY adventure. We hope you found this guide informative and inspiring. Now, go forth and illuminate your space with your own unique and stylish lamp shade!
Frequently Asked Questions about How To Make A Lamp Shade
Was this page helpful?
At Storables.com, we guarantee accurate and reliable information. Our content, validated by Expert Board Contributors, is crafted following stringent Editorial Policies. We're committed to providing you with well-researched, expert-backed insights for all your informational needs.


0 thoughts on “How To Make A Lamp Shade”