Furniture
How To Make A Mica Lamp Shades
Modified: December 7, 2023
Learn how to make stylish mica lamp shades to add a touch of elegance and warmth to your furniture. Follow our step-by-step guide now!
(Many of the links in this article redirect to a specific reviewed product. Your purchase of these products through affiliate links helps to generate commission for Storables.com, at no extra cost. Learn more)
Introduction
Welcome to our guide on how to make your very own mica lamp shades. Mica lamp shades offer a unique and elegant touch to any room’s decor. Their translucent nature allows them to emit a warm and gentle glow that adds a cozy ambiance to any space.
Creating your own mica lamp shades not only allows you to customize the design to match your personal style, but it also gives you a sense of accomplishment and satisfaction. Plus, it can be a cost-effective alternative to purchasing pre-made lamp shades from stores.
In this article, we will walk you through the step-by-step process of making mica lamp shades. From preparing the mica sheets to wiring the lamp, we will cover everything you need to know to create a stunning and functional piece of lighting.
But first, let’s gather the materials needed for this project.
Key Takeaways:
- Create a personalized mica lamp shade to match your style and save money. Enjoy the satisfaction of crafting a unique and elegant lighting piece that adds a cozy ambiance to any room.
- Transform mica sheets into a stunning and functional lamp shade. Experience the joy of crafting and admire the warm, gentle glow emitted by your handmade creation.
Read more: How To Make A Paper Lamp Shades
Materials Needed
Before we dive into the process of making mica lamp shades, let’s make sure we have all the necessary materials on hand. Here’s a list of what you’ll need:
- Mica sheets: You can easily find mica sheets at craft stores or online. Make sure to choose sheets in the desired color and thickness.
- Lampshade frame: Look for a lampshade frame that matches the size and style you’re aiming for. You can find these frames at hardware stores or online.
- Scissors or a utility knife: You’ll need a sharp cutting tool to trim the mica sheets to the appropriate size.
- Adhesive: Find a suitable adhesive that can securely attach the mica sheets to the lampshade frame. Clear-drying, heat-resistant glue is a good option.
- Wire and sockets: To wire the lamp, you’ll need lamp wire and sockets that can handle the wattage of the bulb you plan to use.
- Lamp base: Choose a lamp base that complements the style of your mica lamp shade. This can be a simple base or a more elaborate one, depending on your preference.
- Bulb: Select a bulb that fits the socket and provides the desired level of brightness and warmth for your space.
- Decorative materials (optional): If you want to add extra flair to your mica lamp shade, consider getting some decorative elements like beads or trimmings.
With these materials ready, you’re all set to begin the process of making your own mica lamp shades. Let’s get started with the first step: preparing the mica sheets.
Step 1: Preparing the Mica Sheets
The first step in making mica lamp shades is to prepare the mica sheets. Follow these steps to ensure your mica sheets are ready for cutting and attaching to the lampshade frame:
- Inspect the mica sheets: Carefully examine the mica sheets for any imperfections, such as cracks or discoloration. It’s best to choose sheets that are free from defects to ensure a polished final result.
- Clean the mica sheets: If your mica sheets have gathered any dust or debris, gently wipe them clean with a soft cloth. This will ensure a smooth and clear surface to work with.
- Measure and mark: Determine the dimensions of the lampshade frame and mark those measurements on the mica sheets. Use a ruler or measuring tape to ensure accuracy.
- Overlap allowance: Keep in mind that you’ll need to leave a small overlap allowance when cutting the mica sheets, so they can be properly attached to the frame later on. Add an extra half-inch or so to the measurements for this purpose.
- Protective layer removal (if applicable): Some mica sheets come with a protective layer or film. If your sheets have this layer, carefully peel it off before proceeding. This will reveal the true beauty of the mica and allow for better light transmission.
Once you have prepared the mica sheets, you’re ready to move on to the next step: cutting the sheets to fit the lampshade frame. Let’s explore that in the next section.
Step 2: Cutting the Mica Sheets
Now that you have your mica sheets prepared, it’s time to cut them to fit the lampshade frame. Follow these steps for a precise and clean cut:
- Place the mica sheets on a flat and clean surface. Ensure that the marked dimensions are visible and aligned with the edges of the sheets.
- Using a sharp pair of scissors or a utility knife, carefully cut along the marked lines. Take your time and make smooth, even cuts to avoid any jagged edges.
- Pay attention to the corners: For rounded or curved lampshade frames, gently round the corners of the mica sheets to match the shape of the frame. This will help achieve a seamless fit.
- Check the fit: After cutting the mica sheets, hold them up against the lampshade frame to ensure they fit properly. Make any necessary adjustments if they are slightly oversized.
- Trim excess: If you find that the mica sheets are larger than the frame, use the scissors or utility knife to trim away the excess until they match the frame’s dimensions.
Once you have successfully cut the mica sheets to the correct size, you are ready to move on to the next step: creating the frame for your mica lamp shade.
Step 3: Creating the Frame
Now that you have your mica sheets cut to size, it’s time to create the frame that will hold them in place. Follow these steps to create a sturdy and functional frame for your mica lamp shade:
- Choose the appropriate material: Lampshade frames can be made from various materials such as metal, wire, or even wood. Select a material that suits your preference and complements the overall style of your lamp.
- Measure and mark: If you are using a wire or metal frame, measure and mark the desired dimensions for your lampshade. Ensure that the marks are evenly spaced and align with the shape you want to achieve.
- Shape the frame: Using pliers or bending tools, carefully shape the wire or metal to match the marked dimensions. Bend the material gradually to achieve rounded or angular shapes as desired.
- Secure the joints: If your frame consists of multiple pieces that need to be connected, use wire or strong adhesive to secure the joints. This will ensure the stability of your lampshade frame.
- Test the fit: Hold the frame up to the mica sheets to test the fit. Make any necessary adjustments to ensure a snug and secure connection between the frame and the mica.
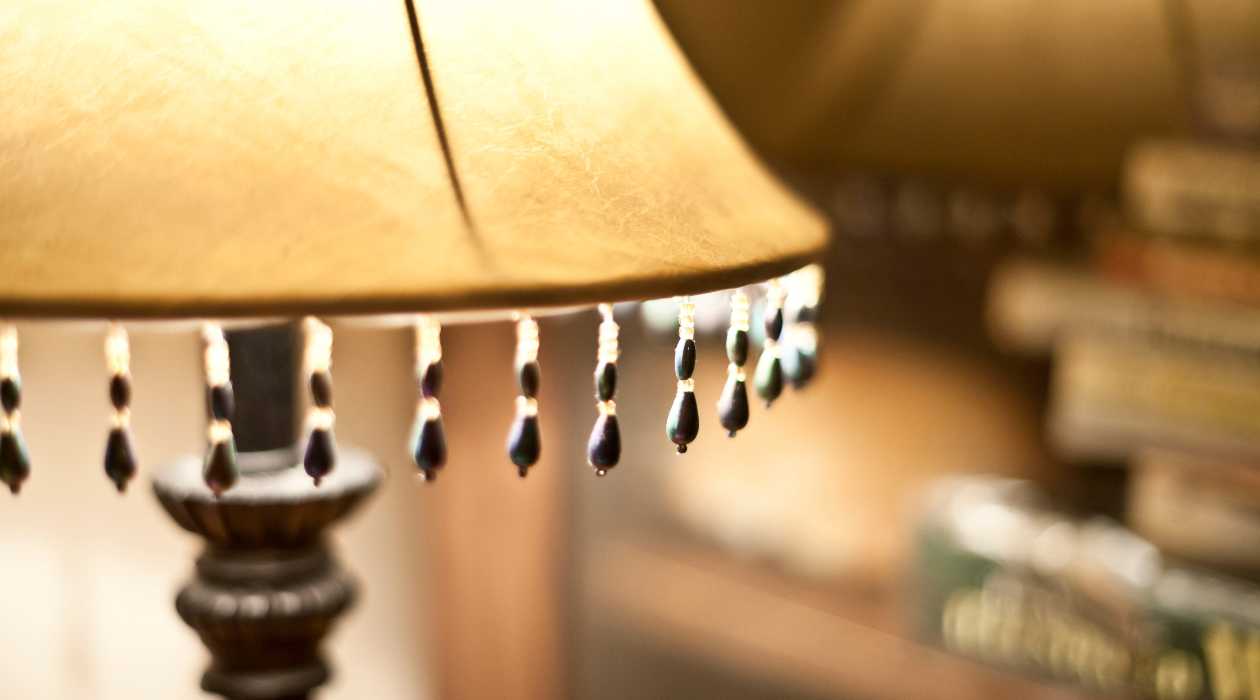
- Consider decorative elements: If desired, you can add decorative elements to the frame, such as beads or trimmings, to enhance the visual appeal of your mica lamp shade.
Once you have successfully created the frame for your mica lamp shade, you are ready to move on to the next step: attaching the mica sheets to the frame. Let’s explore that in detail in the next section.
When making a mica lamp shade, be sure to handle the delicate mica sheets with care to avoid tearing or damaging them. Use a gentle touch and work slowly to achieve the best results.
Read more: How To Make A Macrame Lamp Shade
Step 4: Attaching the Mica Sheets to the Frame
With the frame in place, it’s time to attach the mica sheets to create the beautiful shade for your lamp. Follow these steps to securely fasten the mica sheets to the frame:
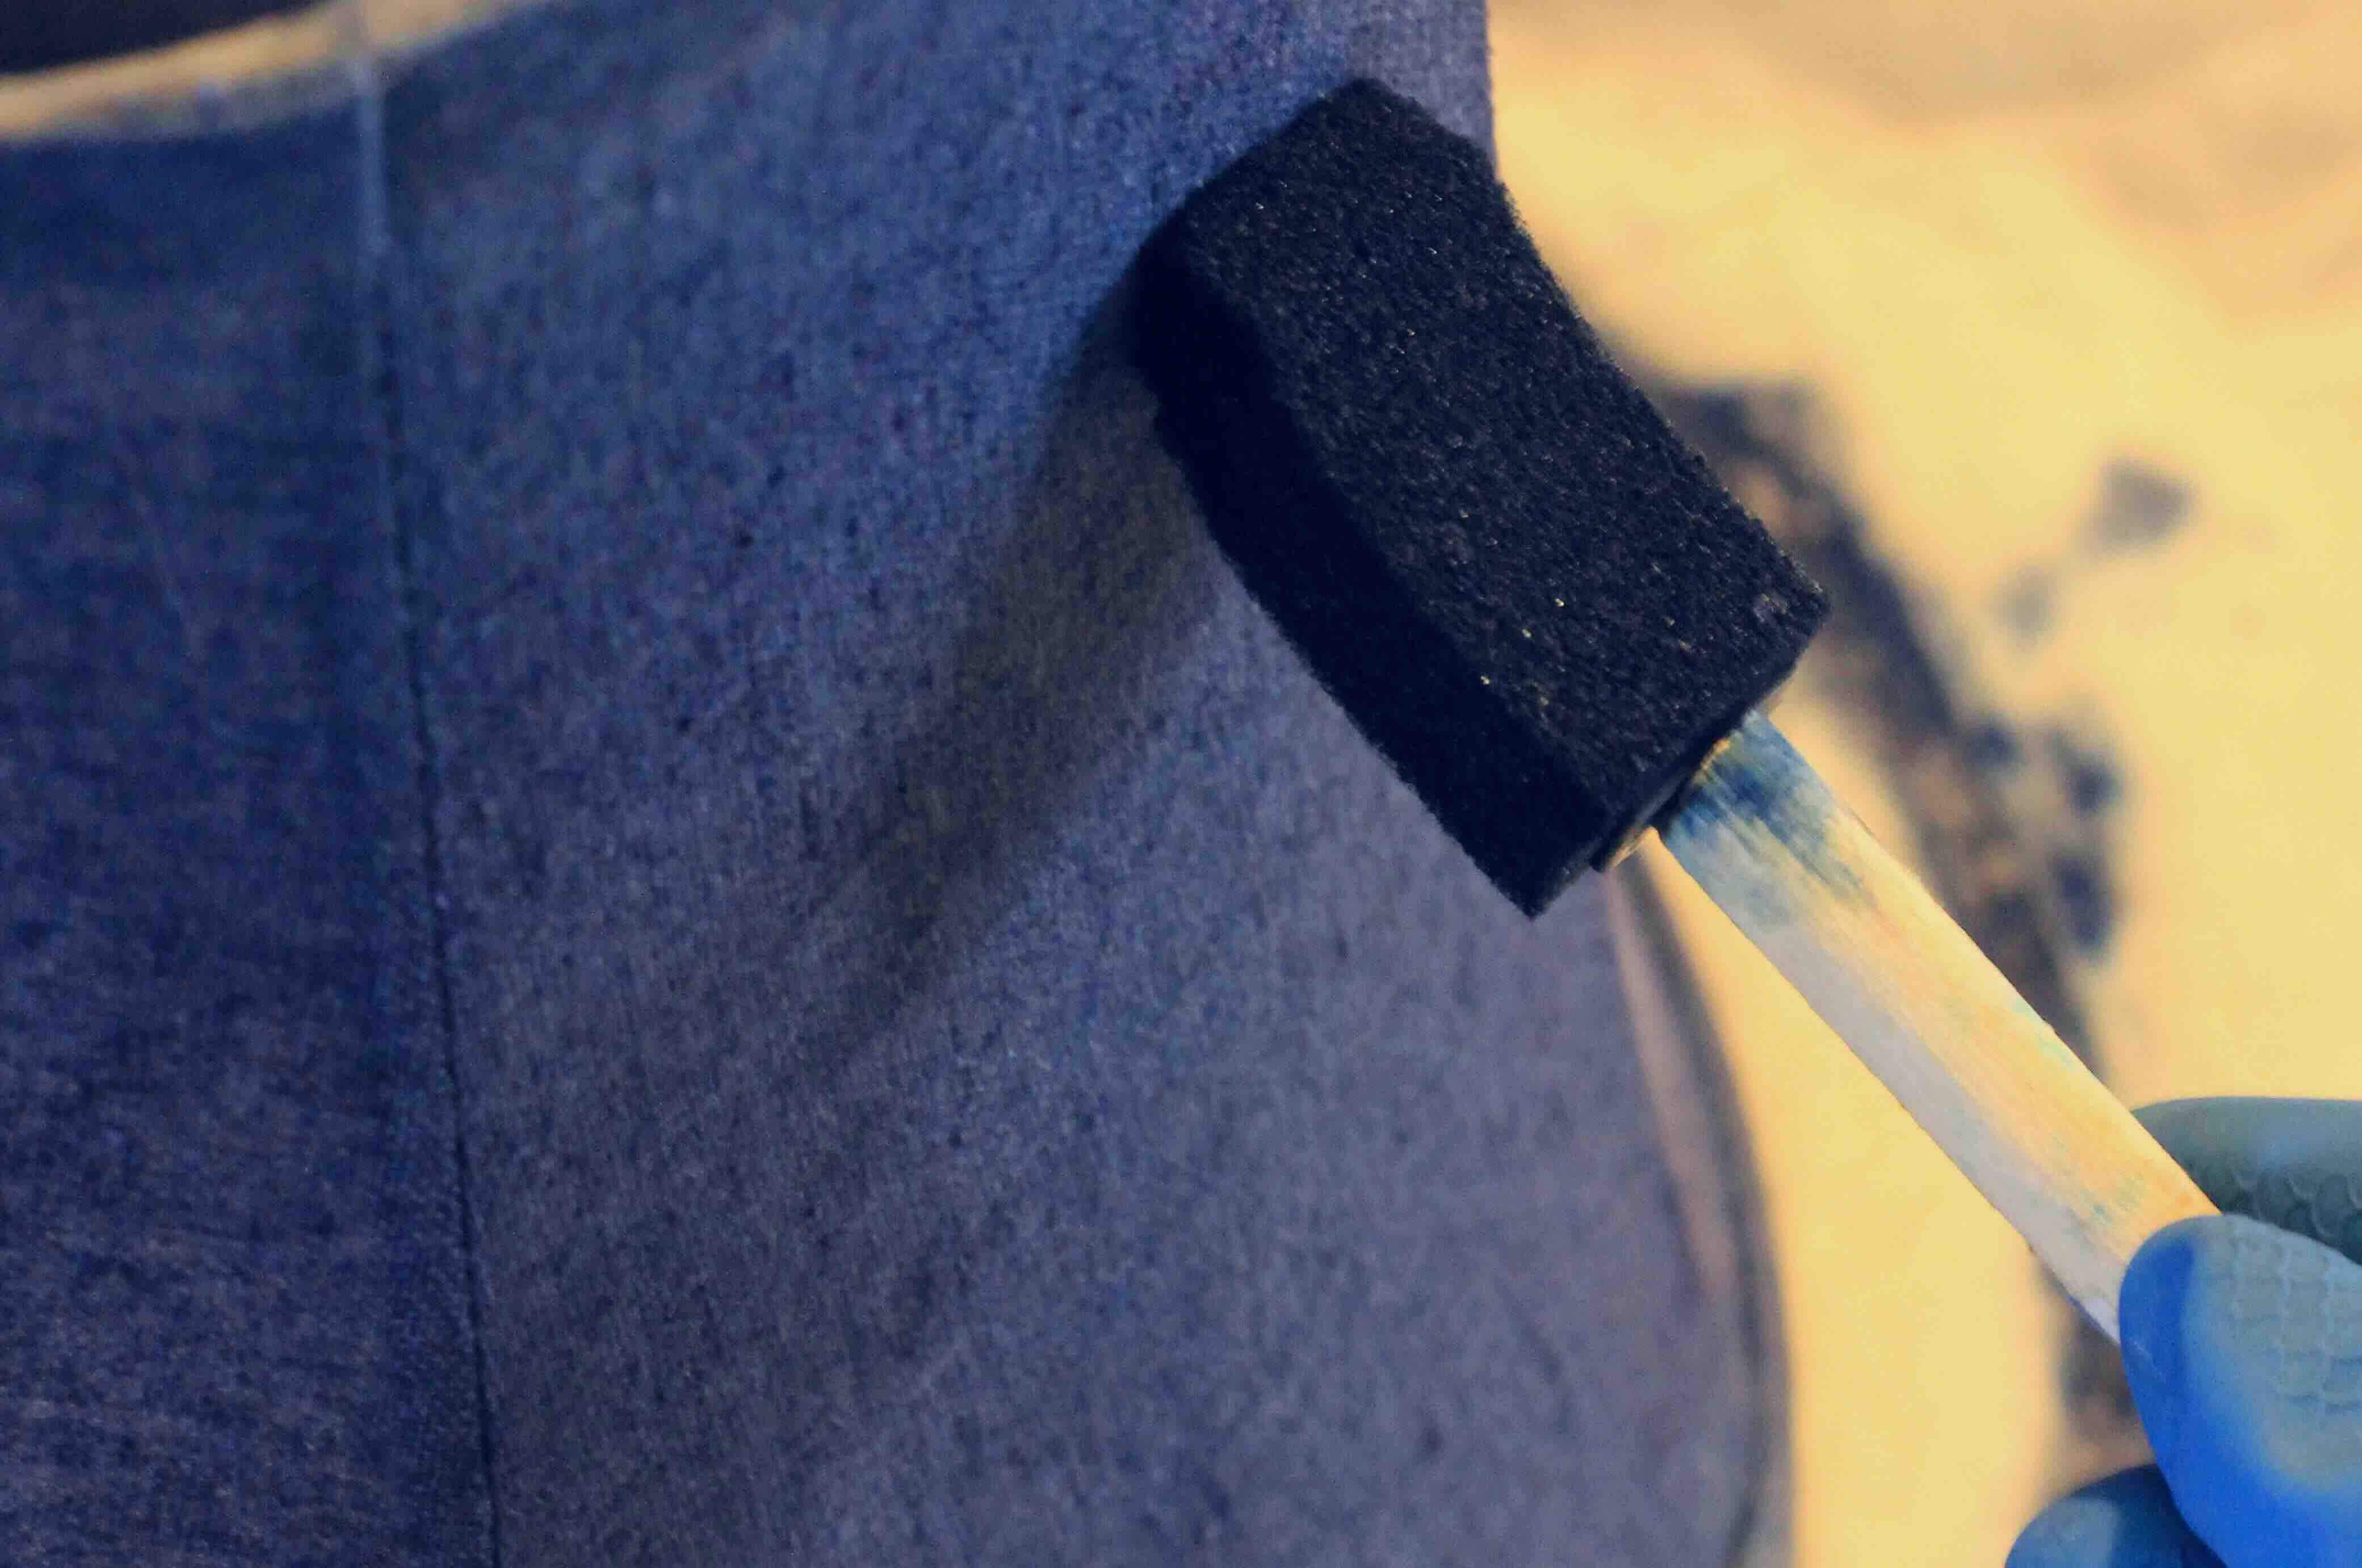
- Apply adhesive: Using a clear-drying, heat-resistant glue, apply a thin and even layer of adhesive on the backside of the mica sheets. Ensure that the adhesive covers the entire surface that will come in contact with the frame.
- Position the mica sheets: Carefully position the mica sheets onto the frame, aligning them with the edges and corners. Start from one side and press the sheets firmly against the frame to ensure a strong bond.
- Smooth out any wrinkles or bubbles: Gently smooth out the mica sheets with your hands to eliminate any wrinkles or air bubbles. This will give your lamp shade a neat and professional appearance.
- Secure the mica sheets: To ensure a secure attachment, you can use small clips or clothespins to hold the mica sheets in place while the adhesive dries. Be careful not to damage the mica during this process.
- Allow the adhesive to dry: Follow the instructions provided with the adhesive to determine the appropriate drying time. It’s important to let the adhesive fully dry and cure before moving on to the next step.
Once the adhesive has dried and the mica sheets are securely attached to the frame, your lampshade is taking shape. In the next step, we will cover the process of wiring the lamp to bring it to life. Let’s proceed to the next section.
Step 5: Wiring the Lamp
With the mica sheets attached to the frame, it’s time to wire the lamp and bring it to life. Follow these steps to ensure safe and proper wiring:
- Gather the necessary wiring materials: You will need lamp wire, lamp sockets, a plug, and a socket base that can accommodate the wattage of the bulb you plan to use.
- Start with the socket: Strip the ends of the lamp wire and thread one end through the socket base. Connect the wire to the socket terminals, following the instructions provided with the socket.
- Connect the plug: Strip the other end of the lamp wire and connect it to the plug, ensuring that the proper polarity is maintained. Make sure to secure the connections with electrical tape or wire nuts.
- Thread the wire through the lampshade frame: Carefully thread the wired socket through the frame, leaving enough length for the bulb to rest comfortably within the shade.
- Attach the socket to the frame: Use screws, clips, or other suitable methods to securely attach the socket to the lampshade frame. Ensure that the socket is positioned correctly and aligned with the opening of the mica shade.
- Double-check the wiring: Before proceeding further, double-check all the wiring connections to ensure they are secure and properly insulated. Safety is of utmost importance when it comes to electrical wiring.
Once you have successfully wired the lamp, you are almost done! In the final step, we will add some finishing touches to complete your mica lamp shade. Let’s move on to the next section.
Step 6: Finishing Touches
Now that your mica lamp shade is taking shape, it’s time to add some finishing touches to enhance its overall appearance. Follow these steps to complete your mica lamp shade:
- Trim any excess mica: If there are any edges or edges of mica sheets protruding beyond the frame, use a pair of scissors or a utility knife to carefully trim them, creating a clean and polished look.
- Clean the mica surface: Wipe down the mica sheets with a clean and dry cloth to remove any fingerprints or smudges that may have accumulated during the construction process. This will ensure maximum light transmission and clarity.
- Add decorative elements (optional): If you want to further enhance the aesthetic appeal of your lamp shade, consider adding decorative elements such as beads, trimmings, or fabric accents. Attach them securely using adhesive or a needle and thread.
- Test the lamp: Before installing the lampshade onto the lamp base, test the wiring to ensure everything is functioning properly. Plug in the lamp and flip the switch to confirm that the bulb illuminates as expected.
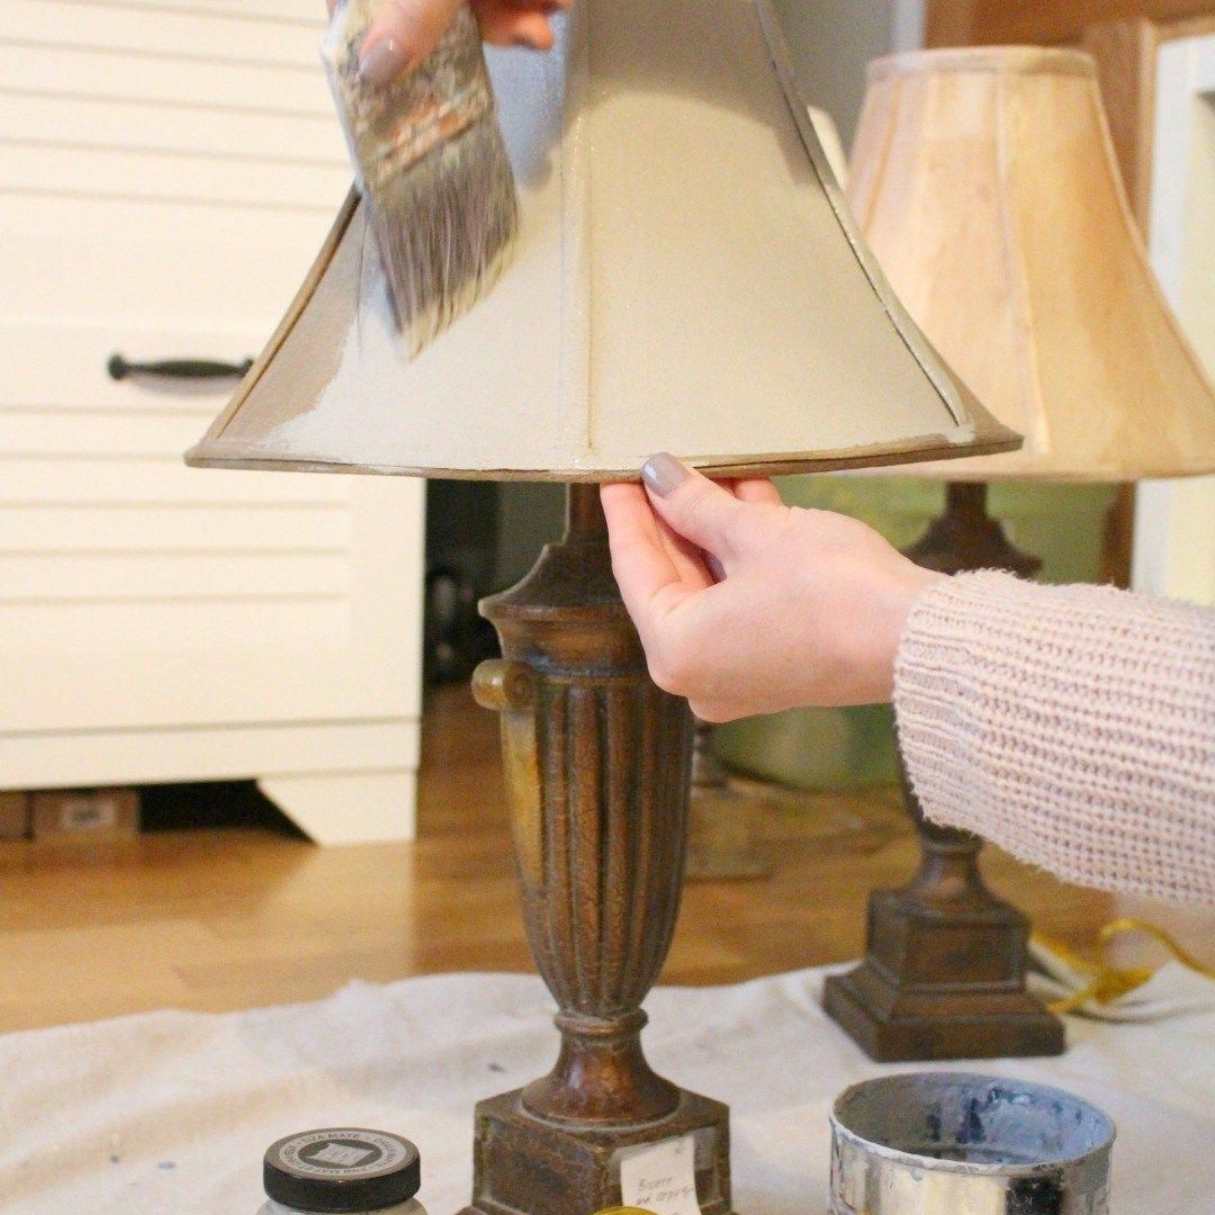
- Attach the lampshade: Carefully position the lampshade onto the lamp base, ensuring a snug fit. Follow the instructions provided by the lamp base manufacturer to secure the lampshade in place.
- Enjoy your mica lamp shade: With the lampshade securely attached, it’s time to step back and admire your handiwork. Turn on the lamp and bask in the warm, gentle glow emitted by the mica sheets.
Congratulations! You have successfully created your own mica lamp shade. With its unique texture and timeless appeal, your mica lamp shade will undoubtedly become a focal point in any room. Enjoy the ambience it creates and the sense of accomplishment that comes with making something beautiful with your own hands.
Remember, always prioritize safety when working with electrical components and consult a professional if you have any concerns. Happy crafting!
Conclusion
Congratulations on completing your journey to create your very own mica lamp shade! By following the step-by-step process outlined in this guide, you have successfully transformed mica sheets into a stunning and functional piece of lighting.
Mica lamp shades offer a unique and elegant touch to any room’s decor. Their translucent nature allows for a warm and gentle glow that adds a cozy ambiance to your space. By customizing the design, you were able to create a mica lamp shade that perfectly matches your personal style and preferences.
Throughout the process, you learned how to prepare the mica sheets, cut them to size, create the frame, attach the mica sheets securely, wire the lamp, and add the finishing touches. Each step played a crucial role in bringing your mica lamp shade to life.
Not only did you save money by making your own lamp shade, but you also experienced the joy and satisfaction that comes with creating something unique and personalized. Your mica lamp shade is a testament to your creativity and craftsmanship.
As you admire the warm glow emitting from your mica lamp shade, remember the effort and care you put into each step. The beauty of your creation will continue to enhance the ambiance of your space for years to come.
Thank you for joining us on this journey to make mica lamp shades. We hope you found this guide informative and inspiring. Now, go ahead and enjoy the cozy and elegant atmosphere created by your handmade mica lamp shade!
Frequently Asked Questions about How To Make A Mica Lamp Shades
Was this page helpful?
At Storables.com, we guarantee accurate and reliable information. Our content, validated by Expert Board Contributors, is crafted following stringent Editorial Policies. We're committed to providing you with well-researched, expert-backed insights for all your informational needs.