Furniture
What To Put In Dresser Vs. Closet
Modified: October 27, 2024
Discover the best storage solution for your clothing. Learn the benefits of organizing your wardrobe in a dresser versus a closet. Find the perfect furniture for your needs.
(Many of the links in this article redirect to a specific reviewed product. Your purchase of these products through affiliate links helps to generate commission for Storables.com, at no extra cost. Learn more)
Introduction
Welcome to this comprehensive guide on what to put in a dresser versus a closet. When it comes to organizing our belongings, the decision of whether to store items in a dresser or hang them in a closet can be a bit confusing. In this article, we will explore the purpose of a dresser and a closet, their respective benefits, and provide guidance on determining what items should be stored in each. Additionally, we will discuss the best practices for organizing and maximizing storage space in both a dresser and a closet.
A dresser and a closet are two essential storage solutions found in most homes. They each serve a different purpose and offer distinct advantages when it comes to organizing and storing our belongings. Understanding the role of each will help us make informed decisions on what items should go where.
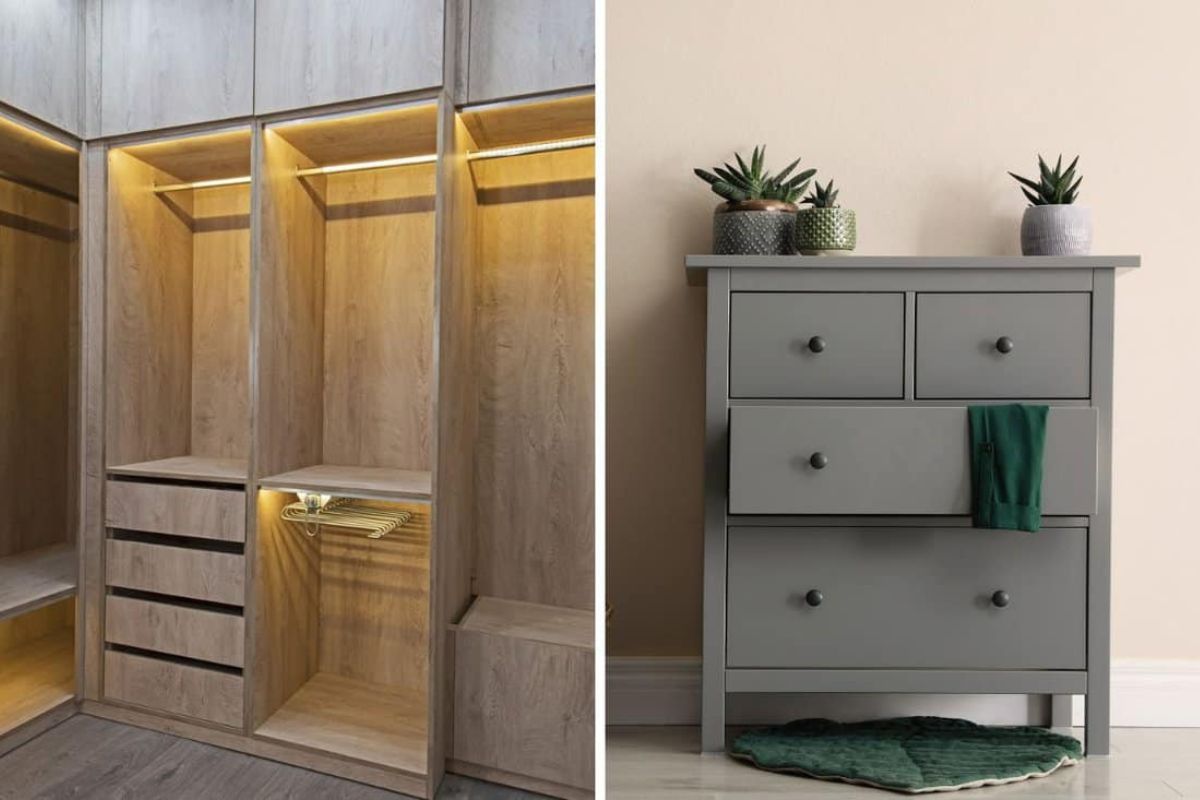
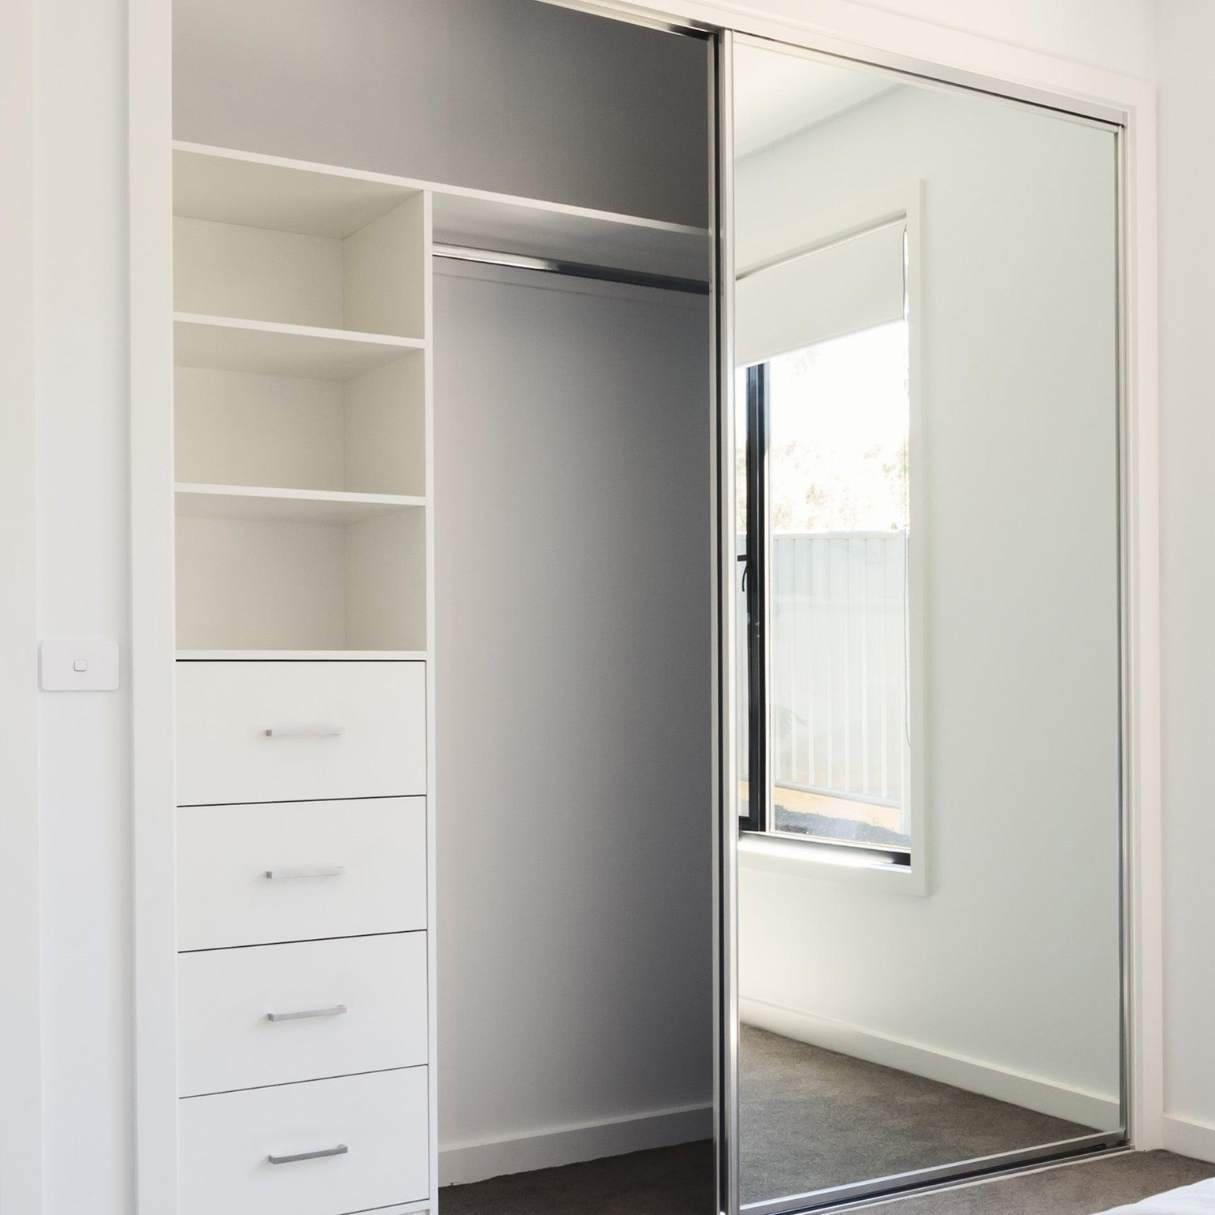
A dresser, typically found in bedrooms, is a piece of furniture with several drawers designed to hold and organize various items. It is commonly used for storing clothing, accessories, and personal belongings. On the other hand, a closet is a designated space with a hanging rod for storing clothes on hangers, as well as additional shelves or compartments for folded items, shoes, and other accessories.
Now that we have a basic understanding of the purpose of a dresser and a closet, let’s explore the benefits of using each one.
Key Takeaways:
- Dressers are best for foldable clothing, undergarments, and off-season items. They offer organized storage, preserve clothing, and provide easy accessibility, making them a valuable addition to any bedroom or living space.
- Closets are ideal for hanging clothes such as dresses, blouses, jackets, and suits. They help maintain clothing shape, maximize vertical space, and allow for easy outfit selection, creating an efficient and visually pleasing storage space.
Read more: What To Put Above The Dresser
Purpose of a Dresser and Closet
The purpose of a dresser is to provide a convenient and organized storage solution for clothing and personal items. The drawers in a dresser are designed to hold folded clothes, undergarments, socks, and accessories. With multiple drawers, a dresser offers the advantage of compartmentalizing and separating different types of items, making it easier to locate and retrieve them when needed.
A dresser also allows us to keep our clothing neatly folded, reducing wrinkles and preserving the condition of our garments. It provides a dedicated space for storing items that don’t necessarily need to be hung, such as sweaters, t-shirts, jeans, and pajamas.
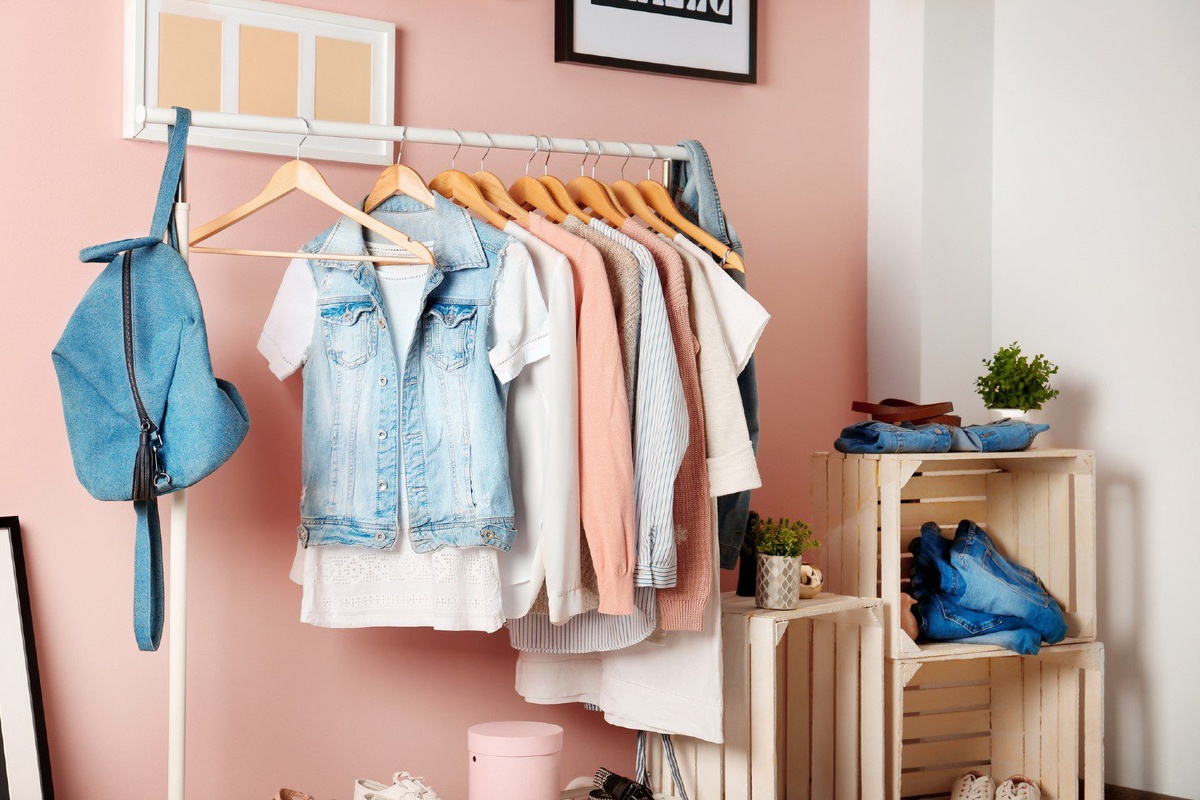
On the other hand, a closet serves as a space to hang clothes on hangers. This allows for easy accessibility and visibility of our clothing options. Hanging clothes in a closet helps to prevent wrinkles and maintain the shape and structure of our garments. It is particularly useful for dresses, suits, blouses, shirts, and formal attire.
In addition to hanging clothes, closets may also have shelves or compartments for storing folded items, shoes, and accessories. This additional storage space makes a closet versatile and functional. It enables us to keep our belongings organized and easily accessible, without the need for separate furniture like a dresser.
Understanding the purpose of a dresser and a closet helps us determine which storage solution is better suited for different types of items. Let’s now look at the benefits of using a dresser and a closet, respectively.
Benefits of Using a Dresser
Using a dresser as a storage solution offers several benefits that make it a valuable addition to any bedroom or living space:
- Organized Storage: A dresser provides multiple drawers, allowing you to categorize and organize different types of clothing and items. You can designate specific drawers for underwear, socks, t-shirts, or accessories, making it easy to locate and retrieve items without rummaging through a cluttered closet.
- Preserves Clothing: Folding and storing clothes in a dresser helps to maintain their quality and appearance. It prevents garments from getting stretched out or damaged, as they would when hung in a closet. Additionally, drawers provide a protected and enclosed space, shielding clothing from sunlight and dust.
- Easy Accessibility: With a dresser, you can keep frequently worn items within arm’s reach. You don’t have to worry about rummaging through a closet or dealing with hangers when you need to quickly grab a pair of socks or a favorite t-shirt.
- Space-Saving: Unlike a closet, which requires ample space for hanging clothes, a dresser can fit into smaller spaces. This makes it a viable storage solution for bedrooms, dorm rooms, or apartments with limited square footage.
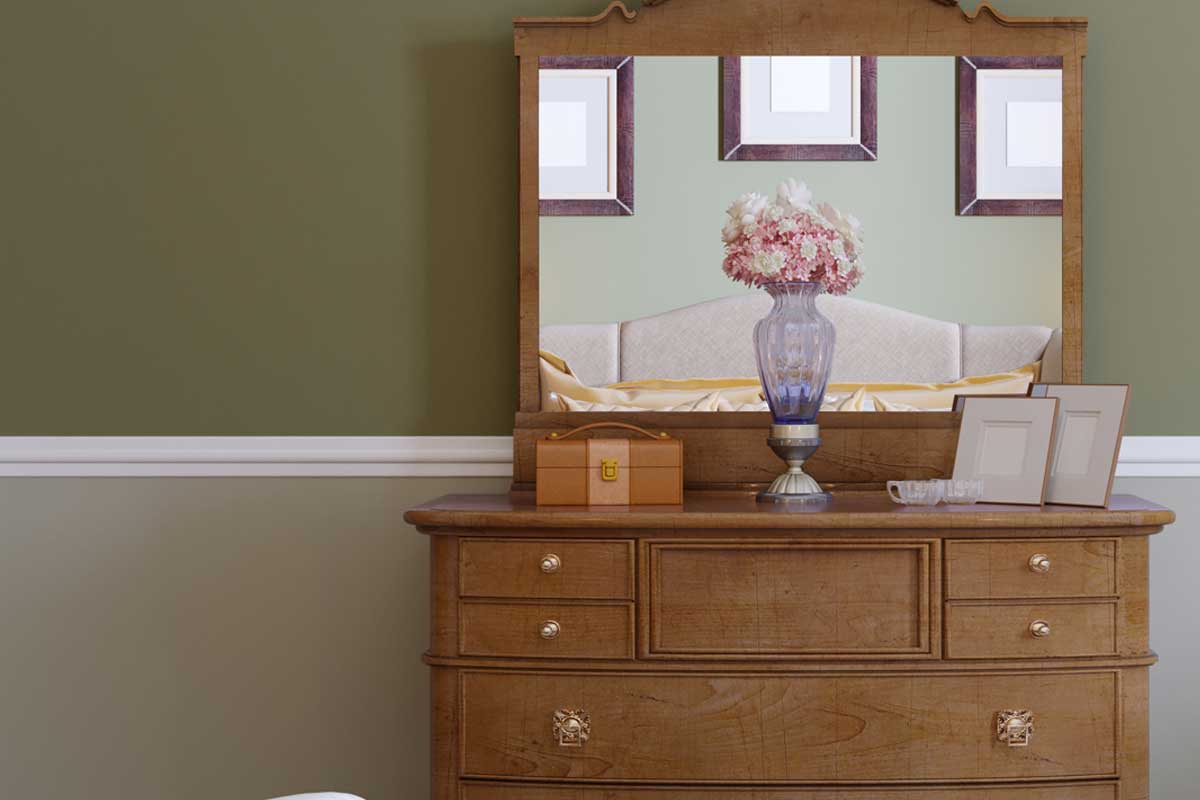
- Additional Surface Area: Many dressers come with a flat top surface, providing an additional space to display decor items, place a television or mirror, or even create a vanity area. This adds functionality and versatility to the piece of furniture.
Overall, a dresser offers convenience, organization, and the ability to preserve clothing in a compact and accessible manner. However, not all items are suited for storage in a dresser. In the next section, we will discuss how to determine what items should be stored in a dresser versus hung in a closet.
Benefits of Using a Closet
Using a closet as a storage solution for your clothing and accessories provides several advantages:
- Efficient Hanging Storage: Hanging clothes in a closet allows for easy accessibility and visibility. It eliminates the need for folding clothes, saving time and effort. You can quickly browse through your clothes and choose an outfit without having to dig through drawers.
- Preserves Clothing Shape: Hanging clothes helps to maintain their shape and structure. This is particularly important for delicate or structured garments such as dresses, suits, blouses, and coats. By hanging them, you can prevent wrinkles, creases, and deformities that may occur when folded.
- Showcase Your Wardrobe: A closet provides a visually pleasing way to display your clothing collection. By hanging your clothes, you can create a personalized and organized closet space that showcases your style. This can inspire creativity when selecting outfits.
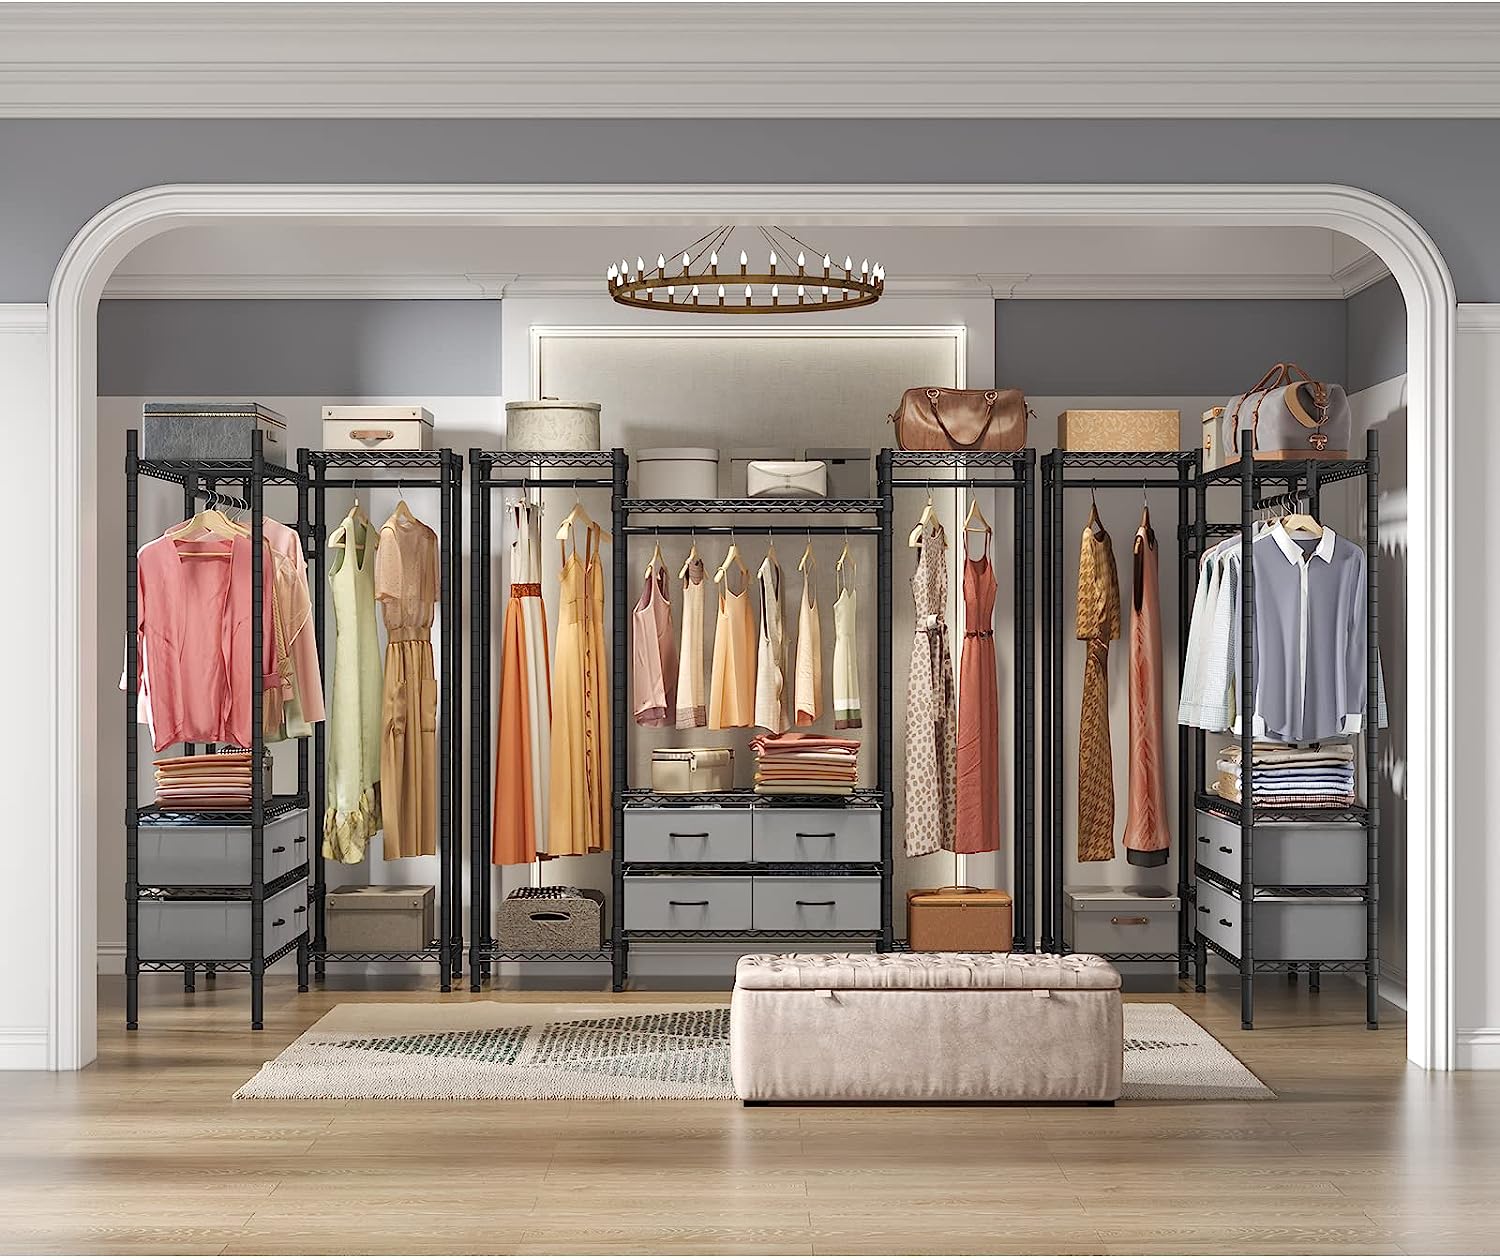
- Maximizes Vertical Space: Closets are designed to utilize vertical space efficiently. By utilizing hangers, you can make the most of the available height in your closet. This allows you to store a large number of items while keeping them easily accessible.
- Additional Storage Options: Many closets come with shelves, compartments, or shoe racks, which offer additional storage space. These areas can be utilized to store folded items, shoes, accessories, and other personal belongings. This provides versatility and allows for better organization.
Using a closet for hanging storage is ideal for clothes that are better suited for hanging, such as dresses, blouses, shirts, and pants. It offers convenience, maximizes vertical space, and allows for easy visualization of your wardrobe. However, not all clothing items should be hung in the closet. In the next sections, we will discuss how to determine what items to put in the dresser and what to hang in the closet, as well as best practices for organizing and maximizing storage space in both.
Determining What to Put in the Dresser
When deciding what items to put in a dresser, consider the following:
- Foldable Clothing: Dressers are ideal for storing foldable clothing items such as t-shirts, sweaters, jeans, shorts, and pajamas. These items can be neatly folded and organized in the dresser’s drawers.
- Undergarments and Socks: Drawer space in a dresser is perfect for storing undergarments like underwear, bras, and socks. Keeping them in dedicated drawers helps maintain their shape and prevents them from getting entangled or lost.
- Accessories: Dressers offer a great solution for storing accessories such as belts, scarves, hats, and gloves. Keep these items in separate compartments or designated drawers to easily find the right piece when needed.
- Bed Linens: If you have limited storage space in your linen closet, consider using a dresser to store extra bed linens, such as sheets, pillowcases, and blankets. Fold them neatly and place them in a dedicated drawer to keep them easily accessible for changing and making the bed.
- Off-Season Clothing: Dressers are also useful for storing off-season clothing. When it’s not the season for wearing bulky sweaters or summer dresses, fold and store them in the dresser until they are needed again. This frees up space in your closet for more immediate items.
It’s important to organize the items in your dresser in a systematic way. Consider using drawer dividers or organizers to separate different types of clothing and accessories, making it easier to find what you need. Additionally, regularly declutter and rotate the items in your dresser to keep it tidy and avoid overcrowding.
Now that we’ve discussed what items to put in the dresser, let’s move on to determining what items should be hung in the closet.
Determining What to Hang in the Closet
When deciding what items to hang in the closet, consider the following:
- Dresses and Formal Attire: Hanging dresses is the most common use for a closet. This includes formal dresses, cocktail attire, evening gowns, and any other clothing items that are best kept on hangers to maintain their shape.
- Blouses and Shirts: Hanging blouses and shirts helps to prevent wrinkles and keeps them easily accessible. It also allows you to see your options at a glance, making outfit selection a breeze.
- Jackets and Coats: Sturdy outerwear items such as jackets, coats, and blazers are best hung in the closet. This not only helps maintain their structure but also makes them easily accessible when you need an extra layer of warmth.
- Pants and Skirts: Hanging pants and skirts can help prevent creases and preserve their shape. For pants, consider using pant hangers with clips to keep them secure and neatly hung.
- Suit Separates: If you own suit separates, it’s best to hang them in the closet. This includes suit jackets, blazers, dress pants, and pencil skirts. Hanging these items helps maintain their professional appearance.
Aside from clothing items, consider hanging other accessories that are better suited for being hung:
- Ties and Belts: Hanging ties and belts on hooks or tie/belt racks within your closet keeps them organized and prevents them from tangling.
- Scarves: If you have a collection of scarves, hanging them in the closet allows for easy access and visibility. Consider using scarf hangers or attaching hooks to a closet rod.
- Jewelry: Hanging jewelry organizers or hooks can be a convenient way to store and display your necklaces, bracelets, and other hanging accessories.
Keep in mind that not all clothing items should be hung. Delicate fabrics prone to stretching, like knitwear or lightweight tops, are better folded and stored in a dresser to maintain their shape. Additionally, bulky or heavy items such as sweaters or sweatshirts can take up excessive hanging space and may be better suited for folding and stacking in a dresser drawer.
Now that we’ve covered what items to hang in the closet, let’s move on to organizing the items in both the dresser and closet.
Consider putting folded items like t-shirts, sweaters, and jeans in the dresser for easy access. Hang delicate or wrinkle-prone items like dresses, blouses, and suits in the closet to keep them in good condition.
Organizing Dresser Items
Organizing dresser items is key to maximizing space and maintaining an efficient storage system. Here are some tips to help you keep your dresser organized:
- Group Similar Items: Categorize your clothing items into groups such as tops, bottoms, undergarments, and accessories. This will make it easier to locate specific items when getting dressed.
- Use Drawer Dividers: Drawer dividers are a great way to separate and organize different types of clothing within each drawer. They can help prevent items from getting mixed up and create designated spaces for each category.
- Create a Folding System: Develop a folding system that works best for you. Folding clothes uniformly will not only save space but also make it easier to see what you have. For example, fold t-shirts into small rectangles and stack them vertically to maximize drawer space.
- Utilize Vertical Space: Make use of the vertical space within each drawer by folding items compactly and stacking them. This will help you fit more items and reduce clutter.
- Organize Accessories: Use small compartments or organizers within your drawers to keep accessories like socks, underwear, belts, and scarves neatly separated and easily accessible.
- Label or Color-Code Drawers: Consider labeling or color-coding your drawers to help you remember what items are stored in each. This can save time when searching for specific clothes.
Remember to regularly declutter your dresser and donate or discard items you no longer wear or need. This will help maintain an organized and functional storage space, making it easier to find and access your belongings.
Now that we’ve covered organizing dresser items, let’s move on to organizing items in the closet.
Organizing Closet Items
Keeping your closet organized is essential for easy access to your clothing and accessories. Here are some tips to help you efficiently organize your closet:
- Categorize Clothing: Group similar items together, such as tops, bottoms, dresses, and outerwear. This will make it easier to find specific items when getting dressed.
- Color-Code Your Wardrobe: Arrange your clothes by color to create a visually pleasing and organized closet. This method not only looks appealing but also makes it easier to find specific garments.
- Utilize Proper Hangers: Choose the right hangers for your clothing items. Sturdy hangers help maintain the shape of your clothes and prevent sagging. Consider using velvet hangers for silky or delicate fabrics to prevent slippage.
- Hang Clothes by Length: Organize your clothing by length, with longer items towards the back and shorter items towards the front. This creates a visually pleasing aesthetic and makes it easier to locate specific pieces.
- Maximize Vertical Space: Make use of the vertical space in your closet by utilizing double-hang rods, hanging shelves, or organizers. This allows you to store more items and optimizes the available space.
- Shoe Organization: Use shoe racks or shoe organizers to keep your footwear neatly displayed and easily accessible. Arrange them by type or color for a streamlined look.
- Utilize Shelf and Compartment Space: Take advantage of any shelves or compartments in your closet for additional storage. Use them to store folded items, accessories, and other personal belongings.
Additionally, periodically declutter your closet and donate or discard items you no longer wear or need. This will help free up space and maintain a clutter-free environment.
By implementing these organizing tips, you can transform your closet into an efficient and visually pleasing storage space, making it easier to get ready and find the perfect outfit.
Now that we’ve covered organizing both dresser items and closet items, let’s move on to maximizing storage space in a dresser.
Maximizing Storage Space in a Dresser
When it comes to maximizing storage space in a dresser, a few simple strategies can make a big difference:
- Utilize Drawer Organizers: Drawer organizers and dividers are essential for maximizing space in a dresser. They help to create separate compartments for different types of clothing and accessories, keeping items neatly organized and preventing them from mixing together.
- Roll or Fold Clothes Efficiently: Utilize efficient folding techniques to save space in your dresser drawers. For items like t-shirts and pajamas, try rolling them tightly instead of folding. This not only saves space but also allows you to see all the items at a glance.
- Stack Vertically: Stack pieces vertically to effectively use the height of each drawer. This is especially useful for folded clothing items like jeans, sweaters, and shorts. To keep them organized, consider using vertical dividers or shelf organizers.
- Make Use of Undergarment Organizers: Invest in drawer organizers specifically designed for undergarments, socks, and accessories. These organizers typically have individual compartments or dividers, maximizing the use of space and keeping everything in its place.
- Rotate Seasonal Items: Store off-season clothing in vacuum-sealed bags or storage containers to save space in your dresser. This allows you to keep your immediate wardrobe more accessible and organized while minimizing clutter.
- Utilize the Top Surface: Make use of the top surface of your dresser for additional storage space. This can be done by placing decorative boxes, trays, or jewelry holders to keep smaller items organized and easily accessible.
Regularly decluttering your dresser and reassessing the items you store in it will also help maximize space. Remove items you no longer wear or need and donate or discard them to create more room for the items you use frequently.
By implementing these strategies, you can optimize the storage space in your dresser and efficiently organize your clothing and accessories.
Now, let’s move on to maximizing storage space in a closet.
Read more: How To Put Shelves In Closet
Maximizing Storage Space in a Closet
When it comes to maximizing storage space in a closet, there are several strategies you can employ to make the most of the available area:
- Utilize Vertical Space: Install double-hang rods or cascading hangers to maximize the vertical space in your closet. This allows you to hang more clothing items, such as shirts and blouses, in the same area.
- Use Space-Saving Hangers: Consider using slim or velvet hangers to save space and prevent clothes from slipping off. These hangers are thinner than traditional ones, allowing you to fit more garments in the same amount of space.
- Add Adjustable Shelving: Install adjustable shelves in your closet to create more storage options. This will allow you to customize the height and layout according to your needs, accommodating items of varying sizes.
- Hang Accessories: Use hooks or small hangers to hang accessories like belts, scarves, and jewelry. This utilizes the vertical space in your closet and keeps these items easily accessible and visible.
- Utilize Door Space: Consider using over-the-door organizers or shoe racks to make use of the space on the back of your closet doors. This is a great place to store shoes, handbags, or other accessories.
- Optimize Shelf Space: Divide and conquer your closet shelves by using shelf dividers or fabric bins to keep folded items like sweaters, jeans, or towels neat and organized.
- Utilize Floor Space: If there’s extra floor space in your closet, use it for additional storage. This could include storing shoes in labeled bins or using under-bed storage containers to keep seasonal or less frequently used items.
Regularly decluttering your closet and organizing items by category will also help maximize space. Remove items you no longer wear or need, and consider donating or discarding them to free up space for the items you love and use regularly.
By implementing these strategies, you can make the most of the storage space in your closet and create a well-organized and functional storage area for your clothing and accessories.
Now that we have explored ways to maximize storage space in both a dresser and a closet, let’s wrap up our guide.
Conclusion
In conclusion, determining what to put in a dresser versus a closet depends on the type of item and its storage needs. A dresser is ideal for foldable clothing, undergarments, accessories, and off-season items. It provides organized storage, preserves clothing, and offers easy accessibility. On the other hand, a closet is best for hanging clothes such as dresses, blouses, jackets, and suits. It helps maintain clothing shape, allows for easy outfit selection, and maximizes vertical space.
In order to effectively organize dresser items, utilize drawer dividers, create a folding system, and make use of vertical space. Group similar items together and regularly declutter to maintain an organized space. Similarly, for organizing closet items, categorize clothing, use proper hangers, and make use of shelf and compartment space. Maximize vertical space, utilize organizers for accessories, and regularly declutter to optimize organization.
When it comes to maximizing storage space in both a dresser and a closet, utilize drawer dividers, roll or fold clothes efficiently, and make use of vertical space. In the closet, utilize proper hangers, hang clothes by length, and utilize shelf and compartment space. Both spaces can benefit from regular decluttering and organizing to maximize their storage potential.
By following these tips and techniques, you can create an organized and functional storage system, making it easier to find and access your belongings. Whether you choose a dresser or a closet, or a combination of both, thoughtful organization and maximizing storage space will help keep your space tidy and efficient.
Remember, the most important aspect is to find a storage solution that works best for you and your specific needs. Tailor your organization system to suit your lifestyle, preferences, and available space. With proper organization, both your dresser and closet can become valuable assets in keeping your home clutter-free and your belongings easily accessible.
Eager to streamline your wardrobe further? Whether you're looking to perfect your shirt organization or need innovative options for storing attire, we've got insights that can help. For those who want a neat and accessible closet, check out our guide on the best shirt folding board for quick closet organization. If space is tight and you need clever ways to store clothes, don't miss our roundup of the best clothing storage for 2024. And for anyone with a cozy living space, our space-saving organizing tips for small living rooms will make a huge difference.
Frequently Asked Questions about What To Put In Dresser Vs. Closet
Was this page helpful?
At Storables.com, we guarantee accurate and reliable information. Our content, validated by Expert Board Contributors, is crafted following stringent Editorial Policies. We're committed to providing you with well-researched, expert-backed insights for all your informational needs.


0 thoughts on “What To Put In Dresser Vs. Closet”