Furniture
How To Fix A 3-Way Lamp Switch
Modified: March 1, 2024
Learn how to easily fix a 3-way lamp switch on your furniture. Step-by-step instructions and tips to get your lamp working again in no time.
(Many of the links in this article redirect to a specific reviewed product. Your purchase of these products through affiliate links helps to generate commission for Storables.com, at no extra cost. Learn more)
Introduction
Lighting plays a vital role in creating a comfortable and inviting atmosphere in any space. One essential piece of lighting equipment found in many homes is the 3-way lamp. This type of lamp allows you to adjust the brightness level according to your needs, providing versatility and convenience. However, like any electrical component, 3-way lamp switches may encounter issues over time, resulting in the need for repair or replacement.
In this article, we will guide you through the process of fixing a 3-way lamp switch, offering step-by-step instructions and valuable insights along the way. Whether you are a DIY enthusiast or simply want to save money by repairing your lamp instead of replacing it, this guide will help you tackle the task with confidence.
Before we dive into the actual repair process, it’s important to note that safety should always be your top priority. Make sure to follow all safety precautions, such as wearing appropriate protective gear, working in a well-lit area, and disconnecting the lamp from the power source before beginning any repairs.
Now, let’s gather our tools and materials and get ready to fix that faulty 3-way lamp switch!
Key Takeaways:
- Safety First
Prioritize safety by following precautions such as unplugging the lamp, wearing protective gear, and handling tools with care. Create a safe environment to prevent accidents and injuries during the repair process. - DIY Success
By understanding the 3-way lamp switch, identifying and reconnecting wires, and testing the new switch, you can successfully fix your lamp, saving money and extending its lifespan. Enjoy the versatility of adjustable lighting in your space!
Read more: What Is A 3-Way Dimmer Switch
Understanding a 3-Way Lamp Switch
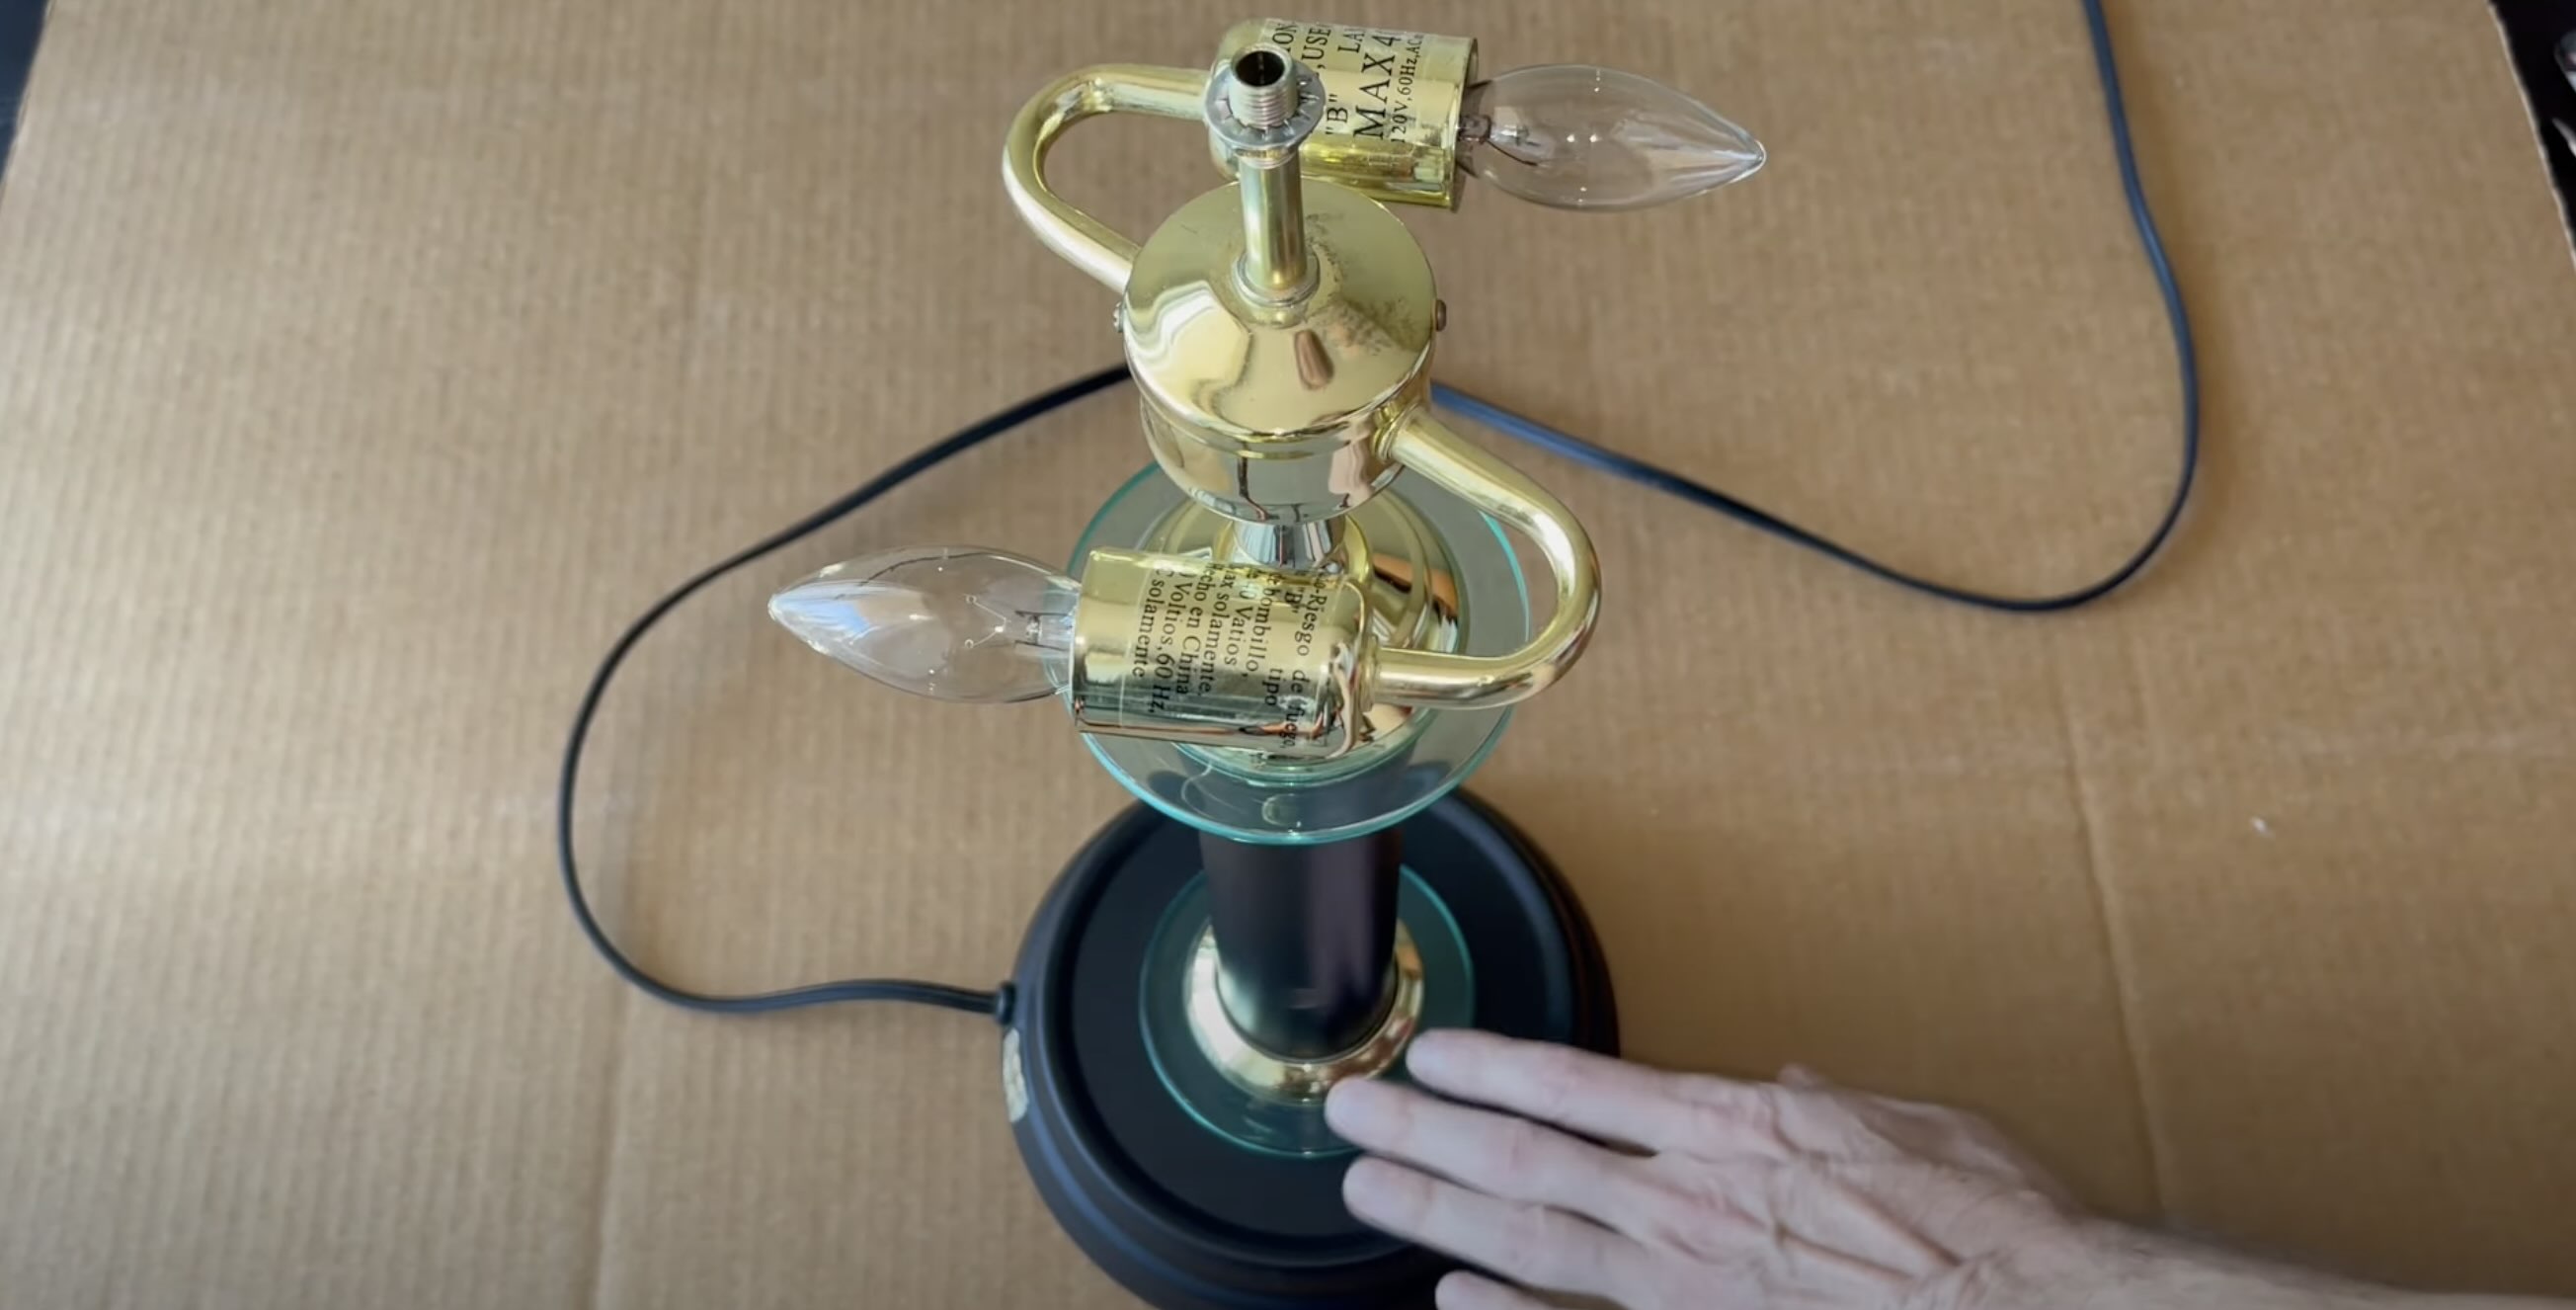
Before we start repairing a 3-way lamp switch, let’s take a moment to understand how this type of switch works. A 3-way lamp switch is designed to control the brightness of a lamp by offering three different lighting levels: low, medium, and high. Unlike a standard on/off switch, a 3-way switch contains three terminals instead of two, allowing for the connection of two separate bulbs or bulb circuits.
The three terminals on a 3-way lamp switch are commonly labeled as “A,” “B,” and “C.” Terminal “A” is the common terminal, while terminals “B” and “C” are the travelers. When the lamp is turned on, the switch toggles the connection between terminal “A” and either terminal “B” or “C,” depending on the desired lighting level.
The connections inside the lamp socket correspond to the terminals on the switch. The hot wire from the power source is connected to one terminal of the lamp socket, while the other two terminals are connected to separate bulb circuits. By toggling the switch, different combinations of the bulb circuits are activated, resulting in different levels of brightness.
Understanding the basic functioning of a 3-way lamp switch will help you troubleshoot any issues and replace it if necessary. Now that we have a clear understanding, let’s move on to the tools and materials required for the repair process.
Tools and Materials Needed
Before starting the repair process, it’s essential to gather the necessary tools and materials to ensure a smooth and successful repair. Here are the items you will need:
- Small screwdriver set: A set of small screwdrivers with various head types will be necessary for removing screws and accessing internal components.
- Wire cutters/strippers: These tools are needed to cut and strip wiring for installation or repair.
- Electrical tape: Electrical tape is used to secure and insulate wires, ensuring safety and preventing any electrical shocks.
- Replacement 3-way lamp switch: To fix a faulty switch, you will need a new 3-way lamp switch. Ensure that it is compatible with your lamp’s specifications.
- Wire nuts: Wire nuts are used to secure and connect wires together, creating a safe and reliable electrical connection.
- Scissors: Scissors will be needed to cut electrical tape and wires cleanly.
- Marker or labels: To ensure proper identification of wires during the repair process, having a marker or labels will be helpful.
Once you have gathered all the necessary tools and materials, you are ready to proceed with the repair. Remember to work in a well-lit area, unplug the lamp from the power source, and exercise caution throughout the process. Now that we are fully prepared, let’s begin repairing the 3-way lamp switch!
Step 1: Safety First
Before diving into the repair process, it’s crucial to prioritize safety. Dealing with electricity requires caution and adherence to safety precautions to prevent accidents and injuries. Here are some important safety measures to follow:
- Turn off the power: Unplug the lamp from the power source before proceeding with any repairs. This will eliminate the risk of electrical shock while working on the switch or wiring.
- Work in a well-lit area: Ensure that you have sufficient lighting to see clearly during the repair process. This will help you work more effectively and reduce the chances of making an error.
- Wear protective gear: Put on protective gear, such as safety goggles, to shield your eyes from any debris or accidental sparks that may occur during the repair.
- Keep children and pets away: Create a safe work environment by keeping children and pets away from the area where you are working. This will prevent them from accidentally coming into contact with exposed wires or tools.
- Avoid standing on wet surfaces: Ensure that the area where you are working is dry and free from any moisture. Standing on wet surfaces increases the risk of an electrical shock.
- Handle tools with care: Always handle your tools properly and use them for their intended purpose. Avoid using damaged tools, as they can cause accidents or damage to the lamp or wiring.
By following these safety measures, you will create a safe working environment for yourself and reduce the risk of accidents or injuries. Now that we’ve covered the safety precautions, let’s move on to the next step: unplugging the lamp.
Step 2: Unplugging the Lamp
Now that you have taken the necessary safety precautions, it’s time to proceed with the repair process. The first step is to unplug the lamp from the power source to ensure that there is no risk of electric shock during the repair. Follow these steps to safely unplug the lamp:
- Locate the power cord: Identify the power cord of the lamp that is plugged into the wall socket.
- Gently grasp the power plug: Firmly hold the power plug and pull it out of the wall socket. Do not pull on the cord itself, as this can damage the cord or the plug.
- Double-check for power: Even though you have unplugged the lamp, it is a good practice to double-check for power. Test the lamp by turning it on or plugging in a different device to ensure that there is no power flow.
Once you have unplugged the lamp and confirmed that there is no power flowing, you have completed this step. Unplugging the lamp is an essential safety measure that prevents any potential electrical accidents during the repair process. With the lamp safely unplugged, we can now move on to the next step: removing the lampshade and bulb.
Read more: How To Determine If A Lamp Is 3-Way
Step 3: Removing the Lampshade and Bulb
Now that the lamp is safely unplugged, we can proceed with removing the lampshade and bulb. Follow these steps to remove them:
- Allow the bulb to cool: If the lamp has been recently used, give the bulb some time to cool down to avoid burning yourself.
- Remove the lampshade: Gently lift or unscrew the lampshade from the lamp socket. Set it aside in a safe place to prevent any damage.
- Remove the bulb: Carefully unscrew the bulb from the lamp socket in a counterclockwise direction. Avoid excessive force to prevent the bulb from breaking.
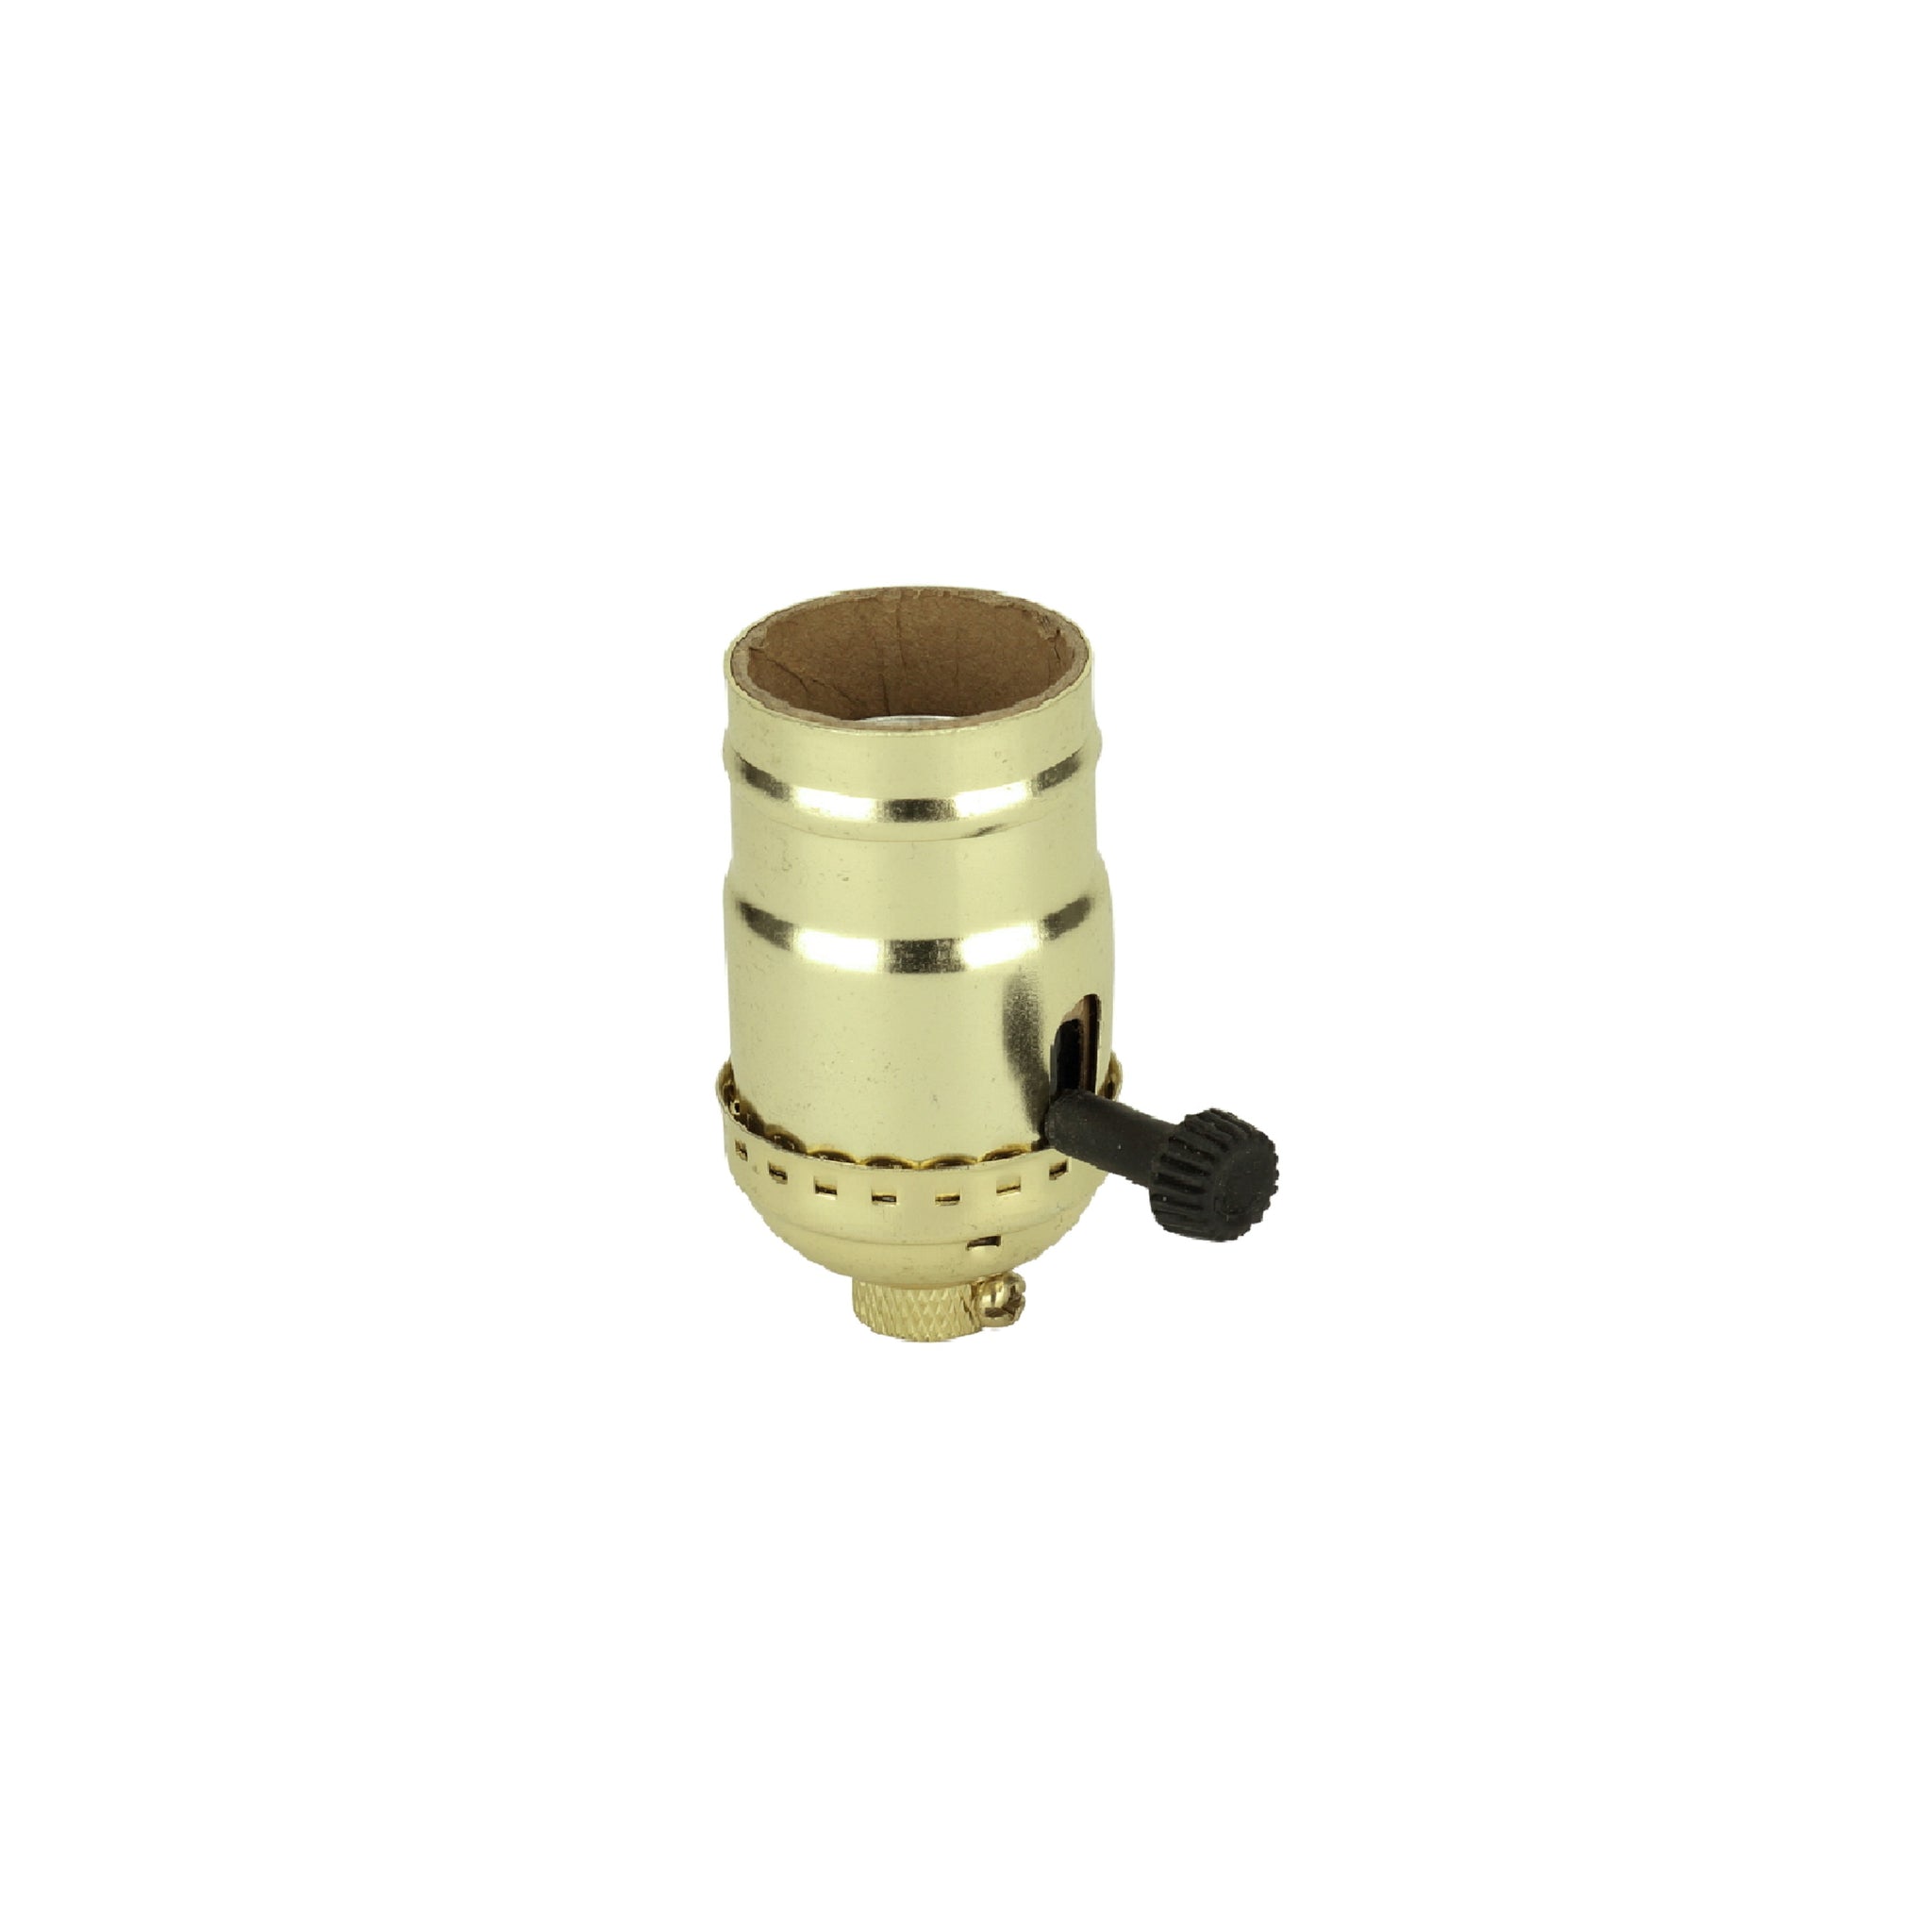
- Inspect the socket: With the lampshade and bulb removed, take a moment to inspect the lamp socket. Look for any signs of damage or loose connections that could be contributing to the switch issue.
By removing the lampshade and bulb, you now have better access to the lamp’s internal components, making it easier to proceed with repairing the 3-way lamp switch. Keep the lampshade and bulb in a safe place to avoid any accidental damage.
Next, we will move on to the next step: removing the switch housing cover. This step will further expose the switch and allow us to proceed with the repair process. Remember to take your time and handle the lamp components with care.
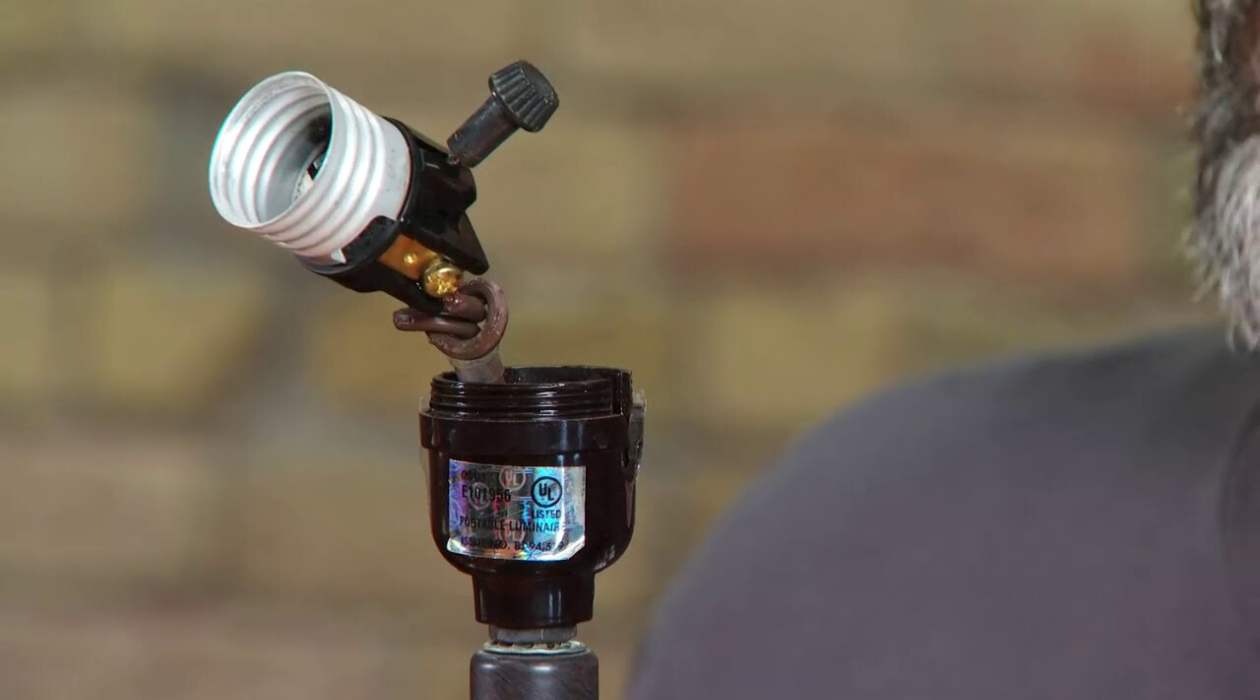
Step 4: Removing the Switch Housing Cover
With the lampshade and bulb removed, we can now move on to removing the switch housing cover. This step will grant us access to the switch and its wiring. Follow these steps to remove the switch housing cover:
- Inspect the lamp base: Take a moment to familiarize yourself with the lamp base and locate any screws or fasteners that hold the switch housing cover in place. These screws can usually be found on the bottom or sides of the lamp base.
- Use the appropriate screwdriver: Select the appropriate screwdriver from your set that matches the screwheads on the lamp base. It’s important to choose the right size to avoid damaging the screws.
- Start unscrewing: Insert the screwdriver into the screwhead and begin unscrewing the screws counterclockwise. Apply gentle pressure and ensure that the screwdriver remains securely in the screwhead to prevent slippage.
- Set aside the screws: As you remove each screw, place them in a small container or dish to keep them safely together. This will prevent them from getting lost or mixed up during the repair process.
- Remove the switch housing cover: Once all the screws are removed, carefully lift and remove the switch housing cover from the lamp base. Take care not to damage any wires attached to the switch as you do this.
With the switch housing cover removed, you now have access to the internal wiring and the switch itself. Take a moment to examine the inside of the switch housing and check for any loose connections or visible signs of damage. This will give you a better understanding of the state of the switch and help in the following steps of the repair process.
Now that the switch housing cover has been successfully removed, we can proceed with identifying the wires in the next step. Continue to work carefully and attentively as you progress with the repair.
When fixing a 3-way lamp switch, start by unplugging the lamp and removing the shade. Then, carefully disassemble the socket and inspect the wiring for any damage or loose connections. If needed, replace the switch with a new one of the same type. Always follow safety precautions when working with electrical components.
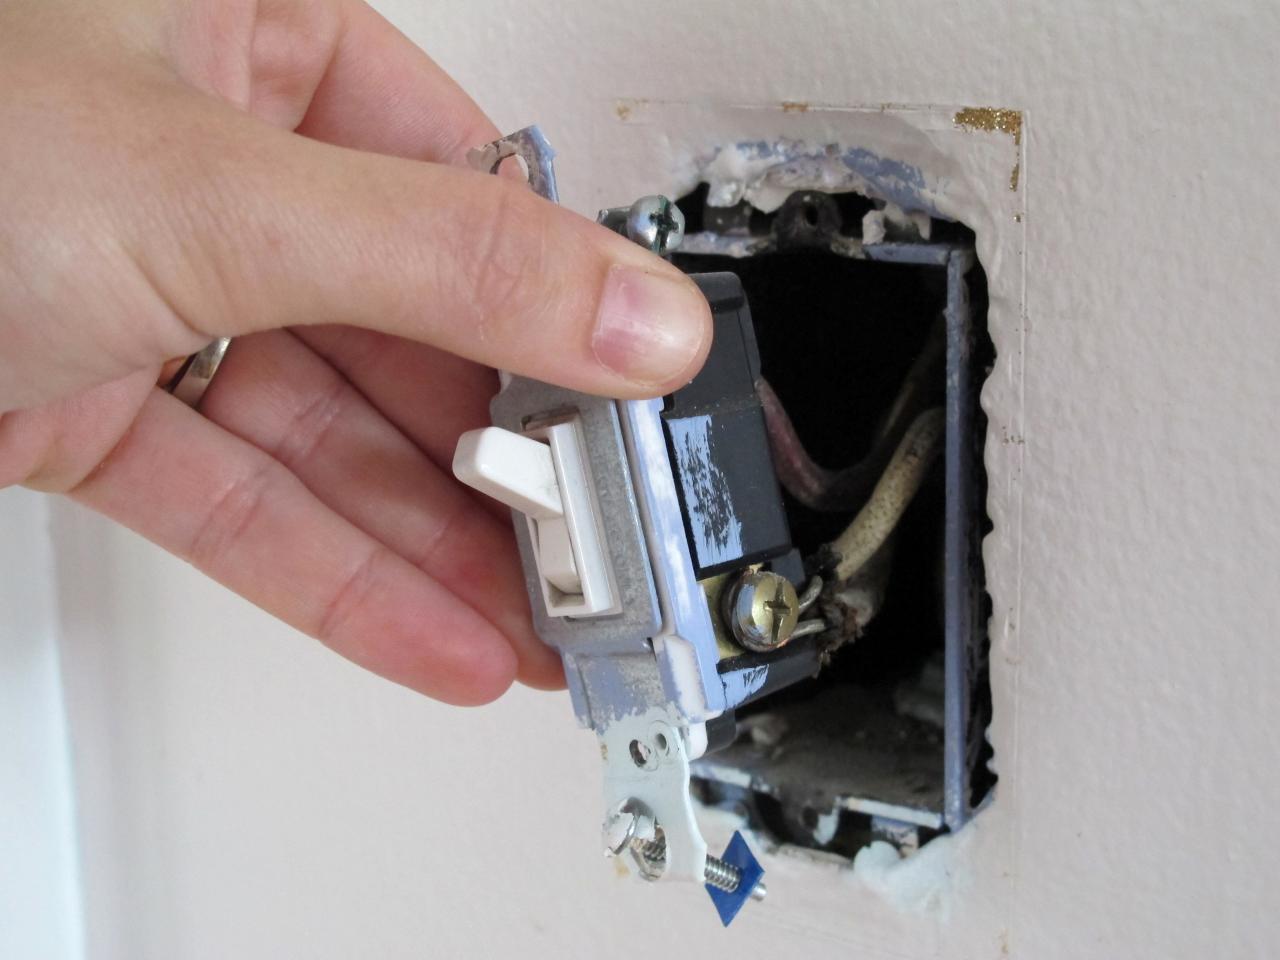
Step 5: Identifying the Wires
With the switch housing cover removed, it’s time to identify the wires that are connected to the 3-way lamp switch. Identifying the wires is crucial for correctly installing the new switch. Follow these steps to identify the wires:
- Observe the wire colors: Take a close look at the wires connected to the switch. Typically, you will find three wires: a black wire, a brass or gold wire, and a silver wire. Each wire serves a specific purpose in the functioning of the 3-way switch.
- Identify the common wire: The common wire is usually the black wire and is connected to the common terminal of the switch, labeled as “A” in most cases. This wire carries the electrical current from the power source to the switch.
- Identify the traveler wires: The brass or gold, and silver wires are the traveler wires. They are connected to the traveler terminals of the switch, labeled as “B” and “C.” These wires allow the current to flow between the switch and the lamp socket, changing the level of brightness.
- Double-check your observations: Once you have identified the wires based on their colors and their connection to the switch terminals, it’s a good practice to double-check your observations to ensure accuracy and prevent any mistakes during the replacement process.
Remember, the wire colors mentioned above are common, but there may be variations. If you are unsure about the identification of the wires, it’s always best to consult the lamp’s manufacturer instructions or seek the assistance of a professional electrician.
With the wires identified, you are one step closer to replacing the 3-way lamp switch. In the next step, we will focus on disconnecting the old switch from the wiring. Take your time and handle the wires with care to avoid damaging them.
Step 6: Disconnecting the Old Switch
Now that you have identified the wires, it’s time to disconnect the old 3-way lamp switch from the wiring. Follow these steps to ensure a safe disconnection:
- Double-check the power: Before handling any wires, double-check that the lamp is still unplugged from the power source. Ensuring no power is flowing is vital for your safety during the disconnecting process.
- Take note of wire positions: Before removing the old switch, take note of the positioned wires and their connection points. This will help you when installing the new switch.
- Mark the wires: To avoid confusion, it’s a good idea to mark the wires with labels or use a marker to clearly distinguish them. You can mark them as “common,” “traveler 1,” and “traveler 2” based on their corresponding terminals.
- Loosen the wire connections: Using your screwdriver, carefully loosen the wire connections by turning the screws in a counterclockwise direction. Take care not to damage the wires while doing this.
- Remove the wires: Once the wire connections are loosened, gently pull the wires out of the old switch’s terminals. If needed, use wire cutters to cut any wire ties or tape that may be securing the wires in place.
By following these steps, you have successfully disconnected the old 3-way lamp switch from the wiring. Remember to handle the wires with care to avoid any damage or accidental wire breakage.
In the next step, we will focus on installing the new 3-way lamp switch and connecting the wires. Take your time and refer to your notes and markings to ensure proper installation. Let’s proceed to step 7: installing the new switch!
Read more: How To Replace A 3-Way Lamp Socket
Step 7: Installing the New Switch
Now that you have safely disconnected the old switch, it’s time to install the new 3-way lamp switch. Follow these steps to ensure a proper installation:
- Refer to your notes and markings: Before proceeding with the installation, refer to the notes and markings you made earlier to ensure you reconnect the wires to the correct terminals on the new switch.
- Insert the wires: Start by inserting the wires into the corresponding terminals on the new switch. The wire colors should match their designated terminals: black to the common terminal, and the brass or gold and silver wires to the traveler terminals.
- Tighten the wire connections: Using a screwdriver, gently tighten the screws on each terminal to secure the wire connection. Be cautious not to overtighten the screws as it may damage the wire or the switch.
- Double-check the wire connections: Once all the wires are securely connected, double-check that each wire is securely fastened in its designated terminal. Ensure there is no loose or exposed wiring that could lead to electrical hazards.
With the new switch installed and the wires properly connected, you have successfully completed this step. It’s important to remember that the proper installation of the new switch is crucial for the safe and effective functioning of the 3-way lamp.
In the next step, we will focus on reassembling the lamp, ensuring everything is securely in place. Let’s proceed to step 8: reassembling the lamp!
Step 8: Reassembling the Lamp
Now that you have installed the new 3-way lamp switch, it’s time to reassemble the lamp. Follow these steps to ensure a proper and secure reassembly:
- Position the switch housing cover: Take the switch housing cover that you removed earlier and position it back onto the lamp base. Align any screw holes on the cover with the corresponding holes on the base.
- Insert and tighten the screws: Insert the screws that you had set aside earlier into the screw holes and use a screwdriver to tighten them clockwise. Ensure that the screws are securely fastened, but be careful not to overtighten them, as it may damage the cover or the base.
- Verify proper alignment: Double-check that the switch housing cover is properly aligned and sitting flush with the lamp base. Any misalignment may affect the switch’s functionality or cause difficulty in operating the lamp.
- Reattach the lampshade: Place the lampshade back onto the lamp socket and secure it using the appropriate method. This may involve screwing it back in place or attaching it with clips or other mechanisms, depending on the design of your lamp.
- Check overall stability: Once the lampshade is reattached, gently check the stability and balance of the lamp. Ensure that it sits securely and doesn’t wobble or tip over easily, as this could pose a safety hazard.
By following these steps, you have successfully reassembled the lamp after replacing the 3-way switch. It’s important to ensure that all components are properly aligned and securely in place to guarantee the lamp’s functionality and safety.
In the next step, we will focus on testing the new switch to ensure it is working correctly. Let’s proceed to step 9: testing the new switch!
Step 9: Testing the New Switch
With the lamp reassembled, it’s time to test the new 3-way switch to ensure it is working correctly. Follow these steps to conduct a proper test:
- Plug in the lamp: With the lamp fully assembled, plug it back into the power source. Ensure that the lamp is securely connected and the power cord is inserted fully into the wall socket.
- Turn on the lamp: Flip the switch to the lowest or initial position to turn on the lamp. The position may vary depending on the lamp design, but it is usually labeled as “Low” or “1”.
- Test all three positions: Slowly toggle the switch between the low, medium, and high positions. Observe the lamp to ensure that it responds accordingly and the brightness levels change as desired.
- Check for any issues: While testing, pay attention to any irregularities or issues with the switch operation. Look out for flickering lights, faulty connections, or any signs of malfunction.
If the lamp is functioning properly and the switch is successfully controlling the brightness levels, congratulations! You have successfully fixed the 3-way lamp switch. Your lamp is now ready to provide you with the versatility and convenience of adjustable lighting.
However, if you encounter any issues or the lamp does not respond as expected, double-check the wiring connections and ensure that they are securely fastened. If the problem persists, it may be necessary to seek the assistance of a professional electrician for further diagnosis and repair.
Now that you have tested the new switch and confirmed its functionality, you can enjoy your well-lit space with the flexibility provided by the 3-way lamp. Remember to exercise caution and follow safety guidelines when operating any electrical devices.
Concluding our repair journey, we have successfully gone through the steps required to fix a 3-way lamp switch, from understanding the switch’s functionality to identifying and reconnecting the wires, and finally, testing the new switch.
We hope this guide has been helpful in assisting you with the repair of your 3-way lamp switch. By following these steps and taking proper safety measures, you can extend the lifespan of your lamp and save money by avoiding the need for a complete replacement.
Thank you for joining us on this repair adventure, and we wish you many bright and cozy moments with your perfectly functioning 3-way lamp!
Conclusion
The 3-way lamp switch is an essential component of adjustable lighting, providing versatility and convenience in any space. By following the steps outlined in this guide, you have learned how to fix a faulty 3-way lamp switch, saving you the expense of buying a new lamp. Whether you are a DIY enthusiast or simply want to take on a small repair project, this guide has provided you with the knowledge and steps needed to successfully complete the task.
Throughout the repair process, we emphasized the importance of prioritizing safety, from unplugging the lamp before starting the repair to handling wires with caution. Safety should always be your first consideration when working with electrical components.
By understanding the functionality of a 3-way lamp switch, identifying and reconnecting the wires correctly, and testing the new switch, you have successfully completed the repair. Remember to conduct a thorough test to ensure the switch is functioning properly and the lamp responds to the different brightness levels as expected.
If you encounter any difficulties during the repair process or if the lamp does not function as intended, it is always best to seek the assistance of a professional electrician. They have the expertise and experience to diagnose and resolve more complex issues.
With your 3-way lamp switch repaired, you can now enjoy adjustable lighting in your space, creating the perfect ambiance for any occasion. By taking care of your lamp and addressing any issues promptly, you can prolong its lifespan and continue to enjoy its functionality for years to come.
We hope this guide has been informative and empowering, enabling you to take on the task of fixing your 3-way lamp switch. Remember, a little DIY effort can go a long way in maintaining and preserving your cherished belongings.
Thank you for joining us on this repair journey, and we wish you many bright and cozy moments with your newly repaired 3-way lamp!
Now that you've mastered fixing that 3-way lamp switch, why not brighten up other areas of your home? If you're seeking ways to illuminate spaces with flair and efficiency, our latest guide on stylish LED mirrors is a must-read. These mirrors aren't just practical; they transform any room, blending utility with a dash of elegance. Perfect for bathrooms, bedrooms, or any area needing a lift, learn which LED mirrors make the cut for both functionality and style. Don't miss out on this illuminating read!
Frequently Asked Questions about How To Fix A 3-Way Lamp Switch
Was this page helpful?
At Storables.com, we guarantee accurate and reliable information. Our content, validated by Expert Board Contributors, is crafted following stringent Editorial Policies. We're committed to providing you with well-researched, expert-backed insights for all your informational needs.