Furniture
How To Install A Lamp Harp
Modified: August 17, 2024
Learn how to install a lamp harp with ease and transform your furniture into a beautifully illuminated space. Step-by-step guide and expert tips available.
(Many of the links in this article redirect to a specific reviewed product. Your purchase of these products through affiliate links helps to generate commission for Storables.com, at no extra cost. Learn more)
Introduction
Welcome to our comprehensive guide on how to install a lamp harp. Whether you’re looking to update your current lamp or have just purchased a new lampshade, installing a lamp harp is a straightforward process that will help you achieve the perfect balance of style and functionality in your lighting setup. In this article, we will walk you through the step-by-step process of installing a lamp harp, ensuring that your lampshade is securely attached and properly aligned.
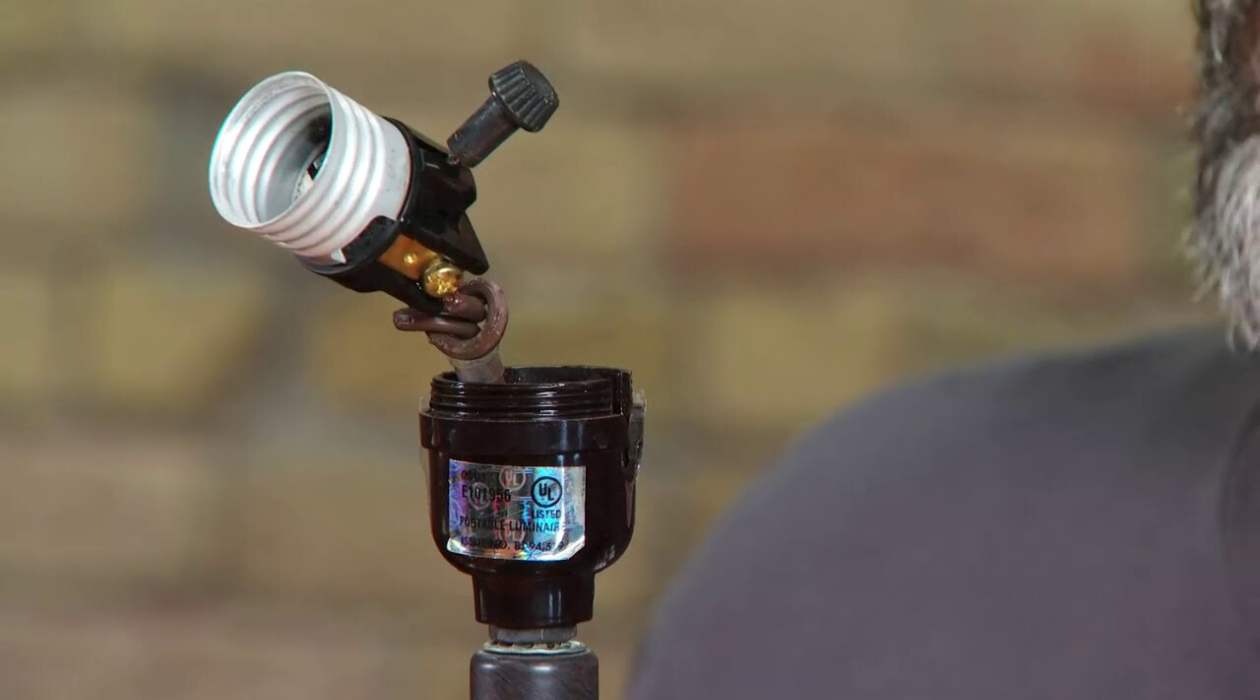
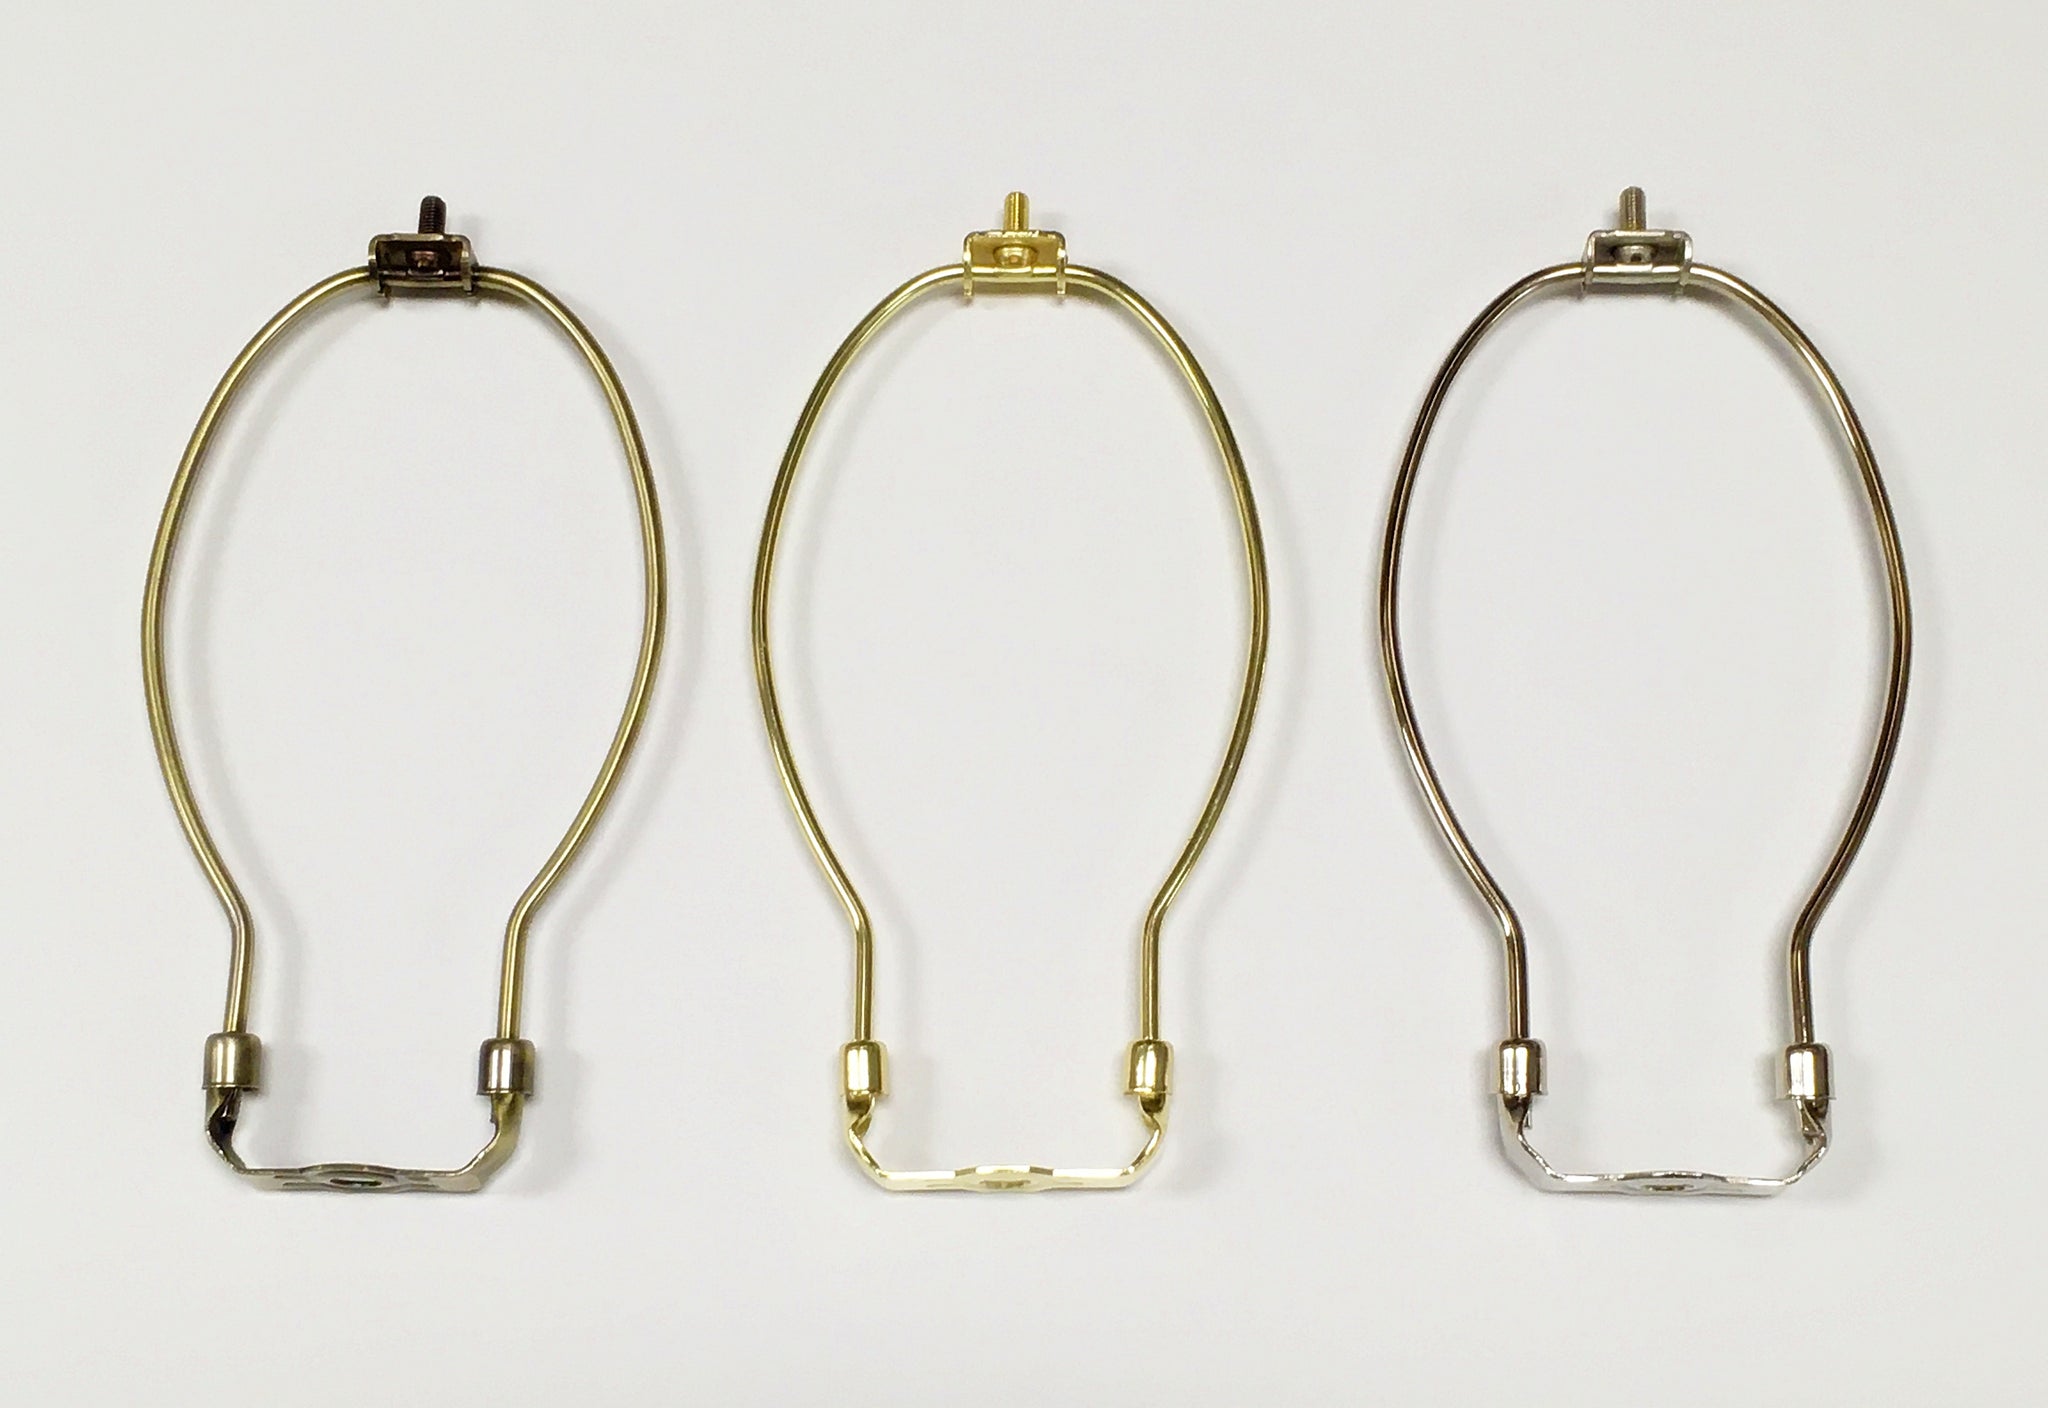
Before we dive into the installation process, let’s briefly discuss what a lamp harp is and its purpose. A lamp harp, also known as a lampshade harp, is a metal component that attaches to the base of a lamp. It typically consists of a harp base, a harp saddle, and a threaded finial. The harp base serves as a support for the lampshade, while the harp saddle secures the lampshade in place.
The primary function of a lamp harp is to provide stability and support to the lampshade. By attaching the harp to the lamp base, you create a secure connection that allows the lampshade to sit at the desired height and angle. This not only ensures that the lampshade is evenly balanced, but it also allows for proper light distribution, enhancing the overall aesthetics and functionality of your lamp.
Now that we have a basic understanding of what a lamp harp is and its purpose, let’s move on to the step-by-step installation process. But before we begin, make sure you have all the necessary tools and materials ready.
Key Takeaways:
- Elevate your lighting setup by installing a lamp harp for stability and proper alignment of your lampshade, enhancing both aesthetics and functionality.
- Ensure a secure and stylish lamp installation by carefully preparing the lamp harp and base, attaching the harp, and securing the lampshade for a balanced and visually appealing result.
Read more: How To Measure Harp Lamp Shade
Step 1: Gather the necessary tools and materials
Before you start installing the lamp harp, it’s important to gather all the tools and materials you’ll need. Having everything prepared will make the installation process smoother and more efficient. Here’s a list of what you’ll need:
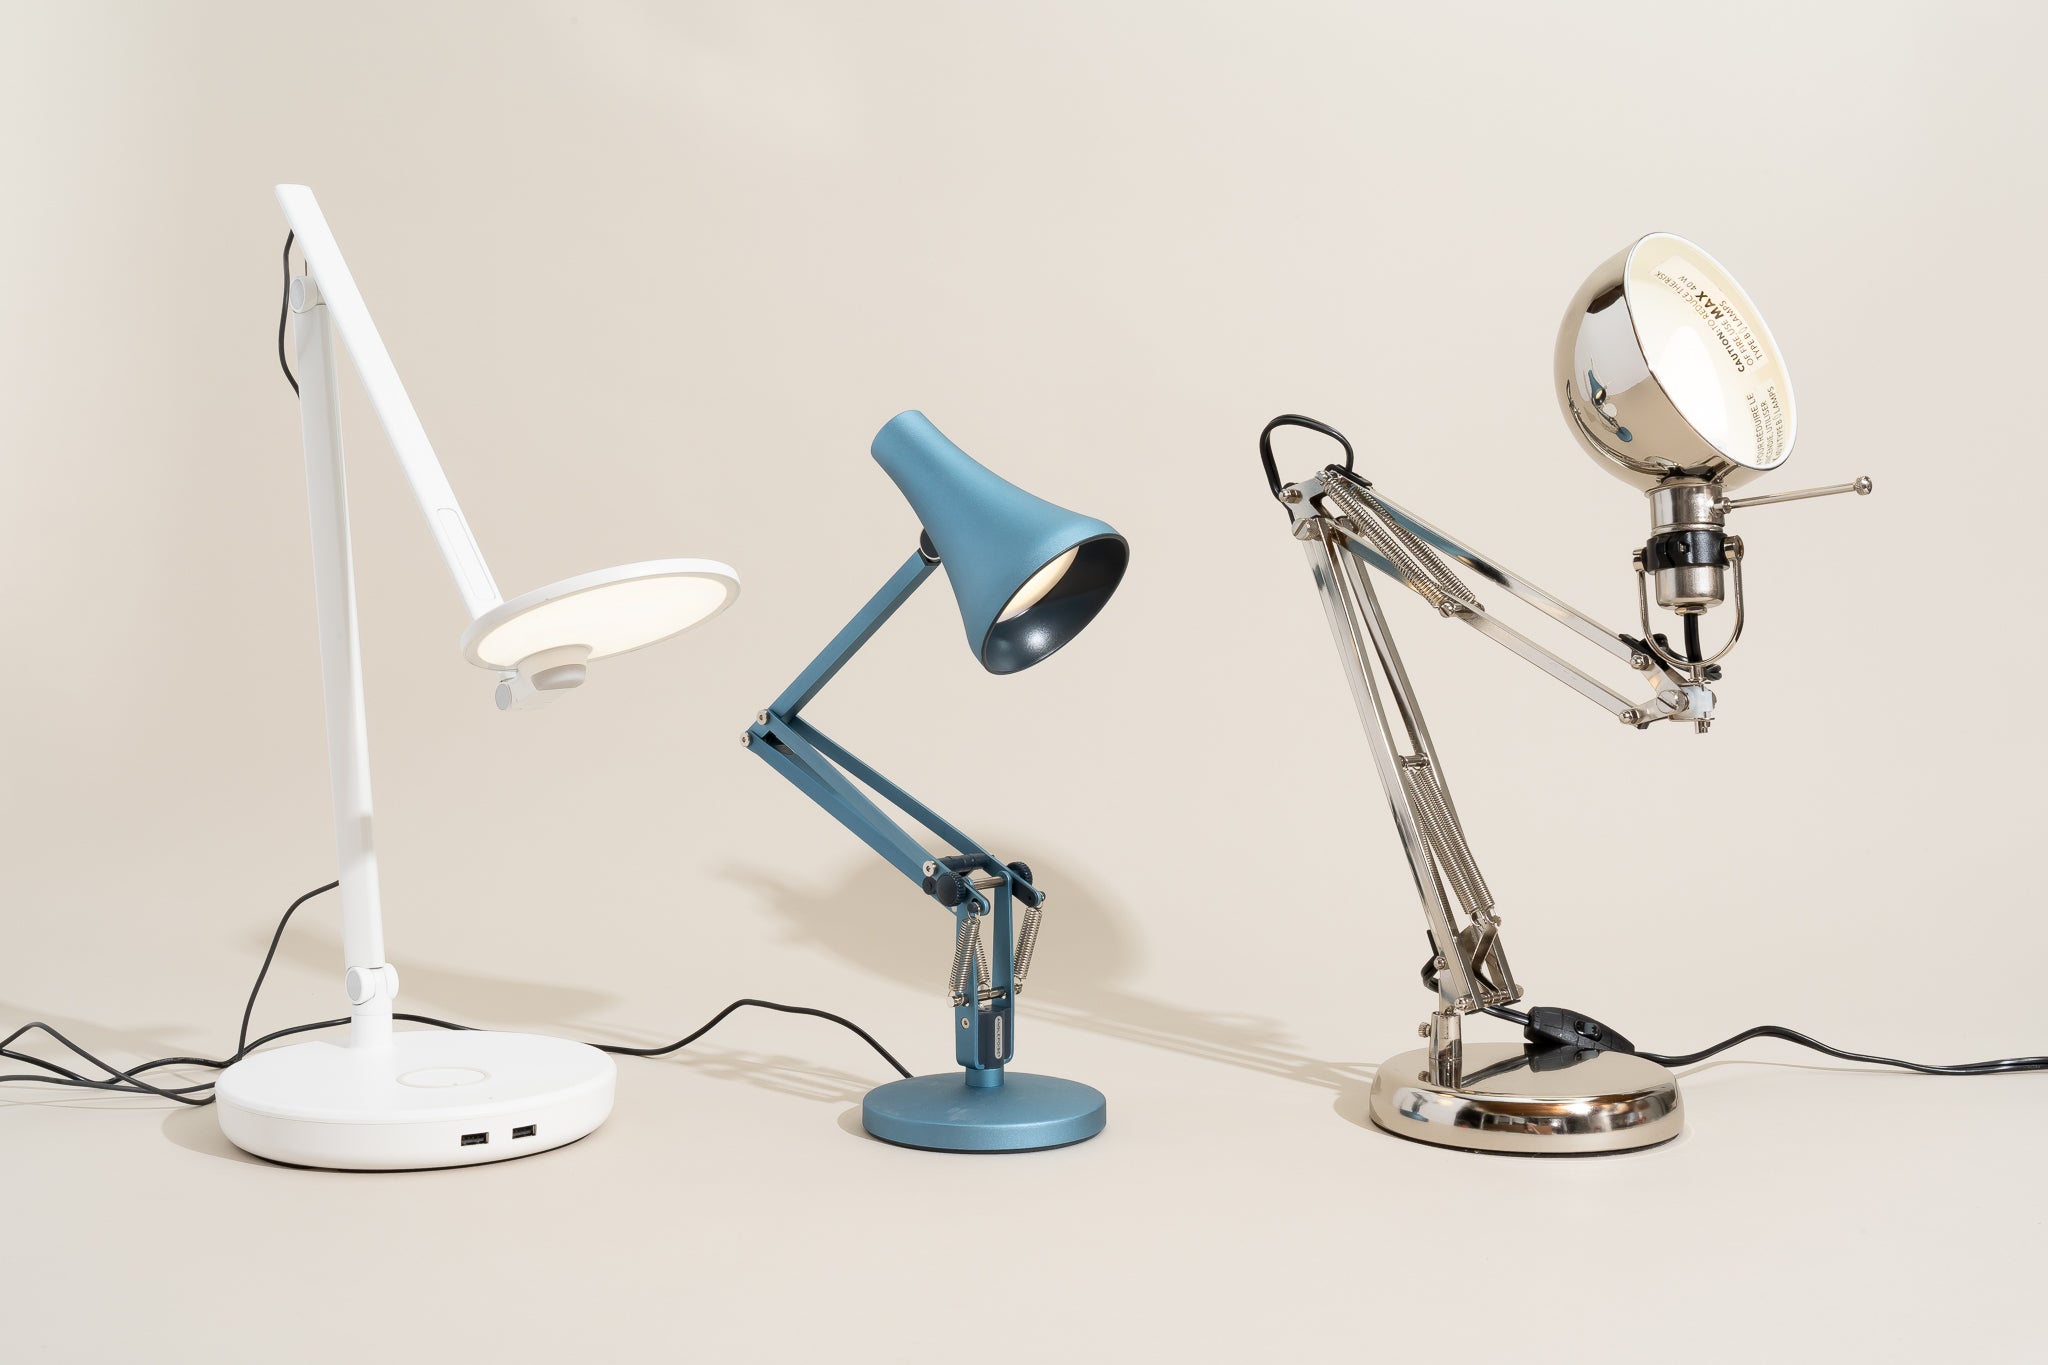
- Lamp harp: Choose a lamp harp that is appropriate for the size and style of your lampshade. Make sure the harp length matches the height of your lampshade.
- Lamp base: This is the base of your lamp, where the lamp harp will be attached. Ensure that the lamp base is clean and secure.
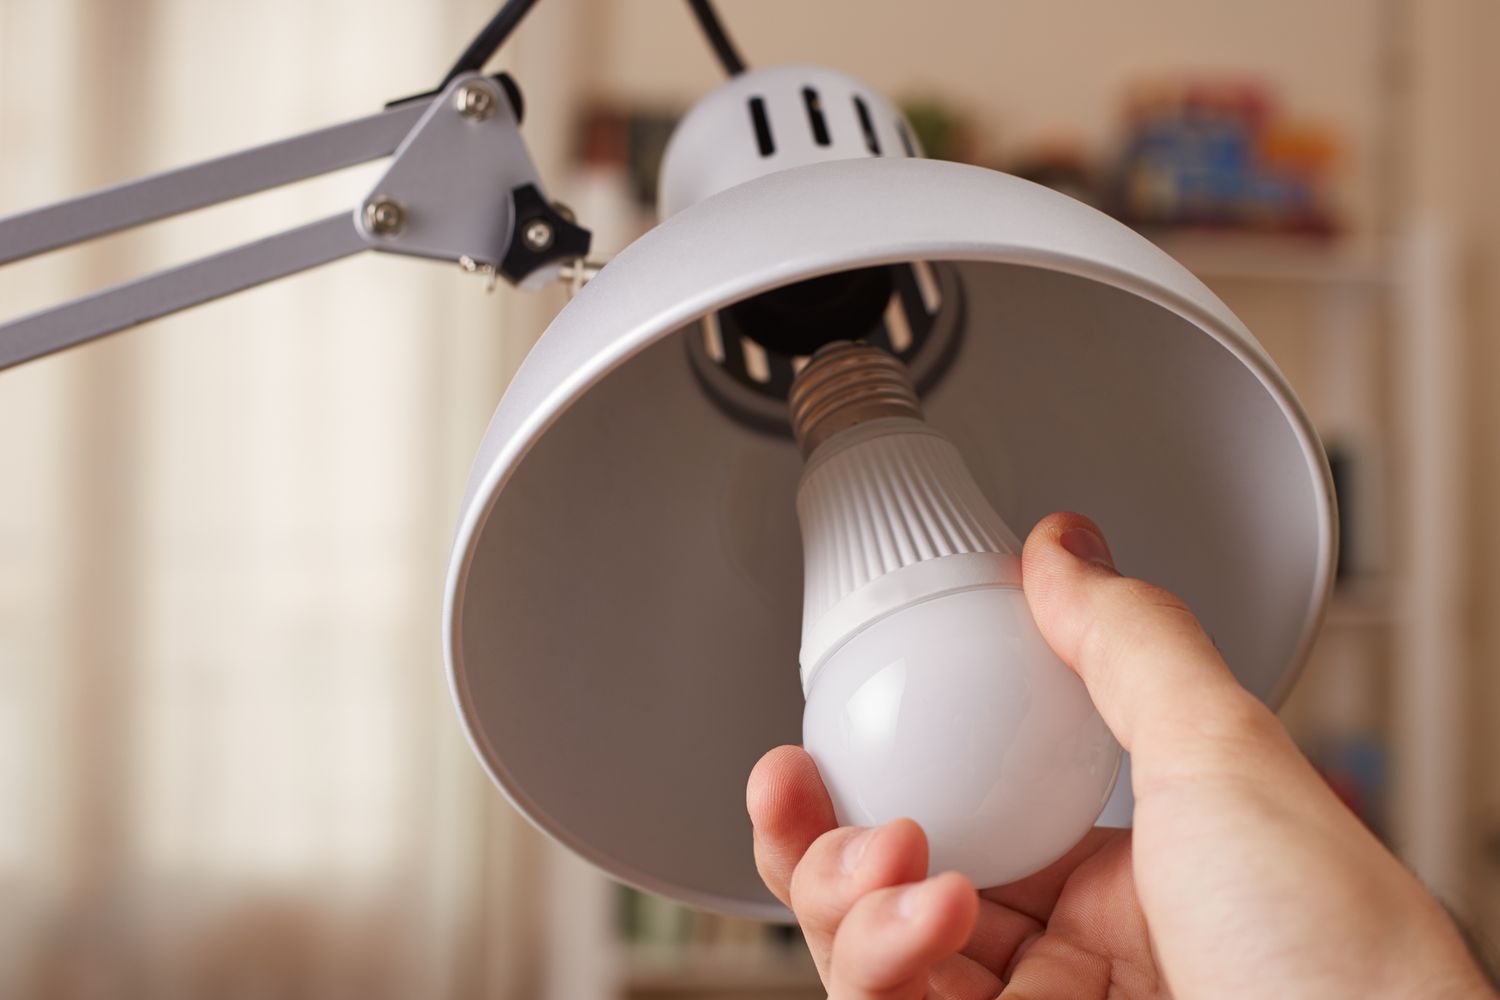
- Lampshade: Select a lampshade that complements your lamp and fits securely onto the lamp harp.
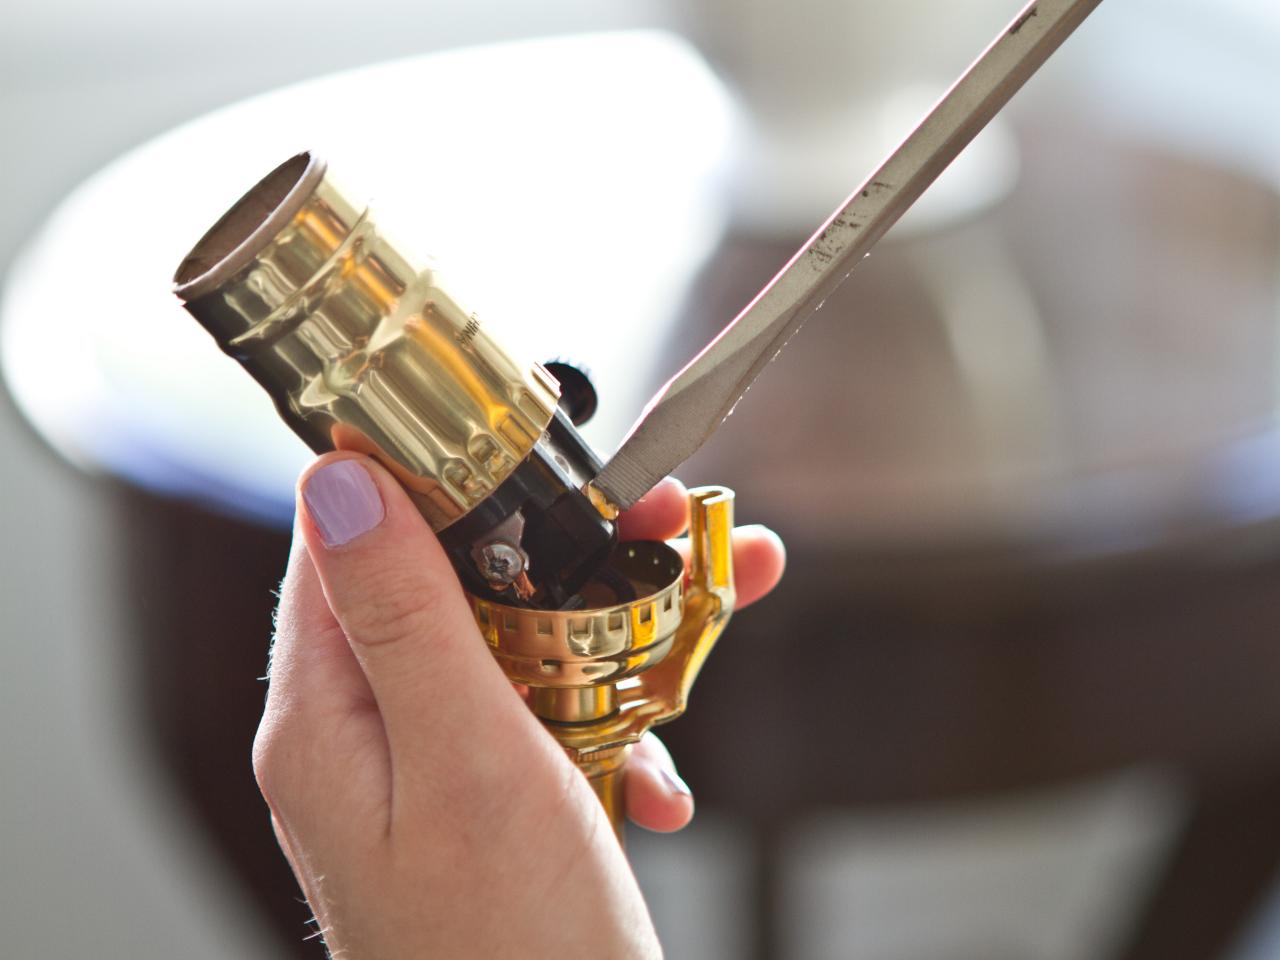
- Pliers: You’ll need pliers to loosen and tighten the lamp harp components.
- Screwdriver: Depending on the type of lamp harp you have, you may need a screwdriver to attach it to the lamp base.
- Optional: Finial: A finial is the decorative element that screws onto the top of the lamp harp. It adds an extra touch of style to your lamp.
Once you have gathered all the necessary tools and materials, you’re ready to move on to the next step: preparing the lamp harp and lamp.
Step 2: Prepare the lamp harp and lamp
Now that you have all the tools and materials ready, it’s time to prepare the lamp harp and lamp for installation. Follow these steps:
- Inspect the lamp harp: Before attaching the lamp harp, make sure it is in good condition. Check for any bends, damages, or missing pieces. If you notice any issues, consider replacing the harp before proceeding.
- Remove the lampshade: If your lamp already has a lampshade attached, carefully remove it and set it aside.
- Loosen the harp saddle: Using pliers, loosen the harp saddle by turning it counterclockwise. This will allow you to adjust the height of the lampshade later during installation.
- Attach the lamp harp base: Place the lamp harp base onto the lamp base, aligning the harp saddle with the threaded rod or socket. Make sure the harp base is centered and sits securely on the lamp base.
- Tighten the harp saddle: Once the harp base is in position, use pliers to tighten the harp saddle by turning it clockwise. Make sure it is securely fastened to the lamp base.
- Optional: Attach the finial: If you have a decorative finial, screw it onto the threaded rod at the top of the lamp harp. This will provide a polished finishing touch to your lamp.
By preparing the lamp harp and lamp before installing the lampshade, you ensure a stable foundation and make the installation process smoother. Now that the lamp harp and lamp are ready, it’s time to move on to attaching the lamp harp to the lamp base.
Step 3: Attach the lamp harp to the lamp base
With the lamp harp and lamp prepared, it’s time to attach the harp to the lamp base. Follow these steps:
- Position the lamp harp: Hold the lampshade harp in place and ensure that it is centered on the lamp base. The harp should be perpendicular to the lamp base, with the harp saddle facing upwards.
- Tighten the harp saddle: Using pliers, tighten the harp saddle by turning it clockwise. Apply gentle pressure to ensure it is securely fastened to the lamp base. This will hold the lamp harp in place.
- Adjust the harp height: If necessary, adjust the height of the lamp harp. You can do this by loosening the harp saddle slightly and sliding the harp up or down on the threaded rod or socket. Once you find the desired height, tighten the harp saddle to secure it in place.
By attaching the lamp harp to the lamp base, you create a sturdy connection that will support the lampshade properly. The lamp harp should now be securely in place and ready for the final step: attaching the lampshade.
When installing a lamp harp, make sure to choose the right size harp for your lampshade. The harp should be slightly shorter than the height of the lampshade for a proper fit.
Step 4: Secure the lampshade onto the lamp harp
Now that the lamp harp is attached to the lamp base, it’s time to secure the lampshade onto the harp. Follow these steps:
- Position the lampshade: Hold the lampshade with the opening facing downwards. Carefully place it onto the lamp harp, ensuring that the harp saddle fits into the notches or brackets on the lampshade frame.
- Align the lampshade: Adjust the position of the lampshade until it is properly aligned and centered on the lamp harp. Make sure the lampshade is straight and not leaning to one side.
- Secure the lampshade: Once the lampshade is aligned, use your fingers to gently press the harp saddle into the notches or brackets on the lampshade frame. This will securely hold the lampshade in place.
It’s important to ensure that the lampshade is securely attached to the lamp harp to prevent it from slipping or falling off. Take a moment to double-check the stability of the lampshade and make any necessary adjustments.
Now that the lampshade is securely attached, move on to the final step: checking the stability of the lamp and making any necessary adjustments.
Read more: How To Install A Wall Lamp
Step 5: Check the stability and adjust if necessary
Once you have installed the lamp harp and secured the lampshade, it’s important to check the stability of the lamp and make any necessary adjustments. Follow these steps:
- Ensure proper alignment: Take a step back and visually inspect the lamp to ensure that it is straight and properly aligned. The lampshade should sit evenly on the lamp harp without tilting to one side.
- Check for wobbling: Gently give the lamp a slight shake to check for any wobbling or instability. If you notice any movement, consider tightening the harp saddle and ensuring that the lamp base is securely fastened.
- Adjust the harp height if needed: If the lampshade is too high or too low, loosen the harp saddle and adjust the height of the lamp harp. Once you’ve made the necessary adjustments, tighten the harp saddle to secure the new position.
- Test the stability of the lampshade: Carefully touch the lampshade to ensure that it is securely attached to the lamp harp. If it feels loose or unstable, reposition the lampshade and press the harp saddle more firmly into the notches or brackets on the lampshade frame.
- Double-check the lampshade alignment: Take a final look at the lamp to ensure that the lampshade is still aligned properly. Make any slight adjustments if needed to maintain the desired position.
By checking the stability of the lamp and making any necessary adjustments, you can ensure that your lamp is not only visually appealing but also safe and functional. Once you are satisfied with the stability and alignment, your lamp installation is complete!
Congratulations on successfully installing a lamp harp and attaching a lampshade. Your efforts have transformed your lamp into a beautiful and functional lighting fixture. Enjoy the enhanced ambiance and illumination that your stylish lamp now provides!
Conclusion
Installing a lamp harp and attaching a lampshade is a simple yet essential process in creating a well-balanced and stylish lighting setup. By following the step-by-step guide outlined in this article, you can easily achieve a secure and aesthetically pleasing result.
Remember to gather all the necessary tools and materials before starting the installation process. This ensures a smooth and efficient experience. Take your time to inspect the lamp harp and prepare the lamp base to ensure they are in good condition and securely attached.
Attaching the lamp harp to the lamp base is a crucial step to provide stability and support for the lampshade. Ensure that the harp is properly aligned and tighten the harp saddle to secure it in place.
With the lamp harp in place, it’s time to secure the lampshade. Align the lampshade with the harp saddle and press it firmly into place, ensuring a secure attachment.
After installation, it’s important to check for stability and make any necessary adjustments. Ensure the lamp is properly aligned, check for any wobbling, and adjust the harp height if needed. Double-check the stability of the lampshade and align it as necessary.
By following these steps, you can transform your lamp into a functional and aesthetically pleasing lighting fixture that adds style and ambiance to any room.
Now that you have successfully installed a lamp harp and attached a lampshade, take a step back and admire your work. The finished product is a testament to your craftsmanship and attention to detail. Enjoy the enhanced lighting experience that your stylish lamp provides!
Frequently Asked Questions about How To Install A Lamp Harp
Was this page helpful?
At Storables.com, we guarantee accurate and reliable information. Our content, validated by Expert Board Contributors, is crafted following stringent Editorial Policies. We're committed to providing you with well-researched, expert-backed insights for all your informational needs.