Furniture
How To Make A Ceramic Lamp
Modified: August 16, 2024
Learn how to make a stunning ceramic lamp that will add a touch of elegance to your furniture collection. Follow our step-by-step guide for beautiful results.
(Many of the links in this article redirect to a specific reviewed product. Your purchase of these products through affiliate links helps to generate commission for Storables.com, at no extra cost. Learn more)
Introduction
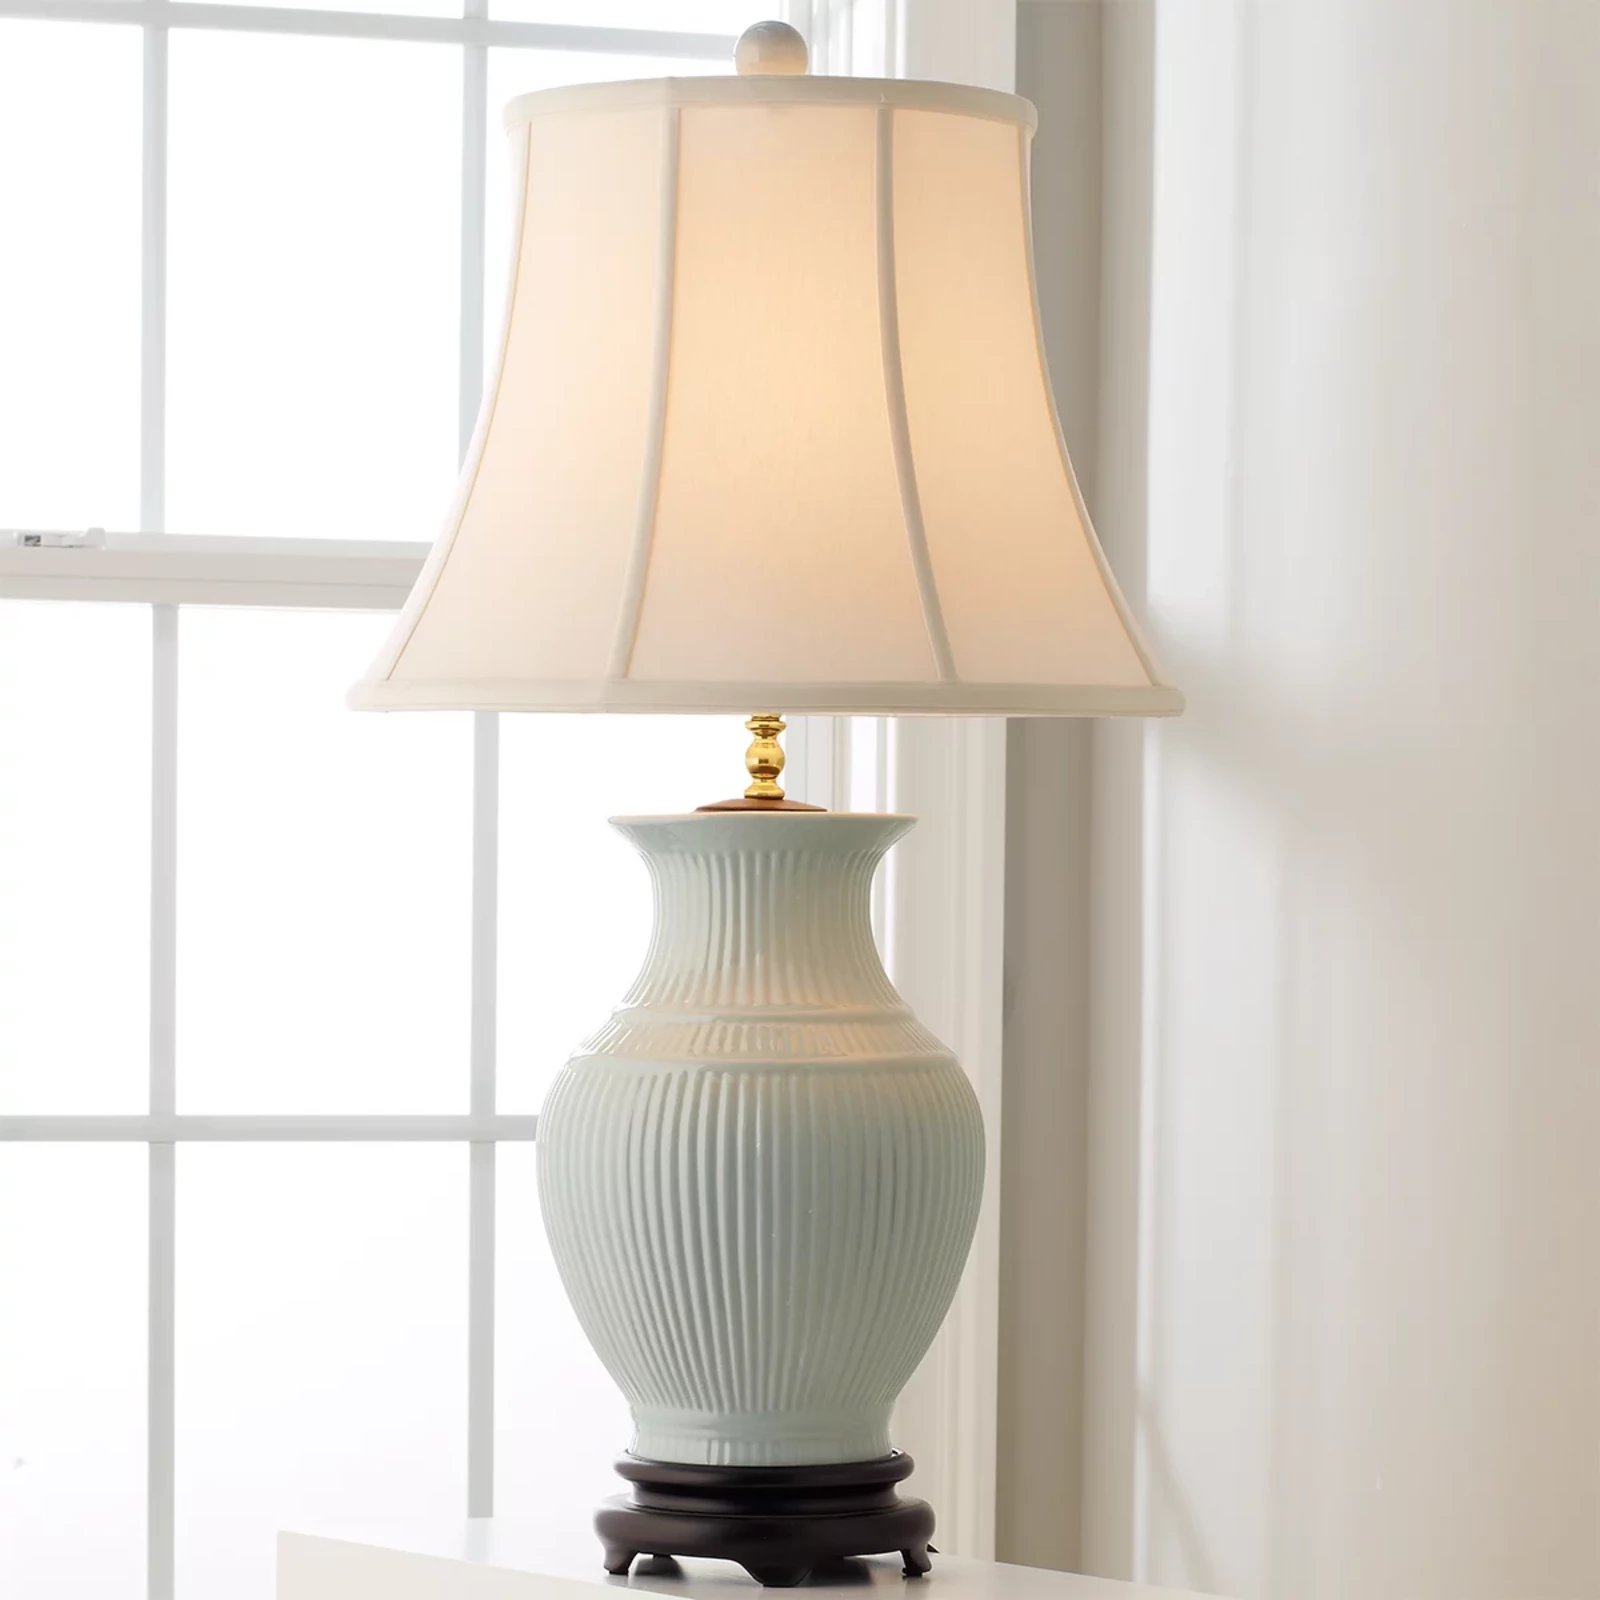
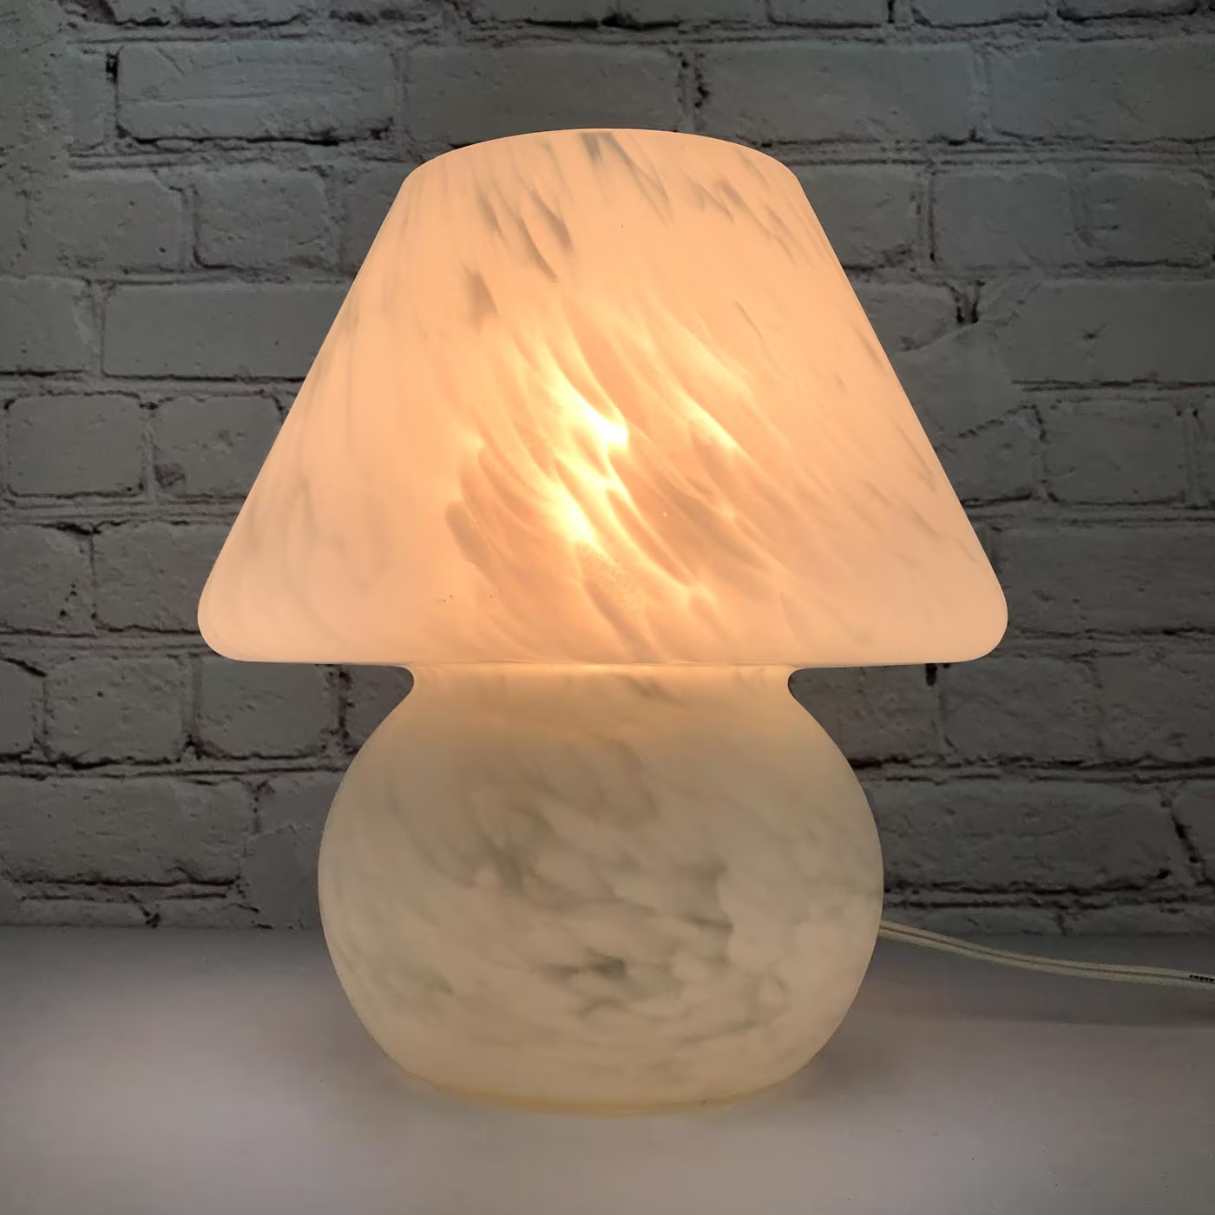
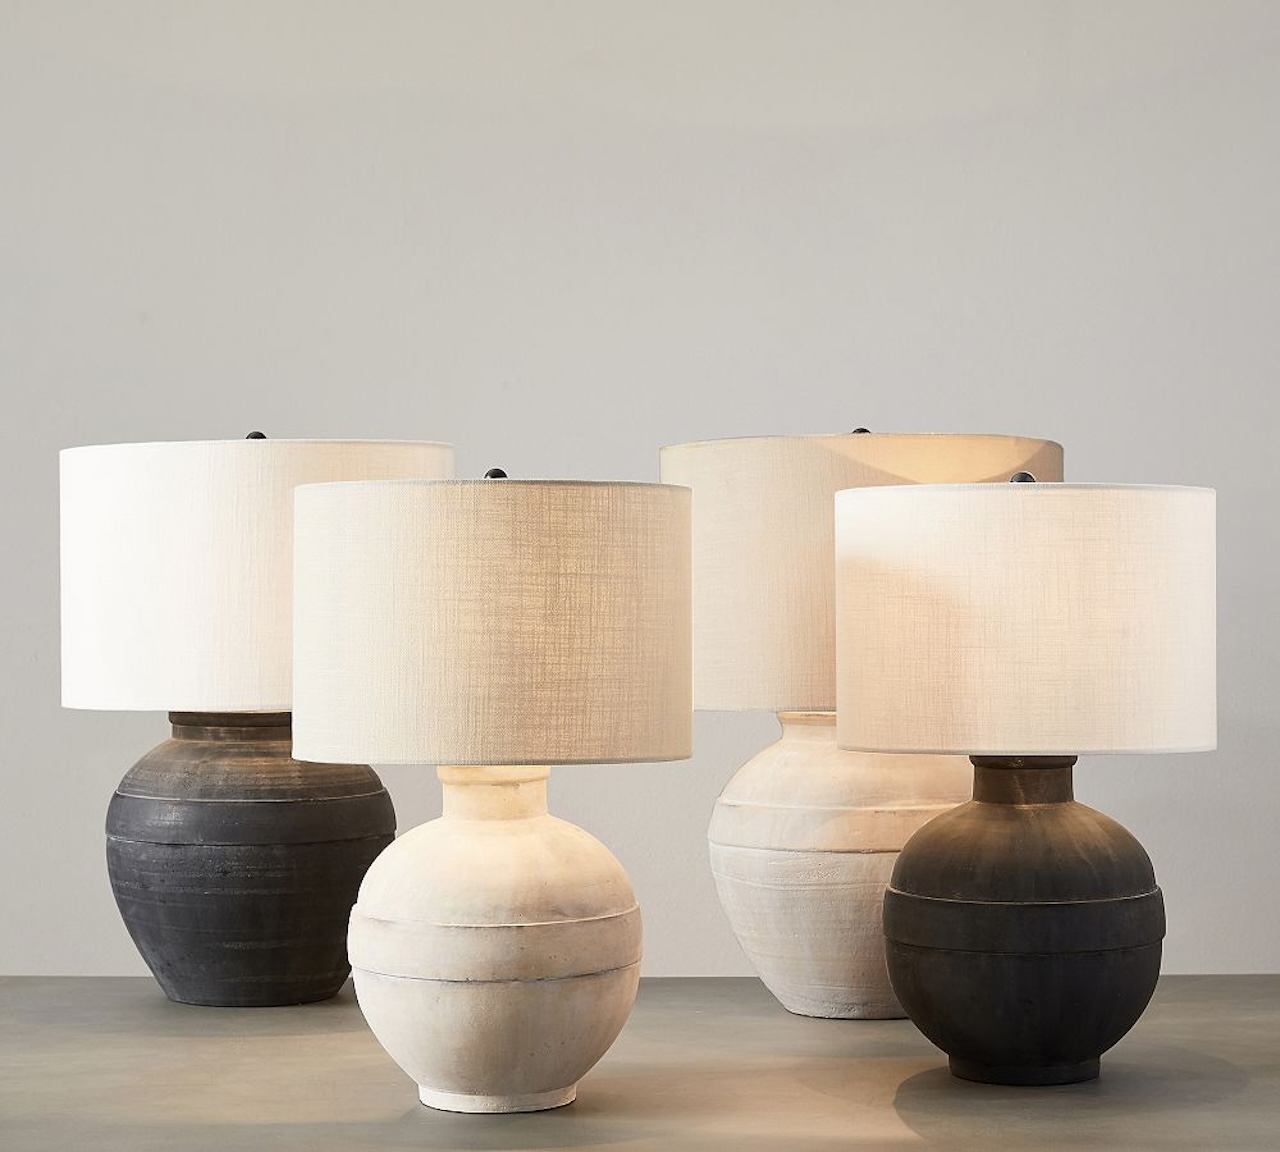
Lighting plays a crucial role in creating the perfect ambiance for any space. It not only illuminates our surroundings but also adds warmth and personality to a room. When it comes to lighting options, a ceramic lamp is an excellent choice. With its timeless elegance and versatility, a ceramic lamp can effortlessly enhance the visual appeal of any interior. What’s more, making a ceramic lamp can be a fun and rewarding experience.
In this article, we will guide you through the process of making your own ceramic lamp. From preparing the clay to assembling the lamp, we will cover each step in detail. So dust off your creative hat, gather the necessary materials, and let’s get started!
Key Takeaways:
- Create a personalized ceramic lamp to add warmth and character to any space. Express your creativity by shaping the clay, crafting the lampshade, and assembling a unique lighting piece that reflects your style and taste.
- Enjoy the rewarding experience of making a ceramic lamp from scratch. With attention to detail and high-quality materials, unleash your artistic skills to create a timeless and personalized lighting fixture that enhances any room.
Read more: How To Paint A Ceramic Lamp Base
Materials Needed
Before diving into the process of making a ceramic lamp, it’s important to gather all the necessary materials. Here’s a list of items you will need:
- Ceramic clay: Choose a high-quality clay suitable for sculpting and firing.
- Lamp base: This can be made of wood, metal, or any other material of your choice.
- Lampshade frame: Look for a frame that fits the size and style of your lamp base.
- Fabric for lampshade: Select a fabric that complements your interior design.
- Lamp fitting: This includes the socket, cord, and plug.
- Ceramic tools: You will need various tools for shaping and sculpting the clay.
- Clay carving tools: These are necessary for adding intricate details to your lamp.
- Baking dish or kiln: You will need an oven or kiln to fire the clay.
- Paints and brushes: Choose paints that are compatible with ceramic surfaces.
- Glaze: This is optional but can enhance the visual appeal and protect the ceramic surface.
- Sanding paper: You’ll need sandpaper for smoothing out the surface of the lamp.
- Adhesive: Select a strong adhesive for attaching the lampshade to the base.
Once you have gathered all the materials, you’ll be ready to move on to the next steps in creating your ceramic lamp.
Step 1: Preparing the Clay
The first step in making a ceramic lamp is preparing the clay. Here’s how to do it:
- Start by kneading the clay to remove any air bubbles and make it more pliable. This will ensure that your finished lamp is solid and free from cracks.
- Once the clay is smooth and ready to use, divide it into two parts: one for the lamp base and the other for the lampshade.
- Take the clay for the lamp base and shape it into a solid, stable form. You can use your hands or ceramic tools to sculpt it according to your desired shape and size.
- Consider adding texture or embellishments to the base by using clay carving tools. This will give your lamp a unique and personalized touch.
- Set the lamp base aside to dry. Depending on the type of clay you’re using, the drying process may take several days or even weeks. Follow the manufacturer’s instructions for the specific drying time.
- While the lamp base is drying, focus on the lampshade. Roll out the clay into a thin, even slab using a rolling pin. Ensure that the slab is large enough to cover the lampshade frame.
- Place the lampshade frame on top of the clay slab and cut around it, leaving some extra clay for overlap.
- Gently press the clay onto the lampshade frame, smoothing it out as you go. Pay attention to the edges and corners, ensuring they are securely attached.
Once you have completed these steps, allow the lampshade to dry and harden completely before moving on to the next stage of the process.
Step 2: Shaping the Base
Now that you have prepared the clay and the lampshade, let’s move on to shaping the base of the ceramic lamp:
- Take the dried lamp base and examine its shape and texture. If needed, you can smooth out any rough edges or imperfections using sandpaper.
- Once you are satisfied with the surface of the lamp base, it’s time to add some finishing touches. Consider applying a layer of glaze to enhance the appearance and protect the ceramic surface. Follow the instructions on the glaze packaging and allow it to dry completely.
- If you prefer a more colorful and decorative lamp base, you can also paint it using ceramic paints. Get creative and experiment with different colors and patterns that align with your personal style and interior decor.
- Once the glaze or paint has dried, it’s time to attach the lamp fitting to the base. Follow the instructions provided with the lamp fitting kit to ensure proper installation. Make sure the cord is securely connected and passes through the designated hole in the lamp base.
- Double-check that all the electrical components are in place and functioning correctly before proceeding to the next step.
By now, you have successfully shaped the ceramic lamp base and prepared it for the final assembly. The base should reflect your personal style while complementing the overall design of the lamp.
When making a ceramic lamp, ensure that the clay is thoroughly wedged to remove air bubbles, and use a sturdy lamp kit to support the weight of the ceramic base.
Step 3: Creating the Lampshade
With the lamp base complete, it’s time to focus on creating the lampshade for your ceramic lamp. Follow these steps to craft a beautiful and functional lampshade:
- Take the dried clay lampshade and inspect its shape. Use sandpaper to smooth out any rough edges or uneven surfaces.
- If you wish to add a decorative touch to the lampshade, consider carving patterns or designs into the clay using clay carving tools. This will create unique light patterns when the lamp is turned on.
- Once you are satisfied with the shape and design of the lampshade, it’s time to apply the fabric. Measure and cut your chosen fabric to fit the lampshade frame, leaving some extra fabric for overlapping.
- Apply a thin layer of adhesive to the lampshade frame, then carefully wrap the fabric around it, pressing and smoothing it as you go. Ensure that the fabric is securely attached to the frame and free from wrinkles.
- Trim any excess fabric and neatly fold the edges, securing them with additional adhesive if necessary.
- Allow the adhesive to dry completely before moving on to the next step.
By following these steps, you will have created a custom lampshade that complements the aesthetic of your ceramic lamp base. The fabric choice allows you to further customize the lamp to suit your desired style and decor.
Read more: How To Make A Floor Lamp
Step 4: Assembling the Lamp
Now that you have completed the lamp base and the lampshade, it’s time to bring them together and assemble your ceramic lamp. Follow these steps for a seamless assembly:
- Start by placing the lampshade frame onto the lamp base. Ensure that it fits securely and aligns properly.
- If needed, apply a small amount of adhesive to the top of the lamp base to secure the lampshade frame in place. Be careful not to use excessive adhesive that may damage the clay or fabric.
- Allow the adhesive to dry and set as per the manufacturer’s instructions.
- Once the lampshade frame is securely attached, thread the lamp cord through the designated hole in the lampshade frame.
- Connect the cord to the lamp fitting, following the instructions provided with the lamp fitting kit.
- Double-check that all the electrical connections are secure and that the lamp is functioning properly.
- For an added touch, consider attaching a lamp harp and finial to the top of the lampshade. This will provide stability and give the lamp a polished look.
With these steps completed, you have successfully assembled your ceramic lamp. Ensure that the lamp is stable and that all electrical components are safely installed before proceeding to the final step.
Step 5: Finishing Touches
Now that your ceramic lamp is fully assembled, it’s time to add the finishing touches to make it truly shine. Follow these steps to complete your ceramic lamp:
- Inspect the lamp for any remaining imperfections or rough edges. Use sandpaper to smoothen out any areas that need refinement.
- If you have chosen to glaze the lamp base, apply a final layer of clear glaze to seal the surface and give it a glossy finish. This step will also protect the paint or design on the lamp base.
- If you have painted the lamp base, consider applying a clear varnish to protect the paintwork from scratches and ensure its longevity.
- Once the lamp is dry and the finishing touches are complete, give it a thorough cleaning to remove any dust or debris.
- After cleaning, plug in the lamp and test the light to ensure it is functioning properly. Adjust the lampshade if needed to ensure a desirable distribution of light.
- Finally, find the perfect spot for your ceramic lamp and enjoy the cozy and inviting atmosphere it creates in your space.
By following these final steps, you will have added the necessary finishing touches to your ceramic lamp, ensuring its beauty and functionality.
Conclusion
Congratulations! You have successfully learned how to make a ceramic lamp from scratch. By following the steps outlined in this article, you have created a unique and personalized lighting piece that adds charm and character to any room.
Making a ceramic lamp provides you with the opportunity to express your creativity and showcase your artistic skills. From shaping the clay to assembling the lamp, each step allows you to add your personal touch and create a lamp that truly reflects your style and taste.
Remember to choose high-quality materials, such as ceramic clay and a sturdy lampshade frame, to ensure the longevity of your lamp. Take your time and pay attention to detail in each stage of the process to ensure a successful outcome.
Not only does creating your own ceramic lamp offer a sense of fulfillment, but it also allows you to have a one-of-a-kind lighting fixture that becomes a conversation piece in your home or office. The gentle glow emanating from your ceramic lamp will create a cozy and comforting atmosphere that enhances the overall ambiance of your space.
So, gather your materials, unleash your inner artist, and get ready to embark on this creative journey. Enjoy the process of making your own ceramic lamp and revel in the joy of basking in the soft and warm glow of your handmade masterpiece!
Frequently Asked Questions about How To Make A Ceramic Lamp
Was this page helpful?
At Storables.com, we guarantee accurate and reliable information. Our content, validated by Expert Board Contributors, is crafted following stringent Editorial Policies. We're committed to providing you with well-researched, expert-backed insights for all your informational needs.