Home>Technology>Home Entertainment Systems>How To Test A Projector Lamp
Home Entertainment Systems
How To Test A Projector Lamp
Modified: August 23, 2024
Learn how to test a projector lamp for your home entertainment system. Ensure your projector is always ready for movie night with these simple steps.
(Many of the links in this article redirect to a specific reviewed product. Your purchase of these products through affiliate links helps to generate commission for Storables.com, at no extra cost. Learn more)
Introduction
Welcome to the world of home entertainment systems, where projectors play a pivotal role in delivering larger-than-life cinematic experiences. A crucial component of a projector is its lamp, which serves as the illuminating force behind the captivating visuals projected onto the screen. However, like any other technological marvel, projector lamps require periodic maintenance and, at times, replacement.
In this comprehensive guide, we will delve into the essential steps for testing a projector lamp to ensure its optimal functionality. By following these steps, you can troubleshoot issues, identify potential problems, and determine whether a replacement is necessary. Whether you are a seasoned home theater enthusiast or a novice projector owner, understanding the process of testing a projector lamp is invaluable for preserving the quality of your viewing experience.
So, let's embark on this enlightening journey to demystify the art of testing a projector lamp and unravel the secrets to maintaining an immersive home entertainment setup. Whether you're preparing for a movie marathon, a gaming session, or a captivating visual presentation, ensuring the health of your projector lamp is a crucial step toward an uninterrupted and visually stunning experience. Let's dive into the first step of this illuminating process.
Key Takeaways:
- Regularly check your projector for flickering, dimming, or abnormal noises, as these may indicate issues with the lamp. Look out for error messages and monitor brightness and clarity to ensure optimal performance.
- Inspect the lamp for physical damage and verify its usage hours to determine if it needs replacement. Test the lamp with a known working projector and address ventilation and maintenance for a top-notch viewing experience.
Read more: How To Replace A Projector Lamp
Step 1: Check the Projector for Warning Signs
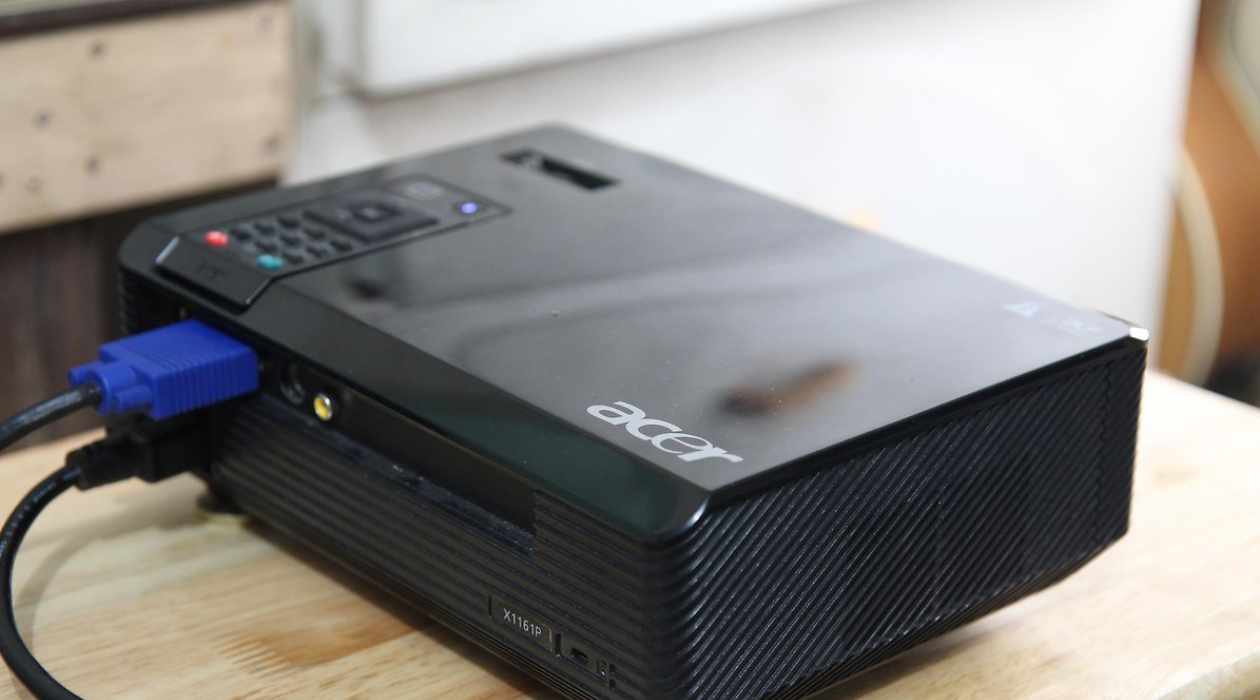
Before delving into the specifics of the projector lamp, it’s essential to examine the projector itself for any warning signs that may indicate a potential issue with the lamp. Start by powering on the projector and observing its behavior. Look for any abnormal flickering, dimming, or irregularities in the projected image. If the projector emits unusual noises or if the image appears distorted or discolored, these could be indicative of underlying lamp problems.
Additionally, pay attention to any error messages or warning indicators displayed on the projector’s control panel or interface. Many modern projectors are equipped with diagnostic systems that can detect lamp-related issues and provide error codes or notifications. These warnings can range from simple “lamp replacement” messages to more specific alerts related to lamp overheating or malfunctions.
Furthermore, consider the projector’s overall performance in terms of brightness and clarity. If you notice a significant decrease in brightness or a visible decline in image quality, it may be attributed to a failing lamp. By conducting a thorough visual assessment of the projector’s behavior and performance, you can gather valuable insights that will inform the subsequent steps in the testing process.
Remember, the projector is the stage upon which the lamp’s brilliance is showcased. By identifying any warning signs or irregularities at this stage, you can lay the groundwork for a systematic and effective evaluation of the projector lamp. With a keen eye and an observant mindset, let’s proceed to the next step, where we will inspect the lamp for physical damage.
Step 2: Inspect the Lamp for Physical Damage
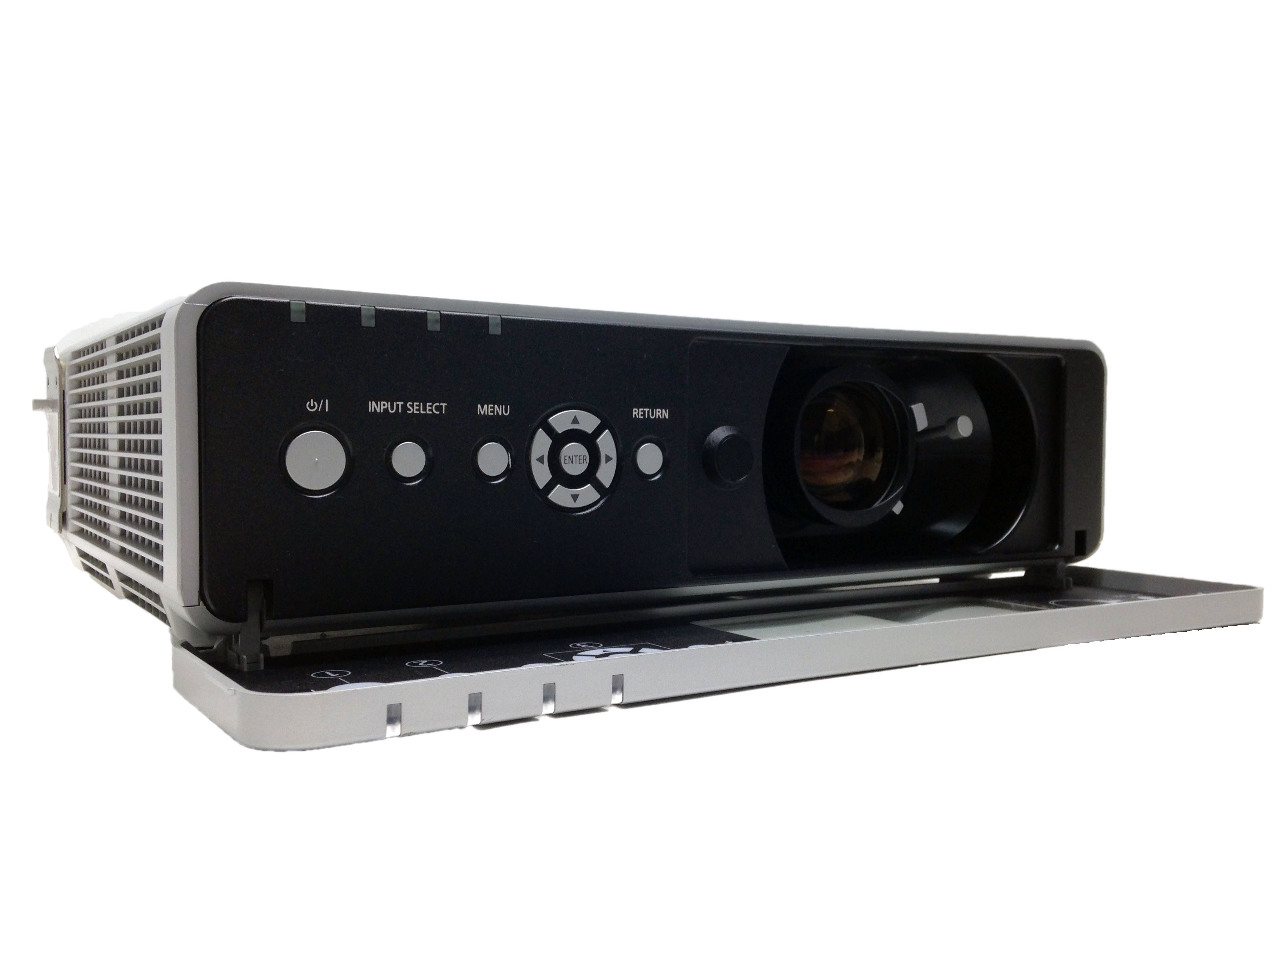
Once you’ve assessed the projector for warning signs, the next crucial step in testing a projector lamp is to carefully inspect the lamp itself for any physical damage or abnormalities. Begin by powering off the projector and allowing the lamp to cool down completely. It’s important to handle the lamp with caution, as it may still retain residual heat after operation.
Remove the lamp housing or access panel according to the manufacturer’s instructions, taking care to follow proper safety procedures and using any recommended tools or protective gear. Once the lamp is accessible, visually examine it for any visible signs of damage, such as cracks, discoloration, or deformities. Pay close attention to the lamp’s filament, which should appear intact and free from breakage.
Inspect the connections and terminals on the lamp for any corrosion, oxidation, or irregularities that may impede proper electrical contact. Additionally, check for any loose components or foreign objects within the lamp housing that could interfere with its operation. If the lamp shows signs of physical damage or wear, it may be a clear indication of the need for replacement.
It’s worth noting that some projectors are equipped with lamp usage timers or logs that track the operational hours of the lamp. Refer to the projector’s documentation or menu settings to review the lamp usage history, as excessive usage can contribute to accelerated wear and reduced lifespan. By conducting a thorough physical inspection of the lamp, you can gain valuable insights into its condition and integrity.
With the lamp inspection complete, we have laid the foundation for a comprehensive evaluation of its health and performance. As we move forward, we will delve into the critical aspect of verifying the lamp’s usage hours, shedding light on its operational history and potential impact on overall functionality.
Step 3: Verify the Lamp Usage Hours
As we continue our journey to test a projector lamp, it’s essential to delve into the realm of lamp usage hours and their significance in determining the lamp’s condition. Many projectors are equipped with built-in timers or usage logs that track the cumulative operational hours of the lamp. Accessing this information can provide valuable insights into the lamp’s lifespan, potential wear, and the need for replacement.
Consult the projector’s user manual or menu settings to locate the lamp usage hours feature. Depending on the model, this information may be readily available on the projector’s display or accessible through its interface. Take note of the total lamp usage hours, comparing them to the manufacturer’s specified lamp lifespan. Most projector lamps have a recommended operational lifespan, typically measured in hours, after which they may exhibit diminished brightness and performance.
By verifying the lamp usage hours, you can gauge the extent of its utilization and assess whether it has surpassed the manufacturer’s recommended lifespan. Excessive usage beyond this threshold can lead to diminished brightness, color accuracy, and overall image quality. If the lamp has significantly exceeded its expected lifespan, it may be approaching the end of its functional capability and necessitate replacement.
Additionally, consider the pattern of usage, as prolonged periods of continuous operation or frequent on-off cycles can impact the lamp’s longevity. Understanding the historical usage patterns can aid in evaluating the lamp’s wear and predicting its future performance. Armed with this knowledge, you can make informed decisions regarding the necessity of replacing the lamp to maintain optimal projector performance.
As we conclude this crucial step of verifying the lamp usage hours, we have gained valuable insights into the operational history of the lamp and its potential impact on overall functionality. With this knowledge in hand, we are prepared to embark on the next step, where we will test the lamp with a known working projector to assess its performance and reliability.
When testing a projector lamp, make sure to check for any signs of damage or wear on the lamp itself. Also, test the brightness and clarity of the projected image to ensure the lamp is functioning properly.
Step 4: Test the Lamp with a Known Working Projector
As we progress in our quest to test a projector lamp, the next pivotal step involves conducting a practical assessment of the lamp’s performance by testing it with a known working projector. This hands-on approach allows for a direct evaluation of the lamp’s functionality and illuminating capabilities in a real-world scenario.
Begin by identifying a compatible and operational projector that is known to be in good working condition. This may be another projector within your home entertainment setup or one provided by a friend or colleague for the purpose of testing the lamp. Ensure that the replacement projector is compatible with the lamp’s specifications, including its wattage, voltage, and compatibility with the specific projector model.
With the replacement projector identified, carefully remove the lamp from the original projector, following the manufacturer’s guidelines and safety precautions. Transfer the lamp to the replacement projector, securing it in place according to the prescribed installation procedures. Exercise caution and avoid touching the lamp’s glass surface with bare hands, as skin oils and residues can affect its performance and longevity.
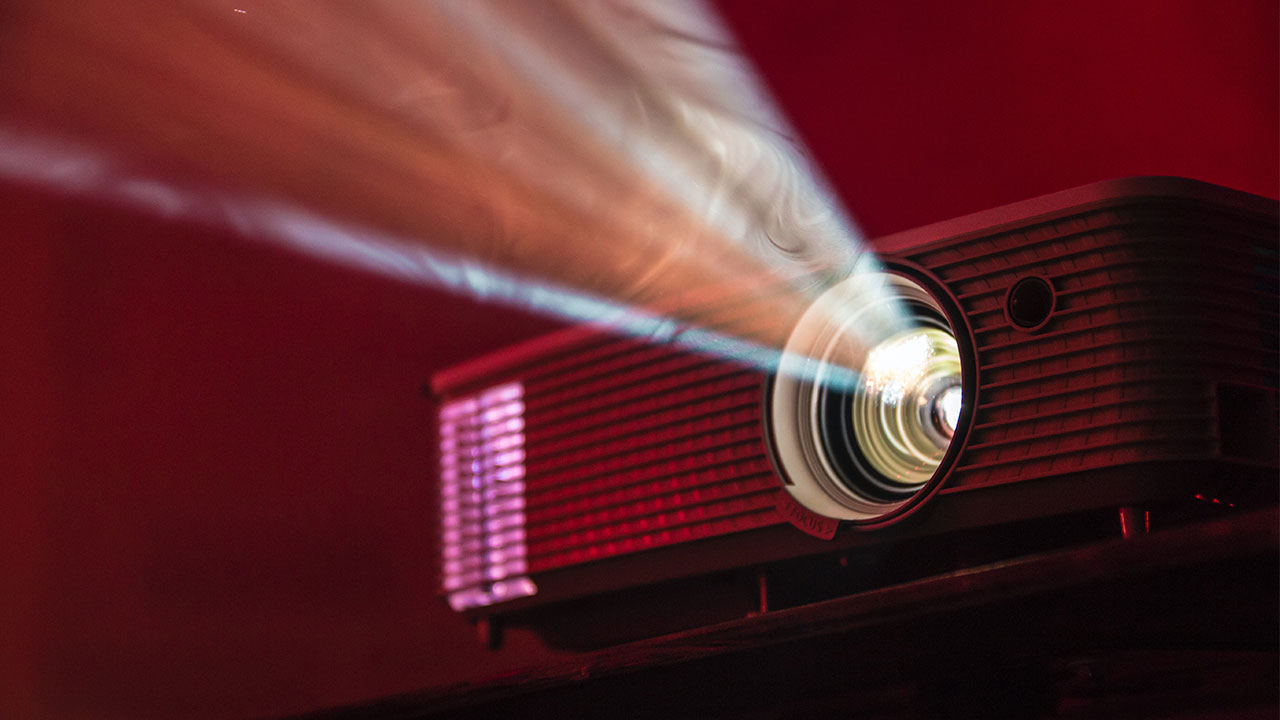
Power on the replacement projector and allow the lamp to reach its operational state. Observe the projected image for uniform brightness, color accuracy, and overall clarity. Pay attention to any flickering, irregularities, or abnormalities in the projected image, as these may indicate underlying issues with the lamp’s performance. Compare the visual output to the expected quality based on the known capabilities of the replacement projector.
By testing the lamp with a known working projector, you can directly assess its illuminating performance and determine whether it meets the desired standards for brightness and image quality. This practical evaluation serves as a critical benchmark for gauging the lamp’s reliability and functionality in a real-world setting.
With the lamp testing process completed, we have gained valuable insights into its operational performance and suitability for delivering captivating visuals. As we proceed to the final step, we will consider other potential issues that may impact the projector’s functionality and address them proactively.
Read more: When To Replace A Projector Lamp
Step 5: Consider Other Potential Issues
As we near the culmination of our comprehensive guide to testing a projector lamp, it’s imperative to consider and address other potential issues that may affect the projector’s functionality and performance. While the lamp plays a central role in illuminating the projected images, several other factors can contribute to overall projector operation and image quality.
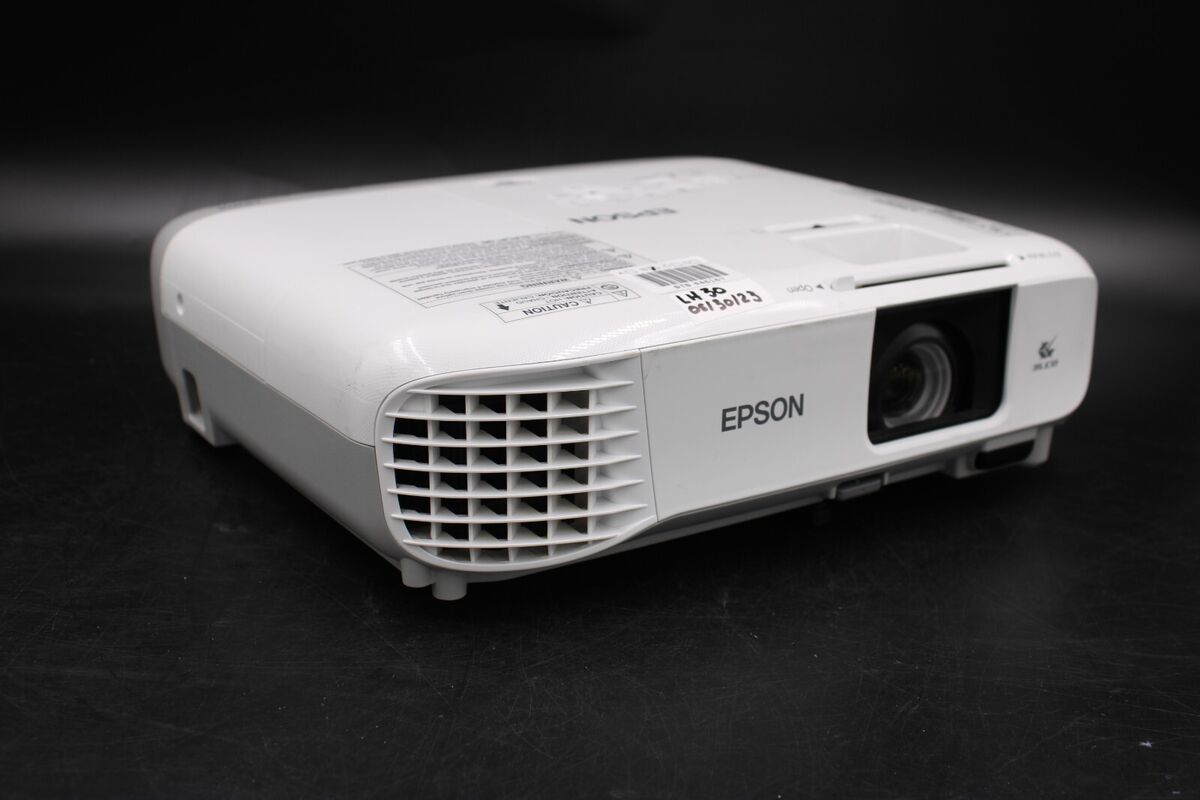
One critical aspect to consider is the projector’s ventilation and cooling system. Inadequate airflow or ventilation can lead to overheating, which may adversely affect the lamp’s performance and lifespan. Ensure that the projector’s ventilation pathways are clear of obstructions and that the cooling fans are functioning optimally. Address any dust accumulation or blockages that may impede airflow and contribute to elevated operating temperatures.
Additionally, inspect the projector’s optics, including the lens and mirrors, for dust, smudges, or debris that may impact image clarity and focus. Clean the optics using appropriate methods and materials recommended by the projector’s manufacturer to maintain optimal image quality and sharpness.
Furthermore, review the projector’s firmware and software settings to ensure that they are up to date and compatible with the lamp and projector model. Some projectors may require firmware updates to address compatibility issues or optimize performance with new lamp installations.
Lastly, consider the overall maintenance and cleanliness of the projector, including its filters, vents, and exterior surfaces. Regular maintenance and cleaning can contribute to prolonged lamp and projector lifespan, ensuring consistent performance and image quality.
By proactively addressing these potential issues, you can optimize the projector’s overall functionality and create an environment conducive to the lamp’s optimal performance. With a holistic approach to projector maintenance and troubleshooting, you can enhance the longevity and visual prowess of your home entertainment system.
As we draw to a close, armed with a wealth of knowledge and practical insights, we have navigated the intricate process of testing a projector lamp with a focus on meticulous evaluation and proactive maintenance. With these steps completed, you are well-equipped to preserve the brilliance of your projector’s visuals and embark on countless immersive viewing experiences.
Conclusion
Congratulations on completing the enlightening journey through the art of testing a projector lamp! We have explored the essential steps and considerations for evaluating the health and performance of a projector lamp, shedding light on the intricacies of maintaining a captivating home entertainment system. Armed with valuable insights and practical knowledge, you are well-prepared to ensure the optimal functionality and longevity of your projector’s illuminating centerpiece.
By meticulously examining the projector for warning signs and inspecting the lamp for physical damage, you have established a solid foundation for assessing the lamp’s condition and integrity. Verifying the lamp usage hours provided crucial insights into its operational history and potential impact on overall functionality, empowering you to make informed decisions regarding its maintenance or replacement.
Conducting a hands-on evaluation by testing the lamp with a known working projector allowed for a direct assessment of its illuminating performance in a real-world scenario, providing a critical benchmark for gauging its reliability and functionality. Furthermore, by considering other potential issues that may impact the projector’s functionality, you have embraced a proactive approach to maintaining an optimal viewing environment.
As you embark on your ongoing journey in the realm of home entertainment systems, remember the importance of regular maintenance, attentive observation, and proactive troubleshooting. By nurturing your projector and its integral components, including the lamp, you can cultivate an immersive and visually stunning viewing experience for yourself and your audience.
Whether you’re preparing for a captivating movie night, an exhilarating gaming session, or a compelling visual presentation, the health and performance of your projector lamp are pivotal in delivering an unforgettable experience. With the knowledge and insights gained from this guide, you are empowered to preserve the brilliance of your home entertainment system and embark on countless moments of cinematic splendor.
As you continue to immerse yourself in the captivating world of home entertainment, may the radiance of your projector’s visuals illuminate your experiences and inspire countless moments of awe and delight. Here’s to the magic of cinematic immersion and the enduring brilliance of your home entertainment system!
Frequently Asked Questions about How To Test A Projector Lamp
Was this page helpful?
At Storables.com, we guarantee accurate and reliable information. Our content, validated by Expert Board Contributors, is crafted following stringent Editorial Policies. We're committed to providing you with well-researched, expert-backed insights for all your informational needs.


0 thoughts on “How To Test A Projector Lamp”