Home>Technology>Home Entertainment Systems>How To Replace A Projector Lamp

Home Entertainment Systems
How To Replace A Projector Lamp
Modified: August 17, 2024
Learn how to replace a projector lamp in your home entertainment system with our step-by-step guide. Keep your home theater running smoothly.
(Many of the links in this article redirect to a specific reviewed product. Your purchase of these products through affiliate links helps to generate commission for Storables.com, at no extra cost. Learn more)
Introduction
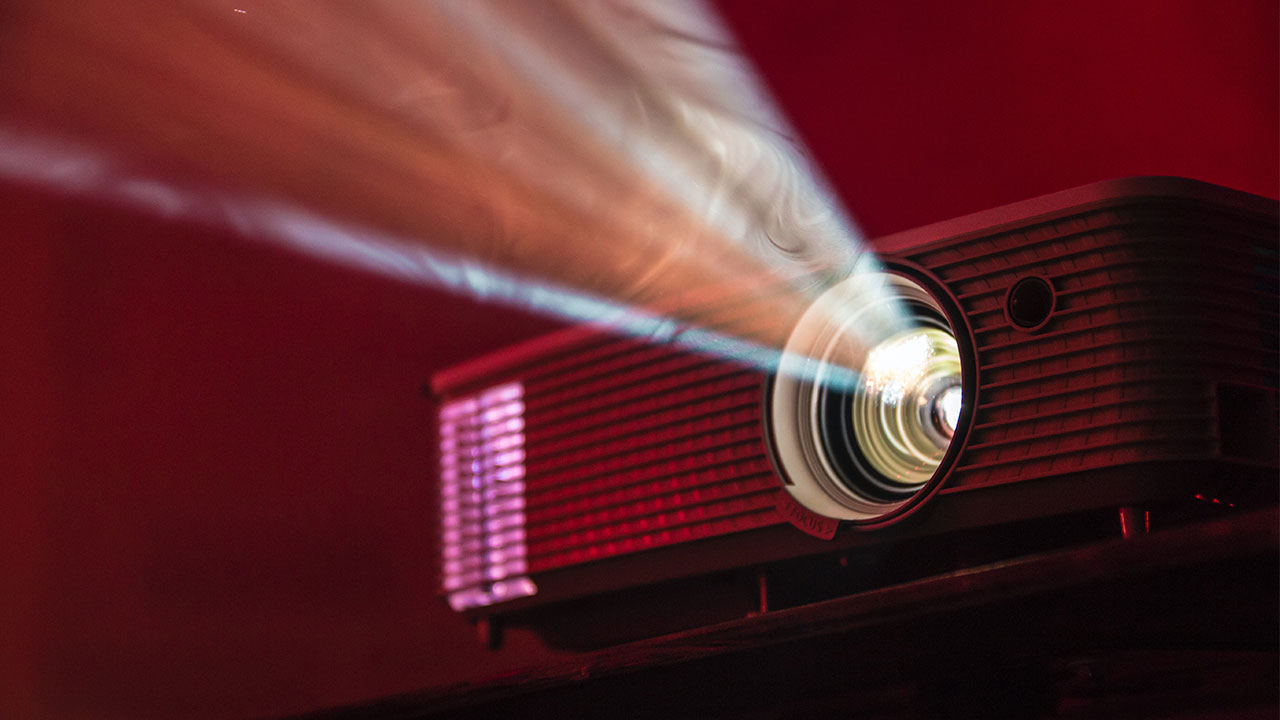
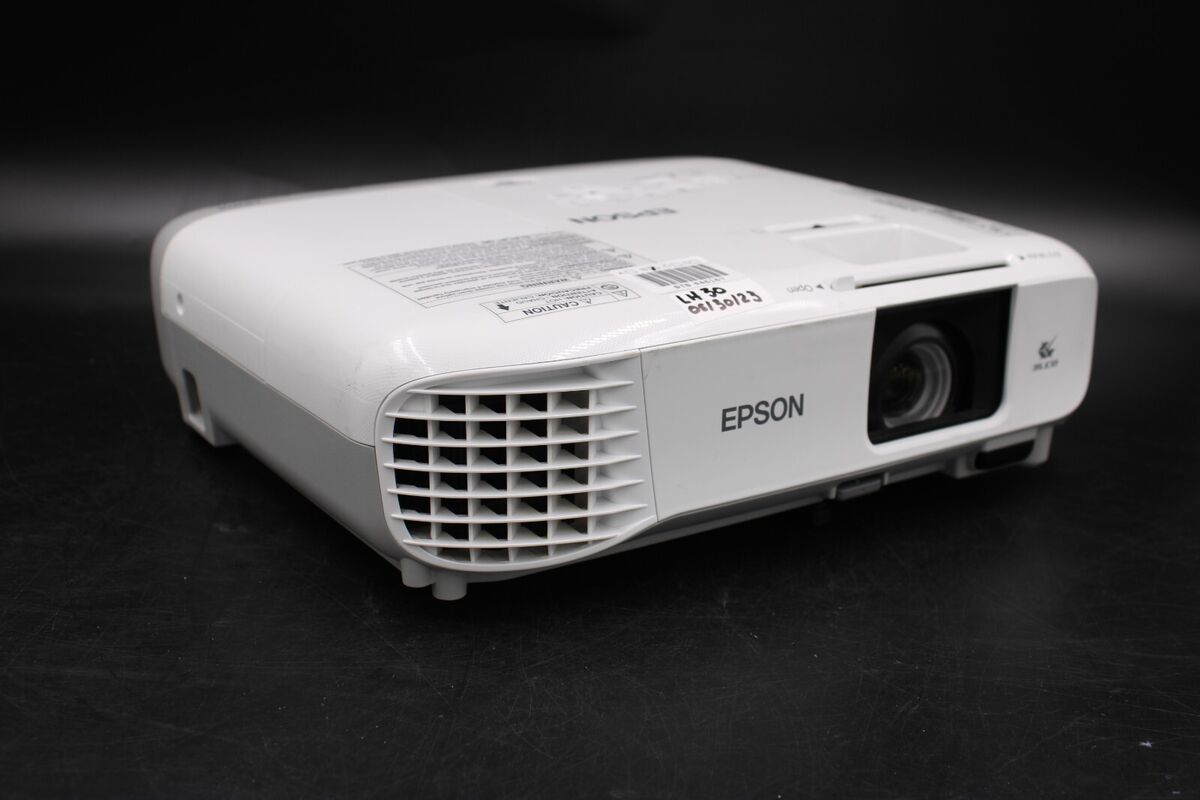
Welcome to the world of home entertainment systems, where a high-quality projector can transform your living room into a cinematic experience. However, to keep your projector functioning at its best, regular maintenance is essential. One crucial aspect of maintenance is replacing the projector lamp when it nears the end of its lifespan. A well-maintained projector lamp ensures optimal image quality and brightness, allowing you to enjoy your favorite movies, sports events, and gaming sessions with crystal-clear visuals.
In this guide, I will walk you through the step-by-step process of replacing a projector lamp. Whether you’re a seasoned home theater enthusiast or a newcomer to the world of projectors, this guide will equip you with the knowledge and confidence to carry out this essential maintenance task. By following these instructions, you can ensure that your projector continues to deliver stunning visuals for years to come.
Before we dive into the process, it’s important to note that while the specific steps may vary slightly depending on the make and model of your projector, the general principles of replacing a projector lamp remain consistent. Always consult your projector’s user manual for model-specific instructions and safety precautions. With that said, let’s gather the necessary tools and materials to get started.
Key Takeaways:
- Keep your projector performing at its best by replacing the lamp. Follow the user manual, gather tools, and handle the new lamp with care for optimal image quality and longevity.
- Regular maintenance, including lamp replacement, ensures vibrant visuals for movie nights, gaming, and presentations. Enjoy stunning home entertainment with a well-maintained projector.
Read more: When To Replace A Projector Lamp
Step 1: Gather the Necessary Tools and Materials
Before embarking on the process of replacing your projector lamp, it’s crucial to gather the essential tools and materials. By ensuring you have everything you need at hand, you can streamline the replacement process and minimize interruptions. Here’s a list of the tools and materials you’ll need:
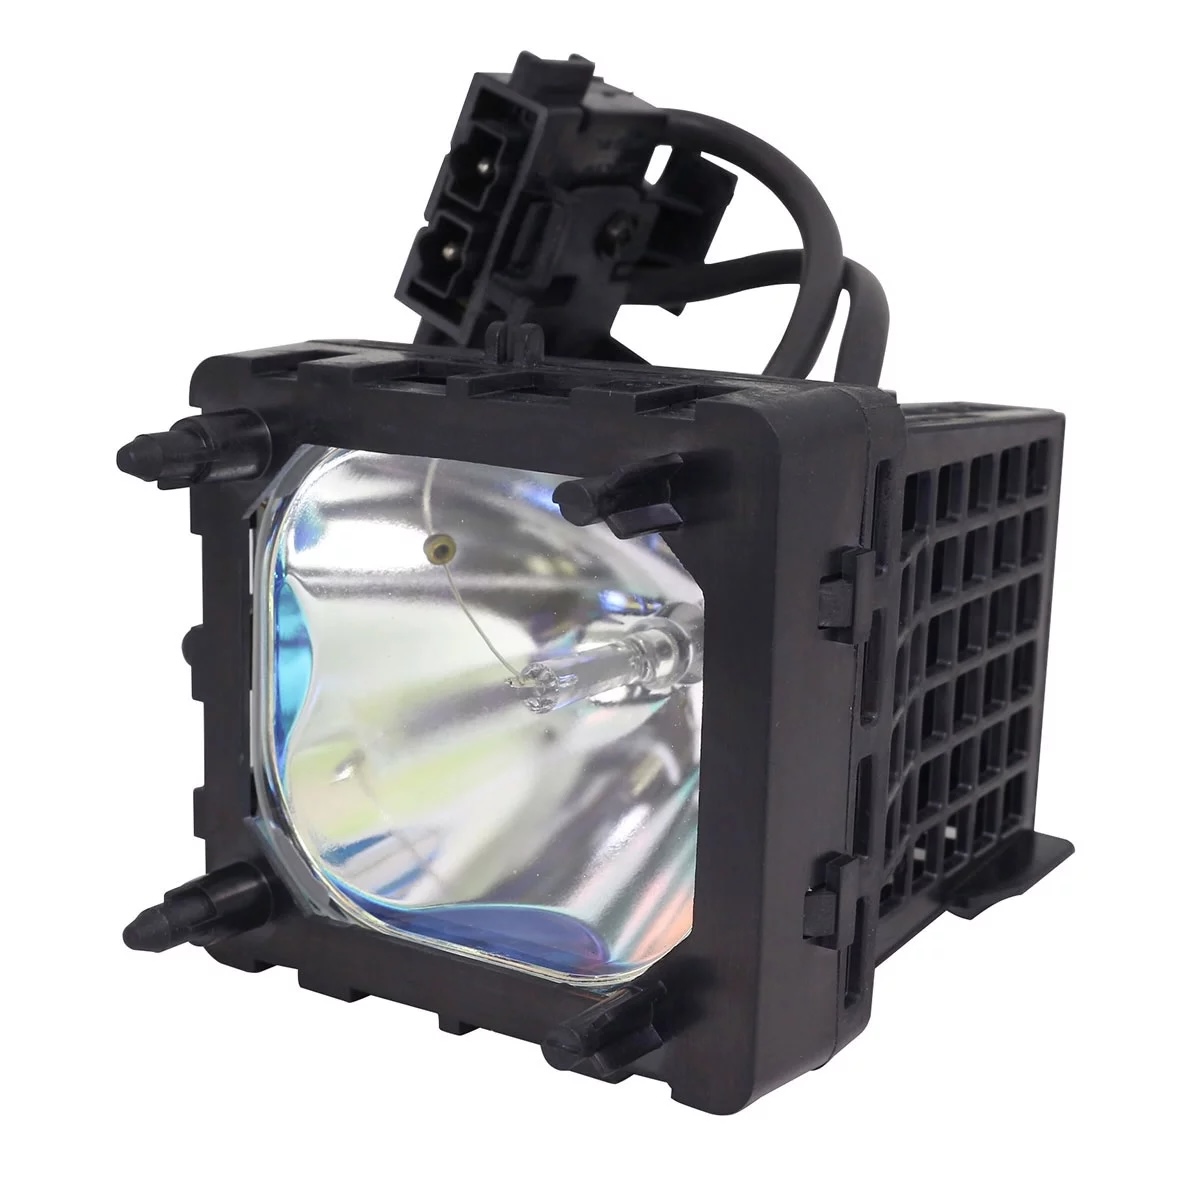
- Replacement Lamp: The most critical component is the replacement lamp itself. Ensure that you purchase a lamp compatible with your projector’s make and model. Genuine manufacturer-recommended lamps are typically the best choice for optimal performance and longevity.
- Gloves: Handling the new lamp with clean, lint-free gloves helps prevent any oils or contaminants from affecting its performance. It also reduces the risk of leaving fingerprints on the lamp, which can lead to uneven heating and potential damage.
- Screwdriver: Depending on your projector model, you may need a screwdriver to access the lamp compartment. Check your projector’s manual to determine the type and size of screwdriver required.
- Cleaning Cloth: A soft, lint-free cloth is useful for wiping down any surfaces that may have accumulated dust or debris, especially inside the lamp compartment.
- User Manual: Keep your projector’s user manual handy for reference. It contains vital information specific to your projector model, including lamp replacement procedures, safety precautions, and troubleshooting tips.
- Compressed Air (Optional): If there is visible dust or debris inside the projector, a can of compressed air can be used to gently remove any particles that may affect the performance of the new lamp.
By ensuring you have these tools and materials ready, you can proceed with confidence to the next step in the process: turning off and unplugging the projector.
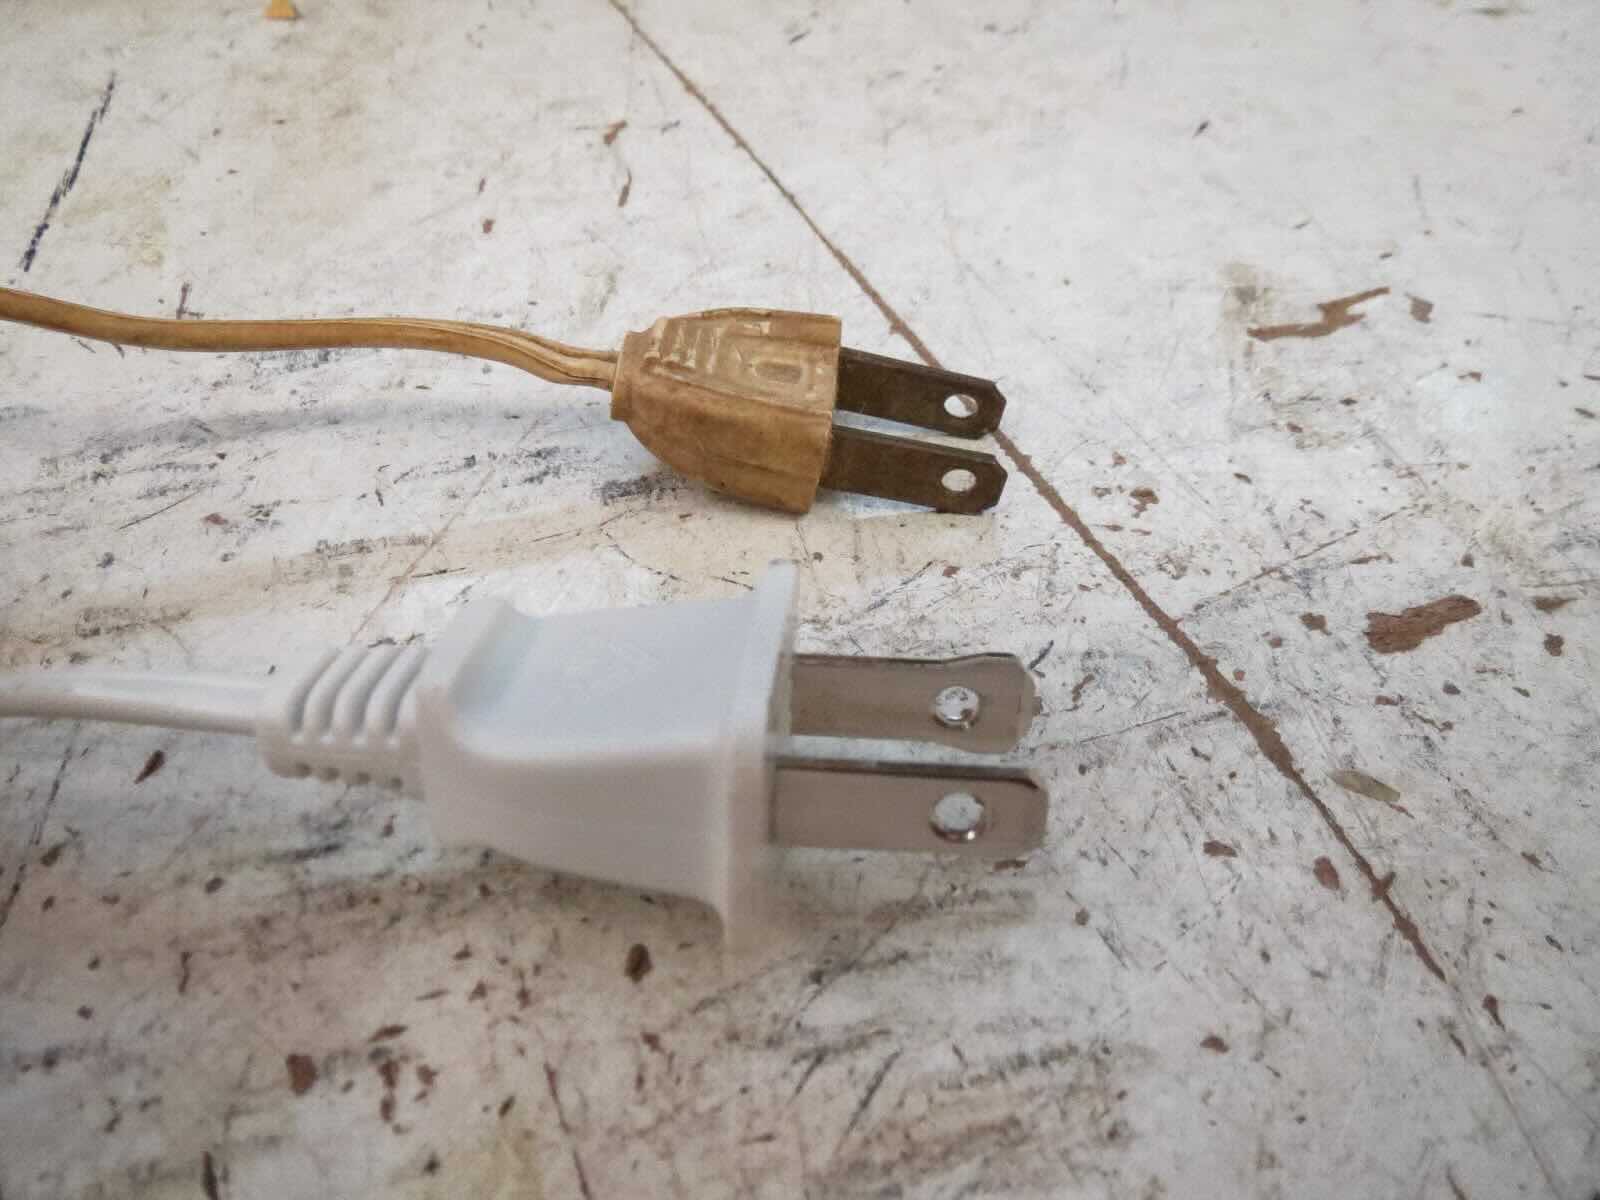
Step 2: Turn Off and Unplug the Projector
Before beginning the process of replacing the projector lamp, it is crucial to ensure the safety of both yourself and the equipment. Turning off and unplugging the projector is the first step in this safety protocol. Follow these steps to safely power down your projector:
- Power Down: If the projector is currently in use, allow it to cool down for a few minutes before proceeding. Press the power button to initiate the shutdown process. Once the projector has powered down completely, the indicator lights should turn off, and the cooling fans will stop running.
- Unplug the Power Cord: Once the projector is powered down, carefully unplug the power cord from the electrical outlet. This step is essential to prevent any electrical mishaps during the lamp replacement process.
- Allow for Cooling: Even after unplugging the power cord, it’s important to allow the projector to cool down further. Projectors generate heat during operation, and the lamp and internal components may still be hot. Waiting for the projector to cool ensures safe handling during the lamp replacement.
By following these steps, you can ensure that the projector is completely powered down and safe to work on. This sets the stage for the next steps in the lamp replacement process, including locating the lamp compartment and preparing to remove the old lamp.
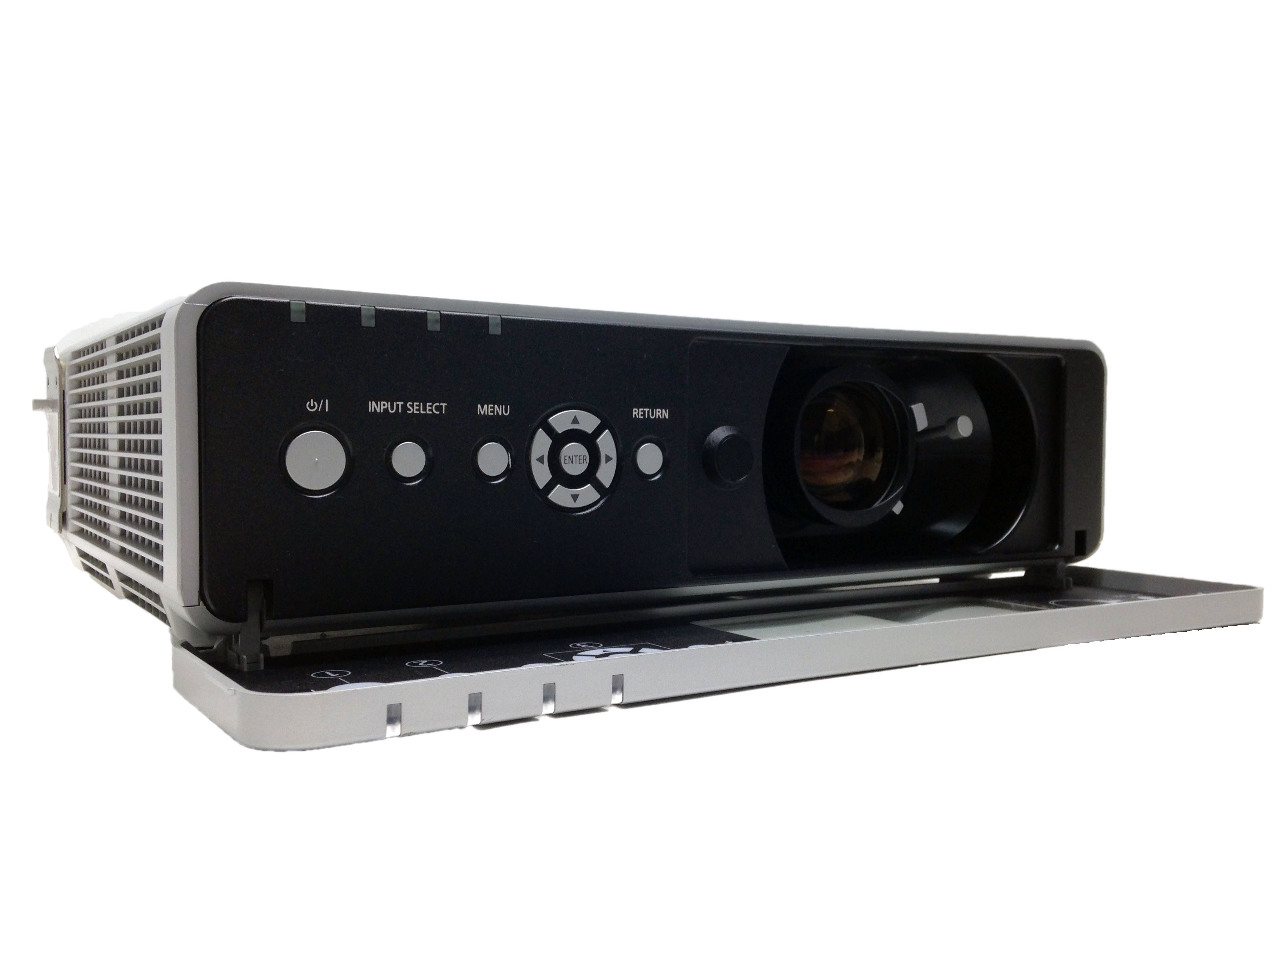
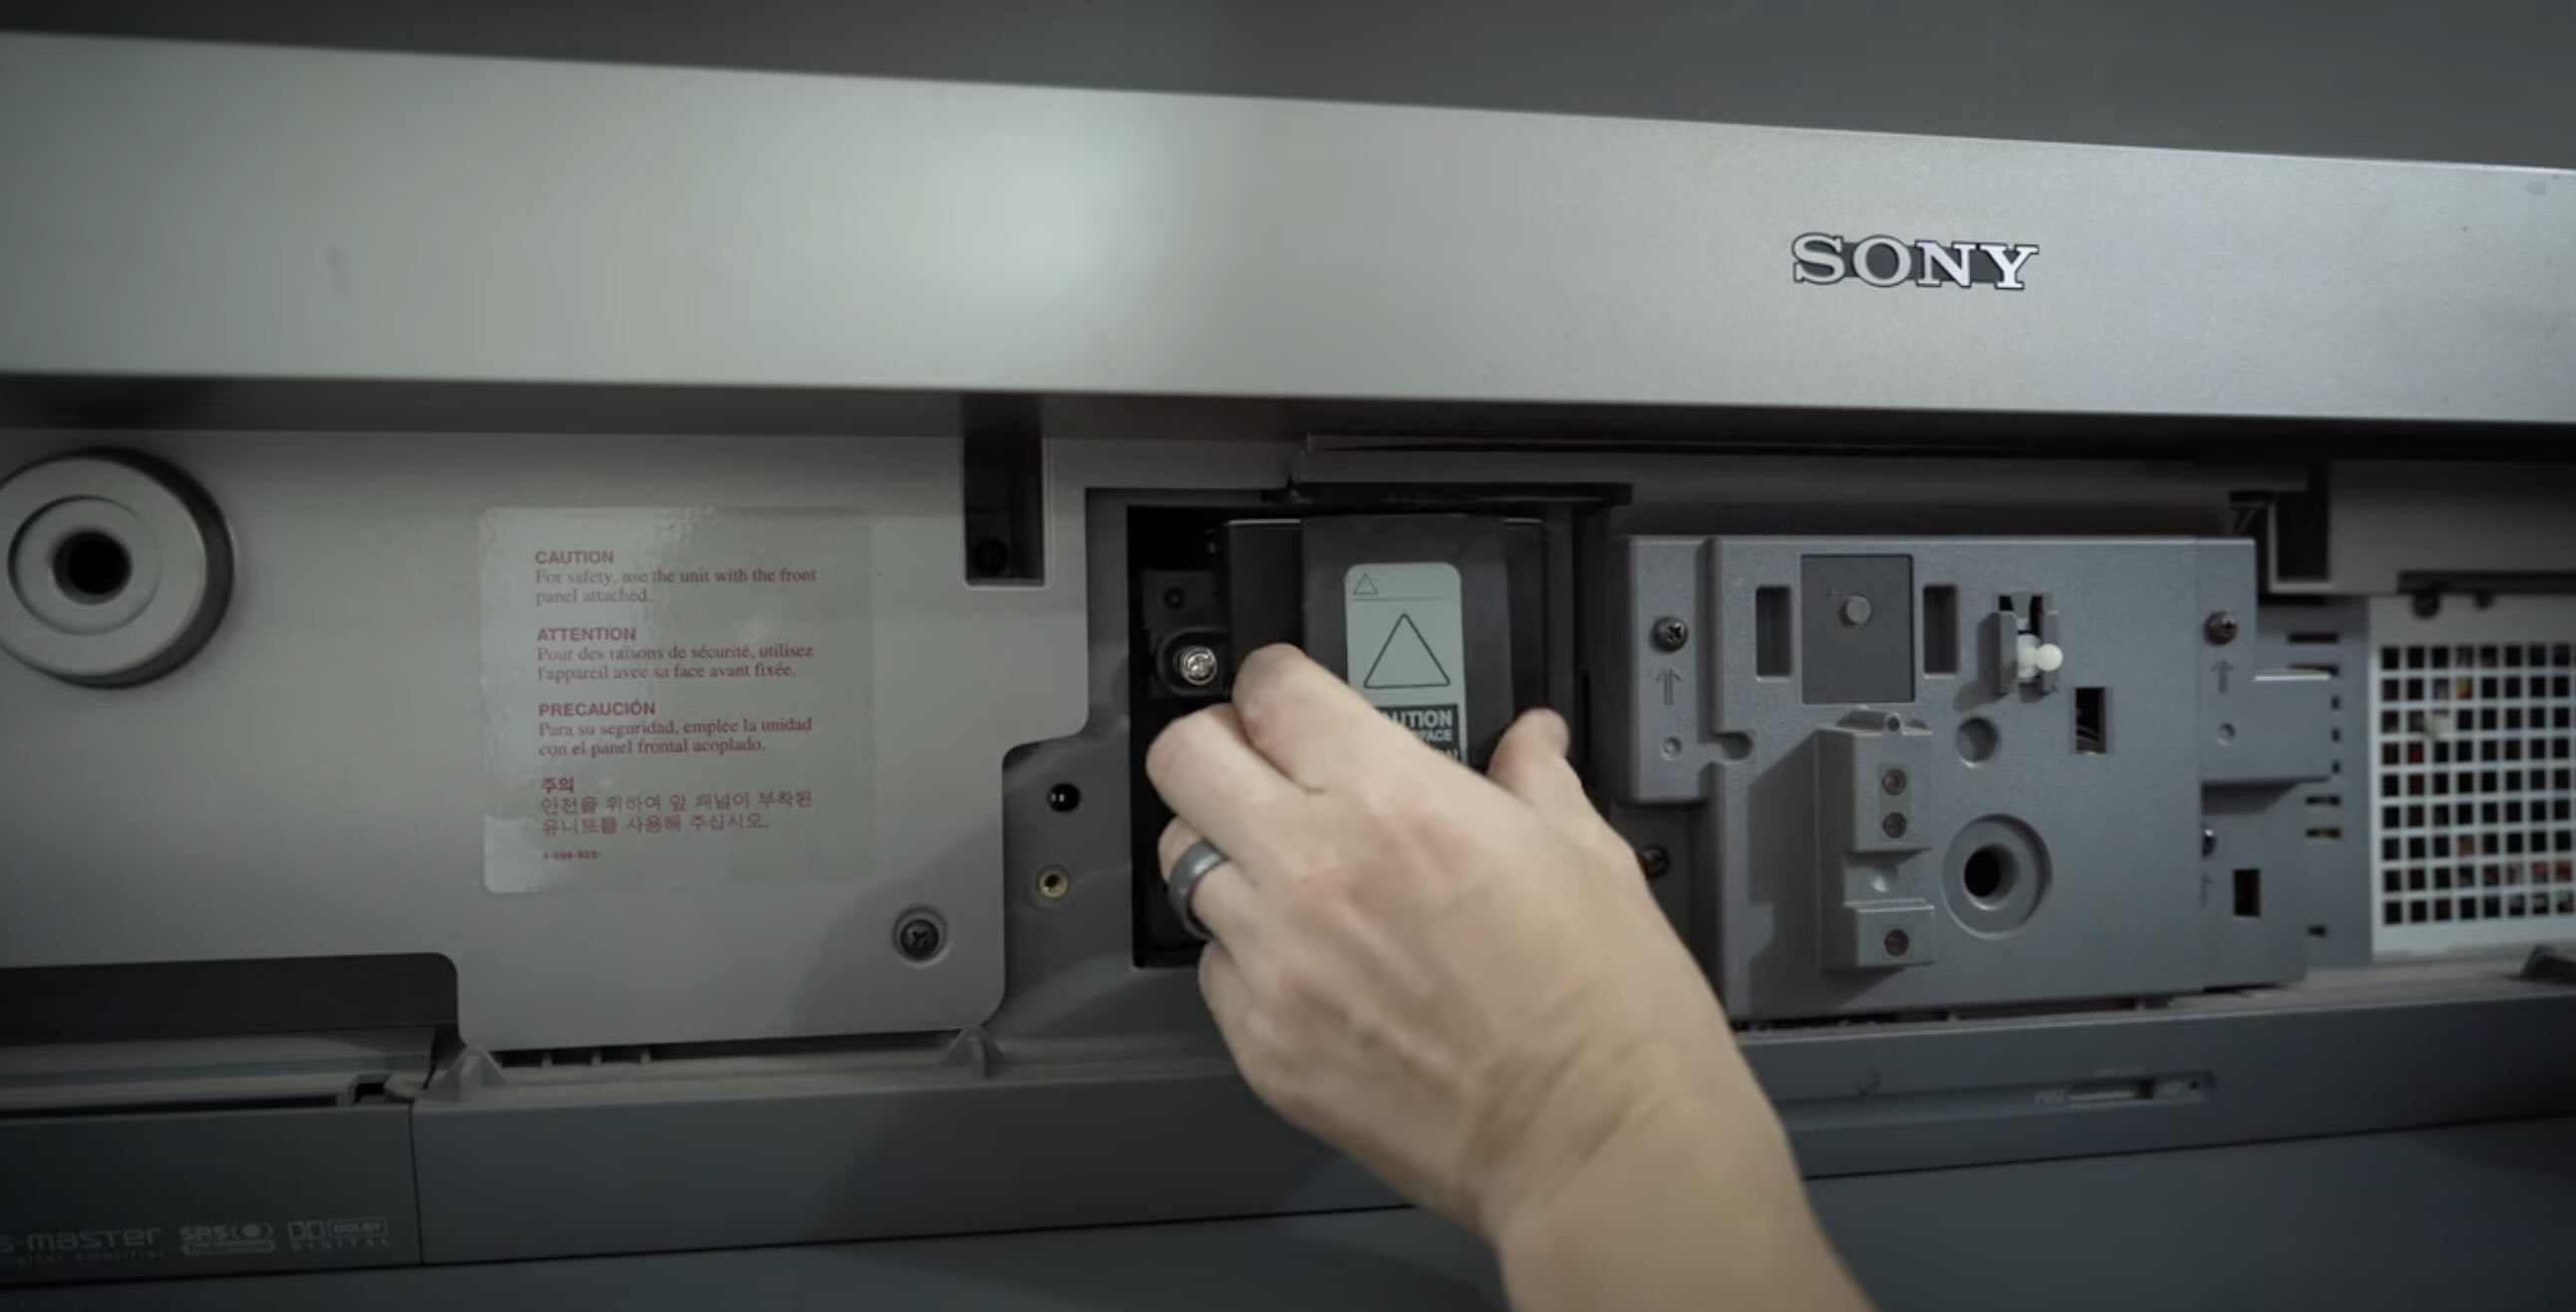
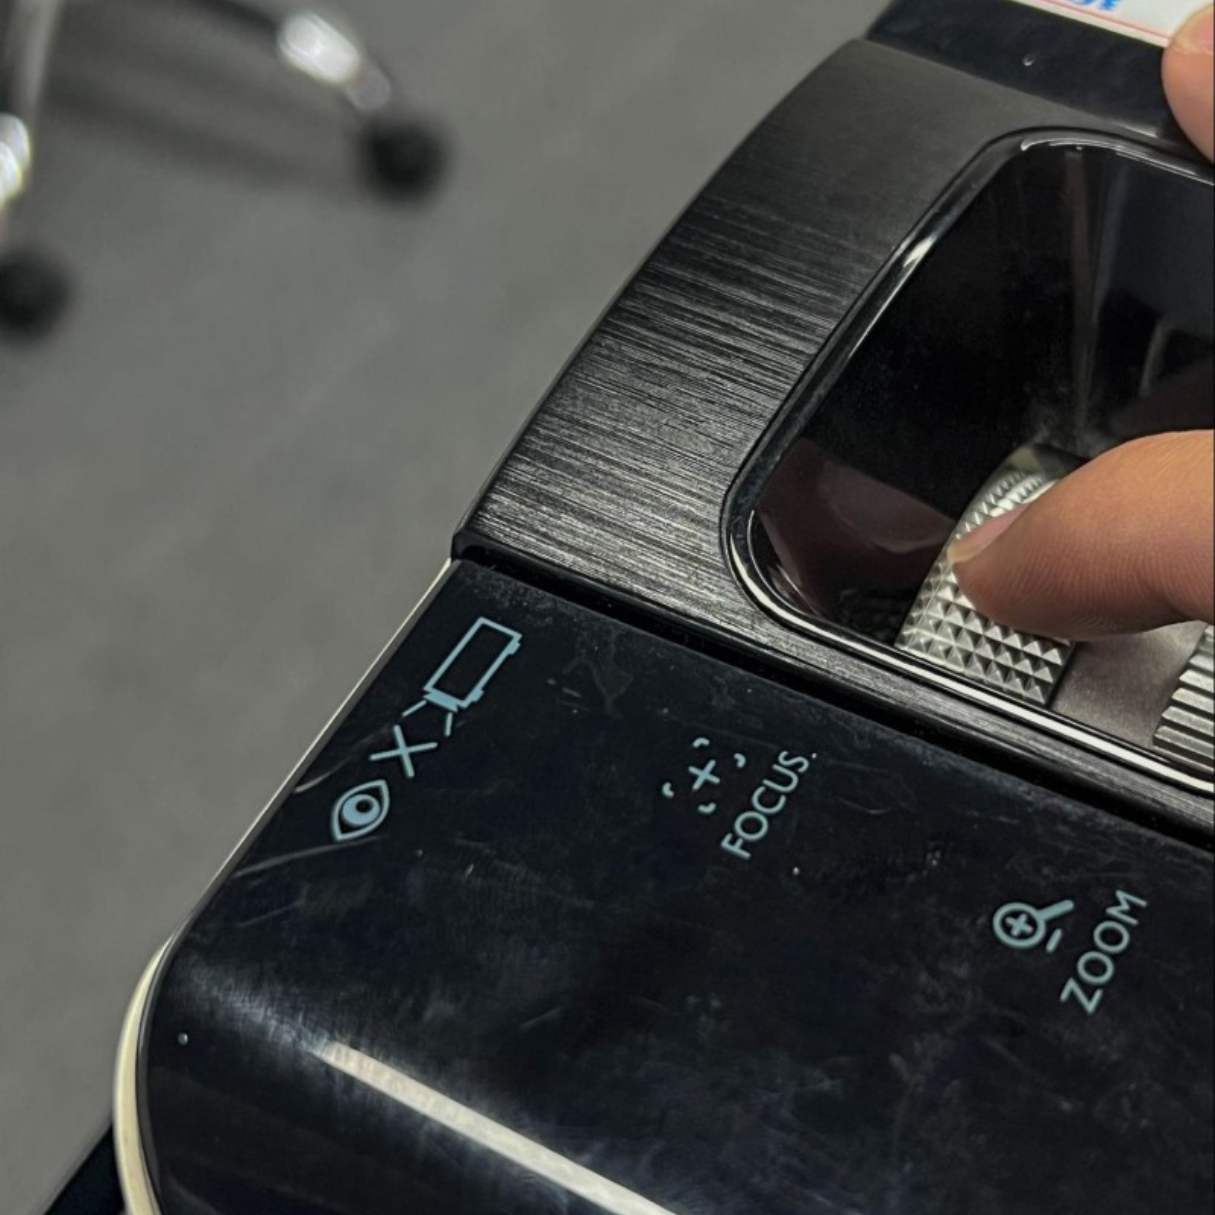
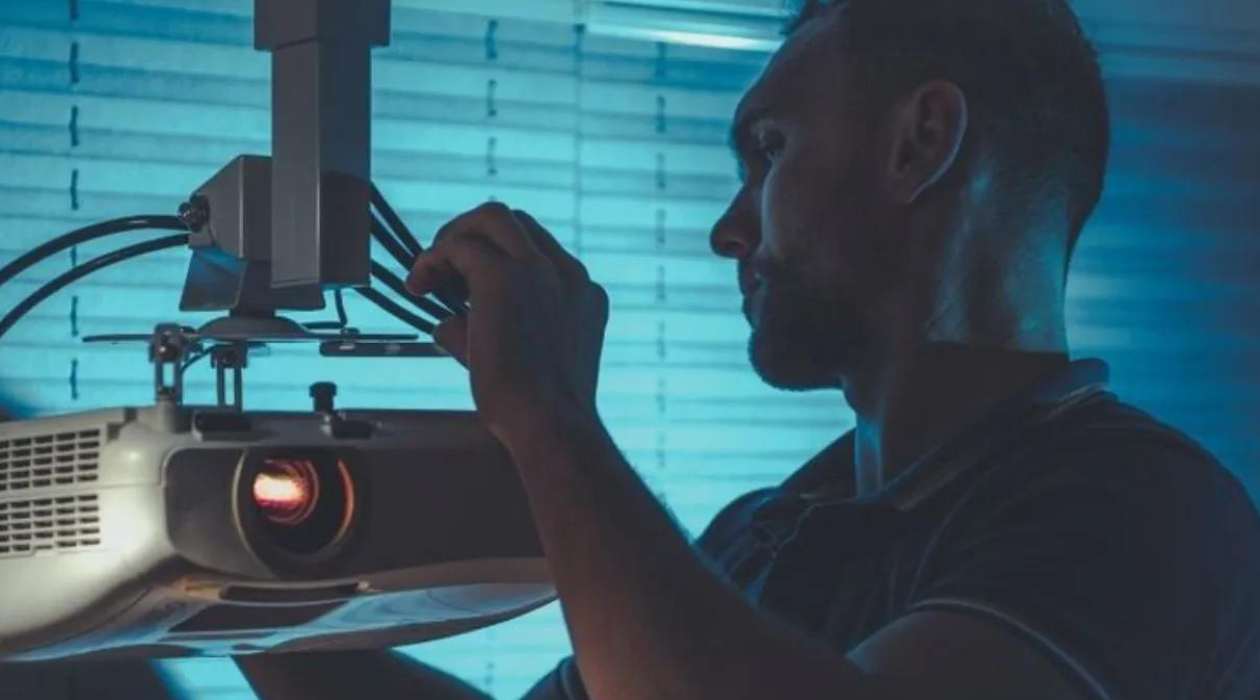
Step 3: Locate the Lamp Compartment
Once the projector is safely powered down and unplugged, the next step is to locate the lamp compartment. The lamp compartment is where the projector’s lamp is housed, and accessing it is crucial for replacing the lamp. The location of the lamp compartment may vary depending on the make and model of your projector, so consult your user manual for specific instructions. Here are the general steps to locate the lamp compartment:
- Consult the User Manual: Refer to your projector’s user manual to determine the precise location of the lamp compartment. The manual will typically contain detailed diagrams and instructions for accessing the lamp compartment specific to your projector model.
- Exterior Inspection: Inspect the exterior of the projector for any panels or doors labeled as the lamp compartment. These are often located on the sides or rear of the projector and may have specific markings indicating their purpose.
- Remove Access Panels: If the lamp compartment is concealed by an access panel, carefully remove the panel according to the instructions in your user manual. Some projectors may have a single access panel, while others may have multiple panels for different maintenance tasks.
- Internal Access: Once the access panel is removed, you may be able to see the lamp compartment directly. If not, consult your user manual for further instructions on accessing the lamp compartment’s interior.
Locating the lamp compartment is a crucial preliminary step in the lamp replacement process. Once you have successfully located the lamp compartment, you can proceed to the next step: removing the old lamp from the projector.
When replacing a projector lamp, make sure to turn off the projector and let it cool down before removing the old lamp. Follow the manufacturer’s instructions for installation to ensure proper functioning.
Step 4: Remove the Old Lamp
With the lamp compartment located, the next step is to remove the old lamp from the projector. Proper handling during this step is essential to prevent damage to the old lamp and ensure a smooth transition to the new lamp. Follow these steps to safely remove the old lamp:
- Allow for Additional Cooling: Before handling the old lamp, ensure that the projector has had sufficient time to cool down. This minimizes the risk of burns or discomfort during the removal process.
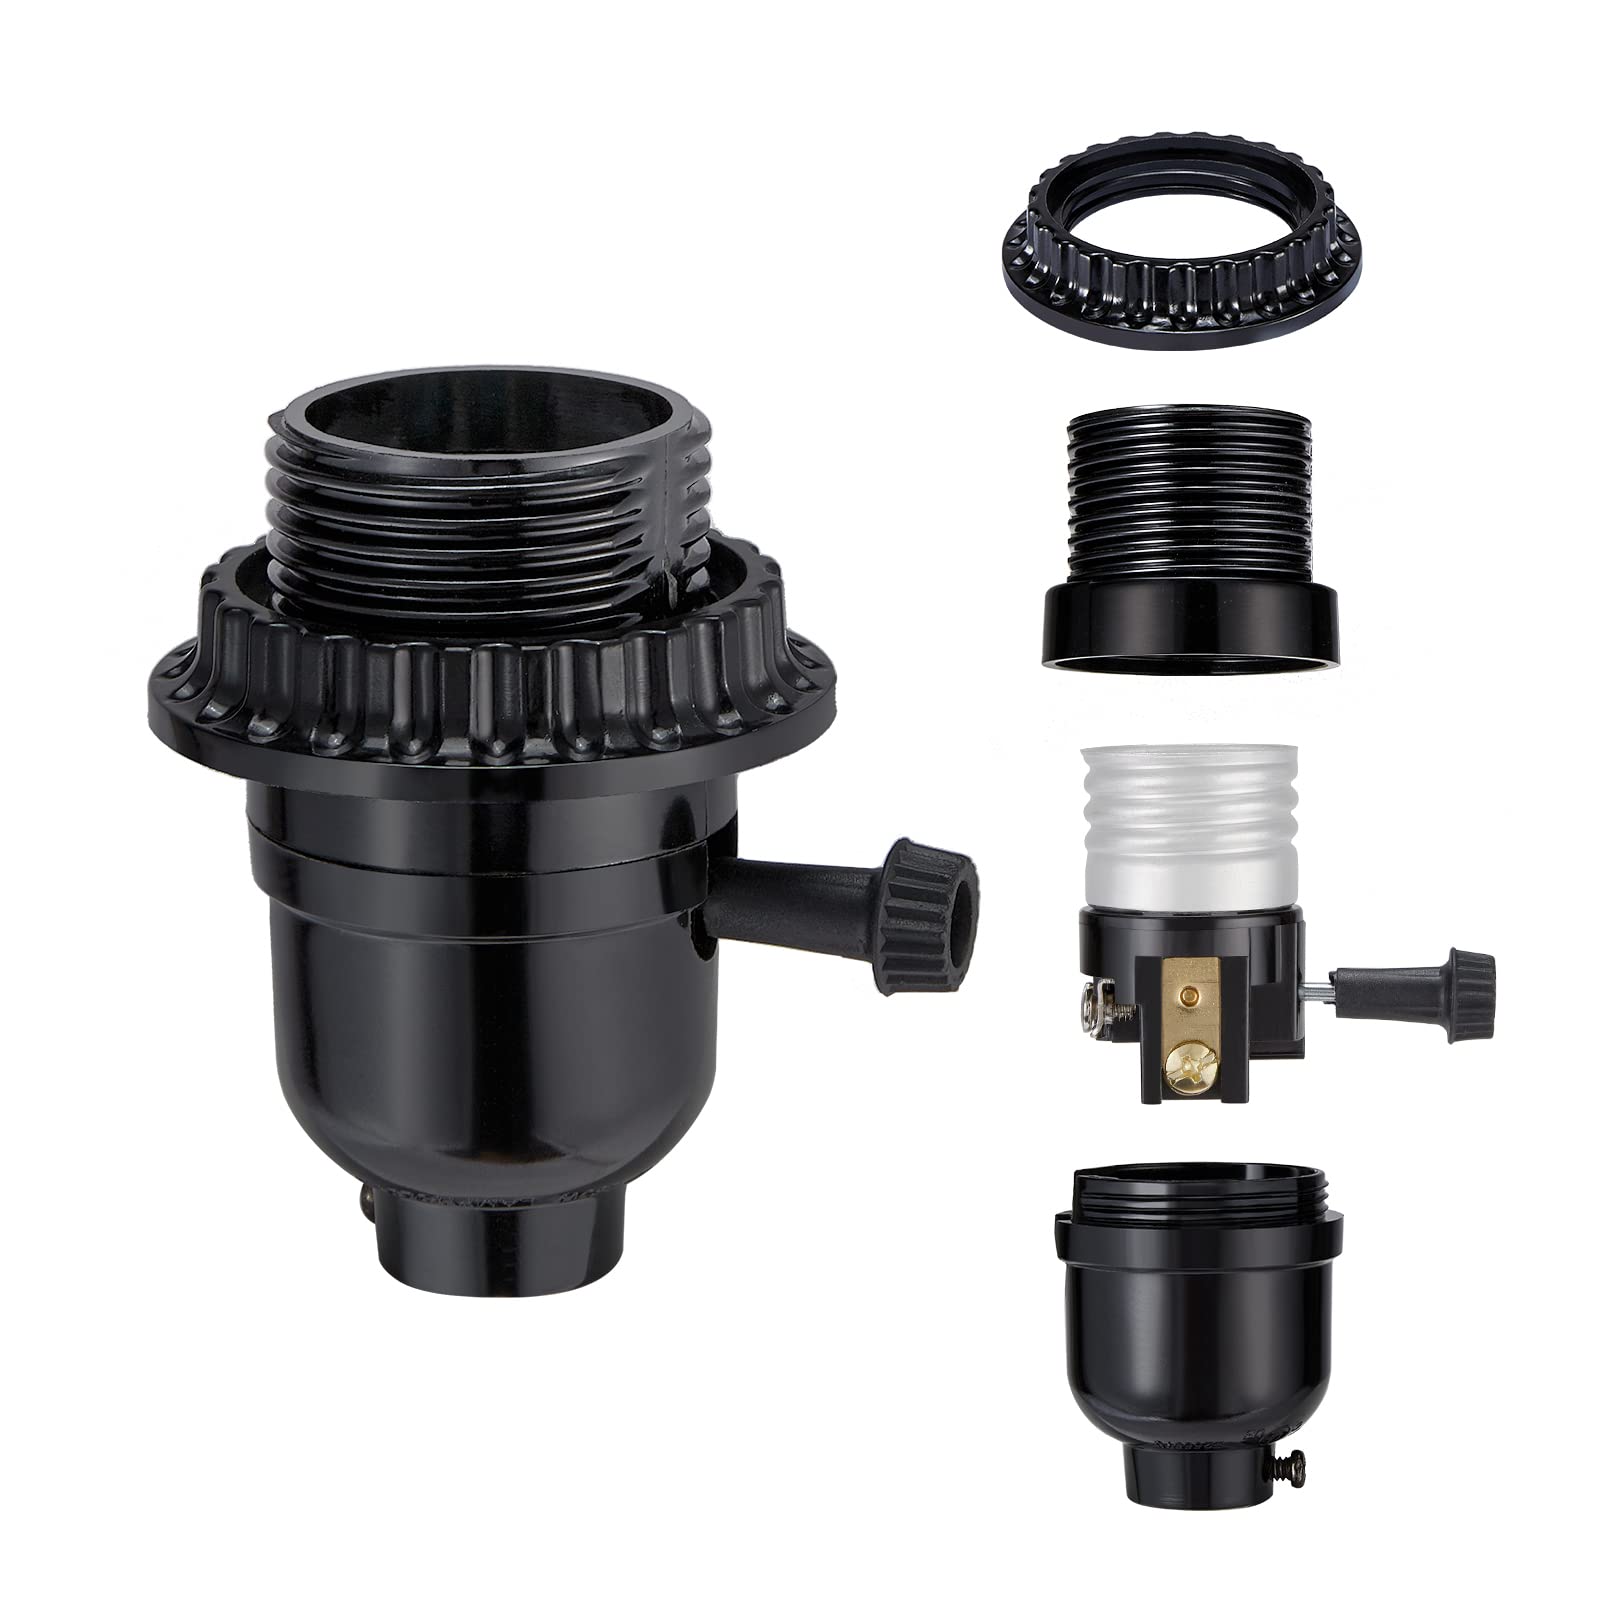
- Identify the Lamp Housing: Within the lamp compartment, locate the housing or assembly that contains the old lamp. This may be secured with screws or a latch, so refer to your user manual for specific instructions on accessing the lamp housing.
- Unscrew or Release the Lamp Housing: If the lamp housing is secured with screws, use the appropriate screwdriver to carefully remove them. Alternatively, if the housing is secured with a latch or locking mechanism, follow the instructions in your user manual to release it.
- Handle the Lamp Carefully: Once the lamp housing is accessible, handle the old lamp with care. Grasp it firmly but gently, avoiding any excessive force or twisting motions. If the lamp is damaged or broken, take precautions to avoid contact with any loose glass fragments.
- Remove the Lamp: With the lamp housing released, carefully slide or lift the old lamp out of its position within the projector. Take note of how the lamp is oriented and positioned, as this will be helpful when installing the new lamp.
- Inspect the Lamp Compartment: While the old lamp is removed, take a moment to inspect the lamp compartment for any accumulated dust or debris. Use a soft, lint-free cloth or can of compressed air to gently clean the interior if necessary.
By following these steps, you can safely remove the old lamp from your projector, setting the stage for the next critical phase: installing the new lamp.
Read more: How To Test A Projector Lamp
Step 5: Install the New Lamp
With the old lamp successfully removed, it’s time to install the new lamp in your projector. Proper installation is crucial to ensure optimal performance and longevity of the new lamp. Follow these steps to safely and effectively install the new lamp:
- Prepare the New Lamp: Before handling the new lamp, ensure that you are wearing clean, lint-free gloves to prevent any oils or contaminants from affecting its performance. Take the new lamp out of its packaging, being careful not to touch the glass surface with bare hands.
- Align the New Lamp: Orient the new lamp to match the position and alignment of the old lamp that was removed. Pay attention to any notches, guides, or connectors that ensure the lamp is inserted correctly into the lamp compartment.
- Insert the New Lamp: Carefully slide or insert the new lamp into the lamp compartment, ensuring that it is seated securely and aligned properly. Avoid touching the glass surface of the lamp, as oils from your skin can create hot spots and affect performance.
- Secure the Lamp Housing: If the new lamp is housed within an assembly or housing, carefully secure it in place according to the instructions in your user manual. This may involve reattaching screws or engaging a locking mechanism to hold the lamp in position.
- Replace Access Panels: If any access panels were removed to access the lamp compartment, securely reattach them according to the instructions in your user manual. Ensure that all panels are properly aligned and fastened to prevent any issues with projector operation.
By following these steps, you can successfully install the new lamp in your projector, setting the stage for the final phases of the replacement process. Once the new lamp is securely in place, you can proceed to the next step: closing the lamp compartment and turning on the projector.
Step 6: Close the Lamp Compartment and Turn On the Projector
With the new lamp securely installed, the final steps of the replacement process involve closing the lamp compartment and powering on the projector. Following these steps ensures that the new lamp is properly integrated into the projector and ready for use:
- Close the Lamp Compartment: If the lamp compartment features an access panel, securely reattach the panel according to the instructions in your user manual. Ensure that it is properly aligned and fastened to prevent any issues with projector operation.
- Reconnect the Power Cord: Carefully plug the power cord back into the electrical outlet. Ensure that the connection is secure and that the cord is free from any obstructions or potential hazards.
- Power On the Projector: Press the power button on the projector to initiate the startup process. Allow the projector to power on fully, and listen for any startup sounds or indicator lights that confirm the new lamp is functioning properly.
- Monitor the Startup Process: As the projector powers on, observe the startup sequence and check for any error messages or indicator lights that may indicate issues with the new lamp. If everything appears normal, the new lamp is successfully integrated into the projector.
- Perform a Test Projection: Once the projector has powered on, initiate a test projection to ensure that the new lamp is producing a bright, clear image. Verify that the image quality is consistent with your expectations and that there are no issues with brightness or color uniformity.
By following these steps, you can confidently close the lamp compartment and power on the projector, completing the lamp replacement process. With the new lamp in place, your projector is ready to deliver stunning visuals for your next movie night, gaming session, or presentation.
Congratulations on successfully replacing the lamp in your projector, ensuring that your home entertainment experience continues to shine brightly!
Conclusion
Congratulations on completing the process of replacing the lamp in your projector! By following the step-by-step instructions in this guide, you have taken a proactive step in maintaining the optimal performance of your home entertainment system. With the new lamp installed, you can look forward to enjoying vibrant and immersive visuals during your movie nights, gaming sessions, and presentations.
Regular maintenance, including the replacement of essential components such as the projector lamp, is key to maximizing the lifespan and performance of your projector. By adhering to the manufacturer’s guidelines and safety precautions, you have ensured that the lamp replacement process was carried out smoothly and effectively.
As you bask in the brilliance of your newly installed lamp, take a moment to appreciate the enhanced image quality and brightness that it brings to your viewing experience. Whether you’re indulging in the latest blockbuster movie or immersing yourself in a captivating video game, the new lamp will play a pivotal role in delivering stunning visuals right in the comfort of your home.
Remember to keep your projector’s user manual and maintenance records in a safe and accessible place for future reference. This will be invaluable for tracking the lifespan of your new lamp and staying informed about any additional maintenance tasks that may arise.
Thank you for entrusting us with the guidance to replace your projector lamp. We hope this process has empowered you to take an active role in maintaining and enhancing your home entertainment system. Here’s to many more hours of captivating visuals and unforgettable moments with your projector!
Frequently Asked Questions about How To Replace A Projector Lamp
Was this page helpful?
At Storables.com, we guarantee accurate and reliable information. Our content, validated by Expert Board Contributors, is crafted following stringent Editorial Policies. We're committed to providing you with well-researched, expert-backed insights for all your informational needs.


0 thoughts on “How To Replace A Projector Lamp”