Articles
How To Test The Draw On A Chimney
Modified: February 24, 2024
Learn how to test the draw on a chimney with our informative articles. Discover expert tips and techniques for ensuring proper ventilation for your home.
(Many of the links in this article redirect to a specific reviewed product. Your purchase of these products through affiliate links helps to generate commission for Storables.com, at no extra cost. Learn more)
Introduction
When it comes to the functionality of a chimney, one crucial aspect that needs to be assessed is the draw. The draw refers to the ability of a chimney to effectively pull smoke and gases out of a fireplace or stove and expel them outside the building. A strong and efficient draw is essential for proper ventilation, preventing the build-up of harmful substances, and ensuring the safety and comfort of those inside the home.
Testing the draw on a chimney is a vital step in the maintenance and evaluation of the overall chimney system. It allows homeowners and professionals to identify any potential issues with the chimney and take the necessary steps to rectify them. In this article, we will explore the process of testing the draw on a chimney and provide a step-by-step guide to conduct this evaluation effectively.
Before diving into the testing procedure, it is important to have a basic understanding of the factors that influence the draw of a chimney. The key elements that affect the draw include the height of the chimney, the diameter of the flue, the absence of blockages or obstructions, and the temperature contrast between the inside and outside of the chimney. By assessing these factors, we can determine if the chimney is functioning optimally or if adjustments need to be made.
Testing the draw on a chimney should be conducted regularly to ensure the continued efficiency and safety of the system. It is especially important to perform this test before the start of the winter season when the chimney will be used more frequently. By doing so, any potential issues can be addressed in a timely manner, preventing potential hazards and costly repairs.
In the following sections, we will discuss the tools and equipment needed for chimney draw testing and provide a comprehensive guide on how to conduct the evaluation step by step. Let’s dive into the process and ensure that your chimney is functioning at its best.
Key Takeaways:
- Regular chimney draw testing is crucial for maintaining a safe and efficient chimney system. By following a step-by-step guide, homeowners can identify and address potential issues, ensuring optimal functionality and safety.
- Understanding the factors that influence chimney draw, preparing the chimney, and conducting thorough testing are essential for maintaining a strong and efficient draw. Regular evaluations and adjustments contribute to long-term safety and peace of mind.
Understanding the Draw on a Chimney
The draw on a chimney refers to the force or suction that enables the flow of air and gases through the chimney system. It is essential for proper ventilation, allowing smoke, soot, and harmful gases to be efficiently expelled from the fireplace or stove and released outside the building.
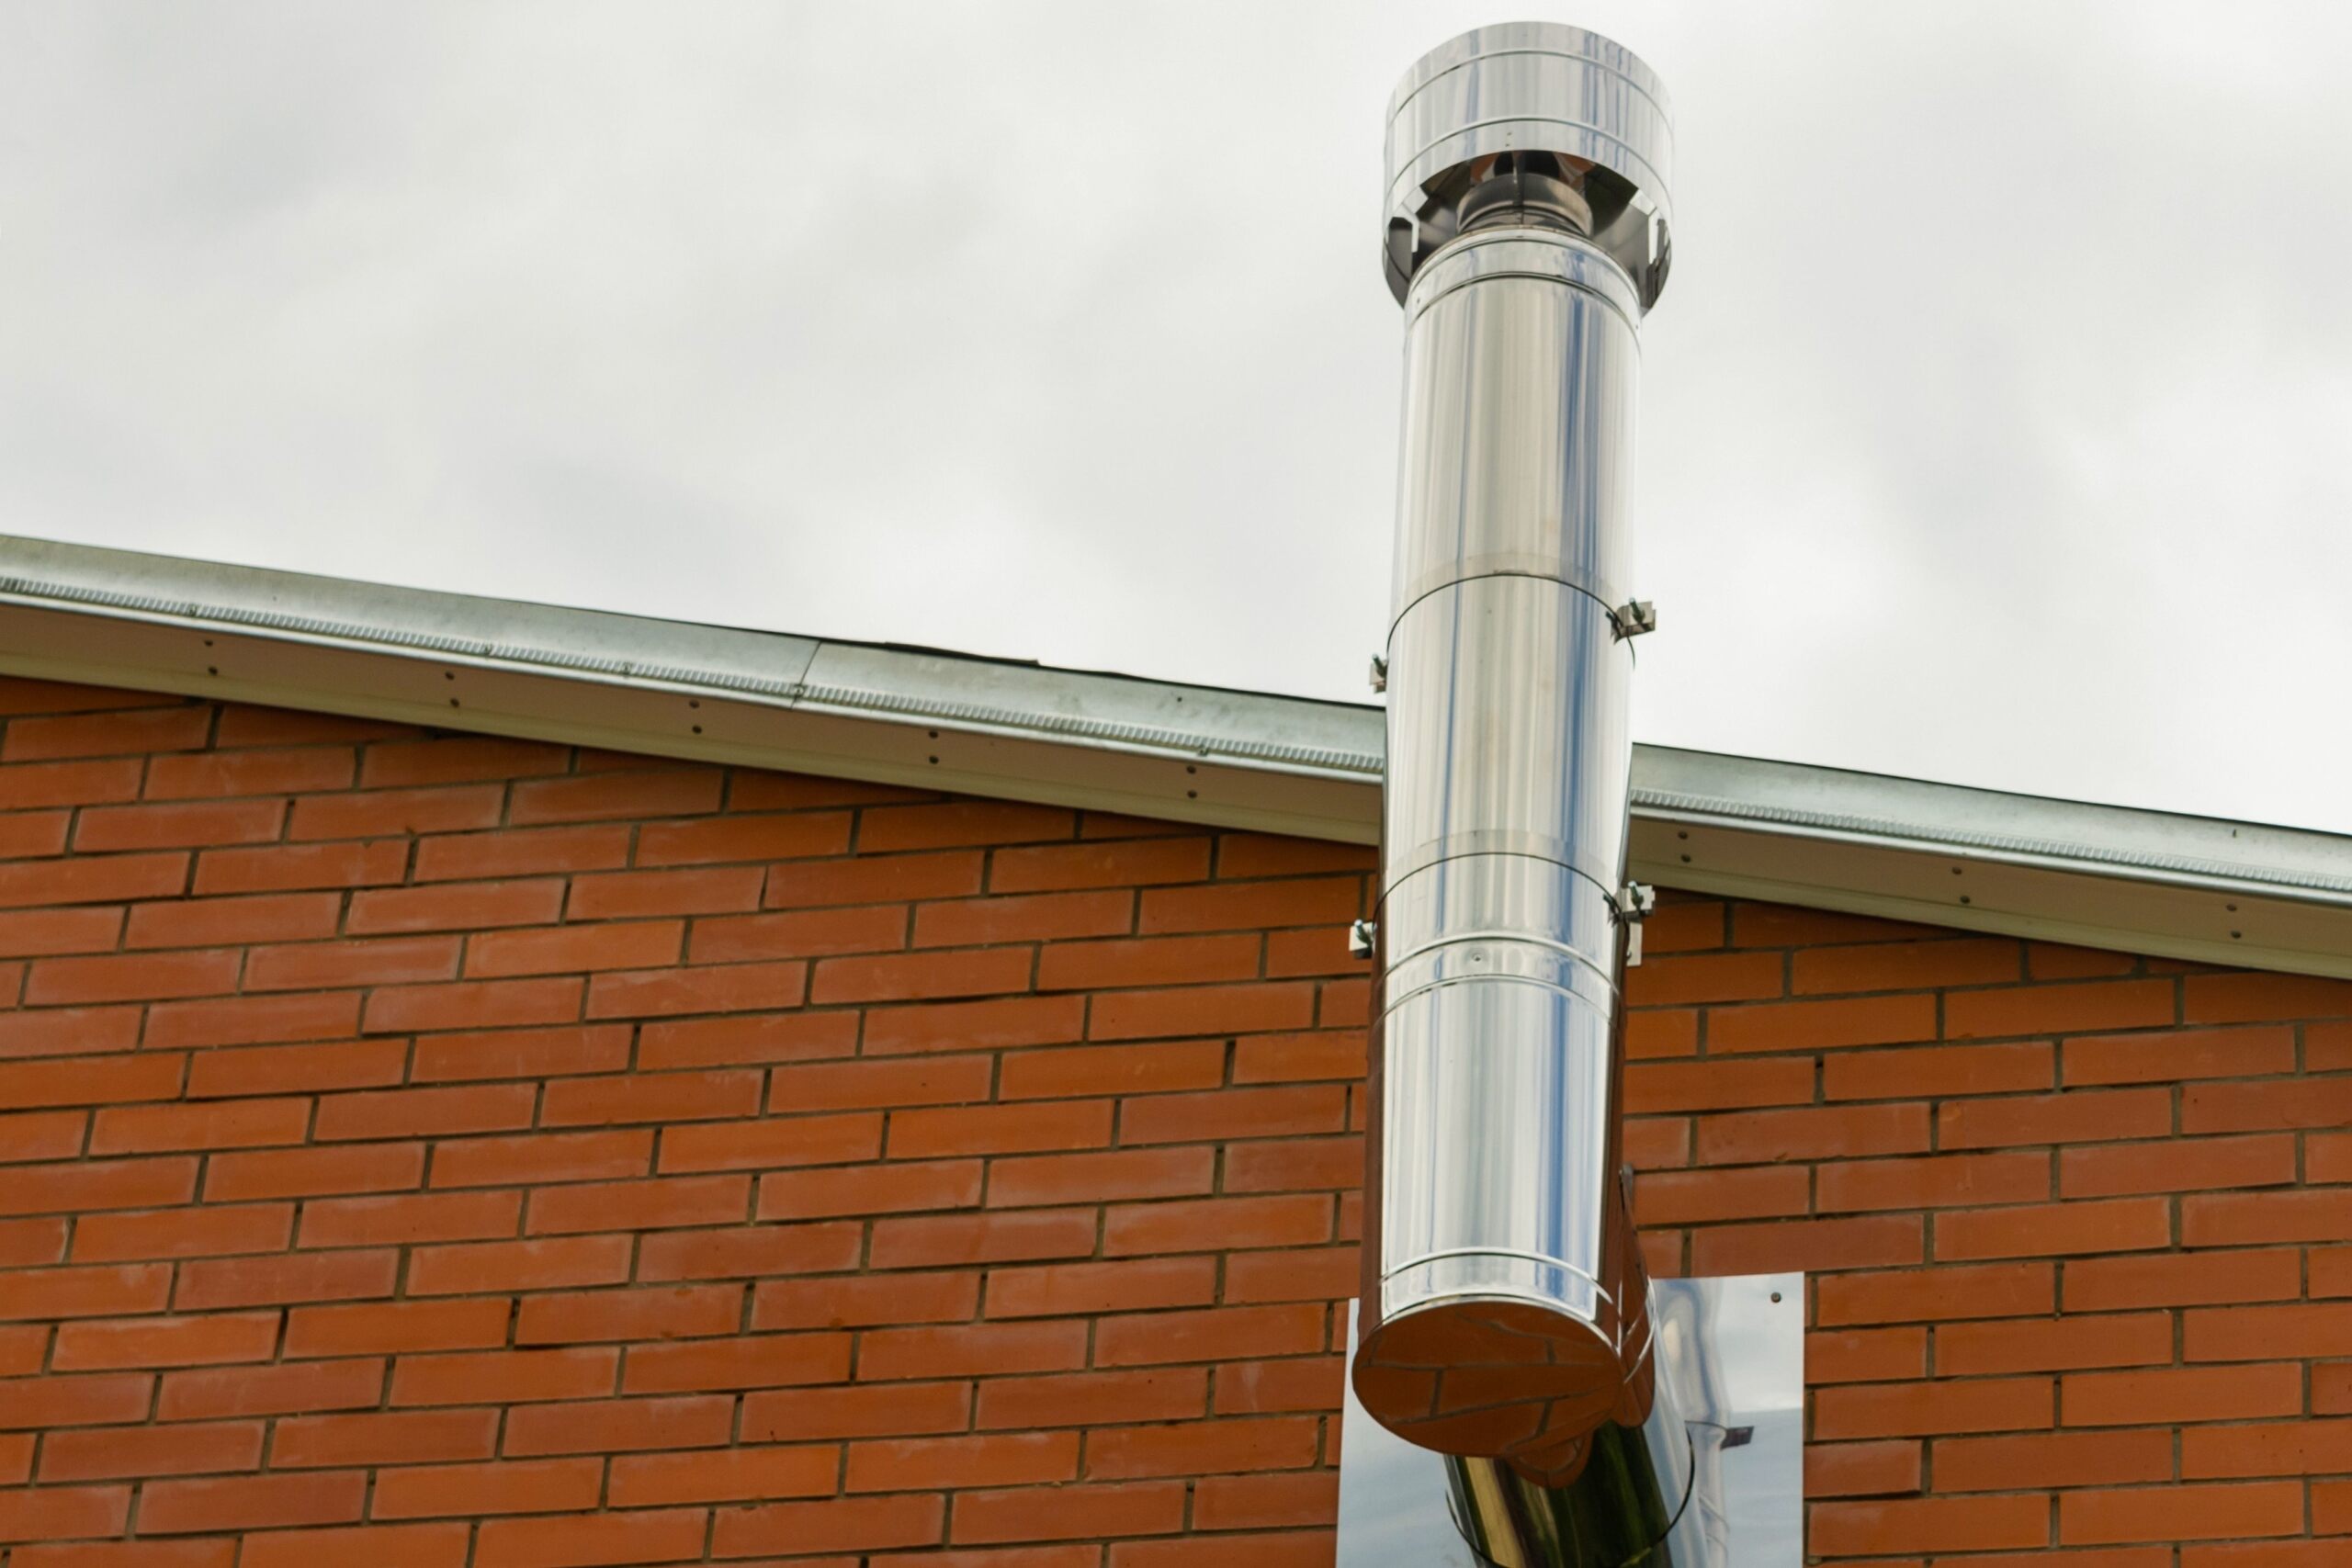
Several factors contribute to the strength and effectiveness of the draw on a chimney. Firstly, the height of the chimney plays a crucial role. The taller the chimney, the greater the gravitational pull and the stronger the draw. This is why chimney stacks are often positioned higher than the roofline of a structure.
The diameter of the flue also impacts the draw. A wider flue allows for better airflow and can enhance the draw. However, it is important to strike a balance, as a flue that is too wide can result in a weaker draw due to a greater loss of heat up the chimney.
Blockages or obstructions in the chimney can significantly hinder the draw. It is important to regularly inspect the chimney for any debris, nests, or other obstructions that may be inhibiting the flow of air. Clearing these blockages is essential for maintaining a strong and efficient draw.
Temperature contrast between the inside and outside of the chimney also affects the draw. As warm air rises, the difference in temperature between the heated gases inside the chimney and the outside air creates a natural suction that helps pull the gases up and out of the chimney. It is crucial to ensure that the chimney is heated sufficiently to create this temperature contrast and promote a good draw.
Understanding the draw on a chimney is important because it allows homeowners and professionals to assess the efficiency and safety of the chimney system. A weak or malfunctioning draw can lead to issues such as poor ventilation, excessive smoke, backdrafts, and even the accumulation of dangerous gases like carbon monoxide inside the home. By testing and evaluating the draw, necessary adjustments and improvements can be made to ensure the smooth operation of the chimney.
Now that we have a better understanding of the draw and its importance, let us move on to the tools and equipment needed to conduct the chimney draw test.
Tools and Equipment Needed
Before you begin testing the draw on your chimney, it is important to gather the necessary tools and equipment. Here is a list of items you will need:
- Smoke Source: You will need a reliable smoke source to generate visible smoke that can be used to assess the draw. This can be achieved using smoke pellets, smoke bombs, or even a smoke machine specifically designed for chimney testing.
- Ladder or Access Equipment: Depending on the height and location of your chimney, you may require a ladder or other access equipment to safely reach the chimney top. Make sure you have the necessary equipment to ensure your safety during the testing process.
- Protective Gear: It is essential to prioritize safety during chimney testing. Wear appropriate protective gear, including gloves, goggles, and a dust mask, to protect yourself from any potential hazards.
- Flashlight: A flashlight will come in handy during the visual inspection of the chimney interior. It will help you identify any blockages or obstructions that may be affecting the draw.
- Thermometer: A thermometer will allow you to measure and monitor the temperature difference between the inside and outside of the chimney. This temperature contrast is essential for a strong draw.
- Measuring Tape: A measuring tape will help you determine the height of the chimney. This measurement is important for assessing the gravitational pull and evaluating the strength of the draw.
- Fireproof Container: To safely dispose of the smoke source after the test, have a fireproof container available. This will prevent any potential hazards or accidents from occurring.
- Notebook and Pen: It is always a good idea to keep a notebook and pen handy to jot down any observations or measurements during the testing process. This will help you keep track of the results and make any necessary adjustments.
By ensuring you have all the necessary tools and equipment before starting the chimney draw testing, you can proceed with the evaluation process smoothly and efficiently. Now that you are well-equipped let’s move on to the step-by-step guide on conducting the chimney draw test.
Step 1: Preparing the Chimney for Testing
Before you can begin testing the draw on your chimney, it is important to properly prepare the chimney for evaluation. Follow these steps to ensure an accurate and effective testing process:
- Clean the Chimney: Start by thoroughly cleaning the chimney and flue. Remove any debris, soot, or blockages that may be present. This will help ensure an unobstructed flow of air and gases during the draw test.
- Inspect the Chimney: Carefully inspect the chimney for any signs of damage or deterioration, such as cracks or loose bricks. Address any structural issues before proceeding with the draw test to ensure your safety.
- Close Openings: Close any doors, windows, or vents in the room where the fireplace or stove is located. This will prevent any external air from affecting the draw and provide a controlled environment for testing.
- Open the Damper: Ensure that the damper is fully open to allow for proper airflow during the testing process. The damper regulates the flow of air in and out of the flue, so it should be in the open position for accurate measurements.
- Eliminate Drafts: Identify and eliminate any drafts in the vicinity of the fireplace or stove. Close off any unused fireplaces, seal gaps around windows and doors, and consider using draft stoppers to prevent air infiltration that could affect the draw test.
- Seal the Room: To create a controlled environment, seal the room as much as possible. This can be done by using plastic sheeting and duct tape to cover any large openings or gaps. The goal is to minimize the influence of outside air on the draw test.
- Set Up Ventilation: As part of the preparation process, ensure that there is proper ventilation in the room where the fireplace or stove is located. This will provide an adequate supply of air for combustion and promote a strong draw during testing.
By following these steps and properly preparing the chimney for testing, you can ensure accurate and reliable results when assessing the draw. Once you have completed these preparations, you are ready to move on to the next step: setting up the smoke source. Stay tuned for the next section!
Step 2: Setting up the Smoke Source
Once you have prepared the chimney for testing, it’s time to set up the smoke source. The smoke source is an essential component of the chimney draw test as it provides visible smoke that allows you to evaluate the draw. Follow these steps to properly set up the smoke source:
- Select the Smoke Source: Depending on your preference and availability, choose a reliable smoke source such as smoke pellets, smoke bombs, or a smoke machine specifically designed for chimney testing. Make sure to follow the manufacturer’s instructions for its use.
- Choose a Safe Location: Select a safe and well-ventilated area to set up the smoke source. This can be outside near the chimney or in a controlled indoor environment with proper ventilation to prevent the accumulation of smoke.
- Light the Smoke Source: If using smoke pellets or smoke bombs, carefully light the source according to the manufacturer’s instructions. If using a smoke machine, follow the specific guidelines for powering it on.
- Generate Smoke: Allow the smoke source to produce a sufficient amount of smoke. Take precautions to ensure you are standing upwind of the smoke to prevent any discomfort or inhalation of fumes.
- Direct the Smoke: Once the smoke source is generating smoke, direct it towards the fireplace or stove opening. Use a fan or your hand to guide the smoke into the chimney flue. Observe the smoke as it enters the chimney.
- Visual Inspection: While the smoke is flowing into the chimney, visually inspect the entire length of the flue, both inside and outside. Look for any signs of blockages, obstructions, or leaks. Use a flashlight, if necessary, to get a better view of the interior of the chimney.
- Observe the Smoke Movement: Pay close attention to the movement of the smoke. Note whether it is being drawn up the chimney smoothly and quickly or if there are any areas where the smoke seems to linger or escape into the room. This will help you assess the strength and efficiency of the draw.
- Monitor the Smoke Exit: Finally, observe the smoke as it exits the chimney. If the draw is strong, the smoke should be seen venting out of the chimney top in a steady and consistent manner. If there are any unusual patterns or disruptions in the smoke’s exit, make a note of them for further evaluation.
By properly setting up the smoke source and carefully observing the smoke movement, you can gather valuable information about the draw on your chimney. In the next step, we will discuss how to conduct the initial draw test and analyze the results. Stay tuned!
Before testing the draw on a chimney, ensure that the damper is open and there are no obstructions. Use a lit candle or incense stick to check for proper airflow. If the smoke or flame is drawn up the chimney, the draw is working effectively.
Read more: How To Draw A Garden
Step 3: Conducting the Initial Test
Now that you have prepared the chimney and set up the smoke source, it’s time to conduct the initial test to assess the draw. This test will provide you with valuable information about the strength and efficiency of the draw. Follow these steps to conduct the initial test:
- Note the Conditions: Before proceeding with the test, make a note of the ambient temperature inside and outside the building. Temperature variations can affect the draw, so having this information will be helpful for analyzing the results.
- Observe the Smoke: As the smoke flows into the chimney, carefully observe its movement. Note how quickly and smoothly it is being drawn up the chimney. Ideally, the smoke should exhibit a strong and steady upward flow.
- Monitor the Smoke Exit: Pay close attention to the smoke as it exits the chimney. Look for any signs of backdraft or obstructions that may cause the smoke to escape into the room instead of venting outside. Check for any irregular patterns or disruptions in the smoke’s exit.
- Measure the Temperature Difference: Use a thermometer to measure the temperature both inside and outside of the chimney. Take multiple readings and calculate the temperature difference. A significant temperature contrast is essential for a strong draw.
- Take Note of Observations: Throughout the test, jot down any observations you make regarding the draw, smoke movement, and any issues you notice. This information will be valuable for analyzing the results and making any necessary adjustments later on.
- Record the Results: After completing the initial test, record all your findings, including the temperature difference, smoke movement, and any issues or concerns that arose during the test. This record will serve as a reference point for future evaluations and comparisons.
The initial test will provide you with a baseline understanding of the draw on your chimney. It will help you identify any immediate issues or areas that require further attention. The observations and results obtained during this test will guide you in the next steps of analyzing the results and making any necessary adjustments. In the next section, we will discuss how to analyze the results of the draw test. Stay tuned!
Step 4: Analyzing the Results
After conducting the initial draw test, it’s time to analyze the results to gain insights into the performance of your chimney. By carefully evaluating the observations and measurements made during the test, you can identify any issues or areas that may require attention. Follow these steps to analyze the results:
- Assess the Smoke Movement: Review your notes on the smoke movement during the test. Pay attention to the speed and smoothness of the smoke as it rises up the chimney. A strong draw will exhibit a consistent and steady upward flow of smoke.
- Evaluate Smoke Exit: Consider the observations you made about the smoke exiting the chimney. Look for any signs of backdraft or smoke escaping into the room. These issues may indicate a weak draw or obstructions within the chimney.
- Review Temperature Difference: Evaluate the temperature readings you took during the test. Calculate the temperature difference between the inside and outside of the chimney. A significant contrast is indicative of a well-functioning draw.
- Compare Results to Standards: Consult industry standards or guidelines to compare your test results. These resources can provide benchmarks for optimal draw performance. If your results deviate significantly from the standards, further investigations or adjustments may be necessary.
- Identify Potential Issues: Based on your observations and the analyzed results, identify any potential issues that may be affecting the draw. These could include blockages, leaks, structural damage, or other factors hindering the proper functioning of the chimney.
- Consider External Factors: Take into account any external factors that may have influenced the test results. These could include weather conditions, air pressure changes, or variations in room ventilation. Understanding these factors can provide additional context to your analysis.
- Seek Professional Assistance: If you encounter significant issues or are unsure about the significance of your findings, it may be beneficial to consult a professional chimney technician or inspector. They can provide expert advice and recommendations based on their expertise and experience.
By carefully analyzing the results of your draw test, you can gain valuable insights into the performance of your chimney. This analysis will help you identify any issues that need to be addressed and guide you in making the necessary adjustments. In the next step, we will discuss how to make adjustments to improve the draw. Stay tuned!
Step 5: Making Adjustments
After analyzing the results of your draw test and identifying any issues or areas for improvement, it’s time to make the necessary adjustments to optimize the draw on your chimney. Follow these steps to effectively address any problems that were identified:
- Clean or Clear Blockages: If blockages or obstructions were identified during the draw test, it is crucial to address them promptly. Clean out any debris or buildup within the chimney or flue. Remove any nests, leaves, or other blockages that may be impeding the airflow.
- Seal Leaks: If there are any leaks or gaps in the chimney, it is important to seal them. This will prevent the escape of smoke and gases into the room and maintain the proper functioning of the draw. Use appropriate sealants or materials to fill any gaps or cracks.
- Adjust Damper Position: If you noticed that the damper was not fully open during the draw test, make sure to adjust it to the correct position. The damper regulates the flow of air in and out of the flue, so it needs to be fully open to allow for optimal draw.
- Consider Increasing Chimney Height: If the draw is consistently weak, you may want to consider increasing the height of the chimney. A taller chimney can generate a stronger gravitational pull, enhancing the overall draw. Consult with a professional to assess the feasibility of such modifications.
- Improve Ventilation: If the ventilation in the room is inadequate, it can affect the draw. Make sure there is proper airflow in the area where the fireplace or stove is located. Consider installing additional vents or improving the existing ventilation system to support the draw.
- Address Structural Issues: If structural issues were identified during the draw test, it is important to address them promptly. Cracks, loose bricks, or damaged mortar can impact the functionality of the chimney. Consult a professional to assess and repair any structural issues.
- Monitor and Retest: After making adjustments, closely monitor the performance of the chimney and conduct a follow-up draw test. Observe the smoke movement, check for any signs of backdraft, and assess the temperature difference. If the draw improves, the adjustments were successful. If not, consider consulting a professional for further assistance.
By making the necessary adjustments, you can optimize the draw on your chimney and ensure its efficient and safe operation. Regular monitoring and testing will help you identify any recurrent issues and allow for prompt remedial measures. In the final step, we will discuss the importance of conducting a final test and evaluation. Keep reading!
Step 6: Final Test and Evaluation
After making the necessary adjustments to improve the draw on your chimney, it is important to conduct a final test and evaluation to assess the effectiveness of the changes and ensure the optimal functioning of your chimney. Follow these steps to conduct the final test:
- Prepare for Testing: Ensure that the chimney is clean, the damper is fully open, and any previous adjustments have been implemented. This will provide a consistent baseline for evaluating the draw.
- Set up the Smoke Source: Repeat the process of setting up the smoke source as outlined in Step 2. Use the same type of smoke source that was used during the initial test to maintain consistency.
- Observe Smoke Movement: Carefully observe the smoke movement as it enters the chimney. Note any improvements in the speed, smoothness, and overall flow of the smoke compared to the initial test.
- Evaluate Smoke Exit: Assess the smoke as it exits the chimney. Look for signs of better ventilation and a consistent and steady flow of smoke. Check for any remaining issues or irregular patterns that might indicate further adjustments are needed.
- Measure the Temperature Difference: Use a thermometer to measure the temperature difference between the inside and outside of the chimney. Compare the results to the initial test to determine if the adjustments have had a positive impact on the draw.
- Compare Results: Compare the results of the final test to the initial test and any applicable industry standards. Look for improvements in smoke movement, smoke exit patterns, and temperature difference. This comparison will help assess the effectiveness of the adjustments made.
- Finalize Adjustments and Maintenance: Based on the final test results, determine if any further adjustments or maintenance tasks are required. Address any remaining issues or consult a professional if necessary.
- Maintain Regular Testing: It is important to conduct regular draw tests, even after making adjustments, to ensure ongoing efficiency and safety. Set a schedule for future evaluations and note any maintenance tasks that need to be performed regularly.
Conducting a final test and evaluation provides confirmation that the adjustments made have improved the draw on your chimney. It allows you to determine if any further steps are needed and ensures the long-term functionality and safety of the chimney system. By maintaining regular testing and evaluations, you can identify and address any future issues or changes that may impact the draw.
Remember, if you encounter any concerns or difficulties during the testing process or require professional assistance, do not hesitate to consult a certified chimney technician or inspector. They have the expertise to provide guidance and advice tailored to your specific chimney system.
Congratulations on successfully testing the draw on your chimney and taking the necessary steps to optimize its performance!
Read more: How To Draw A Balcony
Conclusion
Testing the draw on a chimney is a crucial aspect of chimney maintenance and safety. A strong and efficient draw ensures proper ventilation, prevents the build-up of harmful substances, and maintains the comfort and well-being of those inside the home. By following the step-by-step guide outlined in this article, you can effectively assess and improve the draw on your chimney.
Throughout the testing process, it is important to be thorough and meticulous. Preparing the chimney, setting up the smoke source, conducting the tests, and analyzing the results require attention to detail and careful observation. By following these steps, you can identify any issues, make necessary adjustments, and ensure the optimal functioning of your chimney.
Remember to prioritize safety during the testing process. Use protective gear, work in a well-ventilated area, and exercise caution when working at heights or with smoke sources. If you encounter significant issues or are unsure about the results, consider seeking assistance from a certified chimney technician or inspector.
Regular chimney draw testing is essential to maintain the efficiency and safety of your chimney system. It is recommended to conduct these tests before the start of the winter season when the chimney will be used more frequently. By identifying and addressing any potential issues, you can prevent hazards and costly repairs in the future.
In conclusion, testing the draw on a chimney is an important part of chimney maintenance. By understanding the factors that influence the draw, preparing the chimney properly, setting up the smoke source, conducting the tests, making adjustments, and evaluating the results, you can ensure a strong and efficient draw. Regular testing and maintenance will contribute to the long-term functionality and safety of your chimney, providing peace of mind for you and your family.
Frequently Asked Questions about How To Test The Draw On A Chimney
Was this page helpful?
At Storables.com, we guarantee accurate and reliable information. Our content, validated by Expert Board Contributors, is crafted following stringent Editorial Policies. We're committed to providing you with well-researched, expert-backed insights for all your informational needs.


0 thoughts on “How To Test The Draw On A Chimney”