Furniture
How To Identify The Hot Wire On A Lamp Cord
Modified: March 1, 2024
Learn how to identify the hot wire on a lamp cord with these easy steps. Ensuring furniture safety has never been easier.
(Many of the links in this article redirect to a specific reviewed product. Your purchase of these products through affiliate links helps to generate commission for Storables.com, at no extra cost. Learn more)
Introduction
When it comes to working with electrical appliances, safety is of utmost importance. Whether you’re repairing a lamp or installing a new light fixture, understanding how to identify the hot wire on a lamp cord is essential. The hot wire carries the electrical current and can pose a serious risk if mishandled.
Identifying the hot wire is crucial for a number of reasons. Firstly, it ensures that you connect the lamp or light fixture correctly, preventing any potential damage to the electrical system. Secondly, it allows you to avoid accidental electric shock by handling the wires safely. This is particularly important if you’re working on a lamp cord that is damaged or frayed.
In this article, we will guide you through the process of identifying the hot wire on a lamp cord. We will outline the necessary tools and materials, provide step-by-step instructions, and offer some additional tips to ensure your safety throughout the process.
Key Takeaways:
- Safely identify the hot wire on a lamp cord using a voltage tester or polarity tester, ensuring correct electrical connections and minimizing the risk of electrical hazards.
- Thoroughly inspect the lamp cord for damage, use the right tools, and double-check your findings to confidently identify the hot wire and work with peace of mind.
Step 1: Gather the necessary tools and materials
Before you begin identifying the hot wire on a lamp cord, it’s important to gather the necessary tools and materials. Having everything prepared beforehand will make the process smoother and more efficient. Here are the items you will need:
- A voltage tester or a non-contact voltage tester
- A polarity tester
- A screwdriver set
- A pair of wire strippers
- A pair of wire cutters
- A pair of insulated gloves
- Electrical tape
The voltage tester will help you confirm the presence of electrical current, while the polarity tester will indicate which wire is hot. The screwdriver set, wire strippers, and wire cutters will be used to make any necessary adjustments or repairs to the lamp cord. The insulated gloves will protect your hands while working with the electrical components, and the electrical tape will be used to secure any exposed wires.
It’s important to ensure that all of your tools are in good working condition before starting the process. Check that the voltage tester and polarity tester have fresh batteries and that the screwdriver set is suitable for the size of screws you may encounter. Additionally, make sure your work area is well-lit and free of any potential hazards.
By gathering all of these tools and materials before you start, you’ll be well-prepared to move on to the next step of identifying the hot wire on a lamp cord.
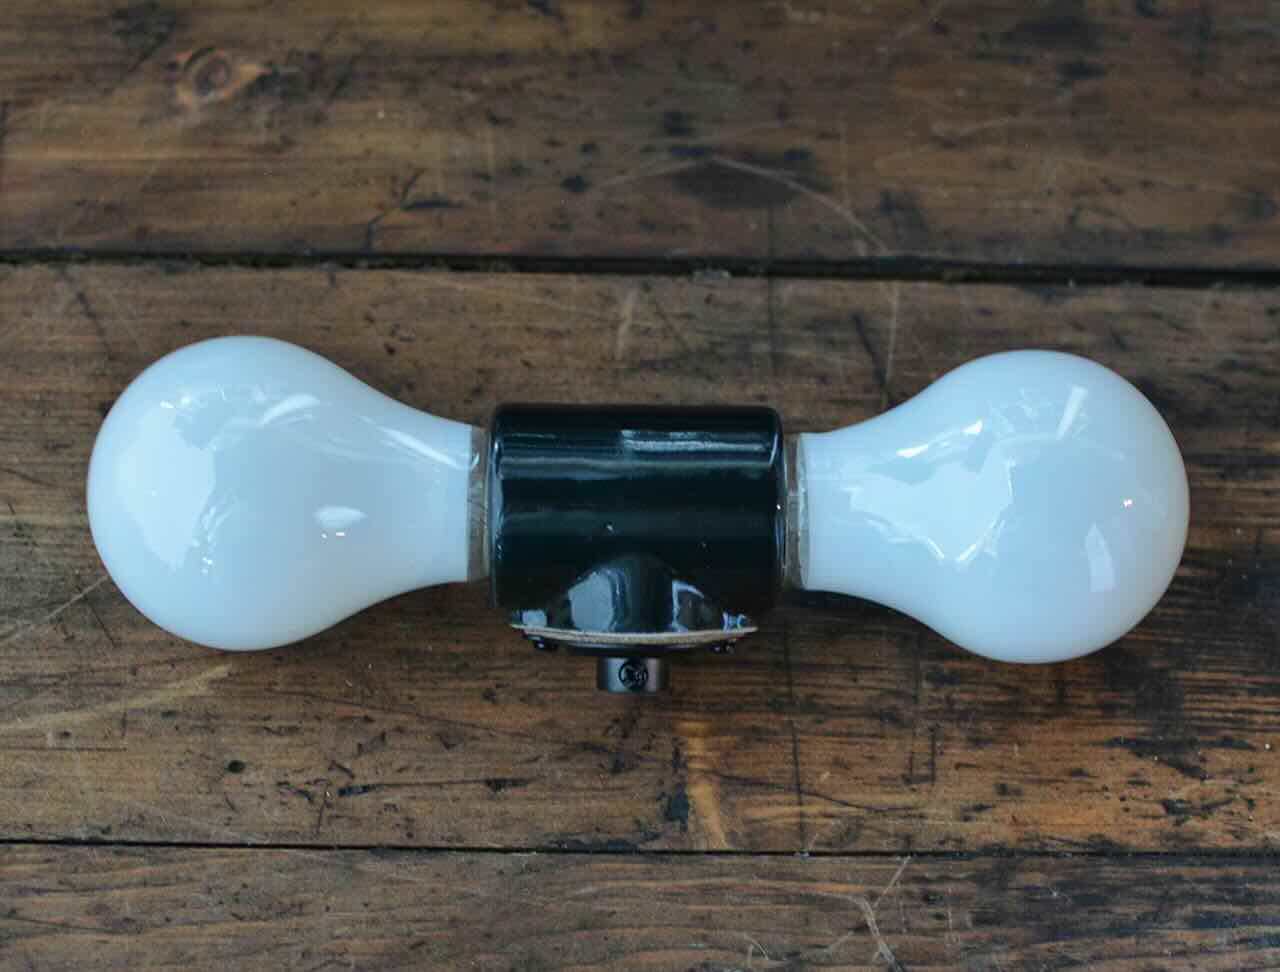
Step 2: Inspect the lamp cord
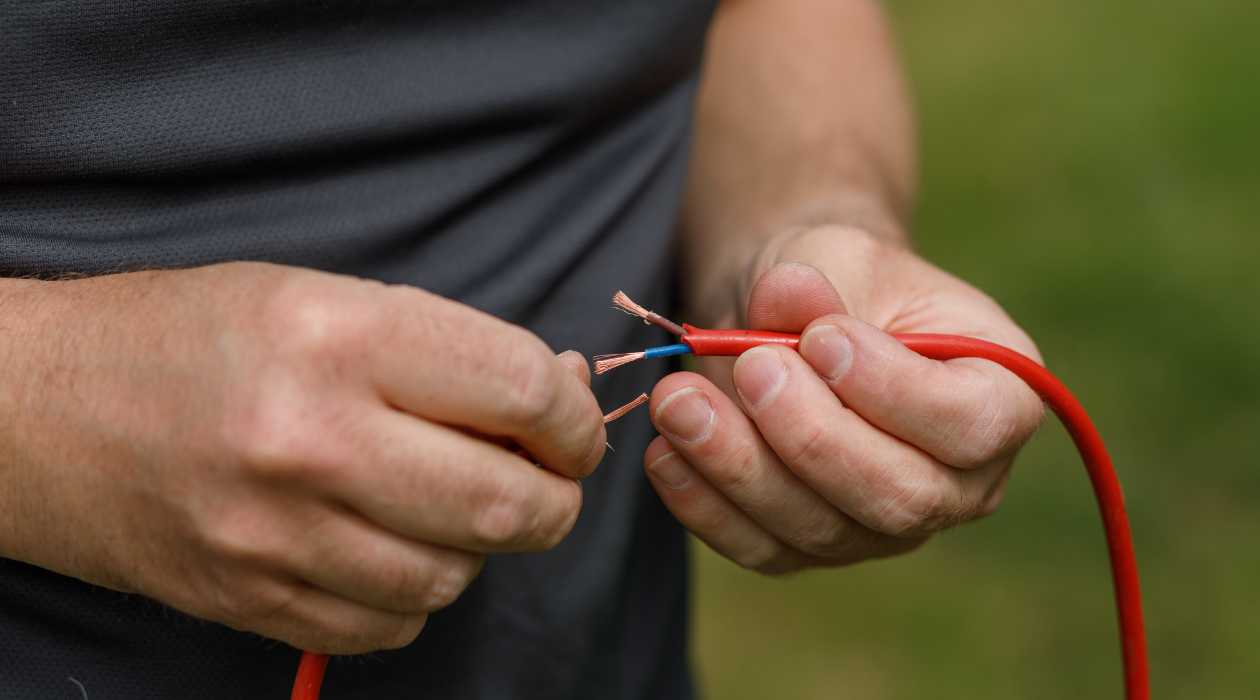
Before you begin identifying the hot wire, it’s important to thoroughly inspect the lamp cord for any signs of damage or wear. A frayed or damaged cord can present a serious safety hazard, and it’s crucial to address any issues before proceeding.
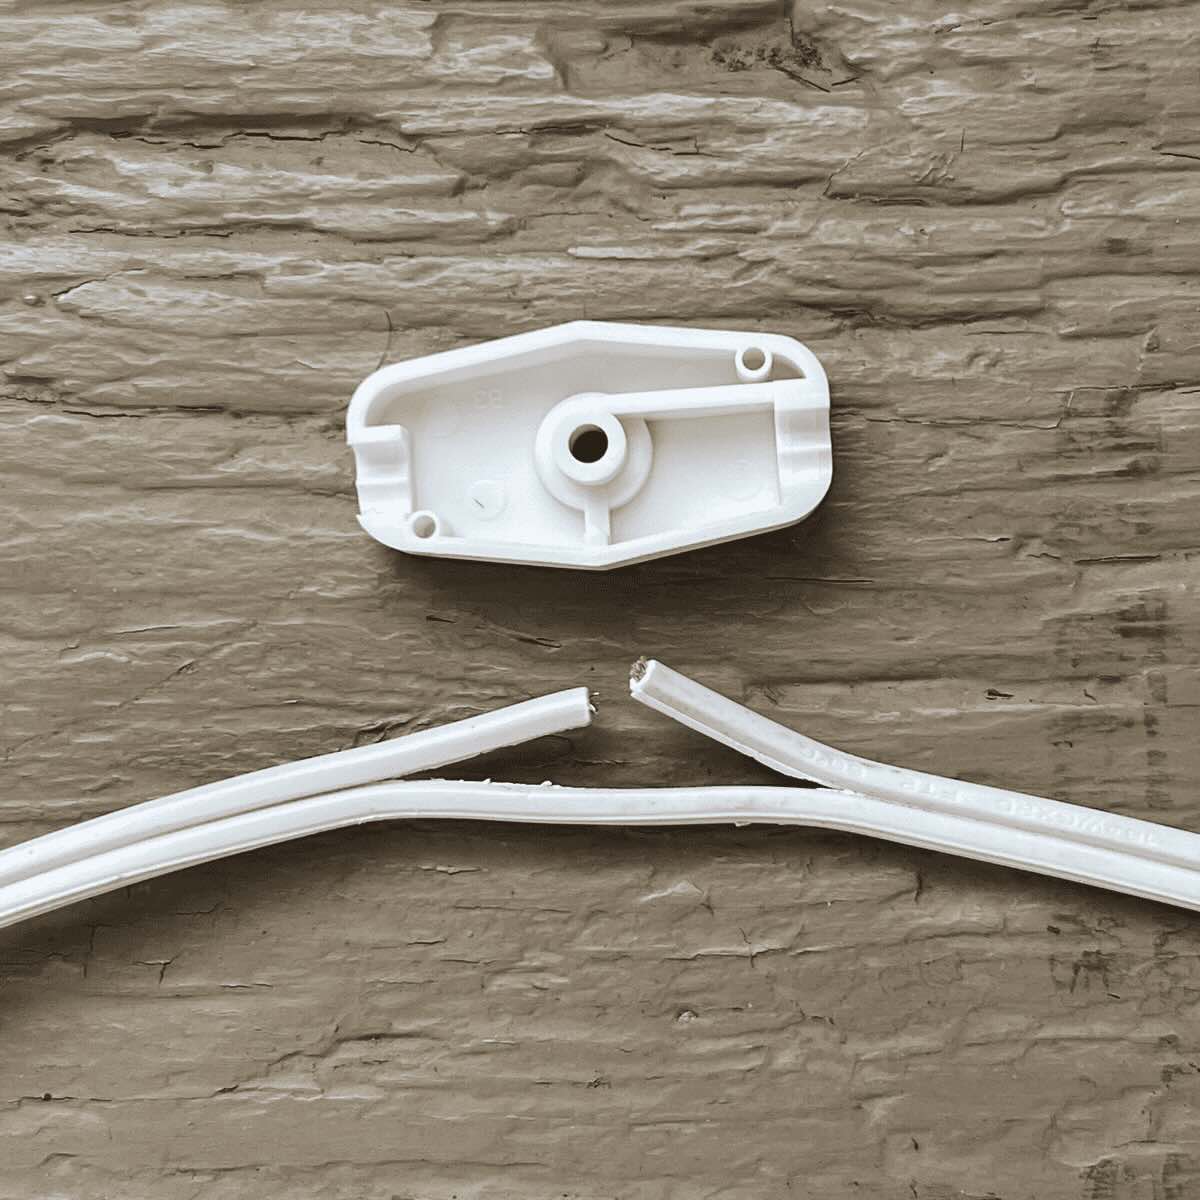
Start by unplugging the lamp or disconnecting it from the power source. Carefully examine the entire length of the cord, looking for any cuts, exposed wires, or areas where the insulation is damaged. Take note of any visible issues, as these may impact the wiring inside the cord.
If you notice any damage to the lamp cord, it’s essential to repair or replace it before continuing. A damaged cord can lead to electrical shorts or even fires. If the damage is minor, you can try repairing it with electrical tape. Simply wrap the tape tightly around the affected area, making sure to cover any exposed wires. However, it’s important to note that this is only a temporary solution. For more severe damage, it’s best to replace the entire cord.
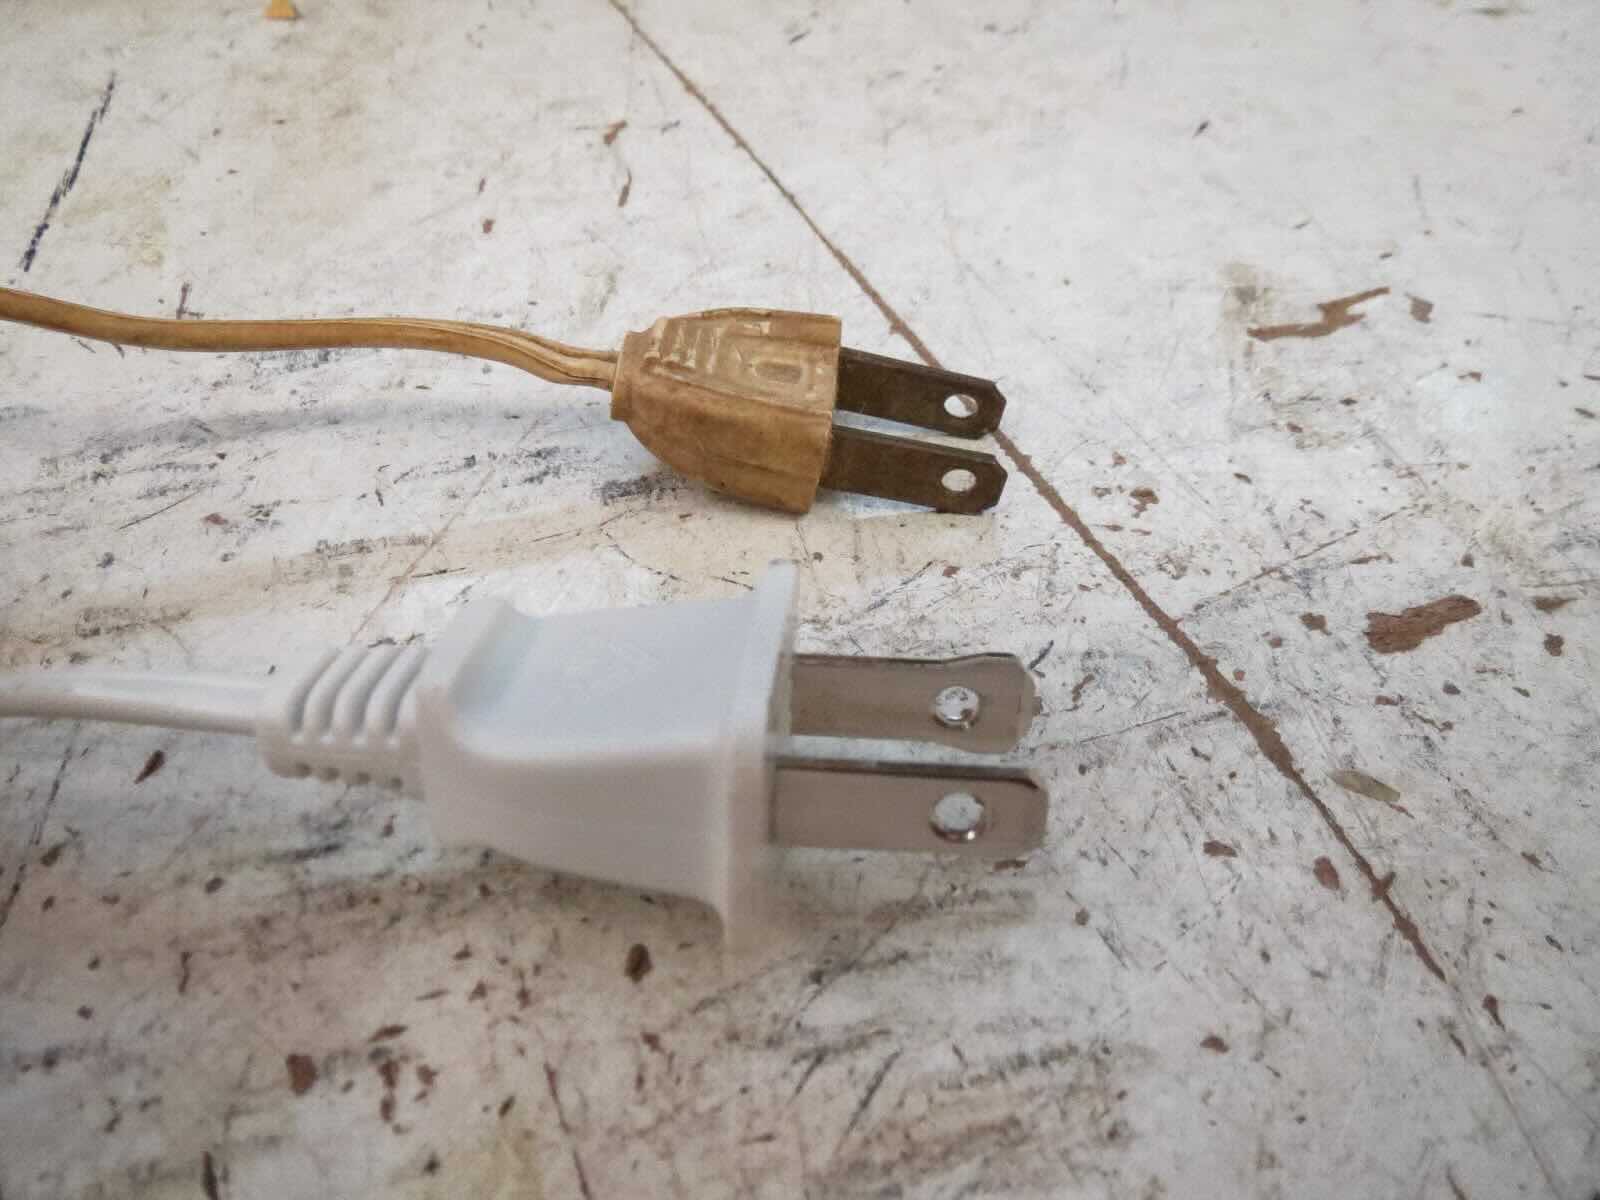
Additionally, check the prongs of the plug for any signs of damage or bending. Bent prongs may cause poor electrical connections and should be replaced if necessary. It’s also a good idea to inspect the lamp socket for any loose or damaged wiring connections. Tighten any loose connections or consider replacing the socket if needed.
By thoroughly inspecting the lamp cord and addressing any damage or wear, you’ll ensure a safer electrical connection and minimize the risk of electrical hazards.
Step 3: Identify the hot wire using a voltage tester
Now that you’ve inspected the lamp cord and addressed any damage, it’s time to identify the hot wire. The hot wire is the one that carries the electrical current and is typically indicated by a color difference or marking. One of the easiest and most reliable ways to identify the hot wire is by using a voltage tester.
Before you begin, make sure the lamp is unplugged or disconnected from the power source to avoid any potential electric shock. Put on your insulated gloves for added protection.
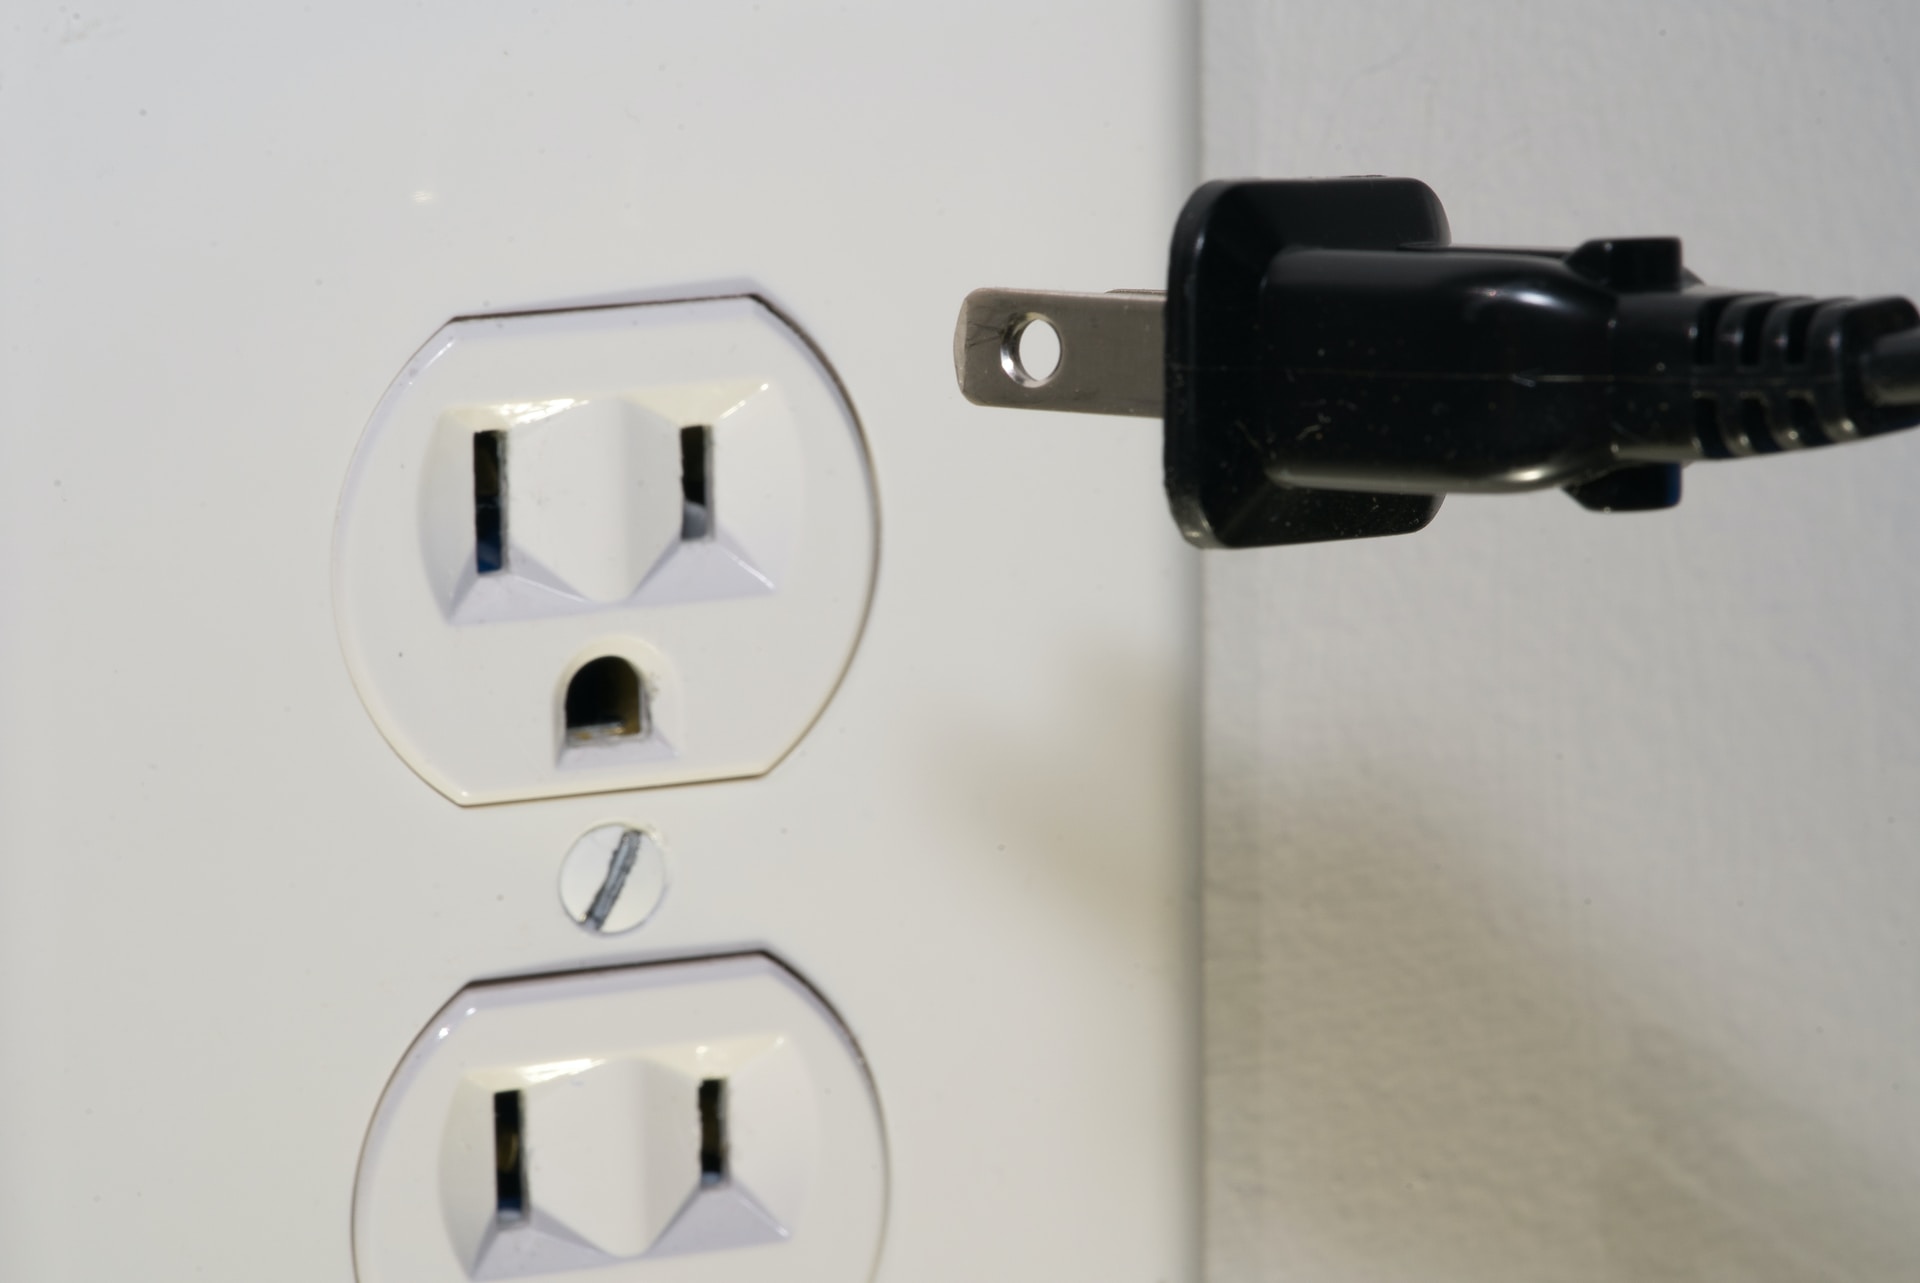
Start by setting your voltage tester to the “voltage” or “AC” setting, depending on the specific model. Hold the tester’s probes together to ensure they are working properly and displaying a reading. Next, insert one probe of the voltage tester into the smaller slot of the outlet or into the hot wire end of the lamp cord. Insert the other probe into the larger slot of the outlet or into the neutral wire end of the lamp cord. Be careful not to touch any metal parts of the plugs or wires with your bare hands.
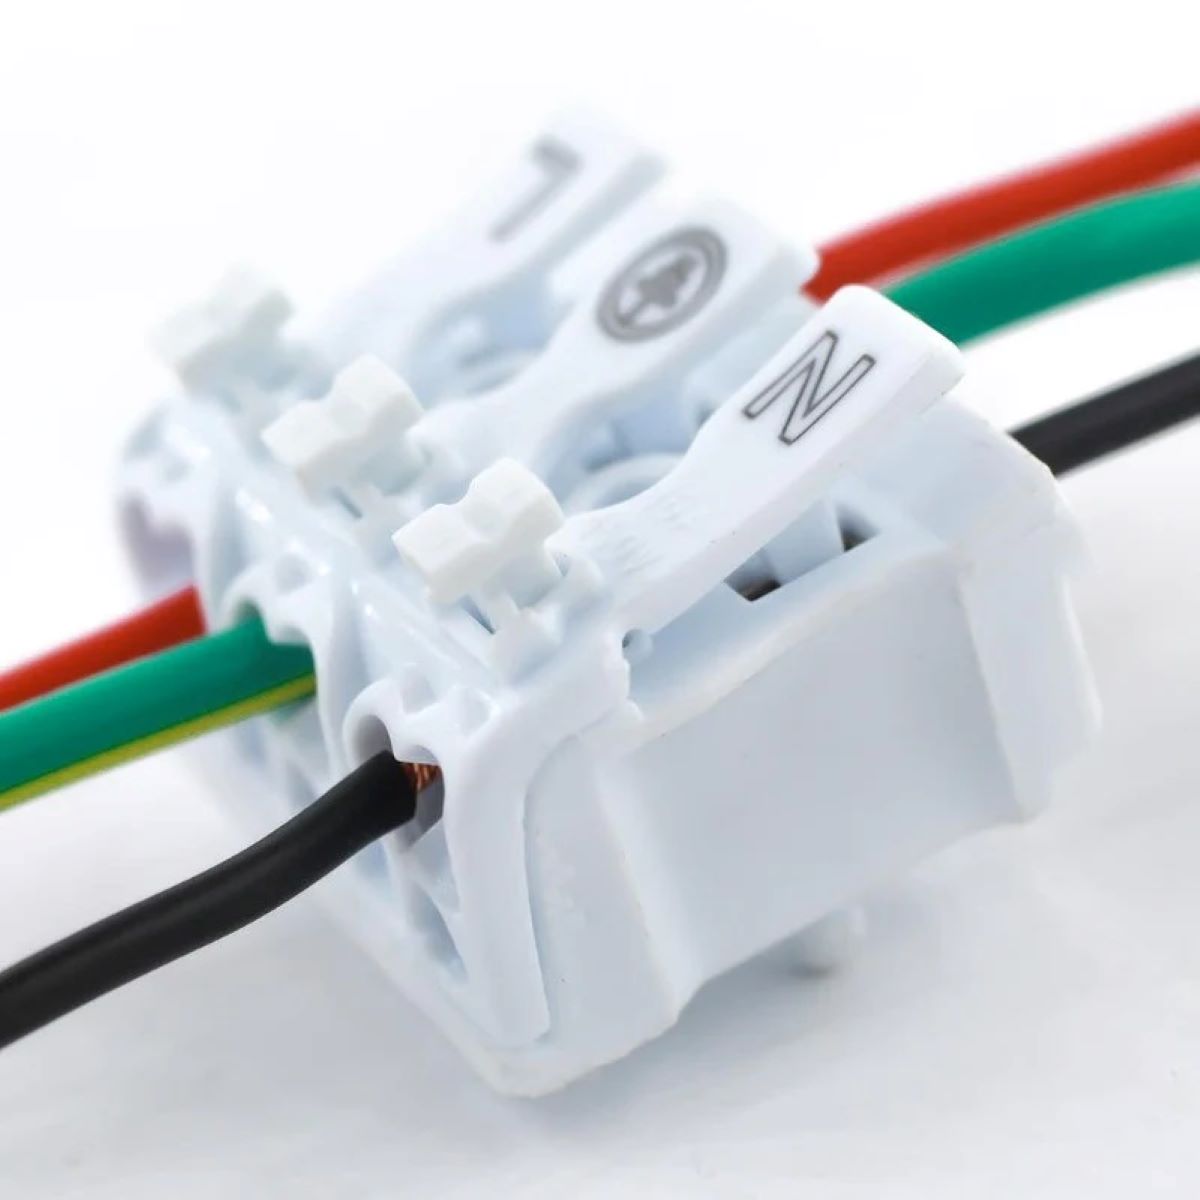
If the voltage tester lights up or makes an audible sound, it indicates that the wire being tested is the hot wire. Typically, the hot wire is black or red, while the neutral wire is white or gray. However, keep in mind that the color coding may vary, so it’s essential to confirm the wire’s status using the voltage tester.
If the voltage tester does not show any signs of electrical current, it means that the wire being tested is the neutral wire. Repeat the process with the other wire in the lamp cord to determine which one is the hot wire. If both wires display electrical current, it may indicate an issue with the wiring or the tester, and it’s best to seek professional assistance.
Once you have identified the hot wire, mark it with a label or a piece of colored electrical tape for future reference. This will ensure that you connect the lamp or light fixture correctly and avoid any potential electrical problems.
Using a voltage tester is a reliable method to identify the hot wire on a lamp cord. It provides a clear indication of the wire carrying the electrical current, allowing you to work safely and confidently.
When identifying the hot wire on a lamp cord, look for the wire that is smooth and has a ribbed insulation. This wire is typically the hot wire and should be connected to the brass screw on the socket.
Step 4: Identify the hot wire using a polarity tester
If you prefer an alternative method to identify the hot wire on a lamp cord, you can utilize a polarity tester. A polarity tester is a small device that can easily identify the hot and neutral wires without the need for direct contact.
Before you begin, make sure the lamp is disconnected from the power source to avoid any risk of electrical shock. Put on your insulated gloves for added safety.
Start by setting up the polarity tester according to the manufacturer’s instructions. This typically involves inserting the tester’s prongs into the smaller and larger slots of an electrical outlet or connecting the tester to the hot and neutral wire ends of the lamp cord. Once the tester is properly set up, activate it as instructed.
If the polarity tester indicates that the wire being tested is the hot wire, it will usually display a positive sign (+) or light up in a distinctive way. On the other hand, if the tester indicates that the wire being tested is the neutral wire, it may display a negative sign (-) or light up differently from the hot wire indication.
When using a polarity tester, it’s important to pay attention to the specific indications provided by the device. Ensure that you understand the manufacturer’s instructions and can distinguish between the hot and neutral wire designations. If you’re unsure about the interpretation of the tester’s readings, refer to the user manual or consult an expert for guidance.
Similar to the voltage tester method, once you have identified the hot wire using the polarity tester, mark it with a label or colored electrical tape. This will help you connect the lamp or light fixture correctly and avoid any electrical issues.
Using a polarity tester provides you with a non-contact method to identify the hot wire on a lamp cord. It adds an extra layer of safety by eliminating the need for direct contact with the wires and electrical components.
Read more: Which Wire Is Hot On A Lamp Cord
Step 5: Double-check the identified hot wire
Once you have identified the hot wire using either a voltage tester or a polarity tester, it’s essential to double-check your findings to ensure accuracy. This step is crucial in order to avoid any mistakes and ensure a safe and proper electrical connection.
Start by disconnecting the lamp cord from the power source or unplugging the lamp. This will eliminate any possibility of electrical current flowing through the wires while you double-check the identified hot wire.
Take a moment to carefully examine the identified hot wire. Look for any distinguishing marks, such as color differences or labeling, that confirm its status as the hot wire. Compare it with the other wire in the lamp cord to ensure you can clearly differentiate between the two.
If you have access to a multimeter, you can perform a final test to confirm the hot wire. Set the multimeter to the voltage or resistance function and touch one probe to the identified hot wire and the other probe to a known ground or neutral point. The multimeter should display voltage or continuity, confirming the hot wire.
In addition to visual inspection and multimeter testing, you can also consult the user manual or documentation of the lamp or light fixture you’re working with. These resources often provide information about the correct wiring configuration and may confirm the color or labeling of the hot wire.
By double-checking the identified hot wire, you can have peace of mind knowing that you have correctly determined the wire that carries the electrical current. This step adds an extra layer of assurance and helps prevent any potential safety hazards or electrical malfunctions.
Conclusion
Identifying the hot wire on a lamp cord is a critical step when working with electrical appliances. It ensures that you connect the lamp or light fixture correctly and minimizes the risk of electrical hazards. By following the steps outlined in this guide and using the appropriate tools, you can confidently identify the hot wire and ensure a safe electrical connection.
Starting with gathering the necessary tools and materials, such as a voltage tester, polarity tester, and various tools for repairs, is essential for a smooth and efficient process. Thoroughly inspecting the lamp cord for any damage or wear is the next crucial step to address any potential safety hazards.
Using a voltage tester or a polarity tester, you can confidently determine which wire is the hot wire. These tools provide clear indications of whether the wire is carrying electrical current or not. By double-checking your findings and verifying the identified hot wire through additional methods such as visual inspection or multimeter testing, you can ensure accuracy in your identification.
Remember, safety should always be a top priority when working with electricity. Wear insulated gloves, take precautions to avoid electrical shock, and always double-check your work. If you’re unsure or uncomfortable working with electrical components, it’s best to seek professional assistance.
By correctly identifying the hot wire on a lamp cord, you can confidently complete your electrical repairs or installations, knowing that you have taken the necessary precautions and followed proper procedures. This knowledge not only enhances your electrical skills but also promotes a safer environment for you and those around you.
So, next time you’re working on a lamp or light fixture, follow these steps to successfully identify the hot wire and work with peace of mind knowing that you’ve handled the electrical aspect safely and effectively.
Frequently Asked Questions about How To Identify The Hot Wire On A Lamp Cord
Was this page helpful?
At Storables.com, we guarantee accurate and reliable information. Our content, validated by Expert Board Contributors, is crafted following stringent Editorial Policies. We're committed to providing you with well-researched, expert-backed insights for all your informational needs.