Home>Furniture>Kitchen Furniture>How To De-Rust Old O’keefe And Merritt Stove Burners
Kitchen Furniture
How To De-Rust Old O’keefe And Merritt Stove Burners
Modified: August 26, 2024
Learn how to effectively remove rust from your old Okeefe and Merritt stove burners with our informative articles. Transform your stove back to its former glory!
(Many of the links in this article redirect to a specific reviewed product. Your purchase of these products through affiliate links helps to generate commission for Storables.com, at no extra cost. Learn more)
Overview
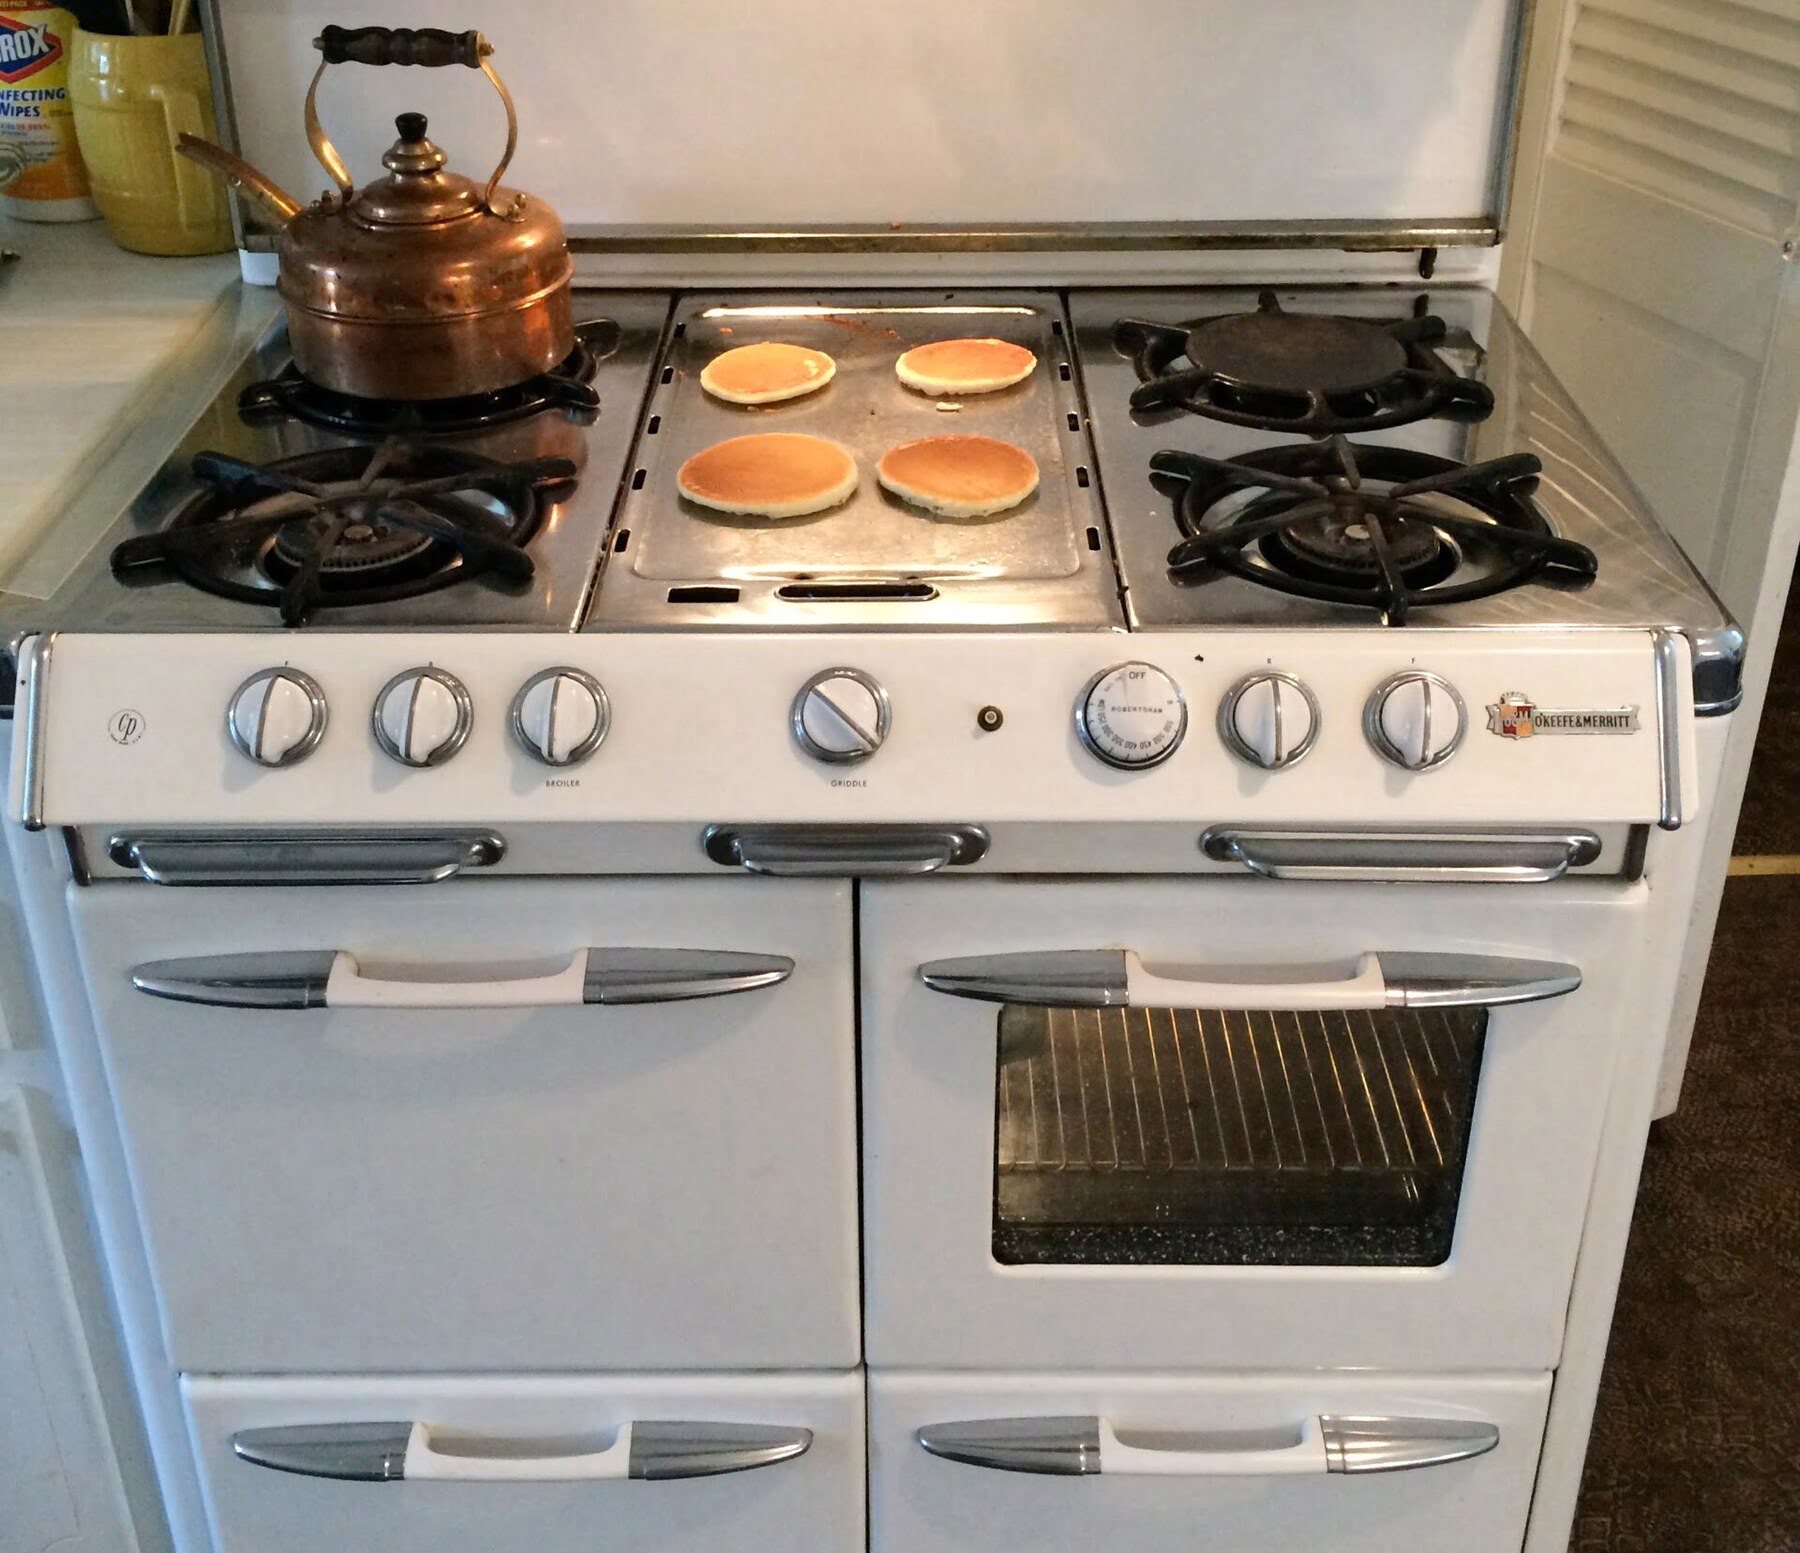
If you have an old Okeefe and Merritt stove, you know that over time, the burners can develop rust. Not only does this rust detract from the stove’s appearance, but it can also affect its functionality. Rusty burners can cause uneven heating and may emit unpleasant odors when in use.
Luckily, with a few simple steps, you can easily de-rust your old Okeefe and Merritt stove burners and restore them to their former glory. In this article, we will guide you through the process of removing the rust and providing you with tips for routine maintenance to prevent future rusting.
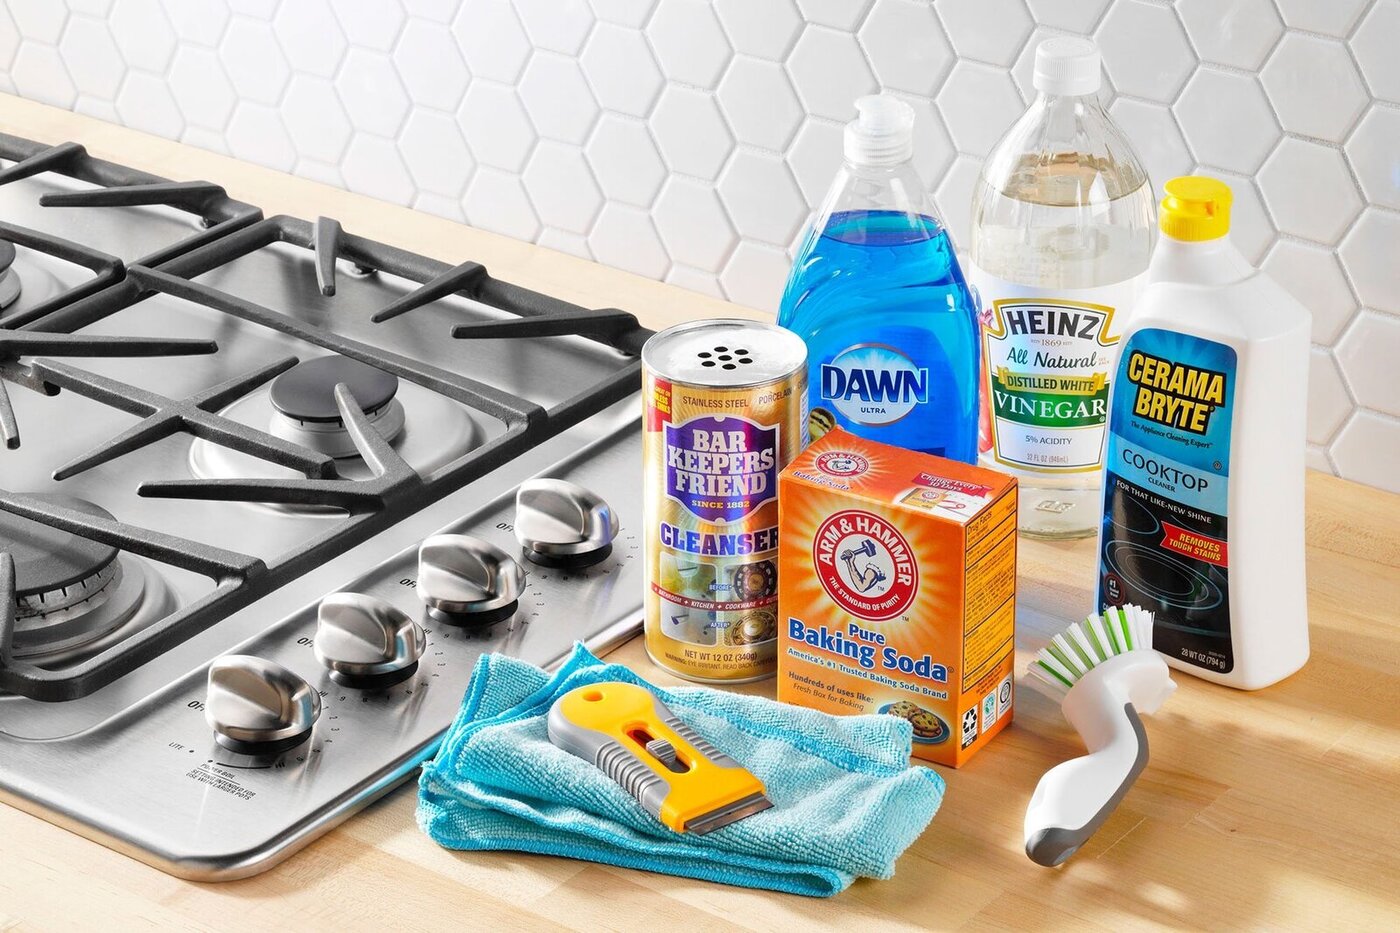
Before we get started, it’s important to gather the necessary materials. You will need a pair of gloves to protect your hands, a bucket or basin large enough to hold the burners, a rust removal solution, such as white vinegar or a commercial rust remover, a brush with stiff bristles, and some clean towels or rags for drying.
Now that you have your materials ready, let’s dive into the step-by-step process of de-rusting your old Okeefe and Merritt stove burners.
Key Takeaways:
- Easily restore your old Okeefe and Merritt stove burners by following simple steps to remove rust and implement routine maintenance, ensuring a rust-free and functional kitchen appliance.
- With the right materials and process, you can de-rust your Okeefe and Merritt stove burners, enhancing their appearance and functionality while preventing future rusting with routine maintenance.
Read more: How To Remove Rust From Stove Burners
Step 1: Gathering the necessary materials
Before you begin the process of de-rusting your old Okeefe and Merritt stove burners, it’s important to gather all the necessary materials. Here’s a quick checklist of what you’ll need:
- A pair of gloves: To protect your hands from the rust removal solution and any harsh chemicals.
- A bucket or basin: Make sure it is large enough to hold all the burners you’ll be cleaning.
- A rust removal solution: There are a few options you can choose from, such as white vinegar or a commercial rust remover. White vinegar is a natural and affordable option that works well for mild to moderate rust.
- A brush with stiff bristles: This will help you scrub off the rust from the burners. Look for a brush specifically designed for cleaning purposes, with bristles that are strong enough to remove the rust but not too harsh to damage the burners.
- Clean towels or rags: These will be used to dry the burners after the rust removal process is complete.
Once you have gathered all the necessary materials, you’ll be ready to move on to the next step: removing the stove burners.
Step 2: Removing the stove burners
Before you can start de-rusting your old Okeefe and Merritt stove burners, you’ll need to remove them from the stove. Here’s how you can do it:
- Make sure the stove is turned off and cool to the touch. Safety first!
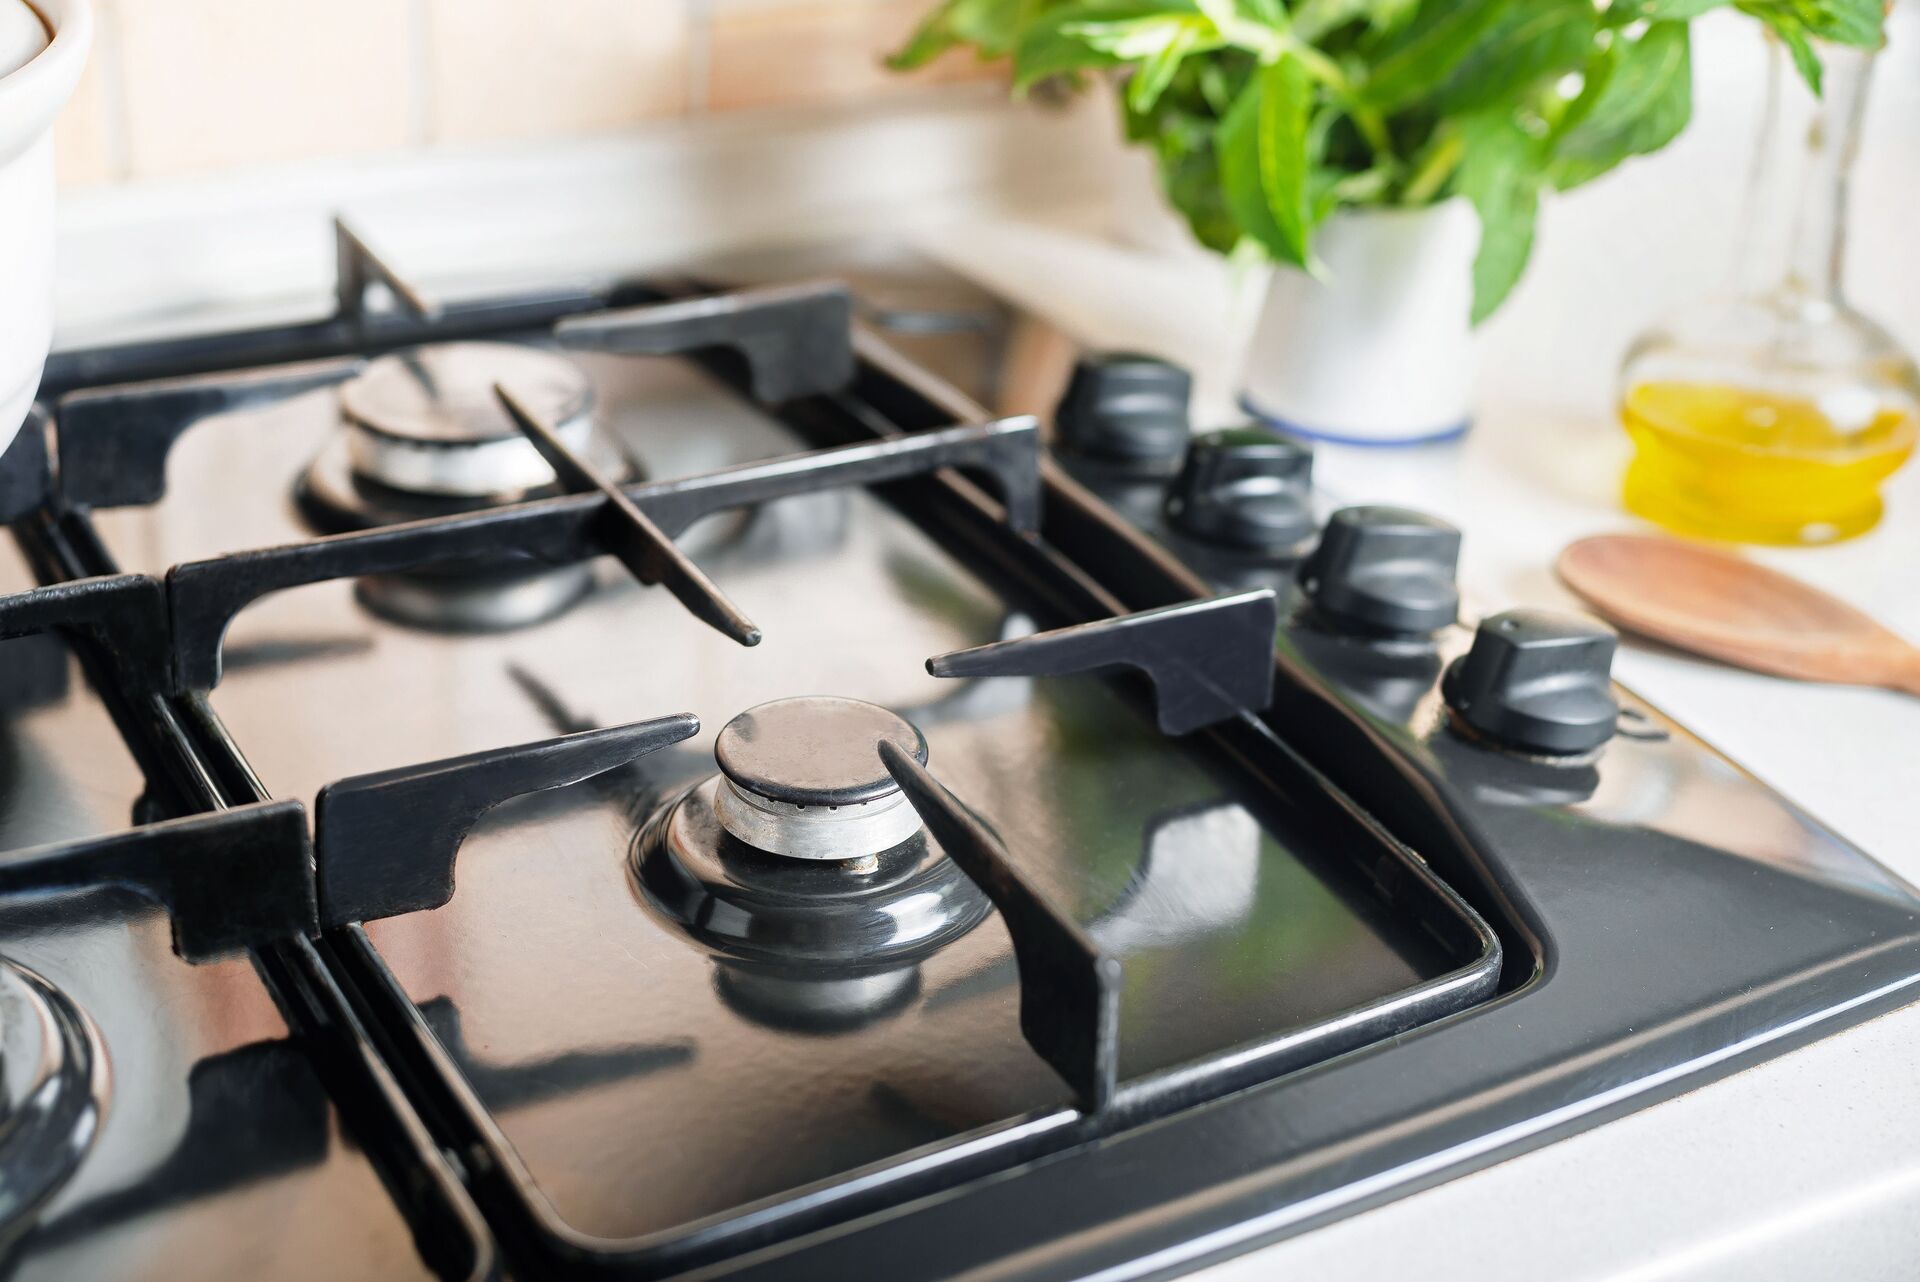
- Locate the burner grates on top of the stove. Depending on the model, you may have several burners.
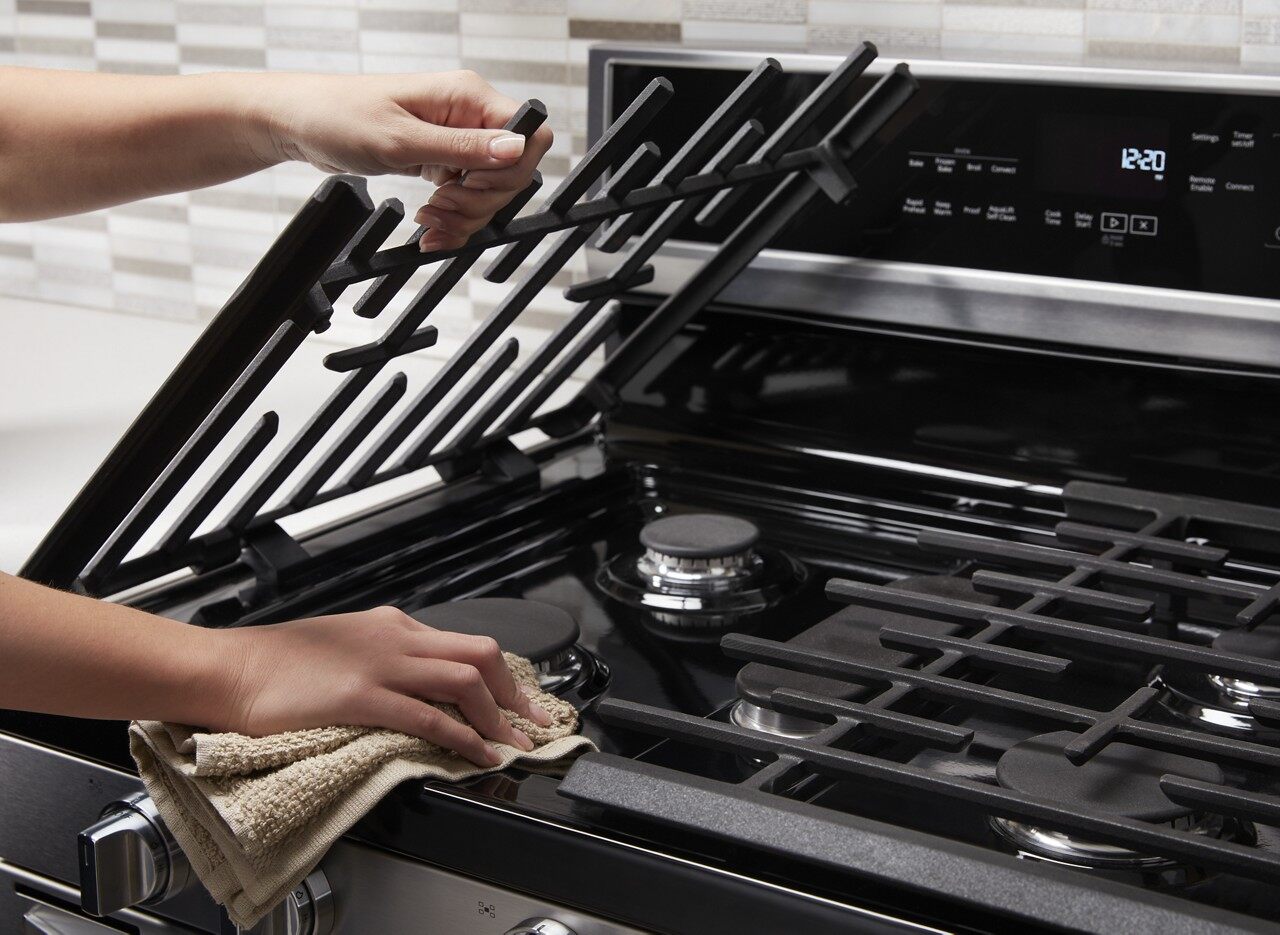
- Gently lift the burner grates one by one and set them aside.
- Underneath the burner grates, you’ll find the burner caps. These are small metal caps covering the burners.
- Take off the burner caps and place them with the burner grates.
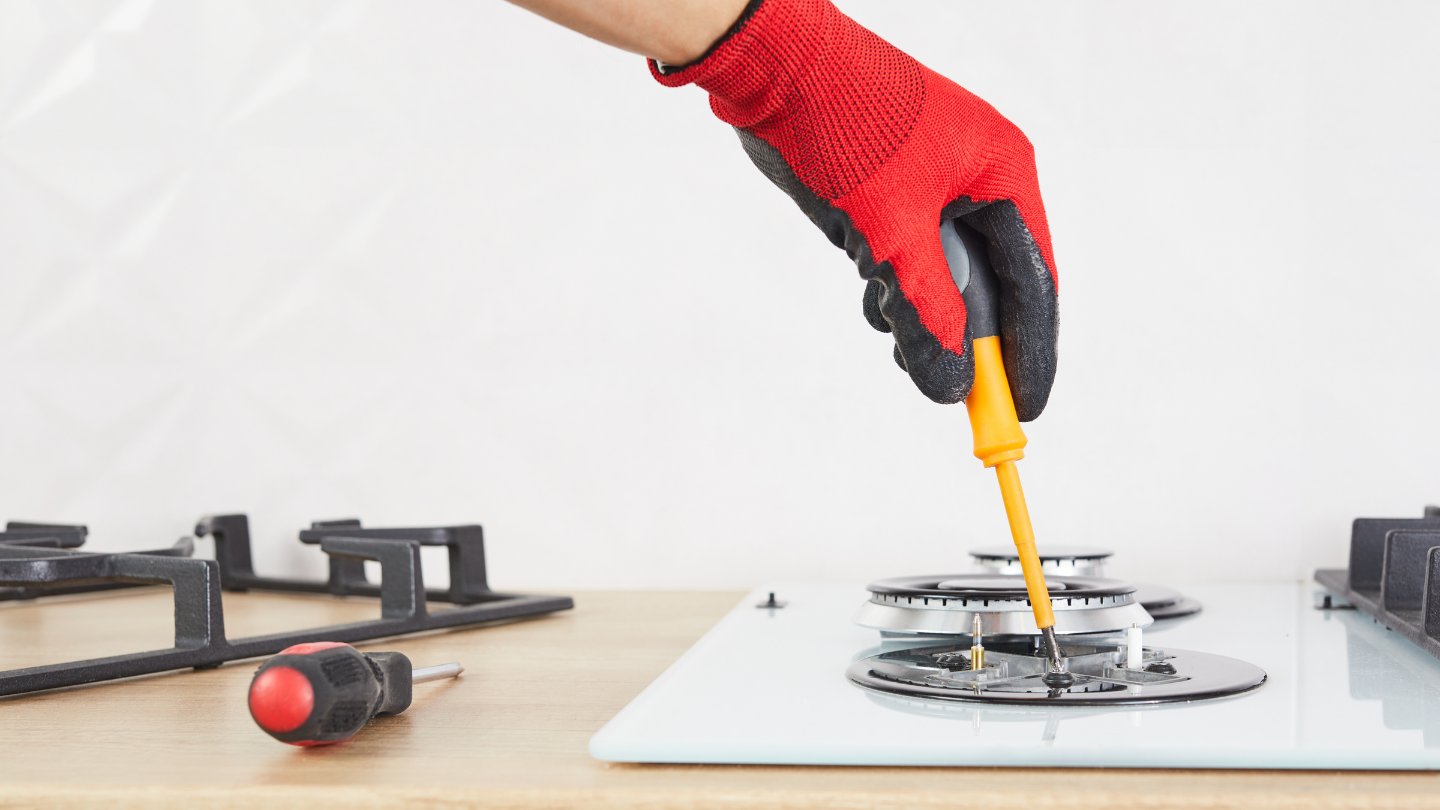
- Now, you should see the burners themselves. They are usually secured in place with screws or clips.
- Take a screwdriver or use your hands to carefully remove the screws or unclip the burners. Keep the screws and clips in a safe place.
- Once the burners are detached, set them aside on a clean surface.
With the stove burners removed, you are now ready to move on to the next step: preparing the rust removal solution.
Step 3: Preparing the rust removal solution
Now that you have removed the stove burners, it’s time to prepare the rust removal solution. The choice of solution will depend on your preferences and the severity of the rust. Here are two popular options:
- White vinegar: This is a natural and budget-friendly option that works well for mild to moderate rust. Simply pour enough white vinegar into the bucket or basin to fully submerge the burners. If the burners are too large for the bucket, you can use a mixture of white vinegar and water in a larger container.
- Commercial rust remover: If you’re dealing with heavy rust or prefer a stronger solution, you can opt for a commercial rust remover. Follow the instructions provided on the packaging to ensure safe usage and the correct dilution ratio.
Whichever rust removal solution you choose, make sure you pour enough to fully submerge the burners. The solution should cover the entire surface of the burners to effectively remove the rust.
After preparing the rust removal solution, you are now ready to move on to step 4: soaking the burners in the solution.
Step 4: Soaking the burners in the solution
With the rust removal solution prepared, it’s time to soak the burners and let the solution work its magic. Follow these steps:
- Place the stove burners into the bucket or basin, ensuring they are fully submerged in the rust removal solution.
- Allow the burners to soak for at least 1-2 hours. For more stubborn rust, you may need to extend the soaking time overnight.
- During the soaking period, the rust removal solution will begin to dissolve and loosen the rust from the burners.
- Periodically check on the burners and gently agitate them in the solution to help accelerate the rust removal process.
- If you are using white vinegar, you may notice some fizzing or bubbling, which is a sign that the vinegar is reacting with the rust.
While the burners are soaking, you can take this time to clean the rest of the stove or perform other kitchen tasks.
After the recommended soaking time has passed, it’s time to move on to the next step: scrubbing off the rust from the burners.
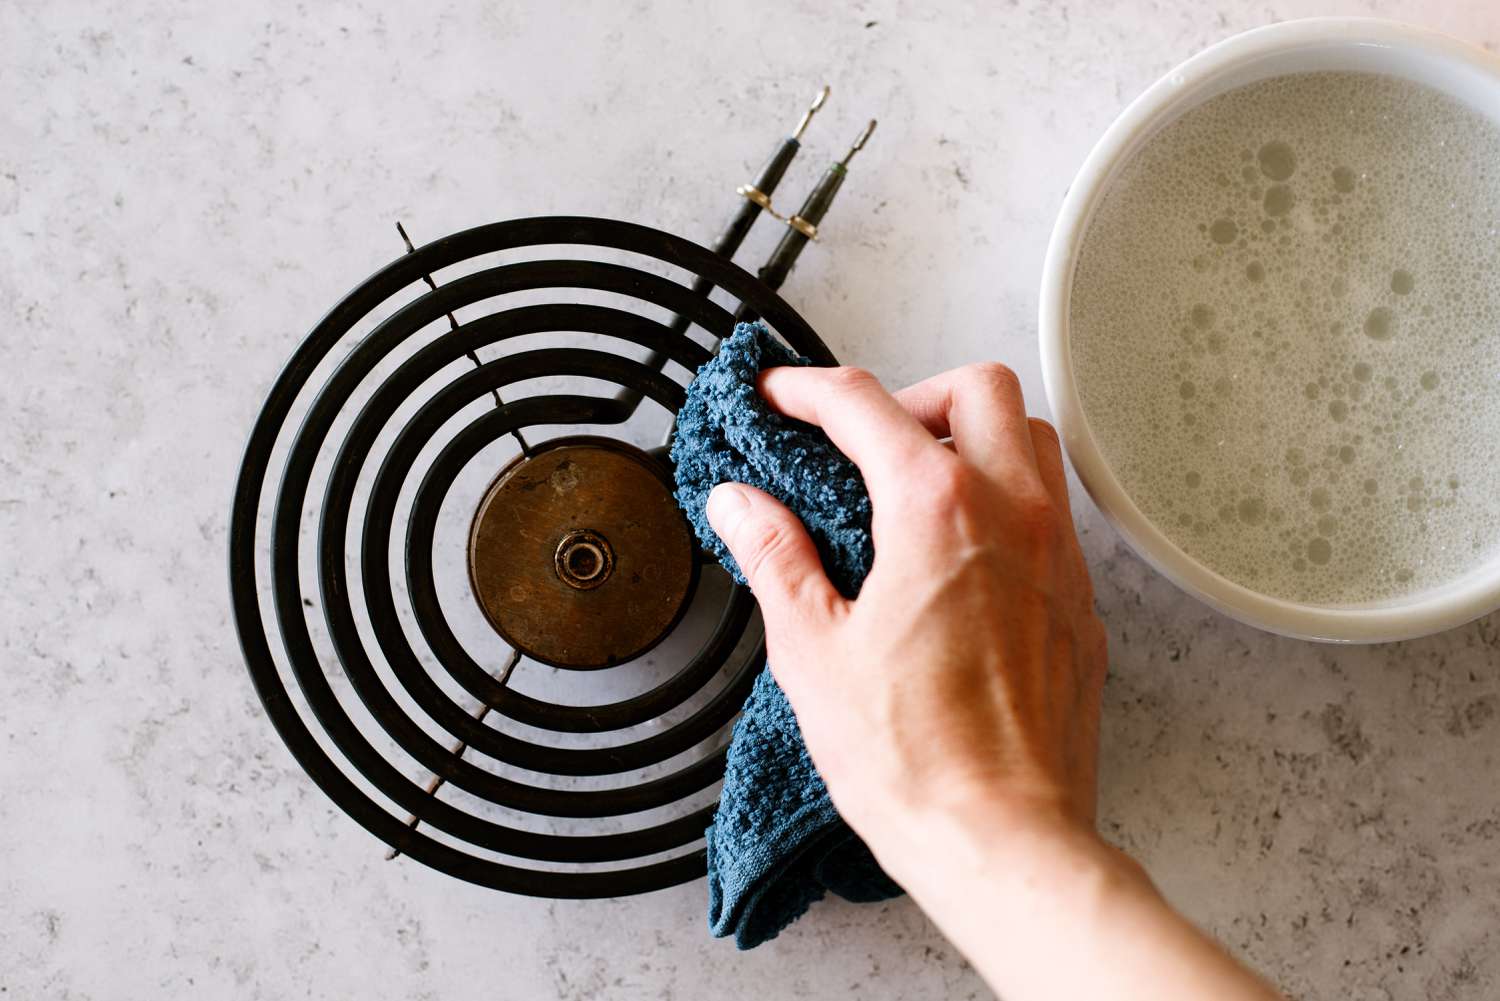
Soak the burners in a solution of equal parts white vinegar and water for a few hours to help loosen the rust. Then scrub with a wire brush or steel wool to remove the rust. Repeat if necessary.
Read more: How To Remove Stove Burners
Step 5: Scrubbing off the rust
Once the stove burners have finished soaking in the rust removal solution, it’s time to scrub off the loosened rust. Follow these steps to remove the remaining rust:
- Wearing your gloves, take one burner out of the solution and place it on a clean surface.
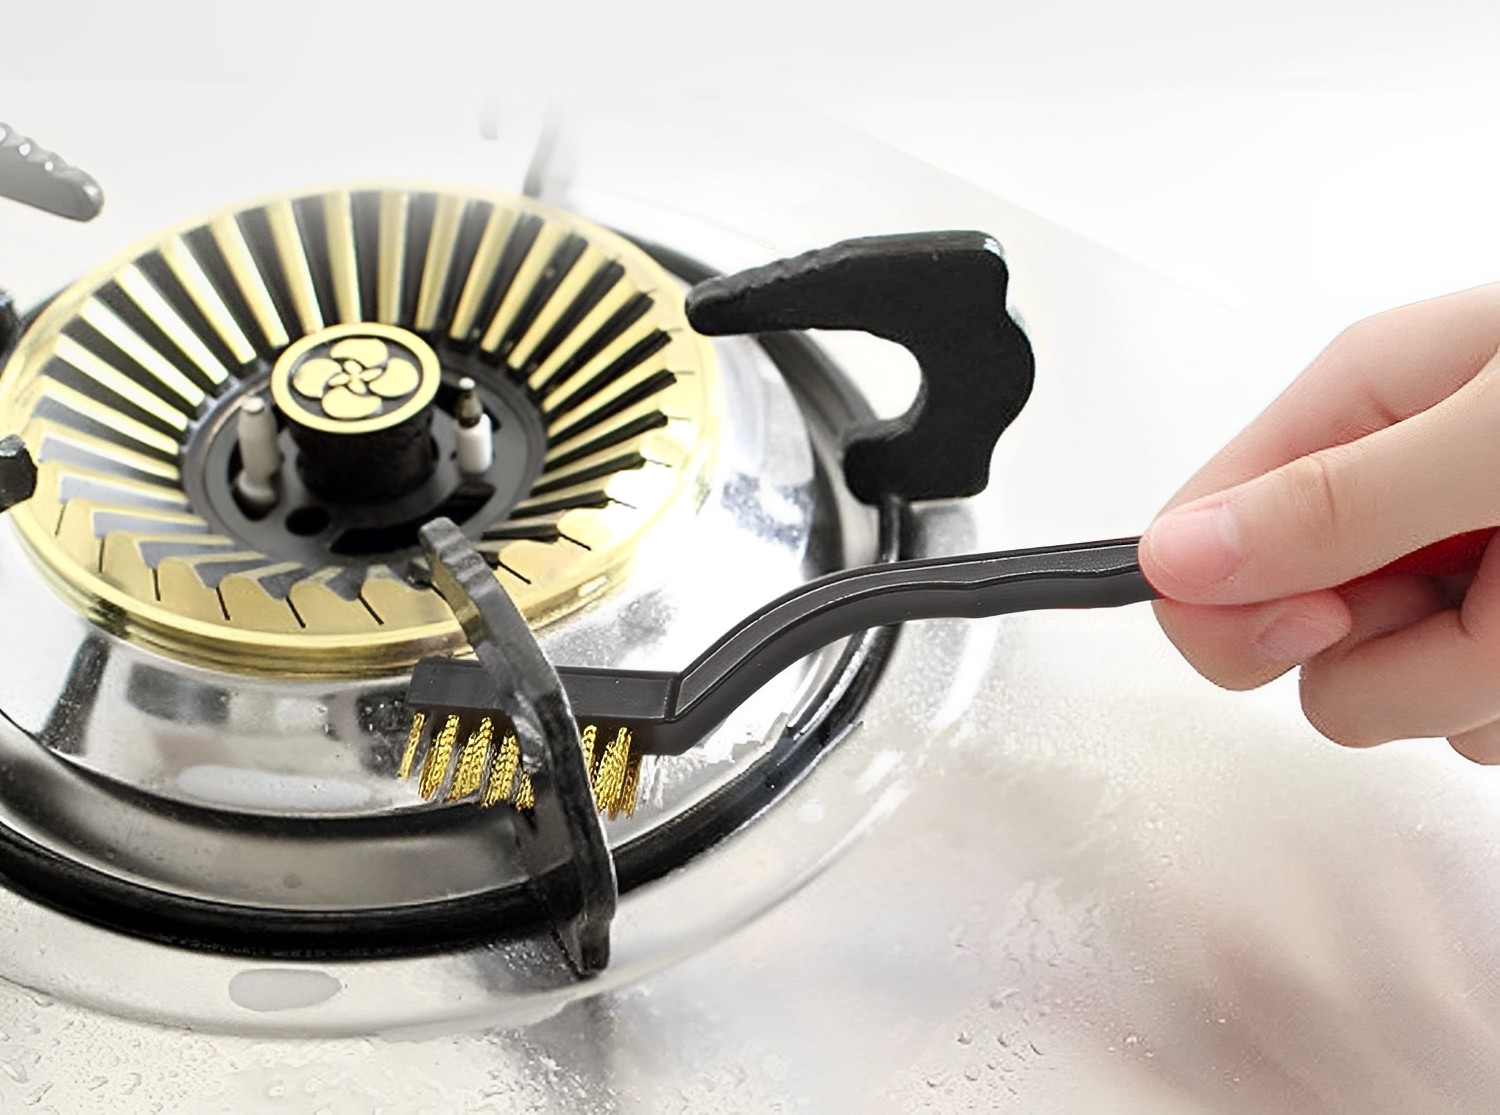
- Using a brush with stiff bristles, start scrubbing the surface of the burner in circular motions. Focus on the areas where rust is more prominent.
- If necessary, you can apply some additional rust removal solution or white vinegar to the brush for extra cleaning power.
- Continue scrubbing until you have removed as much rust as possible from the burner. Depending on the severity of the rust, this may require some time and effort.
- Once you are satisfied with the results, set the cleaned burner aside and move on to the next one.
- Repeat the process for the remaining burners, ensuring you thoroughly scrub off the rust from each one.
As you scrub, you may notice that some areas of the burners may have stubborn rust that is difficult to remove. In such cases, you can use a toothbrush or a toothpick to get into smaller crevices and remove the remaining rust.
Continue scrubbing each burner until you have successfully removed all visible rust. Once all the burners have been scrubbed, it’s time to rinse and dry them, which is covered in step 6.
Step 6: Rinse and dry the burners
After successfully scrubbing off the rust from the stove burners, it’s important to rinse them thoroughly to remove any remaining rust removal solution or white vinegar. Follow these steps to rinse and dry the burners:
- Fill a clean basin or sink with warm water.
- Take each scrubbed burner and submerge it into the water, ensuring it is completely rinsed.
- Gently swish the burner in the water to remove any leftover solution or vinegar.
- Repeat this process for each burner, ensuring they are all thoroughly rinsed.
- Once rinsed, pat dry each burner using clean towels or rags. Make sure to remove any excess moisture.
- Place the dry burners on a clean surface or towel to air-dry completely. Avoid using them while they are still damp to prevent any potential damage.
While the burners are drying, you can take this opportunity to clean and wipe down the stove’s surface, ensuring it is free from any rust or cleaning solution residue.
After the burners have fully dried, you are now ready to move on to step 7, which involves reinstalling the stove burners.
Step 7: Reinstalling the stove burners
Now that you have thoroughly cleaned and dried the stove burners, it’s time to reinstall them on your Okeefe and Merritt stove. Follow these steps:
- Start by locating the screw holes or clips on the stove where the burners will be attached.
- Take the first burner and align it with the corresponding holes or clips on the stove.
- If there are screws, use a screwdriver to secure the burner in place. If there are clips, simply push the burner down until it snaps into position.
- Ensure that the burner is firmly attached and stable.
- Repeat the process for each burner, making sure to install them in their correct positions.
- Once all the burners are securely installed, place the burner caps on top of each burner, ensuring they fit snugly.
- Lastly, place the burner grates back on top of the burner caps, lining them up properly.
With the burners reinstalled, you can now test your Okeefe and Merritt stove to ensure everything is working properly. Turn the stove on and check that each burner ignites and heats evenly.
Now that your stove burners are back in place, it’s important to follow routine maintenance tips to prevent future rusting, which we will cover in step 8.
Step 8: Routine maintenance tips for preventing rust
To keep your newly restored Okeefe and Merritt stove burners rust-free and in good condition, it’s important to follow some simple routine maintenance tips. Here are some steps you can take to prevent rust:
- Keep the surface clean: Regularly wipe down the burners and stove surface with a soft cloth or sponge to remove any spills, food residue, or debris. This will help prevent the build-up of moisture and potential rust formation.
- Apply a protective coating: Consider applying a thin layer of stove polish or heat-resistant paint to the burners. This will create a protective barrier against moisture and rust.
- Avoid water exposure: Be cautious not to spill water or other liquids onto the burners or stove surface. Excessive moisture can lead to rust formation. Wipe up any spills immediately.
- Use appropriate cookware: When using the stove, choose cookware that is in good condition and does not have rough or rusty surfaces. Scratched or damaged cookware can potentially transfer rust onto the burners.
- Store burners properly: If you need to remove the burners for any reason, store them in a dry and clean area. Avoid placing them in humid or damp environments, as this can contribute to rust formation.
- Perform regular inspections: Make it a habit to periodically check your stove burners for any signs of rust. If you notice any rust spots starting to form, address them promptly to prevent further damage.
By following these routine maintenance tips, you can help prolong the lifespan of your Okeefe and Merritt stove burners and keep them rust-free for years to come.
Congratulations! You have successfully de-rusted your old Okeefe and Merritt stove burners and are now equipped with the knowledge to prevent future rusting. Enjoy the restored beauty and functionality of your stove!
Note: It’s important to exercise caution and follow safety guidelines when working with cleaning solutions and stove components. If you are unsure or uncomfortable with any step of the process, consult a professional.
Read more: How Hot Are Stove Burners
Conclusion
Restoring and de-rusting your old Okeefe and Merritt stove burners can breathe new life into your beloved kitchen appliance. By following the step-by-step process outlined in this article, you have successfully learned how to remove rust from the burners and implement routine maintenance tips to prevent future rusting.
During the journey, you gathered the necessary materials, removed the stove burners, prepared a rust removal solution, soaked and scrubbed off the rust, rinsed and dried the burners, and finally reinstalled them on the stove. These steps, accompanied by routine maintenance practices, will help keep your burners rust-free and in optimal condition.
Remember, maintaining a clean and rust-free stove not only enhances its appearance, but it also ensures even heating and eliminates any unpleasant odors that may result from rusted burners. Plus, a well-maintained stove can contribute to a more enjoyable cooking experience in your kitchen.
Always exercise caution and follow safety guidelines when working with cleaning solutions and stove components. If you are unsure or uncomfortable with any step of the process, it’s advisable to seek assistance from a professional.
Now it’s time to enjoy the restored beauty and functionality of your Okeefe and Merritt stove. Cook up a delicious meal and relish in the joy of reviving a piece of culinary history!
Frequently Asked Questions about How To De-Rust Old O'keefe And Merritt Stove Burners
Was this page helpful?
At Storables.com, we guarantee accurate and reliable information. Our content, validated by Expert Board Contributors, is crafted following stringent Editorial Policies. We're committed to providing you with well-researched, expert-backed insights for all your informational needs.

0 thoughts on “How To De-Rust Old O’keefe And Merritt Stove Burners”