Home>Furniture & Design>Bathroom Accessories>How To Level A Bathtub Already Installed
Bathroom Accessories
How To Level A Bathtub Already Installed
Published: February 26, 2024
Learn how to level a bathtub already installed with our expert tips and bathroom accessories. Ensure a stable and secure installation for your peace of mind.
(Many of the links in this article redirect to a specific reviewed product. Your purchase of these products through affiliate links helps to generate commission for Storables.com, at no extra cost. Learn more)
Introduction
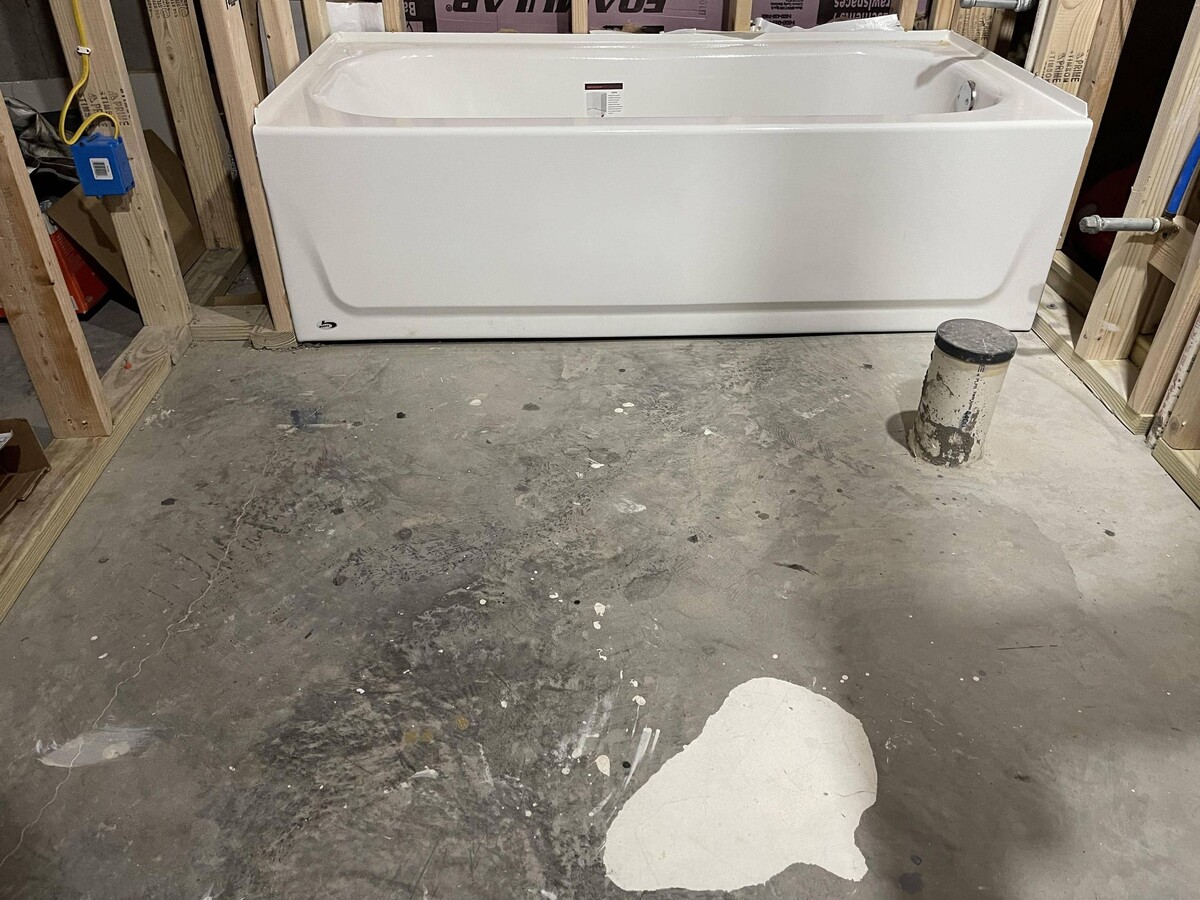
When it comes to creating a relaxing and functional bathroom space, the proper installation of a bathtub is crucial. A bathtub that is not level can lead to a range of issues, from poor drainage to an unbalanced appearance. Whether you've noticed water pooling in certain areas of the tub or simply want to ensure that your bathtub is perfectly level, this guide will walk you through the process of leveling a bathtub that is already installed.
Ensuring that your bathtub is level is not only important for aesthetic reasons but also for functionality. A level bathtub allows water to drain properly, preventing standing water and potential damage to the surrounding flooring and walls. Additionally, a level bathtub provides a more comfortable bathing experience, as it ensures that you can relax without feeling like you're leaning to one side.
In this comprehensive guide, you will learn the step-by-step process of leveling a bathtub that is already in place. From gathering the necessary tools and materials to making final adjustments, each step is designed to help you achieve a perfectly level bathtub. By following these instructions, you can address any existing issues with your bathtub's level and ensure that it provides a stable and visually appealing centerpiece for your bathroom.
Now, let's dive into the details of how to level a bathtub that is already installed, empowering you to take control of this essential aspect of your bathroom's functionality and aesthetics.
Key Takeaways:
- Leveling a bathtub already installed is crucial for proper drainage and a comfortable bathing experience. Gather tools, check the level, make adjustments, and reapply caulk for a stable and visually appealing bathtub.
- By following a step-by-step process, you can ensure your bathtub is perfectly level. Removing old caulk, checking the level, making adjustments, and reapplying caulk are key to achieving a stable and balanced installation.
Read more: How To Install A Bathtub Faucet
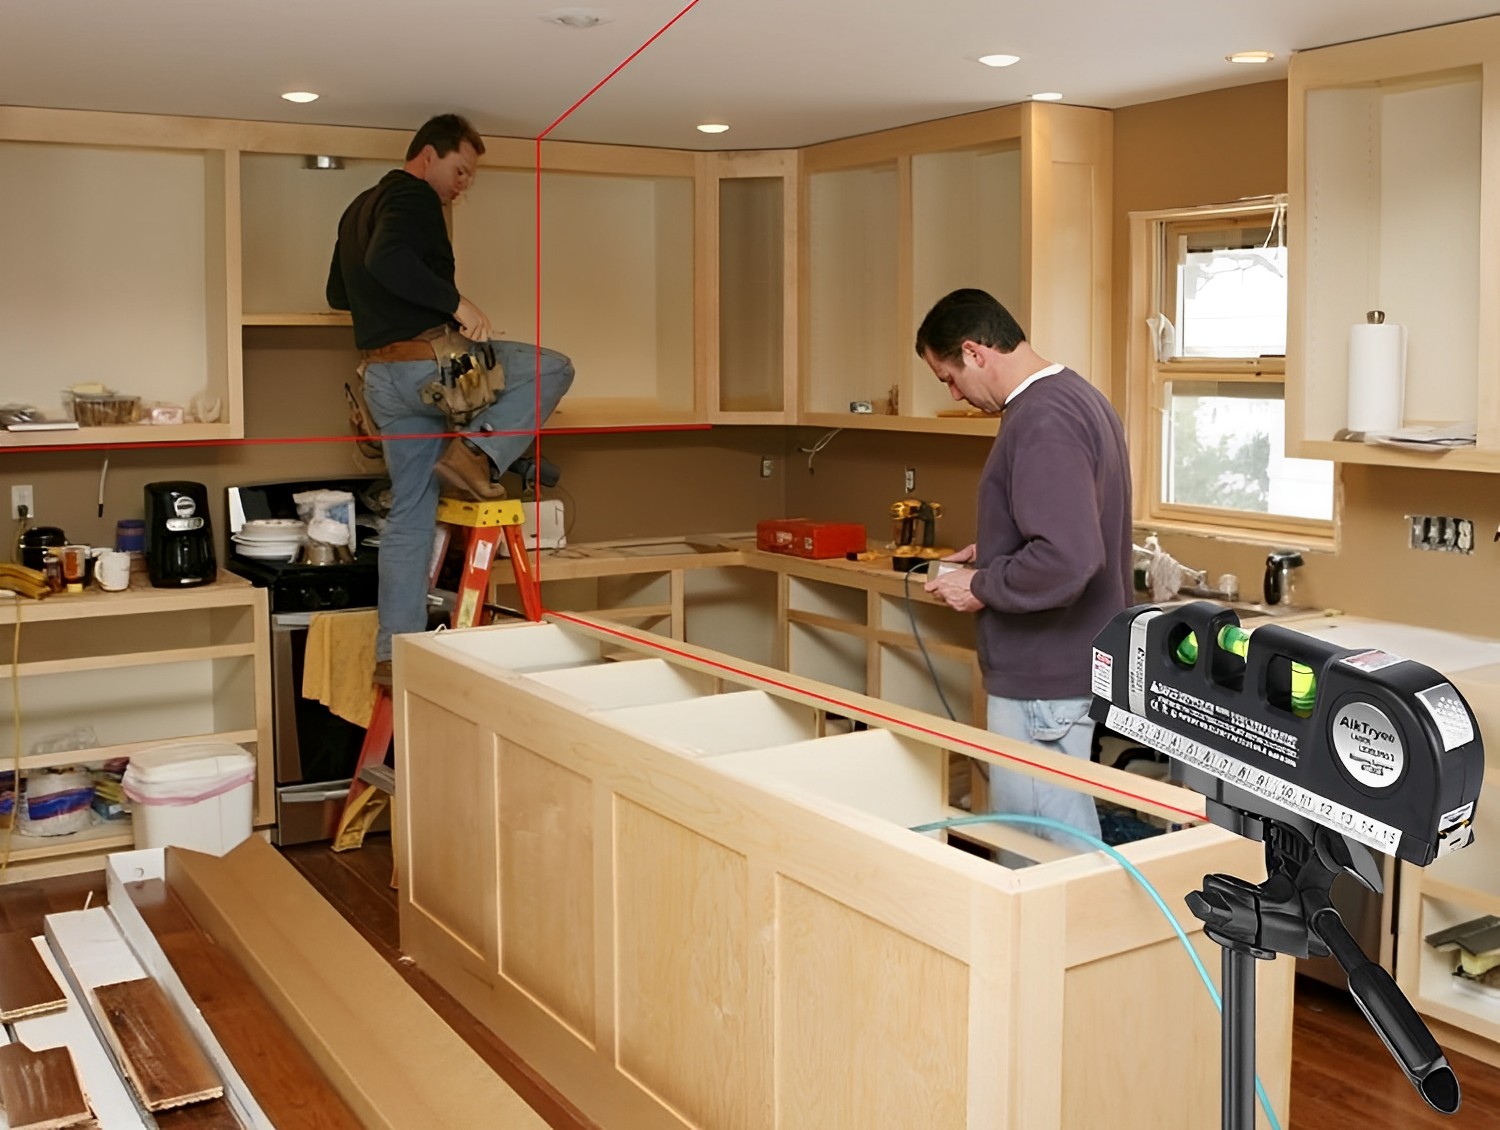
Step 1: Gather the necessary tools and materials
Before embarking on the task of leveling a bathtub that is already installed, it's essential to gather the appropriate tools and materials. Having the right equipment at hand will streamline the process and ensure that you can address any issues effectively. Here's a comprehensive list of the tools and materials you will need:
Tools:
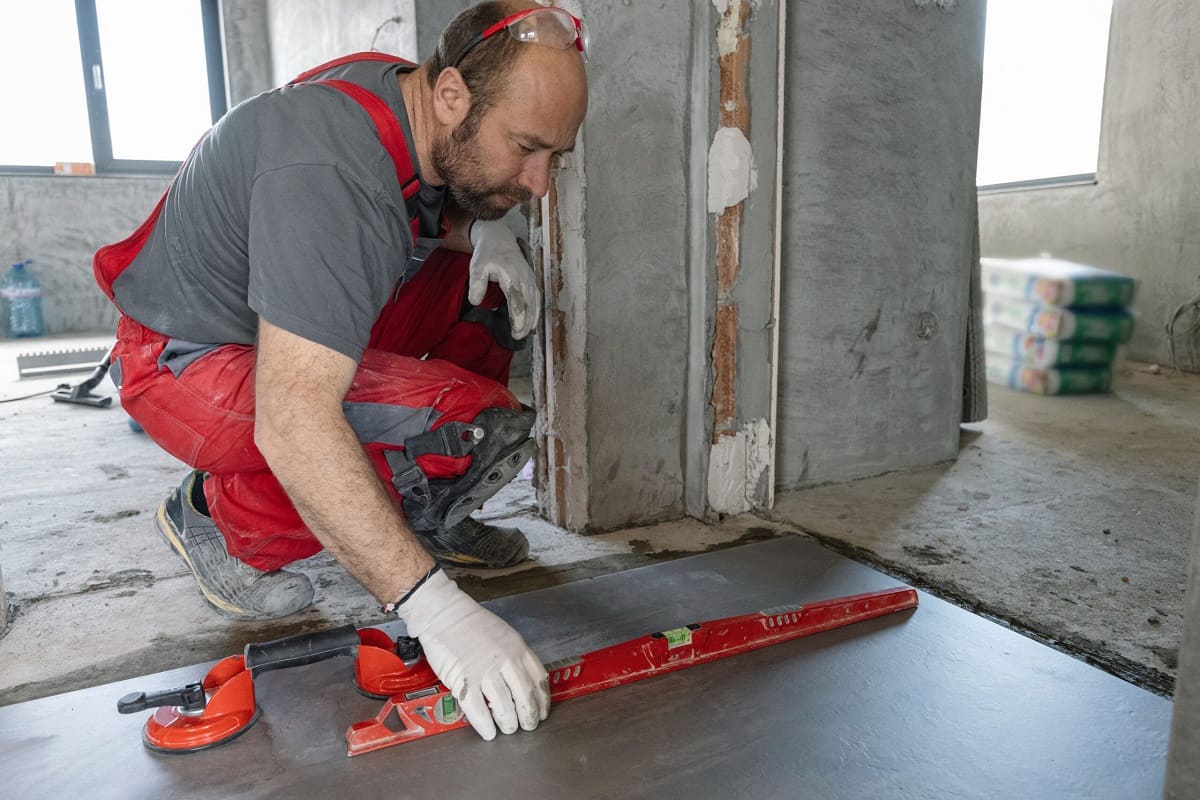
- Level: A reliable spirit level is indispensable for accurately determining the current level of the bathtub and making necessary adjustments.
- Adjustable Wrench: This tool will be used to adjust the feet of the bathtub, ensuring stability and levelness.
- Caulk Gun: To reapply caulk and sealant after making adjustments to the bathtub.
- Safety Gloves and Goggles: Ensuring personal safety during the process is crucial, and these protective items are essential.
- Measuring Tape: Useful for taking precise measurements and ensuring symmetry during the leveling process.
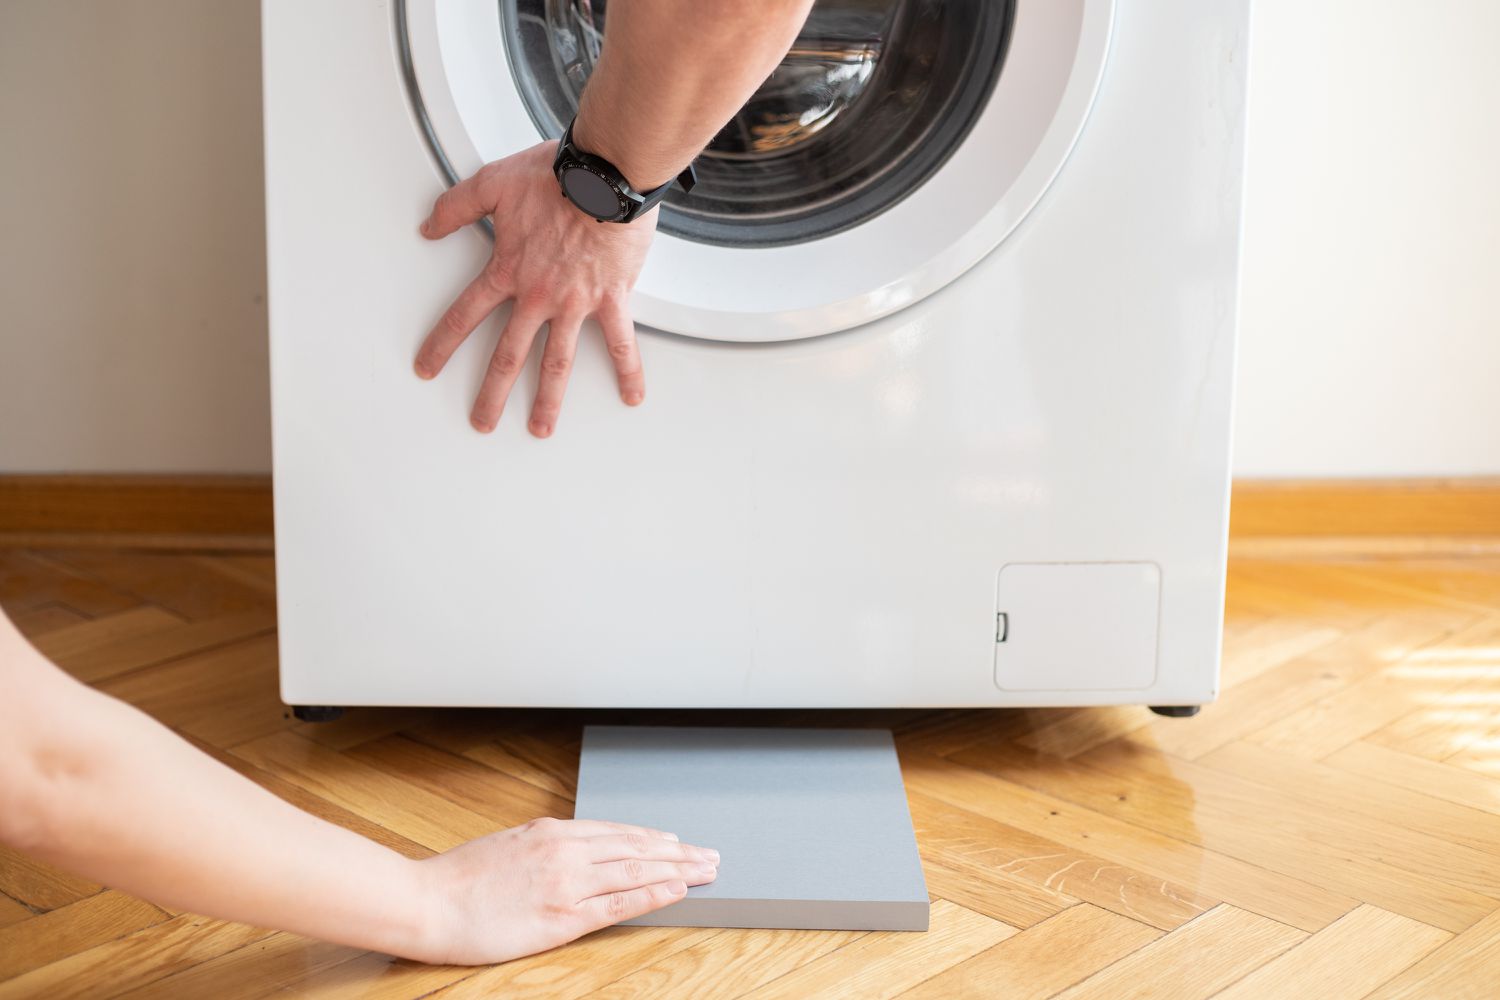
- Shims: These thin, wedge-shaped pieces of wood or plastic are used to fill gaps and provide support for the bathtub.
Materials:
- Caulk and Sealant: High-quality caulk and sealant are necessary for resealing the bathtub after adjustments have been made.
- Cleaning Supplies: Before resealing the bathtub, it's important to thoroughly clean the area to ensure proper adhesion of the new caulk.
- Wood Blocks: In case shims are not sufficient, wood blocks can provide additional support and stability.
By ensuring that you have all the required tools and materials on hand, you can proceed with confidence, knowing that you are well-equipped to tackle the task of leveling your bathtub. With these essentials at your disposal, you are ready to move on to the next steps and begin the process of achieving a perfectly level bathtub in your bathroom.
Step 2: Remove the existing caulk and sealant
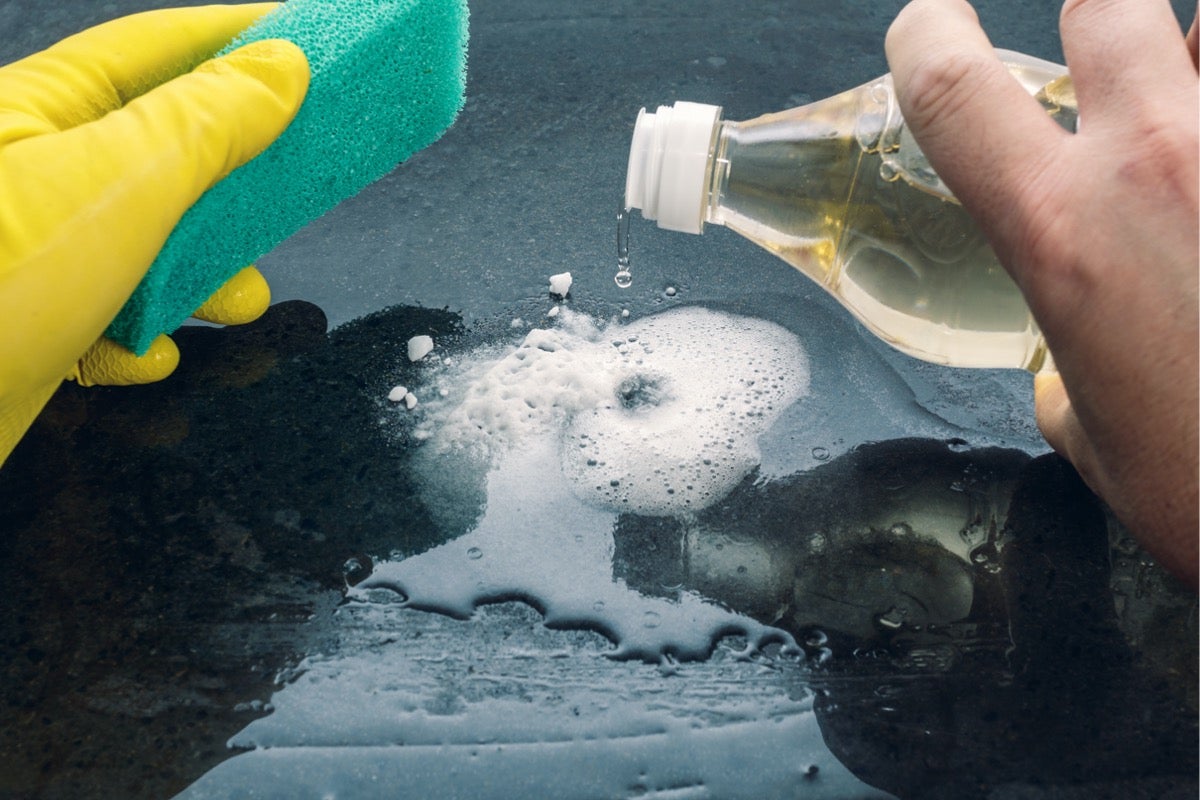
Before proceeding with the actual leveling of the bathtub, it's crucial to prepare the area by removing the existing caulk and sealant. Over time, these materials can deteriorate, leading to gaps and potential water leakage. By carefully removing the old caulk and sealant, you can ensure a clean surface for resealing the bathtub after making the necessary adjustments.
To begin, use a utility knife or a caulk removal tool to gently cut and scrape away the old caulk and sealant from the perimeter of the bathtub. It's important to exercise caution during this process to avoid damaging the bathtub or surrounding tiles. Take your time and work methodically to remove all traces of the old caulk, ensuring that the surface is smooth and free of any residue.
Once the majority of the caulk has been removed, use a suitable cleaner or solvent to eliminate any remaining traces of caulk and sealant. This will help create a clean and adhesive-friendly surface for the new caulk to adhere to. Be sure to follow the manufacturer's instructions for the cleaner or solvent to ensure safe and effective application.
After cleaning the area, thoroughly dry the surface to remove any moisture or residue. A clean, dry surface is essential for achieving a strong bond with the new caulk and sealant. Take the time to inspect the entire perimeter of the bathtub to confirm that all old caulk and sealant has been successfully removed.
By taking the necessary steps to remove the existing caulk and sealant, you are preparing the bathtub for the leveling process and ensuring that the new caulk will adhere properly. This meticulous preparation sets the stage for a successful leveling endeavor and contributes to the overall integrity and longevity of the bathtub installation. With the old caulk and sealant removed, you are now ready to proceed to the next steps of leveling the bathtub and achieving a perfectly balanced and secure installation.
Read more: How To Install Bathtub Plumbing
Step 3: Check the level of the bathtub
With the old caulk and sealant removed, it's time to assess the current level of the bathtub. This step is crucial in identifying any existing issues and determining the extent of adjustment required to achieve a perfectly level installation.
Begin by placing a reliable spirit level on the edges of the bathtub, both lengthwise and widthwise. Take note of the bubble position within the level, as it will indicate whether the bathtub is currently level or if adjustments are needed. If the bubble rests within the designated lines on the level, the bathtub is considered level in the respective direction. However, if the bubble deviates outside these lines, it signifies that the bathtub is not level and requires adjustment.
During this assessment, it's important to consider the specific areas where the bathtub may be uneven. Pay close attention to any noticeable gaps between the base of the bathtub and the floor, as well as any signs of tilting or imbalance along the edges. By thoroughly evaluating the levelness of the bathtub, you can pinpoint the areas that require attention and plan for targeted adjustments.
In addition to using a spirit level, visually inspect the bathtub from various angles to identify any irregularities or deviations from a level position. This comprehensive assessment will provide a holistic understanding of the bathtub's current state and guide the subsequent steps in the leveling process.
By meticulously checking the level of the bathtub, you are laying the foundation for precise adjustments that will ensure a stable and balanced installation. This thorough evaluation sets the stage for targeted interventions, allowing you to address specific areas of concern and work towards achieving a perfectly level bathtub in your bathroom. With a clear understanding of the bathtub's current level, you are now prepared to proceed to the next steps and implement the necessary adjustments to achieve optimal levelness and functionality.
Step 4: Adjust the feet or shims
After assessing the levelness of the bathtub, the next crucial step is to address any discrepancies by adjusting the feet or utilizing shims to achieve a perfectly level installation. Depending on the specific design and construction of your bathtub, it may be equipped with adjustable feet that allow for precise leveling. Alternatively, shims can be strategically placed to provide support and stability in areas where adjustments are needed.
If your bathtub features adjustable feet, begin by identifying the feet that require adjustment based on the level assessment conducted in the previous step. Using an adjustable wrench, carefully rotate the feet in the appropriate direction to raise or lower the bathtub as needed. It's essential to make gradual adjustments and regularly recheck the level using a spirit level to ensure that the bathtub is progressively approaching a level position.
In cases where shims are necessary to achieve levelness, start by placing the shims in strategic locations beneath the bathtub to provide support and compensate for any unevenness. Shims can be inserted at the base of the bathtub, between the feet and the floor, to effectively level the installation. As you position the shims, periodically check the level to gauge the impact of the adjustments and make any additional modifications as required.
Throughout the process of adjusting the feet or shims, it's important to maintain a methodical approach, making incremental changes and continuously verifying the levelness of the bathtub. This meticulous attention to detail ensures that the adjustments are precise and contribute to a stable and balanced installation. By carefully manipulating the feet or strategically placing shims, you can gradually guide the bathtub towards a perfectly level position, addressing any previous irregularities and optimizing its functionality.
As you make adjustments, be mindful of the symmetry and overall stability of the bathtub. Aim to achieve consistent support across all contact points, whether through adjusted feet or strategically placed shims. This comprehensive approach will result in a level bathtub that not only enhances the visual appeal of your bathroom but also ensures optimal drainage and long-term durability.
By effectively adjusting the feet or utilizing shims to level the bathtub, you are taking proactive steps to address any existing irregularities and create a stable and balanced installation. This hands-on approach empowers you to fine-tune the position of the bathtub, resulting in a functional and aesthetically pleasing centerpiece for your bathroom. With the necessary adjustments in place, you are now prepared to proceed to the next step and make final checks to confirm the levelness of the bathtub before resealing the installation.
Use shims to level the bathtub by placing them under the feet or base. Check for levelness with a bubble level and adjust as needed.
Step 5: Re-check the level and make final adjustments
With the initial adjustments made to the bathtub's feet or shims, it's essential to re-evaluate the levelness of the installation before proceeding to the final stages. This critical step involves re-checking the bathtub's level using a spirit level and making any necessary final adjustments to ensure a perfectly balanced and stable outcome.
Begin by carefully placing the spirit level along the edges of the bathtub, both lengthwise and widthwise, as done during the initial level assessment. Take note of the bubble position within the level and compare it to the designated lines to determine the current levelness of the bathtub. By conducting this re-check, you can assess the impact of the previous adjustments and identify any remaining areas that require fine-tuning.
As you observe the spirit level, pay close attention to any deviations of the bubble from the designated lines, indicating potential unevenness. Focus on specific areas where adjustments were previously made, as well as other critical points along the bathtub's perimeter. This comprehensive re-evaluation allows you to pinpoint any remaining irregularities and plan for precise final adjustments to achieve an optimal level position.
If the re-check reveals that the bathtub is still not perfectly level, proceed to make final adjustments by either further manipulating the adjustable feet or strategically adding or adjusting shims. Utilize the information gathered from the re-check to guide your final interventions, ensuring that each adjustment contributes to the overall levelness and stability of the bathtub installation.
Throughout this process, maintain a methodical approach, making incremental adjustments and continuously rechecking the level using the spirit level. By carefully fine-tuning the position of the bathtub based on the re-check, you can address any remaining irregularities and bring the installation to a state of optimal levelness and functionality.
By re-checking the level and making final adjustments, you are demonstrating a meticulous and proactive approach to achieving a perfectly level bathtub installation. This thorough attention to detail ensures that the bathtub not only meets aesthetic standards but also functions optimally, providing efficient drainage and long-term durability. With the final adjustments in place, you are now prepared to proceed to the concluding step of reapplying caulk and sealant to complete the leveling process.
Step 6: Reapply caulk and sealant
After successfully leveling the bathtub and ensuring its stability, the final step involves reapplying caulk and sealant to create a secure and watertight seal around the perimeter of the bathtub. This critical phase not only enhances the visual appeal of the installation but also plays a pivotal role in preventing water damage and maintaining the integrity of the surrounding surfaces.
To begin, ensure that the area around the bathtub is clean and dry, free from any debris or residue that could compromise the adhesion of the new caulk and sealant. Thoroughly inspect the perimeter of the bathtub to confirm that it is devoid of any remnants of the old caulk and sealant, as well as any accumulated dust or moisture.
Next, load a high-quality caulk into a caulking gun, ensuring that the nozzle is cut at an appropriate angle to facilitate smooth application. With precision and care, apply a continuous bead of caulk along the joint between the bathtub and the adjacent surfaces, such as the walls and floor. The goal is to create a uniform and well-adhered seal that effectively prevents water from seeping into the gaps.
As you apply the caulk, maintain a steady and consistent pace, ensuring that the bead is even and free from gaps or irregularities. Use a damp cloth or sponge to smooth the caulk and remove any excess, creating a neat and professional finish. Pay particular attention to the corners and seams, where thorough sealing is essential for long-term effectiveness.
Once the caulk has been applied, proceed to reseal the bathtub using a high-quality sealant, further enhancing the water resistance and durability of the installation. Apply the sealant along the edges of the caulked joint, smoothing it with a damp cloth to ensure a tight and seamless seal. This additional layer of protection reinforces the integrity of the caulk and provides an extra barrier against water infiltration.
After completing the reapplication of caulk and sealant, allow sufficient time for the materials to cure and set, following the manufacturer's recommendations for drying and curing times. This critical curing period ensures that the caulk and sealant achieve their maximum effectiveness, creating a robust and long-lasting seal around the bathtub.
By reapplying caulk and sealant, you are not only completing the leveling process but also fortifying the bathtub installation against potential water damage and ensuring its longevity. This final step adds a professional and polished touch to the overall appearance of the bathtub, elevating the aesthetics of your bathroom while safeguarding against moisture-related issues.
With the caulk and sealant in place, your leveled bathtub is now ready to provide years of reliable performance, complementing the functionality and visual appeal of your bathroom space.
Read more: How To Seed A Lawn That Already Has Grass
Conclusion
In conclusion, the process of leveling a bathtub that is already installed is a meticulous yet rewarding endeavor that significantly contributes to the functionality and aesthetics of your bathroom. By following the step-by-step guide outlined in this comprehensive resource, you have gained the knowledge and confidence to address any existing irregularities and achieve a perfectly level bathtub installation.
Throughout the process, you have learned the importance of meticulous preparation, including gathering the necessary tools and materials, as well as removing the old caulk and sealant to create a clean and adhesive-friendly surface. The critical step of checking the level of the bathtub provided valuable insights into the specific areas requiring adjustment, guiding your subsequent interventions with precision and clarity.
Adjusting the feet or utilizing shims allowed you to fine-tune the position of the bathtub, gradually guiding it towards a perfectly level state. The methodical approach to making incremental adjustments and rechecking the level ensured that the bathtub's stability and balance were optimized, setting the stage for a reliable and long-lasting installation.
The final steps of rechecking the level and making precise adjustments, followed by the reapplication of caulk and sealant, demonstrated your commitment to achieving a professional and watertight seal around the bathtub. This meticulous attention to detail not only enhances the visual appeal of the installation but also reinforces its durability and resistance to potential water damage.
By completing the leveling process and resealing the bathtub, you have not only addressed any existing irregularities but also fortified the installation against future issues, ensuring its longevity and optimal functionality. The leveled bathtub now stands as a centerpiece of your bathroom, providing a stable and visually appealing space for relaxation and rejuvenation.
As you reflect on the journey of leveling your bathtub, you can take pride in the hands-on approach you have taken to enhance the functionality and aesthetics of your bathroom. The knowledge and skills acquired through this process empower you to maintain and optimize your home environment, contributing to a comfortable and inviting living space for you and your family.
With a perfectly level bathtub in place, you can now enjoy the peace of mind that comes with a well-executed installation, knowing that it not only meets aesthetic standards but also functions optimally, providing efficient drainage and long-term durability. Congratulations on successfully leveling your bathtub and creating a reliable and visually appealing centerpiece for your bathroom.
Frequently Asked Questions about How To Level A Bathtub Already Installed
Was this page helpful?
At Storables.com, we guarantee accurate and reliable information. Our content, validated by Expert Board Contributors, is crafted following stringent Editorial Policies. We're committed to providing you with well-researched, expert-backed insights for all your informational needs.


0 thoughts on “How To Level A Bathtub Already Installed”