Home>Furniture>Outdoor Furniture>How To Repair A Flagstone Patio

Outdoor Furniture
How To Repair A Flagstone Patio
Modified: March 7, 2024
Learn how to repair your flagstone patio and enhance your outdoor furniture with our step-by-step guide and expert tips. Extend the lifespan of your outdoor-furniture and enjoy your outdoor space for years to come.
(Many of the links in this article redirect to a specific reviewed product. Your purchase of these products through affiliate links helps to generate commission for Storables.com, at no extra cost. Learn more)
Introduction
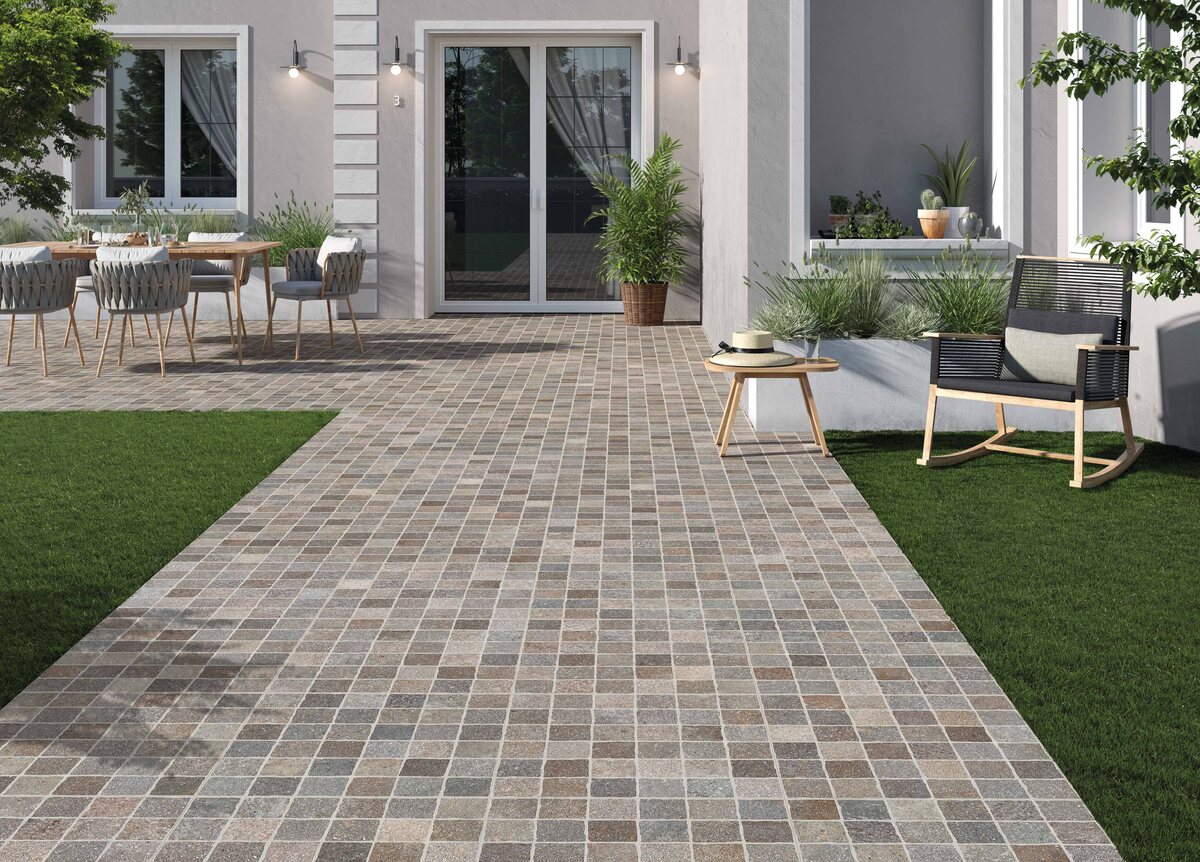
Welcome to our guide on how to repair a flagstone patio. Flagstone patios are a beautiful addition to any outdoor space, providing a natural and rustic look. However, over time, these patios can suffer from wear and tear, including cracked or damaged flagstones, uneven surfaces, and deteriorating grout lines. But fear not! With the right tools and a little bit of patience, you can easily restore your flagstone patio to its original beauty.
In this article, we will walk you through a step-by-step process to assess the damage, gather the necessary tools and materials, remove and replace damaged flagstones, level the surface, repair grout lines, allow the patio to settle, and seal the flagstone patio. We will also provide you with some tips on regular maintenance to ensure the longevity of your patio.
So, let’s get started on transforming your worn-out flagstone patio into a stunning outdoor oasis!
Key Takeaways:
- Assess the damage, gather tools, and replace flagstones to restore your flagstone patio. Level the surface, repair grout lines, and seal the patio for long-lasting beauty and functionality.
- Regular maintenance is key to preserving your flagstone patio. Keep it clean, inspect for damage, and apply sealant every few years to enjoy a beautiful outdoor space for years to come.
Read more: What Is A Flagstone Patio
Step 1: Assessing the Damage
The first step in repairing a flagstone patio is to assess the extent of the damage. Carefully inspect the entire patio surface and look for cracked or broken flagstones, uneven areas, loose or deteriorated grout lines, and any signs of water damage.
Take note of the number of flagstones that need to be replaced and the size of the damaged areas. This will help you determine the amount of materials you will need for the repair process.
Additionally, check for any underlying issues that may have caused the damage, such as poor drainage or tree roots. It’s important to address these issues as well to prevent future damage and ensure the longevity of your repaired flagstone patio.
Once you have assessed the damage, create a plan for the repair process. This plan should include the necessary tools and materials, as well as a timeline for completing the repairs.
Remember, each flagstone patio is unique, and the extent of the damage may vary. So, it’s crucial to thoroughly assess the damage to ensure you have a clear understanding of the repairs required before moving on to the next steps.
Step 2: Gathering the Tools and Materials
Now that you have assessed the damage and created a plan, it’s time to gather the necessary tools and materials for repairing your flagstone patio. Having the right equipment will make the repair process much smoother and more efficient.
Here is a list of tools and materials you will need:
- Protective gloves and safety glasses
- Chisel or pry bar
- Hammer or mallet
- Angle grinder with diamond blade (for cutting flagstones)
- Trowel
- Grout removal tool
- Level
- Measuring tape
- New flagstones (matching the size and color of the existing ones)
- Gravel and sand (for leveling the surface)
- Flagstone adhesive or mortar
- Grout mix
- Sealer (optional, but recommended for added protection)
Make sure to gather all the tools and materials before starting the repair process. This will save you time and make the entire process more efficient.
If you don’t already have some of the tools, consider renting or borrowing them to keep the costs down. Additionally, check with local hardware stores or stone suppliers for the availability of flagstones that match your existing ones.
Having everything ready and organized before you start will help ensure a smooth and successful repair of your flagstone patio.
Step 3: Clearing the Patio Area
Before diving into the actual repair work, it’s important to clear the patio area of any furniture, plants, or decorations. This will give you a clear and unobstructed workspace to work with.
Start by removing any potted plants, planters, or garden ornaments from the patio. Place them in a safe location away from the work area to avoid any damage or accidents.
If there are larger pieces of furniture, such as tables or chairs, carefully move them to another location in your outdoor space. It’s best to have a helping hand for these heavier items to prevent strain or injury.
Next, thoroughly sweep the patio surface to remove any loose dirt, debris, or leaves. Use a stiff broom or a leaf blower to ensure a clean and clear working area. This will allow you to better assess the damage and provide a clean surface for the repair process.
If there are any stubborn stains or moss growth on the flagstones, you can use a mild cleaning solution and a brush to gently scrub them away. However, be mindful of using harsh chemicals or abrasive tools that can damage the flagstones.
Once the patio area is cleared and clean, you are ready to move on to the next step of removing and replacing the damaged flagstones.
Note: If the patio is too large or complex for a DIY repair, it may be beneficial to consult with a professional contractor who specializes in flagstone patio repairs.
Step 4: Removing and Replacing Damaged Flagstones
With the patio area cleared, it’s time to remove the damaged flagstones and replace them with new ones. This step requires some careful handling and precision to ensure a seamless repair.
Here is how to remove and replace the damaged flagstones:
- Start by using a chisel or pry bar to carefully loosen the damaged flagstone. Place the chisel or pry bar at the edge of the flagstone and gently tap it with a hammer or mallet to loosen it from the mortar or adhesive.
- If the flagstone is firmly stuck, you may need to use an angle grinder with a diamond blade to cut through the mortar or adhesive. Be sure to follow the manufacturer’s instructions and wear protective gear when using power tools.
- Once the damaged flagstone is removed, clean the area beneath it by scraping away any remaining mortar or adhesive. Use a grout removal tool to get rid of any grout in the surrounding joints, making sure to clean up the area properly.
- Measure the dimensions of the opening left by the removed flagstone and use those measurements to cut the replacement flagstone using an angle grinder or a stone cutting tool.
- Apply a layer of flagstone adhesive or mortar to the prepared area before placing the new flagstone. Make sure to level the adhesive or mortar using a trowel to ensure a flat and even surface.
- Place the new flagstone into position, pressing it firmly into the adhesive or mortar. Wiggle it slightly to ensure a good bond and proper placement.
- Use a level to check if the new flagstone is aligned properly with the surrounding flagstones and adjust as needed. Add more adhesive or mortar if necessary to achieve a secure fit.
- Once the replacement flagstone is in place, allow it to set and cure as per the manufacturer’s recommendations.
Continue this process for each damaged flagstone, carefully removing and replacing them one by one. Take your time to ensure a proper fit and alignment with the existing flagstones.
Once all the damaged flagstones are replaced, allow the adhesive or mortar to fully cure before moving on to the next step of leveling the surface.
Read more: How To Grout Flagstone Patio
Step 5: Leveling the Surface
After replacing the damaged flagstones, it’s crucial to level the surface of the patio to ensure a smooth and even finish. This step will help prevent any tripping hazards and create a visually appealing patio.
Here’s how to level the surface of your flagstone patio:
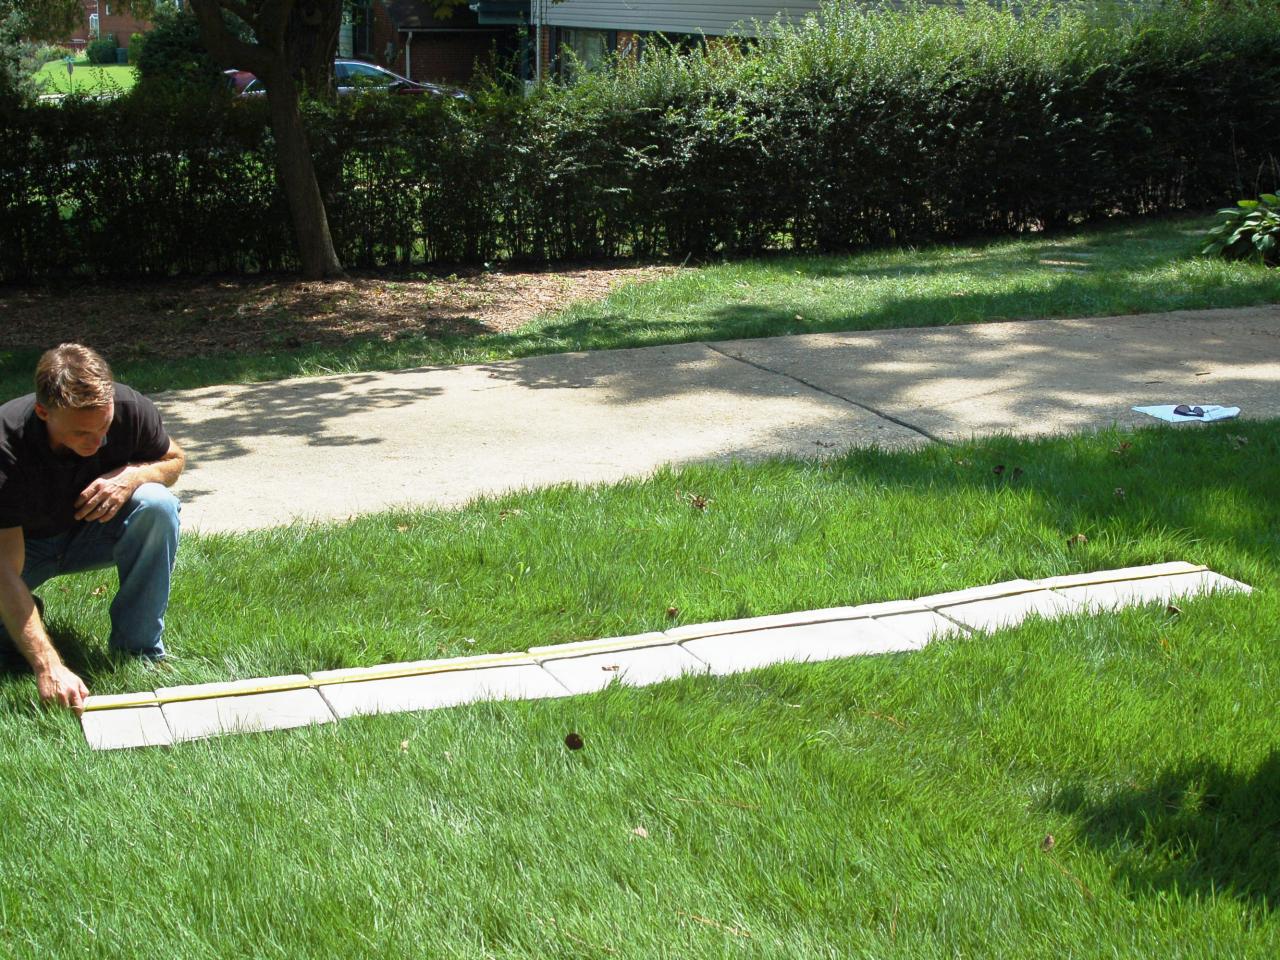
- First, check the levelness of the patio by placing a long straight edge, such as a level, across the flagstones. Look for any high or low spots on the surface.
- If there are any noticeable uneven areas, you will need to add or remove the base material beneath the flagstones to achieve a level surface. This is typically done by adjusting the amount of gravel and sand.
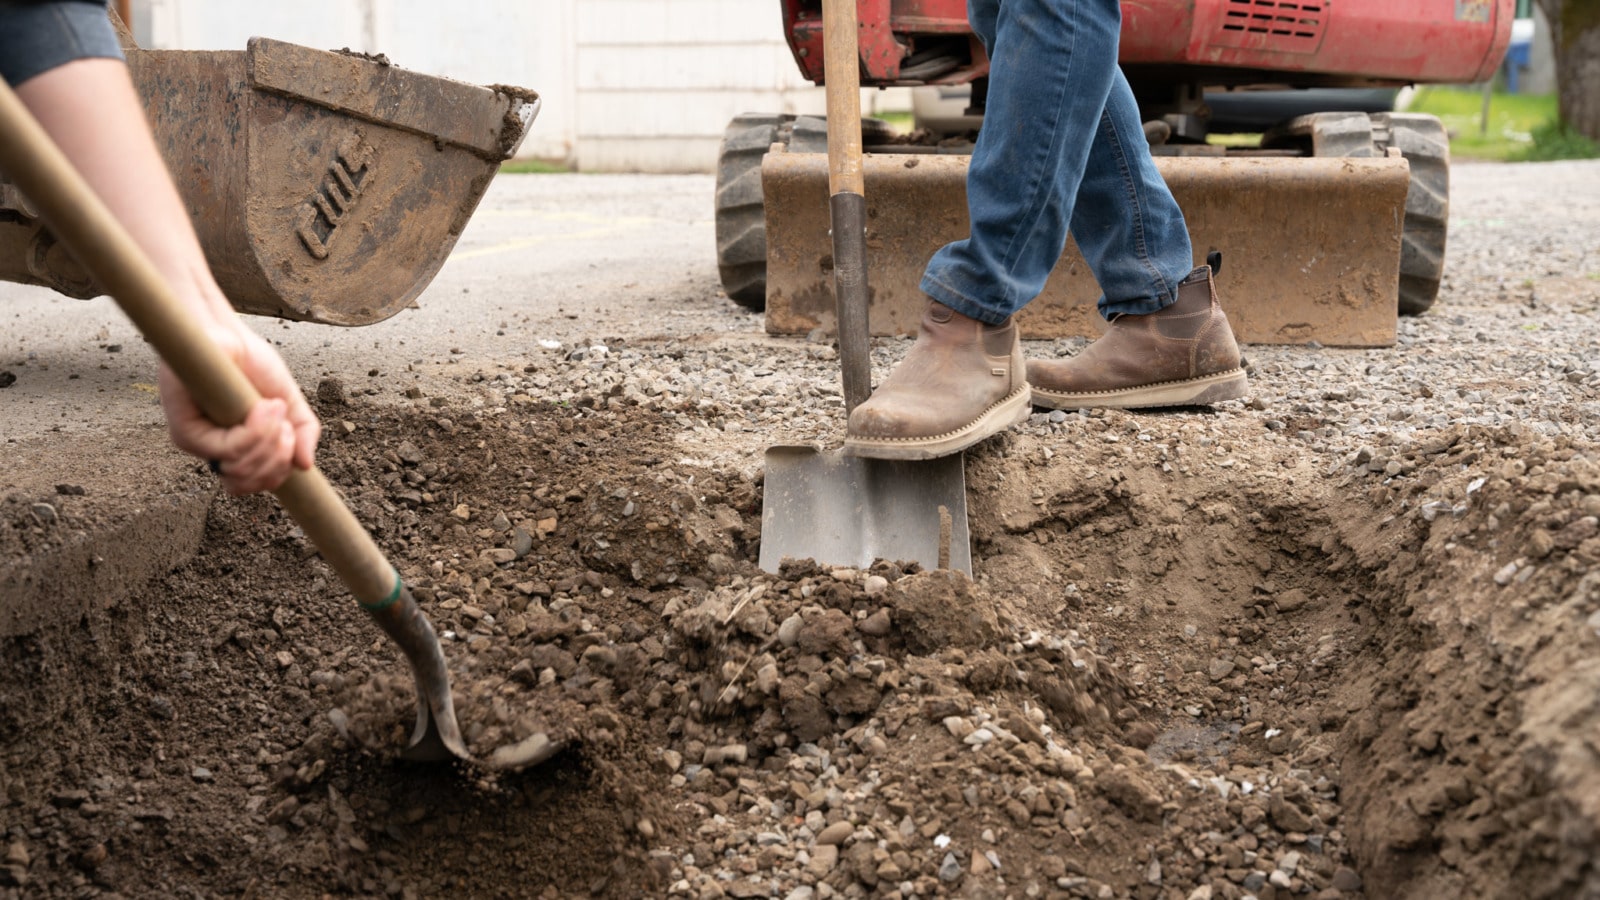
- In the low spots, add a layer of gravel to raise the surface. Use a rake or shovel to spread the gravel evenly and compact it with a hand tamper. Repeat this process until the low spots are filled and level with the surrounding areas.
- In the high spots, remove excess gravel or sand to bring the surface down to the desired level. Again, use a rake or shovel to carefully remove the material in layers, ensuring you don’t remove too much at once.
- Continue checking the levelness of the patio as you adjust the base material. Make sure to compact the gravel and sand with a hand tamper as you go to create a stable and solid foundation.
- Once the surface is leveled, recheck with the straight edge or level to ensure a uniform and even finish across the entire patio.
Remember to take your time during this step to ensure a properly leveled surface. A well-leveled patio will not only improve the appearance but also ensure safety for anyone walking on it.
Once the surface is leveled, you can proceed to the next step of repairing the grout lines between the flagstones.
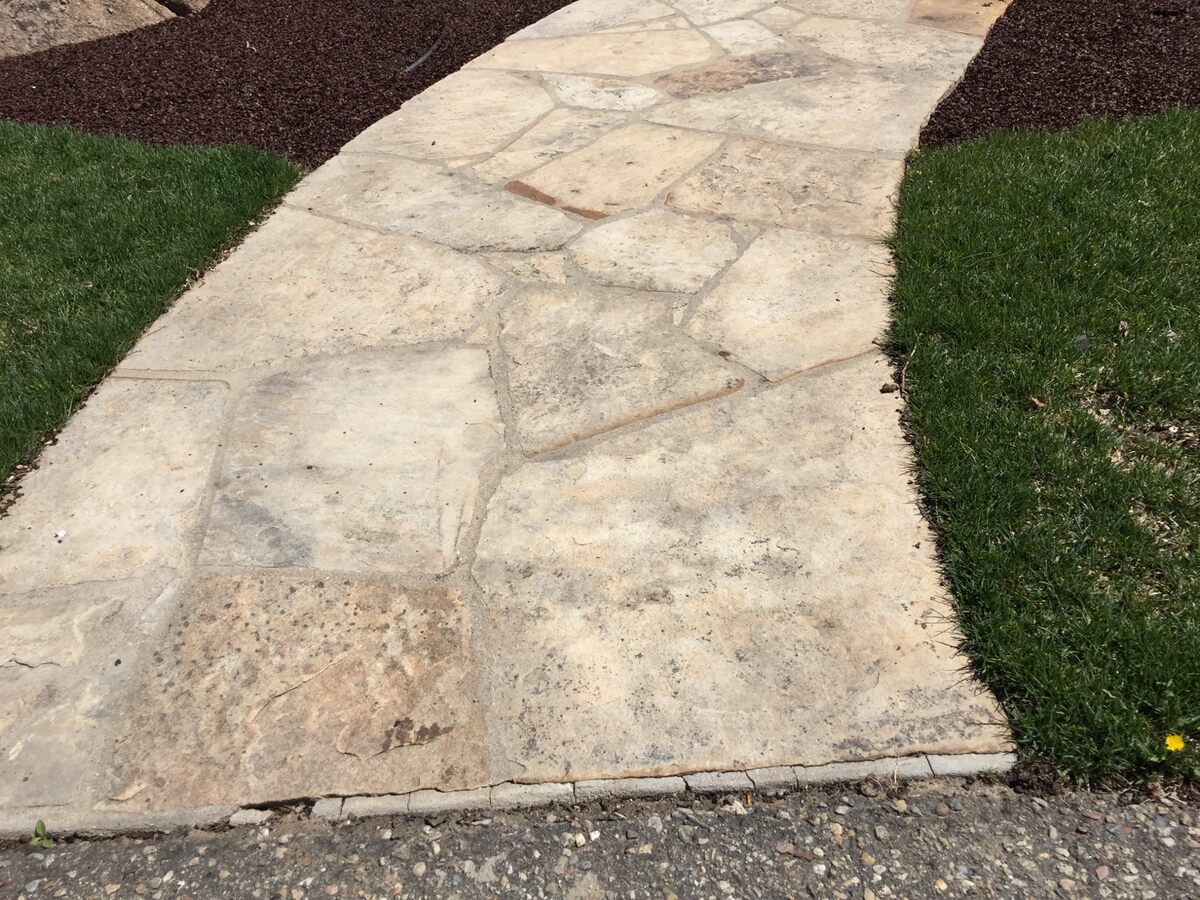
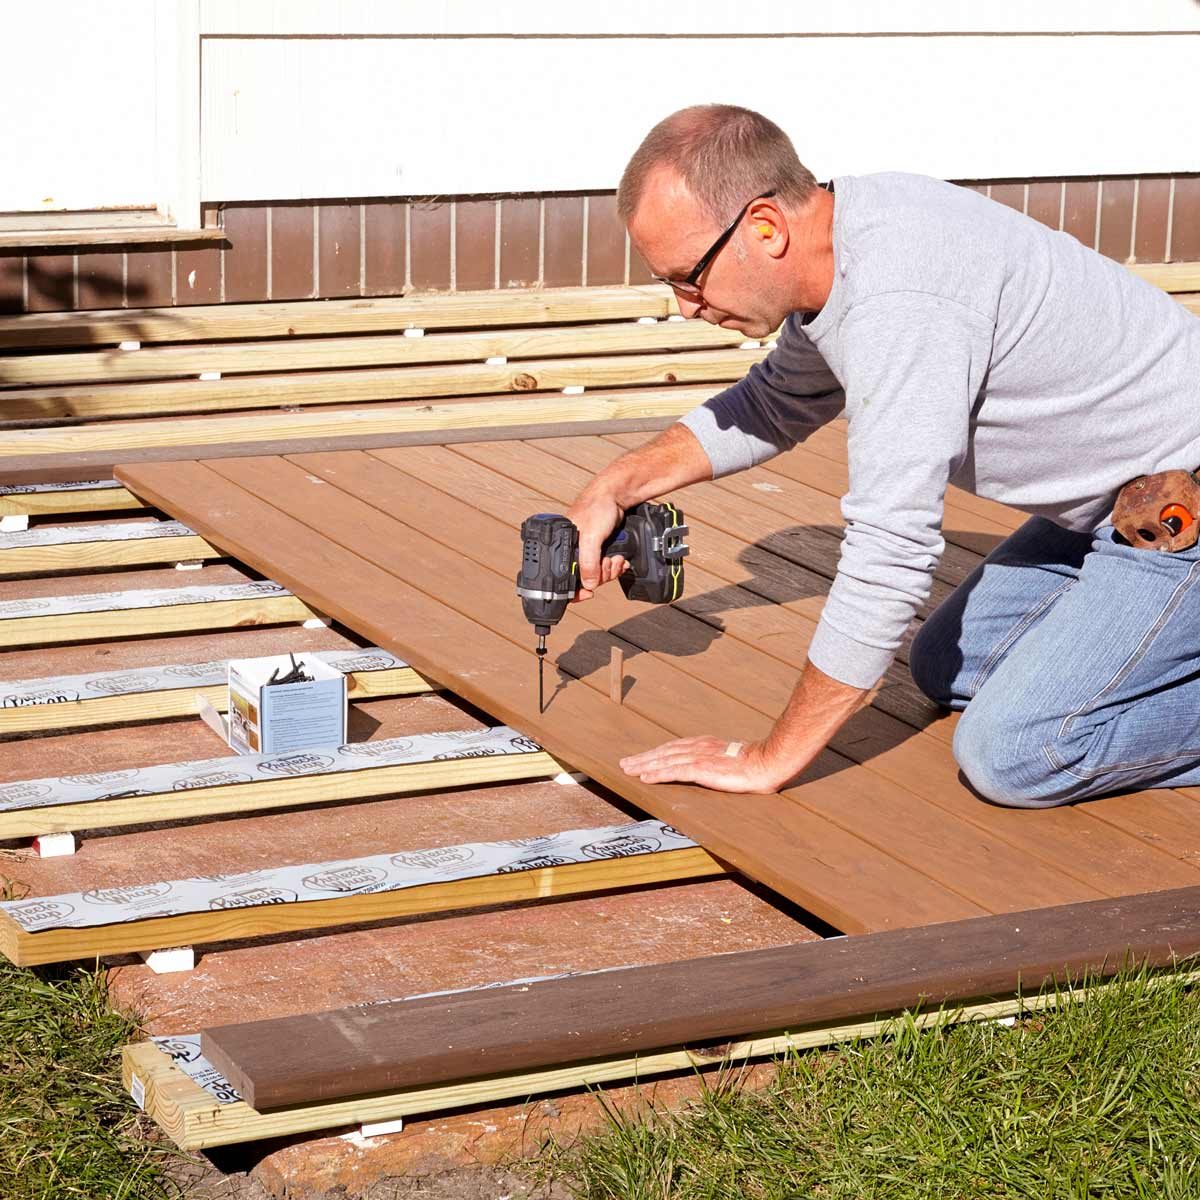
To repair a flagstone patio, remove damaged stones, clean the area, and replace with new stones using mortar. Ensure proper leveling and spacing for a seamless finish.
Step 6: Repairing Grout Lines
Now that the flagstones are securely in place and the surface is leveled, it’s time to focus on repairing the grout lines. Grout is essential for stabilizing the flagstones and preventing water penetration.
Here’s how to repair the grout lines on your flagstone patio:
- Start by removing any loose or damaged grout using a grout removal tool. Be careful not to damage the adjacent flagstones.
- Clean the grout lines thoroughly by brushing away any debris or remaining grout remnants. Use water and a stiff brush to scrub the grout lines clean.
- Prepare the grout mix according to the manufacturer’s instructions. Make sure to use a grout color that matches the existing grout.
- Using a grout float or a trowel, fill the grout lines with the freshly mixed grout. Hold the float or trowel at a 45-degree angle to ensure the grout is forced into the gaps.
- Work the grout into the lines by moving the float or trowel diagonally across the grout lines, smoothing it out in the process.
- Remove any excess grout from the surface of the flagstones with a damp sponge or cloth. Wipe diagonally across the grout lines to avoid dislodging the newly applied grout.
- Allow the grout to set for the specified time mentioned on the grout package. Avoid walking on the patio during this time to prevent any damage to the fresh grout.
- Once the grout has fully set, use a clean cloth to buff the flagstones and remove any grout haze. This will help reveal the natural beauty of the flagstones.
Repairing the grout lines will not only enhance the visual appeal of your flagstone patio but also provide stability and protection against water damage. It’s an important step that should not be overlooked in the repair process.
As you complete this step, make sure to follow any specific instructions provided by the grout manufacturer for optimal results.
Now that the grout lines are repaired, it’s time to allow the patio to settle before sealing the flagstones.
Step 7: Allowing the Patio to Settle
After completing the repairs and grout work, it’s essential to allow your newly repaired flagstone patio to settle. This step is crucial to ensure that the flagstones and grout have sufficient time to cure and bond properly.
Here’s what you should do to allow your patio to settle:
- Avoid walking or placing any heavy objects on the patio for the recommended curing time provided by the adhesive, mortar, and grout manufacturers. This timeframe typically ranges from 24 to 48 hours, but be sure to check the specific instructions.
- During the curing period, it’s important to keep the patio surface dry. Avoid any exposure to water or excessive moisture as it can interfere with the curing process.
- Protect the patio by temporarily erecting barriers or signs to prevent accidental foot traffic or disturbance. This will ensure the repair work remains intact and undisturbed.
- Monitor the patio periodically throughout the curing process to check for any potential issues or signs of movement. If you notice any problems, such as sagging flagstones or loose grout, address them immediately.
- Once the recommended curing time has passed, you can proceed to the final step of sealing the flagstone patio.
Allowing the patio to settle is crucial for the long-term integrity and durability of your repairs. It provides a solid foundation for the next step and helps prevent potential issues from arising in the future.
Now that your patio has settled and cured, it’s time to protect and enhance the longevity of your flagstone patio by applying a sealant.
Step 8: Sealing the Flagstone Patio
After allowing your flagstone patio to settle and cure, it’s important to protect and enhance its appearance by applying a sealant. Sealing the flagstone patio provides a protective barrier against stains, water damage, and the effects of weathering.
Follow these steps to properly seal your flagstone patio:
- Ensure that the patio surface is clean and dry before applying the sealant. Remove any dust, debris, or loose particles using a broom or a leaf blower.
- Choose a suitable sealant specifically designed for natural stone or flagstone surfaces. Read the manufacturer’s instructions to ensure compatibility with your patio.
- Apply the sealant evenly across the entire patio using a brush or a roller, following the manufacturer’s recommended application method. Make sure to cover all the flagstones and grout lines to create a consistent protective layer.
- Allow the first coat to dry completely as mentioned in the product instructions. This typically takes several hours or overnight.
- If recommended by the manufacturer, apply a second coat of sealant to maximize protection. Apply it in the same manner as the first coat, ensuring even coverage.
- Give the second coat sufficient time to dry as indicated in the product instructions. This may take another several hours or overnight.
- Once the sealant has thoroughly dried, inspect the patio for any areas that may require touch-ups or additional sealant. Apply the sealant as needed to ensure comprehensive coverage.
Sealing the flagstone patio not only safeguards it against potential damage but also enhances its natural beauty by intensifying the colors and textures of the flagstones. It is recommended to reseal your patio every few years to maintain its protection and appearance.
Now that your flagstone patio is sealed and properly protected, you can enjoy its beauty and durability for years to come.
Read more: How Much Does Flagstone Patio Cost
Step 9: Regular Maintenance Tips
To ensure the longevity and beauty of your newly repaired flagstone patio, regular maintenance is essential. Here are some important maintenance tips to follow:
- Keep the patio surface clean by regularly sweeping away debris, leaves, and dirt. This prevents them from accumulating and causing stains or damage.
- Avoid using harsh chemicals or abrasive cleaners on the flagstones, as they can damage the surface. Instead, opt for mild cleaning solutions specifically formulated for stone or use a mixture of warm water and mild dish soap.
- Periodically inspect the patio for any signs of damage, such as cracked or loose flagstones, crumbling grout, or water pooling. Address these issues promptly to prevent further damage and maintain the integrity of the patio.
- Consider applying a fresh coat of sealant every few years or as recommended by the manufacturer. This will help to maintain the protective barrier and enhance the appearance of your flagstone patio.
- During winter months, be cautious of using de-icing agents or rock salt on the patio, as they can cause damage to the flagstones and grout. Instead, use alternative ice-melting products that are safe for stone surfaces or use sand for traction.
- Trim any nearby trees or shrubs that may overhang or touch the patio. This prevents the risk of branches falling onto the patio and causing damage, as well as reducing the amount of debris that may accumulate.
- Regularly inspect the drainage around the patio and address any issues promptly. Poor drainage can lead to water pooling or seepage, which can cause damage to the flagstones and compromise the integrity of the patio.
- Consider using furniture pads or protective coasters under heavy furniture to minimize the risk of scratching or damage to the flagstone surface.
Following these maintenance tips will help to keep your flagstone patio in top condition and extend its lifespan. By dedicating a little time and care to regular maintenance, you can continue to enjoy your beautiful outdoor space for years to come.
Now that you have learned the essential steps and maintenance tips, you are well-equipped to repair and maintain your flagstone patio. Enjoy the beauty and comfort of your outdoor oasis!
Conclusion
Repairing a flagstone patio may seem like a daunting task, but with the right knowledge and a little bit of effort, you can restore its beauty and functionality. By following the step-by-step guide outlined in this article, you can tackle common issues such as cracked flagstones, uneven surfaces, and deteriorating grout lines.
Remember to assess the damage, gather the necessary tools and materials, and clear the patio area before starting the repairs. Take your time to carefully remove and replace damaged flagstones, ensuring a proper fit and alignment. Level the surface to create a safe and visually appealing patio, and repair the grout lines to enhance stability and prevent water damage.
After allowing the patio to settle, apply a sealant to provide protection against stains and weathering. Finally, establish a regular maintenance routine to keep your flagstone patio in excellent condition. Sweep away debris, inspect for damage, and maintain proper drainage to ensure the longevity of your patio.
Remember to exercise caution and follow all safety guidelines throughout the repair process. If the patio is large or complex, consider consulting with a professional contractor who specializes in flagstone patio repairs.
With proper care and maintenance, your repaired flagstone patio will continue to be a source of joy and relaxation in your outdoor space. So, roll up your sleeves, gather your tools, and get ready to transform your worn-out patio into a stunning outdoor oasis!
Frequently Asked Questions about How To Repair A Flagstone Patio
Was this page helpful?
At Storables.com, we guarantee accurate and reliable information. Our content, validated by Expert Board Contributors, is crafted following stringent Editorial Policies. We're committed to providing you with well-researched, expert-backed insights for all your informational needs.







0 thoughts on “How To Repair A Flagstone Patio”