Home>Furniture>Outdoor Furniture>How To Grout Flagstone Patio
Outdoor Furniture
How To Grout Flagstone Patio
Modified: August 24, 2024
Learn how to properly grout your flagstone patio and enhance your outdoor furniture area with these helpful tips and techniques.
(Many of the links in this article redirect to a specific reviewed product. Your purchase of these products through affiliate links helps to generate commission for Storables.com, at no extra cost. Learn more)
Introduction
Welcome to our comprehensive guide on how to grout a flagstone patio. If you’re looking to enhance the beauty and longevity of your outdoor living space, grouting your flagstone patio is an essential step. Not only does grouting help in securing the stones in place, but it also provides a finished and polished look.
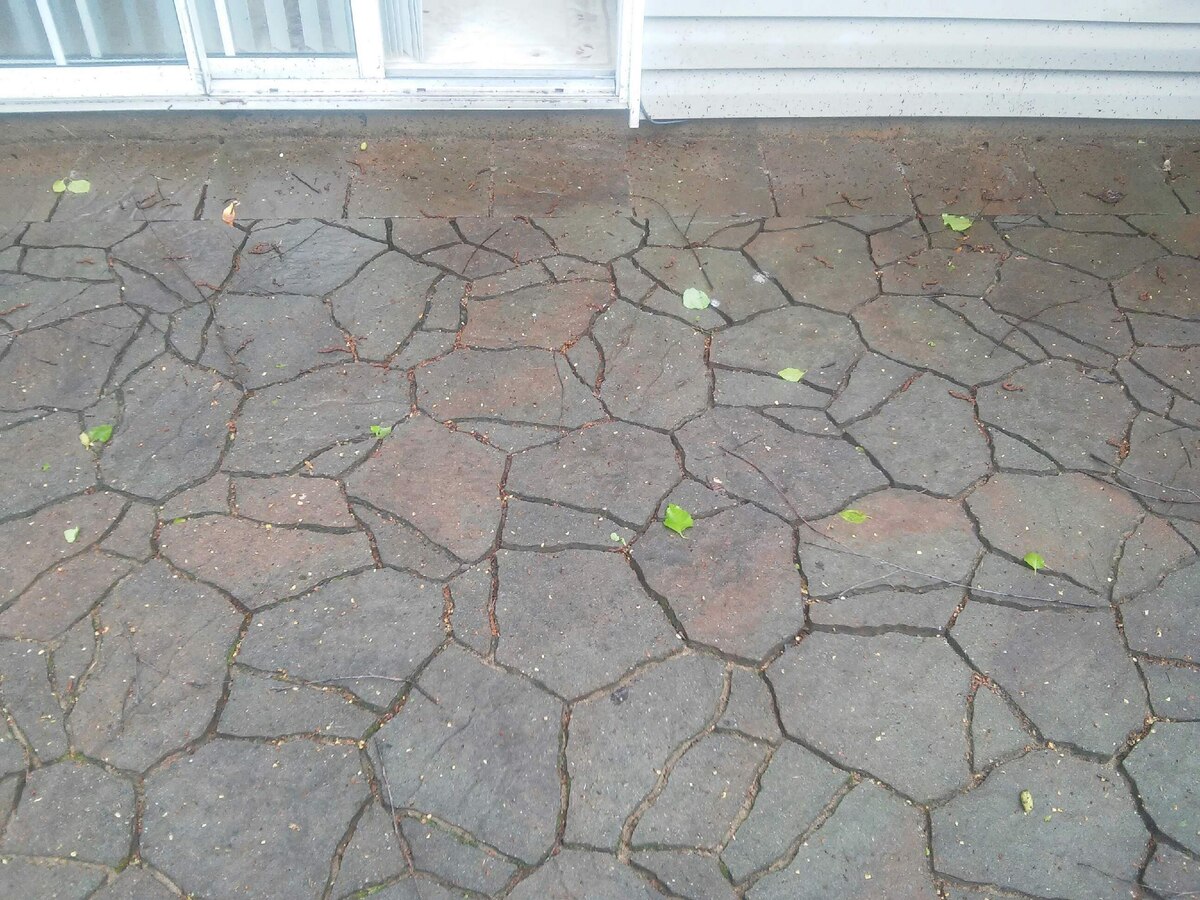
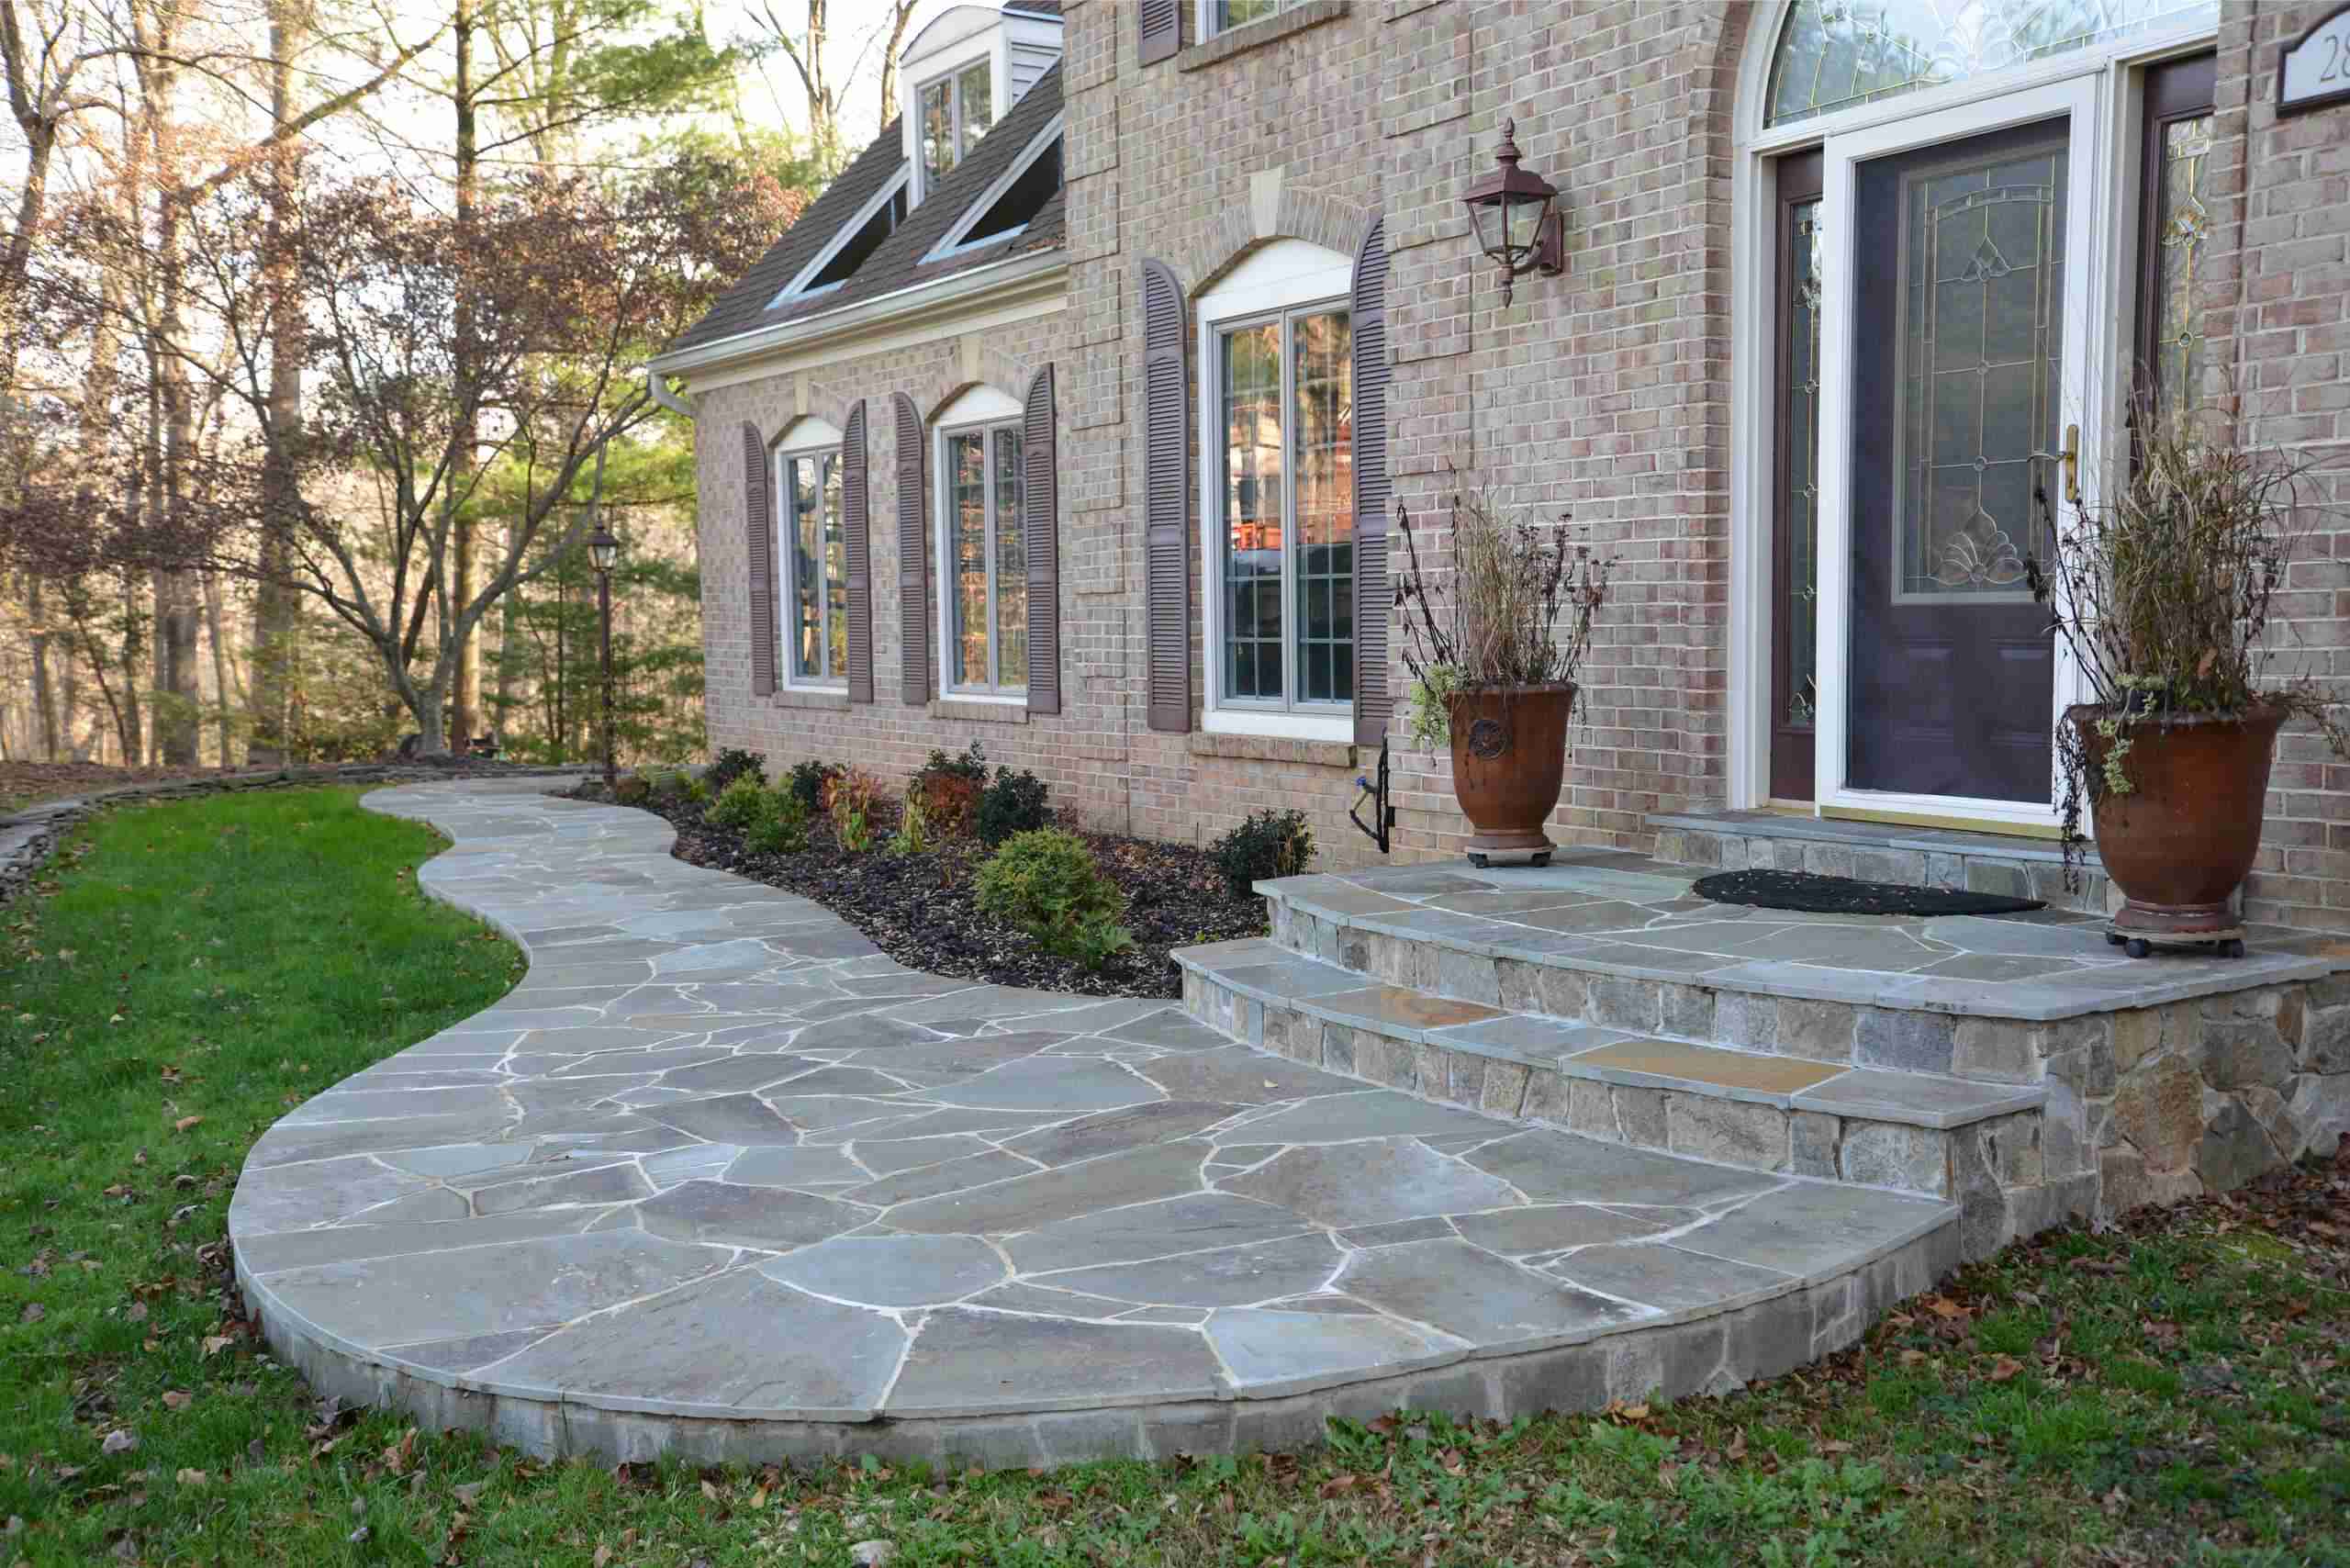
Flagstone patios are a popular choice for homeowners who want to create a rustic and natural outdoor setting. The irregular shapes and textures of flagstone create a unique and visually appealing surface. However, without proper grouting, the stones may shift and become uneven over time, leading to potential trip hazards and a less-than-desirable aesthetic.
In this guide, we will take you through the step-by-step process of grouting your flagstone patio. From preparing the patio to applying the grout and sealing it, we’ll cover everything you need to know to achieve professional-looking results.
Before we dive into the details, let’s gather the materials you’ll need for this project:
- Flagstone patio
- Grout mix
- Bucket and mixing paddle
- Gloves and safety goggles
- Trowel and grout float
- Sponge and clean water
- Sealer
- Brush or roller for sealing
Now that we have everything prepared, let’s get started with the first step: preparing the flagstone patio.
Key Takeaways:
- Grouting a flagstone patio enhances its stability and appearance, preventing stones from shifting and creating a polished look. Proper preparation, mixing, application, and sealing are crucial for professional results.
- Sealing the grout protects the patio from stains and moisture, ensuring its durability. Regular maintenance and cleaning will preserve the beauty and integrity of the flagstone patio for years to come.
Read more: What Is A Flagstone Patio
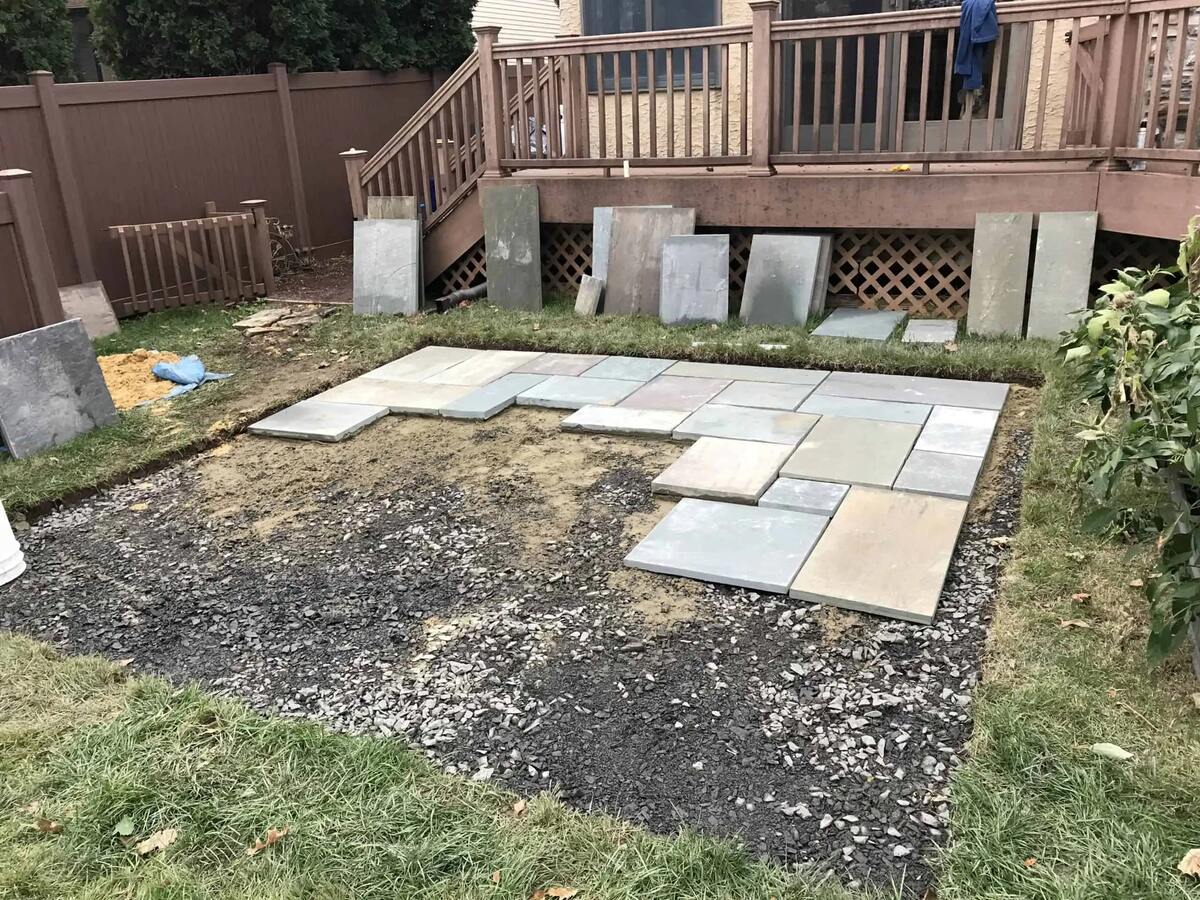
Step 1: Preparing the flagstone patio
Before you begin grouting your flagstone patio, it’s essential to ensure that the surface is clean and ready for the grout. Here’s how you can prepare your patio for the grouting process:
1. Clear the area: Remove any furniture, plants, or debris from the patio surface. This will give you a clear workspace and prevent anything from obstructing the grout application.
2. Sweep and wash: Start by sweeping the patio to remove any loose dirt and debris. Next, give the surface a thorough wash with a garden hose or pressure washer to eliminate accumulated dirt, stains, and moss. Allow the patio to dry completely before moving on to the next step.
3. Inspect the stones: While the patio is drying, take the time to inspect the flagstones for any cracks, chips, or loose pieces. If you come across any damaged stones, replace them before proceeding with the grouting process. This will ensure that the patio remains structurally sound and visually appealing.
4. Repair any unevenness: If you notice any uneven areas on the patio surface, you can use a leveling compound or sand to level them out. Simply fill any low spots or gaps with the appropriate material, then use a trowel to smooth and level the surface. Allow the repairs to fully cure before continuing.
5. Apply a bonding agent: Applying a bonding agent to the flagstone surface can help improve the adhesion of the grout. Follow the instructions on the bonding agent product and carefully apply it to the entire patio surface. Allow the bonding agent to dry according to the manufacturer’s recommendations.
By following these steps, you have prepared your flagstone patio for the grouting process. Taking the time to properly prepare the surface will ensure that the grout adheres well and provides a long-lasting and visually appealing finish. Now, let’s move on to the next step: mixing the grout.
Step 2: Mixing the grout
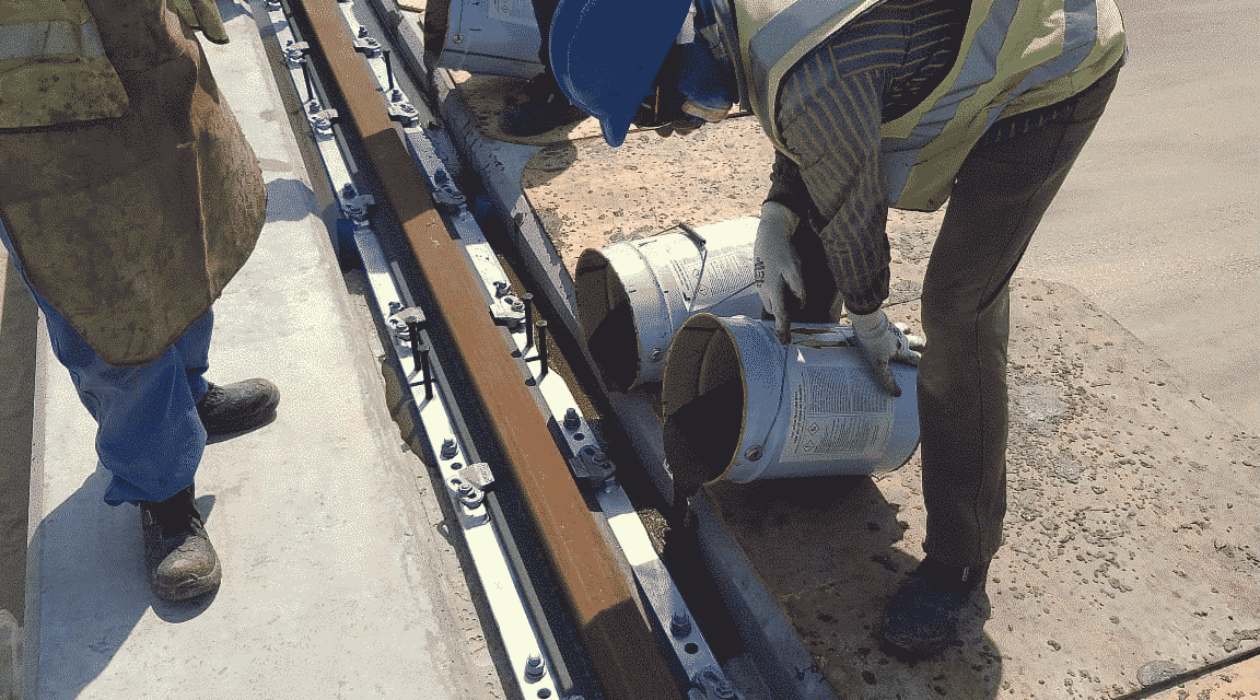
Now that your flagstone patio is prepared, it’s time to mix the grout. The grout is a mixture of cement, sand, and water that will fill the gaps between the flagstones, providing stability and a cohesive appearance. Here’s how you can mix the grout:
1. Read the instructions: Start by carefully reading the instructions on the grout mix package. Different grout products may have specific mixing ratios or requirements, so it’s important to follow the manufacturer’s recommendations.
2. Gather the materials: In addition to the grout mix, you’ll need a mixing bucket, a mixing paddle (or a drill with a mixing attachment), and clean water. Ensure that you have all these materials ready before you begin.
3. Measure the grout mix: Using a measuring cup or a scale, measure the appropriate amount of grout mix according to the instructions. Pour the measured grout mix into the mixing bucket.
4. Mix the grout: Slowly add water to the grout mix, following the recommended water-to-grout ratio. Use the mixing paddle or drill attachment to mix the grout and water thoroughly. Aim for a smooth and consistent texture, without any lumps or dry spots.
5. Rest the grout: Once the grout is fully mixed, let it rest for a few minutes to allow any additives to activate. This resting period will ensure that the grout is properly hydrated and ready for application.
6. Check the consistency: After the resting period, check the consistency of the grout. It should be thick enough to hold its shape but still spreadable. If the grout feels too dry, add small amounts of water and mix again until you achieve the desired consistency.
By following these steps, you will have successfully mixed the grout for your flagstone patio. Remember to always refer to the manufacturer’s instructions for specific details on mixing ratios and techniques. Now that the grout is mixed, it’s time to move on to the next step: applying the grout.
Step 3: Applying the grout
With the grout mixed and ready, it’s time to apply it to your flagstone patio. Applying the grout correctly will ensure that the gaps between the flagstones are filled and secure. Follow these steps to efficiently apply the grout:
1. Start with a small area: Begin by applying the grout to a small section of the flagstone patio. This approach allows you to work in manageable sections and ensures that the grout doesn’t dry out before you can clean it properly.
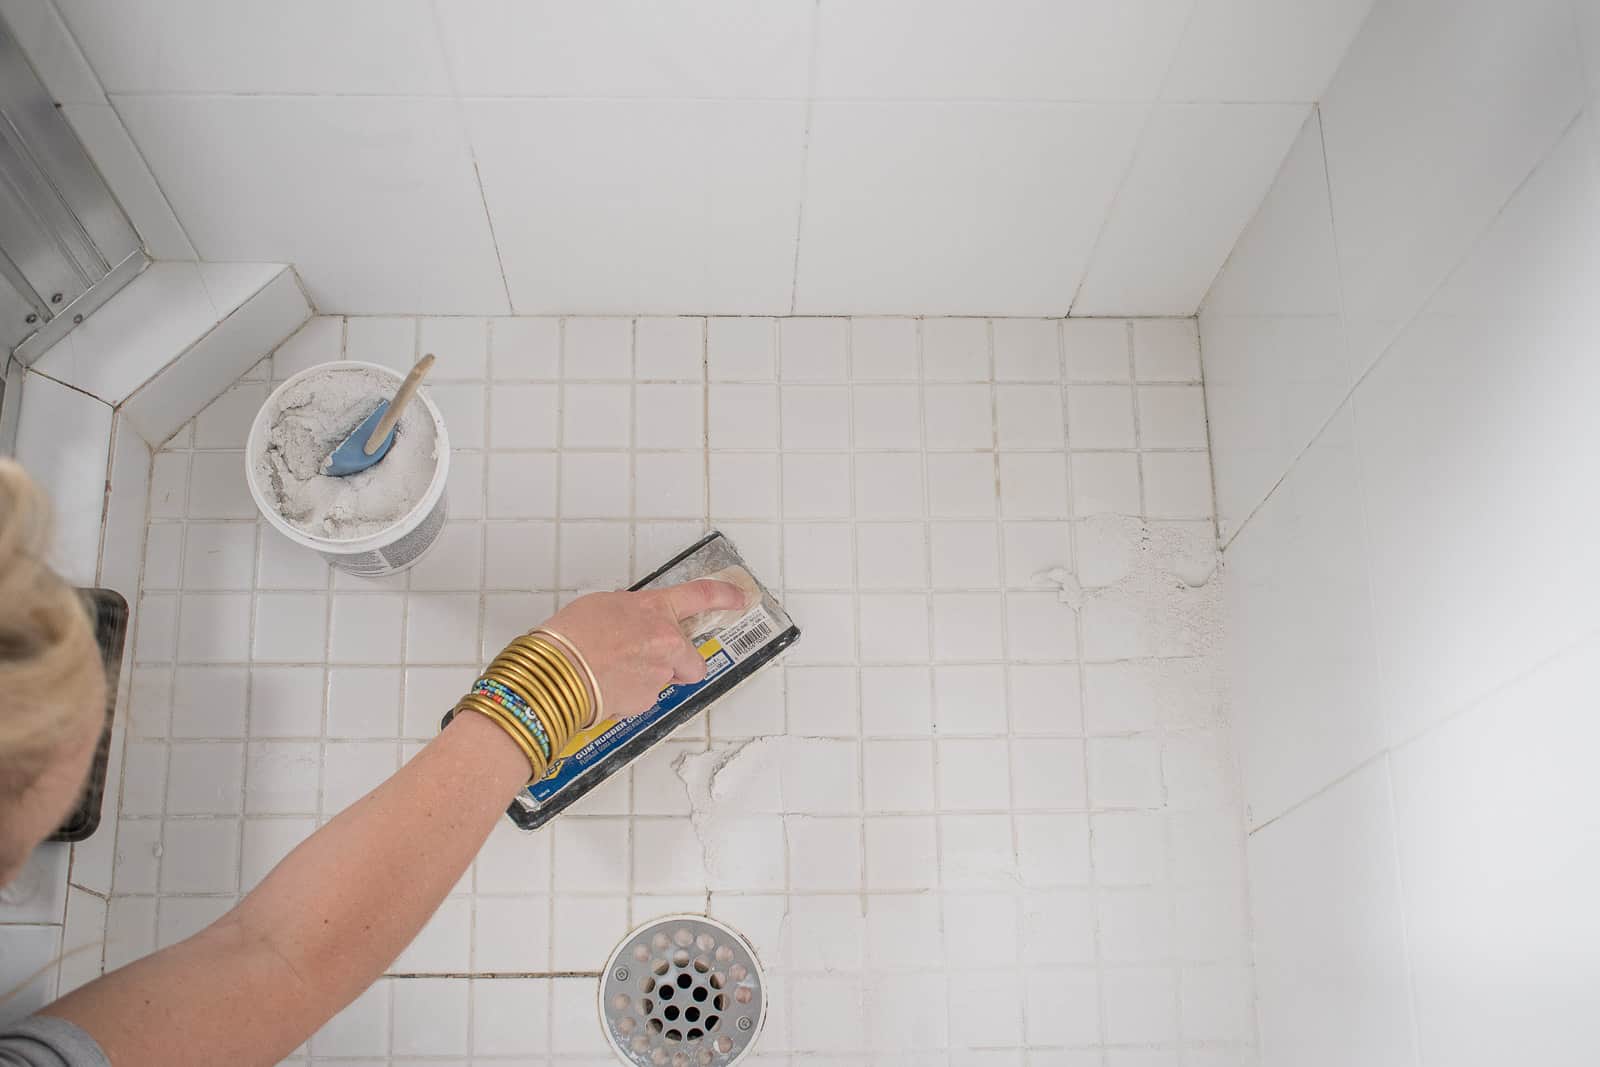
2. Use a grout float: Scoop a generous amount of grout onto the grout float, making sure it is evenly distributed. Hold the grout float at a 45-degree angle and use it to push the grout into the gaps between the flagstones. Work the grout back and forth, making sure the gaps are filled entirely.
3. Pack the grout: Once you have pushed the grout into the gaps, use the edge of the grout float to firmly pack the grout down. This step helps ensure a tight and secure bond between the grout and the flagstones.
4. Remove excess grout: After packing the grout, use the edge of the grout float or a trowel to scrape off any excess grout from the surface of the flagstones. Be gentle to avoid disturbing the grout in the gaps. Place the excess grout into a waste container.
5. Work in sections: Move on to the next small section of the patio, repeating the process of applying, packing, and removing excess grout. Continue working in this manner until you have grouted the entire patio. Take breaks as needed to ensure that the grout doesn’t dry out too quickly.
6. Clean as you go: Throughout the grouting process, keep a damp sponge nearby. Once you have finished grouting a section, use the sponge to lightly wipe away any grout residue from the face of the flagstones. This will help achieve a clean and polished look.
7. Allow the grout to cure: After you have completed the grouting process, allow the grout to cure as per the manufacturer’s instructions. This curing period is essential for the grout to harden and set properly.
By following these steps, you will be able to successfully apply the grout to your flagstone patio. Take your time and work diligently to ensure that the grout is evenly distributed and the excess is removed before it dries. Now, let’s move on to step four: cleaning the excess grout.
Make sure to clean the flagstone thoroughly before grouting to ensure a strong bond. Use a grout bag or trowel to fill in the gaps, then wipe off excess grout with a damp sponge. Let it cure for 24 hours before sealing.
Step 4: Cleaning the excess grout
Once you have applied the grout to your flagstone patio, it’s important to clean off any excess grout that may have accumulated on the surface. Cleaning the excess grout will give your patio a finished and polished look. Here’s how to clean the excess grout:
1. Wait for the grout to set: Before you begin cleaning, allow the grout to set for the recommended time according to the manufacturer’s instructions. This will ensure that the grout is firm enough to withstand the cleaning process without being disturbed or removed.
2. Use a damp sponge: Take a damp sponge and gently wipe the surface of the flagstones to remove any excess grout. Moisten the sponge with clean water and wring out any excess moisture. Wipe in a circular motion, being careful not to dislodge the grout from the gaps.
3. Rinse the sponge: As you clean, rinse the sponge frequently to remove any grout residue that may accumulate on it. This will prevent the residue from smearing on the flagstones and give you a clean surface to work with.
4. Be thorough: Pay close attention to the joints between the flagstones as you clean. Make sure to remove any grout that may have remained on the surface. Take your time and be meticulous in your cleaning, ensuring that the grout lines are clear and visible.
5. Let the grout dry: Once you have finished cleaning, allow the grout to dry completely. This drying period is essential for the grout to fully harden and set, leaving you with a durable and beautiful patio.
6. Inspect and touch-up: After the grout has dried, inspect the patio for any missed or uneven spots. If you notice any areas where the grout is lacking or not level, mix a small amount of grout and carefully fill in the gaps or even out the surface. Use a small trowel or your finger to smooth the grout and blend it with the surrounding grout lines.
By following these steps, you will effectively clean the excess grout from your flagstone patio. Remember to work gently and attentively to avoid damaging the grout or the flagstones. Now, let’s move on to the final step: sealing the grout.
Read more: How To Repair A Flagstone Patio
Step 5: Sealing the grout
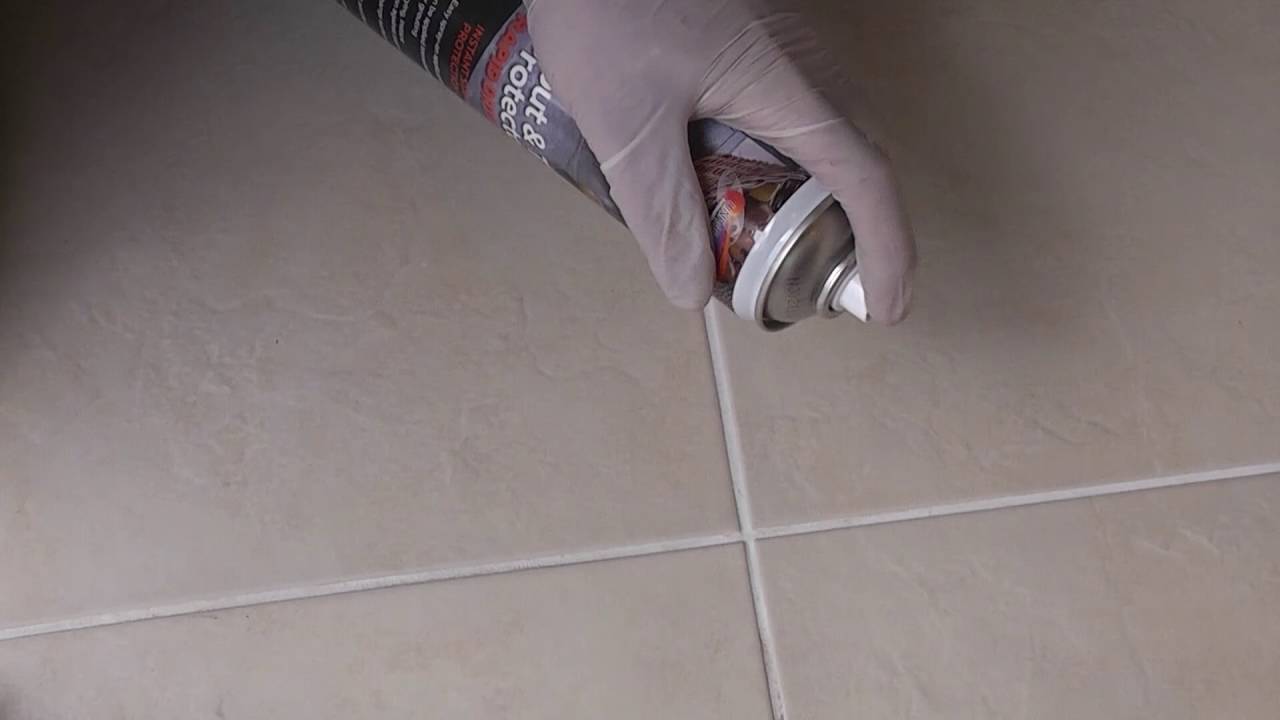
Sealing the grout is an essential step to protect it from stains, moisture, and other potential damage. The sealer creates a protective barrier on the surface of the grout, prolonging its lifespan and maintaining its appearance. Here’s how you can seal the grout on your flagstone patio:
1. Wait for the grout to cure: Before applying the sealer, make sure that the grout has fully cured according to the instructions provided by the manufacturer. Curing times can vary, so it’s important to allow sufficient time for the grout to harden before sealing it.
2. Choose the right sealer: Select a grout sealer that is suitable for outdoor use and compatible with your specific flagstone and grout materials. There are different types of sealers available, such as water-based or solvent-based. Follow the instructions on the sealer product to ensure proper application.
3. Prepare the patio: Before applying the sealer, ensure that the patio surface is clean and free of any debris. Sweep or gently wash the patio, and allow it to dry completely. Avoid using any harsh cleaning chemicals that can damage the grout or flagstones.
4. Apply the sealer: Use a brush or roller to apply the grout sealer onto the grout lines. Work in small sections, ensuring that the sealer is applied evenly and thoroughly. Avoid applying the sealer onto the flagstones, as it can cause a filmy or glossy appearance. If any sealer gets on the flagstones, immediately wipe it off with a clean cloth or sponge.
5. Allow the sealer to dry: Follow the recommended drying time for the sealer, typically a few hours or overnight. It’s crucial to ensure that the sealer is completely dry before allowing foot traffic or furniture placement on the patio.
6. Apply a second coat (optional): Depending on the type of sealer and manufacturer’s instructions, you may choose to apply a second coat of sealer for extra protection. Follow the same process as before, allowing sufficient drying time between coats.
7. Maintain the sealed grout: After sealing the grout, it’s important to regularly clean and maintain the patio to preserve the longevity of the sealer. Avoid using abrasive cleaners or tools that can scratch the sealer. Instead, use mild detergents and a soft brush to clean the surface.
By following these steps and sealing the grout on your flagstone patio, you will enhance its durability and protect it from damage caused by moisture and stains. Properly sealed grout will maintain its appearance and ensure the longevity of your beautiful outdoor space.
Congratulations! You’ve successfully completed all the steps in grouting and sealing your flagstone patio. Your hard work and attention to detail will surely result in a stunning outdoor living area that you can enjoy for years to come.
Happy grouting!
Conclusion
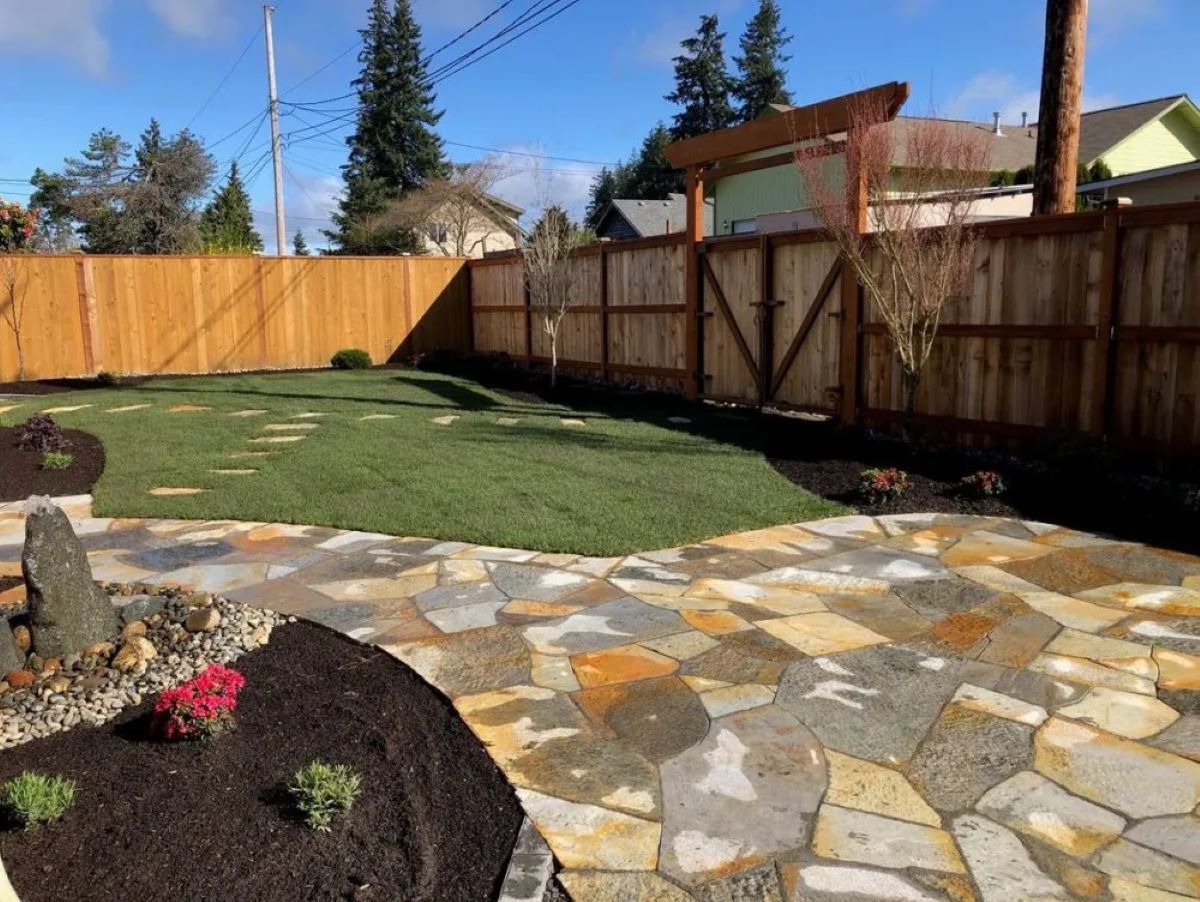
Congratulations on completing the process of grouting and sealing your flagstone patio! By following the steps outlined in this guide, you have successfully enhanced the stability, appearance, and longevity of your outdoor living space. The grouting process ensures that the flagstones are securely held in place, while the sealing process protects the grout from stains and moisture. The result is a beautiful and durable patio that you can enjoy for years to come.
Remember, proper preparation is key to achieving professional-looking results. Take the time to thoroughly clean and prepare your flagstone patio before applying the grout. Mixing the grout with the correct consistency and applying it evenly to the gaps ensures a strong and cohesive bond. Cleaning off excess grout and sealing the grout completes the process and adds the finishing touches.
Regular maintenance and cleaning will help preserve the beauty and integrity of your flagstone patio. Periodically inspect the grout for any signs of wear or damage, and touch up as needed. Keep the patio clear of debris and clean it with mild detergents to prevent any buildup that could compromise the grout or flagstones.
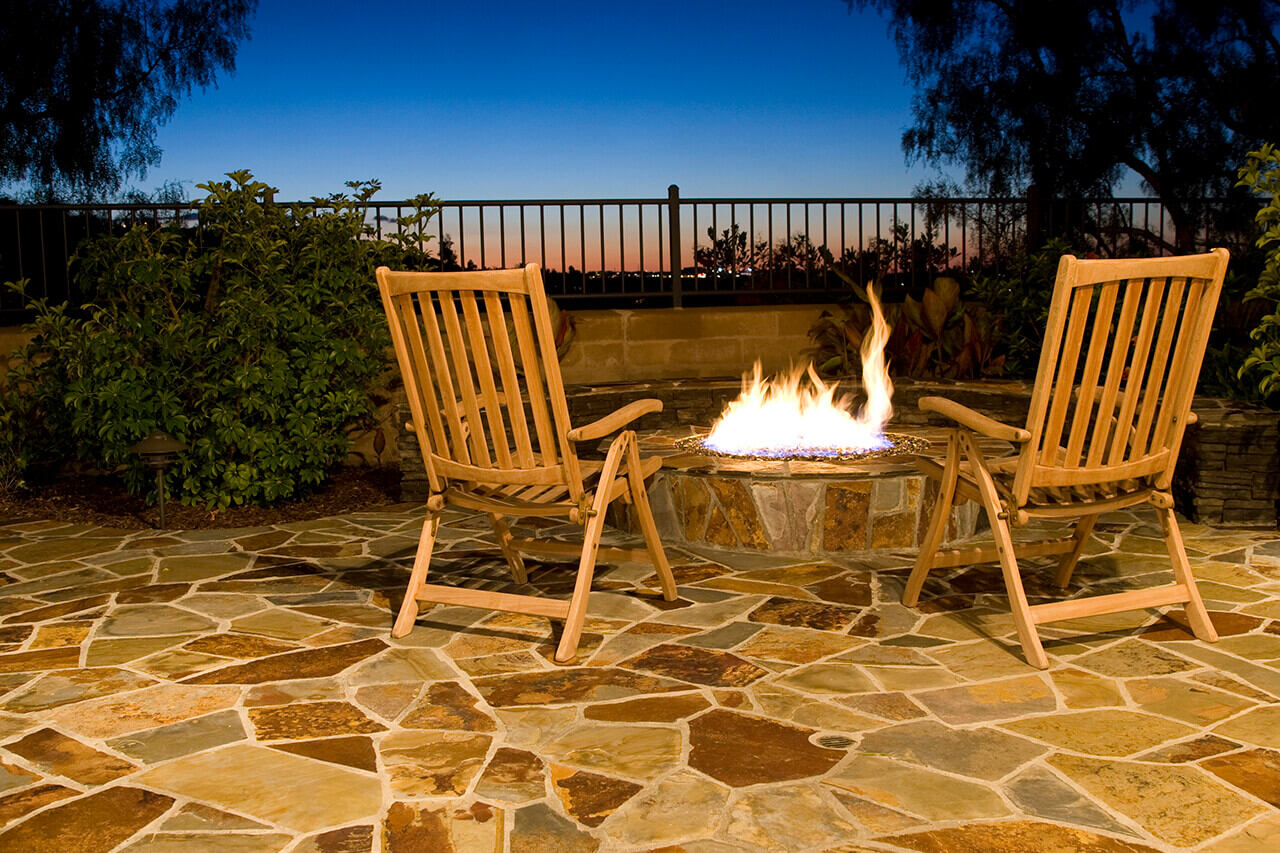
With your newly grouted and sealed flagstone patio, you now have a delightful space to relax, entertain, and enjoy the beauty of the outdoors. Whether it’s hosting family gatherings, enjoying a morning cup of coffee, or simply basking in nature’s tranquility, your enhanced patio will be a cherished spot in your home.
We hope this guide has been helpful to you in your flagstone patio grouting journey. If you have any further questions or need additional assistance, feel free to consult with a professional or reach out to us. Happy grouting!
Frequently Asked Questions about How To Grout Flagstone Patio
Was this page helpful?
At Storables.com, we guarantee accurate and reliable information. Our content, validated by Expert Board Contributors, is crafted following stringent Editorial Policies. We're committed to providing you with well-researched, expert-backed insights for all your informational needs.


0 thoughts on “How To Grout Flagstone Patio”