Home>Furniture>Outdoor Furniture>How To Build Patio

Outdoor Furniture
How To Build Patio
Modified: October 21, 2024
Discover the best tips and tricks for building a beautiful patio with high-quality outdoor furniture. Create the perfect outdoor oasis for relaxing and entertaining.
(Many of the links in this article redirect to a specific reviewed product. Your purchase of these products through affiliate links helps to generate commission for Storables.com, at no extra cost. Learn more)
Introduction
Welcome to the ultimate guide on how to build a patio! Whether you have a spacious backyard or a compact outdoor space, a patio can be a wonderful addition to your home. It provides a dedicated area for relaxing, entertaining, and enjoying the outdoors. Plus, building your own patio allows you to customize it to suit your style and needs.
In this article, we will walk you through a step-by-step process of building a patio from scratch. We’ll cover everything from planning and design to the final finishing touches. So, roll up your sleeves, grab your tools, and let’s get started!
Before we dive into the nitty-gritty details, it’s important to have a clear vision of what you want your patio to look like. Consider the purpose of your patio – will it be primarily used for dining, lounging, or both? Do you envision a cozy, intimate space or a large, open area for entertaining? Think about the overall style and aesthetic you want to achieve.
Next, assess the available space in your backyard. Consider any natural features, such as trees or slopes, that could impact the design and layout of your patio. Measure the dimensions of the area to determine the size of the patio you want to build.
Once you have a clear idea of your goals and the available space, it’s time to move on to the planning and design phase. This involves sketching out a layout, selecting the materials, and deciding on specific features like seating areas, pathways, or built-in fire pits.
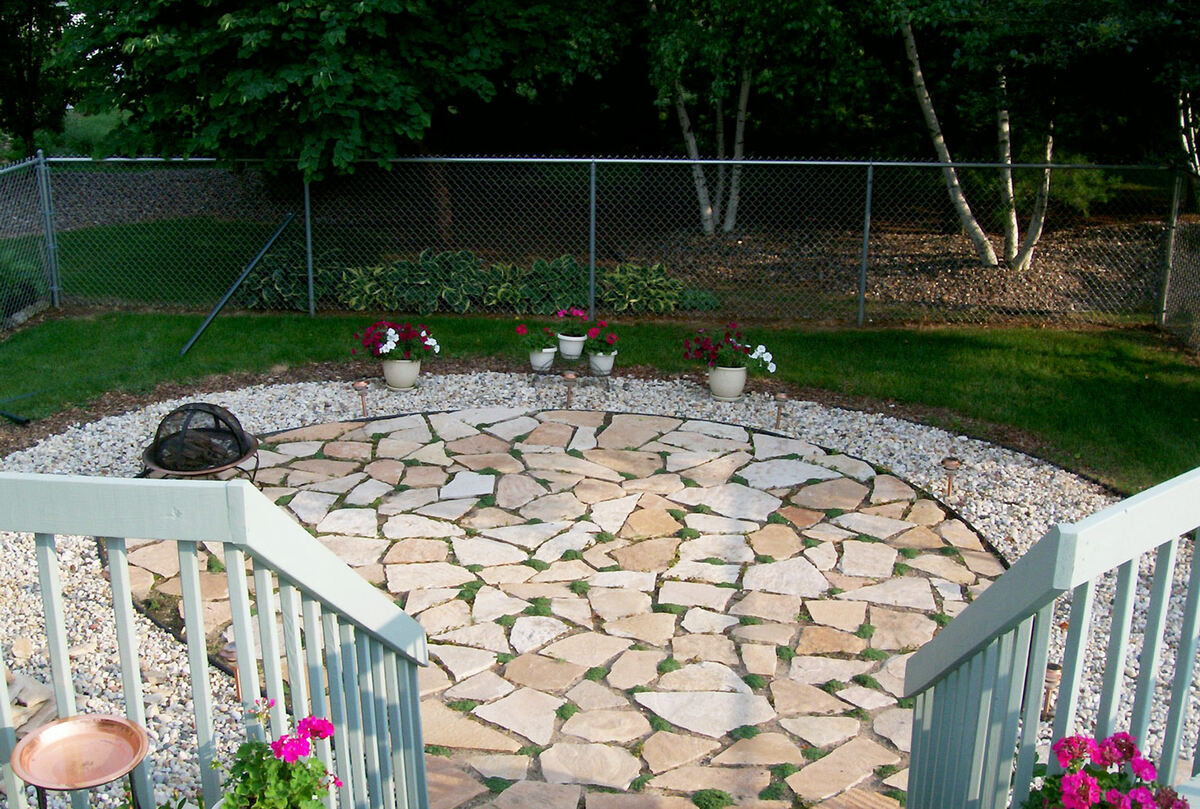
In terms of materials, there are various options to choose from. Some popular choices for patio surfaces include concrete pavers, natural stone, brick, or even wood decking. Each material has its own unique advantages and aesthetic appeal, so take your time to explore the options and choose what suits your style and budget.
During the planning phase, it’s also important to take into account any local building codes or regulations that may apply. Check with your local municipality to ensure that you are following the necessary guidelines and obtaining any required permits.
Now that you have the groundwork laid out, in the next section, we will move on to preparing the site for your patio construction. This involves clearing the area, leveling the ground, and ensuring proper drainage. So, let’s roll up our sleeves and get started on creating the outdoor retreat of your dreams!
Key Takeaways:
- Planning and designing your patio is crucial for creating a personalized outdoor space. Consider your goals, assess the space, and choose materials that suit your style and climate for a successful patio build.
- Building a patio involves careful site preparation, gathering the right materials and tools, and paying attention to details like leveling and joint filling. Adding finishing touches like furniture, plants, and lighting completes your outdoor retreat.
Read more: How To Build Patio Rugs
Step 1: Planning and Design
Planning and designing your patio is a crucial first step in the construction process. This is where you get to unleash your creativity and envision the perfect outdoor space for your home. Here are the key considerations for this stage:
- Set Your Goals: Determine the primary purposes of your patio. Do you want it to be a space for dining, lounging, or hosting gatherings? Clearly defining your goals will help inform the design and layout.
- Assess the Space: Take a close look at your backyard and consider its size, shape, and existing features. Note any potential challenges or opportunities that may impact the design process.
- Create a Layout: Sketch out a rough layout of your patio, keeping in mind the desired features and functionality. Consider the placement of seating areas, walkways, landscaping elements, and any other additions you have in mind.
- Select the Materials: Choose the materials that will best suit your design aesthetic and budget. Options include concrete pavers, natural stone, brick, or even wood decking. Research the pros and cons of each material to make an informed decision.
- Consider the Climate: Factor in your local climate when selecting materials and designing your patio. If you live in an area with harsh winters, for example, you may want to opt for materials that are durable and can withstand freezing temperatures.
- Add Personal Touches: Think about the style and vibe you want to create for your patio. Do you prefer a clean and modern look, or something more rustic and cozy? Consider incorporating personal touches like outdoor lighting, furniture, and decorative elements that reflect your unique taste.
- Seek Professional Help: If you are unsure about the design process or need assistance with complex features, consider consulting with a professional designer or landscaper. They can provide expert advice and help bring your vision to life.
Remember, the planning and design stage is your opportunity to think through every detail and ensure that your patio meets your specific needs and preferences. Once you have a clear vision, you can move on to the next step: site preparation.
Step 2: Site Preparation
With your patio design finalized, it’s time to prepare the site for construction. Proper site preparation is essential for a successful patio installation. Here’s what you need to do:
- Clear the Area: Start by clearing the area of any existing vegetation, debris, or obstacles. Remove any plants, rocks, or other objects that are in the way. Ensure that the area is clean and free of any obstructions.
- Mark the Boundaries: Use stakes and string to mark the boundaries of your patio. This will clearly define the area you’ll be working with and help you maintain straight lines during construction.
- Excavate the Ground: If your patio will be at ground level, dig down to a depth of about 6-8 inches. For raised patios, you may need to excavate deeper to accommodate the additional layers. Remove the soil and set it aside for later use.
- Level the Ground: Once the soil is removed, use a shovel and a long leveling board to ensure that the ground is level. This is crucial for proper drainage and the stability of your patio.
- Compact the Soil: Use a plate compactor or hand tamper to compact the soil, creating a solid base for your patio. This helps prevent shifting and settling over time.
- Install Edging: To contain the patio materials and create clean lines, install edging around the perimeter. This can be done using materials like plastic or metal landscape edging, paver restraints, or even treated lumber.
- Add a Geotextile Fabric: To further enhance stability and prevent weed growth, consider adding a layer of geotextile fabric over the excavated area. This will act as a barrier and provide a solid base for your patio materials.
- Check for Proper Drainage: Before proceeding, make sure that the area has proper drainage. Poor drainage can lead to water pooling and damage to your patio. If necessary, make adjustments to ensure water flows away from the patio area.
By following these site preparation steps, you’ll create a solid and stable foundation for your patio. Once the site is properly prepared, you can move on to the next step: gathering materials and tools.
Step 3: Gathering Materials and Tools
In order to build your patio, you’ll need to gather the necessary materials and tools. Being well-prepared will make the construction process much smoother. Here’s a list of the essentials:
Materials:
- Patio pavers, stones, or bricks
- Base material, such as gravel or sand
- Geotextile fabric
- Edging material
- Jointing sand or polymeric sand
- Landscape fabric (optional)
Read more: How To Build A Raised Patio
Tools:
- Shovel
- Rake
- Tape measure
- Level
- Plate compactor or hand tamper
- Masonry saw or circular saw with a masonry blade
- Chisel
- Rubber mallet
- Broom
- Safety glasses
- Gloves
When selecting your patio materials, consider factors such as durability, aesthetics, and cost. Choose materials that suit your design preferences and climate conditions. It’s a good idea to purchase extra materials to account for cutting and potential mistakes during installation.
Additionally, make sure to wear the necessary safety gear, such as safety glasses and gloves, to protect yourself during the construction process. Safety should always be a priority.
Before starting the construction, double-check that you have all the required tools and materials on hand. This will save you time and effort during the installation process. Now that you have your materials and tools ready, you’re ready to move on to the next step: installation of the foundation.
Step 4: Installation of Foundation
The foundation of your patio plays a crucial role in its long-term stability and durability. Follow these steps to properly install the foundation:
- Prepare the Base: Start by laying a layer of geotextile fabric over the prepared site. This fabric will prevent weed growth and help stabilize the base.
- Add the Base Material: Spread a layer of gravel or sand over the geotextile fabric. Use a rake to level the base material evenly.
- Compact the Base: Use a plate compactor or hand tamper to compact the base material. This will create a solid, stable foundation for the patio.
- Check for Levelness: Use a level to ensure that the base is level and even. Adjust as needed by adding or removing base material.
- Consider Slope for Drainage: It’s important to create a slight slope away from your house to ensure proper drainage. Aim for a slope of about 1/8 inch per linear foot.
- Double Check the Level: Recheck the levelness of the base after creating the slope. This step is crucial for proper water drainage and overall stability.
Properly preparing and leveling the foundation is vital to minimize issues such as uneven settling or water pooling. Take your time during this step to ensure that the base is solid and level.
After completing the foundation, you’re ready to move on to the next step: building the patio frame. Stay tuned for the instructions on frame construction and enjoy the process of creating your own outdoor sanctuary!
Step 5: Building the Patio Frame
Now that you have a solid foundation in place, it’s time to build the frame for your patio. The frame will serve as a guide for laying the patio materials. Follow these steps to construct the patio frame:
- Create the Border: Begin by placing edging material along the outer perimeter of the patio. The edging will help contain the patio materials within the designated area and provide a clean edge.
- Add Support Beams: Install support beams or stakes along the inner edge of the edging material. These beams will act as a guide for the height of the patio pavers and ensure a level installation.
- Check for Levelness: Use a level to ensure that the support beams are level with each other. Adjust the height of the beams as needed by adding or removing soil beneath them.
- Secure the Beams: Use stakes or screws to secure the support beams in place. This will prevent shifting or movement during the patio installation process.
- Add Additional Beams: Depending on the size of your patio, you may need to add additional support beams in the center of the patio area. This will provide extra stability and prevent sagging.
- Double Check the Levelness: Go over the support beams once again to ensure they are level. This step is crucial for achieving a flat and even patio surface.
By building a sturdy and level frame, you’ll ensure that your patio materials are installed correctly and will remain stable over time. It’s important to take your time during this step to guarantee a precise and accurate frame.
With the patio frame in place, you’re now ready to move on to the exciting step of laying the patio pavers. Stay tuned for the instructions on how to lay the pavers and bring your patio to life!
When building a patio, make sure to properly prepare the ground by leveling and compacting it to create a stable base for your patio pavers or stones. This will help prevent shifting and settling over time.
Step 6: Laying the Patio Pavers
Now comes the fun part – laying the patio pavers! This step will transform your patio from a mere frame into a beautiful and functional outdoor space. Follow these steps to lay the patio pavers:
- Start in a Corner: Begin laying the pavers in one corner of the patio area. This will serve as the starting point for the installation.
- Place the First Paver: Carefully place the first paver on the prepared base, snug against the support beams or edging material. Ensure that it is level with the surrounding area using a level.
- Continue Laying Pavers: Place the next paver tightly against the first one, maintaining a consistent gap between them. Continue laying the pavers in rows, working your way across the patio.
- Check for Levelness and Alignment: Regularly check the levelness and alignment of the pavers as you go. Adjust as needed by adding or removing base material beneath them.
- Use a Rubber Mallet: Gently tap each paver with a rubber mallet to ensure they are firmly set in place. This will help achieve a solid and stable patio surface.
- Fill in Gaps: Once all the full-size pavers are in place, assess any gaps that need filling. If required, cut smaller pavers to fit into these spaces using a masonry saw or circular saw with a masonry blade.
- Consider Patterns and Design: Get creative with the layout of your pavers. Explore different patterns, such as a traditional running bond or a herringbone pattern, to add visual interest to your patio.
- Regularly Step Back and Assess: Step back and take a look at your progress. Make any necessary adjustments to ensure the pavers are evenly spaced and aligned.
Take your time during the paver installation process to achieve a professional-looking patio. It’s important to maintain consistent gaps between pavers for proper drainage and allow room for jointing material.
With all the pavers in place, your patio is starting to come together. The next step is to fill the joints between the pavers to enhance stability and add a finished look. Keep reading to learn about the importance of filling the joints in step 7.
Read more: How To Build A Patio Waterfall
Step 7: Filling the Joints
Now that the patio pavers are laid, it’s time to fill the joints between them. This step serves multiple purposes, including enhancing stability, preventing weed growth, and giving your patio a finished appearance. Follow these steps to properly fill the joints:
- Clean the Surface: Before filling the joints, use a broom or leaf blower to remove any debris or loose particles from the surface of the patio. This will ensure better adhesion of the jointing material.
- Choose the Jointing Material: Select the appropriate jointing material based on your preferences and the type of patio pavers you have. Common options include jointing sand or polymeric sand.
- Apply the Jointing Material: Pour the jointing material over the entire patio surface. Use a broom or a brush to sweep the material into the joints, ensuring it fills the gaps completely.
- Compact the Material: After the joints are filled, use a plate compactor or hand tamper to gently compact the jointing material. This will help settle it into place and create a solid bond with the pavers.
- Remove Excess Material: Use the broom to sweep away the excess jointing material from the surface of the patio. Ensure that the joints are filled evenly and the surface appears smooth and finished.
- Mist the Patio: Lightly mist the patio surface with water to activate the jointing material. Follow the manufacturer’s instructions for the specific product you are using.
- Allow for Proper Drying: Give the jointing material sufficient time to dry and fully set. This may take a few hours or even a couple of days, depending on the type of material and the weather conditions.
Filling the joints not only provides structural integrity but also helps prevent weed growth and discourage the invasion of insects or pests. It’s an important step to ensure the long-term stability and aesthetics of your patio.
With the joints properly filled, your patio is almost complete. In the final step, we’ll add some finishing touches to truly transform your outdoor space. Read on to learn more about adding those final details in step 8.
Step 8: Adding Finishing Touches
Congratulations! You’re in the final stage of building your patio. Now it’s time to add the finishing touches that will truly make your outdoor space shine. Follow these steps to complete your patio:
- Clean the Patio: Thoroughly clean the entire patio surface, removing any dust, debris, or footprints. Use a broom, leaf blower, or a pressure washer for stubborn dirt or stains.
- Consider Sealing: Depending on the type of patio pavers or stones you’ve used, you may want to consider applying a sealer. A sealer can help protect the surface from stains, fading, and weather damage. Follow the manufacturer’s instructions for the specific sealer you choose.
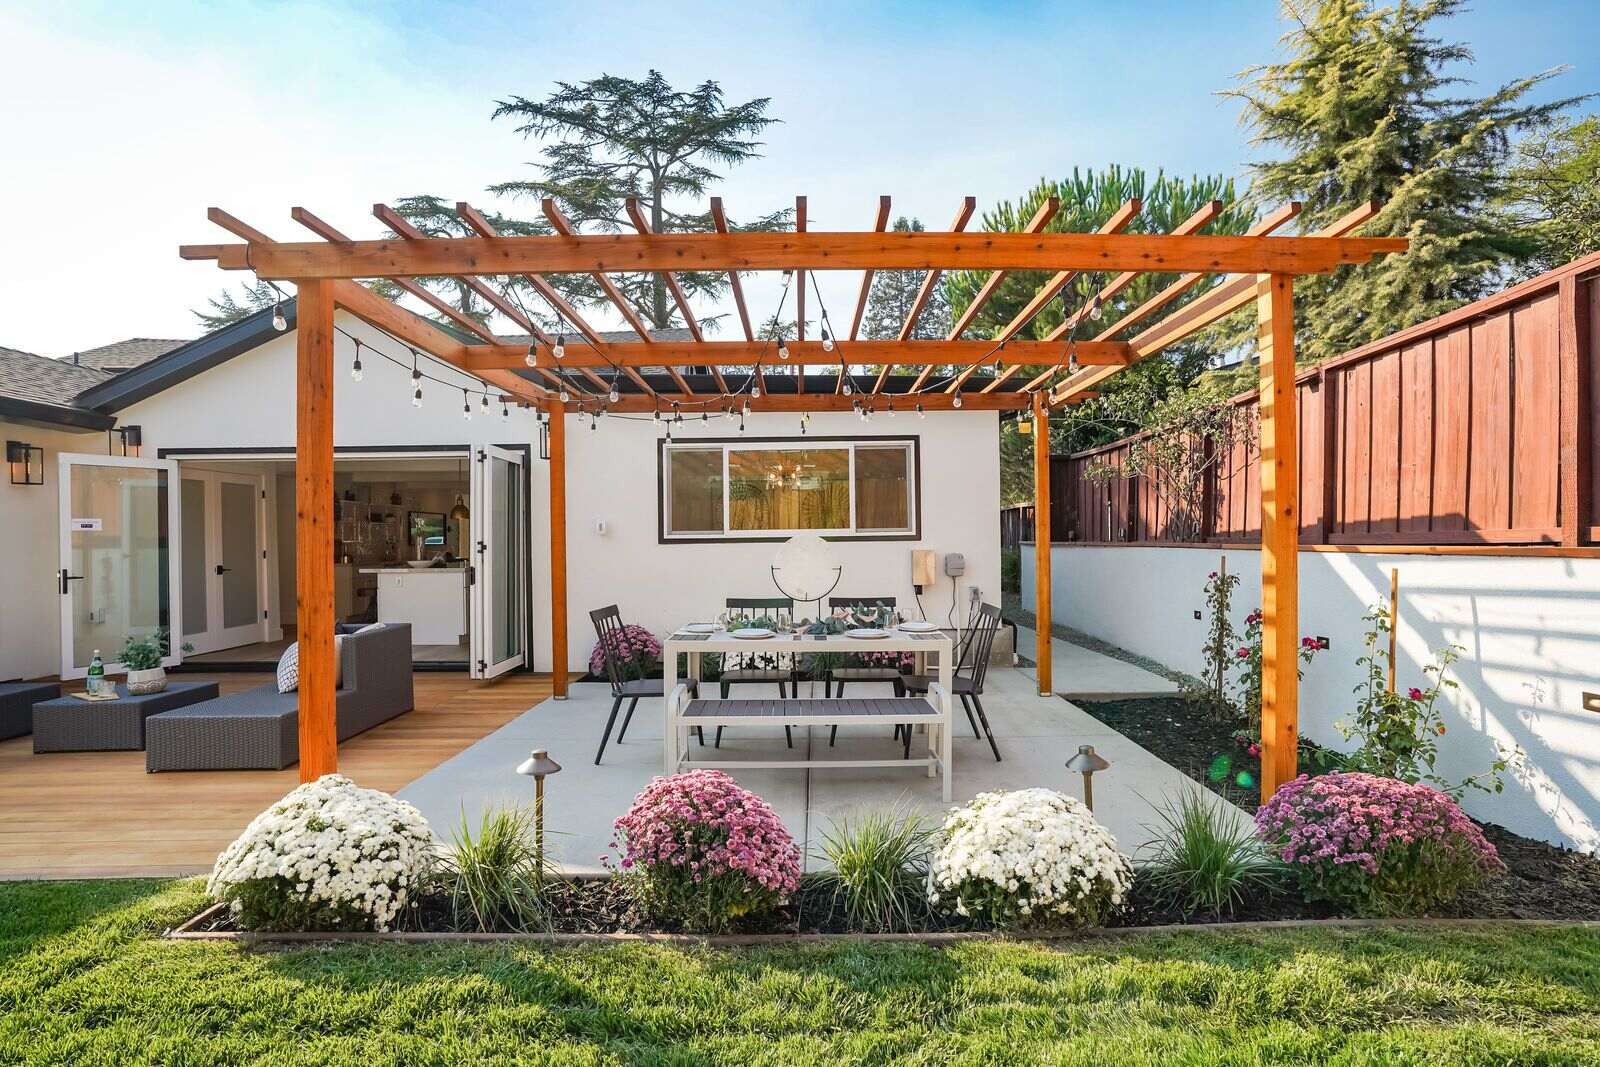
- Add Furniture and Accessories: Place outdoor furniture, such as tables, chairs, loungers, or a patio dining set, to create a comfortable and inviting seating area. Consider adding umbrellas, cushions, or other accessories that suit your style and needs.
- Integrate Planters and Greenery: Bring life and color to your patio by adding planters filled with flowers, shrubs, or small trees. Consider the lighting and sun exposure of your patio when selecting plants.
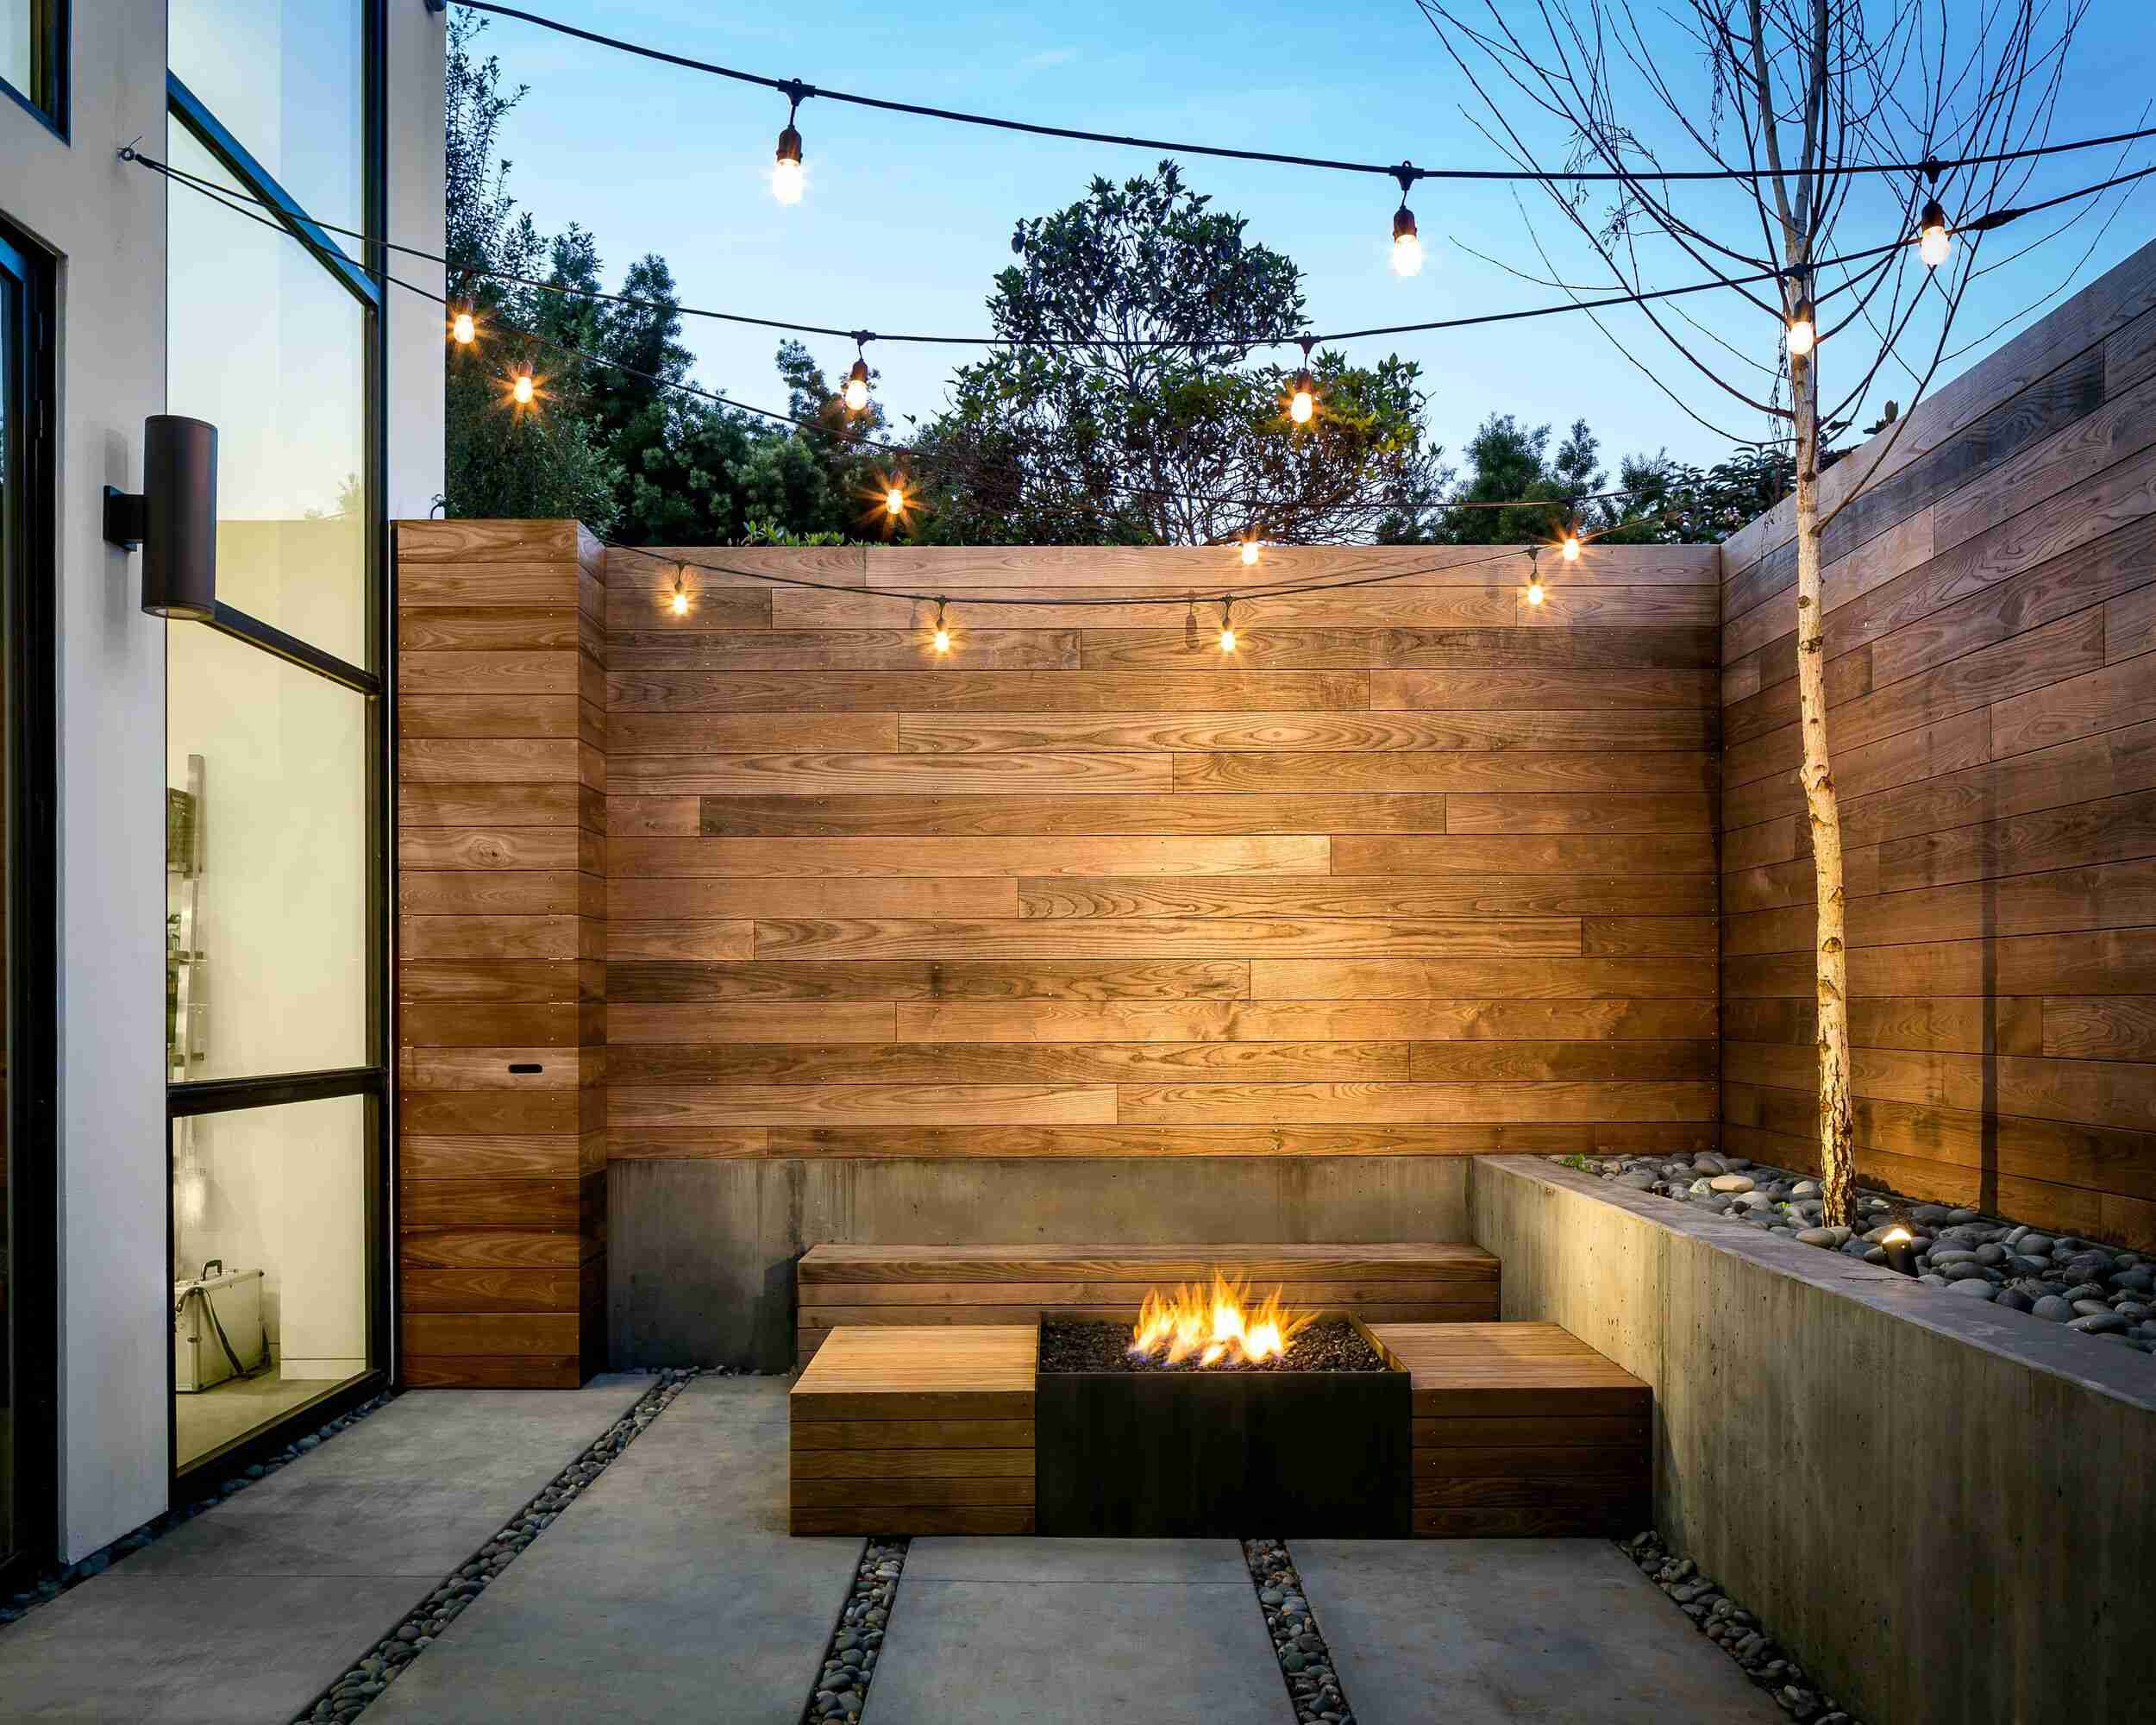
- Install Outdoor Lighting: Illuminate your patio for both ambiance and safety. Install outdoor light fixtures, string lights, or lanterns to create a warm and inviting atmosphere during evening gatherings.
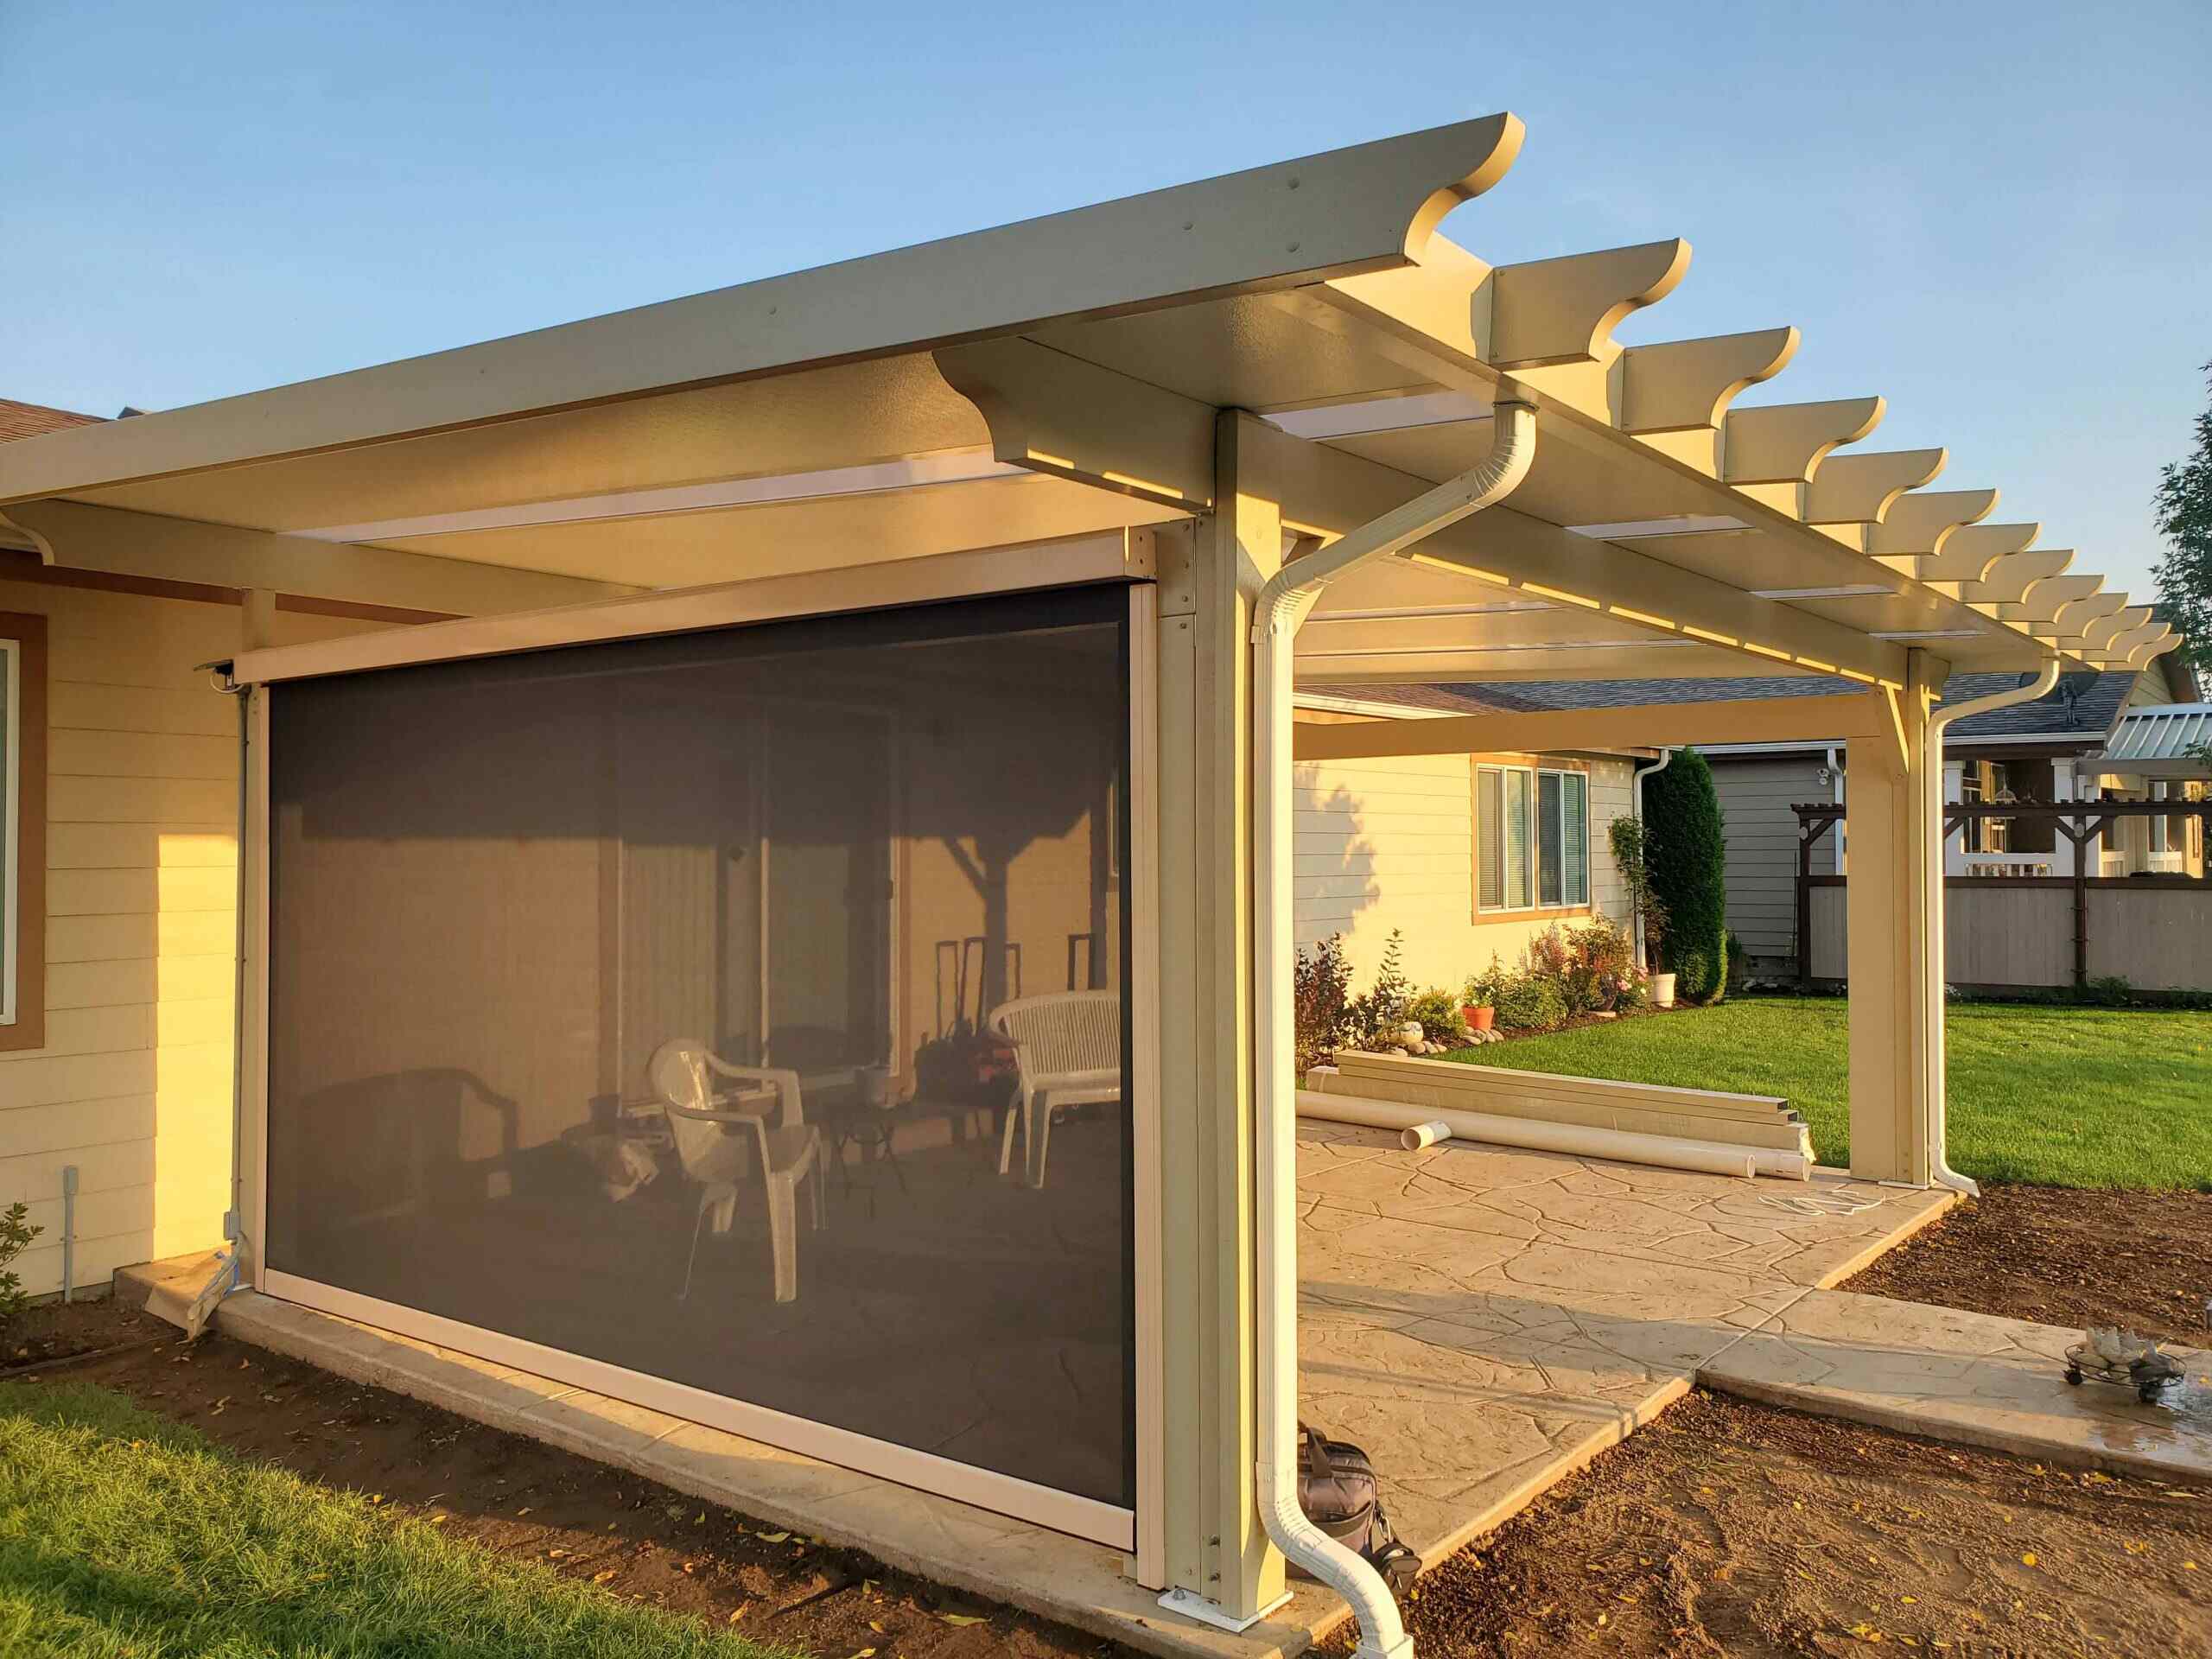
- Consider Privacy: If desired, add privacy screens, trellises, or tall hedges to create a more secluded and intimate patio space.
- Add Decorative Elements: Personalize your patio with decorative elements that reflect your style, such as outdoor rugs, artwork, sculptures, or water features.
- Regular Maintenance: Remember to maintain your patio by regularly sweeping or rinsing off debris, removing weeds or moss, and reapplying jointing material as needed.
With these finishing touches, your patio is complete and ready to be enjoyed! Gather friends and family, host outdoor gatherings, or simply relax and unwind in your new outdoor sanctuary.
Remember, a well-designed and constructed patio can greatly enhance your living space and provide countless moments of joy and relaxation. Enjoy your new outdoor retreat!
Conclusion
Congratulations on successfully building your patio! By following the step-by-step guide outlined in this article, you have created a beautiful and functional outdoor space that will provide endless enjoyment for years to come.
Throughout the process, you have learned the importance of careful planning and design, thorough site preparation, and gathering the right materials and tools. By following these steps, you have created a solid foundation and framework for your patio.
With the patio pavers laid and the joints filled, your outdoor space has transformed into a cozy retreat. Adding the finishing touches, such as furniture, plants, lighting, and personal touches, has given your patio a unique and inviting character.
Remember to regularly maintain your patio by cleaning, sealing, and tending to any necessary repairs. This will ensure its longevity and keep it looking its best.
Whether you use your patio for dining alfresco, hosting gatherings, or simply relaxing with a book and a cup of coffee, it is sure to become a favorite spot in your home. Enjoy the fresh air, sunshine, and the serenity that your newly-built patio offers.
As you continue to enjoy your patio, don’t be afraid to make changes or upgrades in the future. Your outdoor space is a blank canvas that you can continually personalize and evolve as your tastes and needs change.
Thank you for following this comprehensive guide on how to build a patio. We hope it has empowered you to create an outdoor sanctuary that brings you joy and enhances your connection with nature.
Now, go out and relish in the beauty of your own backyard oasis!
Frequently Asked Questions about How To Build Patio
Was this page helpful?
At Storables.com, we guarantee accurate and reliable information. Our content, validated by Expert Board Contributors, is crafted following stringent Editorial Policies. We're committed to providing you with well-researched, expert-backed insights for all your informational needs.


0 thoughts on “How To Build Patio”