Home>Furniture>Outdoor Furniture>How To Drain A Patio
Outdoor Furniture
How To Drain A Patio
Modified: August 28, 2024
Learn how to easily drain your patio to prevent water damage to your outdoor furniture with our step-by-step guide. Keep your patio looking great for years to come!
(Many of the links in this article redirect to a specific reviewed product. Your purchase of these products through affiliate links helps to generate commission for Storables.com, at no extra cost. Learn more)
Introduction
Welcome to the world of outdoor living! Whether you have a spacious backyard, a cozy balcony, or a charming patio, having outdoor furniture can transform any outdoor space into a sanctuary for relaxation and entertainment. However, maintaining the quality and longevity of your outdoor furniture requires regular care and maintenance.
One essential aspect of outdoor furniture maintenance is cleaning and draining your patio. Over time, debris and water can accumulate on your patio, causing potential damage and hindering its functionality. Draining your patio ensures that water is properly redirected, preventing pooling and potential damage to your furniture.
In this article, we will guide you through the process of draining your patio, step by step. We will provide you with valuable tips, techniques, and insights to ensure that your outdoor space remains clean, dry, and ready for enjoyment.
Key Takeaways:
- Regularly draining your patio prevents water damage and maintains outdoor furniture longevity. Follow the steps to clear blockages and ensure proper water drainage for a functional and appealing outdoor space.
- Gather tools, clear debris, locate and clear the drain, and inspect the pipe for damage. Replacing the drain cover completes the process, preserving the charm of your outdoor oasis.
Tools and Materials Needed
Before you begin draining your patio, gather the necessary tools and materials to make the process smooth and efficient. Here is a list of items you will need:
- Bucket or large container
- Broom or leaf blower
- Garden hose
- Drain snake
- Screwdriver or wrench (depending on the type of drain)
- New drain cover (if needed)
- Gloves
- Protective eyewear
Having these tools and materials ready will ensure that you can tackle the draining process with ease and efficiency.
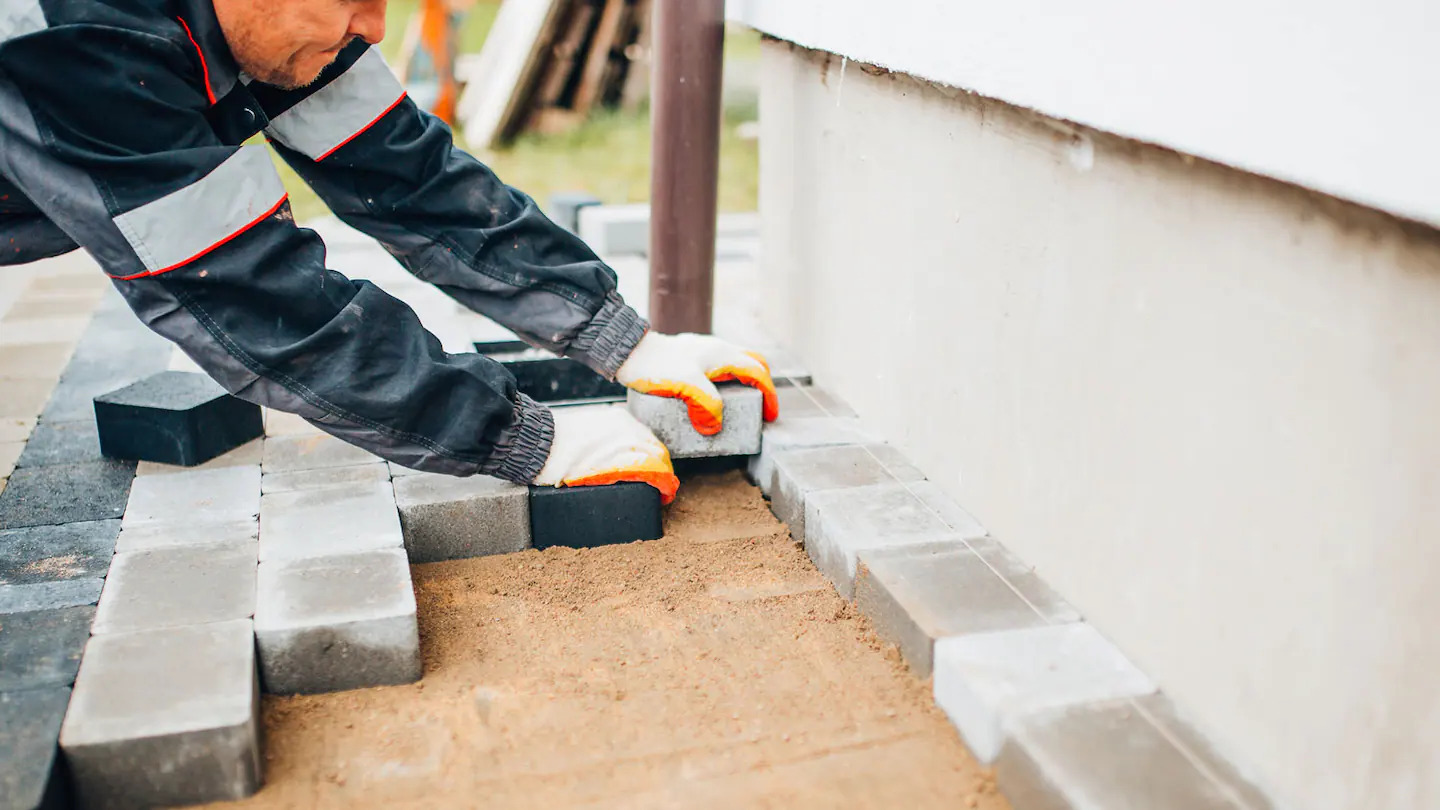
Step 1: Clearing the Patio
Before you can begin the draining process, it’s essential to clear your patio of any debris or items that may obstruct the drainage. Here’s how:
- Remove any outdoor furniture, planters, or decorative items from the patio. Clearing the area will give you ample space to work and prevent any potential damage to your belongings.
- Use a broom or a leaf blower to sweep away leaves, dirt, and debris from the surface of the patio. Make sure to also clear any debris from the surrounding area to prevent it from getting into the drain.
- Inspect the patio for any cracks or damage that may interfere with drainage. If you notice any issues, consider repairing them before proceeding.
Clearing the patio allows you to have a clean and unobstructed surface to work on, ensuring the effectiveness of the draining process.
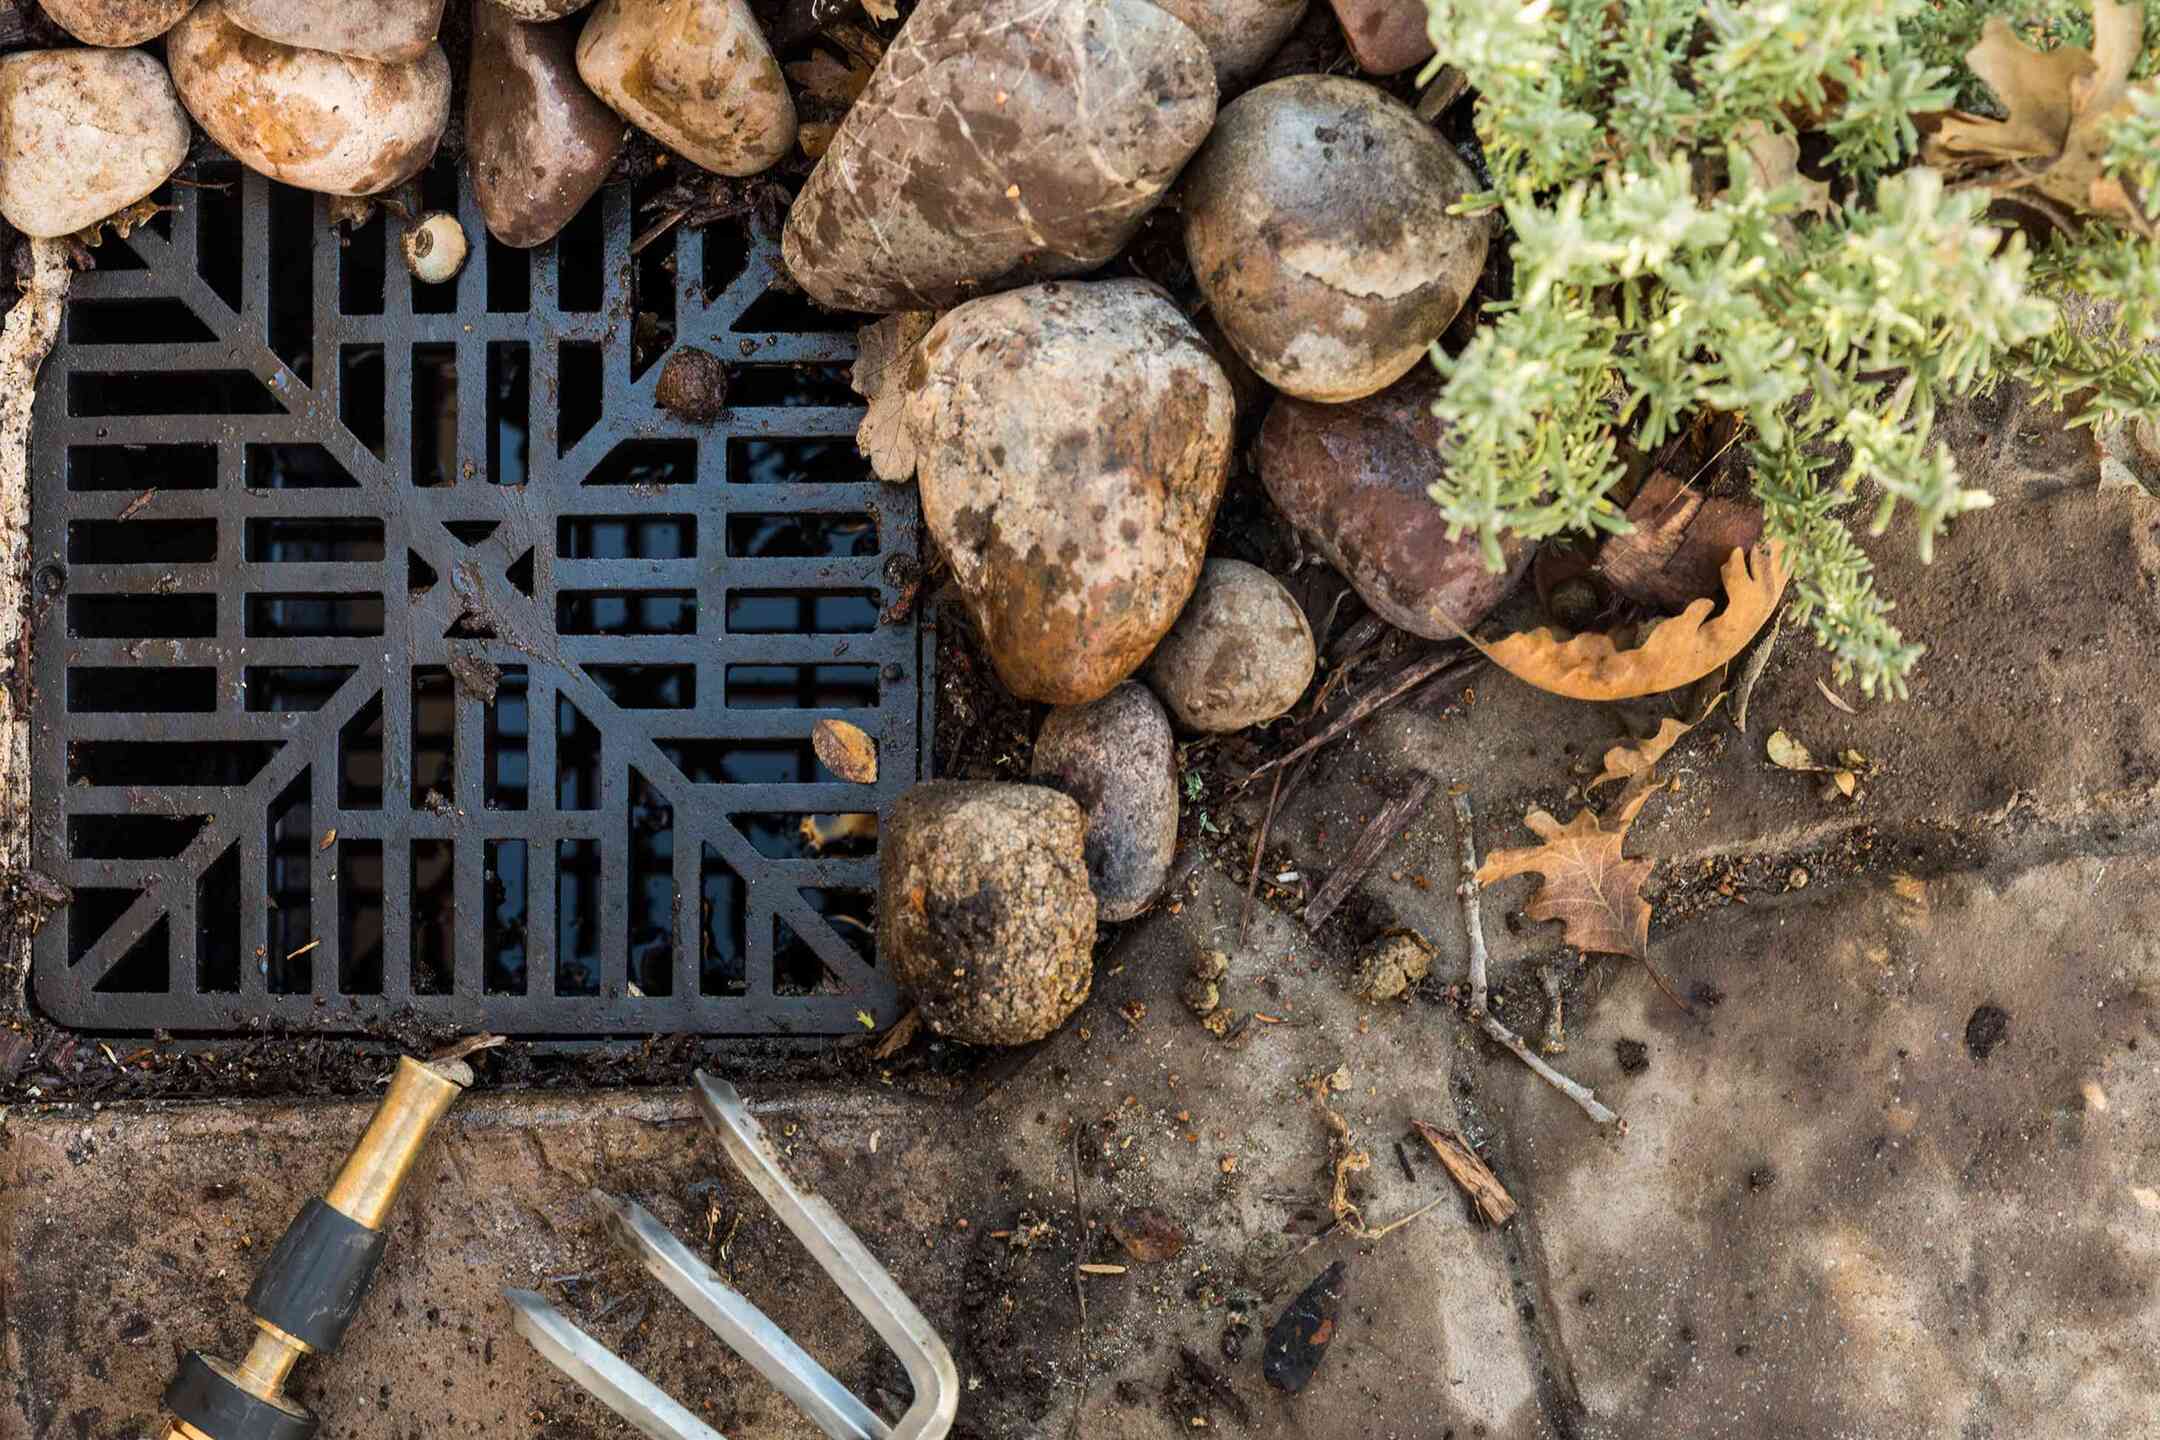
Step 2: Locating the Drain
Locating the drain is crucial for effectively draining your patio. Most patios have a drain installed to facilitate water removal. Follow these steps to find the drain:
- Look for a grated or covered opening on your patio surface. This is usually the indication of a drain.
- If you cannot locate the drain visually, refer to the patio’s construction plans or consult a professional for assistance.
- If you are still unable to find the drain, try pouring water onto various areas of the patio and observe where it collects. The lowest point of collection is likely where the drain is located.
Once you have located the drain, you can proceed to the next step of removing the drain cover.
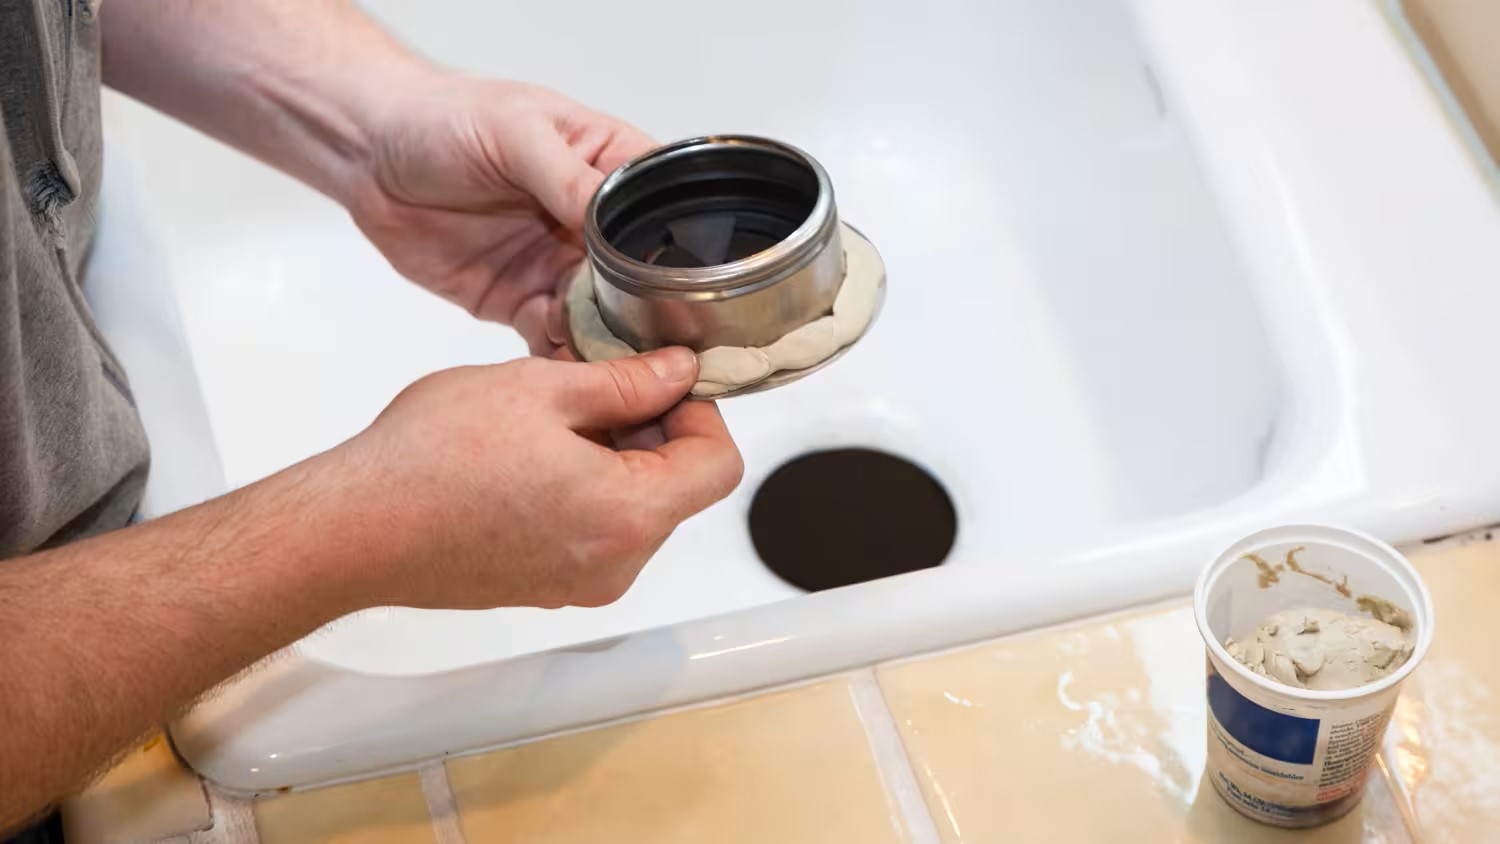
Step 3: Removing the Drain Cover
Now that you have located the drain, it’s time to remove the drain cover. Follow these steps to safely and effectively remove it:
- Use a screwdriver or wrench, depending on the type of drain cover, to loosen and remove any screws or bolts securing the cover in place.
- If the drain cover does not have any screws or bolts, use a flathead screwdriver or a similar tool to pry it off gently. Be careful not to damage the cover or the surrounding area.
- Set aside the removed drain cover in a safe location, as you may need to replace it later.
Removing the drain cover allows you to access the drain pipe and effectively clear any blockages that may be hindering proper drainage.
To drain a patio, create a slight slope away from your house using a level and a slope guide. Install a French drain or a trench drain to direct water away from the patio. Regularly clean and maintain the drainage system to prevent clogs.
Read more: How To Drain Washer
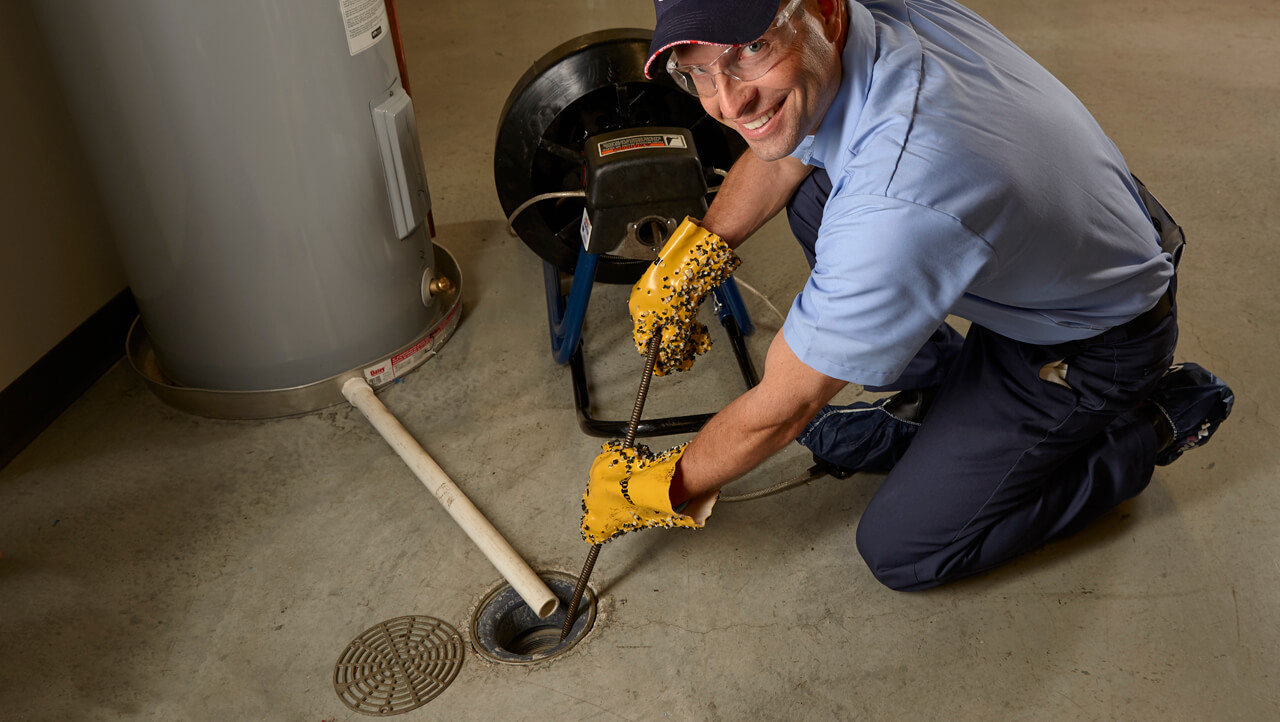
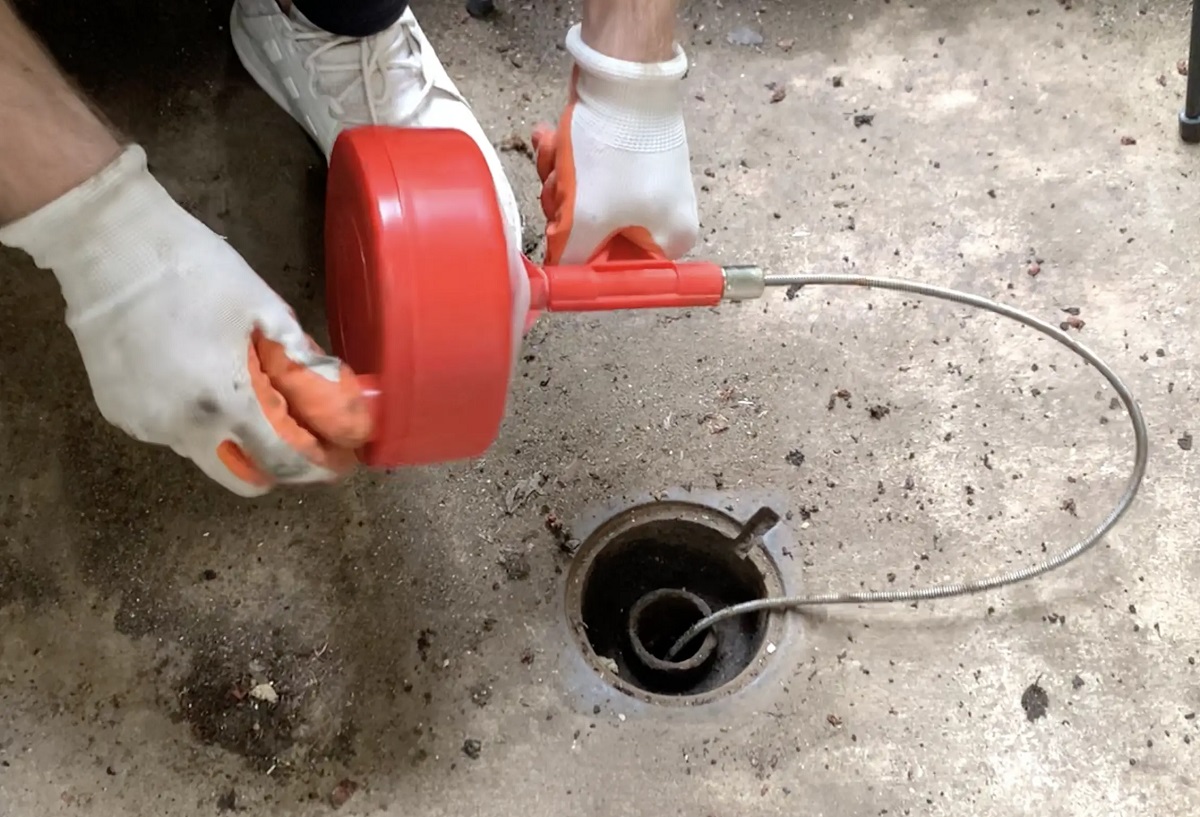
Step 4: Using a Drain Snake
Now that you have removed the drain cover, it’s time to use a drain snake to clear any clogs or obstructions in the drain pipe. Follow these steps:
- Insert the tip of the drain snake into the drain pipe and slowly push it further, ensuring that it goes as far as possible.
- Rotate the handle of the drain snake in a clockwise motion as you push it into the pipe. This action helps break up and dislodge any debris or clogs.
- If you encounter resistance or feel that the drain snake is hitting a blockage, twist it back and forth or gently push and pull to help dislodge the obstruction.
- Continue to feed the drain snake into the pipe until you have cleared the entire length of the drain. Be patient and take your time to ensure a thorough cleaning.
- Once you have finished clearing the drain, carefully retract the drain snake from the pipe.
Using a drain snake effectively removes any clogs and ensures smooth water flow through the drain pipe.
Step 5: Flushing with Water
After using a drain snake to clear any blockages, it’s important to flush the drain with water to ensure proper drainage. Follow these steps:
- Connect a garden hose to a nearby water source, ensuring that it is securely attached.
- Position the end of the garden hose into the open drain pipe.
- Turn on the water source, allowing a steady flow of water to pass into the drain pipe.
- Allow the water to flow through the drain pipe for a few minutes. This will help flush out any remaining debris or residue.
- Observe the water flow. If the water drains smoothly without any pooling or backup, it indicates that the drain is clear.
Flushing the drain with water helps ensure that any loosened debris or remaining blockages are completely removed, allowing for optimal drainage.
Step 6: Inspecting the Drain Pipe
Once you have flushed the drain with water, it’s important to inspect the drain pipe to ensure that it is in good condition. Follow these steps:
- Using a flashlight, shine the light into the drain pipe and examine its interior. Look for any signs of damage, such as cracks or corrosion.
- If you notice any damage, consider consulting a professional plumber to assess the extent of the issue and recommend appropriate repairs.
- Additionally, check for any remaining debris or blockages that may be obstructing the drain pipe.
- If you do find debris or blockages, use a brush or a hose with high-pressure water to remove them. Be careful not to damage the drain pipe during this process.
Inspecting the drain pipe allows you to identify and address any potential issues that may affect the proper functioning of the drain.
Step 7: Replacing the Drain Cover
After completing the necessary cleaning and inspection, it’s time to replace the drain cover. Follow these steps:
- Ensure that the drain pipe is free of any remaining debris or water.
- Place the new drain cover over the opening of the drain pipe.
- Align the screw holes or slots on the drain cover with the corresponding openings on the drain pipe.
- Insert and tighten the screws or bolts to secure the drain cover in place. Use a screwdriver or wrench, if necessary.
- Make sure the drain cover is snug and properly aligned with the surrounding patio surface.
Replacing the drain cover not only provides a finished and visually appealing look to your patio but also acts as a protective barrier to prevent debris from entering the drain pipe in the future.
Read more: How To Vent A Bathtub Drain
Conclusion
Draining your patio is an essential part of outdoor furniture maintenance. By following the steps outlined in this guide, you can effectively clear any blockages and ensure proper water drainage. Regularly draining your patio not only prevents water pooling and potential damage to your outdoor furniture but also helps maintain the overall condition and longevity of your outdoor space.
Remember to gather the necessary tools and materials before starting the draining process. Clear the patio of any debris, locate the drain, and remove the drain cover. Use a drain snake to clear any clogs and flush the drain with water for a thorough cleaning. Inspect the drain pipe for any damage and replace the drain cover to complete the process.
By incorporating these steps into your outdoor furniture maintenance routine, you can enjoy a clean, dry, and functional patio for years to come. Regular maintenance will not only enhance the lifespan of your furniture but also contribute to the overall beauty and appeal of your outdoor living space. So, take the time to drain your patio and preserve the charm of your outdoor oasis.
Frequently Asked Questions about How To Drain A Patio
Was this page helpful?
At Storables.com, we guarantee accurate and reliable information. Our content, validated by Expert Board Contributors, is crafted following stringent Editorial Policies. We're committed to providing you with well-researched, expert-backed insights for all your informational needs.


0 thoughts on “How To Drain A Patio”