Home>Furniture>Outdoor Furniture>How To Repair Wheels On A Patio Screen Door
Outdoor Furniture
How To Repair Wheels On A Patio Screen Door
Modified: October 23, 2024
Learn how to repair the wheels on your patio screen door to keep your outdoor furniture functioning smoothly.
(Many of the links in this article redirect to a specific reviewed product. Your purchase of these products through affiliate links helps to generate commission for Storables.com, at no extra cost. Learn more)
Introduction
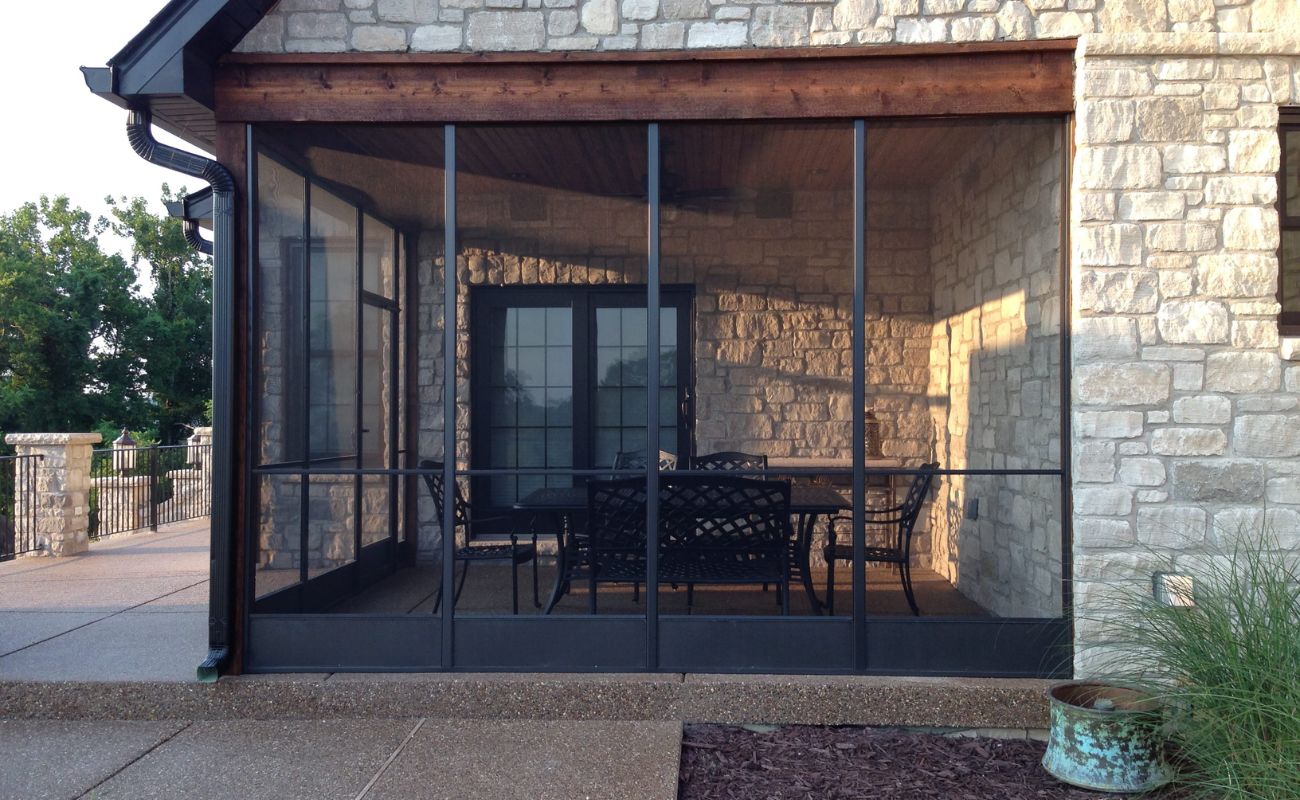
Welcome to our comprehensive guide on how to repair the wheels on a patio screen door. If you’re experiencing difficulty in opening or closing your patio screen door, it’s possible that the wheels are damaged or worn out. Fortunately, replacing the wheels on a patio screen door is a relatively simple DIY project that can save you both time and money.
In this article, we will provide you with step-by-step instructions on how to repair the wheels on your patio screen door, ensuring smooth and effortless operation. But before we dive into the details, let’s take a look at the tools and materials you’ll need for this project.
Key Takeaways:
- Easily repair patio screen door wheels with basic tools and a replacement wheel. Follow step-by-step instructions to remove, inspect, replace, and test the new wheel for smooth operation.
- Regular maintenance and prompt repair of damaged wheels can extend the lifespan of your patio screen door, ensuring smooth and effortless functionality for your outdoor space.
Read more: How To Replace A Screen Patio Door
Tools and Materials Needed
Before you begin repairing the wheels on your patio screen door, make sure you have the following tools and materials:
- Phillips screwdriver
- Flathead screwdriver
- Adjustable wrench
- Tape measure
- Patio screen door replacement wheel
- Pliers
- Lubricant (such as WD-40)
- Clean cloth or rag
Having these tools and materials readily available will ensure a smooth and efficient repair process. Now that you’re equipped with everything you need, let’s move on to the step-by-step instructions for repairing the wheels on your patio screen door.
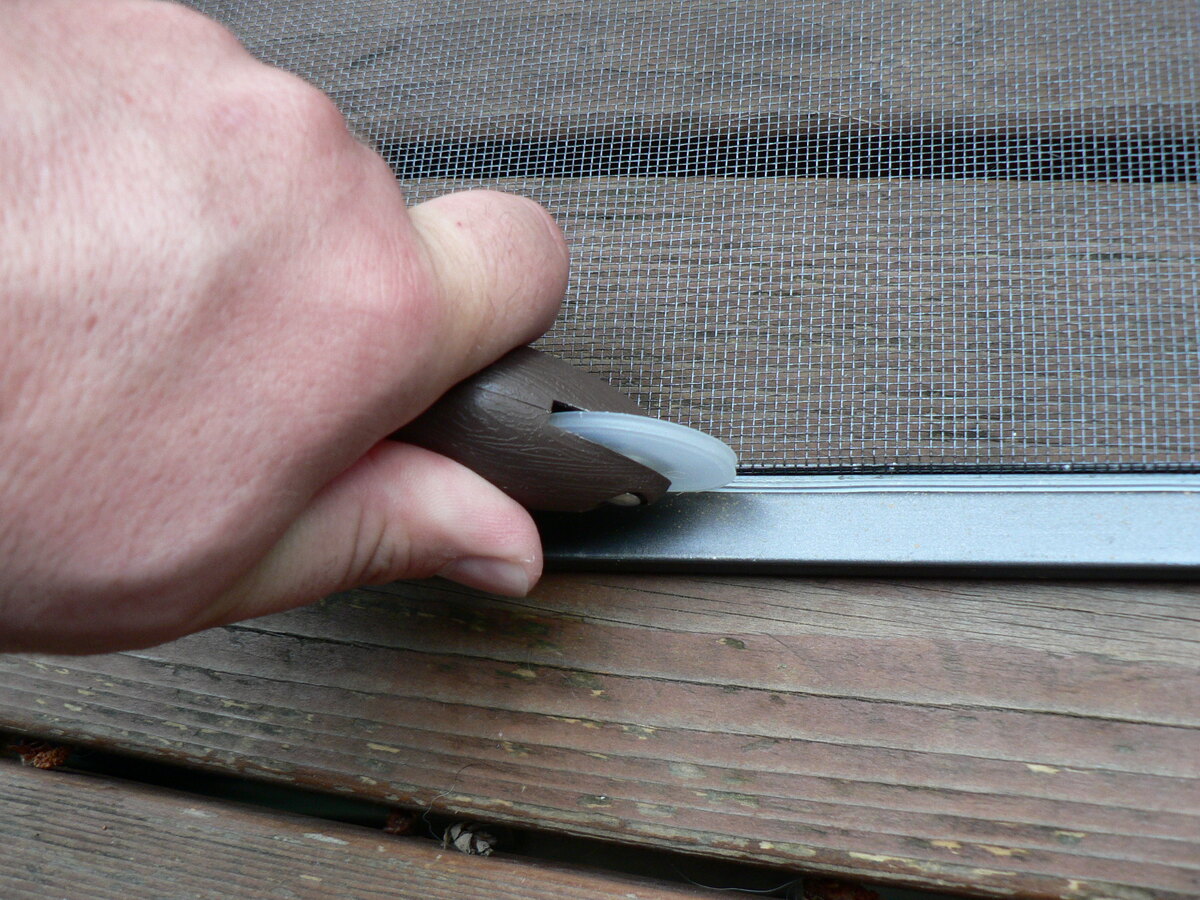
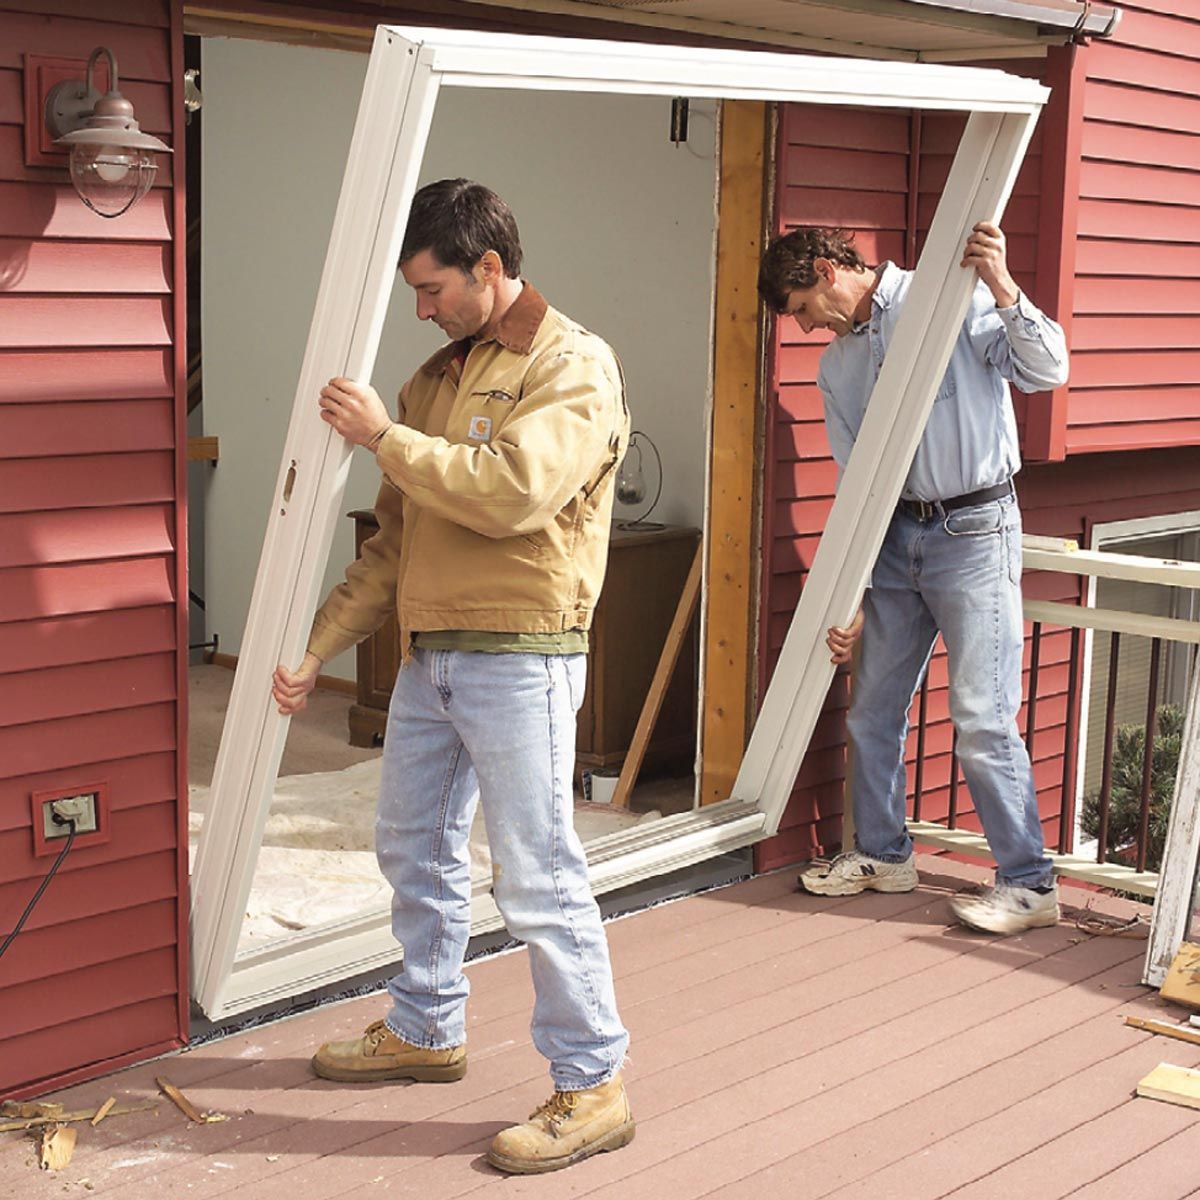
Step 1: Remove the Patio Screen Door
The first step in repairing the wheels on your patio screen door is to remove the door from its frame. This will give you better access to the wheels and make the repair process much easier. Follow these steps to safely remove the patio screen door:
- Open the patio screen door fully and use a support block or a helper to hold it in place.
- Locate the screws on the top and bottom of the screen door frame that secure the door in place. These screws are usually located near the outer edges of the door.
- Using a Phillips screwdriver or a drill with the appropriate bit, carefully remove the screws from both the top and bottom of the door.
- Once the screws are removed, gently tilt the top of the door towards you while keeping the bottom of the door in place.
- Lift the door upwards to release it from the bottom track and remove it from the frame.
Be cautious when removing the patio screen door to avoid any damage to the door or yourself. If the door is heavy or difficult to handle, consider asking for assistance from a friend or family member. With the patio screen door removed, you can now proceed to the next step: inspecting the wheels for damage.
Step 2: Inspect the Wheels for Damage
After removing the patio screen door, it’s important to inspect the existing wheels for any signs of damage or wear. This will help determine if the wheels need to be replaced or if they can be repaired.
- Place the patio screen door on a flat surface that allows easy access to the wheels.
- Examine the wheels closely for any cracks, breaks, or missing parts. Pay attention to the condition of the wheel housing and the axle as well.
- If the wheels appear to be in good condition without any visible damage, you may be able to repair them by cleaning and lubricating them. Skip to Step 4 for instructions on repairing the wheels.
- If the wheels are damaged or worn beyond repair, you will likely need to replace them. Proceed to Step 3 for guidance on how to remove the damaged wheel and purchase a replacement.
By thoroughly inspecting the wheels, you can make an informed decision on whether to repair or replace them. Remember, a well-functioning wheel is crucial for smooth and effortless operation of your patio screen door. In the next step, we will discuss how to remove the damaged wheel and acquire a suitable replacement.
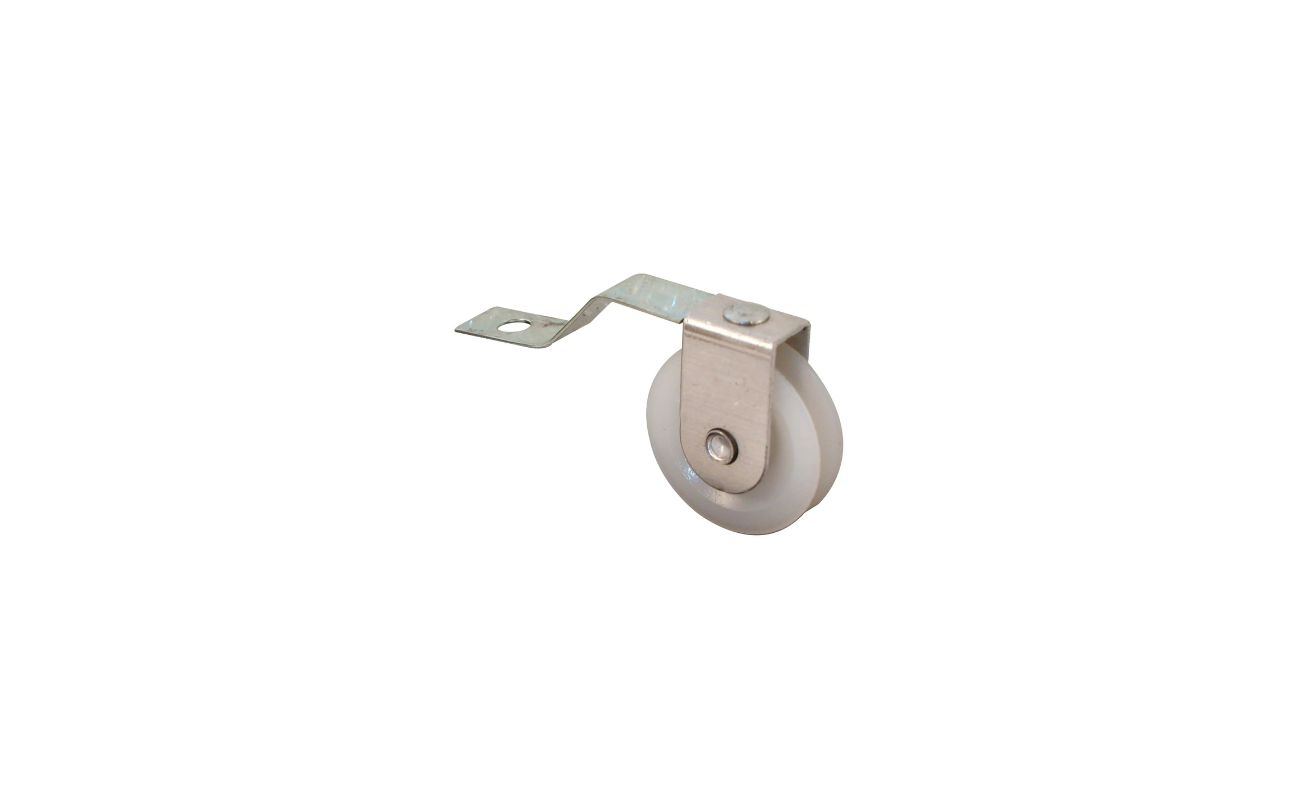
Step 3: Remove the Damaged Wheel
If you’ve determined that the wheels on your patio screen door need to be replaced, it’s time to remove the damaged wheel. Follow these steps to safely remove the wheel:
- Turn the patio screen door upside down to access the bottom side where the wheels are located.
- Inspect the wheel assembly and locate the screws or clips that secure the wheel to the door frame. Depending on the design of your door, you may need a flathead screwdriver, pliers, or an adjustable wrench to remove the fasteners.
- Using the appropriate tool, carefully remove the screws or clips that hold the wheel assembly in place.
- Gently pull the wheel assembly out of the door frame. If necessary, use pliers to help loosen and remove the wheel.
- Set the damaged wheel aside to discard or examine for possible repair.
Removing the damaged wheel is a crucial step in the repair process. Be cautious when handling the door and the wheel assembly to prevent any further damage. Once the damaged wheel is removed, it’s time to purchase a replacement wheel, which we will discuss in the next step.
To repair wheels on a patio screen door, start by removing the door and inspecting the wheels for damage. If they are worn or broken, replace them with new ones. Make sure to lubricate the wheels and track to ensure smooth operation.
Read more: How To Adjust A Patio Screen Door
Step 4: Purchase a Replacement Wheel
Now that you’ve removed the damaged wheel from your patio screen door, it’s time to purchase a suitable replacement. Here’s how you can find and purchase the right replacement wheel:
- Measure the dimensions of the removed wheel to ensure you get the correct size replacement. Take note of the wheel’s diameter, width, and axle size.
- Visit a local home improvement store or search online for patio screen door replacement wheels. Make sure to have your measurements on hand to find the appropriate wheel size.
- Consider the material and quality of the replacement wheel. Look for durable materials such as nylon or stainless steel that can withstand outdoor conditions.
- Check customer reviews or ask for recommendations to ensure you’re purchasing a high-quality replacement wheel that will last.
- Purchase the replacement wheel that matches your measurements and preferences. If possible, buy an extra set of wheels to have as spares in case of future damage or wear.
By taking the time to find the right replacement wheel, you can ensure that your patio screen door will function smoothly and remain durable in the long run. With the replacement wheel in hand, let’s move on to the next step: installing the new wheel.
Step 5: Install the New Wheel
Now that you have acquired a suitable replacement wheel for your patio screen door, it’s time to install it. Follow these step-by-step instructions to properly install the new wheel:
- Align the new wheel with the wheel housing on the bottom of the door frame. Make sure the axle fits securely into the housing.
- If necessary, apply a small amount of lubricant to the axle and wheel housing to ensure smooth movement.
- Insert the new wheel assembly into the door frame, sliding it into place until it is securely seated.
- Use the screws or clips that came with the replacement wheel to fasten it to the door frame. Tighten them securely, but be careful not to overtighten and strip the screws.
- Double-check that the new wheel is properly installed and securely attached to the door frame.
By following these steps, you can successfully install the new wheel on your patio screen door. Once the new wheel is securely in place, it’s time to move on to the final step: testing the patio screen door to ensure smooth operation.
Step 6: Test the Patio Screen Door
After replacing the wheel on your patio screen door, it’s important to test it to ensure it operates smoothly. Follow these steps to test the functionality of your patio screen door:
- Carefully lift the patio screen door and place it back into the door frame. Ensure that the wheels are properly aligned with the bottom track.
- Release the door slowly and let it slide along the track. Pay attention to how smoothly it moves.
- Open and close the door several times to test its overall functionality. Check if it glides effortlessly and without any obstructions or sticking points.
- If you encounter any issues during the testing process, such as difficulty in sliding or excessive noise, double-check the wheel alignment and the tightness of the screws or clips.
- Apply a lubricant, such as WD-40, to the wheels and track if necessary, to ensure smooth operation.
Once you are satisfied with the performance of your patio screen door, you can consider the repair process complete. Congratulations on successfully repairing the wheels on your patio screen door!
Remember, regular maintenance and cleaning can help prolong the lifespan of your patio screen door and its wheels. Keep an eye out for any signs of wear or damage, and address them promptly to prevent further issues.
Thank you for following our step-by-step guide on how to repair the wheels on a patio screen door. We hope this article has been helpful in restoring the functionality of your door. Enjoy the smooth operation of your patio screen door and the enhanced usability it provides!
Conclusion
Repairing the wheels on a patio screen door is a practical DIY project that can greatly improve the functionality and convenience of your outdoor space. By following the step-by-step instructions outlined in this guide, you can easily replace damaged or worn-out wheels and restore smooth operation to your patio screen door.
Remember to start by removing the patio screen door from its frame and carefully inspecting the wheels for any damage or wear. If the wheels are in good condition, you can clean and lubricate them to optimize their performance. However, if the wheels are beyond repair, it’s important to purchase suitable replacements based on the measurements of the old wheels.
With the new wheels in hand, the installation process is relatively straightforward. Ensuring a proper fit and securely fastening the replacement wheels will ensure a durable and long-lasting repair. Before concluding the project, don’t forget to thoroughly test the patio screen door to ensure it slides smoothly and without any hitches.
Regular maintenance, such as periodic lubrication and cleaning, will help extend the life of your patio screen door and maintain its optimal functionality. Be sure to inspect the wheels and other components regularly for any signs of wear or damage, addressing them promptly to avoid further issues.
We hope this comprehensive guide has provided you with the necessary information and guidance to successfully repair the wheels on your patio screen door. Enjoy the ease and convenience of a fully functional patio screen door, allowing you to fully enjoy your outdoor space.
Happy repairing!
Frequently Asked Questions about How To Repair Wheels On A Patio Screen Door
Was this page helpful?
At Storables.com, we guarantee accurate and reliable information. Our content, validated by Expert Board Contributors, is crafted following stringent Editorial Policies. We're committed to providing you with well-researched, expert-backed insights for all your informational needs.

0 thoughts on “How To Repair Wheels On A Patio Screen Door”