Home>Articles>How To Repair Or Replace A Window Or Door Screen

Articles
How To Repair Or Replace A Window Or Door Screen
Modified: December 7, 2023
Learn how to repair or replace window or door screens with these helpful articles. Find expert tips and step-by-step instructions to get the job done right.
(Many of the links in this article redirect to a specific reviewed product. Your purchase of these products through affiliate links helps to generate commission for Storables.com, at no extra cost. Learn more)
Introduction
Welcome to the ultimate guide on how to repair or replace a window or door screen! If you’ve ever experienced a torn or damaged screen, you know how frustrating it can be. Not only does it detract from the appearance of your window or door, but it also allows insects and debris to enter your home.
But fear not! With a little bit of effort and the right tools, you can easily repair or replace your window or door screen and restore its functionality and beauty. In this article, we’ll walk you through the step-by-step process, providing you with all the information you need to successfully complete the project.
Before we begin, it’s important to note that repairing or replacing a screen requires some basic tools and materials. Don’t worry; you probably already have most of these items in your toolbox. If not, they are readily available at your local hardware store.
Now, let’s dive into the world of screen repairs and replacements and learn how to restore your screens in no time!
Key Takeaways:
- Easily repair or replace window or door screens with basic tools and materials, restoring functionality and aesthetics while keeping insects and debris out of your home.
- Thoroughly test your repaired or replaced screen to ensure proper functionality, addressing any issues before considering the project complete and enjoying the improved appearance and functionality.
Read more: How To Replace A Screen Patio Door
Step 1: Gather the necessary tools and materials
Before you start repairing or replacing your window or door screen, it’s essential to gather all the required tools and materials. Having everything on hand will ensure a smooth and efficient process. Here’s a list of what you’ll need:
- Replacement screen material: Measure the dimensions of your existing screen or the frame where the screen will be installed, and purchase a roll of screen material of the appropriate size. You can choose from various materials such as fiberglass, aluminum, or polyester.
- Screen installation tool: This handy tool makes installing the screen material easier and helps secure it in place. It usually has a grooved wheel or roller on one end.
- Spline: The spline is a flexible cord that holds the screen material in place within the frame. Make sure to choose the appropriate size for your frame.
- Utility knife or scissors: You’ll need a sharp cutting tool to trim the screen material to the correct size.
- Flathead screwdriver: This tool can be handy for removing the screen from its frame or prying off old spline.
- Measuring tape or ruler: Accurate measurements are crucial for cutting the replacement screen material to the right size.
- Work gloves: Protect your hands from sharp edges and to provide a better grip while handling materials.
- Safety goggles: Eye protection is important when cutting or removing materials.
Once you have gathered all the necessary tools and materials, you’ll be well-prepared to tackle the next steps in repairing or replacing your window or door screen. Remember to double-check everything before proceeding to avoid any delays or interruptions during the process.
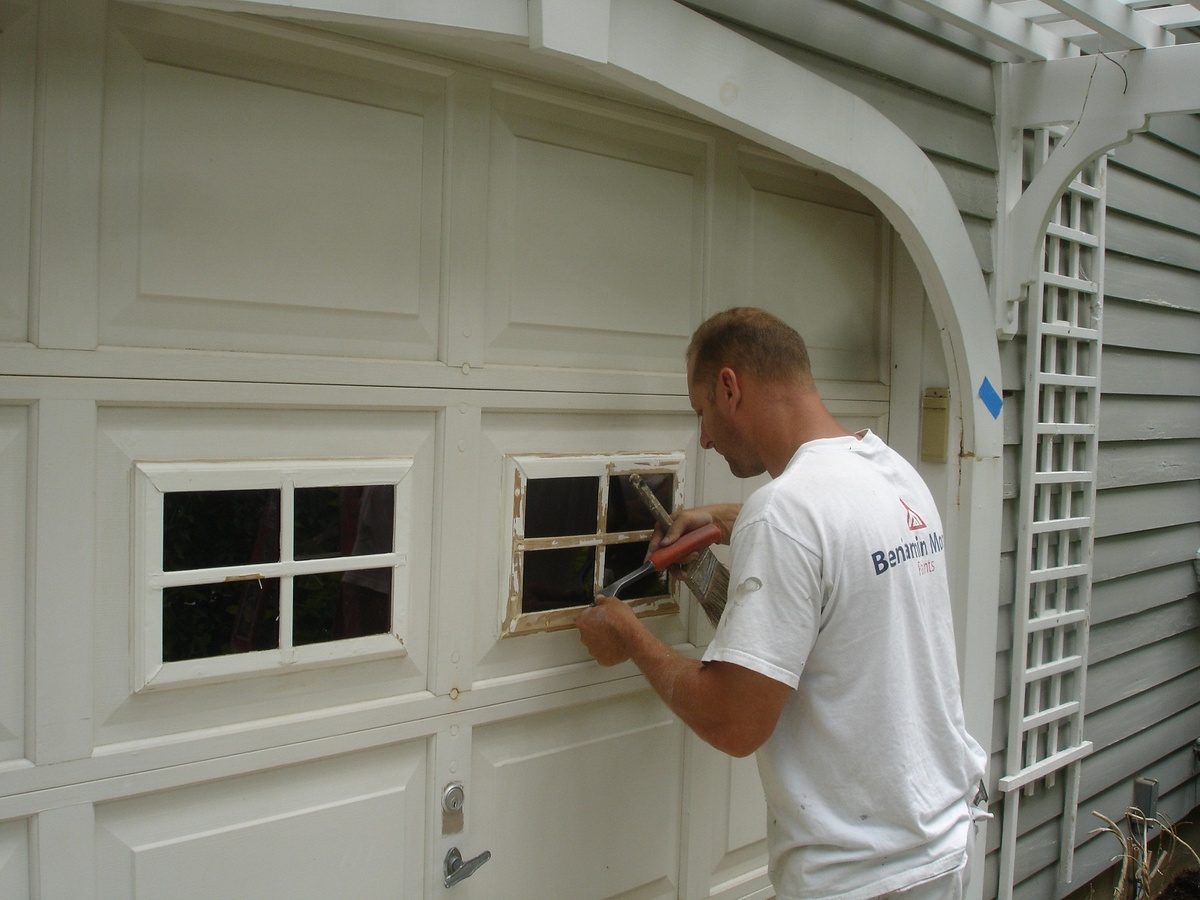
Step 2: Remove the damaged screen
Now that you have your tools and materials ready, it’s time to move on to the next step: removing the damaged screen. Follow these simple steps to successfully remove the screen:
- Open the window or door: Start by fully opening the window or door to gain easy access to the screen. This will allow you to work comfortably and safely.
- Inspect the screen frame: Take a close look at the frame to identify any screws, clips, or fasteners that may be securing the screen in place. Use a flathead screwdriver or any appropriate tool to remove these fasteners carefully.
- Detach the spline: The spline is a small, rubber-like cord that holds the screen material in place. Locate a corner of the screen and gently lift the spline using your flathead screwdriver or a specialized tool. Slowly pull the spline out from around the frame, ensuring not to damage the screen material.
- Remove the screen material: Once the spline has been detached, you can easily remove the damaged screen material from the frame. Take care not to tear it further, as you may need it as a reference for sizing the replacement screen.
- Clean the screen frame: Before installing the new screen, take a moment to clean the frame thoroughly. Remove any dust, dirt, or debris that may have accumulated over time. This will provide a clean surface for the new screen and enhance its appearance.
With these steps completed, you have successfully removed the damaged screen from your window or door. Take a moment to admire your progress, knowing that you’re one step closer to a repaired or replaced screen. In the next step, we’ll learn how to measure and cut the replacement screen material.
Step 3: Measure and cut the replacement screen material
Now that you have removed the damaged screen, it’s time to measure and cut the replacement screen material. Follow these steps to ensure a precise fit:
- Measure the frame: Use a measuring tape or ruler to measure the dimensions of the frame where the replacement screen will be installed. Measure both the height and width, and make note of the measurements.
- Add extra length: To ensure that the replacement screen material covers the entire frame, add an extra 1-2 inches to the height and width measurements. This additional length will be used to secure the screen during the installation process.
- Mark the measurements: Using a pencil or marker, mark the measurements on the replacement screen material. Double-check the accuracy of the markings to avoid any unnecessary mistakes.
- Cut the screen material: Using a sharp utility knife or scissors, carefully cut along the marked lines to create the appropriately sized replacement screen. Take your time and use steady, controlled movements to ensure a clean and accurate cut.
Keep in mind that different screen materials may have specific cutting requirements. Fiberglass screens, for example, can be easily cut using a sharp utility knife. Aluminum screens may require tin snips or special cutting tools. Always refer to the manufacturer’s instructions for the specific material you are working with.
Once you have cut the replacement screen material to the correct size, you’re ready to move on to the next step: installing the replacement screen. Stay tuned to learn how to securely install the screen material and restore the functionality of your window or door screen.
When repairing or replacing a window or door screen, make sure to measure the dimensions accurately before purchasing a replacement. This will ensure a proper fit and save you time and effort.
Step 4: Install the replacement screen
With the replacement screen material cut to size, it’s time to move on to the installation process. Follow these steps to successfully install the replacement screen:
- Position the replacement screen: Place the cut replacement screen material over the frame, ensuring that it covers the entire opening. Make sure the screen material is centered and aligned with the frame.
- Secure the screen at one corner: Starting at one corner of the frame, use your finger or a screen installation tool to push a small section of the screen material into the frame’s groove. This will help hold the screen in place during the installation process.
- Continue securing the screen: Moving clockwise or counterclockwise from the first corner, use the screen installation tool’s grooved wheel or roller to press the screen material into the frame’s groove. Apply even pressure to ensure a secure fit. Continue this process around the entire perimeter of the frame until the screen material is fully secured.
- Trim any excess screen material: Once the screen material is securely installed, use a utility knife or scissors to carefully trim any excess material that extends beyond the frame. Take your time and use precise cuts to create a clean and finished look.
As you install the replacement screen, it’s important to take your time and be mindful of the screen material’s tension. Make sure it remains taut but not overly tight. This tension will help the screen stay in place and provide optimal functionality.
With the replacement screen installed, move on to the next step: securing the screen in place to prevent any shifting or sagging over time.
Read more: How To Replace Patio Screen Door Rollers
Step 5: Secure the screen in place
Now that the replacement screen is installed, it’s important to secure it in place to prevent any shifting or sagging over time. Here are the steps to effectively secure the screen:
- Inspect the spline groove: Check the groove around the frame where the spline sits. Ensure that it is clean and free of any debris or old spline remnants.
- Cut a length of spline: Measure the length of the groove on one side of the frame and cut a piece of spline that matches that measurement. Repeat this process for each side of the frame.
- Insert the spline: Starting at one corner of the frame, use your fingers or a flathead screwdriver to gently push the spline into the groove. As you go along, make sure the spline sits above the screen material and securely holds it in place.
- Continue inserting the spline: Move along each side of the frame, firmly pressing the spline into the groove. Use your fingers or a suitable tool to ensure that the spline is evenly and securely seated.
- Trim any excess spline: Once the spline is inserted around the entire frame, use a utility knife or scissors to trim any excess spline that extends beyond the frame. Take your time and make precise cuts to create a neat and finished appearance.
Securing the screen with spline is crucial to ensure its stability and longevity. The spline provides an additional layer of support, keeping the screen taut and in place even with regular use.
With the screen securely in place, you’re almost done! In the next step, we’ll test the repaired or replaced screen to ensure it functions properly.
Step 6: Test the repaired or replaced screen
Now that you have completed the screen repair or replacement process, it’s time to test your work to ensure that the screen functions properly. Follow these steps to thoroughly test your repaired or replaced screen:
- Carefully close the window or door: Gently close the window or door on which you have repaired or replaced the screen. Take note of how smoothly it closes and ensure that there are no obstructions or resistance from the screen.
- Inspect for any gaps or sagging: Look closely at the screen to check for any gaps between the screen material and the frame. Additionally, check for any sagging or looseness in the screen. These issues may indicate an improper installation or sizing.
- Test the screen’s functionality: To ensure that the screen is working properly, carefully run your hand along the screen surface. The mesh should be taut and provide a barrier against insects and debris. If you notice any loose or sagging areas, gently press or adjust the screen to correct it.
- Open and close the window or door: Open and close the window or door a few times to confirm that the screen does not interfere with the movement. The screen should remain securely in place without any shifting or detachment.
- Check for any visual imperfections: Finally, take a step back and visually inspect the screen for any visual imperfections. Look for any loose threads, wrinkles, or uneven tension in the mesh. If necessary, make any minor adjustments to improve the overall appearance.
By thoroughly testing your repaired or replaced screen, you can address any issues or concerns before considering the project complete. This step ensures that your window or door screen is fully functional and aesthetically pleasing.
With the screen successfully tested, you have now completed the process of repairing or replacing a window or door screen. Sit back and enjoy the improved functionality and appearance that comes with a properly functioning screen!
Finally, be sure to clean your newly repaired or replaced screen regularly to maintain its functionality and extend its lifespan. With proper care, it will continue to serve its purpose and keep your home insect-free for years to come.
Conclusion
Congratulations! You have now successfully learned how to repair or replace a window or door screen. By following the step-by-step guide provided in this article, you’ve gained the knowledge and skills necessary to tackle this DIY project with confidence.
Repairing or replacing a damaged screen not only improves the functionality of your windows and doors but also enhances the appearance of your home. It helps keep insects, debris, and other unwanted elements out while allowing fresh air to circulate freely.
Remember, before starting the process, gather all the necessary tools and materials to ensure a smooth and efficient project. Take your time to measure accurately and cut the replacement screen material to the correct size. During installation, make sure to secure the screen in place with the right technique and trim any excess material or spline for a polished finish.
Once the screen is installed and secured, take the time to test its functionality by opening and closing the window or door. Ensure that the screen remains taut, without any gaps or sagging. This step is crucial to confirm that your repair or replacement has been successful.
With the screen in place and functioning properly, you can now enjoy the benefits of a window or door screen that keeps your home comfortable and pest-free. Regular maintenance and cleaning will help preserve the screen’s longevity and continue to provide you with its purpose.
Thank you for reading this comprehensive guide on repairing or replacing a window or door screen. We hope you found it informative and helpful. Now, armed with this newfound knowledge, you can confidently tackle any screen repair or replacement project that comes your way!
Frequently Asked Questions about How To Repair Or Replace A Window Or Door Screen
Was this page helpful?
At Storables.com, we guarantee accurate and reliable information. Our content, validated by Expert Board Contributors, is crafted following stringent Editorial Policies. We're committed to providing you with well-researched, expert-backed insights for all your informational needs.


0 thoughts on “How To Repair Or Replace A Window Or Door Screen”