Home>Furniture>Outdoor Furniture>How To Install Eva Foam Decking

Outdoor Furniture
How To Install Eva Foam Decking
Modified: March 7, 2024
Learn how to easily install Eva foam decking for your outdoor furniture. Get step-by-step instructions, tips, and tricks to create a comfortable and stylish outdoor space.
(Many of the links in this article redirect to a specific reviewed product. Your purchase of these products through affiliate links helps to generate commission for Storables.com, at no extra cost. Learn more)
Introduction
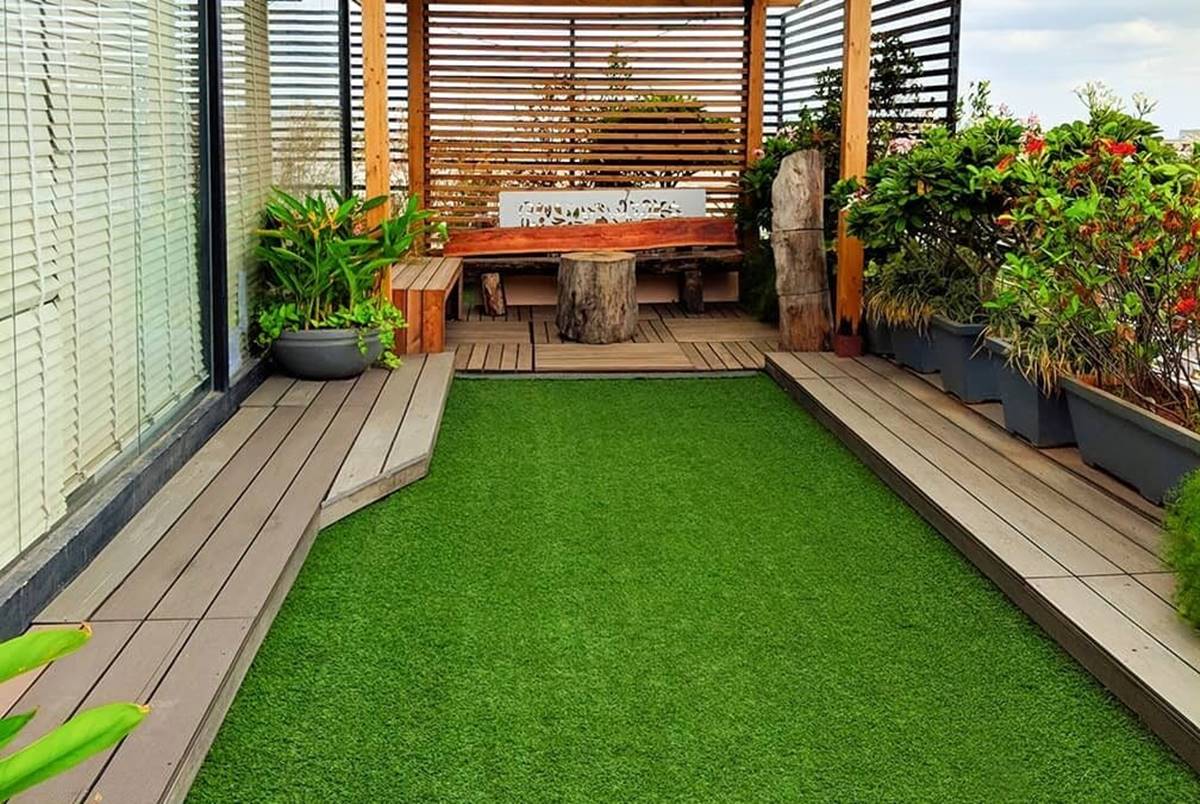
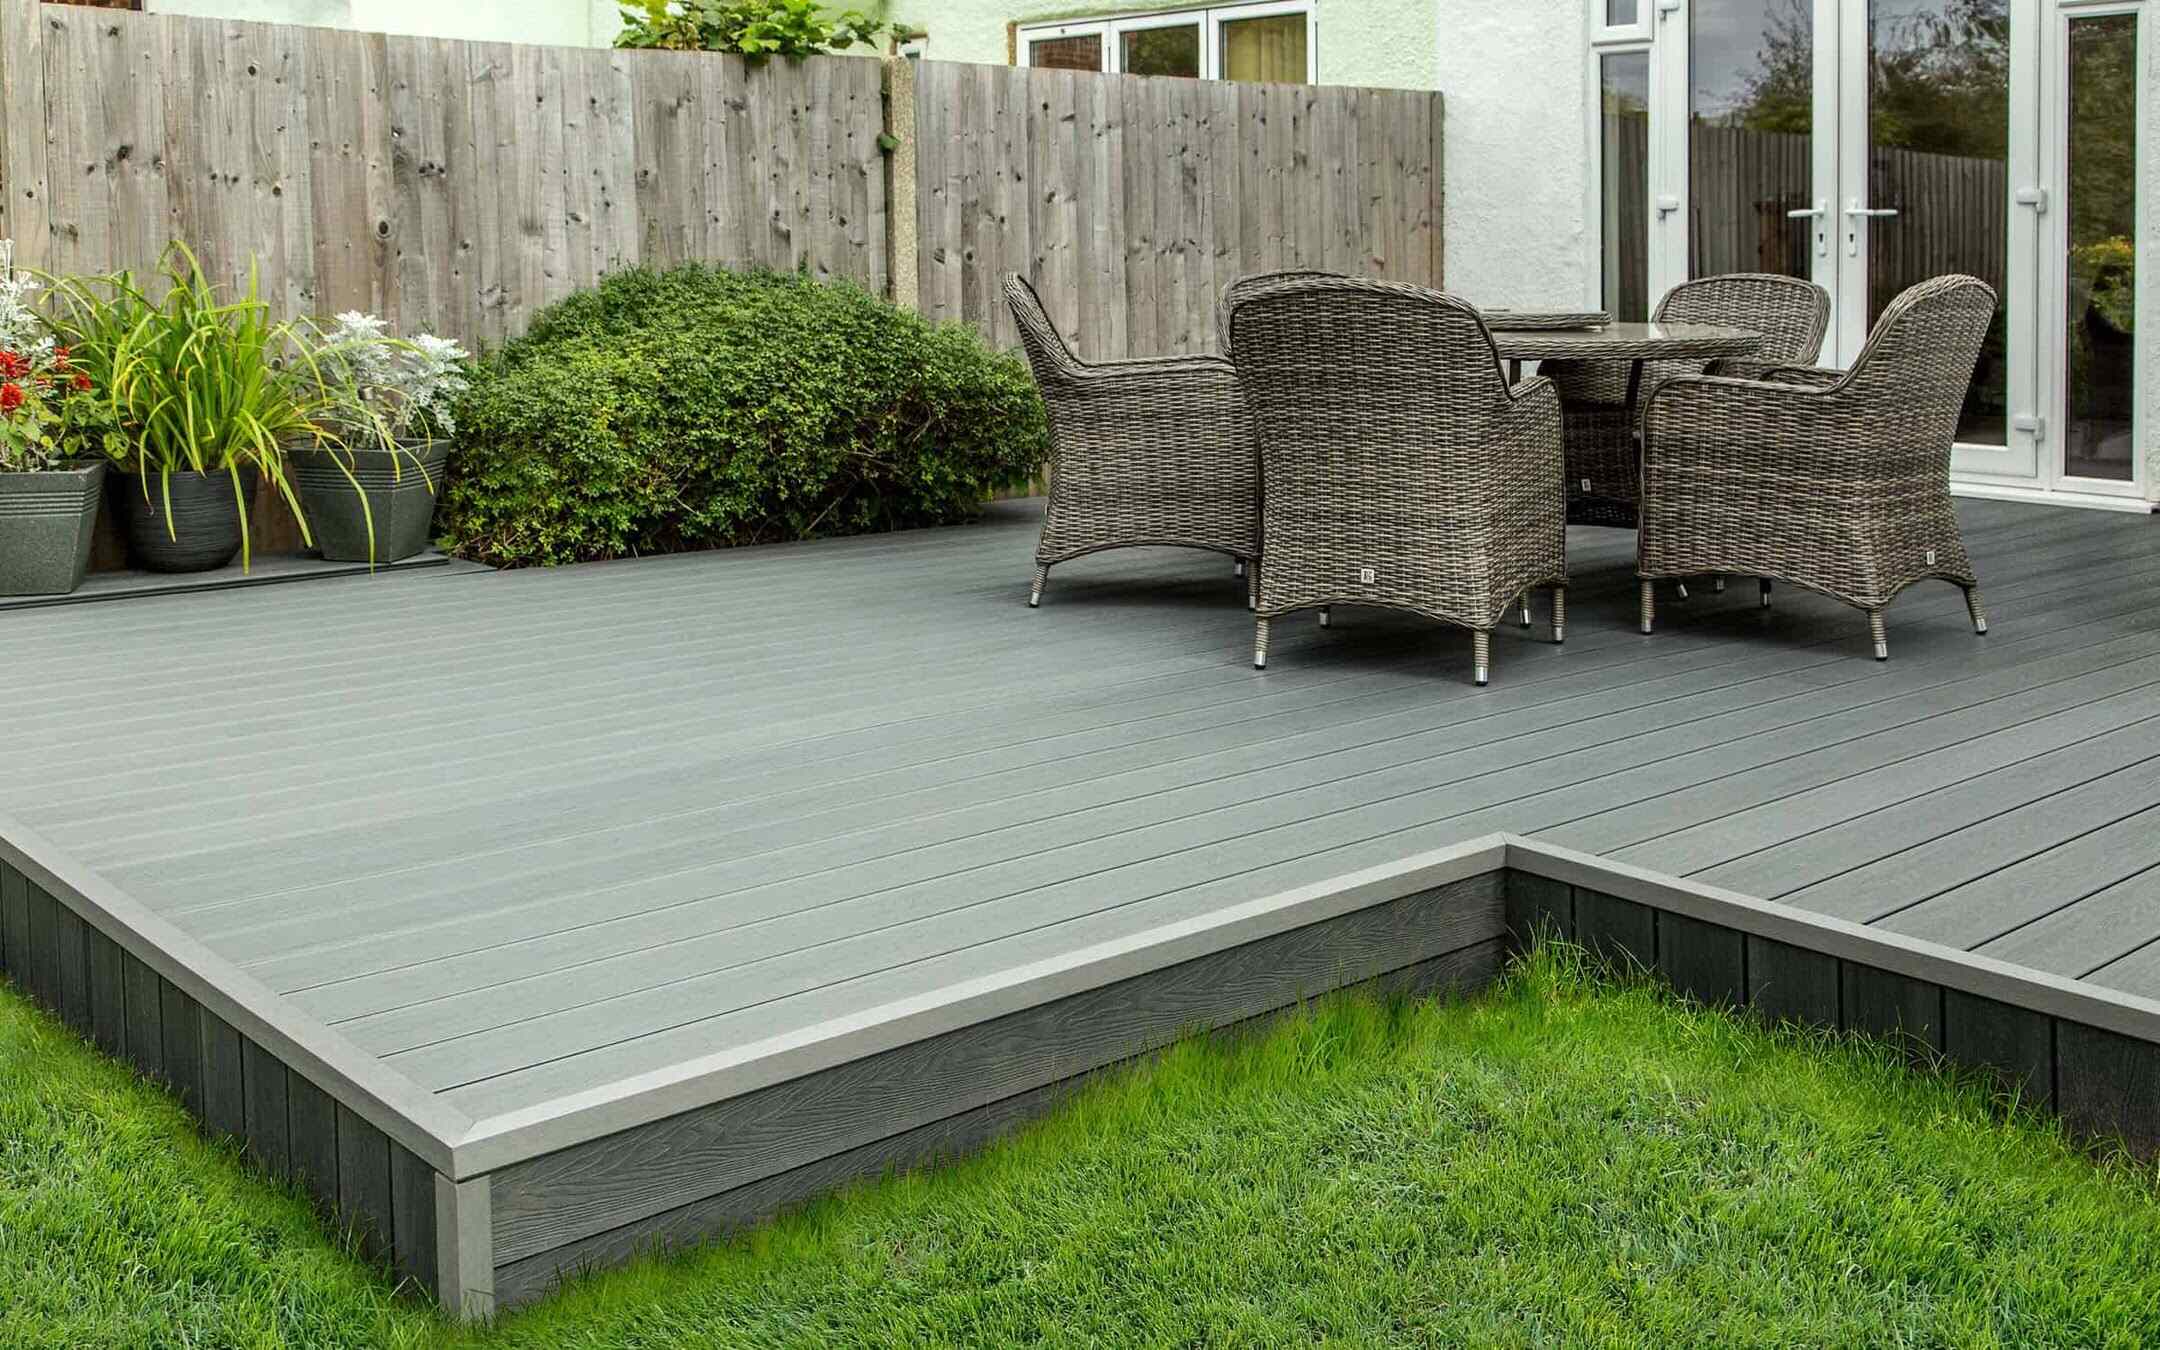
Welcome to our comprehensive guide on how to install Eva foam decking. If you’re looking to enhance the comfort and safety of your outdoor space, Eva foam decking is a fantastic option to consider. This innovative decking material provides a soft and cushioned surface that is not only comfortable to walk on but also offers excellent traction, making it ideal for outdoor activities.
Installing Eva foam decking may seem like a daunting task, but fear not! In this article, we will break down the installation process into simple and easy-to-follow steps. Whether you’re a seasoned DIY enthusiast or tackling a home improvement project for the first time, this guide will equip you with the knowledge and skills to successfully install Eva foam decking.
Before we dive into the installation process, let’s go over the materials you’ll need to complete the project.
Key Takeaways:
- Installing Eva foam decking is a DIY-friendly project that requires proper surface preparation, precise measurements, and careful adhesive application for a comfortable and safe outdoor space.
- Maintaining Eva foam decking involves regular cleaning, gentle care, and protection from sharp objects and excessive sunlight to preserve its vibrant appearance and durability.
Read more: How To Install Veranda Decking
Materials Needed
Before you begin the installation process, gather the following materials:
- Eva foam decking sheets: Measure the area of your deck to determine the quantity of sheets you’ll need. Eva foam decking sheets come in various sizes, so make sure to choose the appropriate size for your project.
- Adhesive: Look for a high-quality adhesive specifically designed for Eva foam decking. Read the manufacturer’s instructions to ensure compatibility with your decking material.
- Measuring tape: Accurate measurements are essential for a precise installation. Use a measuring tape to measure the dimensions of your deck and mark the areas where the foam decking will be placed.
- Utility knife: A sharp utility knife will be needed to cut the foam sheets to the correct size and shape.
- Sanding block: A sanding block or sandpaper can be used to smooth the edges of the foam sheets or make small adjustments during installation.
- Clean cloth or sponge: You’ll need a cloth or sponge to clean the surface of the deck before applying the adhesive.
- Bucket and water: These will be needed to wet the cloth or sponge for cleaning purposes.
Once you have gathered all the necessary materials, you’re ready to begin the installation process. Follow the step-by-step instructions below to achieve a professional-looking Eva foam decking installation.
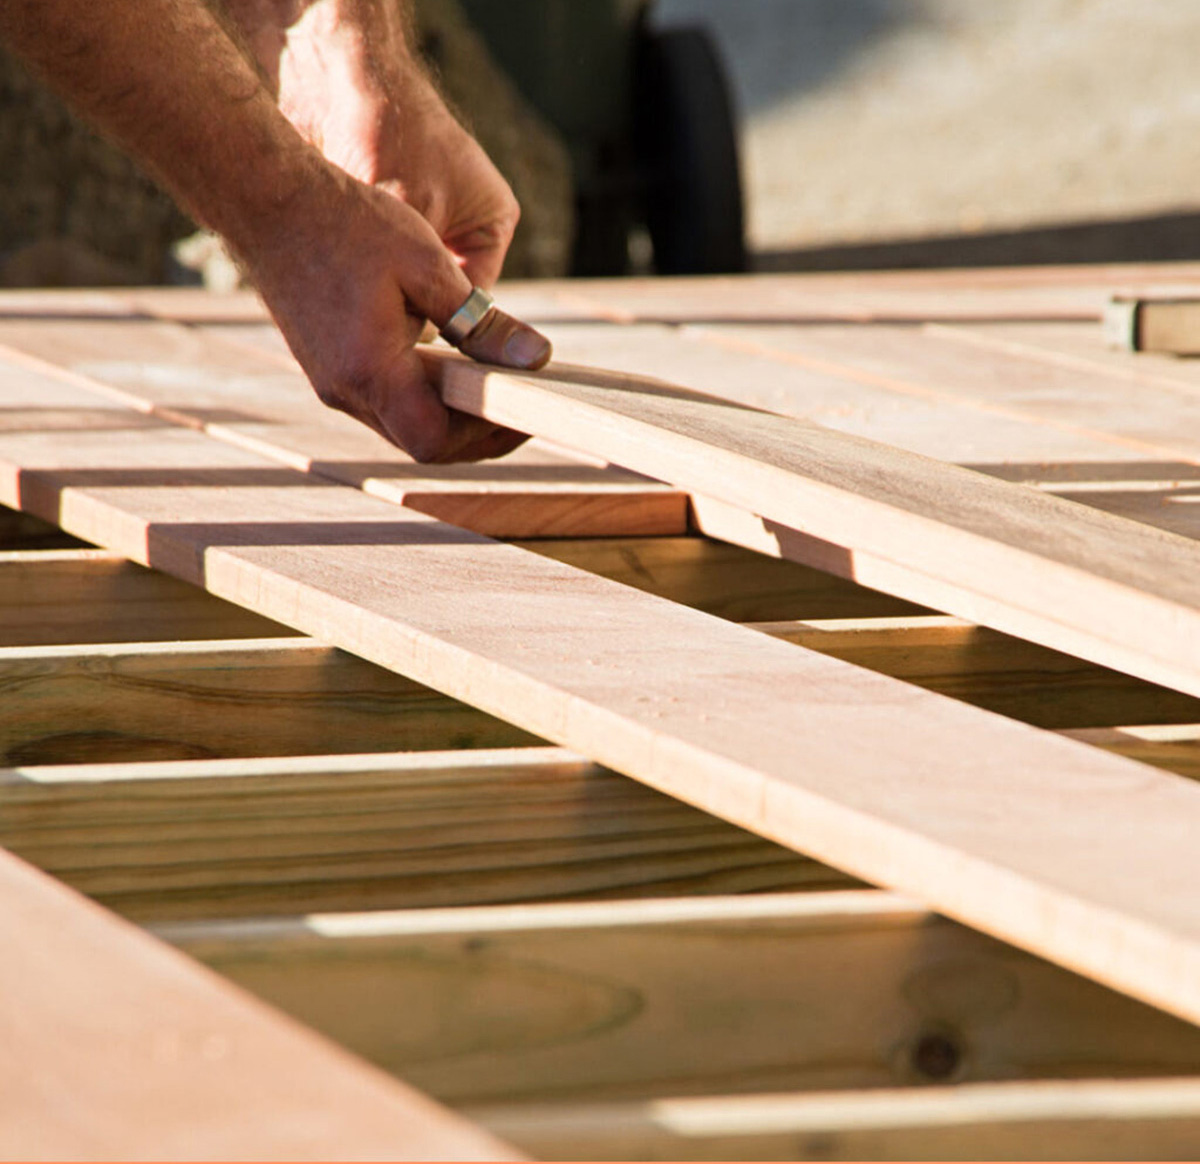
Step 1: Preparing the Deck Surface
Before installing the Eva foam decking, it’s essential to prepare the surface of your deck to ensure proper adhesion. Follow these steps to prepare the deck surface:
- Clean the deck: Remove any debris, leaves, or dirt from the deck surface using a broom or leaf blower. This will provide a clean and smooth surface for the foam decking installation.
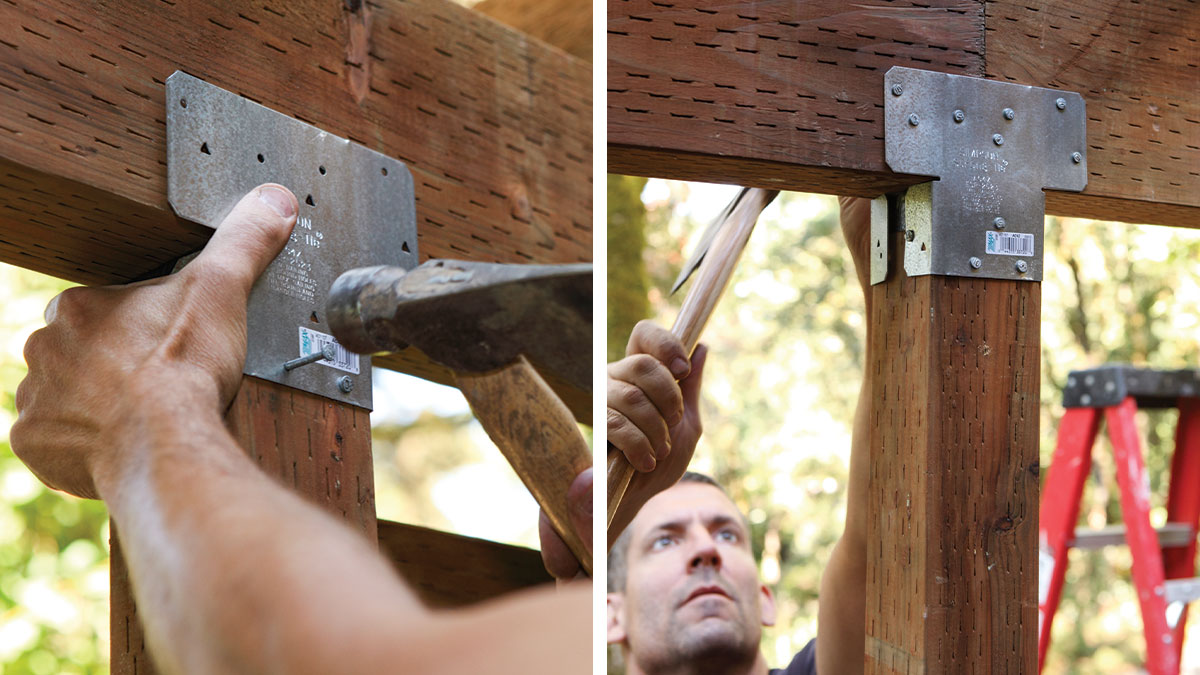
- Inspect for damage: Thoroughly examine the deck for any signs of damage, such as loose boards, nails, or screws. Repair or replace any damaged areas to ensure a stable and secure foundation for the foam decking.
- Remove existing flooring (if applicable): If you have any old flooring or covering, such as tiles or carpets, remove them completely. The deck surface should be bare and free from any existing materials.
- Sand rough areas: If you notice any rough or uneven spots on the deck surface, use sandpaper or a sanding block to smooth them out. This will prevent any bumps or imperfections from showing through the foam decking.
- Clean with a mild detergent: Use a mild detergent mixed with water to clean the deck surface thoroughly. Scrub the surface with a cloth or sponge and rinse off with water. This will remove any stubborn stains or grime.
- Allow the deck surface to dry completely: Before proceeding with the installation, give the deck surface enough time to dry. Moisture can interfere with the adhesive’s effectiveness and may cause the foam decking to peel or lift.
By taking the time to properly prepare the deck surface, you’ll ensure a strong and long-lasting bond between the Eva foam decking and the deck itself. Once the surface is clean and dry, you’re ready to move on to the next step of the installation process.
Step 2: Measuring and Cutting the Eva Foam Decking
Accurate measurements are crucial for a seamless and professional-looking Eva foam decking installation. Follow these steps to measure and cut the foam decking sheets:
- Measure the deck surface: Use a measuring tape to determine the dimensions of the deck surface where the foam decking will be installed. Be precise and measure both the length and width of the area.
- Add extra length for trimming: To ensure a perfect fit, add a few extra inches to the measurements. This additional length will allow you to trim the foam decking sheets to the exact size and shape during the installation process.
- Mark the measurements on the foam sheets: Lay the foam decking sheets on a flat surface and use a pen or marker to mark the measurements obtained in the previous step. Double-check the accuracy of the marks before proceeding.
- Trim the foam sheets: Using a sharp utility knife, carefully cut along the marked lines to create individual foam decking sheets. Take your time and make precise cuts to achieve clean and straight edges.
- Test the fit: Place the cut foam sheets on the deck surface to ensure they fit properly. Make any necessary adjustments or additional trimming if needed to achieve a snug fit.
It’s important to note that Eva foam decking sheets can expand slightly when exposed to heat or direct sunlight. To account for this expansion, leave a small gap of 1/8 inch between each foam sheet during installation.
By carefully measuring and cutting the Eva foam decking sheets, you’ll ensure a precise and tailored fit for your deck. With the foam sheets ready, it’s time to move on to the next step – applying adhesive.
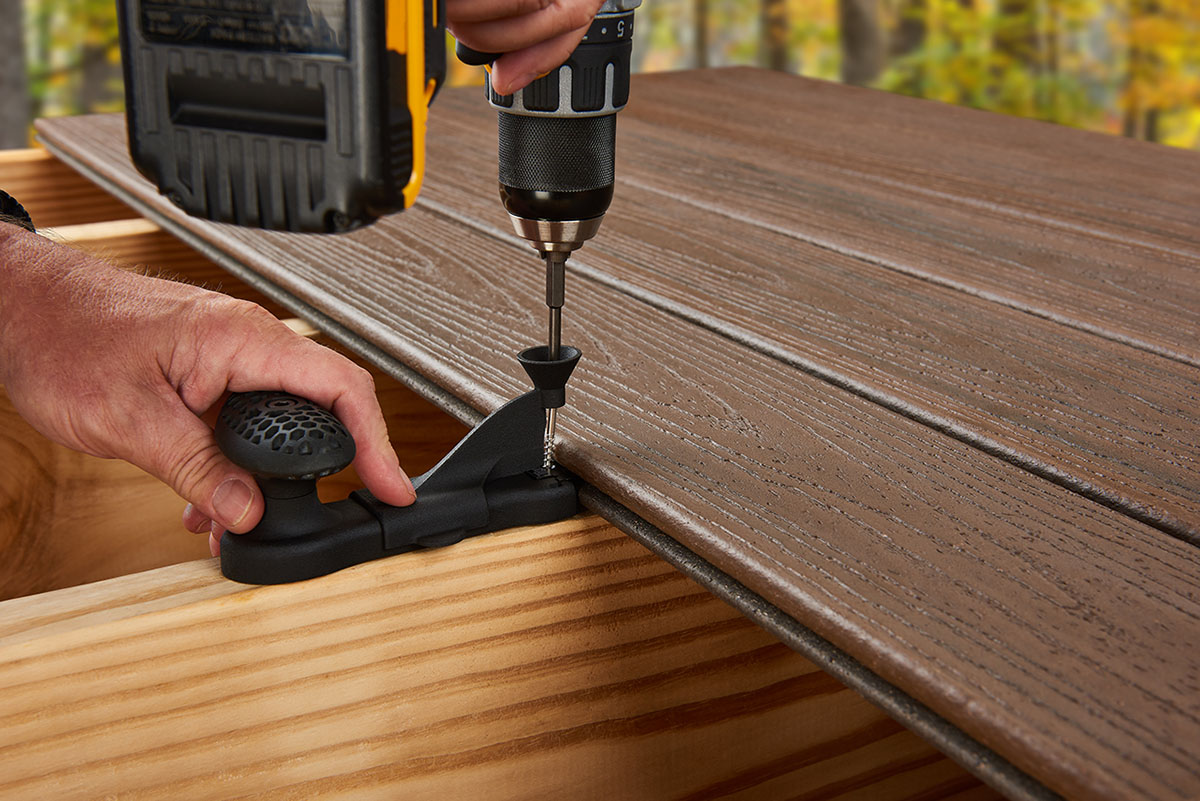
Step 3: Applying Adhesive
Now that you have the Eva foam decking sheets cut to the appropriate size, it’s time to apply the adhesive. Follow these steps to ensure a secure and durable bond:
- Read the adhesive manufacturer’s instructions: Before applying the adhesive, carefully read the manufacturer’s instructions to understand the recommended application process and drying time. Different adhesives may have specific instructions, so it’s essential to follow them accordingly.
- Prepare the adhesive: Prepare the adhesive according to the manufacturer’s instructions. This may involve mixing certain components or simply opening the container for ready-to-use adhesive.
- Apply adhesive to the deck surface: Using a trowel or a notched adhesive applicator, spread a thin, even layer of adhesive on a small section of the deck surface where you will install the foam decking.
- Spread the adhesive: Use the flat side of the trowel or the adhesive applicator to spread the adhesive evenly over the designated area. Ensure that the adhesive is applied uniformly to avoid any lumps or uneven patches.
- Repeat the process: Repeat the application process for the next section, working in small, manageable portions. Apply adhesive only to the areas where the foam decking sheets will be placed.
Keep in mind that some adhesives require a specific drying time before proceeding to the next step. Follow the manufacturer’s instructions regarding drying or curing time to allow the adhesive to set properly.
By following these steps, you’ll ensure that the adhesive is applied evenly, creating a strong bond between the deck surface and the Eva foam decking sheets. Once the adhesive is applied, it’s time to move on to the exciting part – installing the foam decking!
Before installing Eva foam decking, make sure the surface is clean and dry. Use a sharp utility knife to cut the foam to fit the area, and use a strong adhesive to secure it in place. Press down firmly to ensure a strong bond.
Read more: How To Install Composite Decking
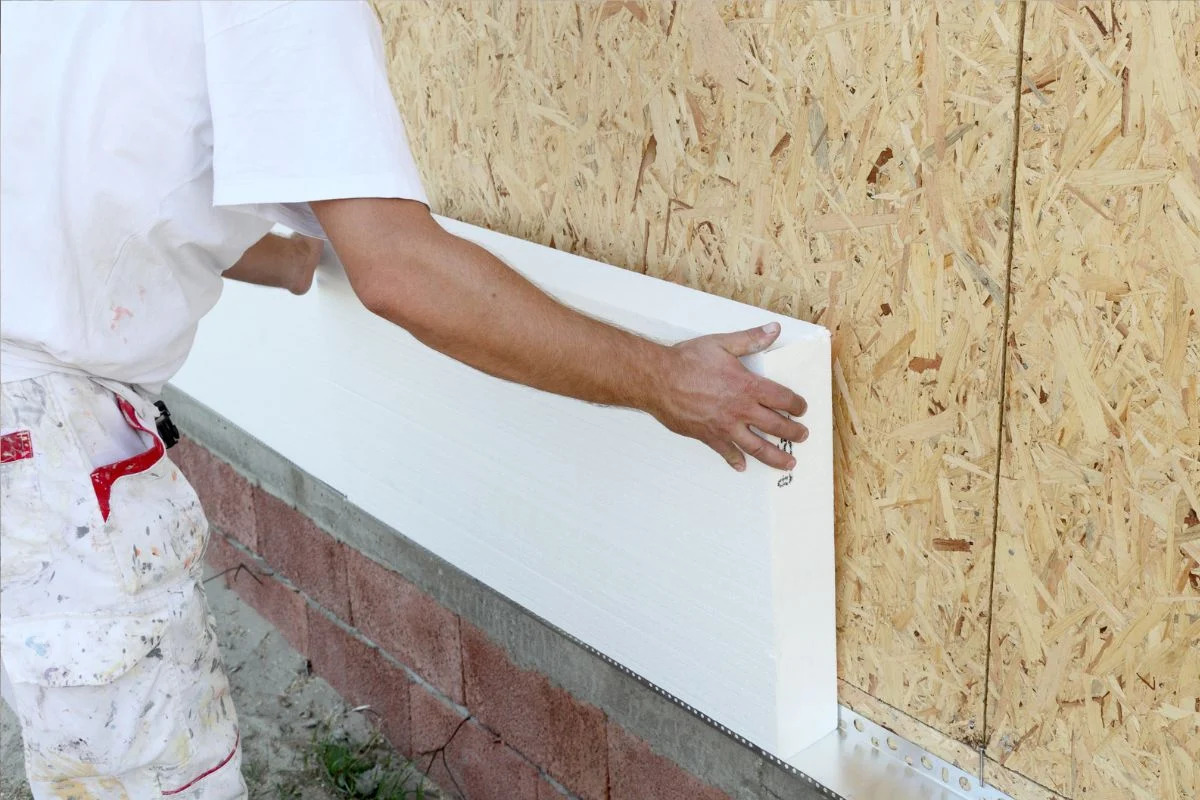
Step 4: Installing the Eva Foam Decking
With the adhesive applied and ready, it’s time to install the Eva foam decking sheets onto the deck surface. Here’s how to complete this step:
- Start at one corner: Begin the installation at one corner of the deck surface. Carefully align the edge of the first foam decking sheet with the edge of the deck.
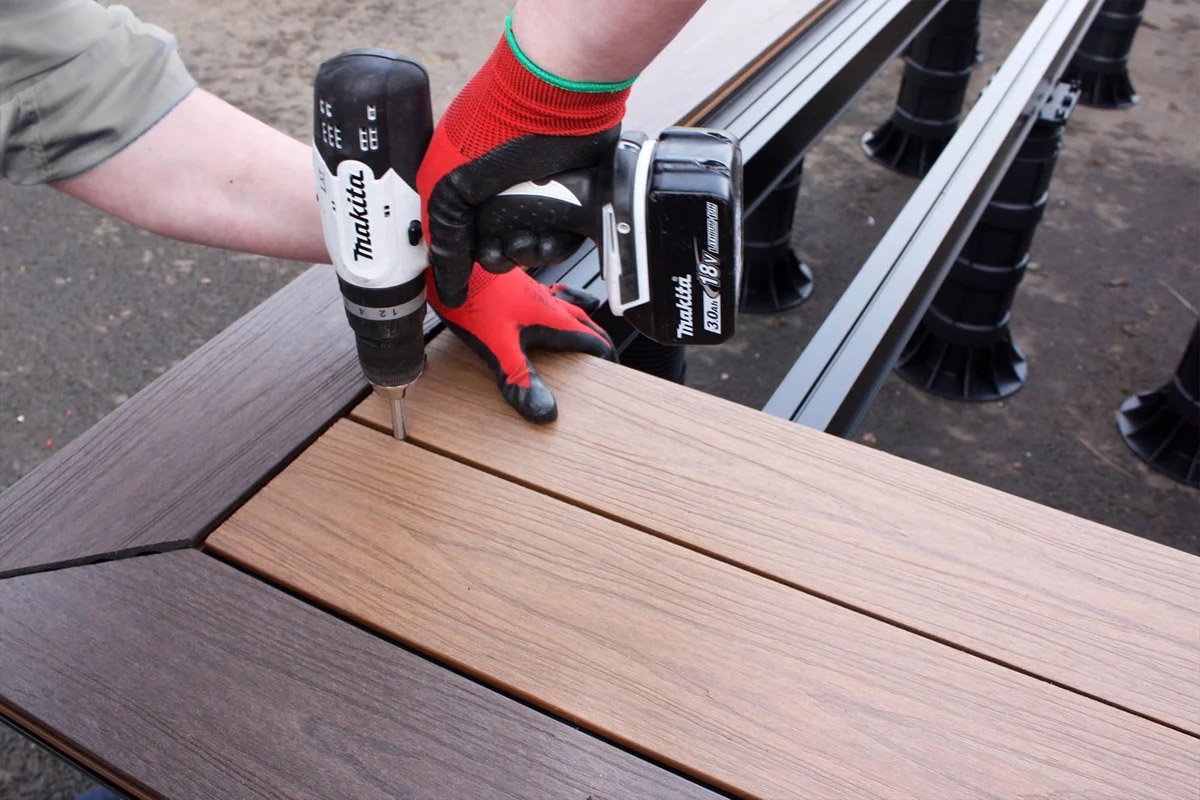
- Press down firmly: Press down firmly on the foam sheet to ensure proper adhesion with the adhesive. Apply even pressure across the entire surface of the sheet to ensure a strong bond.
- Continue with the next sheet: Align the next foam decking sheet against the first one, leaving a small 1/8 inch gap in between to allow for expansion. Press down and ensure a tight fit between the sheets.
- Repeat the process: Continue installing the foam decking sheets in a row, overlapping the previous sheet slightly. Work your way across the deck surface until all the foam sheets are installed.
- Check for evenness: Periodically check that the foam decking sheets are aligned properly and sitting flat on the deck surface. Make any adjustments or reposition the sheets if necessary.
It’s important to work efficiently during the installation process, as some adhesives may dry or cure relatively quickly. Take care to position the sheets accurately the first time to avoid disturbing the adhesive bond.
Once all the foam decking sheets are installed, take a moment to admire your progress. The deck surface should now showcase the comfortable and visually appealing Eva foam decking. But we’re not done just yet – there’s still one more step to complete!
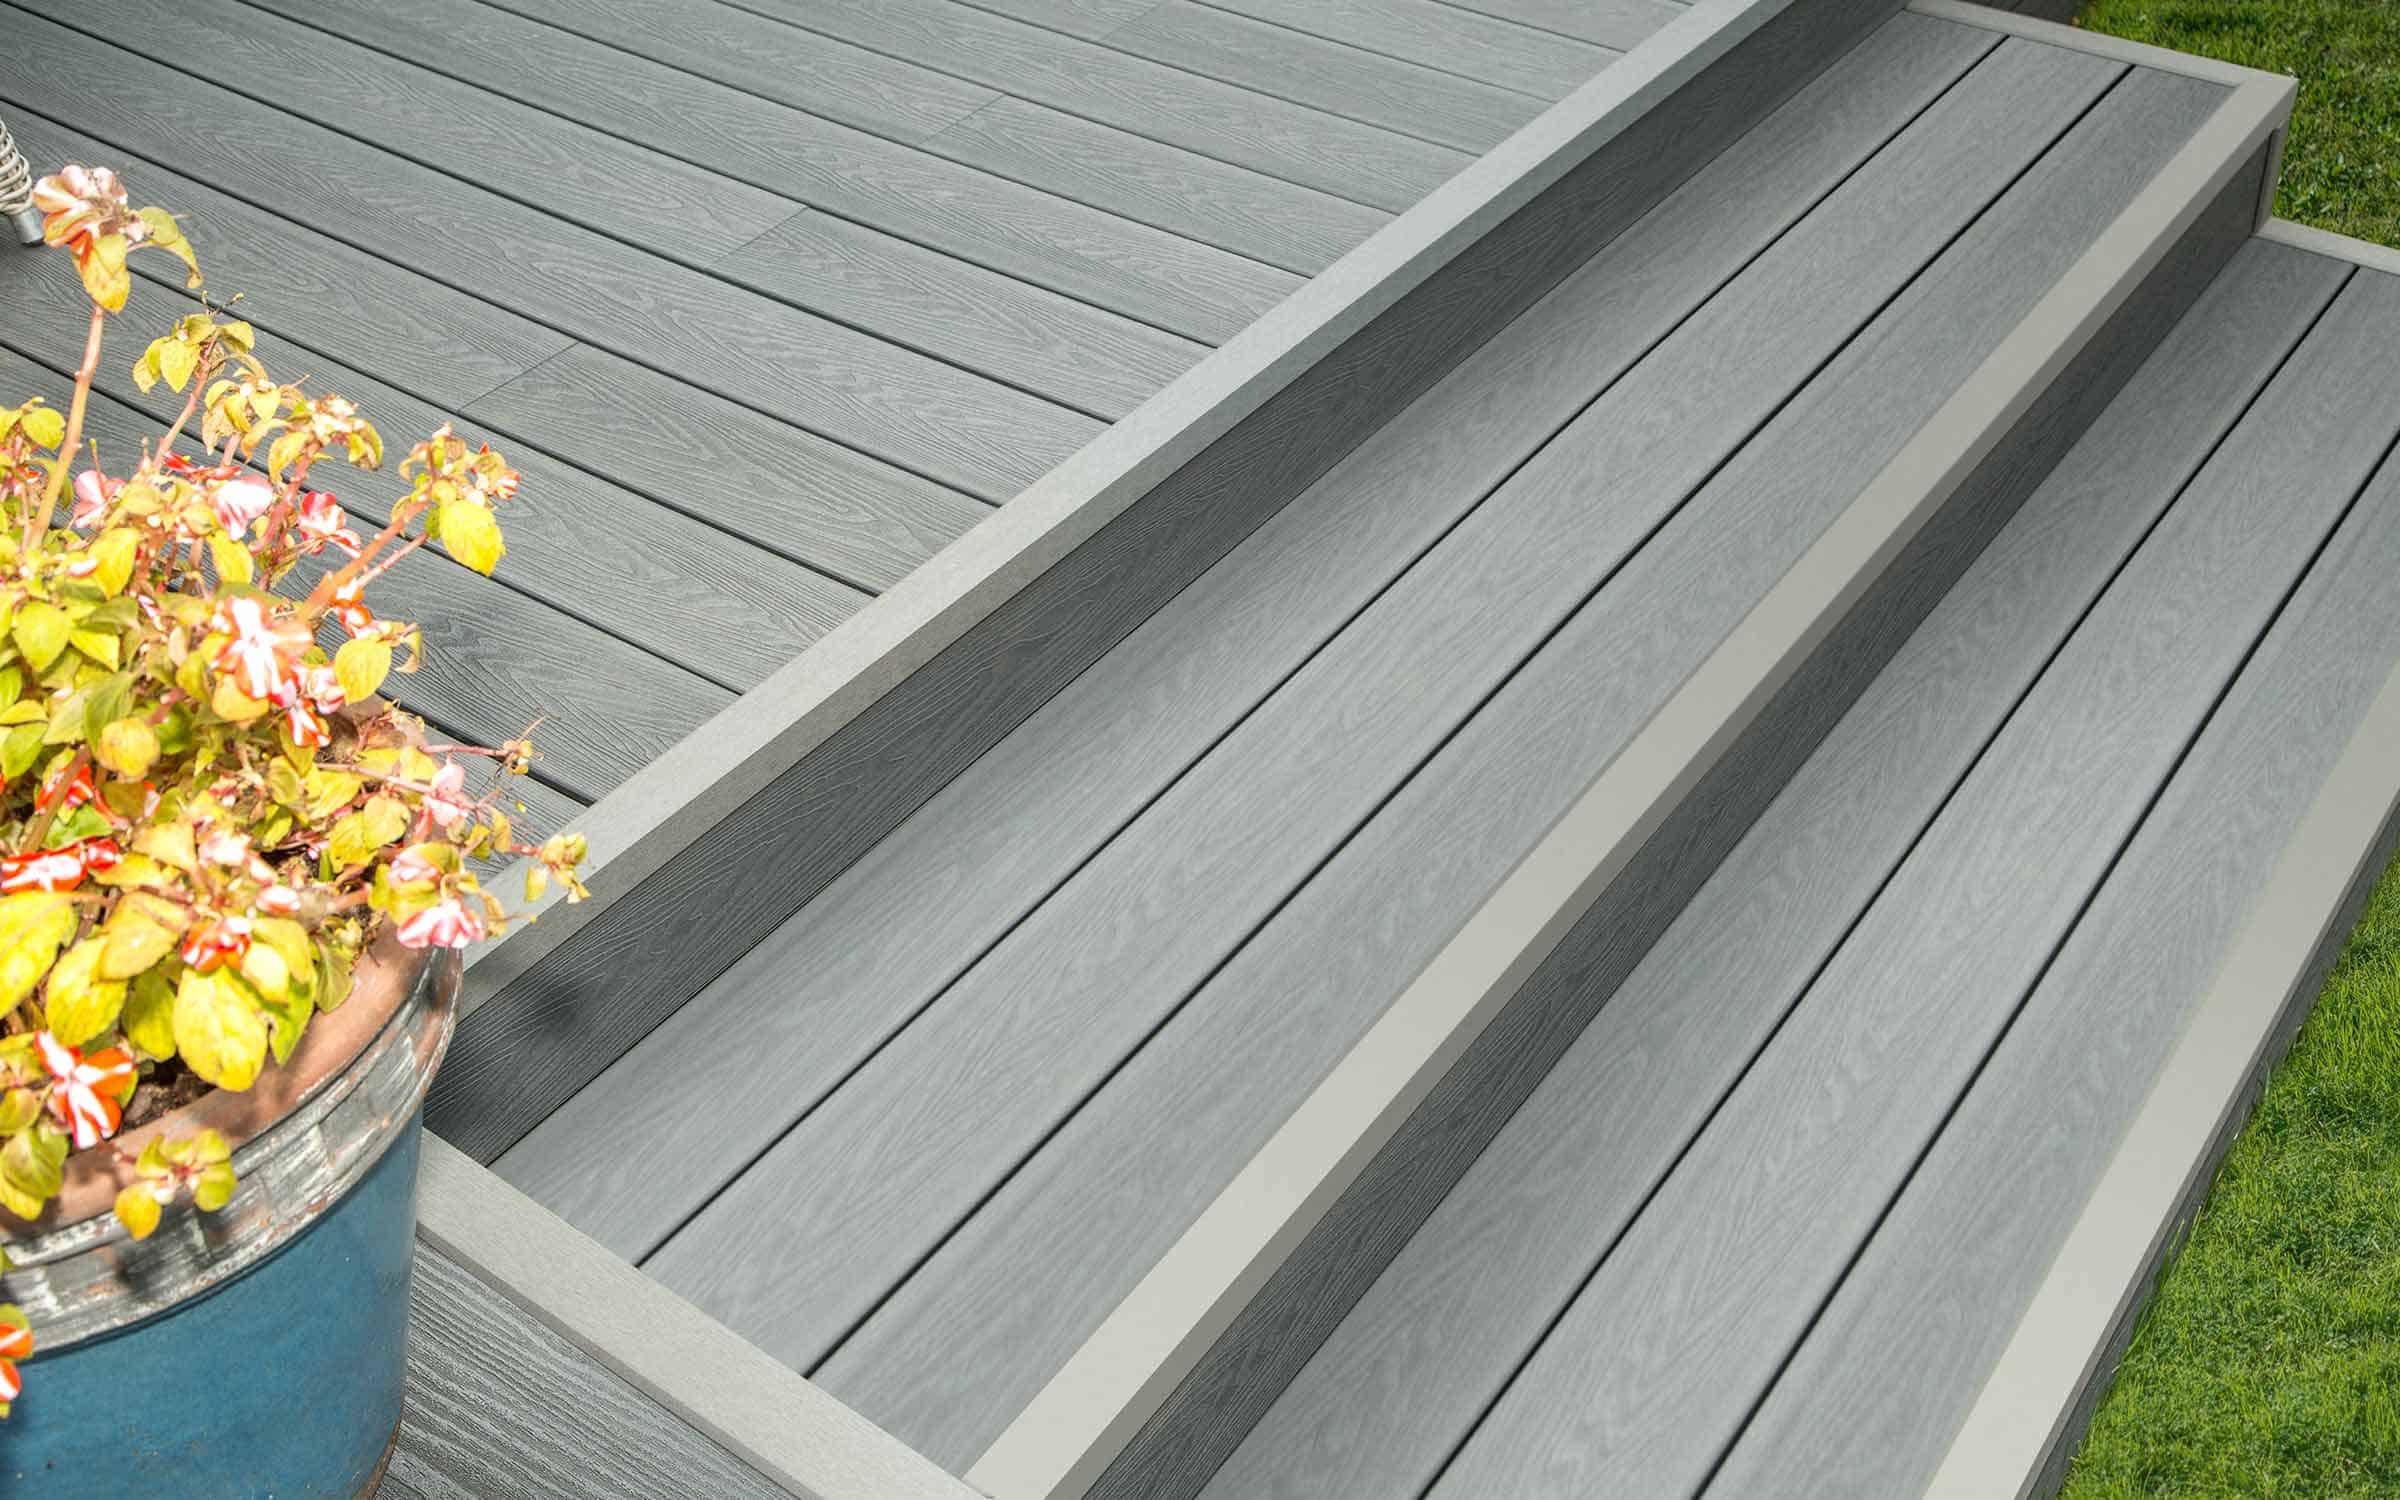
Step 5: Trimming the Excess Foam
After installing the Eva foam decking sheets, there might be some excess foam that needs to be trimmed. This step ensures a neat and finished look. Follow these instructions to trim the excess foam:
- Allow the adhesive to cure: Before trimming the excess foam, make sure that the adhesive has fully cured according to the manufacturer’s instructions. This will ensure that the foam decking is securely bonded to the deck surface.
- Inspect the edges: Carefully examine the edges of the foam decking sheets. If there is any excess foam protruding beyond the edge of the deck, mark the areas that need to be trimmed with a pen or marker.
- Use a utility knife: Take a sharp utility knife and cut along the marked lines to remove the excess foam. Use a smooth, steady motion, applying gentle pressure to achieve clean and precise cuts.
- Trim protruding corners: Pay special attention to any corners or edges that may require additional trimming. Ensure that all corners are neat and flush with the edge of the deck.
- Smooth the edges: After trimming, use a sanding block or sandpaper to smooth the cut edges of the foam decking sheets. This will create a seamless transition between the foam and the deck surface.
It’s important to take your time with this step to ensure a professional and polished appearance. Clean up any foam debris or dust created during the trimming process to maintain a tidy installation.
With the excess foam trimmed and the edges smoothed, your Eva foam decking is now ready for the final step – cleaning and maintaining the surface for long-lasting enjoyment.
Step 6: Cleaning and Maintaining the Eva Foam Decking
Proper cleaning and maintenance of Eva foam decking will help preserve its appearance and extend its lifespan. Follow these steps to keep your decking looking fresh and in top condition:
- Sweep or rinse regularly: Remove any loose dirt or debris by sweeping the surface or rinsing it with a hose. Regularly cleaning the Eva foam decking will prevent the build-up of dirt and help maintain its vibrant appearance.
- Mild soap and water: For deeper cleaning, mix a mild soap or detergent with water and gently scrub the surface using a non-abrasive brush or sponge. Rinse thoroughly with water afterwards to remove any soap residue.
- Avoid harsh chemicals: Avoid using harsh chemicals, solvents, or abrasive cleaners on Eva foam decking, as they can damage the material. Stick to gentle cleaners and avoid using stiff brushes or scouring pads.
- Remove stains promptly: If you notice any stains on your Eva foam decking, address them promptly. Depending on the nature of the stain, you may need to use a specialized cleaner or follow specific stain removal techniques recommended by the manufacturer.
- Protect from sharp objects: To prevent accidental damage, avoid dragging or sliding sharp objects such as furniture legs or heavy equipment across the Eva foam decking. Use furniture pads or protective mats to minimize the impact.
- Avoid prolonged exposure to sunlight: While Eva foam decking is designed to withstand outdoor conditions, excessive sun exposure can cause fading or discoloration over time. Consider using shade structures or protective covers to shield the decking from direct sunlight when not in use.
By following these maintenance tips, you can ensure that your Eva foam decking remains clean, vibrant, and comfortable for years to come. Regular cleaning and care will help maintain its visual appeal and prolong its durability.
Congratulations! You have successfully installed and learned how to clean and maintain your Eva foam decking. With proper care, you can now enjoy your outdoor space with confidence and style.
Remember to refer back to this guide whenever you need a refresher or guidance on maintaining your Eva foam decking. Now go ahead and relax on your comfortable and inviting outdoor oasis!
Conclusion
Congratulations on completing the installation of your Eva foam decking! By following the step-by-step instructions in this guide, you have transformed your outdoor space into a comfortable and stylish area for relaxation and enjoyment.
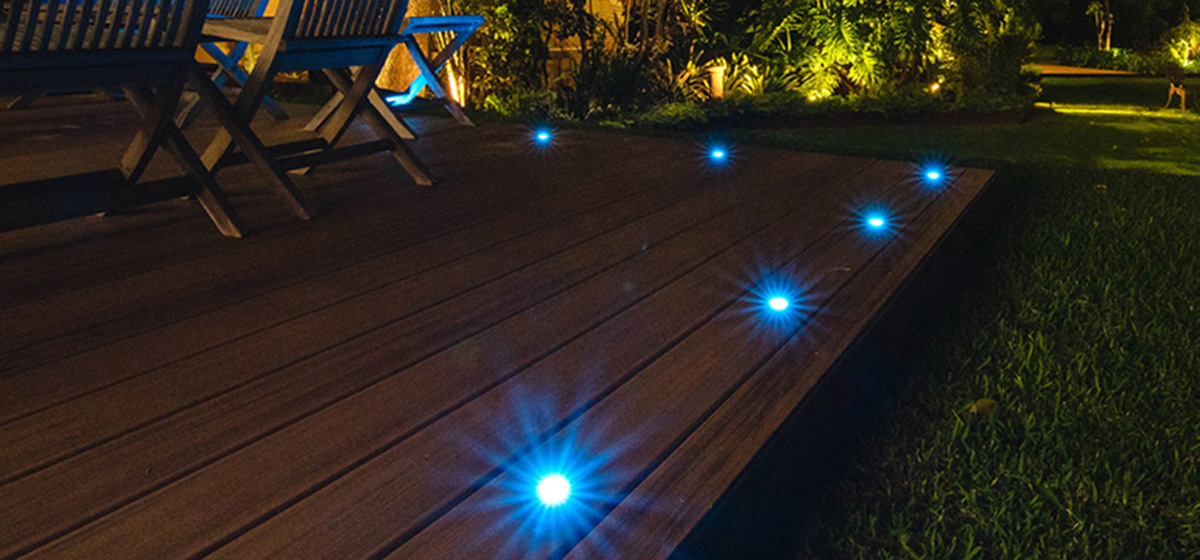
Eva foam decking not only provides a cushioned and safe surface to walk on but also enhances the overall aesthetic appeal of your deck. Its durability and low maintenance requirements make it a popular choice for outdoor spaces of all kinds.
Remember, proper preparation and careful installation are essential for a successful project. Take the time to clean and prepare the deck surface, measure and cut the foam decking sheets accurately, and apply the adhesive with precision. By following these steps, you ensure a strong and beautiful bond between the decking and your deck surface.
Once your Eva foam decking is installed, be sure to maintain it regularly by cleaning away dirt and debris, using gentle cleaners, and promptly addressing any stains. By doing so, you can extend the lifespan of your decking and keep it looking fresh and vibrant for years to come.
Now that you have completed this installation and maintenance guide, we hope you enjoy your new outdoor space. Whether you’re hosting gatherings with family and friends, lounging in the sun, or simply appreciating the beauty of your surroundings, your Eva foam decking will provide the comfort and style you desire.
Thank you for choosing Eva foam decking and for trusting this guide to assist you throughout the installation process. With proper care and maintenance, your outdoor space will continue to be a welcoming retreat for many years to come!
Frequently Asked Questions about How To Install Eva Foam Decking
Was this page helpful?
At Storables.com, we guarantee accurate and reliable information. Our content, validated by Expert Board Contributors, is crafted following stringent Editorial Policies. We're committed to providing you with well-researched, expert-backed insights for all your informational needs.


0 thoughts on “How To Install Eva Foam Decking”