Home>Garden Essentials>How Do You Save Zinnia Seeds

Garden Essentials
How Do You Save Zinnia Seeds
Modified: August 16, 2024
Learn the step-by-step method to save zinnia seeds in your garden and ensure a beautiful bloom year after year. Don't miss out on this garden-saving technique!
(Many of the links in this article redirect to a specific reviewed product. Your purchase of these products through affiliate links helps to generate commission for Storables.com, at no extra cost. Learn more)
Introduction:
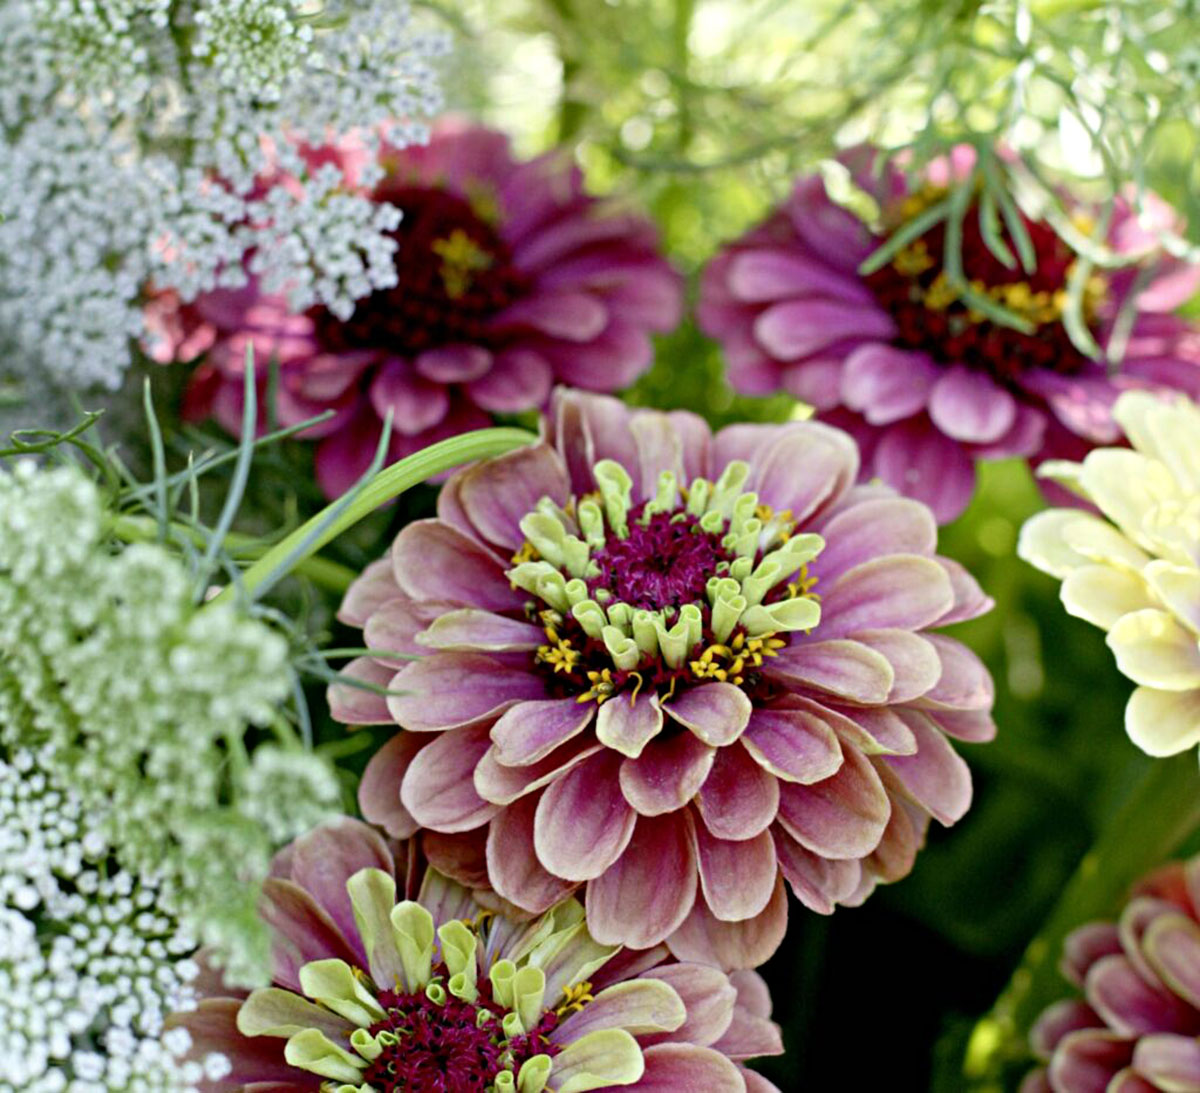
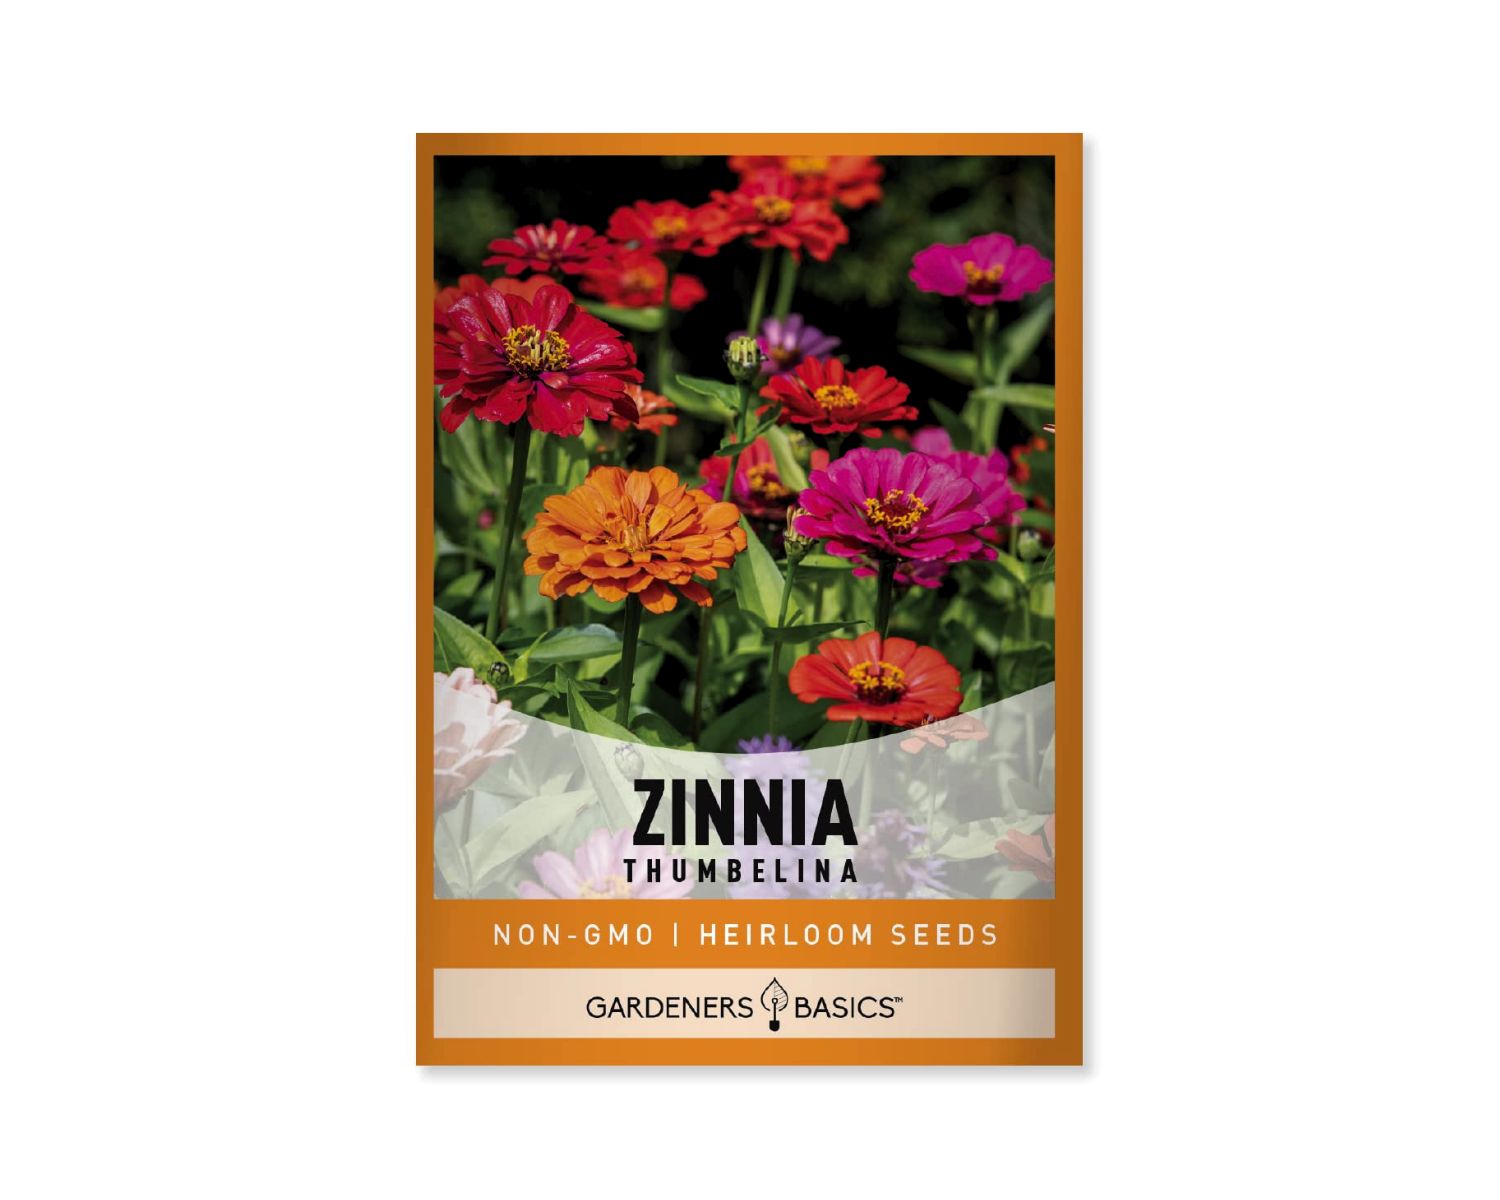
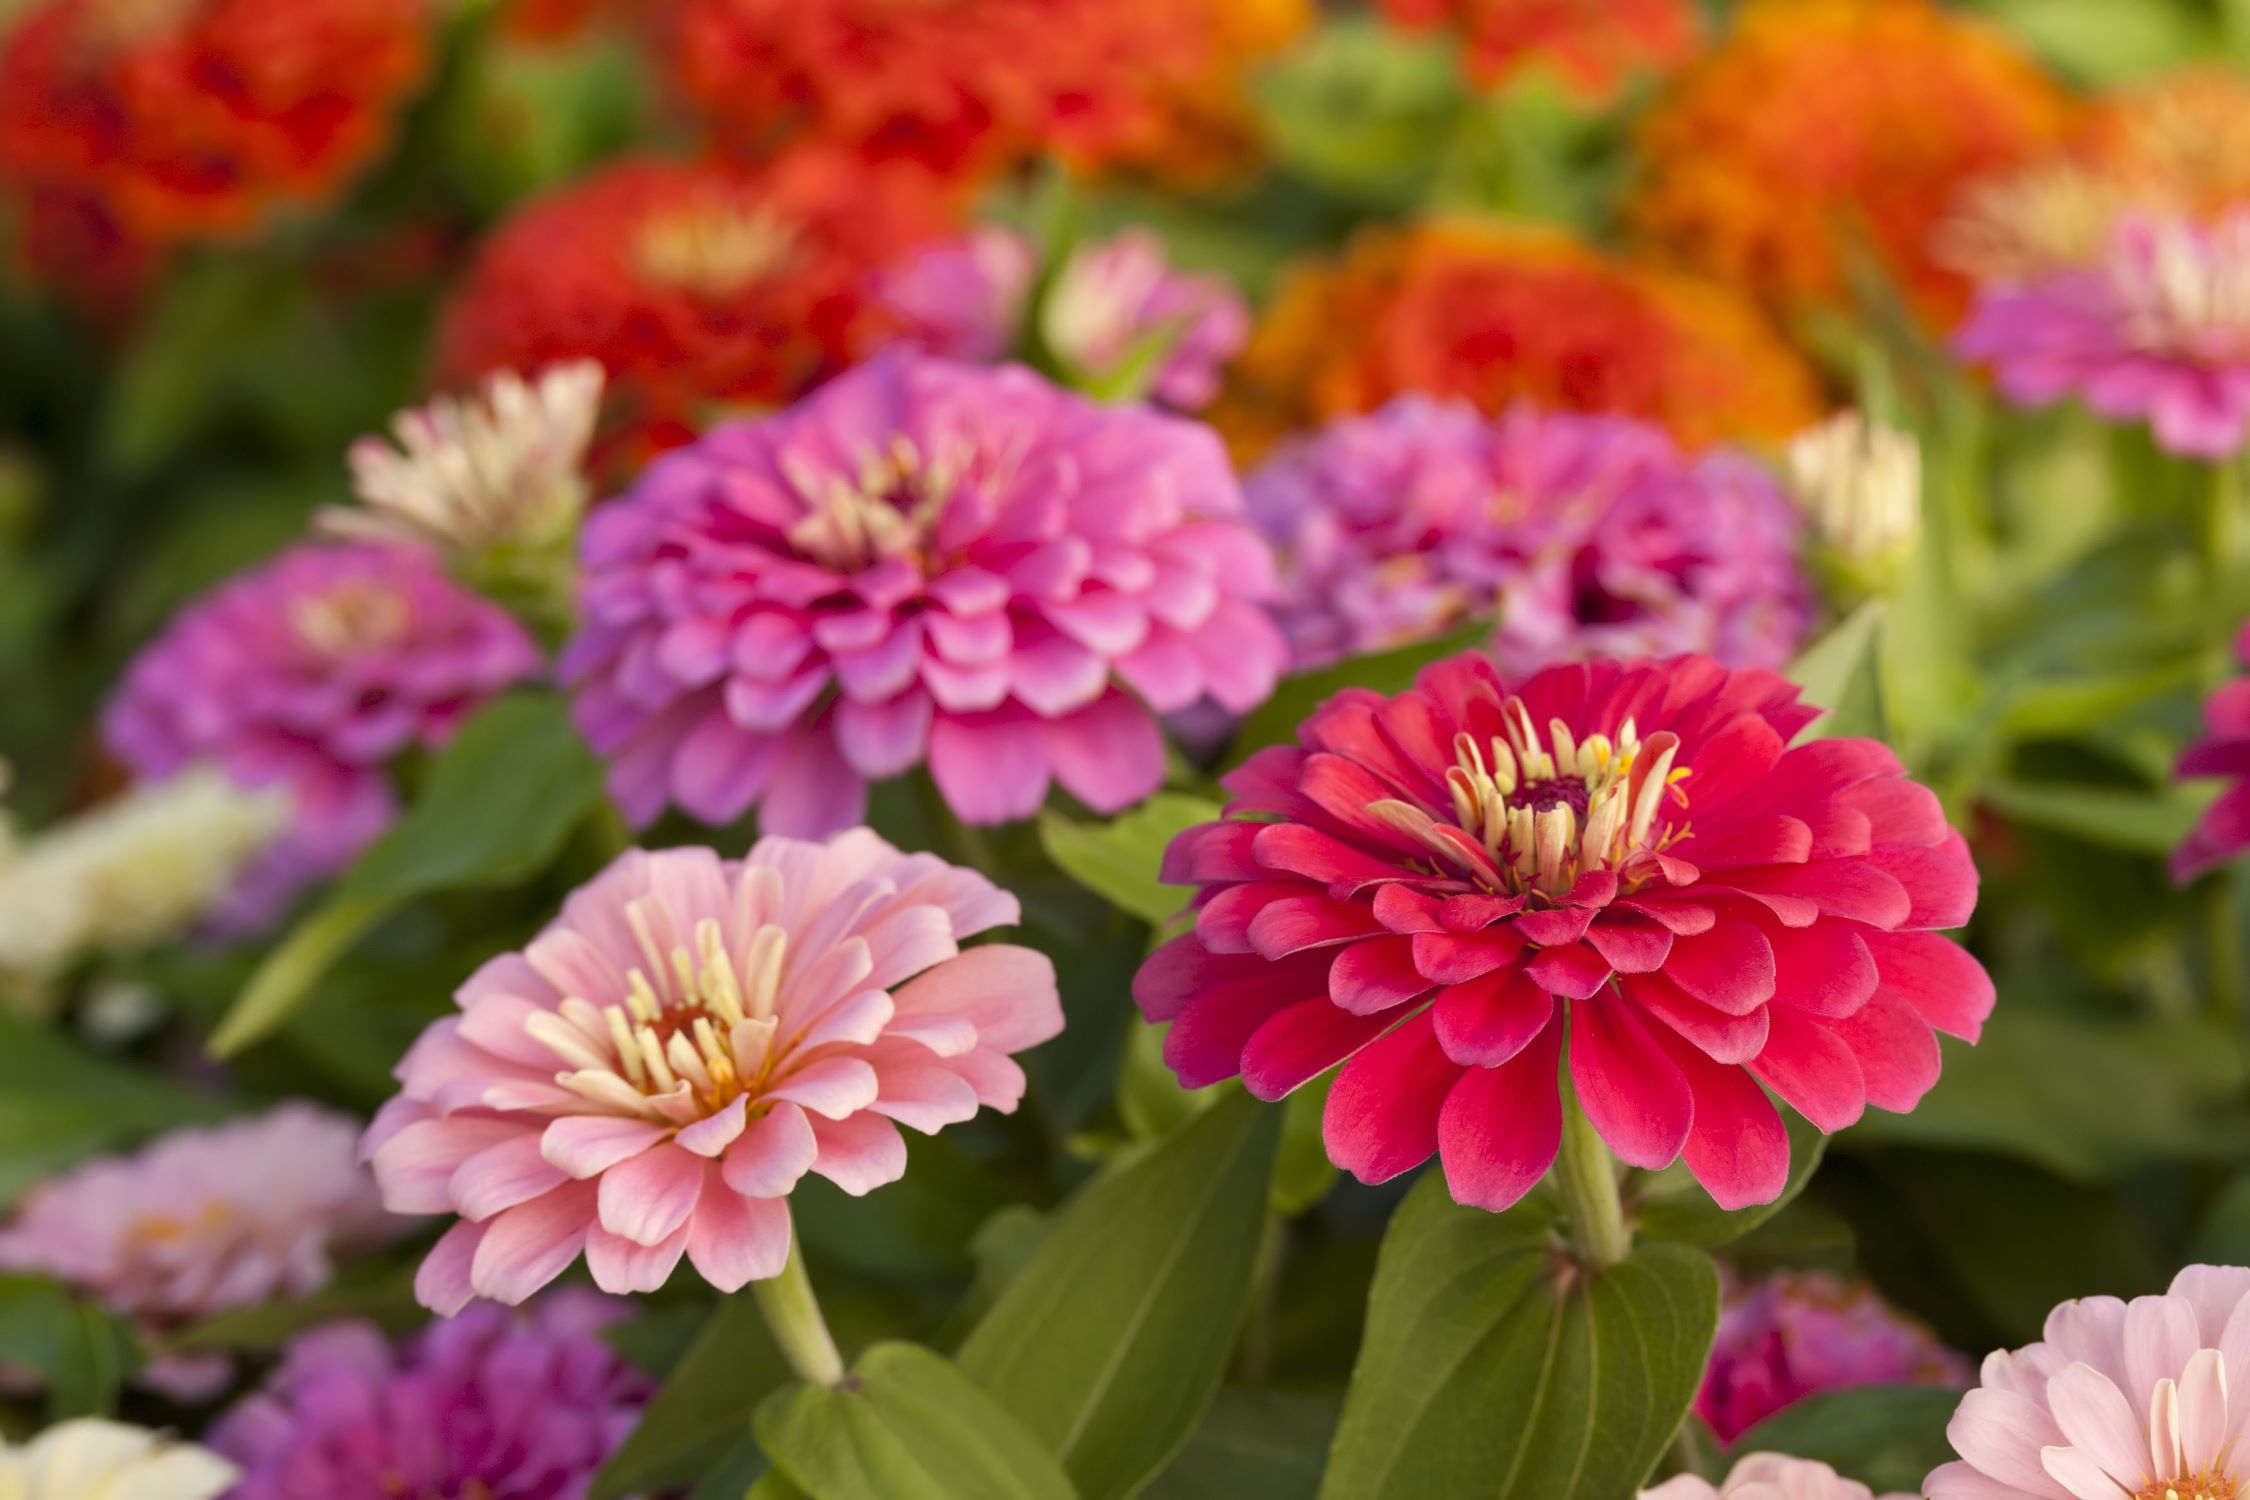
Welcome to the wonderful world of zinnia seeds! If you’re an avid gardener or simply have a fondness for beautiful blooms, learning how to save zinnia seeds can be a rewarding and cost-effective way to expand your garden. Zinnias, with their vibrant colors and long-lasting blooms, are popular annual flowers that are perfect for adding a splash of color to any garden bed or container.
In this article, we will delve into the fascinating process of saving zinnia seeds. We’ll guide you through the steps of when and how to harvest the seeds, as well as the essential tasks of cleaning, drying, and storing them properly for future use. Additionally, we’ll touch on planting saved zinnia seeds, so you can enjoy a bountiful display of zinnias year after year.
Whether you’re a seasoned green thumb or just starting your gardening journey, this article is here to provide you with all the information you need to successfully save zinnia seeds. So, let’s get started and unlock the secrets of preserving these fantastic flowers!
Key Takeaways:
- Save zinnia seeds by harvesting dried flower heads, cleaning and drying the seeds, and storing them in a cool, dark place. Plant in sunny areas, water gently, and enjoy vibrant blooms!
- Zinnia seeds can be saved by selecting healthy plants, harvesting at the right time, and following proper cleaning and storage techniques. Plant in sunny spots, provide care, and watch your garden flourish!
Read more: When Do You Plant Zinnia Seeds
Understanding Zinnia Seeds:
Before we delve into the process of saving zinnia seeds, it’s important to understand a little bit about the seeds themselves. Zinnia seeds come in a variety of shapes, sizes, and colors, depending on the cultivar. They are generally small and flat, with a unique shape that resembles a pointed arrowhead.
Zinnias are open-pollinated flowers, which means that they can cross-pollinate with other zinnia varieties if grown in close proximity. This can result in hybridization and produce seeds that may not grow true to the parent plant. If you want to preserve the specific characteristics of a particular zinnia variety, it’s best to isolate the plants or use hand-pollination techniques to maintain the purity of the seeds.
Most zinnias are annuals, meaning they complete their life cycle in one growing season. However, with the proper care and seed-saving techniques, you can ensure the next generation of zinnias will continue to grace your garden year after year.
Zinnias are known for their ability to attract pollinators, such as bees and butterflies. Their bright, showy blooms provide a valuable food source for these important garden visitors. By saving zinnia seeds, you can not only enjoy their beauty but also contribute to the preservation of pollinator-friendly habitats in your area.
Now that we have a basic understanding of zinnia seeds and their characteristics, let’s move on to the next step: knowing when it’s the perfect time to harvest them.
When to Harvest Zinnia Seeds:
Timing is crucial when it comes to harvesting zinnia seeds. To ensure that the seeds are mature and fully developed, it’s important to wait until the flower heads have completely dried out on the plant. This allows the seeds to reach their maximum potential and ensures a higher germination rate.
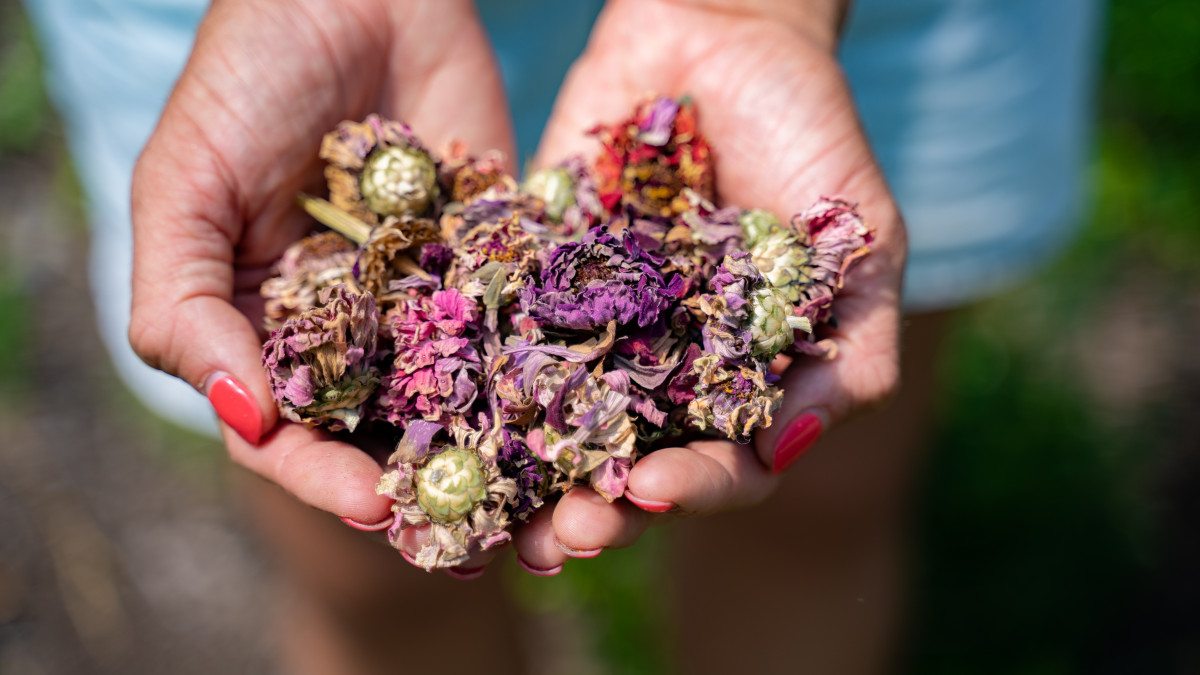
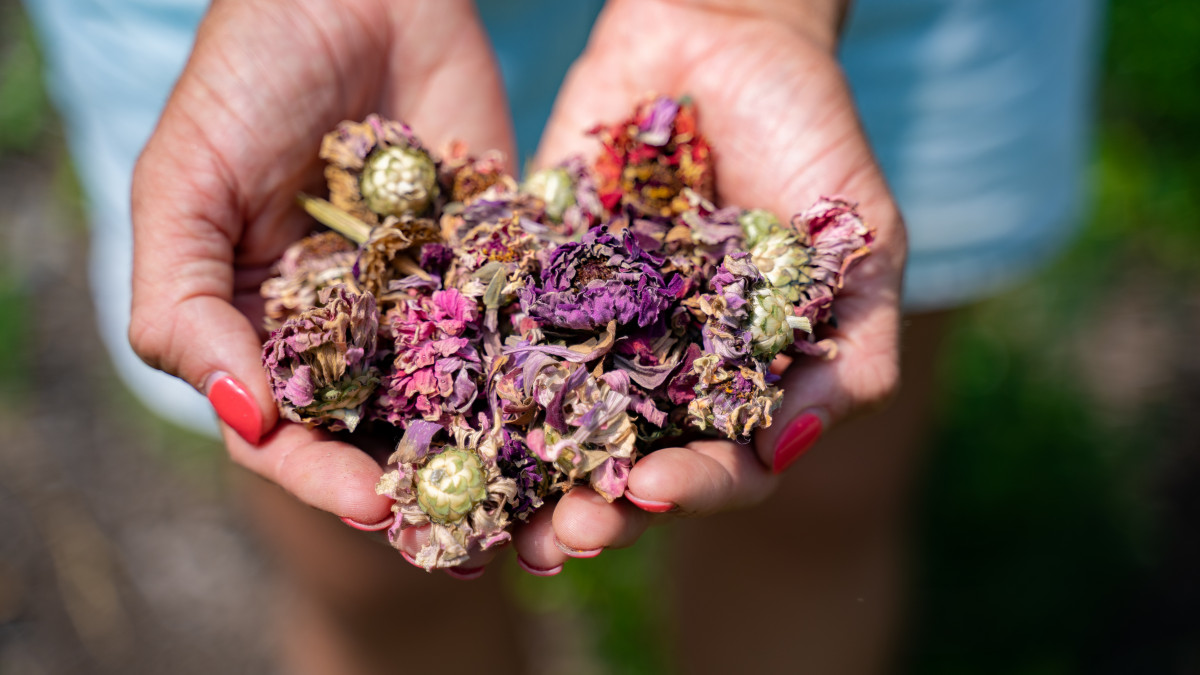
As the zinnia flowers fade and begin to wither, the petals will start to dry up and turn brown. This is a good indicator that the seeds inside the flower head are ready to be harvested. You can gently squeeze the flower head to check if it feels dry and brittle. If it does, then it’s time to proceed with the harvesting process.
One tip to remember is that zinnia seeds at the base of the flower head will mature first, while those at the top may still be developing. To ensure a higher-quality seed harvest, it’s advisable to collect seeds from the lower portion of the flower head first and leave the rest to fully mature before harvesting.
Another indication that zinnia seeds are ready for harvest is the appearance of a papery or straw-like substance between the petals and the base of the flower head. This is called the “seed cap” and is an excellent sign that the seeds are mature and can be collected.
Remember to keep a close eye on your zinnia plants as the flowering season progresses. Regular observation and monitoring will help you determine the ideal timing for seed harvesting. Patience is key when it comes to gathering zinnia seeds. If you harvest them too early, they may not be viable, resulting in poor germination rates.
Now that we know when to harvest zinnia seeds, let’s move on to the next step: preparing for the harvest.
Preparing to Harvest Zinnia Seeds:
Before you embark on the exciting task of harvesting zinnia seeds, it’s important to prepare yourself and your tools. Here are a few key steps to take to ensure a successful and efficient harvest:
- Select the healthiest plants: Choose the zinnia plants with the best growth, vibrant blooms, and strong stems for seed collection. Healthy plants are more likely to produce high-quality seeds.
- Gather your supplies: It’s essential to have the right tools for seed harvesting. Grab a pair of sharp, clean scissors or pruning shears, a clean paper bag or container to collect the seeds, and a marker to label your seeds for future reference.
- Choose a dry day: Harvesting zinnia seeds on a dry day is highly recommended to prevent moisture from affecting the quality of the seeds. Moisture can lead to mold or rot, reducing the viability of the seeds.
- Plan for isolation: If you have multiple varieties of zinnias in your garden and want to save seeds that are true to their parent plant, ensure adequate isolation between different varieties. This can be achieved through physical barriers or by staggering flowering times to minimize cross-pollination.
By following these preparatory steps, you set the stage for a successful zinnia seed harvest. With your tools and plants ready, it’s time to move on to the exciting task of harvesting the seeds. Stay tuned for the next section!
Harvesting Zinnia Seeds:
Now that you’ve prepared yourself and your tools, it’s time to embark on the exciting task of harvesting zinnia seeds. Follow these steps for a successful seed collection:
- Select the flower heads: Identify the flower heads that are fully dried out and ready for harvesting. These will have dry, brown petals and a brittle feel when gently squeezed. Choose the healthiest and most mature flower heads for the best quality seeds.
- Hold the flower head: Gently grasp the base of the flower head between your thumb and forefinger. Be careful not to apply too much pressure as it may cause the seeds to scatter prematurely.
- Break the flower head: With your other hand, use sharp scissors or pruning shears to snip or carefully break off the flower head from the stem. Try to keep the stem as long as possible, as it can provide a convenient handle during the next steps.
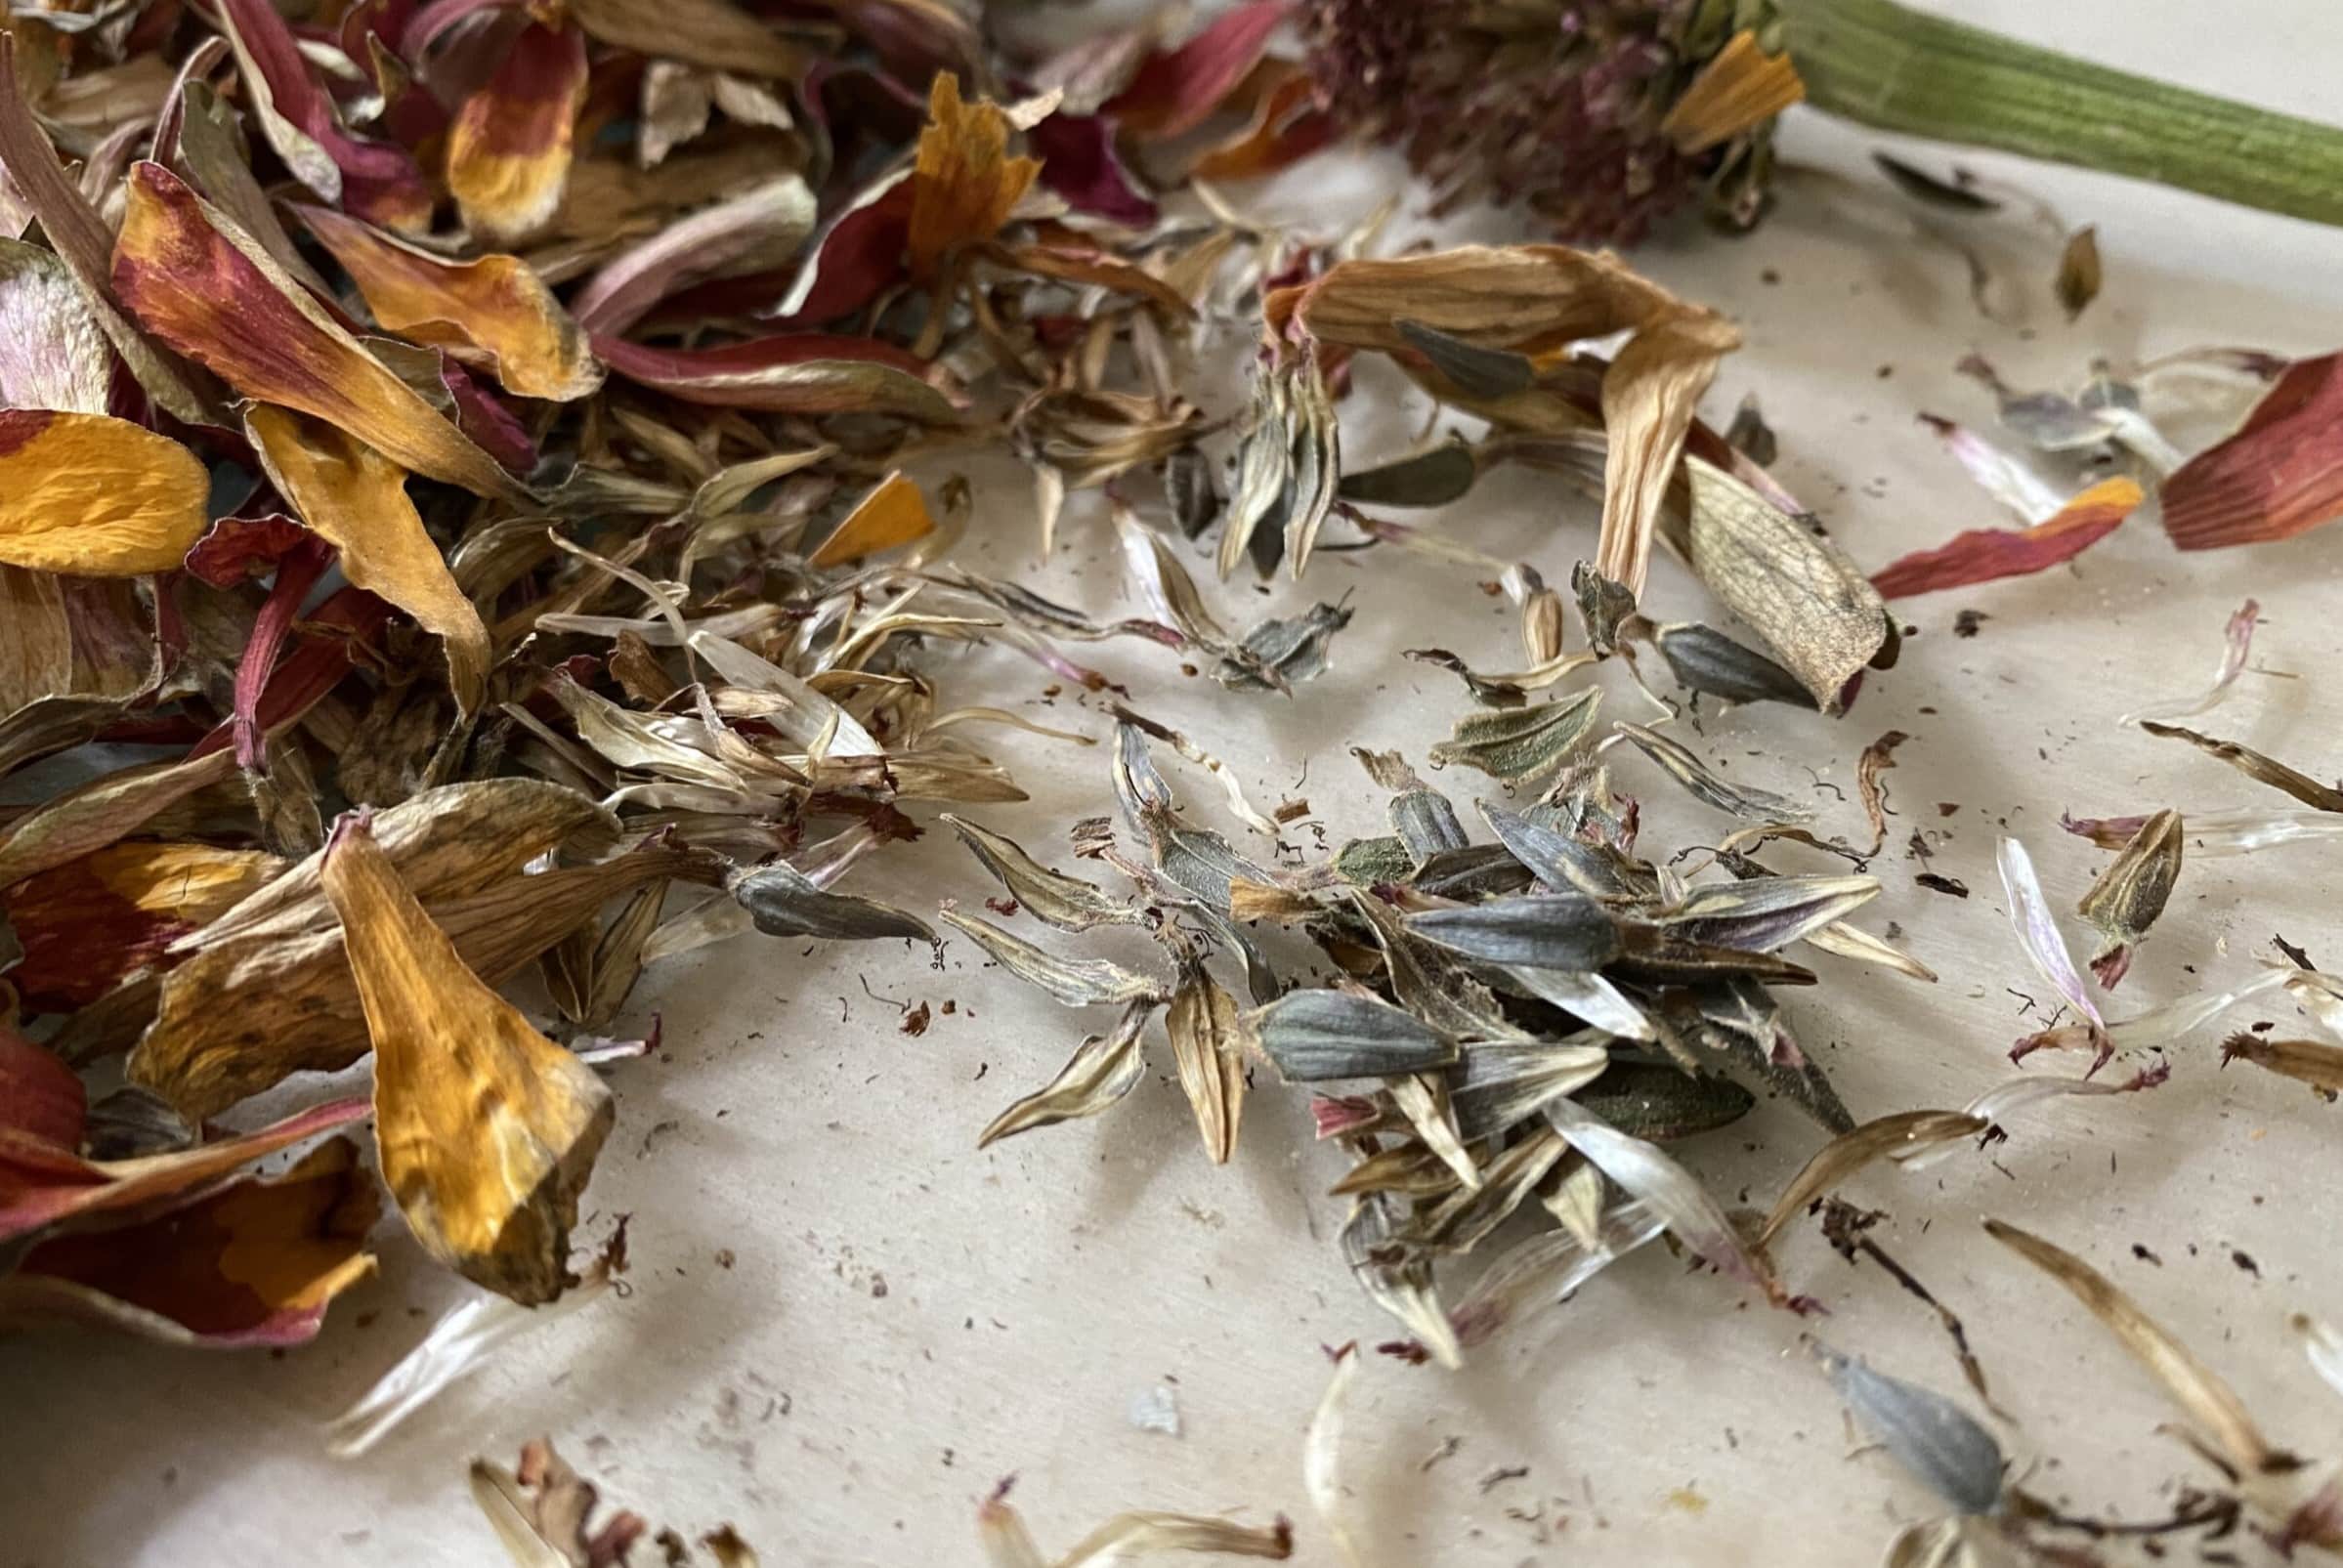
- Remove the petals: Once you have the flower head in hand, gently remove the dried petals. They should easily detach, leaving you with the center part of the flower head, called the seed head, intact.
- Extract the seeds: Take the seed head and hold it over a clean paper bag or container. Use your fingers or a small tool to gently separate the seeds from the seed head. You may need to gently tap or shake the seed head to encourage the seeds to fall out.
- Inspect and discard debris: As you extract the seeds, keep an eye out for any debris, such as small twigs, plant remnants, or insect remains. Discard these items to ensure you’re left with only the clean seeds.
Repeat these steps with each dried zinnia flower head you’ve selected for seed harvesting. Take your time and enjoy the process of gathering these tiny treasures that hold the promise of future blooms.
Once you’ve harvested the zinnia seeds, congratulations! The next steps involve cleaning and drying the seeds, which we’ll explore in the following section.
After the zinnia flowers have faded, allow the seed heads to dry on the plant. Once dry, carefully remove the seeds and store them in a cool, dry place for planting next season.
Read more: How To Grow Zinnias From Seed
Cleaning and Drying Zinnia Seeds:
After harvesting zinnia seeds, it’s essential to clean and dry them properly to ensure their long-term viability. Here are the steps to follow:
- Remove debris: Begin by gently blowing or using a fan at a low setting to remove any remaining debris from the seeds. This can include small bits of flower petals, chaff, or other plant matter.
- Water floatation method: To further clean the seeds, you can use the water floatation method. Place the seeds in a clean container and fill it with water. Gently swirl the container to separate any floating or non-viable seeds from the ones that sink. Remove the floating seeds and discard them before straining the sinkers.
- Strain and rinse: Strain the sunken seeds through a fine mesh sieve or cheesecloth to remove excess water. You can give them a gentle rinse under running water to remove any remaining impurities.
- Drying: Spread the cleaned seeds out evenly on a paper towel or a clean, dry surface. Ensure that they are in a single layer and not clumped together. Place them in a well-ventilated area away from direct sunlight to air dry. Stir or gently shuffle the seeds occasionally to promote even drying.
- Patience is key: Depending on the ambient conditions, the drying process can take anywhere from one to three weeks. Be patient and allow the seeds to dry thoroughly. The seeds should feel hard and be completely dry to the touch before proceeding to the next step.
It’s important to note that while zinnia seeds are relatively easy to clean, some varieties may have sticky or gelatinous substances attached to the seeds. In such cases, a gentle scrub with a soft toothbrush or a brief soak in water can help remove these coatings before drying.
Once the zinnia seeds are thoroughly dried, it’s time to move on to the final step: storing them for future planting. Stay tuned for the next section!
Storing Zinnia Seeds:
Proper storage is crucial to maintain the viability of zinnia seeds for future use. Follow these steps to ensure your zinnia seeds remain viable and ready for planting when the time is right:
- Label and prepare containers: Before transferring the dried zinnia seeds to storage containers, make sure to label them properly. Include the variety, color, and the year of harvest, as this information will be useful when you’re ready to plant them. Use small envelopes, glass jars, or airtight plastic containers to store the seeds.
- Ensure dry conditions: Before placing the seeds in the containers, ensure that they are completely dry. Moisture can lead to mold or fungal growth, which can render the seeds nonviable. If there is any doubt about the seeds’ dryness, allow them to air dry for a few more days before storing them.
- Cool, dark, and dry storage location: Find a cool and dark location to store your zinnia seeds. Excess heat and sunlight can reduce the viability of the seeds over time. Ideally, the storage area should be free from fluctuations in temperature and humidity. A pantry or a cool basement is often suitable for seed storage.
- Additional protection: To provide extra protection against moisture and pests, consider adding a desiccant packet or a small amount of silica gel to the storage containers. These help to absorb excess moisture and preserve the seeds’ quality.
- Regular monitoring: Check the stored zinnia seeds periodically to ensure there are no signs of mildew, mold, or insect infestation. If you notice any issues, act immediately to prevent the damage from spreading to other seeds.
By following these storage guidelines, your zinnia seeds can remain viable for several years, allowing you to enjoy their vibrant blooms season after season.
When you’re ready to plant the saved zinnia seeds, refer to our next section on how to properly sow and care for them. Happy gardening!
Planting Saved Zinnia Seeds:
Now that you have successfully harvested, cleaned, and stored your zinnia seeds, it’s time to plant them and watch your garden burst with colorful blooms. Here’s a step-by-step guide on how to plant saved zinnia seeds:
- Select the planting location: Choose a sunny spot in your garden or containers that receives at least 6-8 hours of direct sunlight daily. Zinnias thrive in full sun and require warmth to germinate and grow.
- Prepare the soil: Zinnias are not particularly picky about soil types, but they do prefer well-draining soil. Loosen the soil and amend it with organic matter such as compost or aged manure to improve its fertility and drainage.
- Sow the seeds: Sow the zinnia seeds directly into the prepared soil. Scatter them evenly or plant them in rows, following the recommended spacing for the specific zinnia variety. Lightly cover the seeds with a thin layer of soil, about ¼ inch deep.
- Water gently: Water the newly planted zinnia seeds gently to keep the soil moist but not waterlogged. Avoid overwatering, as it can cause the seeds to rot. Use a gentle spray or a watering can with a fine nozzle to avoid disturbing the newly sown seeds.
- Ensure proper care: As the zinnia seedlings emerge, continue to water them regularly, keeping the soil consistently moist. Once the seedlings grow a few inches tall, you can gradually reduce the frequency of watering, allowing the soil to dry out slightly between waterings.
- Thin the seedlings: Zinnias can easily become overcrowded if the seeds are sown too densely. Once the seedlings have grown their first true leaves, thin them out to maintain proper spacing. This will allow each plant to have enough room to grow and flourish.
- Provide support if needed: Depending on the zinnia variety, some taller types may require support to prevent them from toppling over in strong winds. Consider using stakes or small cages to provide support for the plants as they grow.
- Monitor for pests and diseases: Keep an eye out for common garden pests like aphids, caterpillars, and mildew. If necessary, employ organic pest control methods or use appropriate fungicides to protect your zinnia plants.
- Enjoy the blooms: With proper care and maintenance, your zinnia plants will produce a magnificent display of colorful blooms. Regularly deadhead faded blossoms to encourage continuous flowering throughout the growing season.
Remember, each zinnia plant is unique, so keep an eye out for any interesting variations or striking colors that may arise from your saved seeds. Experiment and have fun exploring the diversity of your zinnia garden.
With these simple steps, you can enjoy the beauty of zinnias year after year, all from the seeds you’ve saved and nurtured. Happy planting!
Conclusion:
Saving zinnia seeds is a rewarding and cost-effective way to expand your garden and enjoy the beauty of these vibrant flowers year after year. By understanding the characteristics of zinnia seeds and following the proper techniques for harvesting, cleaning, drying, and storing them, you can ensure the long-term viability of your saved seeds.
Remember to choose the healthiest plants, prepare your tools, and harvest the seeds at the right time when the flower heads are fully dried. Clean the seeds to remove any debris and allow them to dry thoroughly before storing them in a cool, dark, and dry location. Regularly monitor their condition to prevent any issues such as mold or insect infestation.
When you’re ready to plant the saved zinnia seeds, select a sunny location, prepare the soil, and sow the seeds. Provide proper care and maintenance, including watering, thinning, and monitoring for pests and diseases. With patience and care, you will soon be rewarded with a stunning display of zinnia blooms in your garden.
Saving and planting zinnia seeds not only allows you to enjoy the beauty of these flowers, but also contributes to the preservation of unique varieties and supports pollinators in your garden. So, embrace the process of seed saving and indulge in the joy of nurturing your own zinnias from seed to bloom.
We hope this comprehensive guide has provided you with valuable insights and practical tips on how to save zinnia seeds. Now it’s time for you to put your newfound knowledge into practice and enjoy the abundance of zinnias in your garden. Happy gardening!
Frequently Asked Questions about How Do You Save Zinnia Seeds
Was this page helpful?
At Storables.com, we guarantee accurate and reliable information. Our content, validated by Expert Board Contributors, is crafted following stringent Editorial Policies. We're committed to providing you with well-researched, expert-backed insights for all your informational needs.

0 thoughts on “How Do You Save Zinnia Seeds”