Home>Garden Essentials>How To Clean Pumpkin Seeds For Roasting
Garden Essentials
How To Clean Pumpkin Seeds For Roasting
Modified: March 24, 2024
Learn how to clean pumpkin seeds from your garden for roasting and enjoy a delicious and healthy snack.
(Many of the links in this article redirect to a specific reviewed product. Your purchase of these products through affiliate links helps to generate commission for Storables.com, at no extra cost. Learn more)
Introduction
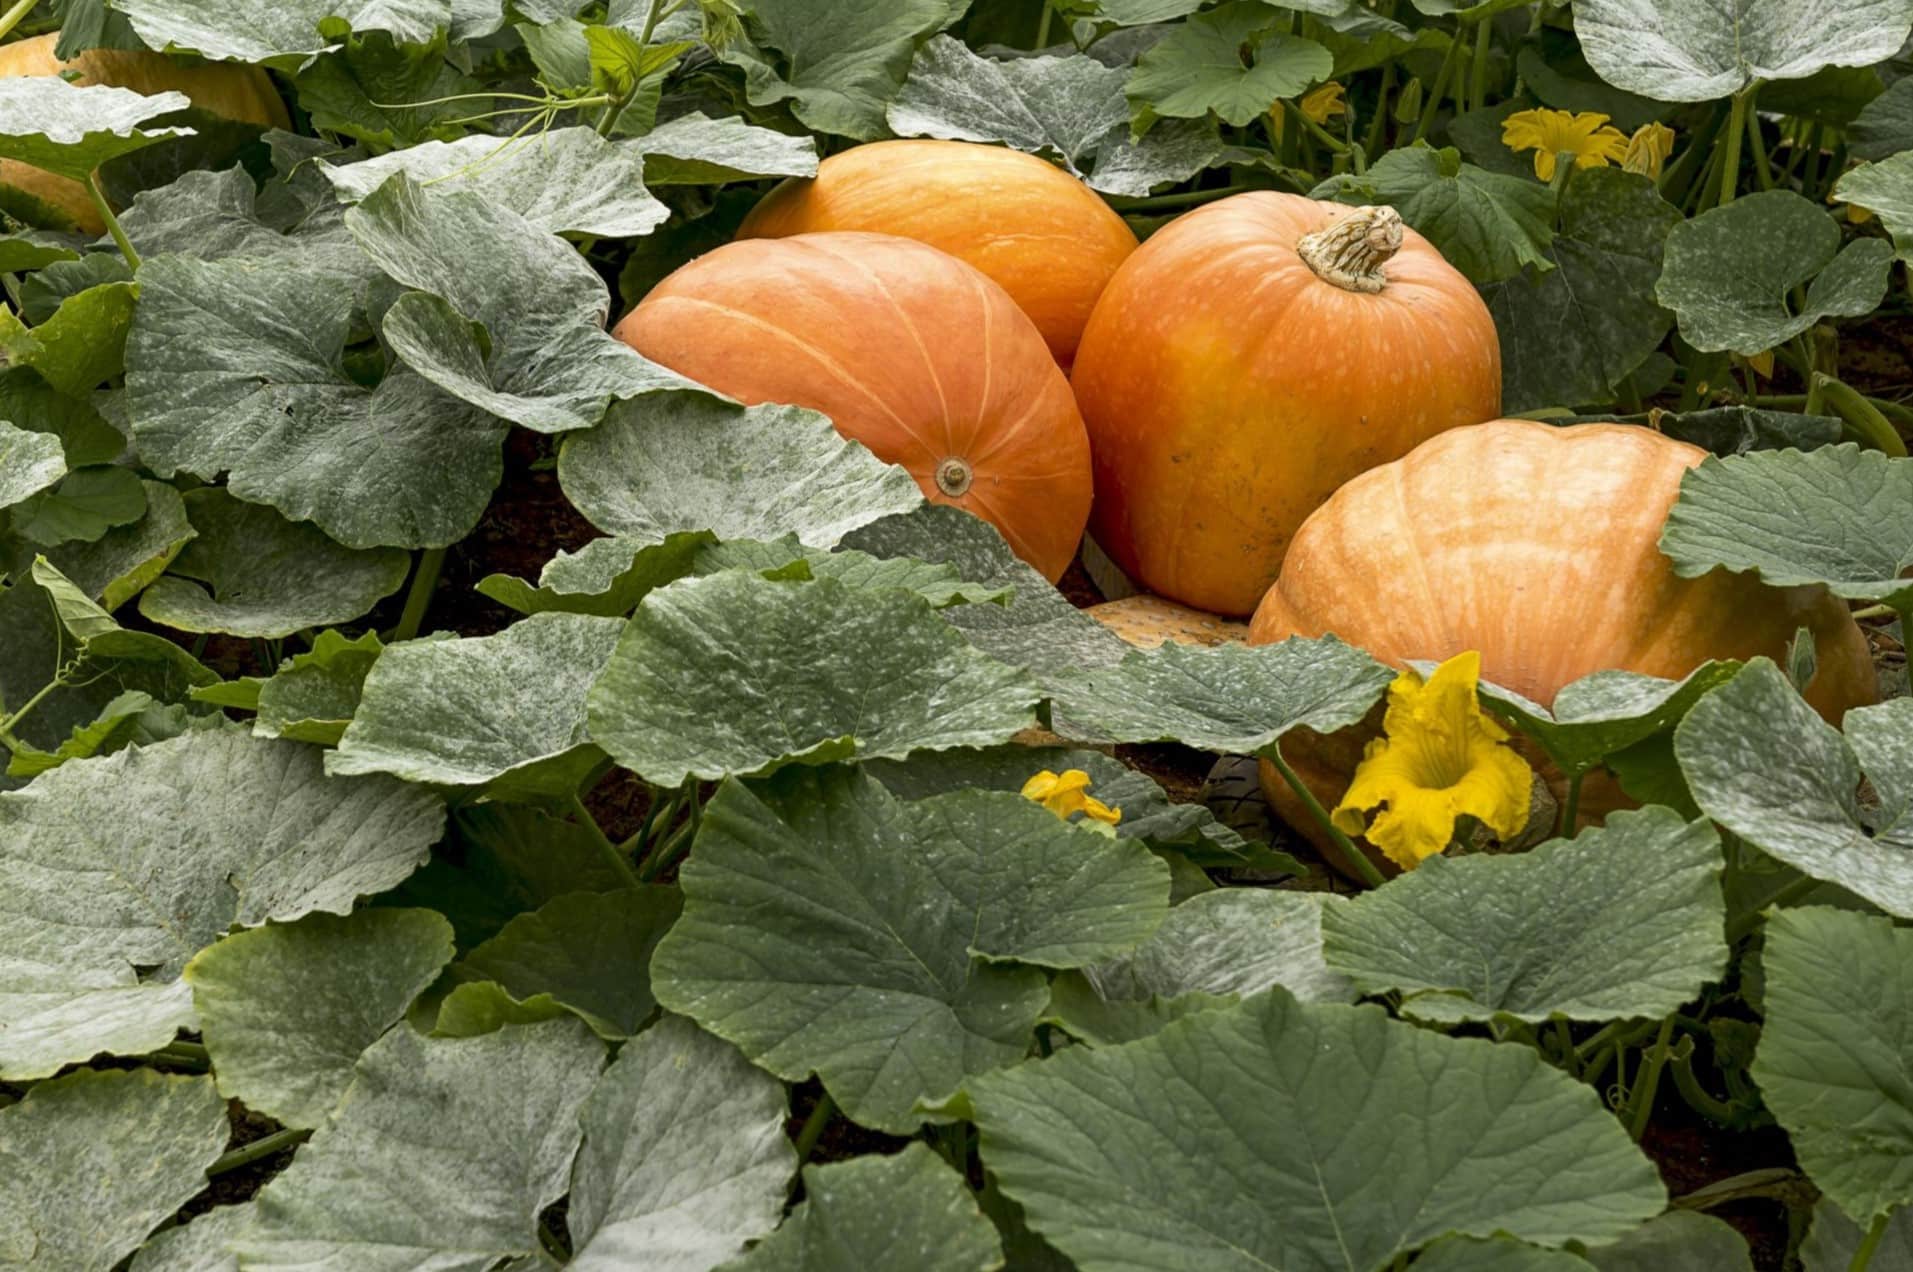
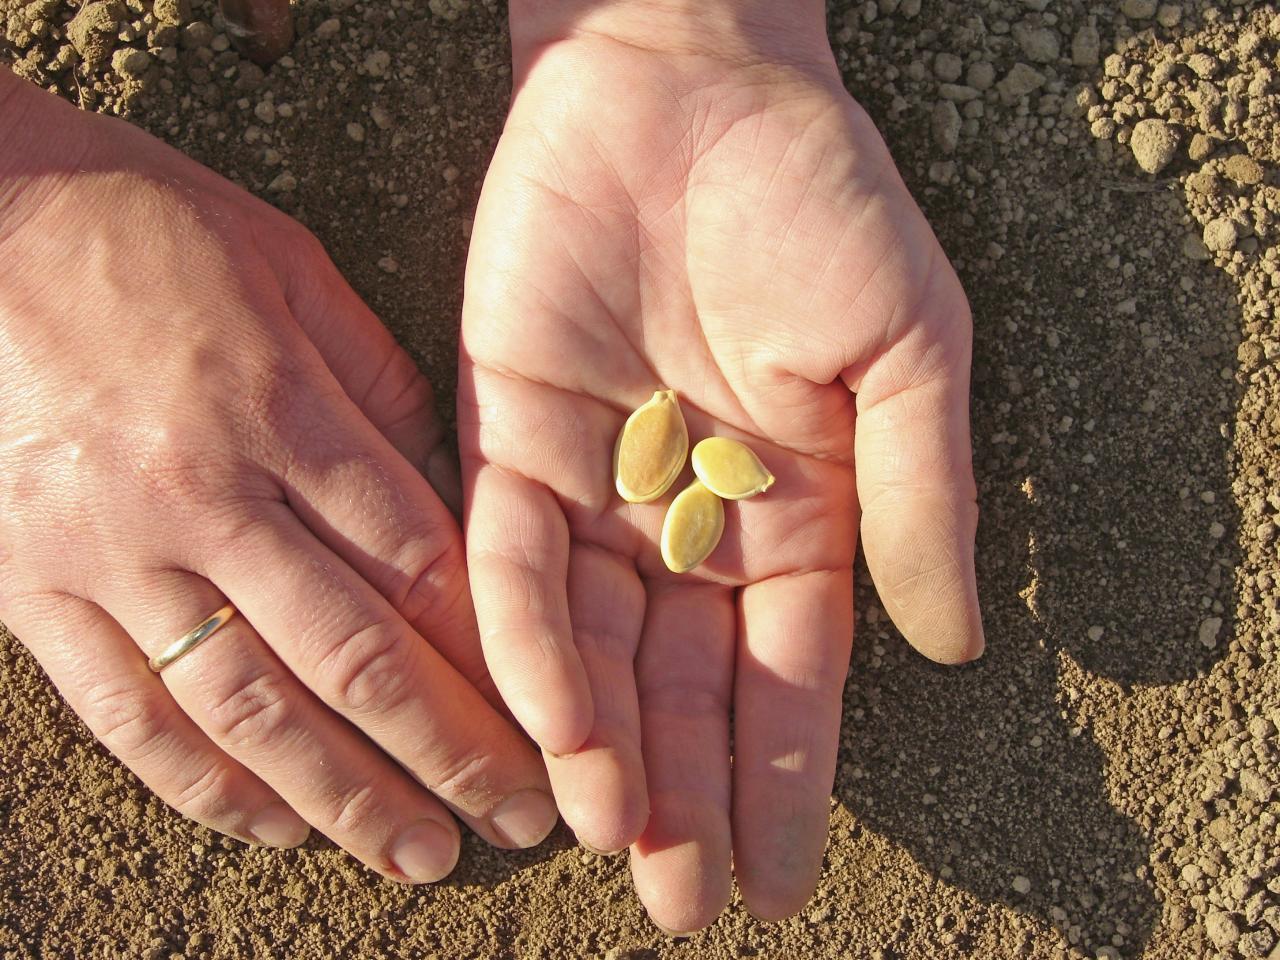
Gardening is a rewarding hobby that allows us to connect with nature and enjoy the beauty of plants in our own backyard. One of the joys of gardening is harvesting the fruits (or in this case, seeds) of our labor, and pumpkin seeds are no exception. Pumpkin seeds, also known as pepitas, are not only delicious but also packed with nutritional benefits.
If you’re lucky enough to grow your own pumpkins, you may find yourself wondering what to do with the seeds once you’ve carved or cooked with the pumpkin flesh. Luckily, roasting pumpkin seeds is a simple and enjoyable process that can be done in the comfort of your own home.
In this article, I will guide you through the step-by-step process of cleaning pumpkin seeds for roasting. Whether you’re a seasoned gardener or a newbie trying your hand at growing pumpkins, these tips will help you make the most out of your pumpkin harvest. So let’s jump right in!
Key Takeaways:
- Don’t let pumpkin seeds go to waste! Follow these simple steps to clean and roast them for a delicious and nutritious snack. Enjoy the crunchy goodness and nutritional benefits of homemade roasted pumpkin seeds.
- Turn pumpkin seeds into a versatile ingredient! Use them as a topping for salads, soups, or baked goods, or enjoy them on their own for a satisfying and healthy snack. Get creative and savor the delightful rewards of roasting pumpkin seeds.
Read more: How To Make Roasted Pumpkin Seeds In Oven
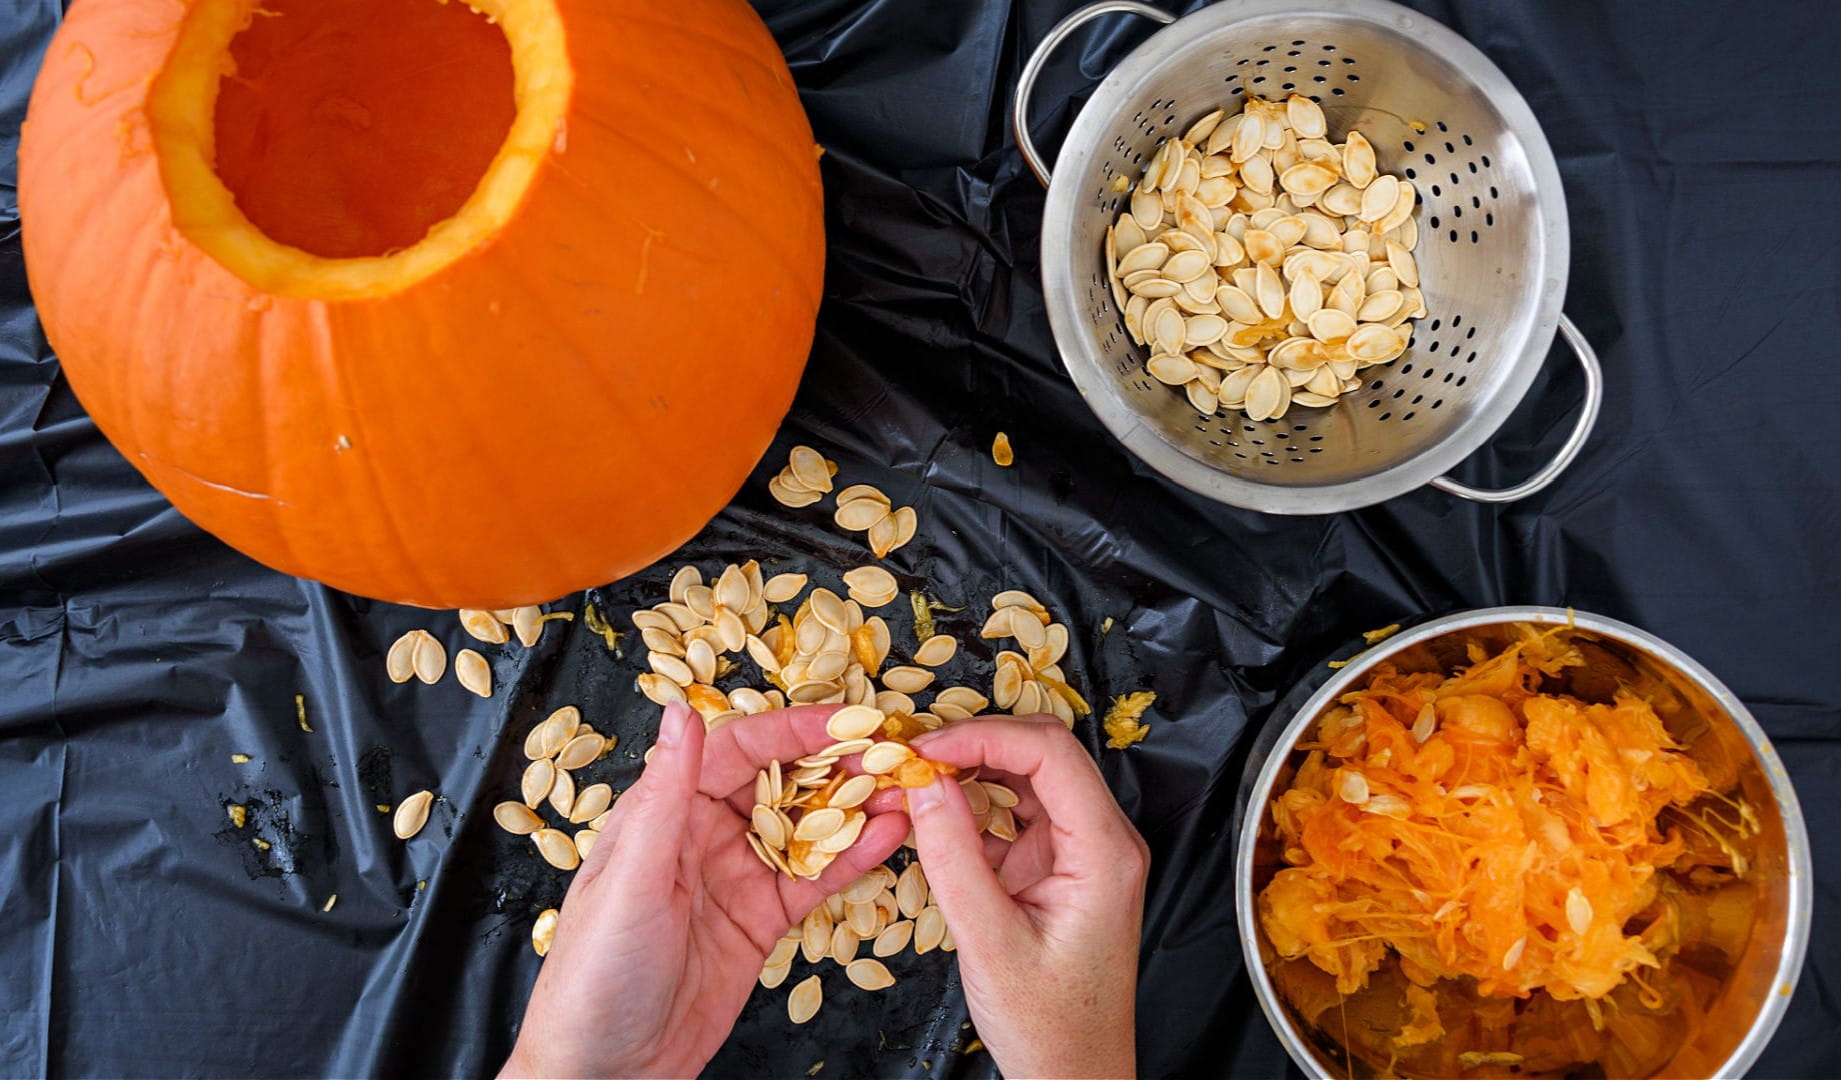
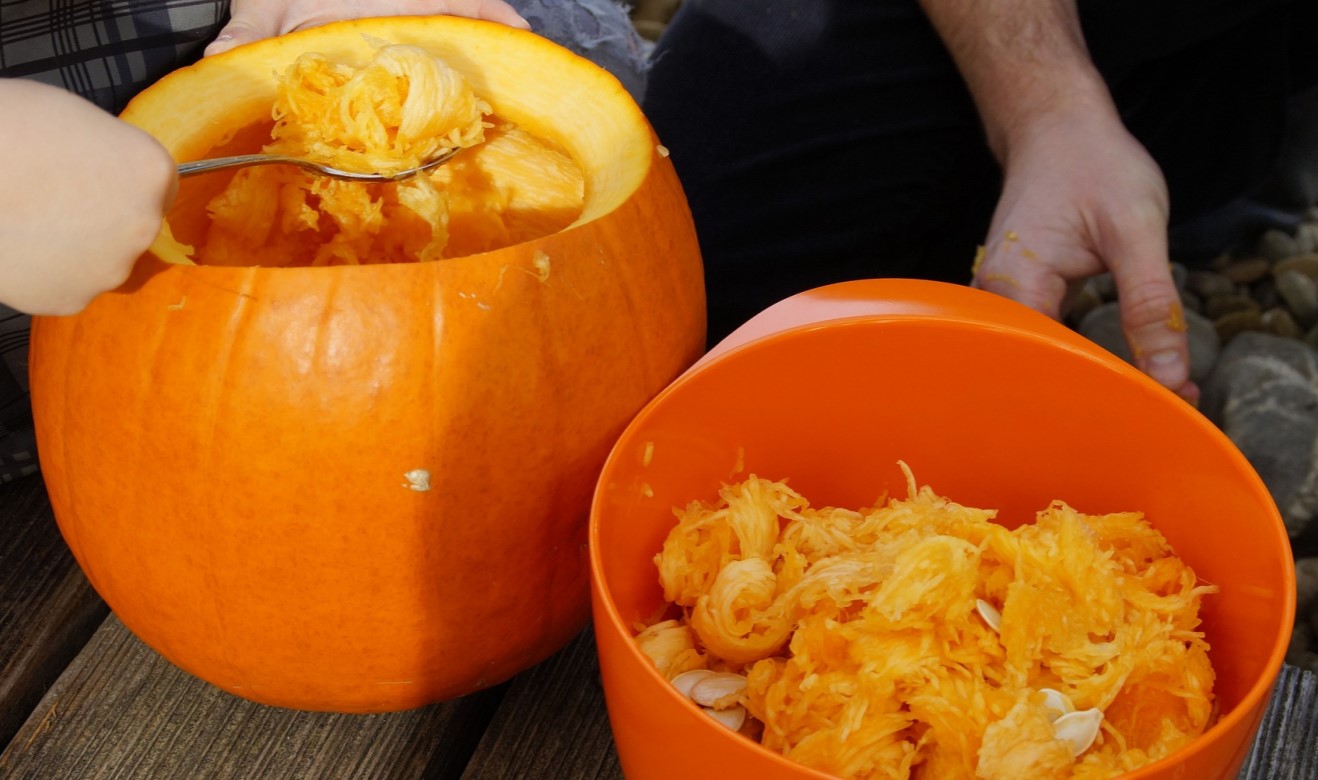
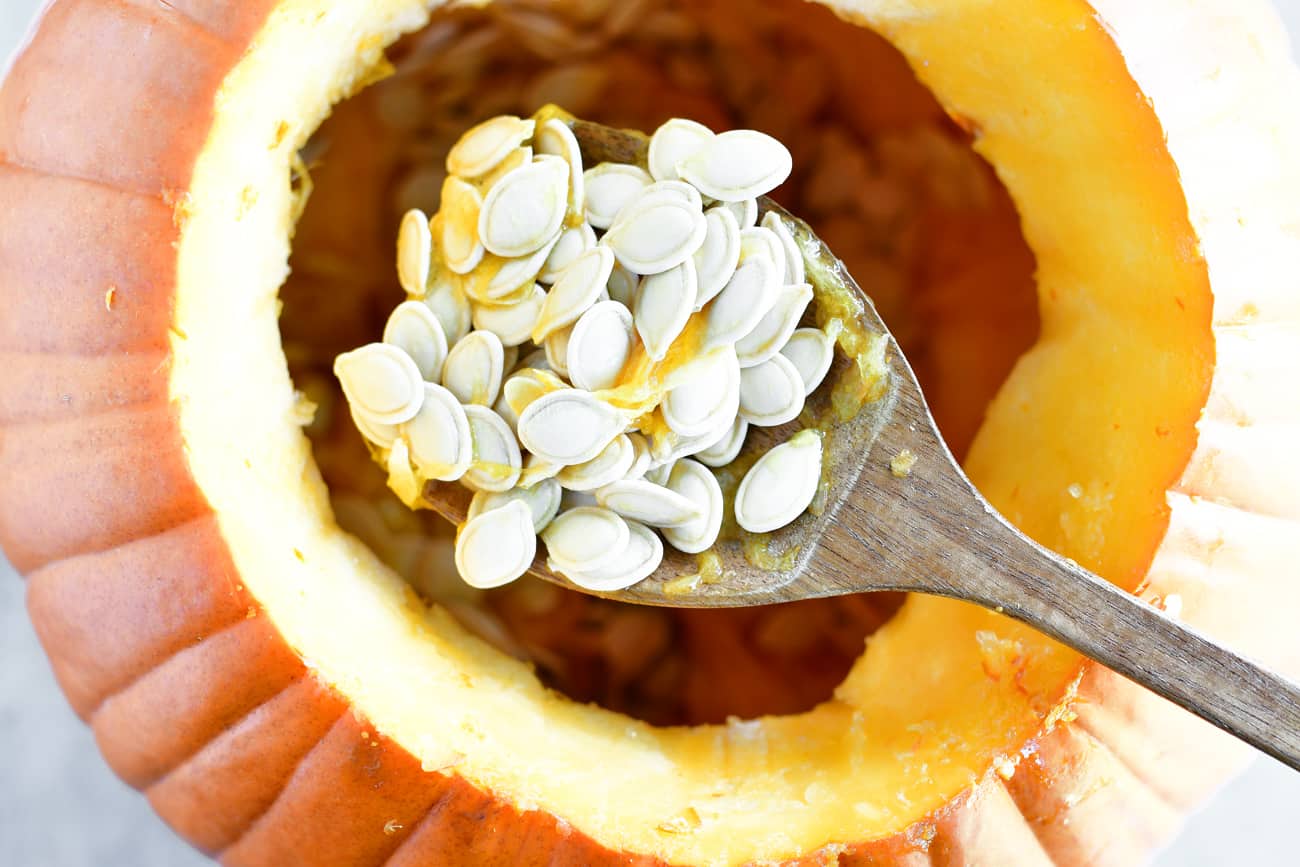
Step 1: Remove the seeds from the pumpkin
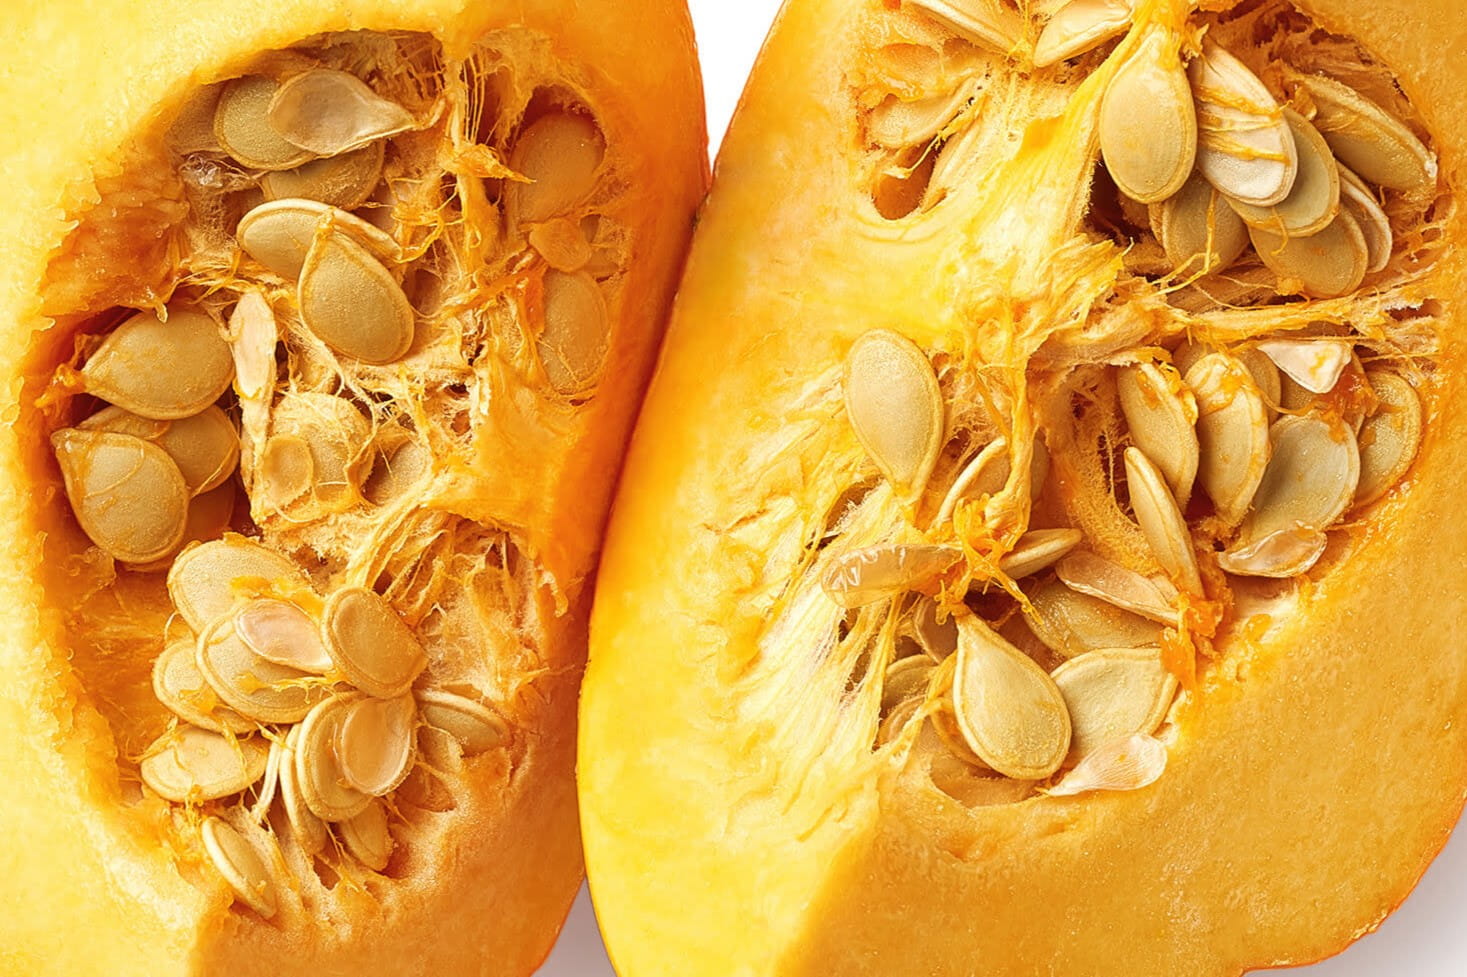
The first step in preparing pumpkin seeds for roasting is to remove them from the pumpkin itself. Start by cutting off the top of the pumpkin and scooping out the pulp and seeds with a spoon. Place the pulp and seeds in a bowl or separate them into two bowls if you prefer to keep them separate.
As you remove the seeds, you may notice that they are covered in a sticky, orange substance. This is the pumpkin’s natural pulp, and it can be quite messy. Don’t worry – we’ll tackle how to separate the seeds from the pulp in the next step.
When removing the seeds, try to be as thorough as possible. It’s important to get rid of any remaining flesh or pulp, as this can affect the taste and texture of the roasted seeds. Take your time and be patient, making sure to scrape every last seed out of the pumpkin.
If you’re using pumpkins from a local farm or grocery store, you can still enjoy the benefits of homemade roasted pumpkin seeds. Simply purchase a pumpkin and follow the same steps to remove the seeds.
Now that you’ve successfully removed the seeds from the pumpkin, it’s time to move on to the next step: separating the seeds from the pulp.
Step 2: Separate the seeds from the pulp
Once you have removed the seeds from the pumpkin, you will need to separate them from the pulp. This can be a bit messy, but don’t worry – it’s all part of the process!
Transfer the seeds and pulp into a large bowl filled with water. Using your hands, swish the seeds around in the water. This will help to loosen the pulp from the seeds.
Next, use a slotted spoon or your hands to remove any pulpy or stringy pieces from the water. The pulp will float to the top, making it easier to skim off. Discard the pulp and any other debris that you find.
Continue this process until most of the pulp has been removed. Don’t worry if there are still small bits of pulp clinging to the seeds – we will address that in the next step.
Once you have separated the majority of the pulp from the seeds, give them a final rinse under running water. This will help to remove any remaining bits of pulp and ensure that the seeds are clean and ready for the next step.
Now that the seeds are free from most of the pulp, it’s time to move on to the next step: rinsing the seeds.
Step 3: Rinse the seeds
After separating the seeds from the pulp, it’s important to give them a thorough rinse. Rinsing the seeds will help to remove any remaining pulp or residue, ensuring that they are clean and ready for the next steps.
Place the seeds in a colander or mesh strainer and hold them under running water. Gently rub the seeds between your fingers to help dislodge any stubborn bits of pulp or debris.
Continue rinsing and rubbing the seeds until the water runs clear and there are no traces of pulp left. This may take a few minutes, but the extra effort will pay off in the end, resulting in cleaner and tastier roasted pumpkin seeds.
Once the seeds are thoroughly rinsed, shake the colander or strainer gently to remove any excess water. You don’t want the seeds to be dripping wet, as this can affect the roasting process.
Now that the seeds are clean and ready, it’s time to move on to the next step: soaking the seeds.
Step 4: Soak the seeds
Soaking the pumpkin seeds before roasting can help to enhance their flavor and texture. This step is optional, but highly recommended for achieving optimal results.
Transfer the rinsed pumpkin seeds into a bowl and cover them with water. The water should be at least an inch above the seeds. You can also add a pinch of salt to the water for added flavor, but this is entirely up to your personal preference.
Let the seeds soak in the water for at least 6 to 8 hours, or overnight. This soaking process helps to remove any remaining natural inhibitors or enzymes that can make the seeds harder to digest.
During the soaking period, the seeds will absorb the water and become plumper and softer. This will allow them to roast evenly and result in a more enjoyable snacking experience.
After the soaking time is up, drain the seeds in a colander or strainer and give them a quick rinse under running water. This step will remove any excess salt or residue from the soaking water.
Now that the seeds have been soaked and rinsed, they are ready for the next step: draining and drying.
After removing the seeds from the pumpkin, rinse them in a colander to remove any pulp. Then, spread them out on a baking sheet to dry before roasting.
Step 5: Drain and dry the seeds
Once you have soaked and rinsed the pumpkin seeds, it’s important to thoroughly drain and dry them before roasting. This step helps to remove any excess moisture, ensuring that the seeds become crisp and delicious once they are roasted.
Start by transferring the seeds onto a clean kitchen towel or a layer of paper towels. Spread them out in a single layer and gently pat them dry. You can also use another kitchen towel or paper towel to blot away any remaining moisture.
Allow the seeds to air dry for about 20-30 minutes. This will give them time to dry out further and allow any excess moisture to evaporate. Make sure to give the seeds enough space to spread out and avoid overcrowding, as this can hinder the drying process.
If you’re in a hurry or want to speed up the drying process, you can also use a fan or a gentle heat source, such as a low oven or dehydrator, to dry the seeds more quickly. Just be careful not to expose them to high heat, as this can result in uneven roasting.
Once the seeds are dry to the touch and there is no visible moisture, it’s time to move on to the next step: seasoning the seeds (optional).
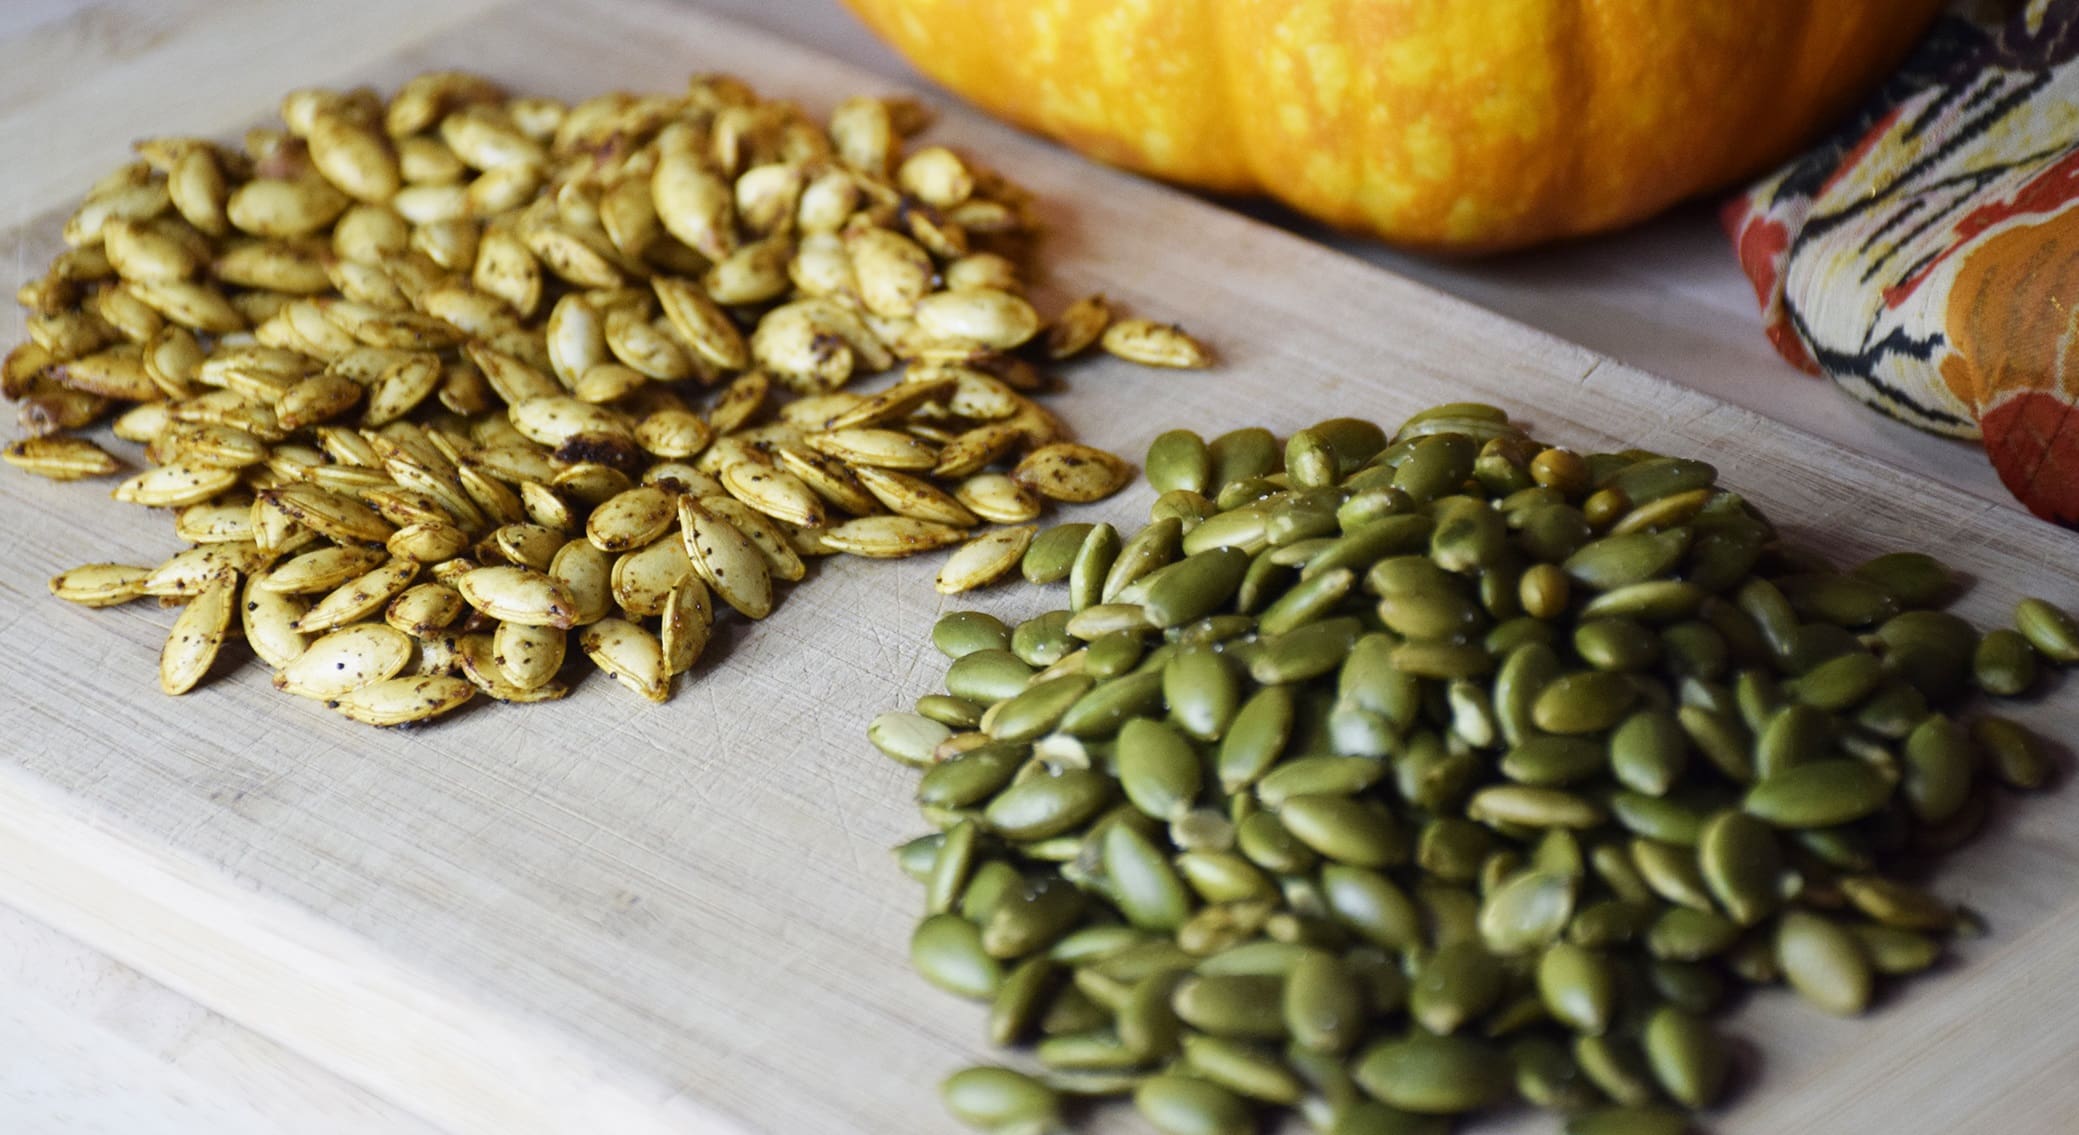
Step 6: Season the seeds (optional)
Seasoning the pumpkin seeds is a delicious way to add flavor and enhance the taste of your roasted snack. While plain, salted pumpkin seeds are delicious on their own, you can get creative and experiment with different seasonings to suit your taste preferences.
Start by preheating your oven to 300°F (150°C). While the oven is heating up, you can prepare your preferred seasoning blend. Here are a few ideas to get you started:
- Salted: The classic and simple option is to sprinkle the seeds with coarse sea salt or kosher salt.
- Sweet and Spicy: Combine cinnamon, nutmeg, brown sugar, and a pinch of cayenne pepper for a tasty sweet and spicy flavor.
- Savory Herb: Mix together dried herbs such as rosemary, thyme, garlic powder, and onion powder for a savory and aromatic blend.
- Smoky BBQ: Create a smoky flavor by combining paprika, cumin, chili powder, garlic powder, and a touch of brown sugar.
Once you have chosen your seasoning blend, place the dried pumpkin seeds in a bowl and drizzle them with a small amount of oil or melted butter. This will help the seasoning adhere to the seeds and add a touch of richness.
Add your desired seasoning blend to the bowl and toss the seeds until they are evenly coated. Don’t be afraid to get your hands in there and give them a good mix, ensuring that each seed gets coated with the savory or sweet flavors.
Now that the seeds are seasoned to perfection, it’s time to move on to the next step: roasting the seeds.
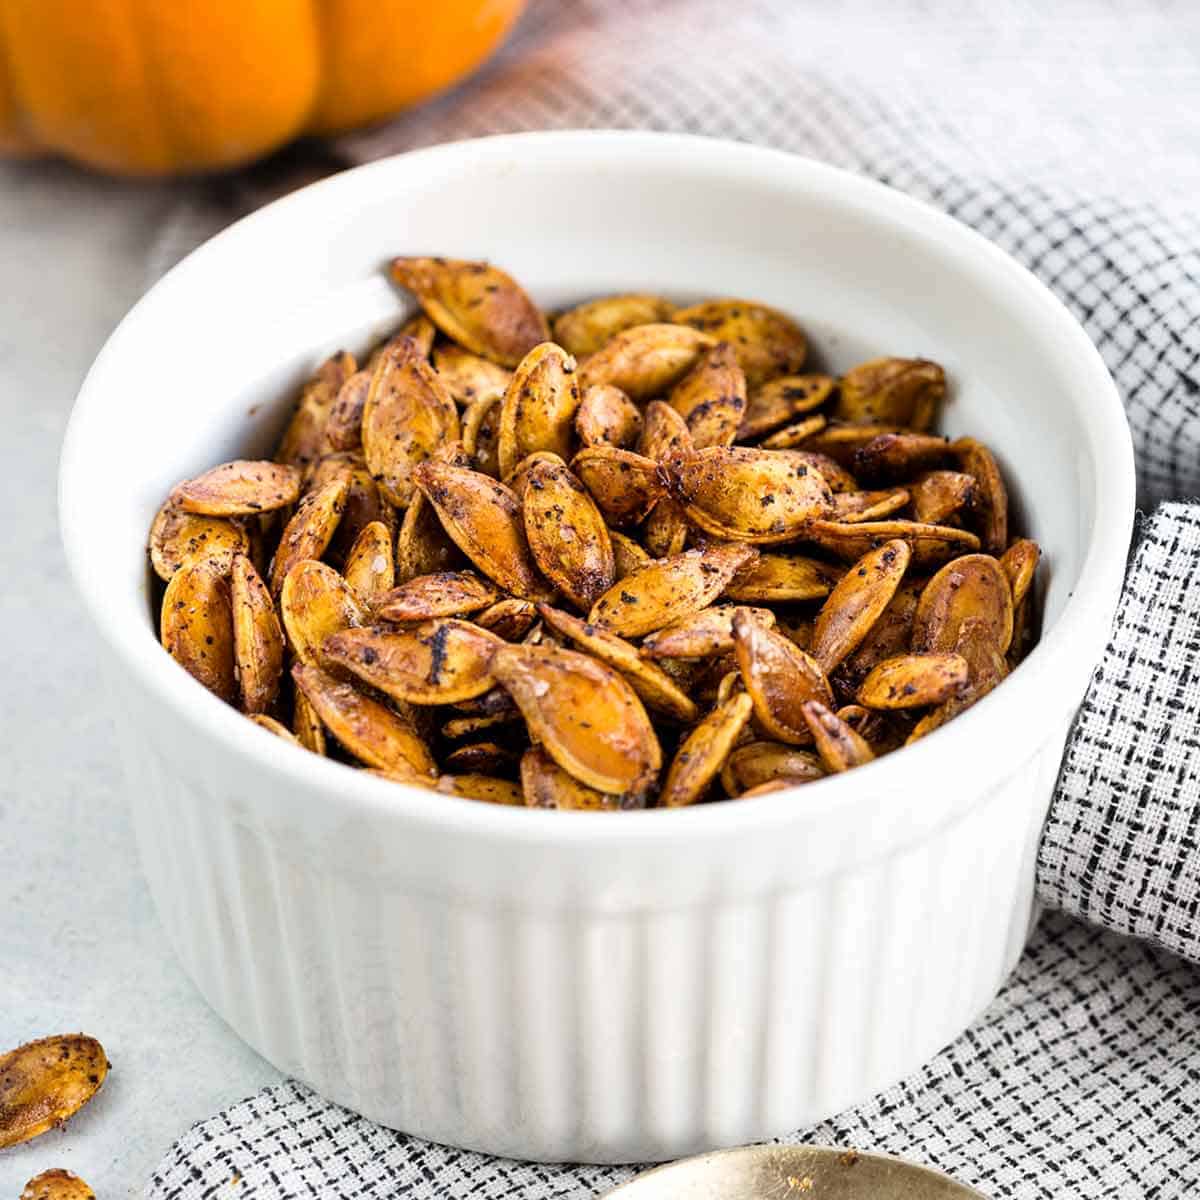
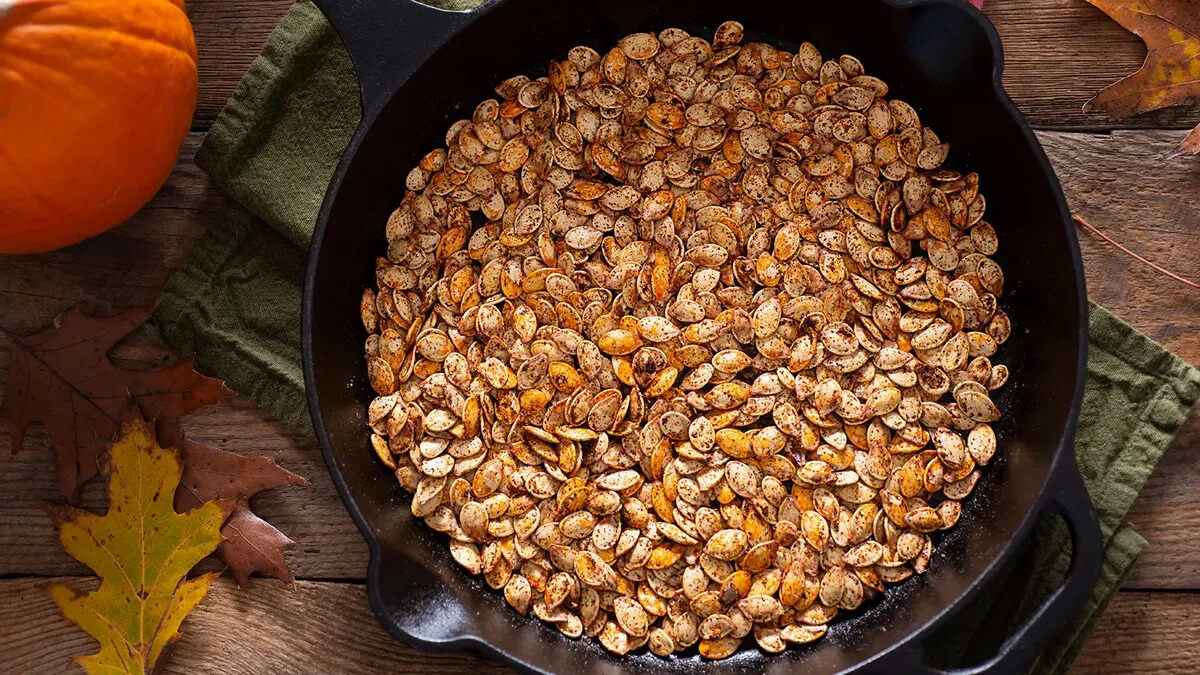
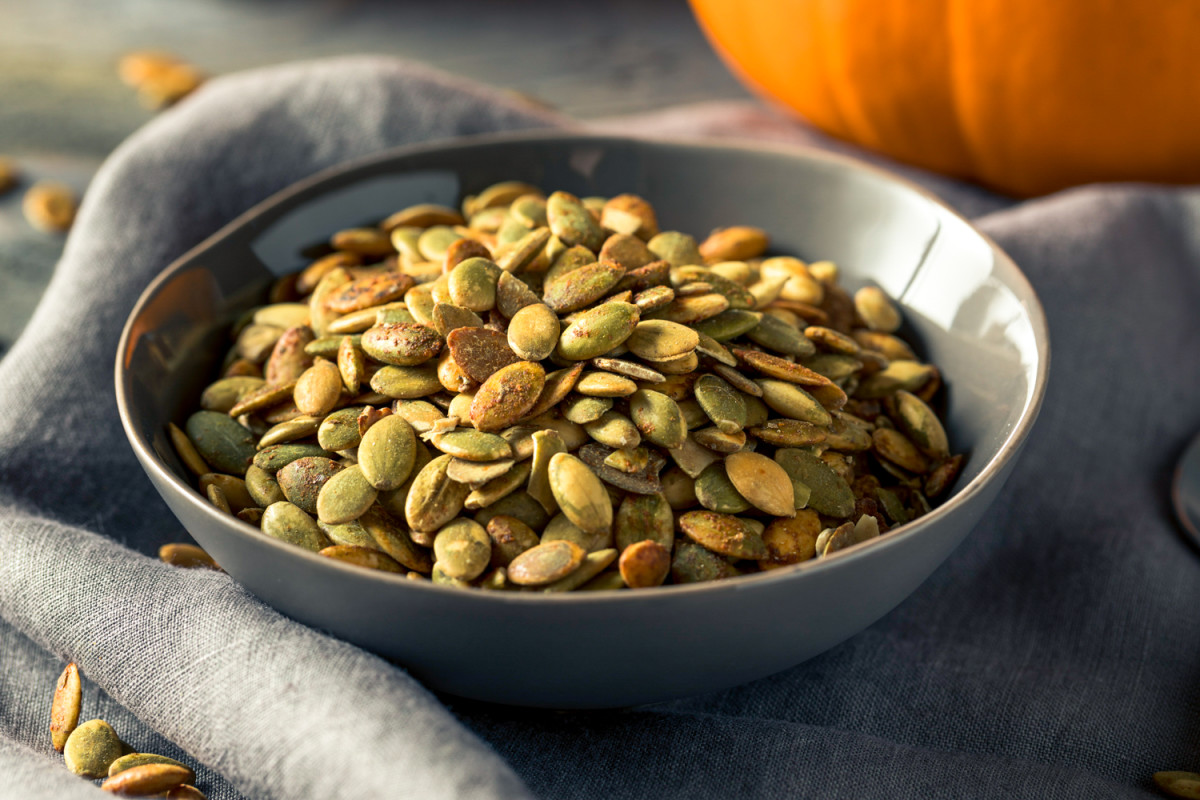
Step 7: Roast the seeds
Roasting the pumpkin seeds will transform them into a delicious and crispy snack that can be enjoyed on its own or added to various dishes. The roasting process enhances the flavors and brings out the nutty crunch of the seeds.
Start by preheating your oven to 350°F (175°C). Line a baking sheet with parchment paper or lightly grease it to prevent the seeds from sticking.
Spread the seasoned pumpkin seeds on the prepared baking sheet in a single layer. Make sure the seeds are evenly spaced, allowing them to roast and crisp up evenly.
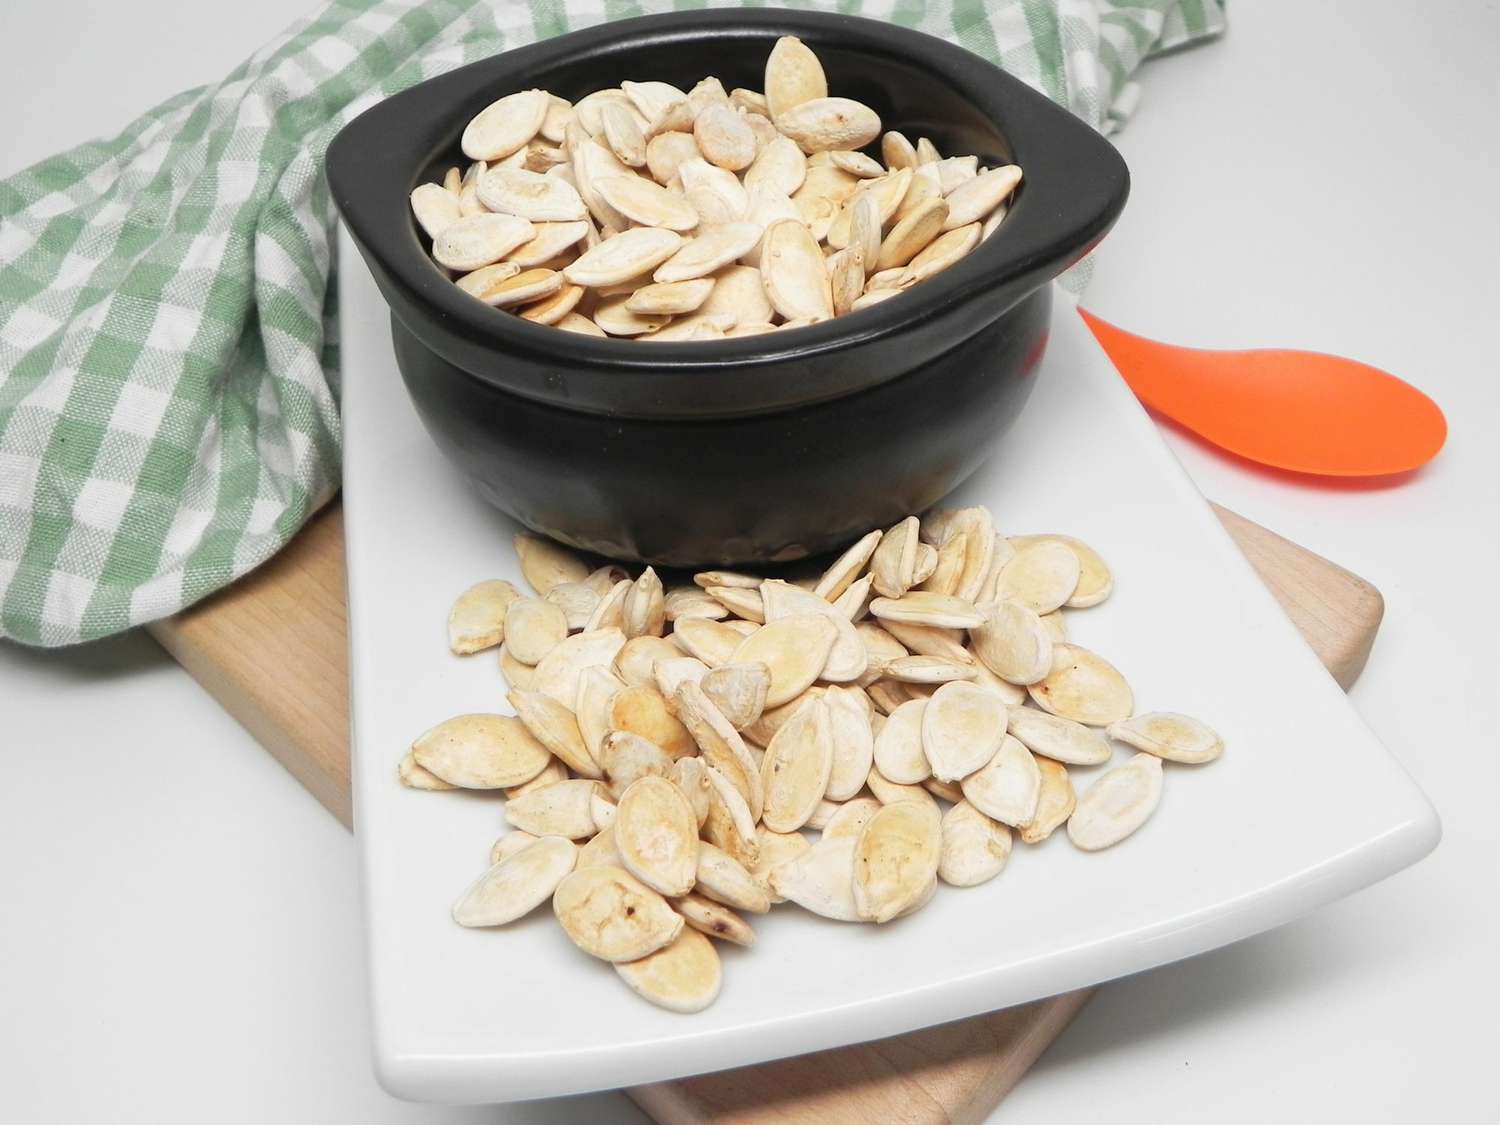
Place the baking sheet in the preheated oven and roast the seeds for about 15-20 minutes or until they turn golden brown. It’s important to keep an eye on them to avoid over-roasting, as this can result in a burnt taste.
After about 10 minutes of roasting, you can give the baking sheet a gentle shake to ensure even cooking. This will help the seeds roast and crisp up uniformly on all sides.
Once the seeds have reached a golden brown color and are crispy to your liking, remove them from the oven and let them cool completely on the baking sheet. As they cool, the seeds will become even crunchier.
Now comes the hardest part: resisting the temptation to snack on the freshly roasted pumpkin seeds before they are completely cool!
Finally, it’s time to move on to the last step: enjoying your roasted pumpkin seeds
Step 8: Enjoy your roasted pumpkin seeds
Congratulations! You have successfully cleaned and roasted your pumpkin seeds. Now it’s time to sit back, relax, and savor the delicious results of your hard work.
Once the roasted pumpkin seeds have cooled completely, transfer them to an airtight container or a resealable bag to maintain their freshness and prevent them from going stale. Be sure to label the container with the date so you can keep track of their shelf life.
Roasted pumpkin seeds make for a nutritious and satisfying snack that can be enjoyed on its own. They are rich in healthy fats, protein, fiber, and essential minerals like magnesium and zinc.
But don’t stop there! You can also incorporate roasted pumpkin seeds into a variety of dishes to add a crunchy and flavorful element. Sprinkle them over salads, soups, or yogurt for a tasty and nutritious boost. You can even use them as a topping for baked goods or mix them into granola or trail mix.
Remember, roasted pumpkin seeds are a versatile ingredient that can add a delicious twist to many recipes. Feel free to experiment and get creative!
By following these step-by-step instructions, you can enjoy the delightful rewards of cleaning and roasting pumpkin seeds. Not only do they make a wonderful autumnal treat, but they also provide a healthy and tasty addition to your snacking repertoire. So go ahead, indulge in the crunchy goodness of roasted pumpkin seeds!
Happy snacking!
Read more: How Do You Clean Pumpkin Seeds
Conclusion
Cleaning and roasting pumpkin seeds is a simple yet satisfying process that allows you to make the most out of your pumpkin harvest. Whether you grow your own pumpkins or purchase them from a local farm or grocery store, turning the seeds into a delicious and nutritious snack is a fantastic way to reduce waste and enjoy the fruits of your labor.
Through the steps outlined in this article, you’ve learned how to remove the seeds from the pumpkin, separate them from the pulp, rinse them, soak them, drain and dry them, season them (optional), roast them, and finally, savor the end result.
From the initial scoop of the pumpkin to the final crunch of the roasted seeds, every step in the process contributes to a delightful snacking experience. Whether you prefer them plain and lightly salted or seasoned with a variety of flavors, the possibilities for enjoying roasted pumpkin seeds are endless.
These tiny powerhouses are not only tasty, but they also offer a range of nutritional benefits. Pumpkin seeds are rich in healthy fats, protein, fiber, and essential minerals. They make a perfect on-the-go snack, offering a satisfying crunch while providing a boost of energy and nutrients.
So the next time you find yourself with a pumpkin and a handful of seeds, don’t let them go to waste. Follow these steps to clean and roast them to perfection. Not only will you have a tasty treat to enjoy, but you’ll also have a sense of accomplishment in utilizing every part of the pumpkin.
Now, armed with the knowledge of how to clean and roast pumpkin seeds, you can confidently embark on your pumpkin seed culinary adventures. So gather your pumpkins, roll up your sleeves, and let the deliciousness begin!
Happy roasting!
Frequently Asked Questions about How To Clean Pumpkin Seeds For Roasting
Was this page helpful?
At Storables.com, we guarantee accurate and reliable information. Our content, validated by Expert Board Contributors, is crafted following stringent Editorial Policies. We're committed to providing you with well-researched, expert-backed insights for all your informational needs.

0 thoughts on “How To Clean Pumpkin Seeds For Roasting”