Home>Garden Essentials>How To Grow A Pumpkin Seed
Garden Essentials
How To Grow A Pumpkin Seed
Modified: March 16, 2024
Learn how to grow a pumpkin seed in your garden and enjoy the satisfying experience of harvesting your own fresh pumpkins.
(Many of the links in this article redirect to a specific reviewed product. Your purchase of these products through affiliate links helps to generate commission for Storables.com, at no extra cost. Learn more)
Introduction
Welcome to the wonderful world of pumpkin growing! Whether you’re a seasoned gardener or a beginner with a green thumb, growing your own pumpkin from seed can be a rewarding and exciting experience. Pumpkins are not only a symbol of autumn and Halloween, but they also make delicious pies, soups, and other culinary delights. Plus, they are great for decoration and pumpkin carving too!
In this comprehensive guide, we will take you through the step-by-step process of growing a pumpkin seed into a thriving plant. From selecting the right pumpkin seed to harvesting a ripe and bountiful pumpkin, we’ve got you covered. So, put on your gardening gloves and let’s dive in!
Why Grow Pumpkins from Seed?
You might be wondering why you should bother growing pumpkins from seed instead of buying seedlings from a nursery. Well, growing pumpkins from seed allows you to have complete control over the entire growth process, from germination to harvesting. It’s a rewarding experience to witness the transformation of a tiny seed into a full-size pumpkin plant.
Moreover, growing pumpkins from seed gives you a wider variety to choose from. There are countless pumpkin varieties with different sizes, shapes, colors, and flavors. By growing your own pumpkins from seed, you have the flexibility to experiment and grow your favorite types.
Lastly, growing pumpkins from seed can be more cost-effective. While purchasing seedlings might seem convenient, it can be more expensive in the long run. With a packet of pumpkin seeds, you can grow multiple plants and have an abundant supply of pumpkins for various purposes.
Getting Started
Before we embark on the journey of growing pumpkins, it’s important to gather the necessary tools and materials. Here’s a quick checklist of what you’ll need:
- Pumpkin seeds: Choose a variety that suits your preferences and local climate.
- Gardening gloves: Protect your hands from any injuries and dirt.
- Garden spade or shovel: For preparing the soil.
- Organic compost or fertilizer: To enrich the soil and provide necessary nutrients.
- Watering can or hose: For regular watering.
- Garden trellis or support system (optional): To provide support for the vine as it grows.
- Plant markers or labels: To keep track of the pumpkin varieties you’re growing.
Once you have gathered all the necessary tools and materials, it’s time to move on to the first step of growing a pumpkin seed: selecting the right pumpkin seed.
Key Takeaways:
- Growing pumpkins from seed gives you control over the process, variety selection, and cost savings. It’s a rewarding experience that connects you to nature and offers delicious and creative possibilities.
- Proper care and maintenance, along with timely harvesting, are essential for successful pumpkin growth. Enjoy the fruits of your labor and share the joy with loved ones!
Read more: When To Grow Pumpkin Seeds
Step 1: Selecting the right pumpkin seed
The first step in growing a pumpkin from seed is to select the right pumpkin seed for your garden. Choosing the right seed is pivotal for a successful and thriving pumpkin plant. Here are some factors to consider when selecting your pumpkin seed:
Climate and Growing Season:
Pumpkins thrive in different growing conditions, so it’s essential to choose a pumpkin variety that is well-suited to your climate and the length of your growing season. Some pumpkin varieties are better suited for cooler climates, while others thrive in warmer regions. Read the seed packet or research the specific variety to determine its ideal growing conditions.
Size and Shape:
Pumpkins come in various sizes and shapes, ranging from small pie pumpkins to large carving pumpkins. Consider the space available in your garden and how you plan to use the pumpkins. If you have limited space, you might opt for compact or smaller varieties. On the other hand, if you’re looking for large pumpkins for carving or decoration, choose a variety that can produce sizable fruits.
Flavor and Culinary Use:
If you plan to use the pumpkins for cooking and baking, consider the flavor and culinary characteristics of the variety. Some pumpkins have sweet and flavorful flesh, making them perfect for pies and desserts, while others are better suited for savory dishes and soups. Choose a variety that aligns with your culinary preferences.
Growing Requirements:
Each pumpkin variety has different growing requirements in terms of sunlight, soil type, and watering needs. Ensure that you select a variety that will thrive in the conditions available in your garden. For example, if you have a sunny spot with well-draining soil, choose a variety that prefers full sun and doesn’t mind drier soil conditions.
Seed Quality:
Lastly, when selecting your pumpkin seed, make sure to choose high-quality seeds from a reputable source. Look for seeds that are plump, intact, and free from any signs of damage or discoloration. It’s also worth considering heirloom or organic seeds if you prefer a more sustainable and natural approach to gardening.
Once you have decided on the pumpkin variety that meets your preferences and growing conditions, it’s time to move on to the next step: preparing the soil.
Step 2: Preparing the soil
One of the most crucial steps in growing a healthy and thriving pumpkin plant is preparing the soil. Pumpkins require well-draining, nutrient-rich soil to thrive. Here’s a step-by-step guide on how to prepare the soil for planting your pumpkin seed:
1. Choose the right location:
Select a sunny spot in your garden that receives at least 6-8 hours of direct sunlight per day. Pumpkins love warm weather, so choosing a location that offers full sun exposure will help your plants grow strong and healthy.
2. Clear the area:
Clear the planting area of any weeds, grass, or debris. Remove any rocks, sticks, or other obstacles that may hinder the growth of your pumpkin plants.
3. Loosen the soil:
Using a garden spade or a shovel, gently loosen the soil to a depth of about 12-15 inches. This will help create a loose and aerated soil structure, allowing the roots of your pumpkin plants to penetrate easily and access nutrients and water.
4. Amend the soil:
Add organic matter such as compost, well-rotted manure, or vegetable waste to the soil. This will enrich the soil with nutrients and improve its texture and fertility. Aim to incorporate about 2-3 inches of organic matter into the top layer of soil.
5. Test the soil:
If possible, conduct a soil test to assess the pH level and nutrient content of your soil. Pumpkins prefer slightly acidic to neutral soil with a pH range of 6.0-7.5. Adjust the soil pH if necessary by adding lime to increase alkalinity or sulfur to increase acidity.
6. Fertilize the soil:
Before planting your pumpkin seed, apply a balanced organic fertilizer to the soil. This will provide essential nutrients for your plants’ growth. Follow the recommended dosage on the fertilizer packaging and mix it into the soil according to the instructions.
7. Create mounds or raised beds:
Consider creating raised beds or mounds for planting your pumpkin seeds. This helps improve drainage and promotes better air circulation around the roots. Mounds should be about 4-6 inches high and 2-3 feet in diameter. Space the mounds or beds about 4-6 feet apart to allow enough room for the vines to spread.
8. Level the surface:
Smooth out the soil surface of each mound or raised bed, ensuring it is level and even. This will provide a stable base for planting your pumpkin seed.
With the soil properly prepared, you are now ready to move on to the next step: planting the pumpkin seed.
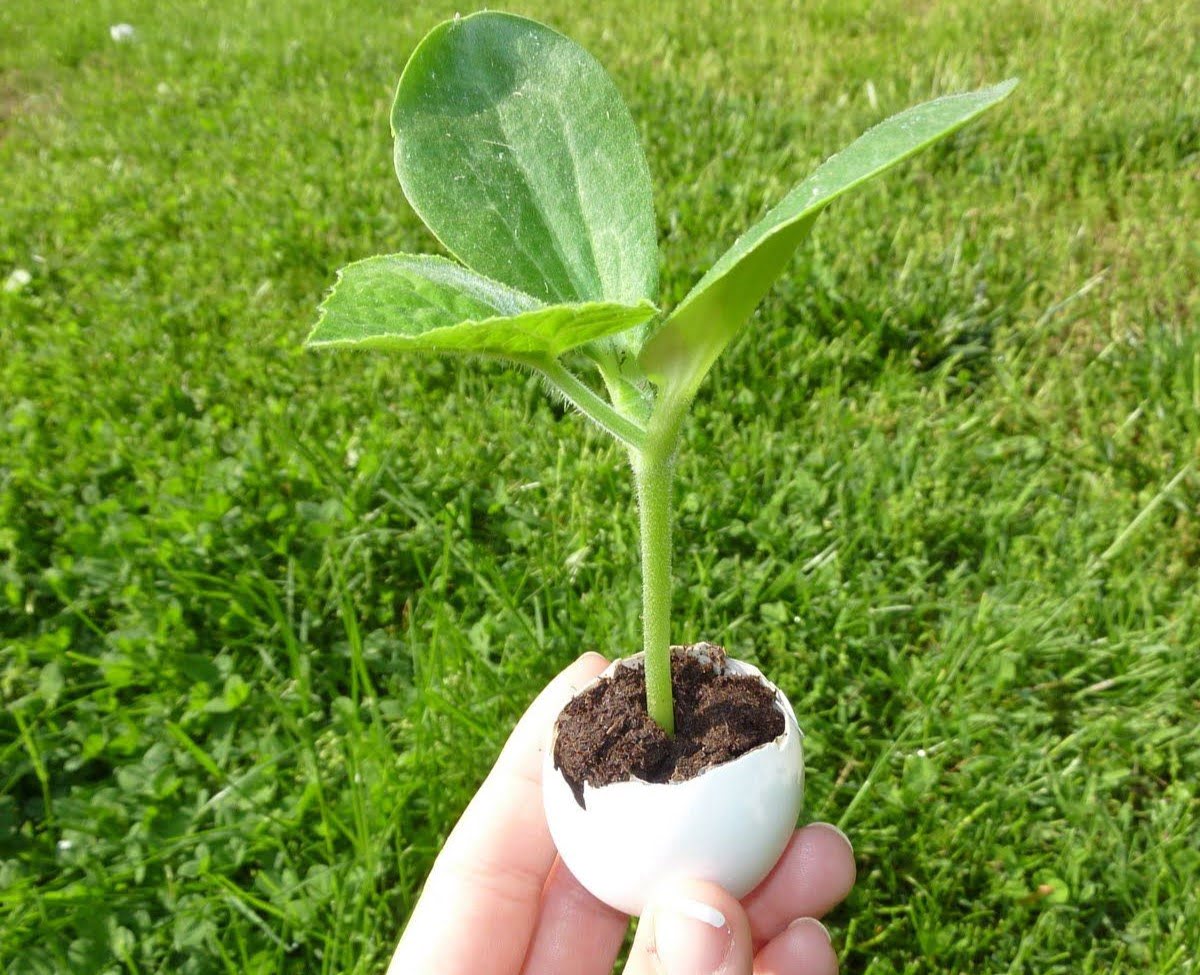
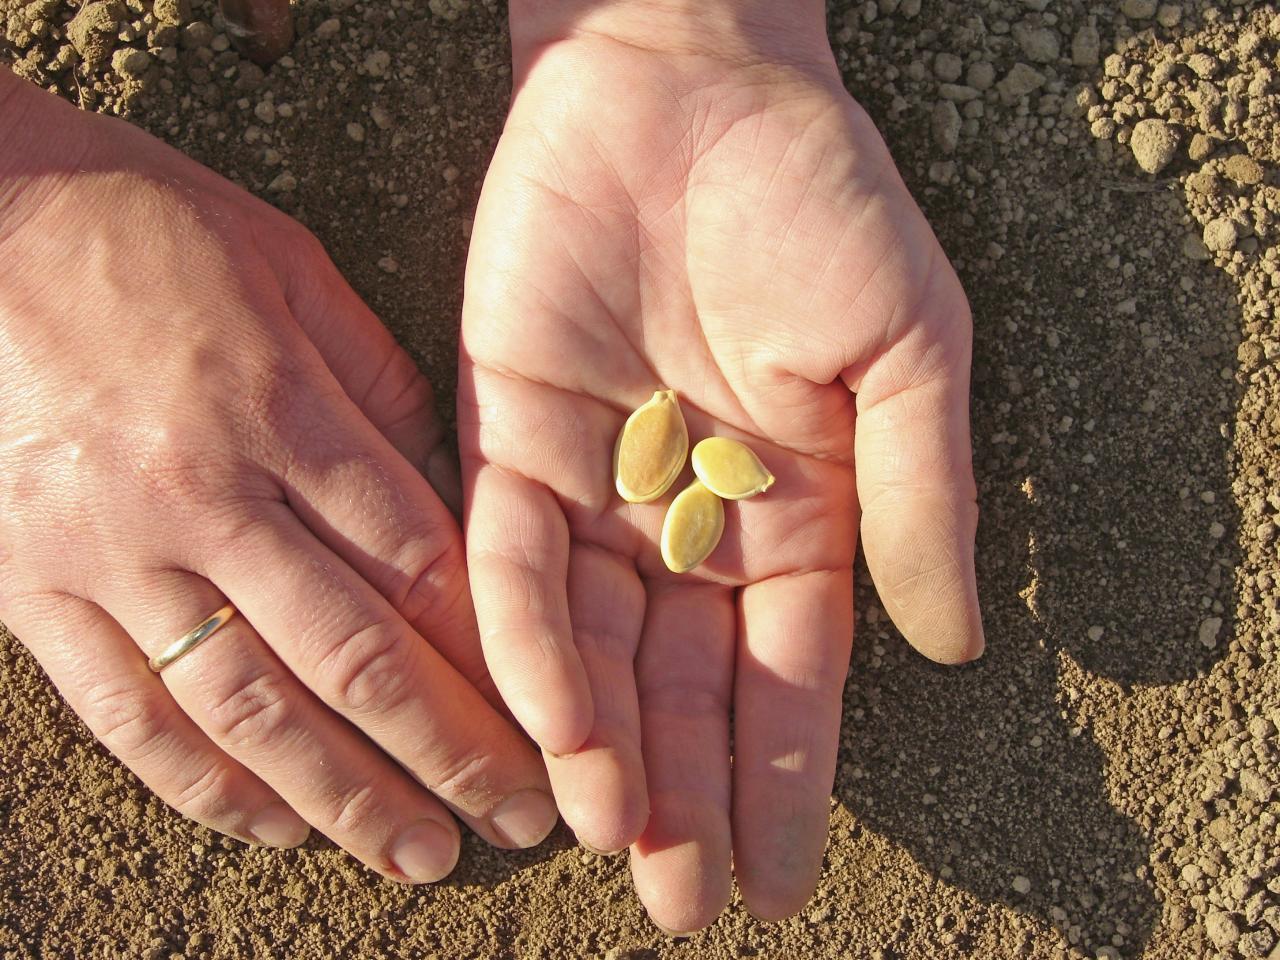
Step 3: Planting the pumpkin seed
Now that you have prepared the soil, it’s time to plant your pumpkin seed. Follow these steps to ensure successful germination and healthy plant growth:
1. Timing:
Pumpkins are warm-season crops, so it’s important to plant the seeds when the soil temperature consistently reaches around 60°F (15°C) or above. Depending on your location and climate, this is usually in late spring or early summer. Avoid planting too early when the soil is still cold, as it can delay germination or cause seed rot.
2. Dig a hole or prepare a planting furrow:
For each pumpkin seed, dig a small hole or prepare a planting furrow in the center of the prepared mound or raised bed. The hole or furrow should be about 1-2 inches deep.
3. Place the seed:
Drop the pumpkin seed into the hole or furrow, horizontally or vertically. If you’re unsure which way to place the seed, you can lay it on its side. Cover the seed with soil, ensuring it is lightly and evenly covered.
4. Space the seeds:
If you’re planting multiple pumpkin seeds, space them about 2-3 feet apart to allow ample room for the vines to spread as they grow. This spacing will help minimize competition for resources and ensure each pumpkin plant has enough space to thrive.
5. Water gently:
After planting the pumpkin seed, water the area gently using a watering can or hose with a gentle spray nozzle. Avoid overwatering, as excessive moisture can lead to seed rot or fungal diseases. Keep the soil moist but not waterlogged throughout the germination and seedling stage.
6. Provide additional support (optional):
If you have opted for a trailing pumpkin variety or if you want to protect the young seedlings from pests or extreme weather conditions, you can provide additional support. This can be done by placing a garden trellis or a support system near the seedlings. As the vines grow, gently train them to climb the support structure.
7. Mark the planting spot:
To keep track of the planted pumpkin seeds, place plant markers or labels near each seedling. This will help you identify the pumpkin variety and monitor its growth and development.
With the pumpkin seed successfully planted, all you need to do now is provide proper care and maintenance to ensure healthy growth. Let’s move on to step 4: providing proper care and maintenance for your pumpkin plants.
Plant pumpkin seeds in well-draining soil, 1 inch deep and 2-3 feet apart. Water regularly and provide plenty of sunlight. Watch out for pests and diseases.
Step 4: Providing proper care and maintenance
To ensure the healthy growth and development of your pumpkin plants, it’s important to provide them with proper care and maintenance. Follow these guidelines for optimal care:
1. Watering:
Pumpkins require regular watering, especially during dry periods. Keep the soil consistently moist, but avoid overwatering, as this can lead to rot and disease. Aim to water deeply, ensuring that the water reaches the roots. Water early in the day to allow the foliage to dry before evening, minimizing the risk of fungal diseases.
2. Mulching:
Apply a layer of organic mulch around the base of your pumpkin plants. Mulch helps retain moisture in the soil, suppresses weeds, and regulates soil temperature. Use materials like straw, shredded leaves, or grass clippings as mulch. Keep the mulch a few inches away from the base of the plants to prevent rotting.
3. Fertilization:
Feed your pumpkin plants with a balanced organic fertilizer every few weeks to provide them with the nutrients they need for healthy growth and fruit production. Follow the instructions on the fertilizer packaging for proper application and dosage. Be cautious not to over-fertilize, as it can lead to excessive foliage growth at the expense of fruit development.
4. Pest and disease management:
Monitor your pumpkin plants regularly for common pests such as aphids, squash bugs, and cucumber beetles. If you spot any signs of pest infestation, take appropriate actions such as handpicking insects, using organic pest control methods, or applying insecticidal soap or neem oil. Similarly, keep an eye out for common pumpkin diseases like powdery mildew, downy mildew, and vine borers. Promptly treat any disease issues to prevent further spread.
5. Pruning:
Pruning is not typically necessary for pumpkin plants, but you can remove any damaged or yellowing leaves to promote better air circulation and prevent disease. Additionally, you can trim excessive vine growth to redirect the plant’s energy into fruit production.
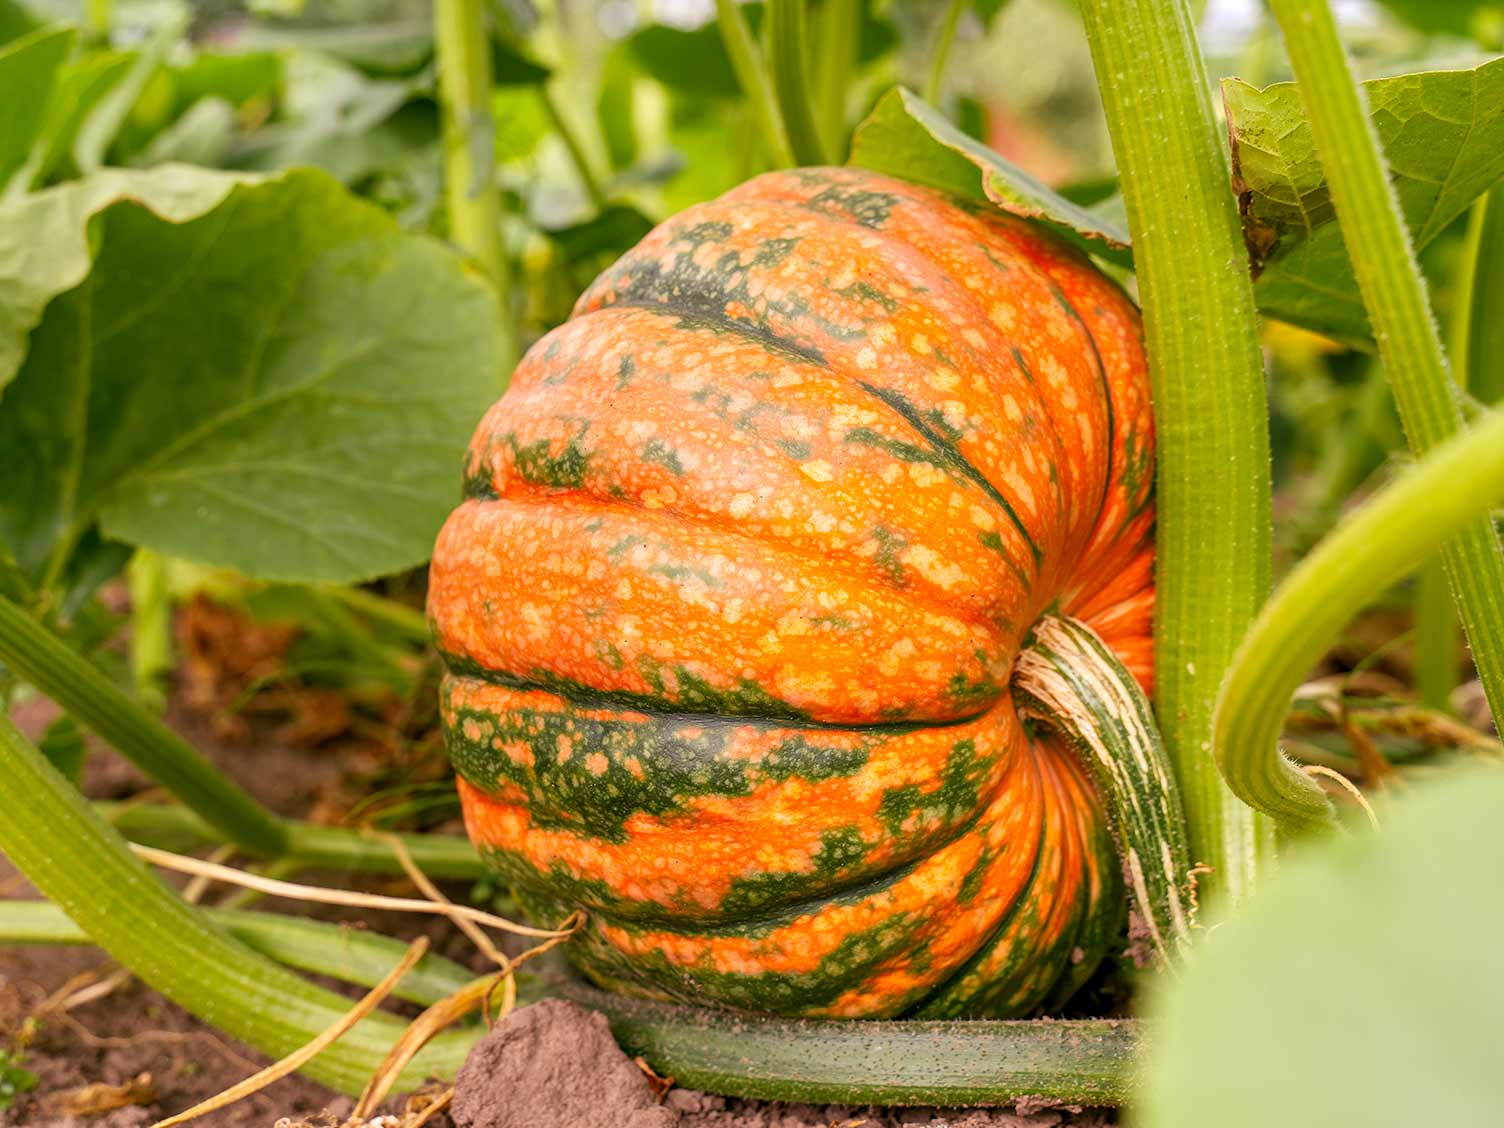
6. Support for heavy fruits:
If you’re growing larger pumpkin varieties or anticipate the fruits getting heavy, provide support for the developing pumpkins. Use slings made of fabric or pantyhose to cradle the growing pumpkins and prevent them from resting directly on the soil. This helps reduce the risk of rotting and damage.
7. Pollination:
If you notice a lack of fruit development or misshapen pumpkins, it might indicate poor pollination. Pumpkins have male and female flowers, and they rely on bees and other pollinators for successful pollination. Encourage pollinator activity by planting nectar-rich flowers nearby or hand-pollinate the flowers by transferring pollen using a small brush or cotton swab.
8. Weed control:
Regularly remove weeds around your pumpkin plants as they compete for nutrients, water, and sunlight. Weeds can also provide hiding spots for pests and create a favorable environment for diseases. Gently hand-pull weeds, taking care not to disturb the roots of your pumpkin plants.
By providing proper care and maintenance, you are setting the stage for a successful pumpkin harvest. Now let’s move on to the final step: harvesting the pumpkins!
Read more: How Long To Grow A Pumpkin From Seed
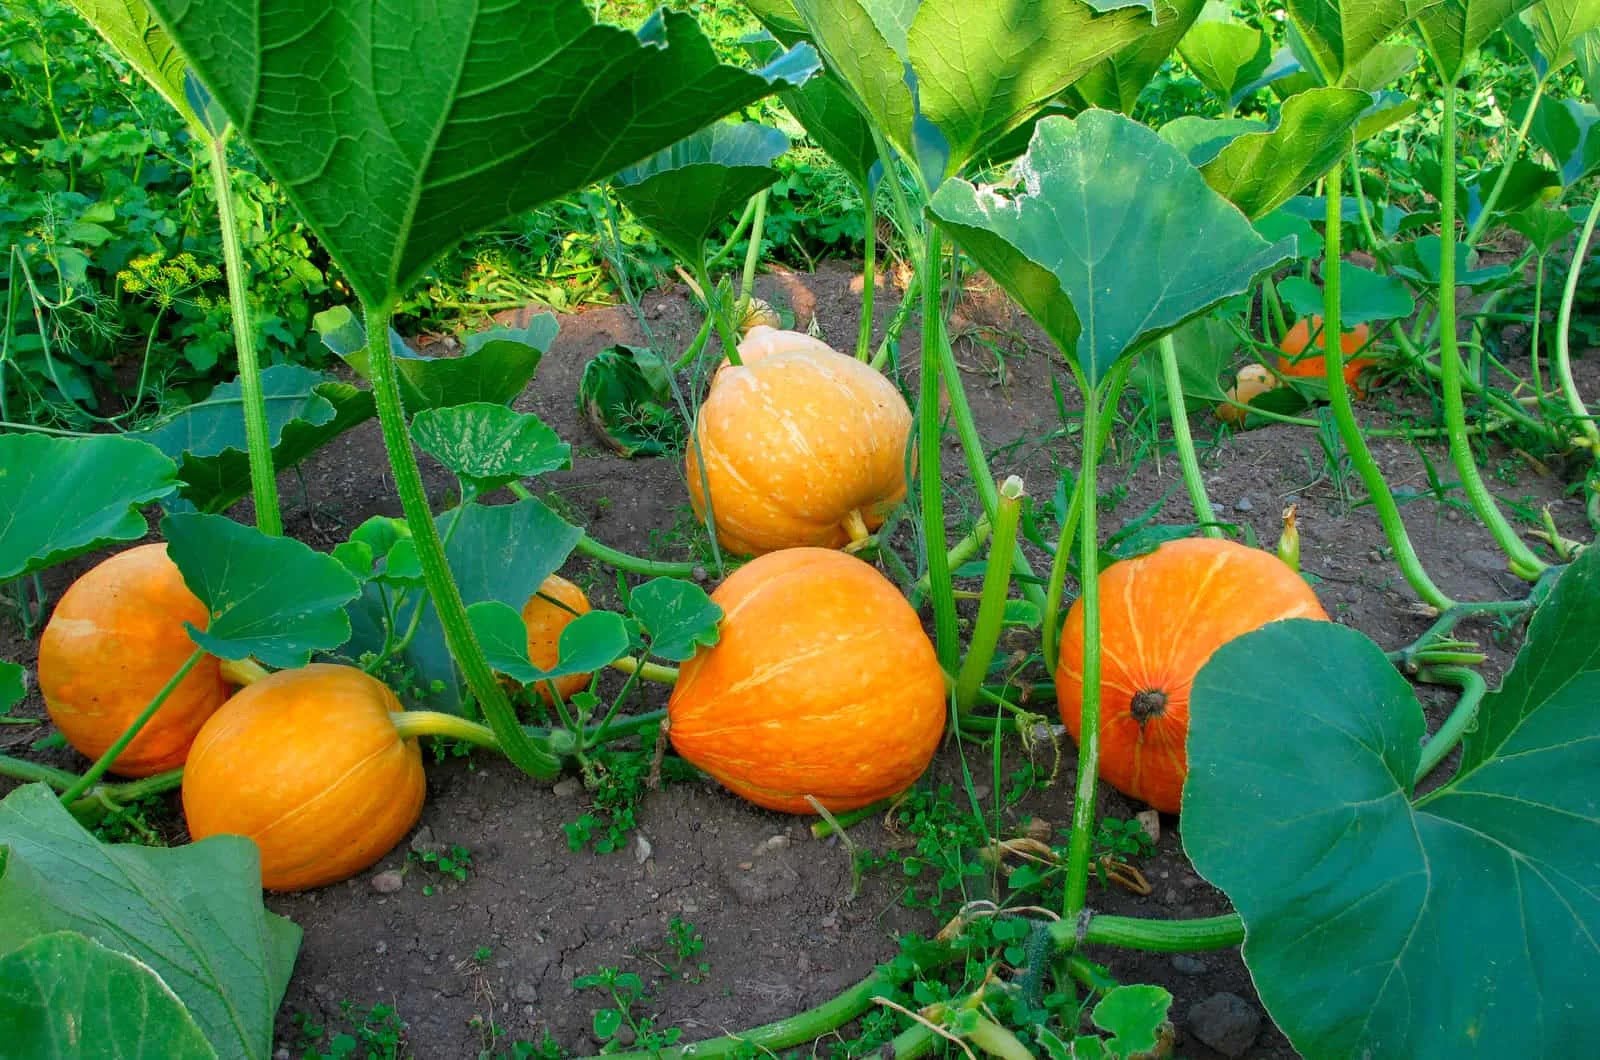
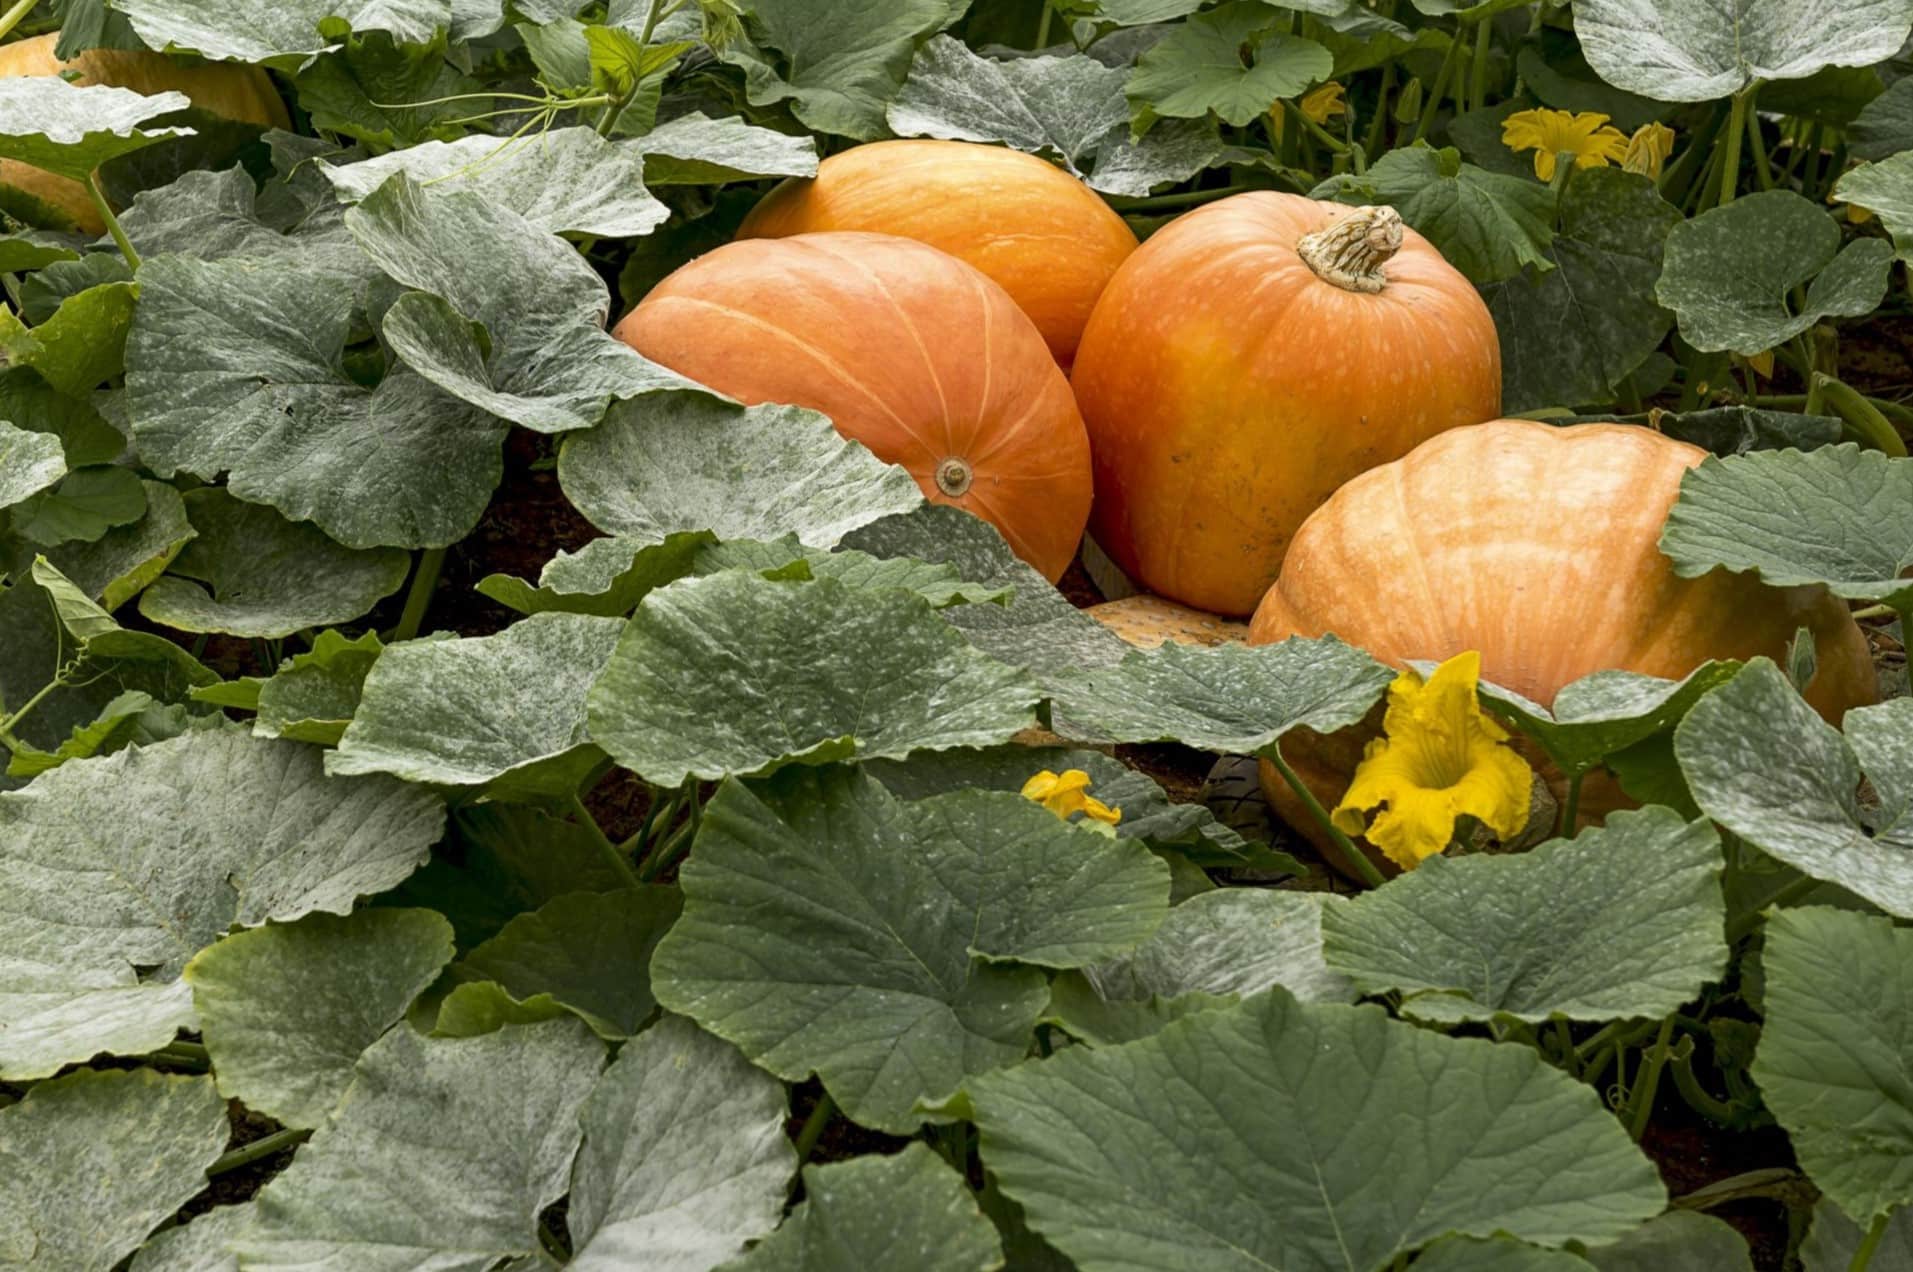
Step 5: Harvesting the pumpkin
The time has finally come to harvest your homegrown pumpkins! Follow these guidelines to ensure a successful harvest:
1. Check for maturity:
Pumpkins are typically ready for harvest when they have reached their full size, their color has developed, and the skin has hardened. You can perform a simple test by pressing your thumbnail against the skin. If it doesn’t puncture the skin easily, the pumpkin is likely mature and ready to be harvested.
2. Harvesting technique:
To harvest the pumpkin, use a sharp knife or garden pruners to cut the stem, leaving about 2-3 inches attached to the pumpkin. Be careful not to damage the stem or the pumpkin’s skin. Avoid lifting or carrying the pumpkin by its stem, as it may break off and make the pumpkin susceptible to decay.
3. Timing:
Harvest time for pumpkins can vary depending on the variety and growing conditions. Generally, pumpkins mature in about 80-120 days after planting. Refer to the seed package or variety information to get an estimate of the expected maturity period. Additionally, consider the weather conditions and harvest the pumpkins before the first frost if it’s approaching.
4. Cure the pumpkins:
After harvesting, the pumpkins need to go through a curing process to further harden their skins and extend their storage life. Place the harvested pumpkins in a dry, well-ventilated area with temperatures between 80-85°F (27-29.5°C). Allow them to cure for about 10-14 days. During this time, the skins will toughen, and the flavors will develop.
5. Storage:
Once the pumpkins are cured, store them in a cool, dry place with temperatures between 50-55°F (10-13°C). A basement or a well-ventilated garage can be suitable storage options. Avoid storing pumpkins directly on the floor by placing them on a wooden pallet or cardboard to allow air circulation. Properly stored pumpkins can last for several months.
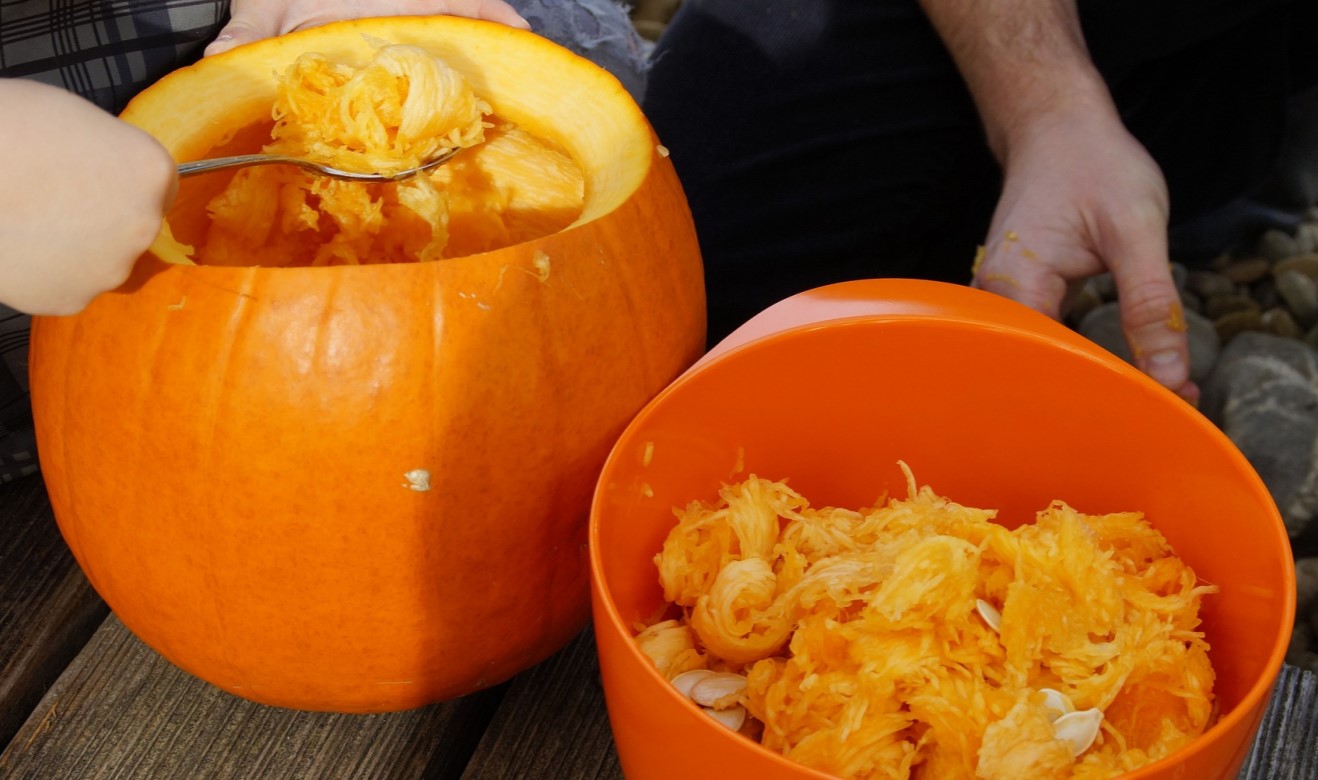
6. Enjoy your pumpkins:
Now that you’ve harvested and stored your pumpkins, it’s time to enjoy the fruits of your labor! Whether you’re using them for cooking, carving, or decorating, pumpkins offer a range of possibilities. From pumpkin pies, soups, and bread to creative Jack-o’-lantern designs, let your imagination run wild.
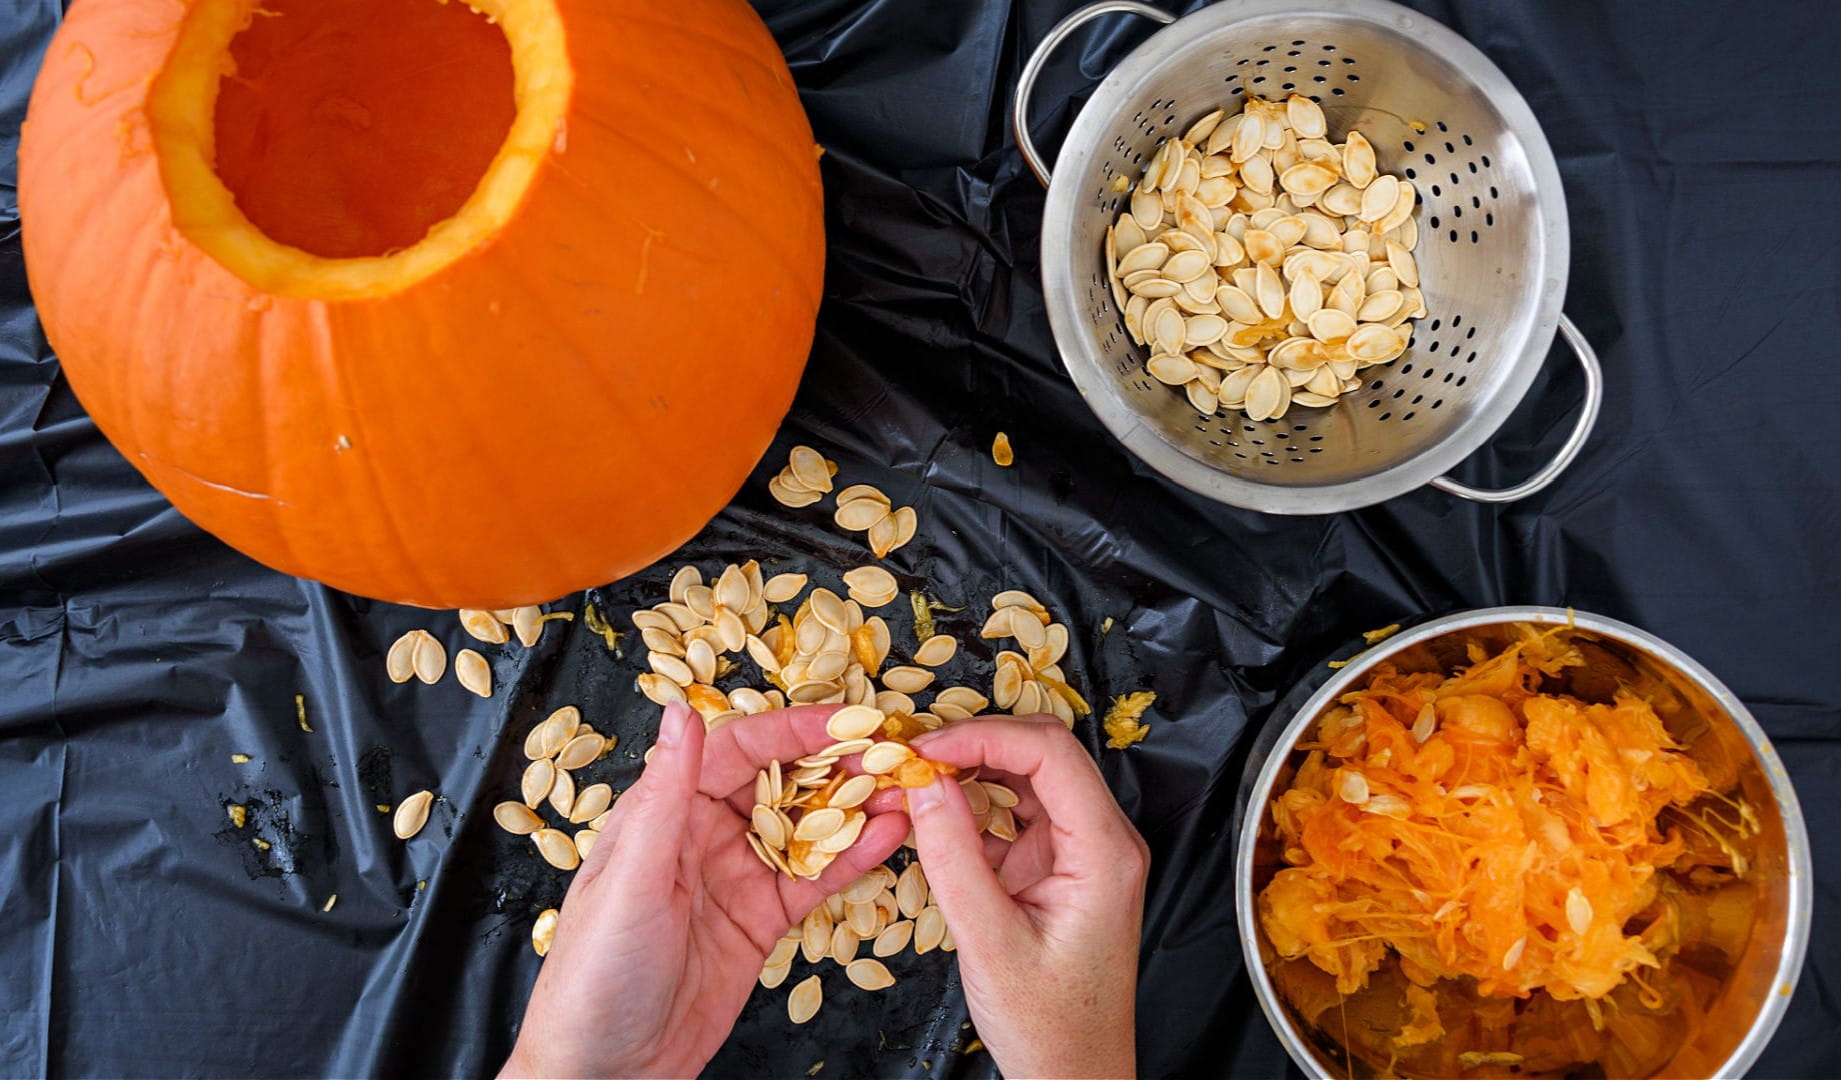
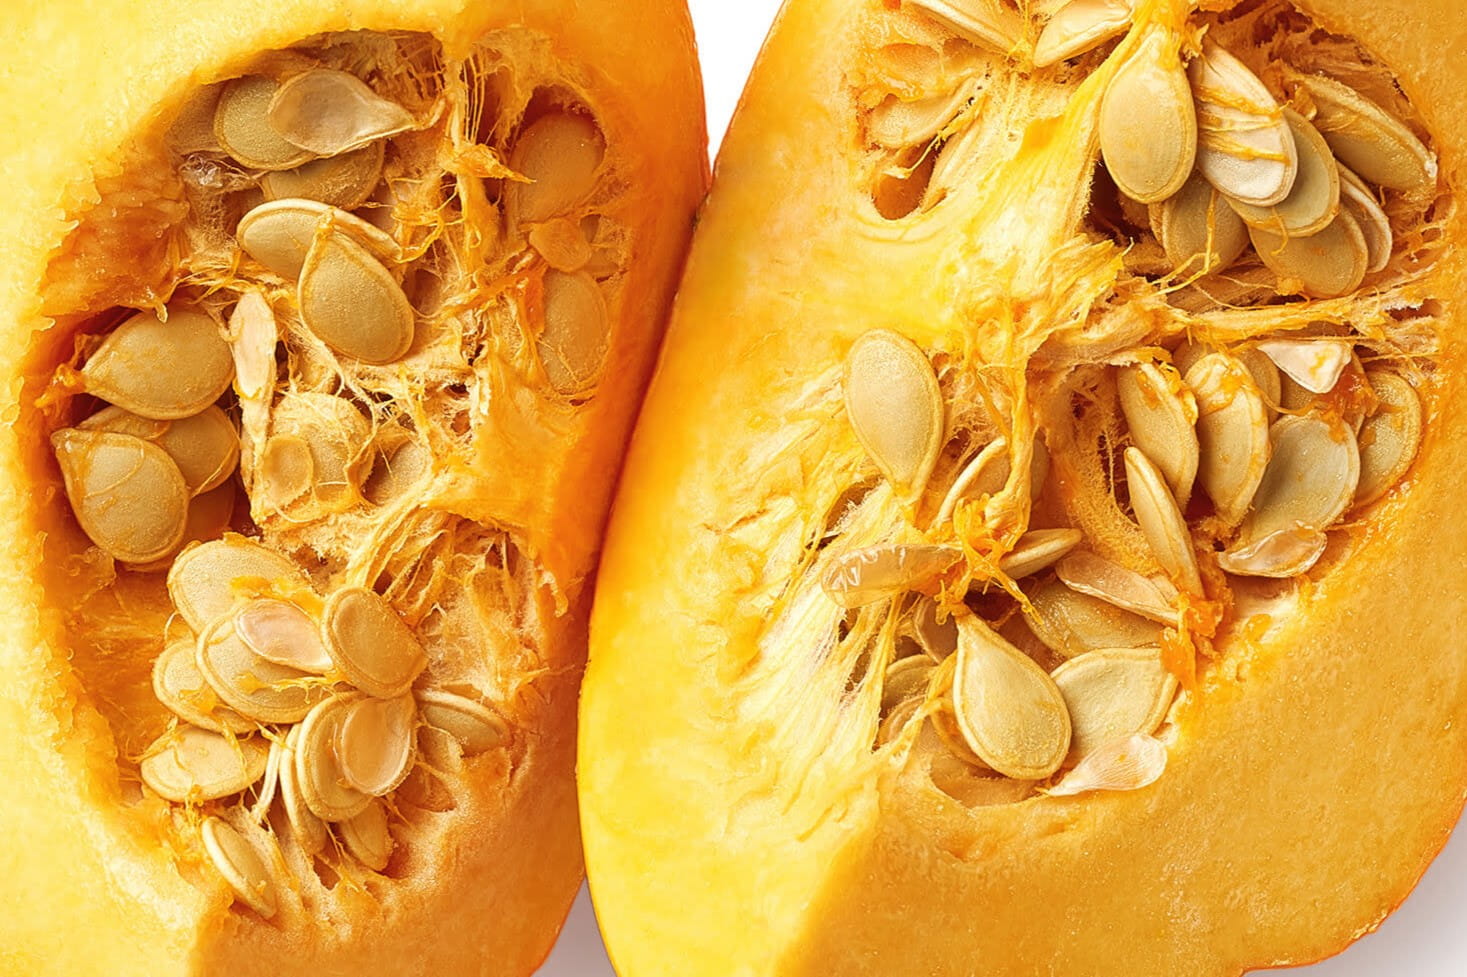
Note:
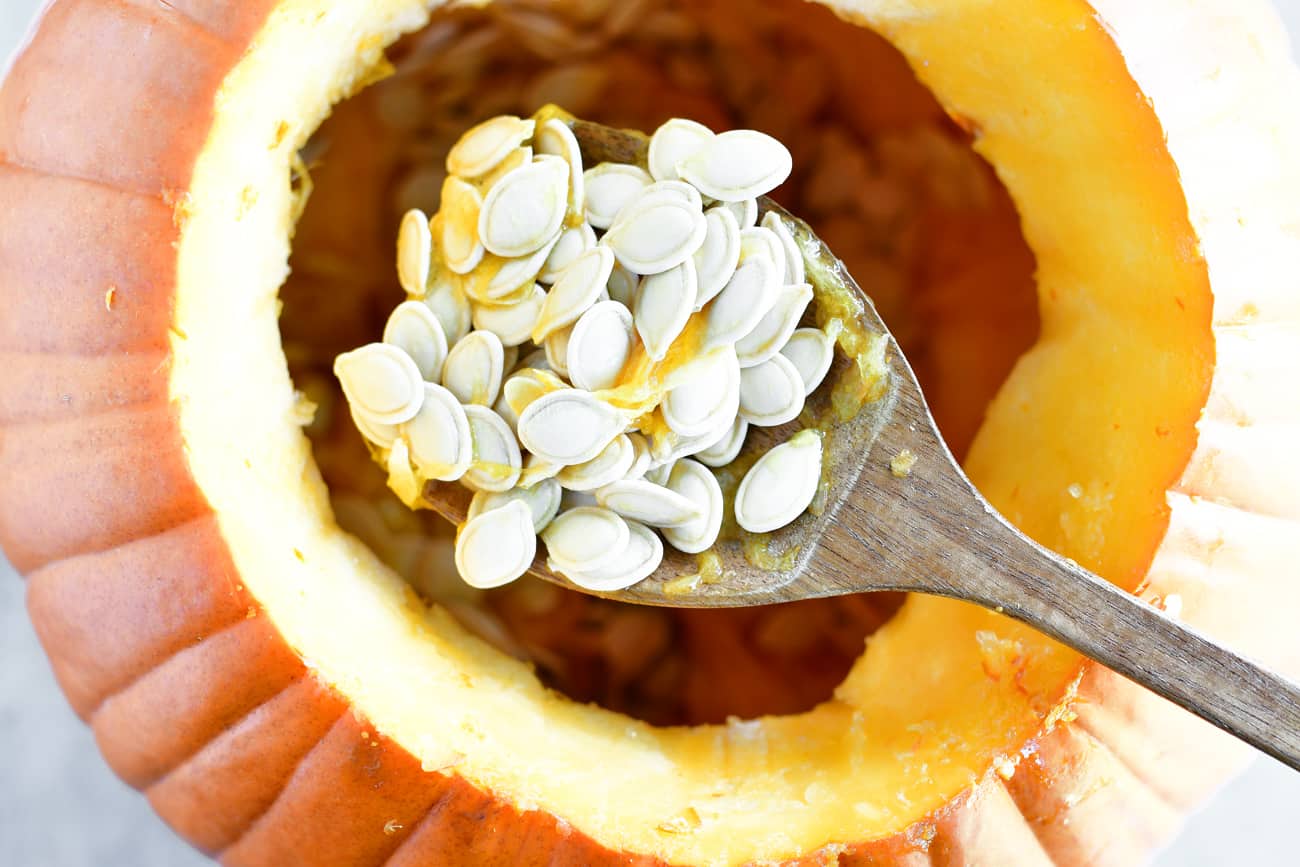
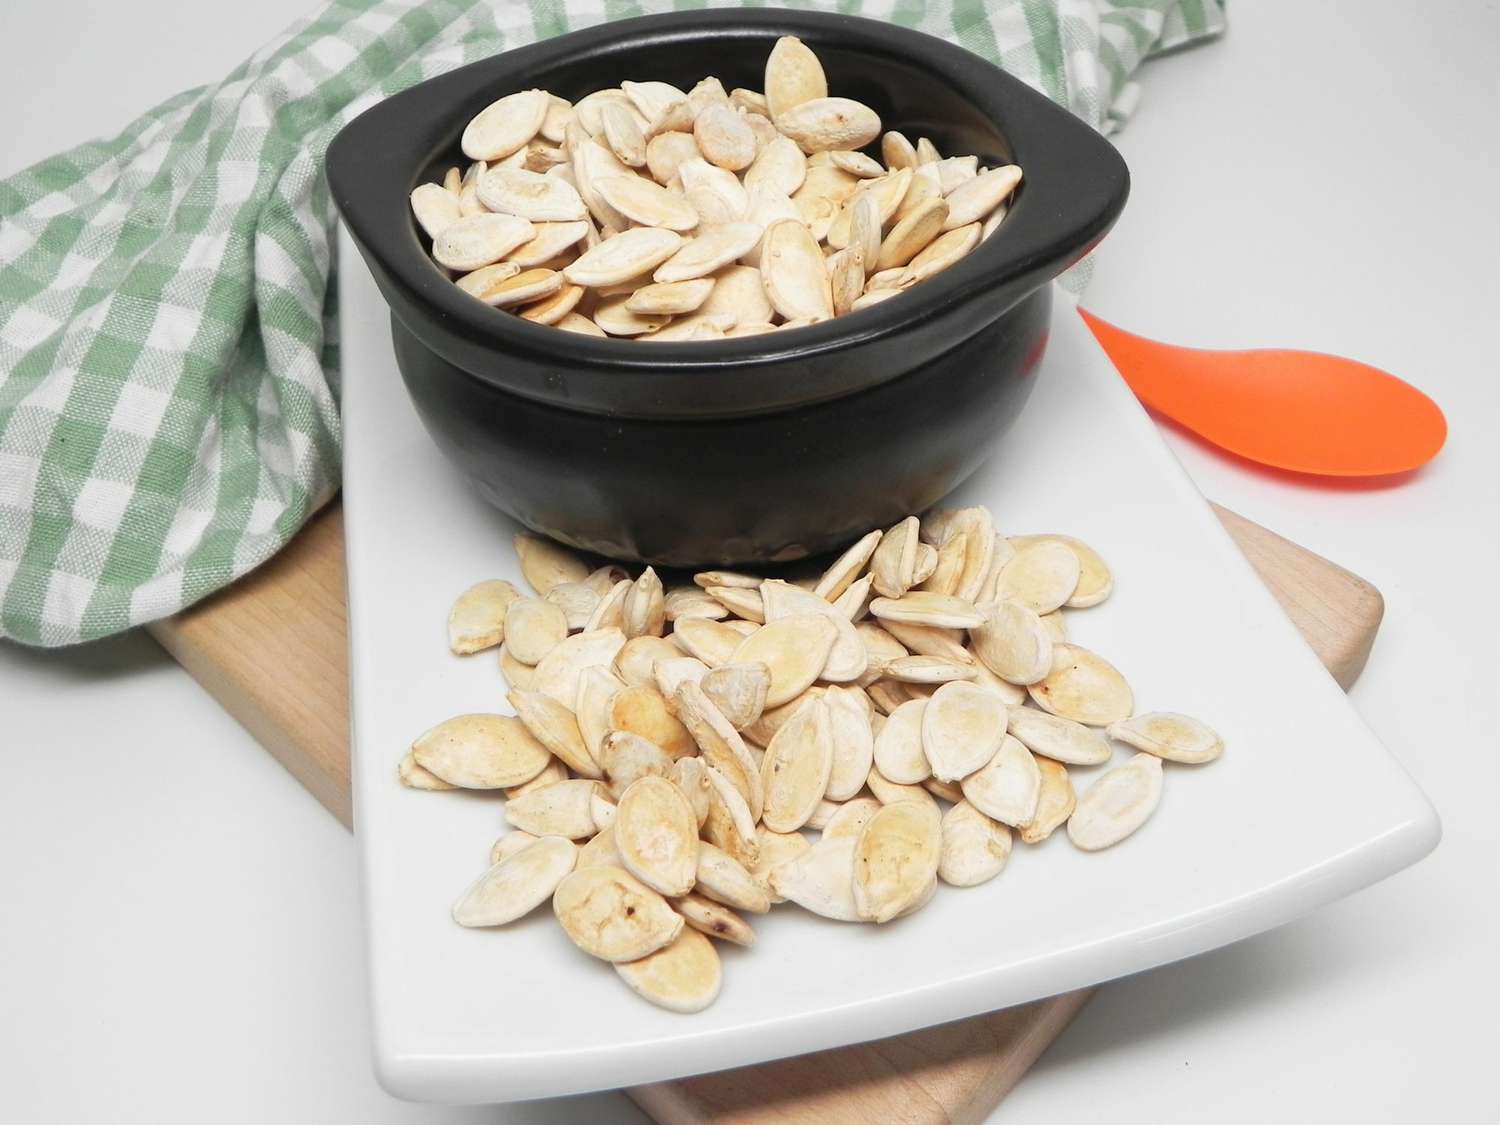
If you plan to save pumpkin seeds for future planting, choose mature and healthy pumpkins for seed extraction. Scoop out the seeds, remove any attached pulp, and allow them to dry thoroughly. Store the seeds in a cool, dry place in an airtight container until you’re ready to plant them in the next gardening season.
With step 5 completed, you have successfully grown and harvested your own pumpkins. It’s time to celebrate and share the joy of your homegrown pumpkins with family, friends, and perhaps some delicious pumpkin recipes!
Happy pumpkin harvesting!
Conclusion
Congratulations on completing the journey of growing your own pumpkins from seed! From selecting the right pumpkin seed to nurturing the plants through proper care and maintenance, you have experienced the joys and challenges of gardening. By following the steps outlined in this guide, you have set yourself up for a successful pumpkin harvest.
Growing pumpkins from seed allows for a deeper connection with the natural world. It is a rewarding and fulfilling experience to witness the transformation of a tiny seed into a flourishing plant that produces beautiful pumpkins. The process of caring for the plants and watching them thrive teaches us patience, commitment, and the importance of nurturing our natural environment.
Not only do pumpkins provide delicious culinary opportunities, but they also offer numerous creative possibilities. From carving intricate Jack-o’-lanterns to using pumpkins as charming autumn decorations, they bring warmth and festive spirit to our homes.
Remember, the journey of growing pumpkins doesn’t end with the harvest. Enjoy the fruits of your labor by indulging in pumpkin-inspired recipes, decorating your home, and sharing the joy with your loved ones. And don’t forget to save some seeds for future planting, as growing pumpkins can become a cherished tradition in your gardening endeavors.
As you reflect on your successful pumpkin-growing journey, consider the broader significance of your efforts. By growing your own food, you contribute to the sustainability of our food system, reduce your carbon footprint, and inspire others to connect with nature in a meaningful way.
So, as you savor the taste of pumpkin pies, relish in the joy of pumpkin carving, and bask in the beauty of your homegrown pumpkins, let this experience ignite a passion for gardening and a deeper appreciation for the wonders of nature.
Happy gardening and enjoy your bountiful harvest of pumpkins!
Frequently Asked Questions about How To Grow A Pumpkin Seed
Was this page helpful?
At Storables.com, we guarantee accurate and reliable information. Our content, validated by Expert Board Contributors, is crafted following stringent Editorial Policies. We're committed to providing you with well-researched, expert-backed insights for all your informational needs.


0 thoughts on “How To Grow A Pumpkin Seed”