Home>Garden Essentials>How To Collect Seeds From Petunias
Garden Essentials
How To Collect Seeds From Petunias
Modified: March 15, 2024
Learn how to collect seeds from petunias and start your own garden. Step-by-step guide on saving seeds from petunias for future planting.
(Many of the links in this article redirect to a specific reviewed product. Your purchase of these products through affiliate links helps to generate commission for Storables.com, at no extra cost. Learn more)
Introduction
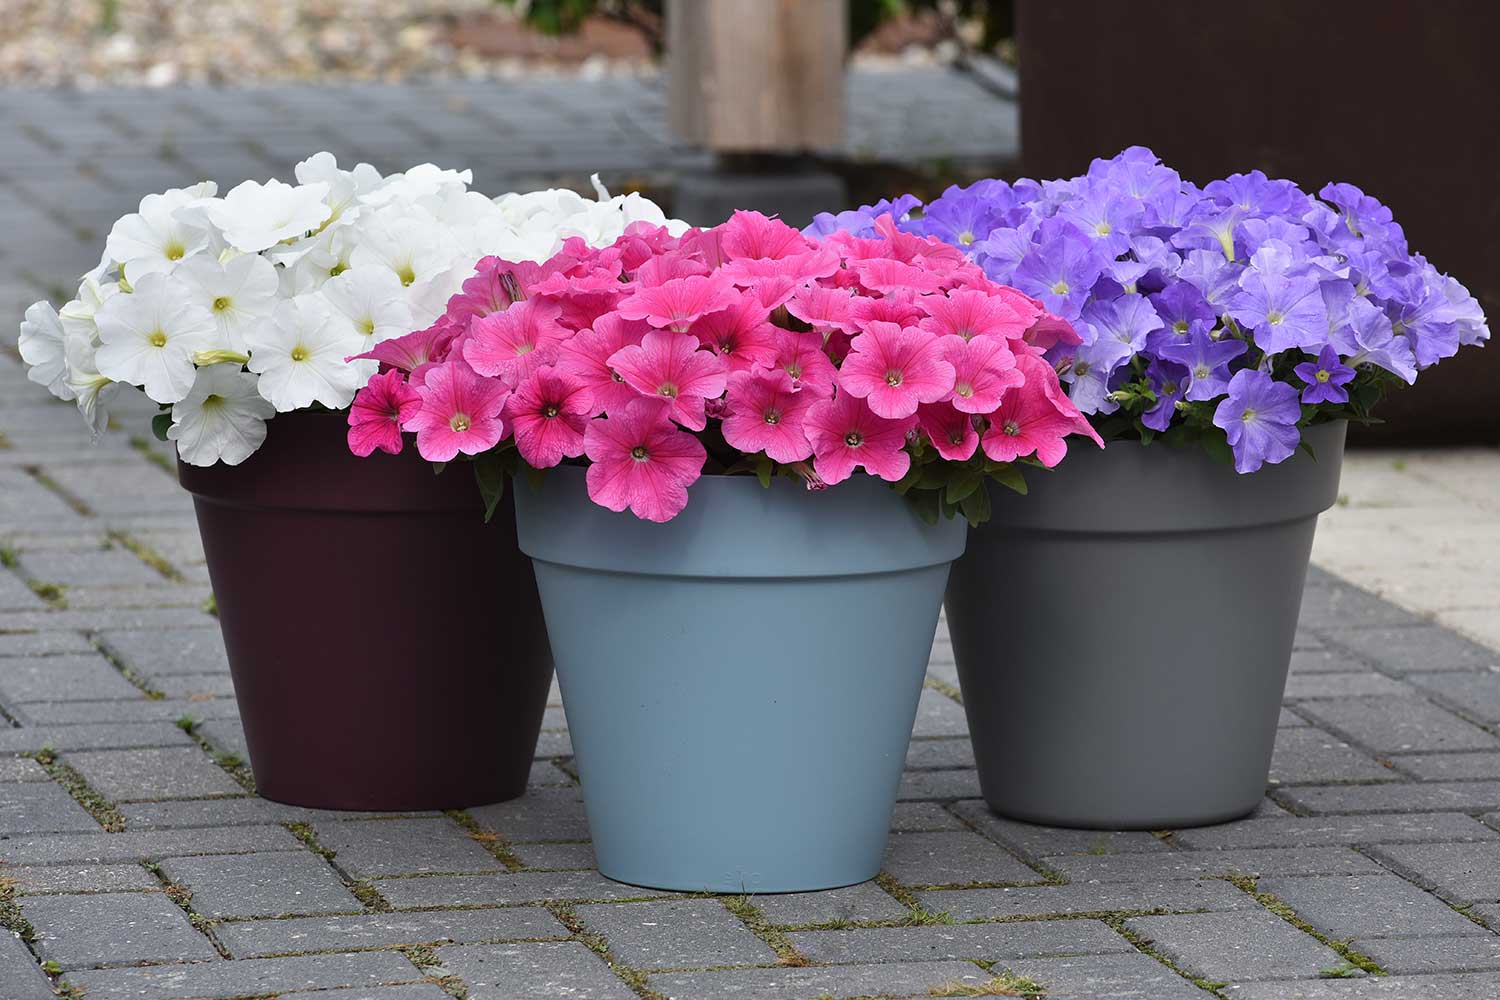
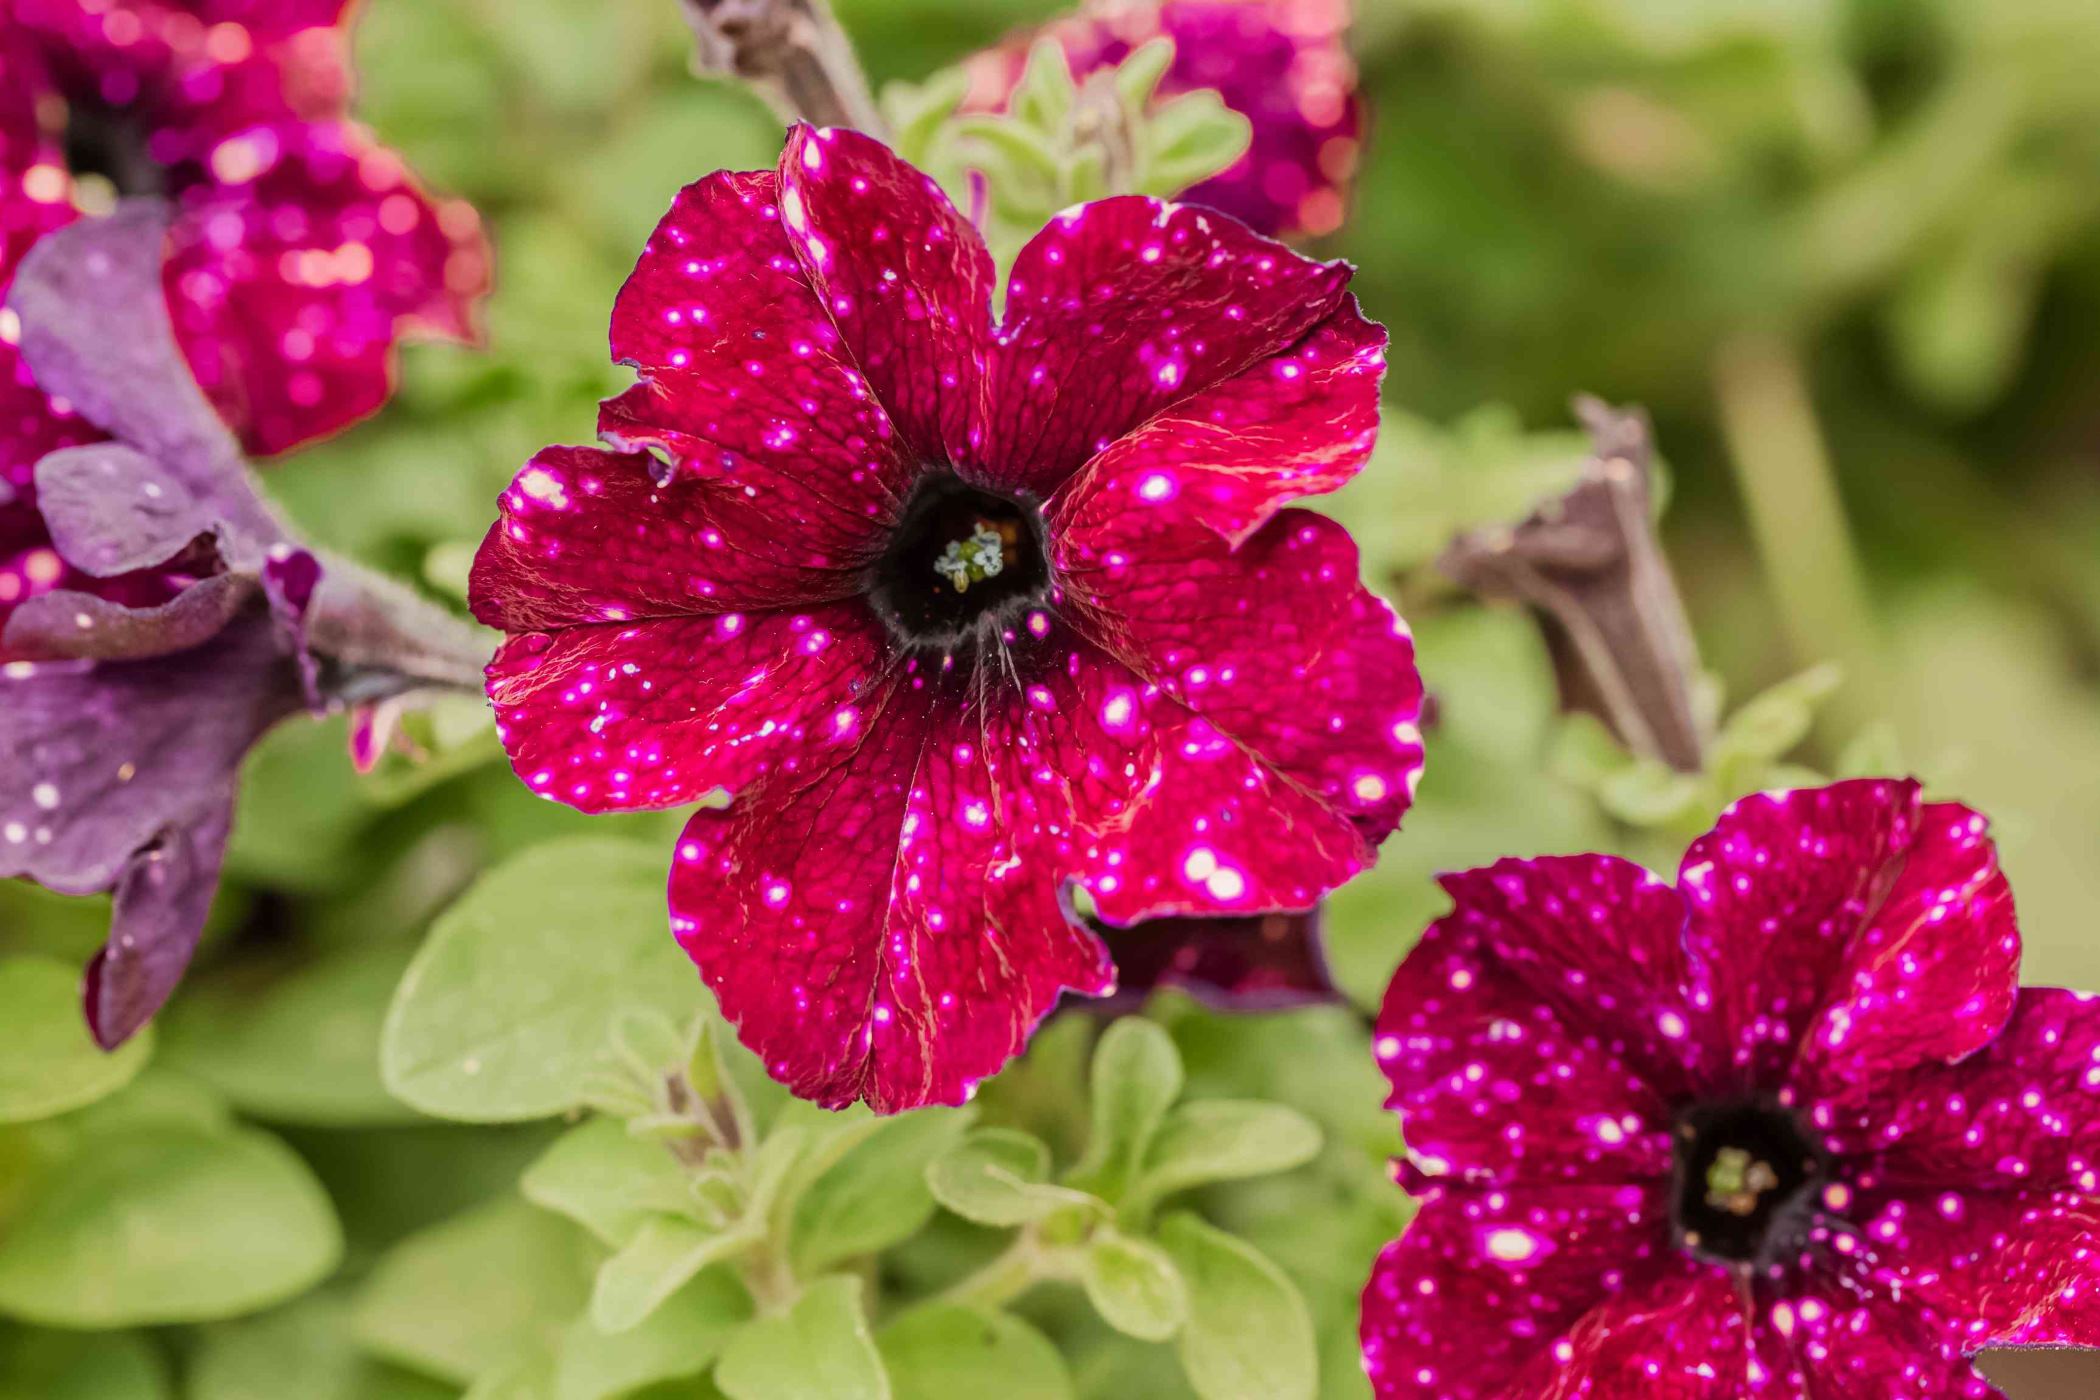
Welcome to the wonderful world of petunias! These vibrant and versatile flowers are a popular choice for gardeners of all levels. Not only do they come in a stunning array of colors, but they also have a delightful fragrance that can transform any garden into a visual and sensory oasis.
While purchasing petunias from a nursery is a common way to enjoy their beauty, many garden enthusiasts are also keen on collecting and propagating their own petunia seeds. This process not only allows you to save money, but it also gives you the satisfaction of growing plants from scratch and preserving specific varieties.
In this article, we will guide you through the process of collecting seeds from petunias, ensuring that you have a successful and rewarding gardening experience. So roll up your sleeves, put on your gardening gloves, and let’s dive in!
Key Takeaways:
- Choose healthy, open-pollinated petunias with desired traits for successful seed collection. Preserve heirloom varieties and ensure plants are disease-free for best results.
- Wait for petunia flowers to bloom, identify ripe seed pods, and carefully collect and extract seeds. Dry and store seeds in suitable conditions for future planting.
Read more: How To Get Seeds From Petunias
Step 1 – Choosing the Right Petunias
When it comes to collecting seeds from petunias, the first step is to choose the right variety of petunia plants. While most petunias produce seeds, some varieties are known to have better germination rates or produce more vibrant and unique offspring.
Here are a few factors to consider when selecting petunias for seed collection:
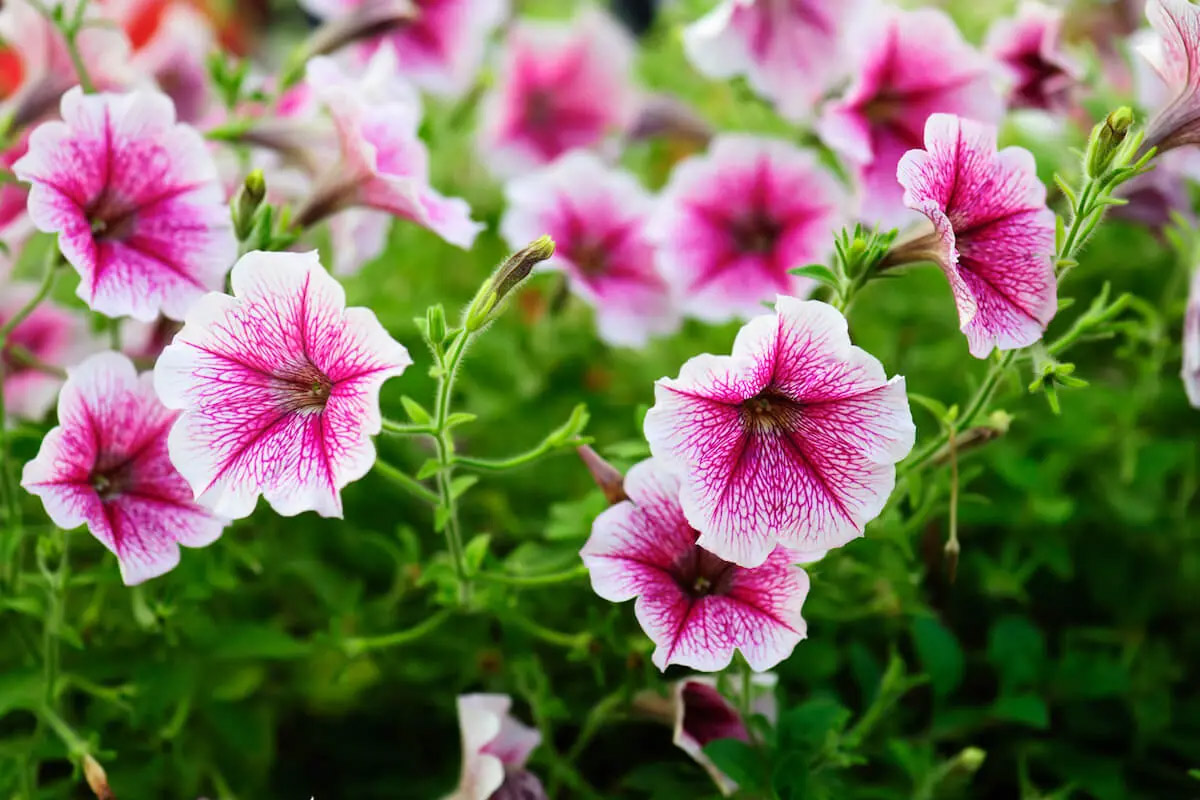
- Open-pollinated varieties: Look for open-pollinated petunias as these will produce true-to-type seeds. This means that the offspring will closely resemble the parent plants, maintaining their characteristics such as color, size, and growth habit. Open-pollinated flowers are typically pollinated by insects or wind, allowing for a wide variety of plants.
- Heirloom varieties: Heirloom petunias are old-fashioned varieties that have been passed down through generations. These plants often have unique colors or patterns that may not be found in newer hybrid varieties. Collecting seeds from heirloom petunias is a great way to preserve these heritage plants and enjoy their timeless beauty.
- Desired traits: Consider the specific traits you are looking for in your petunia plants. It could be a particular color, a cascading growth habit, or a specific floral pattern. Keep these traits in mind when selecting the parent plants for seed collection, ensuring that the desired characteristics are carried on to the next generation.
- Healthy plants: Choose healthy, disease-free plants for seed collection. This will increase the chances of obtaining viable seeds that will germinate successfully. Inspect the plants for any signs of pests, diseases, or abnormalities. Opt for plants that have sturdy stems, lush foliage, and abundant flowers.
By carefully considering these factors, you can ensure that the petunia seeds you collect will give you the best chance of growing strong and beautiful plants in the future.
Step 2 – Waiting for the Flowers to Bloom
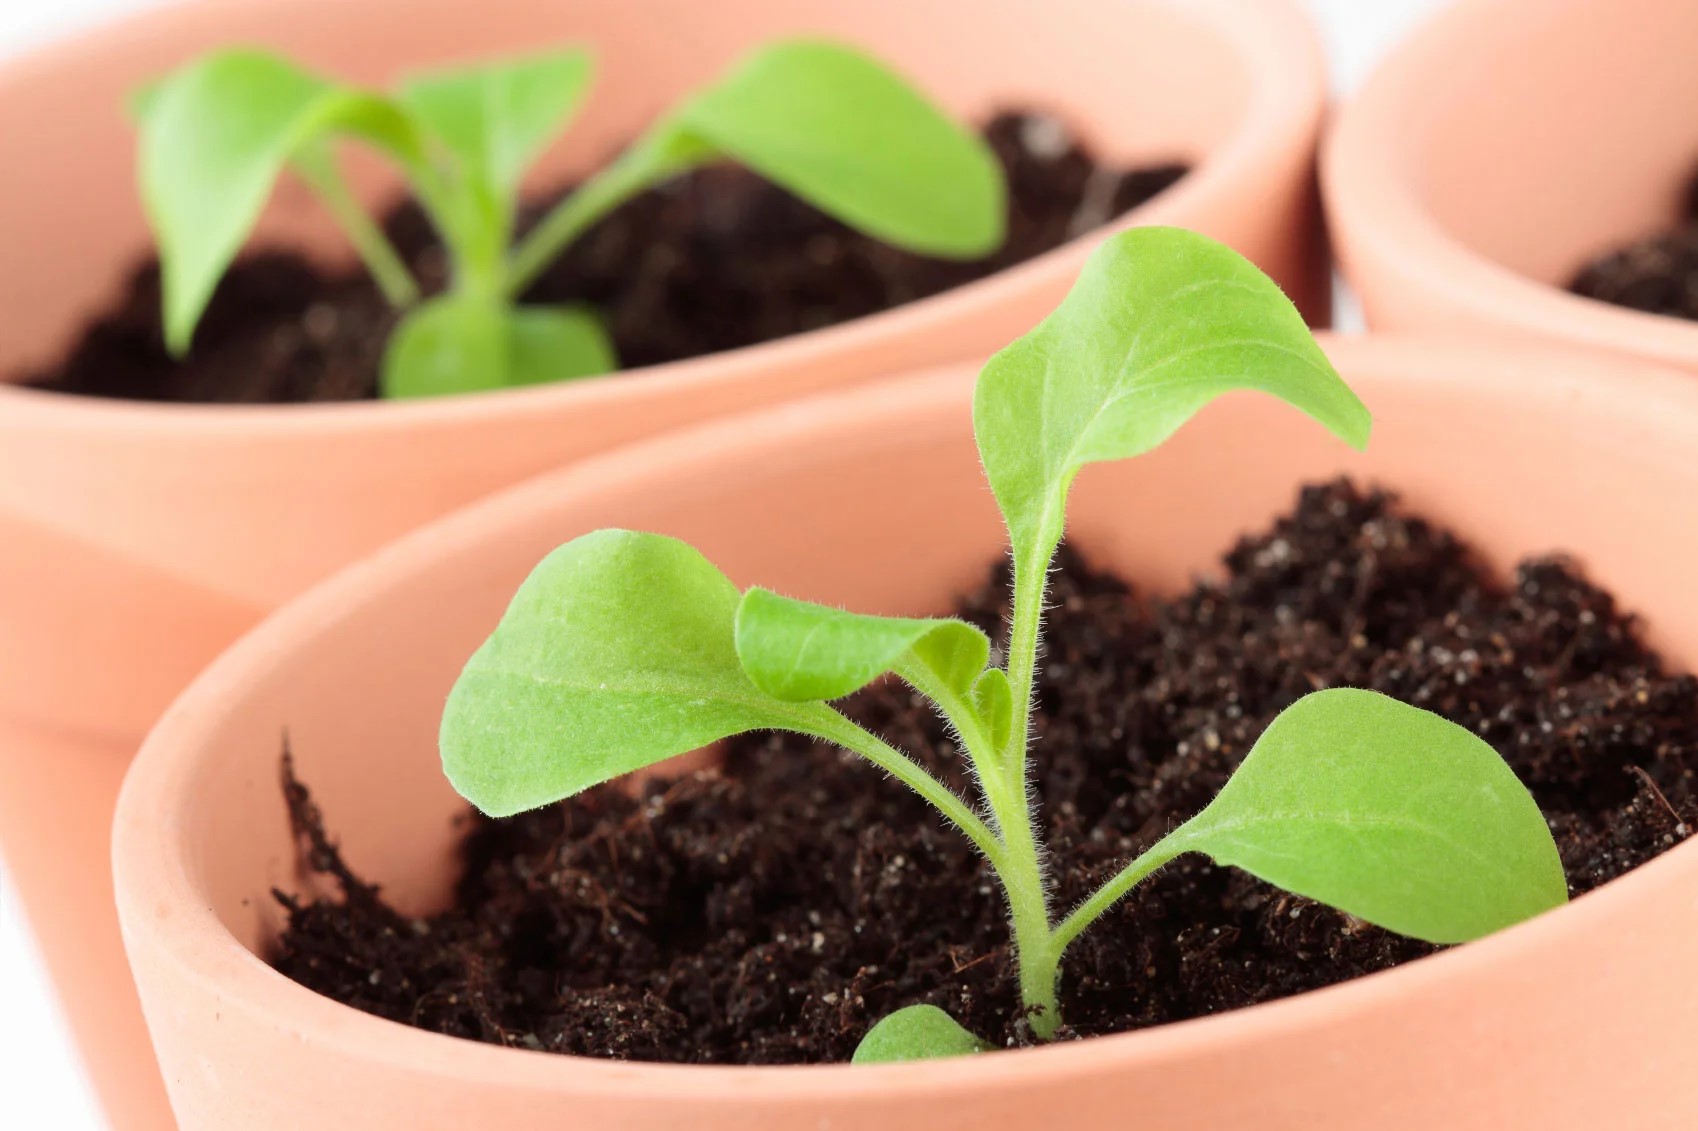
Once you have chosen the right petunias for seed collection, the next step is to patiently wait for the flowers to bloom. This is an exciting time as you observe the gradual transformation of your plants and anticipate the arrival of vibrant, fragrant blossoms.
Here are some tips to help you navigate this waiting period:
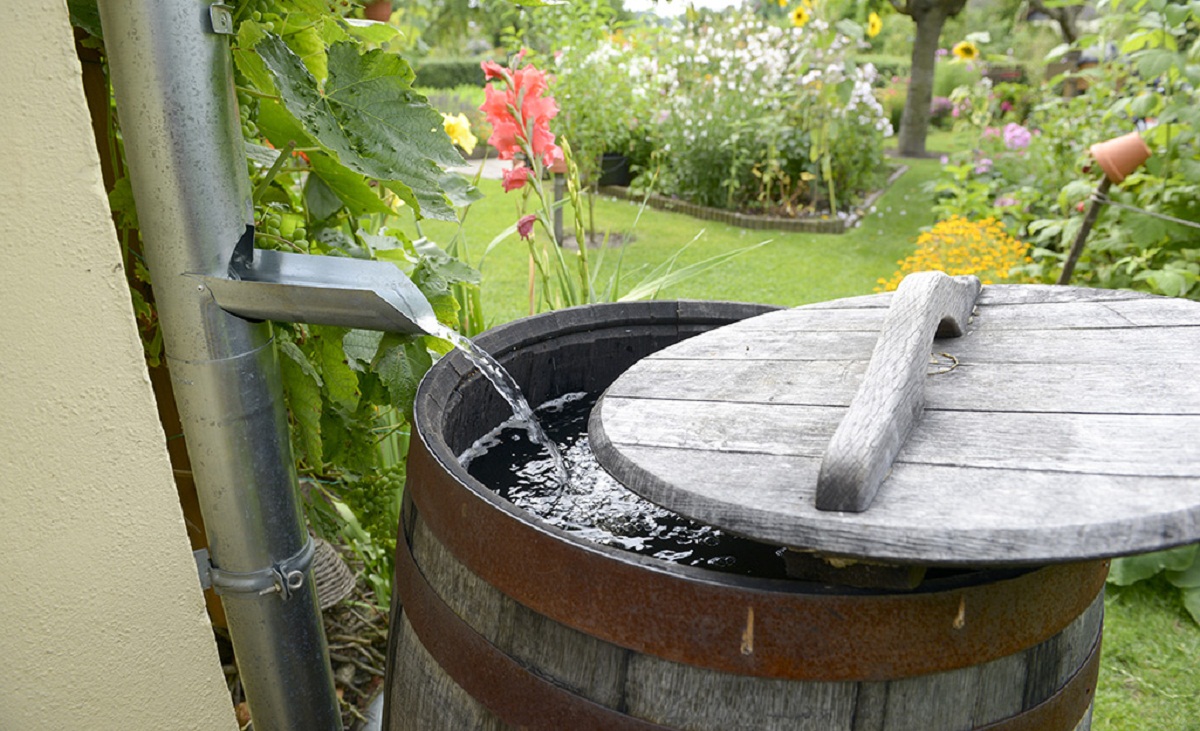
- Provide proper care: Make sure to provide your petunia plants with the necessary care to promote healthy growth and flowering. This includes regular watering, sufficient sunlight, and appropriate fertilization. By ensuring that your plants are in optimal condition, you can encourage them to produce an abundance of flowers.
- Observe the flower development: Keep a close eye on your petunia plants as they progress through their growth stages. You will notice the formation of buds, which will eventually develop into flowers. Take note of the timeline from bud formation to blossoming, as this will help you plan when to expect seed pods to develop.
- Monitor the peak blooming period: Petunias have a peak blooming period when their flowers are in full display. This is the optimal time to observe the pollination process and the formation of seed pods. It is during this period that the flowers are most likely to be pollinated by bees, butterflies, or other insects, leading to the development of seeds.
- Keep pests at bay: While you eagerly await the flowers to bloom, it is important to protect them from pests that may damage or consume the blossoms. Monitor your plants regularly for any signs of unwanted visitors, such as aphids or snails, and take appropriate measures to prevent and control infestations.
Remember, the blooming stage is a crucial period for seed production. By giving your petunias the care they need and observing their progress, you are setting the stage for successful seed collection in the next steps of the process.
Step 3 – Identifying Ripe Seed Pods
As your petunia flowers begin to fade, it’s time to shift your attention to identifying ripe seed pods. These pods contain the precious seeds that you will collect and store for future planting. However, not all seed pods are ready at the same time, so it’s important to know how to identify the ripe ones.
Here are some guidelines to help you identify when the seed pods are mature:
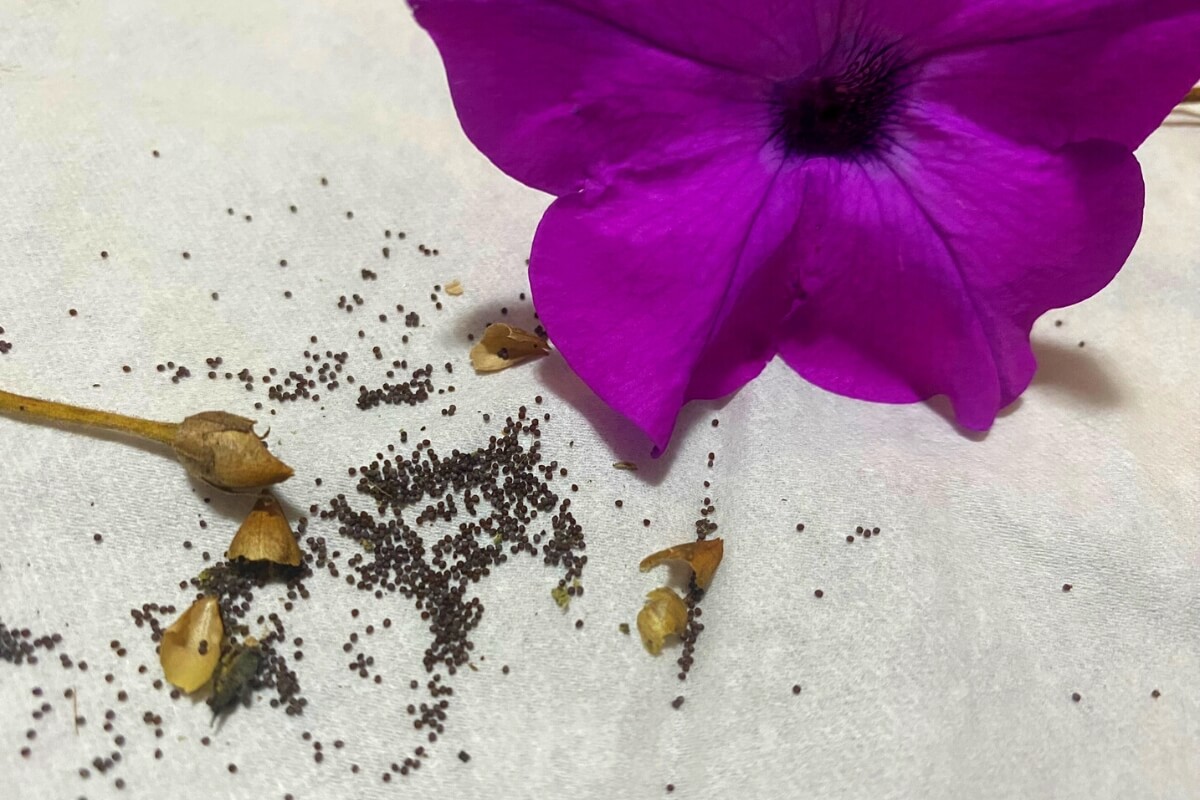
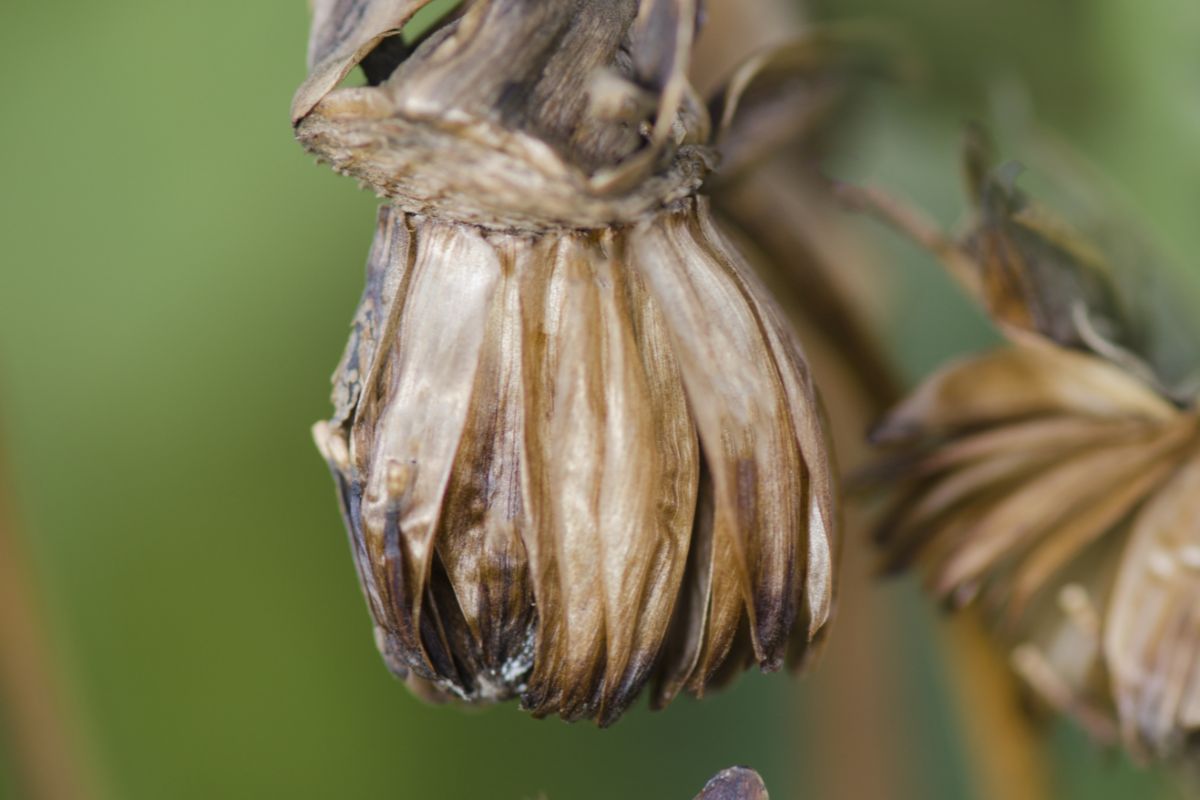
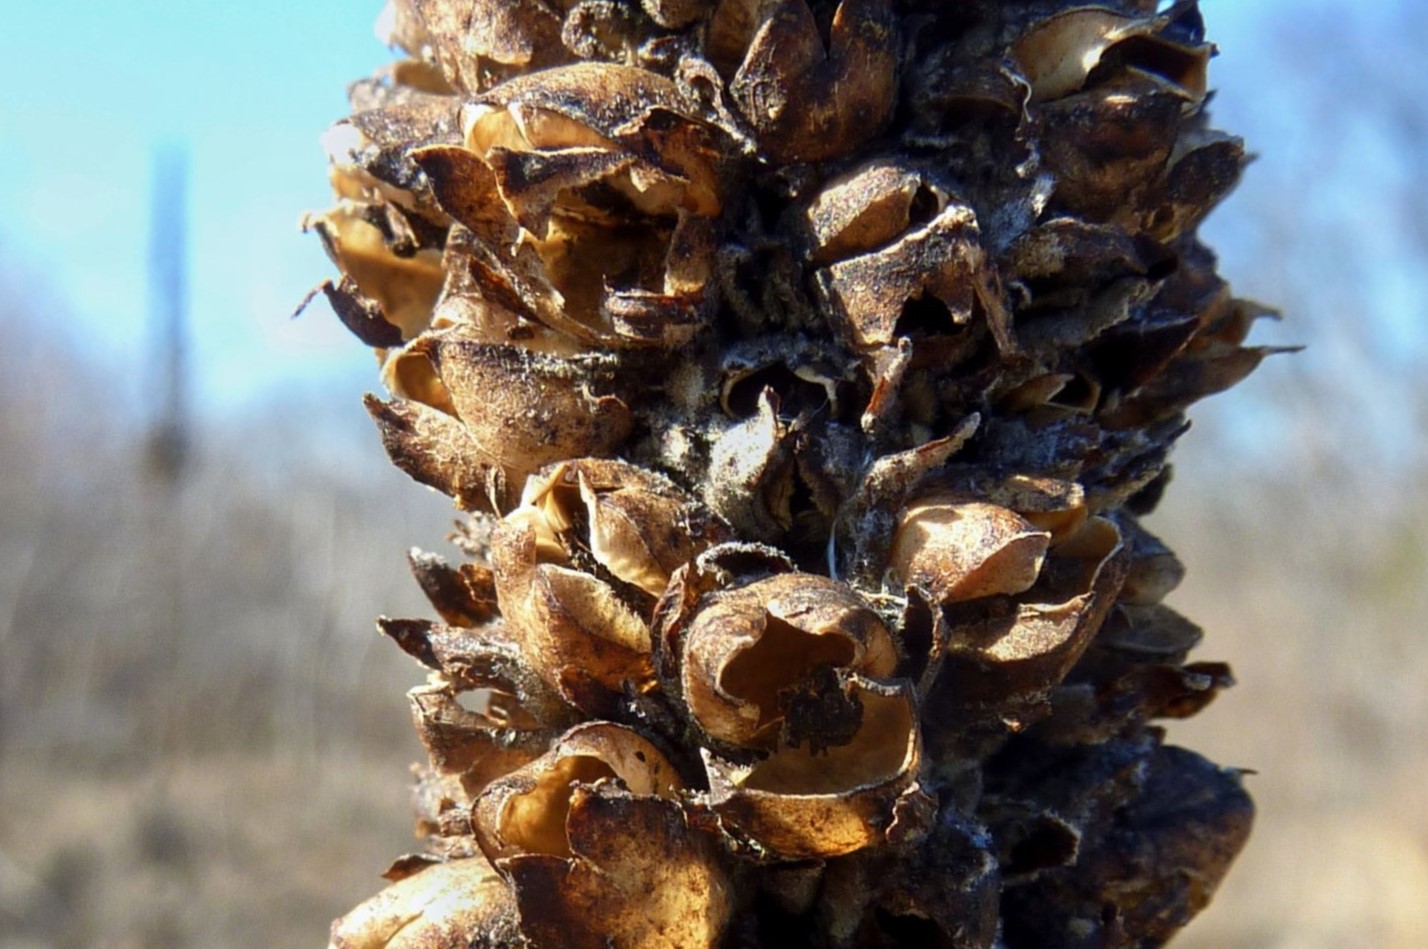
- Pod color: Ripe petunia seed pods typically change in color as they mature. Depending on the petunia variety, the pods may turn brown, tan, or even black when they are ready for seed collection. Keep an eye on the pods and note any color changes as a visible indication of ripeness.
- Pod texture: In addition to color changes, the texture of the seed pods can also provide clues to their maturity. Ripe pods will often become dry and papery, compared to the green and plump appearance of immature pods. Gently touch the pods to assess their texture and identify those that are ready for harvesting.
- Pod opening: Some petunia seed pods have a natural opening mechanism that allows the seeds to be released once they are mature. Look for seed pods that have begun to split or open, as this indicates that the seeds are ripe and ready to be collected. If the pods are still tightly closed, they may need more time to mature.
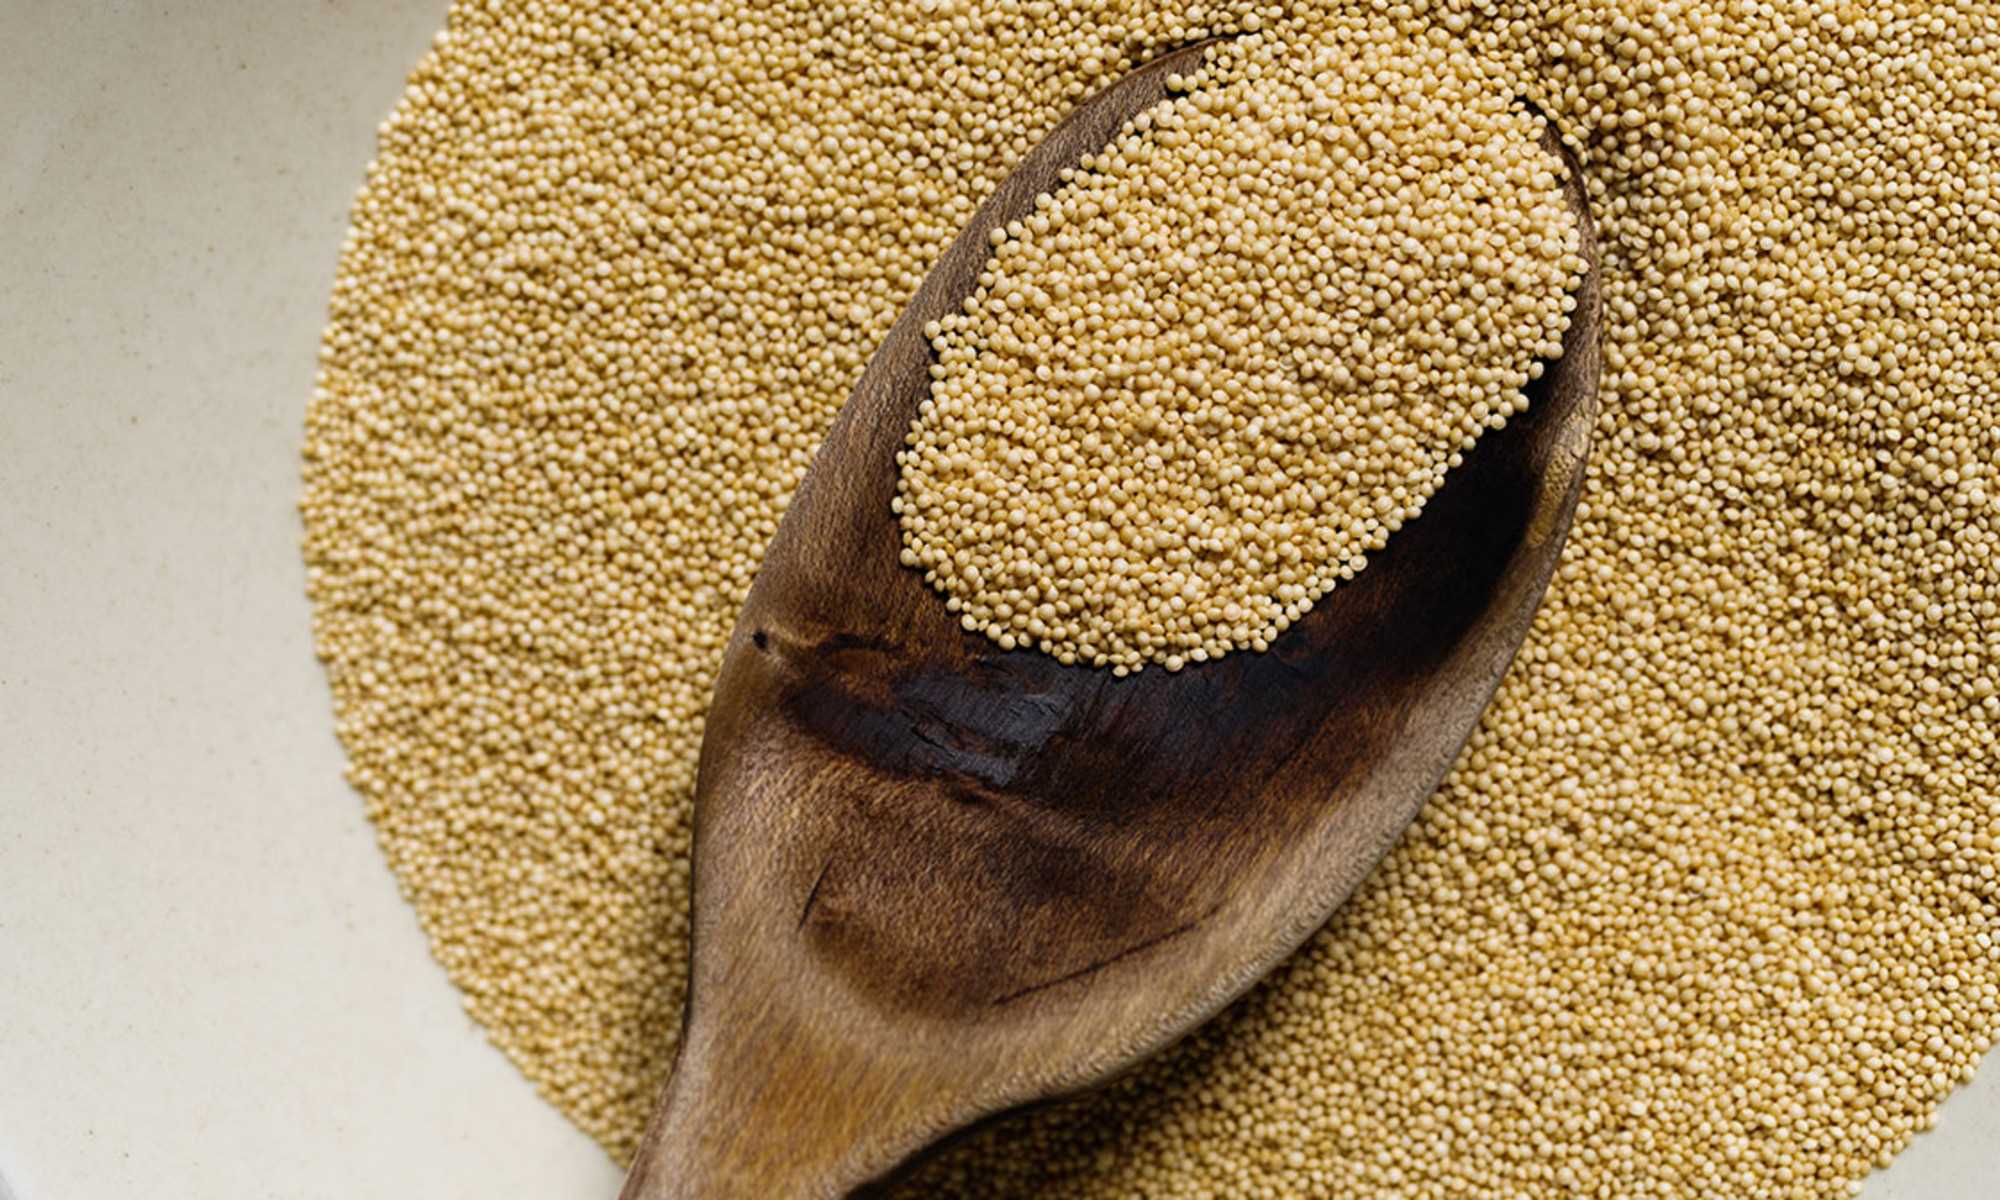
- Seed viability: Another way to determine if the seed pods are ripe is by checking the viability of the seeds inside. Carefully open a few seed pods and examine the seeds. Ripe seeds are usually dark in color and have a hard, mature appearance. Immature seeds may be soft, pale, or underdeveloped. If most of the seeds inside the pod are viable, it is a good indication that the pod is ripe.
Remember, different petunia varieties may have varying ripening times and characteristics. It’s important to get familiar with the specific traits of the petunias you are growing to accurately identify the ripe seed pods. By keeping a close eye on the pod color, texture, opening, and seed viability, you can ensure that you collect seeds at their peak maturity for the best germination rates and successful propagation in the future.
After the petunia flowers have faded, wait for the seed pods to dry and turn brown. Then, gently crush the pods to release the small seeds. Store them in a cool, dry place for future planting.
Step 4 – Collecting the Seed Pods
Once you have identified the ripe seed pods on your petunia plants, it’s time to carefully collect them. Harvesting the seed pods requires a gentle touch to avoid damaging the seeds or the plants themselves. Here are the steps to follow for successful seed pod collection:
- Prepare your tools: Before you start collecting the seed pods, gather the necessary tools such as clean scissors, a small container or envelope, and a label for identification. Having these items ready will make the process more efficient.
- Select the seed pods: Choose the seed pods that are fully ripe and ready for collection. Depending on the size of your petunia plants and the number of seeds you want to collect, you may choose to harvest all the ripe seed pods or select a few for sampling.
- Trim the stem: Use the clean scissors to carefully cut the stem below the seed pod. Be cautious not to damage the pod or surrounding plant tissue. Place each harvested seed pod in your container or envelope to keep them separate from each other.
- Label the seed pods: To ensure that you can identify the specific variety of petunia from which the seeds were collected, it’s important to label each seed pod with relevant information. Write down the petunia variety name, date of collection, and any other details you find necessary.
- Inspect for pests or diseases: Before storing the seed pods, inspect them carefully for any signs of pests or diseases. Remove any damaged or infected pods to prevent the spread of undesirable pathogens to the collected seeds.
Remember to handle the seed pods with care to prevent damage or premature seed release. By following these steps, you can safely collect the ripe seed pods and prepare them for the next stage of seed extraction.
Read more: How To Start Petunias From Seed
Step 5 – Extracting the Seeds
After successfully collecting the ripe seed pods from your petunia plants, the next step is to extract the seeds from the pods. Extracting the seeds allows you to separate them from any remaining plant material and prepare them for storage and future planting. Here’s how to extract the seeds:
- Prepare your workspace: Find a clean and dry surface to work on. You may want to place a piece of paper or a tray underneath to catch any stray seeds that may fall during the extraction process.
- Open the seed pods: Carefully and gently open each seed pod to expose the seeds inside. Some seed pods may have a natural opening that makes it easier to access the seeds. If the pods are still intact, you can use your fingers or a small knife to carefully pry them open.
- Collect the seeds: Once the seed pods are open, gently shake or tap them to release the seeds. Use your fingers or a small tweezer to pick out the seeds and place them onto your workspace. Take your time and be careful not to damage or lose any seeds in the process.
- Remove debris: After collecting the seeds, inspect them for any remaining plant material or debris. You can use a small sieve or mesh screen to separate the seeds from any unwanted particles. Gently sift the seeds through the sieve, allowing the debris to be collected while the seeds pass through.
- Store the extracted seeds: Once you have extracted the seeds and removed any debris, transfer them into a clean, dry container. You can use small envelopes, paper bags, or airtight containers for storage. Make sure to label the container with the petunia variety and the date of extraction for easy identification.
Remember to work slowly and methodically when extracting the seeds to ensure their integrity. By following these steps, you can effectively separate the seeds from the seed pods and prepare them for long-term storage and future planting.
Step 6 – Drying and Storing the Seeds
After extracting the seeds from the petunia seed pods, it’s crucial to properly dry and store them to maintain their viability and ensure successful planting in the future. Proper drying and storage conditions will help preserve the seeds’ quality and keep them safe from moisture and other detrimental factors. Here’s how to dry and store the seeds:
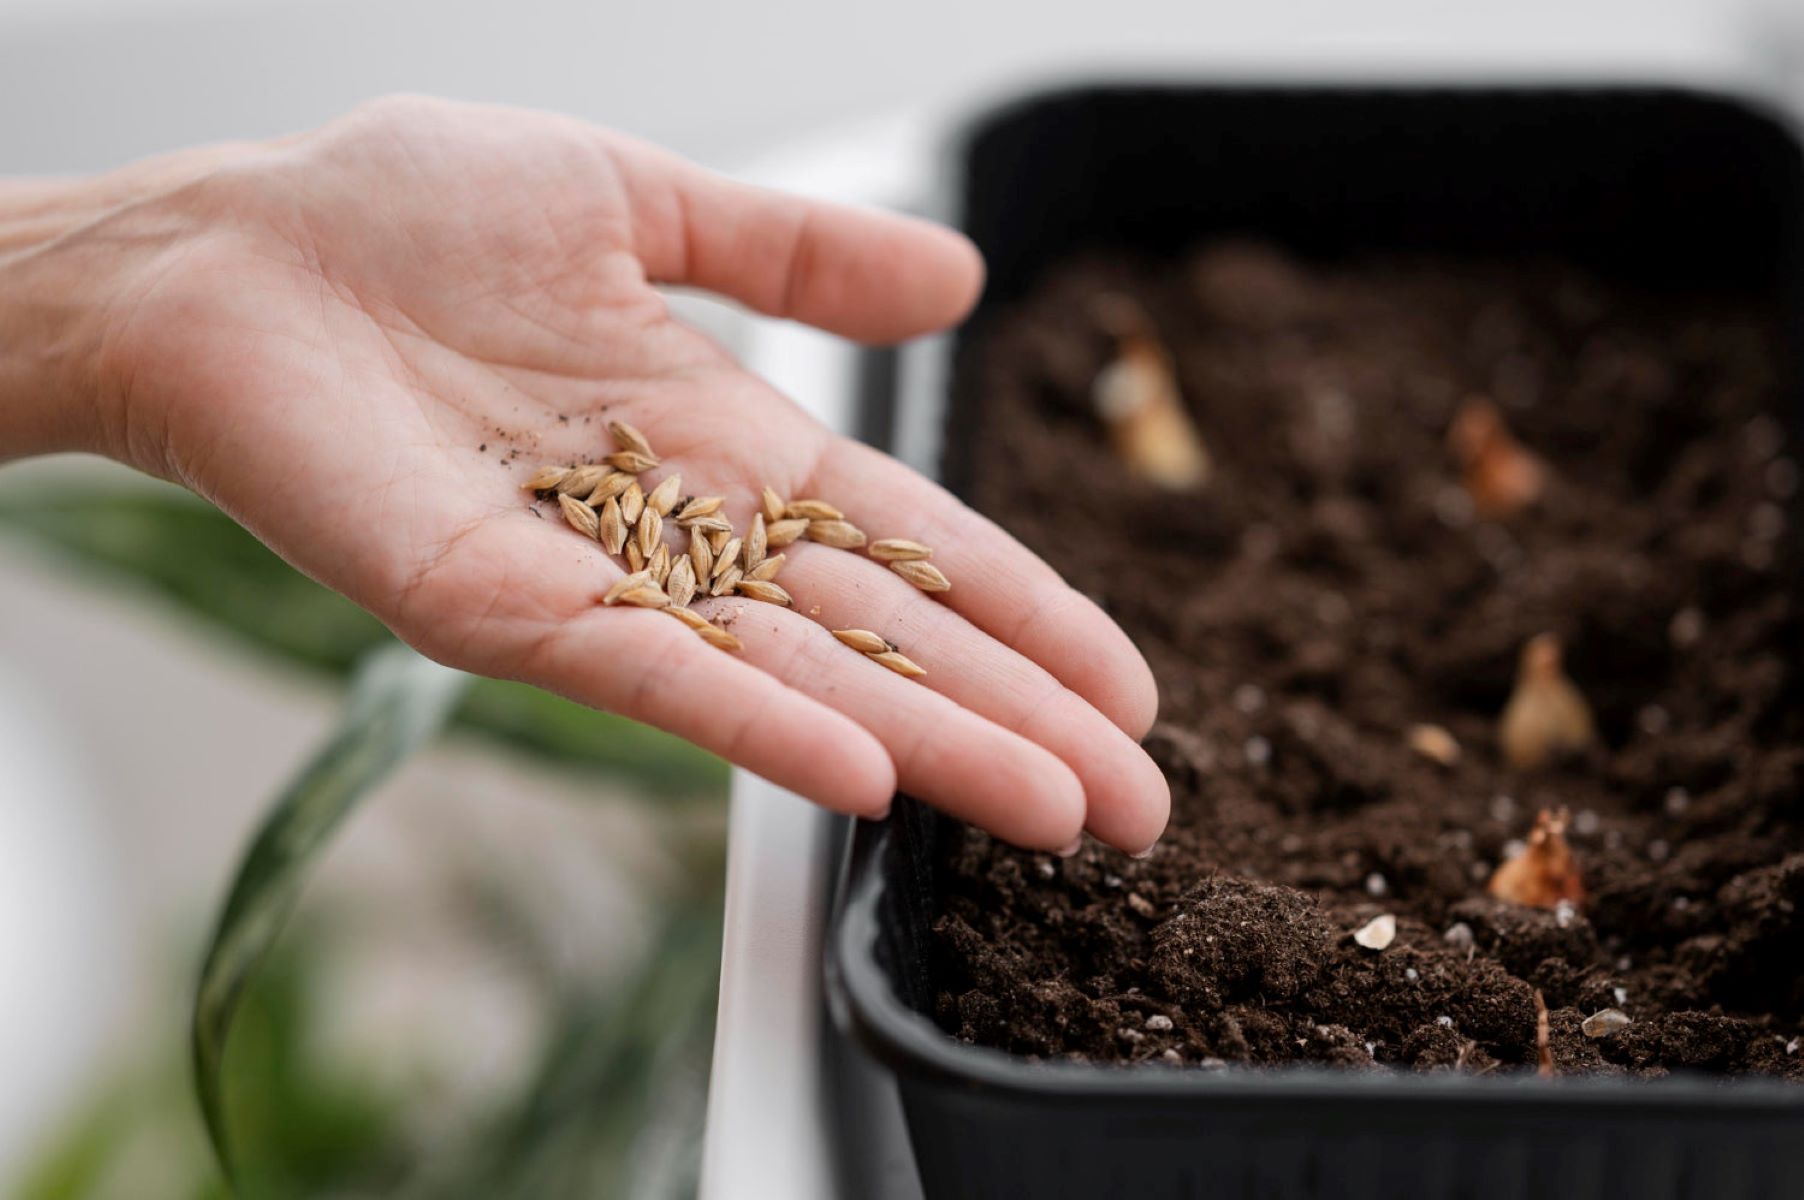
- Drying: Spread the extracted petunia seeds in a single layer on a clean and dry surface. Choose a well-ventilated area away from direct sunlight and excessive humidity. Allow the seeds to air dry naturally for about one to two weeks. During this time, regularly agitate the seeds to prevent them from clumping together and promote uniform drying.
- Testing for dryness: To ensure that the seeds are thoroughly dry and ready for storage, perform a “snap test.” Try bending a seed between your thumb and forefinger. If it snaps or breaks cleanly, it is likely dry and ready for storage. If it bends or feels soft, continue the drying process until the seeds achieve the desired dryness.
- Storage containers: Once the seeds are completely dry, transfer them into suitable storage containers. Choose airtight containers that are clean, dry, and preferably opaque to protect the seeds from light. Small envelopes, glass jars, or plastic containers with tightly sealed lids are commonly used for seed storage.
- Labeling: Label each storage container with essential information, including the petunia variety, the date of seed collection, and any additional details you find relevant. Proper labeling is crucial for easy identification and tracking of the seeds, especially if you collect seeds from different petunia varieties.
- Storage conditions: Store the seed containers in a cool, dry, and dark place. Aim for a temperature around 40-50°F (4-10°C) and a humidity level below 50%. Avoid storing the seeds in areas that experience extreme temperature fluctuations, direct sunlight, or excessive moisture, as these conditions can reduce seed viability.
- Monitoring and viability testing: Periodically check the stored seeds for any signs of mold, mildew, or insect infestation. If you notice any issues, promptly discard the affected seeds to prevent further damage. Additionally, over time, perform a germination test by planting a small batch of seeds to ensure their viability before sowing a larger quantity.
By following these steps, you can effectively dry and store your petunia seeds, maximizing their shelf life and maintaining their potential for successful germination when the time to plant them comes. Good luck and happy gardening!
Conclusion
Congratulations on successfully learning how to collect seeds from petunias! By following the steps outlined in this guide, you have gained the knowledge and skills to preserve and propagate your favorite petunia varieties for future gardening endeavors.
Collecting petunia seeds allows you to explore the fascinating world of plant genetics and maintain the unique characteristics of different petunia varieties. It empowers you to curate your garden with the colors, patterns, and growth habits that you find most appealing.
Remember, the key to successful seed collection is choosing the right petunias, patiently waiting for the flowers to bloom, identifying ripe seed pods, carefully collecting and extracting the seeds, and ensuring proper drying and storage conditions. By following these steps, you can increase the chances of preserving viable seeds that will germinate and grow into beautiful petunia plants.
As you continue your gardening journey, don’t forget to track and label your seeds properly to keep them organized and easily identifiable. Regularly assess the viability of stored seeds and be mindful of any signs of deterioration or contamination.
Now armed with the knowledge of seed collection, you can expand your garden, share seeds with fellow enthusiasts, and even experiment with hybridization to create unique petunia varieties of your own.
So, go ahead and enjoy the rewarding process of collecting and preserving petunia seeds. Embrace the opportunities it provides to connect with nature, nurture your green thumb, and create a garden filled with vibrant and beautiful petunias for years to come.
Frequently Asked Questions about How To Collect Seeds From Petunias
Was this page helpful?
At Storables.com, we guarantee accurate and reliable information. Our content, validated by Expert Board Contributors, is crafted following stringent Editorial Policies. We're committed to providing you with well-researched, expert-backed insights for all your informational needs.

0 thoughts on “How To Collect Seeds From Petunias”