Home>Garden Essentials>How To Start Petunias From Seed
Garden Essentials
How To Start Petunias From Seed
Modified: March 15, 2024
Learn how to start petunias from seed in your garden. Step-by-step guide with expert tips and advice for successful petunia seed germination.
(Many of the links in this article redirect to a specific reviewed product. Your purchase of these products through affiliate links helps to generate commission for Storables.com, at no extra cost. Learn more)
Introduction
Welcome to the world of petunias! If you’re looking to add vibrant colors and beautiful blooms to your garden, starting petunias from seed is a rewarding and cost-effective way to do so. Petunias are versatile and hardy annual flowers that come in a wide range of colors and patterns, making them a popular choice among gardeners.
In this article, we will guide you through the process of starting petunias from seed, from choosing the right seeds to caring for the seedlings until they are ready to be transplanted into your garden. Whether you’re a seasoned gardener or a beginner, this step-by-step guide will help you successfully grow petunias from seed and enjoy a stunning display of flowers.
Before we dive into the details, it’s important to note that starting petunias from seed requires some time and patience. However, the reward of seeing your petunia plants grow from tiny seeds into vibrant, blooming flowers is well worth the effort.
So, let’s get started and discover the joy of growing petunias from seed!
Key Takeaways:
- Starting petunias from seed is a fun and rewarding way to grow vibrant flowers in your garden. With the right seeds, soil preparation, and care, you can enjoy the beauty of petunias from tiny seeds to stunning blooms.
- Proper watering, sunlight, and care are essential for growing healthy petunias from seed. By addressing common problems like pests and diseases, you can ensure your petunias thrive and bring joy to your garden.
Read more: When To Start Petunias From Seed
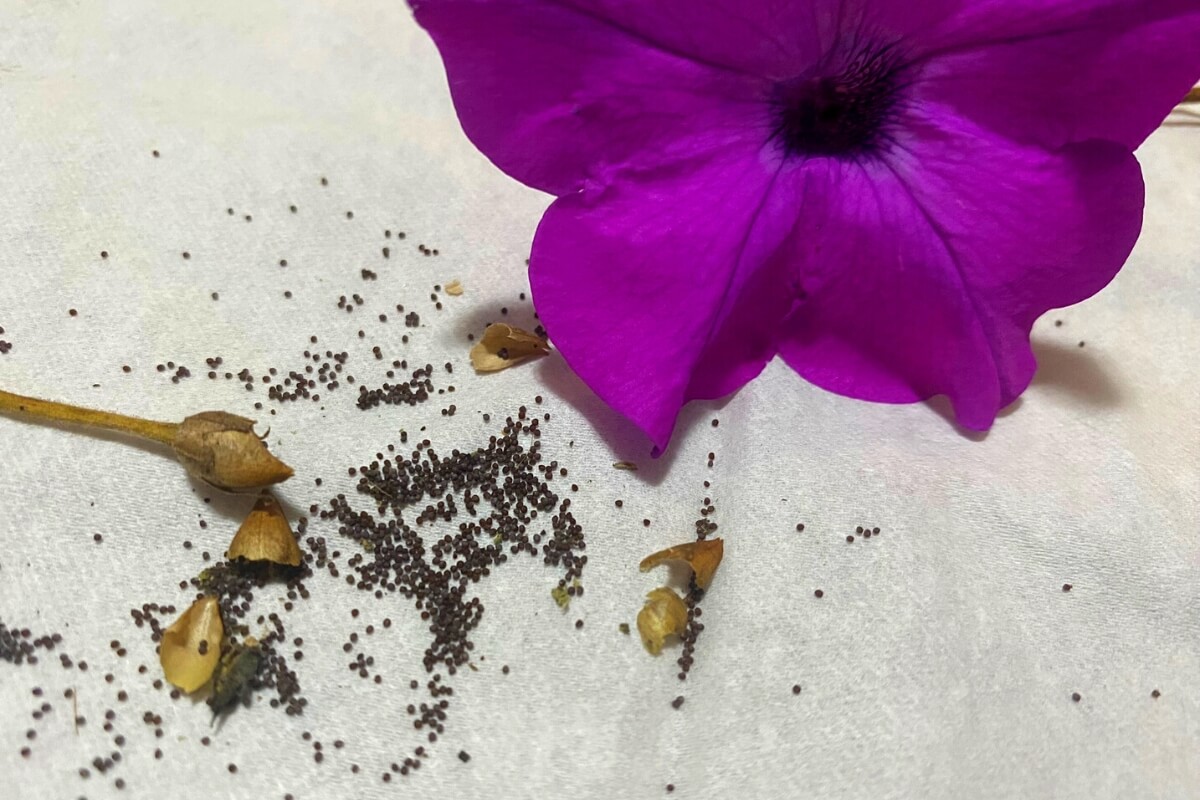
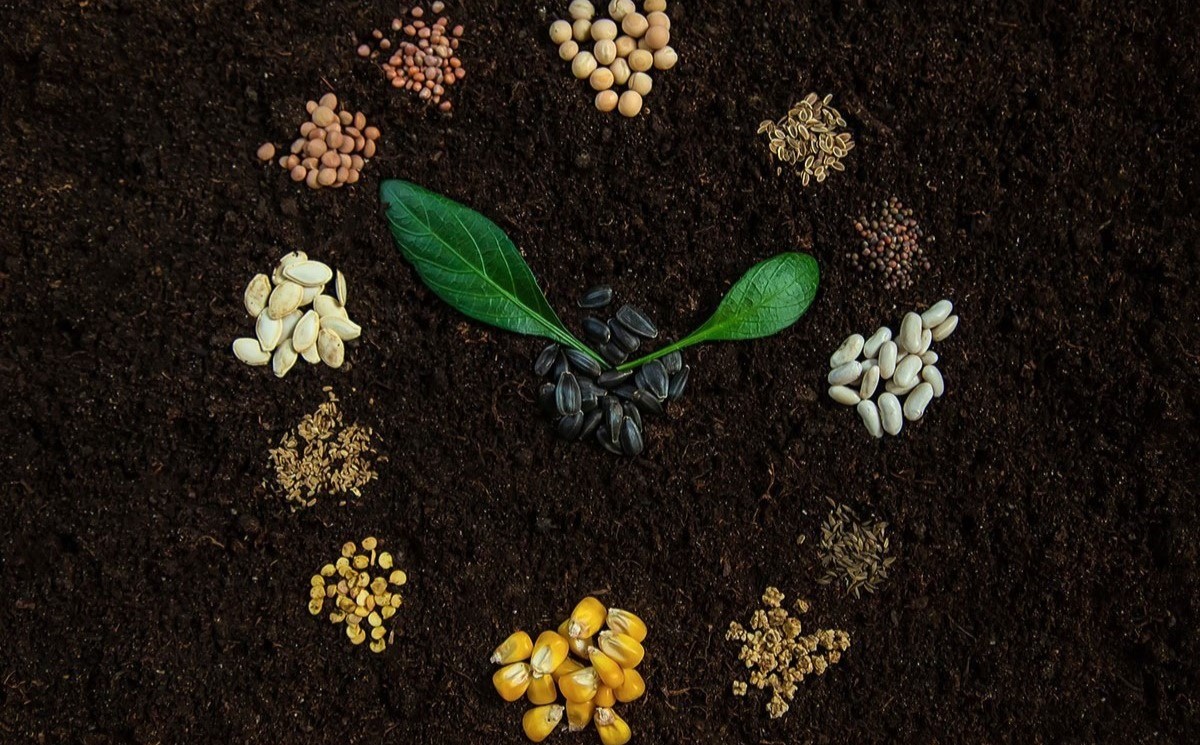
Choosing Petunia Seeds
When it comes to choosing petunia seeds, there are a few factors to consider. First and foremost, decide whether you want to plant annual or perennial petunias. Annual petunias bloom for one season and then die, while perennial petunias can come back year after year.
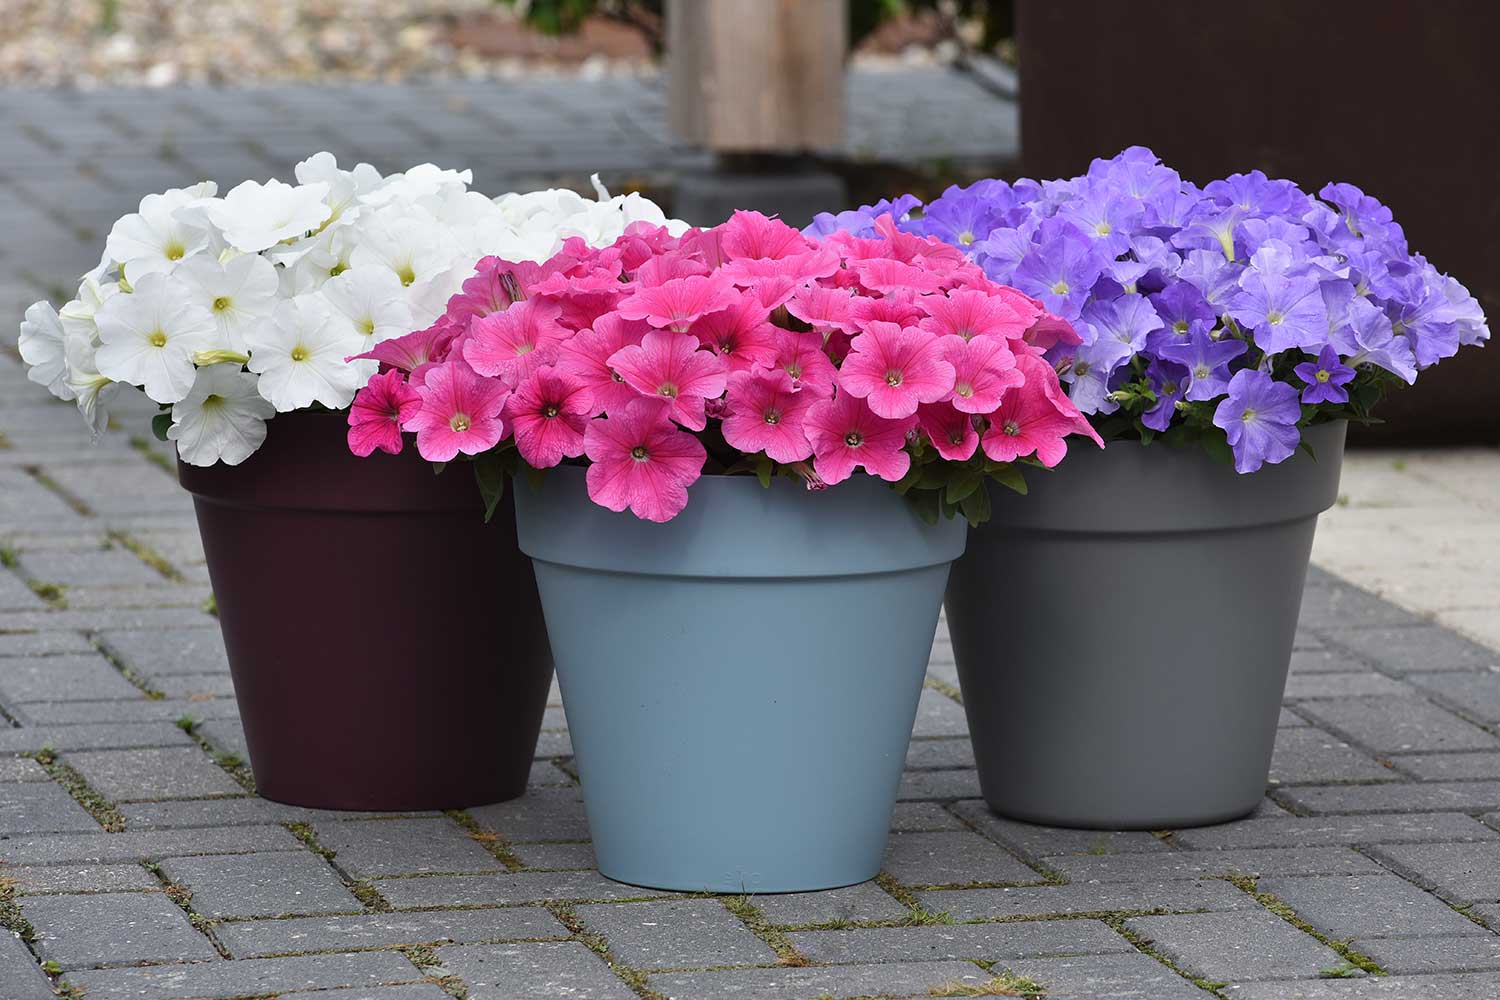
Next, consider the variety of petunias you want to grow. Petunias come in a wide range of colors, sizes, and growth habits. Some popular varieties include grandiflora, multiflora, and trailing petunias. Think about the overall look you want to achieve in your garden and choose a variety that suits your preferences.
It’s also important to pay attention to the seed packet information. Look for petunia seeds that have been tested and have a high germination rate. This will increase your chances of successful seed starting and ensure a higher number of healthy seedlings.
If you are unsure about which petunia seeds to choose, consider seeking recommendations from local garden centers or fellow gardeners. They can provide insights about varieties that thrive in your specific climate and growing conditions.
Lastly, keep in mind your gardening goals and requirements. If you’re looking for compact petunias for containers or hanging baskets, choose varieties that have a trailing habit. If you want petunias for borders or beds, opt for upright varieties with larger flowers.
Remember, petunias are adaptable and relatively easy to grow, so don’t be afraid to experiment with different varieties and colors. The more diverse the selection, the more stunning and vibrant your garden will be.
Preparing the Soil
Before planting petunia seeds, it’s important to prepare the soil to provide optimal growing conditions for the seedlings. Good soil preparation will help the young plants establish strong roots and thrive throughout the growing season.
Here are a few steps to follow when preparing the soil for planting petunia seeds:
- Clear the area: Start by clearing the planting area of any weeds, debris, or rocks. These can hinder the growth of your petunia seedlings and compete for nutrients and moisture.
- Loosen the soil: Use a garden fork or a tiller to loosen the soil to a depth of about 6 to 8 inches. This will improve drainage, aeration, and root penetration. Avoid tilling the soil when it is wet, as this can lead to compaction.
- Amend the soil: Depending on the quality of your soil, you may need to amend it with organic matter to improve its fertility and structure. Incorporate well-rotted compost, aged manure, or other organic amendments into the soil. This will add nutrients and enhance moisture retention.
- Level the soil: Smooth out the soil surface using a rake or a garden hoe. Make sure the soil is evenly distributed and free of large clumps or bumps.
- Test the pH: Consider testing the soil’s pH level. Petunias prefer slightly acidic soil with a pH range of 5.5 to 6.5. If the pH is too high, you can lower it by adding elemental sulfur or acidic organic matter.
- Provide drainage: Ensure that the planting area has proper drainage to prevent waterlogged soil, which can cause root rot. If your soil retains water, consider adding organic matter or creating raised beds to promote better drainage.
By following these steps, you will create an ideal foundation for your petunia seedlings to grow and flourish. Proper soil preparation will contribute to healthy root development, vigorous growth, and abundant blooming throughout the season.
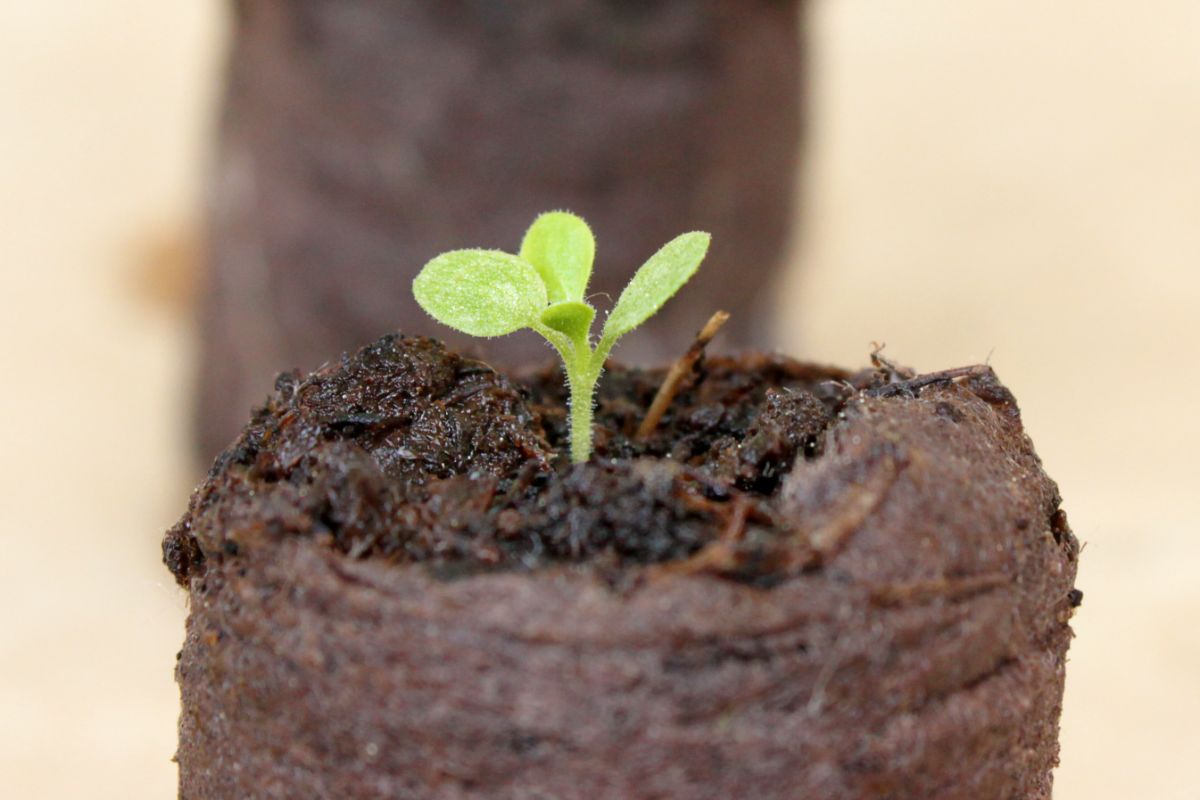
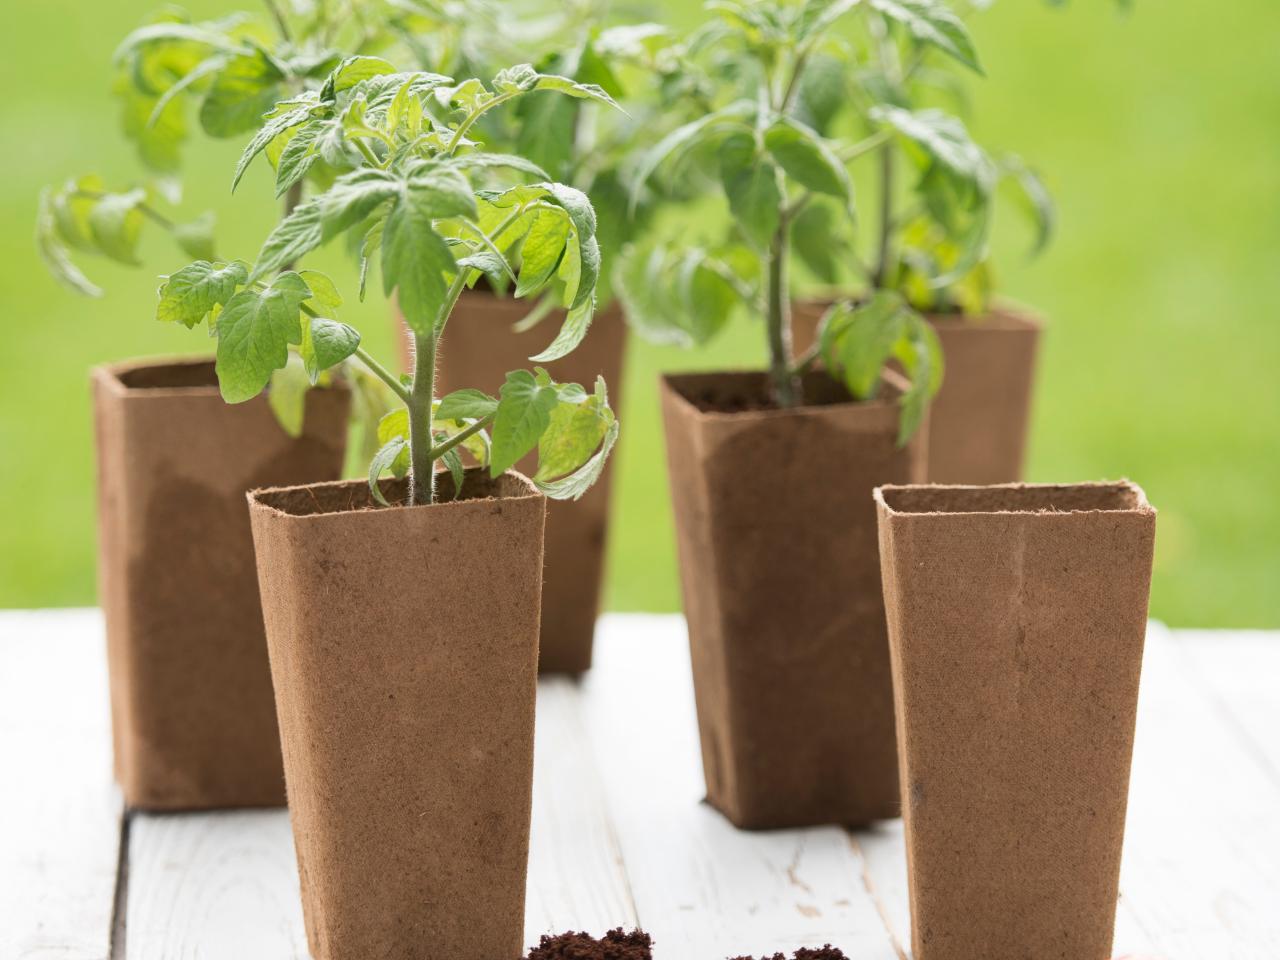
Planting Petunia Seeds
Now that you’ve prepared the soil, it’s time to plant your petunia seeds. Planting the seeds correctly will ensure their successful germination and give them the best chance of developing into healthy seedlings. Here’s how to plant petunia seeds:
- Select the planting method: There are two main methods for planting petunia seeds: direct sowing and starting indoors. Direct sowing involves planting the seeds directly into the garden bed, while starting indoors involves germinating the seeds in containers indoors before transplanting them outside. Choose the method that suits your preference and climate.
- Prepare containers (if starting indoors): If you choose to start the seeds indoors, fill seed trays or small pots with a seed-starting mix. Moisten the mix before sowing the seeds to ensure proper moisture levels.
- Sow the seeds: Whether you’re planting directly in the garden or starting indoors, sow your petunia seeds thinly and evenly across the soil surface. Gently press the seeds into the soil but avoid burying them too deeply, as petunia seeds need light to germinate.
- Water gently: After planting the seeds, water the soil gently to provide moisture without disturbing the seeds. Use a misting spray bottle or a fine watering can to avoid displacing the seeds.
- Provide proper lighting: Petunia seeds require adequate light for germination. If you’re starting them indoors, place the containers in a bright location or provide supplemental light with fluorescent or grow lights. Maintain a temperature of around 70 to 75°F (21 to 24°C) for optimal germination.
- Maintain moisture: Keep the soil consistently moist but not waterlogged during the germination process. Use a spray bottle or mist the soil regularly to prevent drying out.
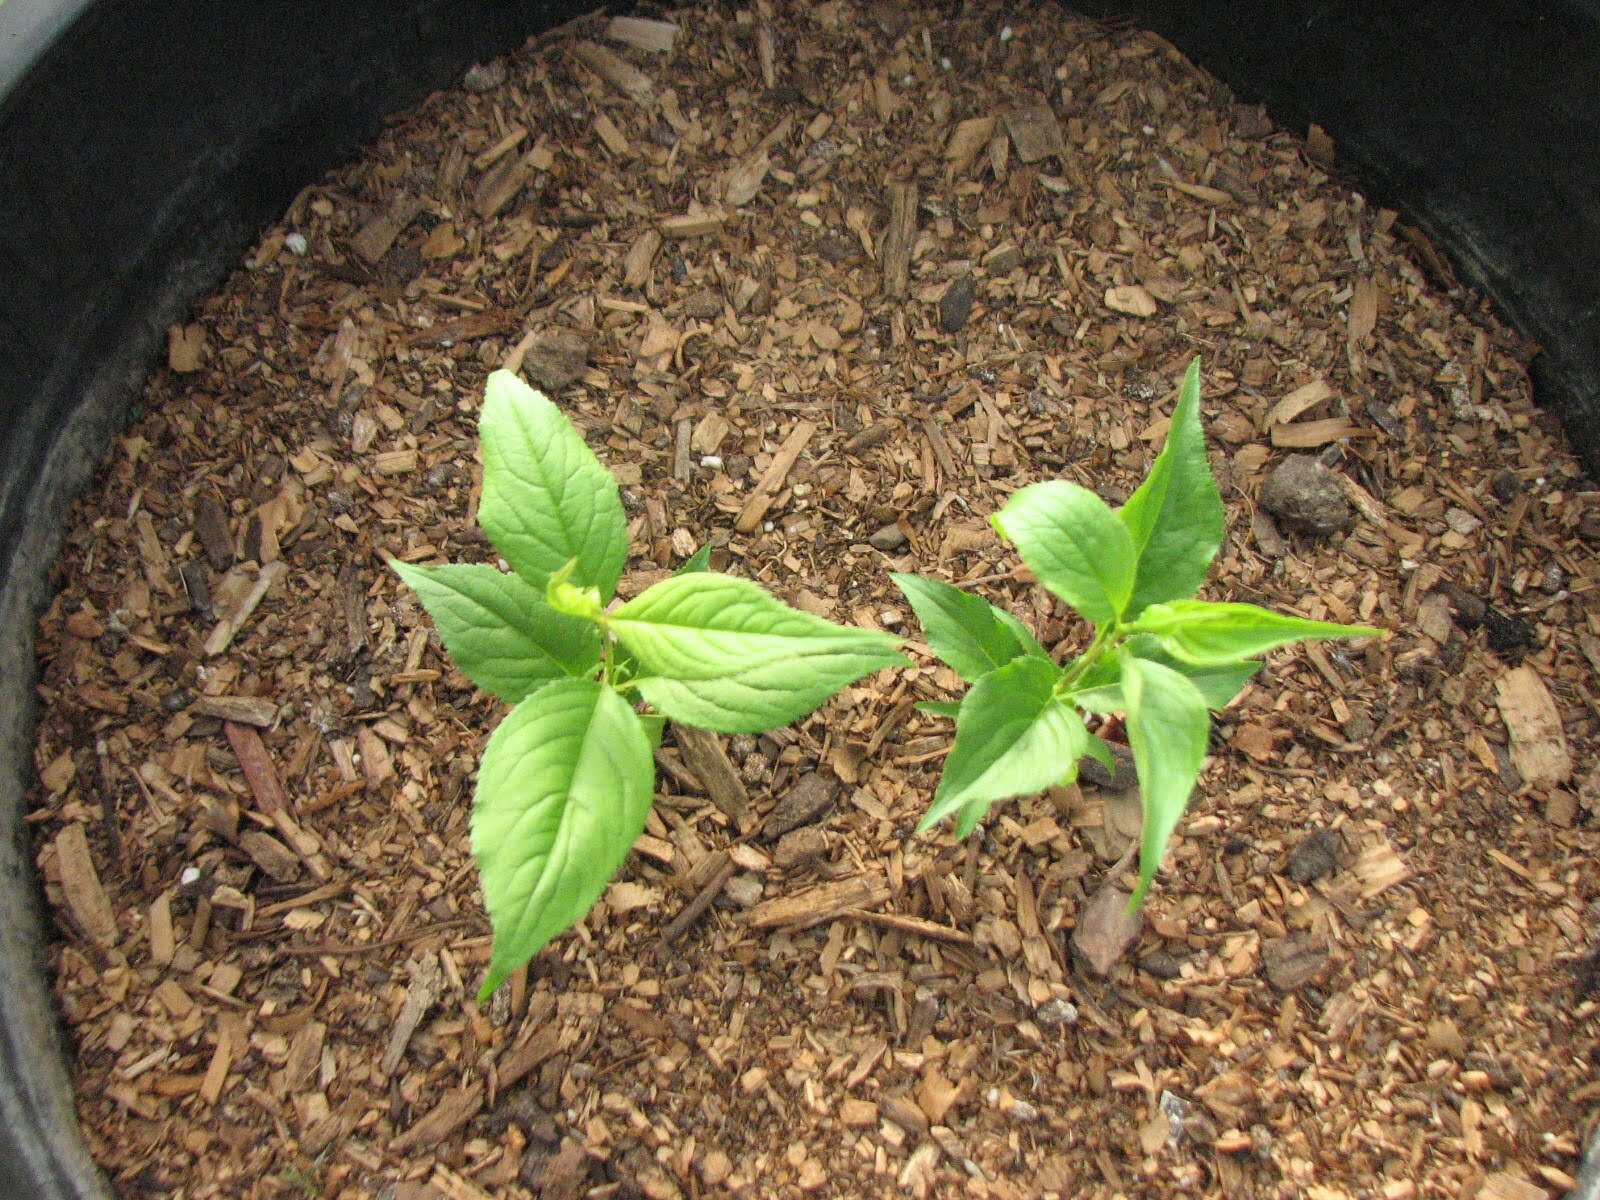
- Thin out seedlings (if necessary): Once the seedlings have developed a few true leaves, thin them out if they are overcrowded. This will ensure better airflow and give each seedling enough space to grow and access nutrients.
- Harden off seedlings (if starting indoors): Before transplanting your seedlings outdoors, gradually acclimate them to outdoor conditions. This process, known as hardening off, involves exposing the seedlings to increasing amounts of sunlight and outdoor temperatures over a week or two.
Follow these steps to successfully plant your petunia seeds and give them the optimal conditions for germination. Remember to follow the specific instructions provided on the seed packet, as they may vary depending on the petunia variety you’ve chosen. With proper care and patience, your petunia seedlings will soon begin to emerge and thrive.
Providing Proper Watering
Watering is a crucial aspect of growing petunias from seed. Proper watering ensures that the seedlings receive enough moisture to establish strong roots and grow into healthy plants. Here are some guidelines to help you provide the right amount of water to your petunias:
- Water consistently: Petunias prefer consistently moist soil, so it’s important to water them regularly. However, avoid overwatering, as it can lead to root rot and other problems. Aim to keep the soil evenly moist, but not waterlogged.
- Check moisture levels: Regularly check the moisture levels of the soil by inserting your finger about an inch into the soil. If it feels dry, it’s time to water. If it still feels moist, hold off on watering for a little longer.
- Water deeply: When you water, make sure to provide a deep watering rather than a light sprinkle. This encourages the roots to grow deeper into the soil, making the plants more resilient to drought conditions. Water until you see water seeping out from the drainage holes of the containers or until the soil is adequately moist for garden plantings.
- Avoid overhead watering: To prevent fungal diseases and promote healthier plants, avoid watering petunias from above, especially in the late afternoon or evening. Instead, use a soaker hose, drip irrigation system, or water at the base of the plants to deliver water directly to the roots.
- Water in the morning: If possible, water your petunias in the morning. This allows the foliage to dry out during the day, reducing the risk of disease. Avoid watering in the evening, as damp foliage overnight can create a favorable environment for fungal issues.
- Adjust watering based on weather conditions: Pay attention to the weather conditions in your area. During hot, dry spells, you may need to water more frequently, whereas during periods of rain or cooler temperatures, you can reduce watering. Adjust your watering schedule accordingly to meet the needs of your petunias.
- Water consistently after transplanting: After transplanting your petunias into the garden, they will require a little extra care. Keep the soil around the transplants moist for the first few weeks to help them establish their roots in their new surroundings.
By providing proper watering to your petunias, you will promote healthy growth and vibrant blooms. Remember to strike a balance between consistent moisture and avoiding overwatering. By paying attention to your plants’ needs and adjusting your watering routine accordingly, you can help your petunias thrive and create a stunning display of color in your garden.
Start petunias from seed by sowing them indoors 10-12 weeks before the last frost. Use a well-draining soil mix, keep them moist, and provide plenty of light. Once the seedlings have 2-3 sets of leaves, they can be transplanted outdoors.
Read more: How To Start Petunia Seeds
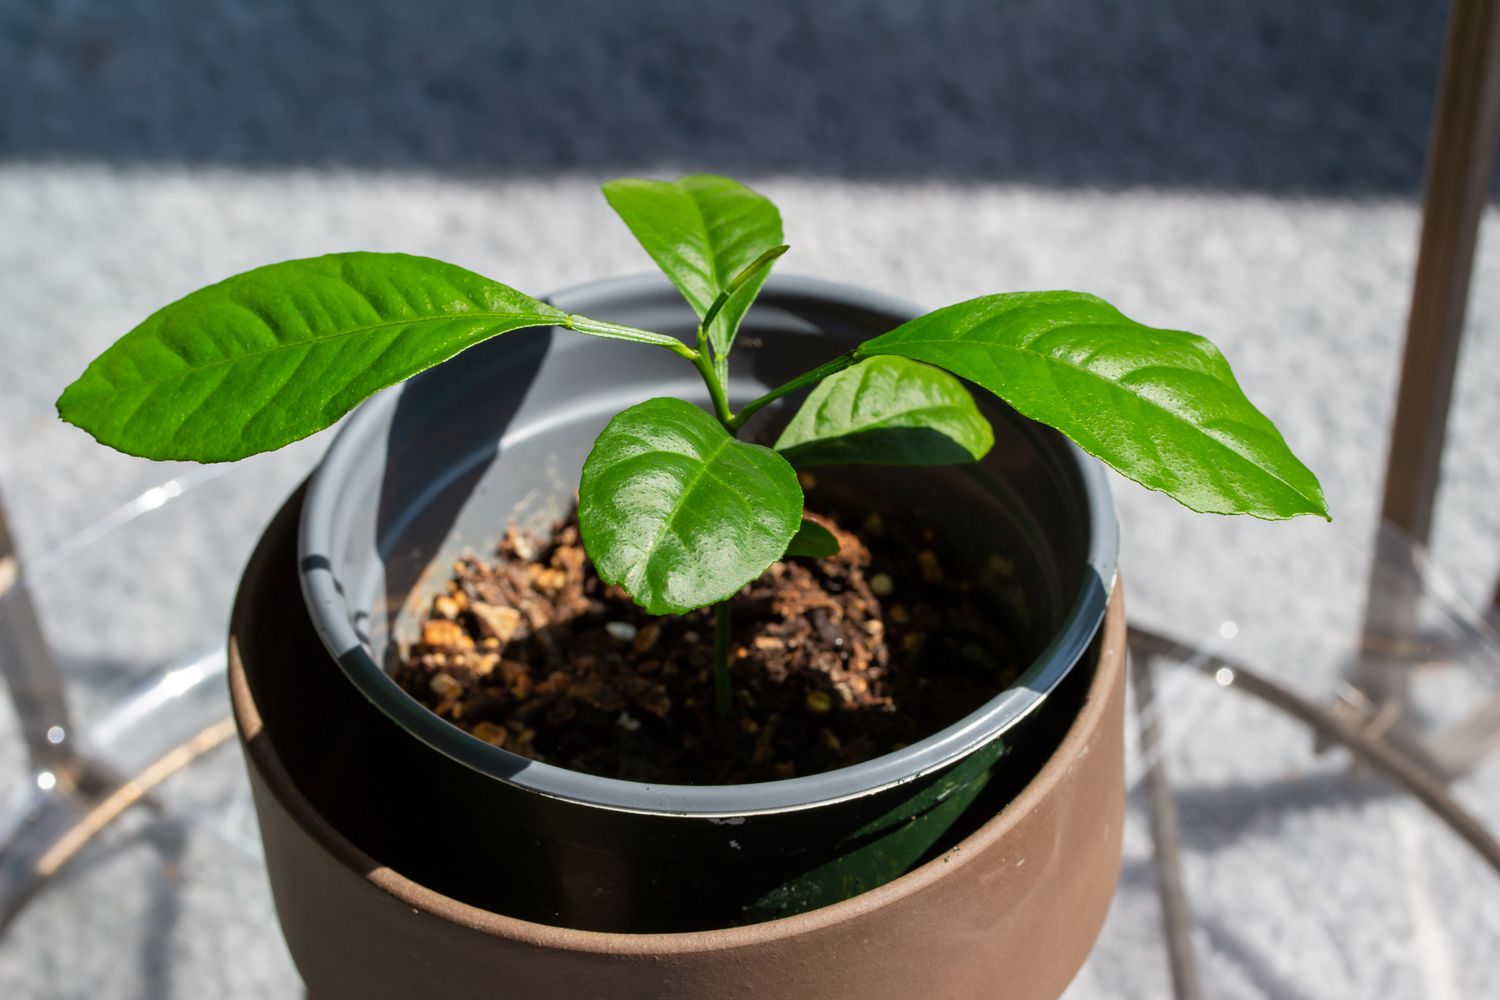
Caring for Petunia Seedlings
Once your petunia seedlings have emerged and started to grow, it’s important to provide them with proper care to ensure their healthy development. Here are some essential tips for caring for your petunia seedlings:
- Provide adequate sunlight: Petunias thrive in full sun, so make sure to place your seedlings in a location where they receive at least 6 hours of direct sunlight each day. If you’re growing them indoors, use fluorescent or grow lights to provide sufficient light.
- Maintain proper temperature: Petunias prefer moderate temperatures ranging from 65-75°F (18-24°C). Avoid exposing them to extreme heat or cold, as it can stress the plants and impact their growth.
- Fertilize regularly: As the seedlings grow, they will benefit from regular fertilization. Use a balanced, water-soluble fertilizer diluted to half strength every 2-3 weeks. This will provide the necessary nutrients for healthy foliage and abundant blooms.
- Pinch back the seedlings: To encourage bushier and more compact plants, pinch back the tips of the seedlings when they have developed a few sets of true leaves. This will promote branching and result in fuller, denser growth.
- Provide support (if needed): Some petunia varieties, such as trailing or vining types, may require support to prevent them from sprawling on the ground. Insert stakes or install a trellis to provide support as the plants grow.
- Remove spent flowers: Regularly deadhead or remove faded flowers to encourage continuous blooming. This will redirect the plant’s energy towards producing new blooms rather than setting seed.
- Monitor for pests and diseases: Keep an eye out for common garden pests like aphids, slugs, and snails. If you notice any infestations, take appropriate measures to control them. Also, watch for signs of diseases like powdery mildew or root rot, and address these issues promptly.
- Keep the soil moist: Maintain consistent moisture levels in the soil around the seedlings. Avoid letting the soil dry out completely, as this can stress the plants. Mulching around the plants can help retain moisture and suppress weeds.
- Thin out overcrowded seedlings: If your seedlings are overcrowded, thin them out to allow proper airflow and prevent competition for nutrients and sunlight. Remove the weakest seedlings, leaving a suitable distance between the remaining ones.
By following these care tips, you will help your petunia seedlings develop into strong, healthy plants. Regular attention and maintenance will result in vibrant, long-lasting blooms that will add beauty and color to your garden or containers throughout the growing season.
Transplanting Petunias
Once your petunia seedlings have grown and developed a few sets of true leaves, it’s time to transplant them into their final growing location. Whether you’re planting them in garden beds, containers, or hanging baskets, proper transplanting techniques are essential for ensuring a successful transition. Here’s how to transplant petunias:
- Choose the right timing: Transplant your petunia seedlings into the garden or containers after the danger of frost has passed and the soil has warmed. For most regions, this is typically in spring, when temperatures have stabilized and the last frost date has occurred.
- Prepare the planting area: If planting in the garden, prepare the soil as discussed in the earlier section on preparing the soil. Make sure the area is free of weeds and debris. If using containers, ensure they have proper drainage holes and fill them with a well-draining potting mix.
- Water the seedlings: Before transplanting, give your petunia seedlings a thorough watering. This will help loosen the soil around the roots and reduce the shock of transplanting.
- Dig holes: Dig holes in the garden bed or containers that are slightly larger than the root ball of each seedling. Space the holes according to the recommended spacing for the particular petunia variety you’re growing.
- Remove seedlings from containers: Gently tap the bottom of the seedling containers to loosen the root ball. Carefully remove each seedling, holding it by the leaves or gently grasping the base of the plant. Avoid pulling on the delicate stems.
- Place seedlings in the holes: Set each seedling in the prepared hole, ensuring the top of the root ball is level with or slightly above the soil surface. Backfill the hole with soil, gently pressing it around the roots to eliminate air pockets.
- Water thoroughly: After transplanting, water the seedlings thoroughly to settle the soil and provide moisture to the roots. This will help the plants establish quickly in their new location.
- Provide proper care: After transplanting, continue to care for your petunias by providing adequate sunlight, regular watering, and appropriate fertilization. Also, monitor them for any signs of stress or pest/disease issues and take action accordingly.
- Protect from extreme conditions: If there’s a sudden heatwave or cold snap after transplanting, consider providing some temporary protection to shield the young plants. Use shade cloth or row covers to provide shade from intense sunlight or protect them from frost.
- Monitor and adjust: Pay attention to the growth and condition of your transplanted petunias. Adjust their care and maintenance as needed, ensuring they have the ideal growing conditions for healthy growth and abundant blooms.
With proper transplanting techniques and continued care, your petunias will thrive in their new location and reward you with a stunning display of colorful flowers. Follow these steps, and enjoy the beauty and joy that petunias bring to your garden!
Common Problems and Solutions
While petunias are relatively easy to grow, they can still face certain problems that may affect their health and appearance. Understanding these issues and knowing how to address them promptly will help you maintain vibrant and robust petunia plants. Here are some common problems you may encounter when growing petunias and their solutions:
- Fungal diseases: Petunias are susceptible to various fungal diseases like powdery mildew and botrytis blight. To prevent these diseases, ensure proper air circulation around the plants by providing adequate spacing. Avoid overhead watering and remove any diseased leaves or plants promptly. If the problem persists, apply a fungicide following the manufacturer’s instructions.
- Pest infestations: Common pests that can attack petunias include aphids, slugs, snails, and spider mites. Regularly inspect your plants for any signs of insect damage, such as distorted leaves or sticky residue. Use natural or organic methods like handpicking, spraying with a soapy water solution, or introducing beneficial insects to control the pest population.
- Lack of blooming: If your petunias aren’t blooming as expected, it could be due to inadequate sunlight, nutrient deficiencies, or improper pruning. Ensure your petunias receive at least 6 hours of direct sunlight daily and provide a balanced fertilizer to promote flowering. Additionally, pinch back the plants regularly to encourage bushier growth and more blooms.
- Overwatering or underwatering: Petunias require consistent moisture, but overwatering or underwatering can be detrimental to their health. Monitor the soil moisture regularly and adjust your watering schedule accordingly. Ensure the soil is evenly moist but not waterlogged to avoid root rot or drought stress.
- Yellowing leaves: Yellowing leaves can indicate nutrient deficiencies, overwatering, or diseases. Check the soil moisture and adjust watering if necessary. Apply a balanced fertilizer to address nutrient deficiencies. If the yellowing continues, inspect for signs of pests or diseases and take appropriate action.
- Leggy growth: If your petunias are growing tall and leggy with weak stems, it could be due to inadequate sunlight or overcrowding. Ensure your plants receive sufficient sunlight and thin out overcrowded seedlings. Pinch back the plants to promote bushier growth and stronger stems.
- Transplant shock: Transplanted seedlings may experience a period of shock as they adjust to their new environment. To minimize transplant shock, water the plants well before and after transplanting. Protect them from extreme weather conditions and gradually introduce them to outdoor conditions through a process called hardening off. Monitor the plants closely and provide extra care until they become established.
By being proactive and addressing these common problems, you can maintain healthy and thriving petunias in your garden. Regular observation and timely intervention will help ensure that your petunias overcome any challenges and continue to flourish with their vibrant colors and abundant blooms.
Conclusion
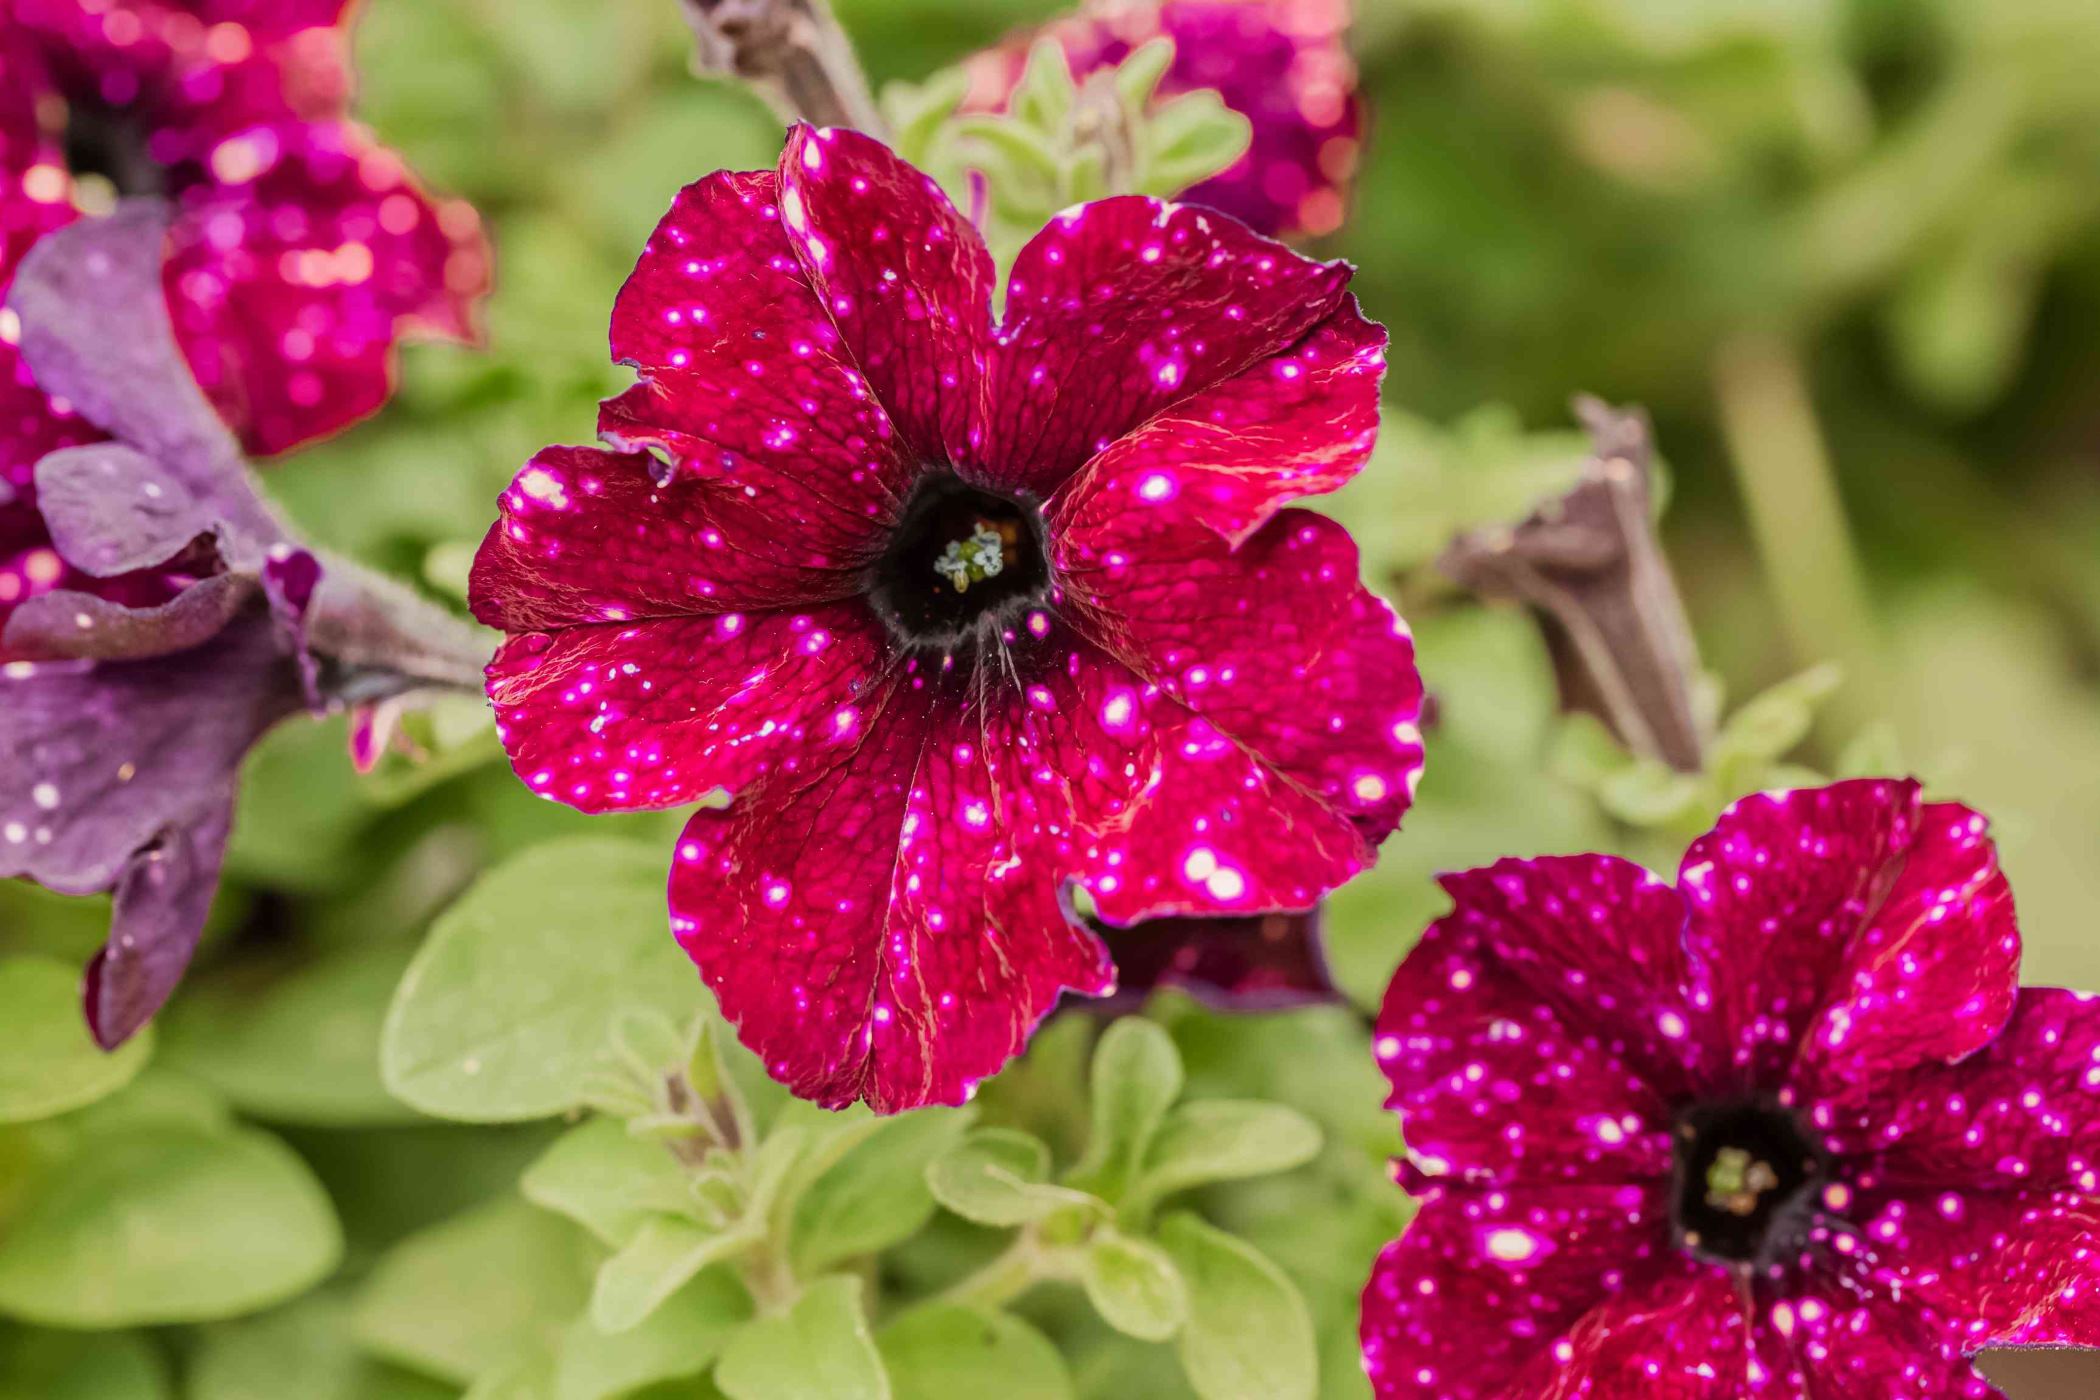
Growing petunias from seed can be a rewarding and enjoyable experience, allowing you to witness the transformation from tiny seeds into vibrant and blooming plants. By following the step-by-step guide outlined in this article, you can successfully start petunias from seed and create a stunning display of color in your garden.
From choosing the right seeds to preparing the soil, planting the seeds, providing proper watering, and caring for the seedlings, every step is crucial in ensuring the healthy growth and vigor of your petunias. Additionally, being aware of common problems like fungal diseases, pests, and nutrient deficiencies will help you address issues promptly and maintain the health of your plants.
Remember, petunias are versatile and adaptable flowers that come in a wide range of colors and varieties. Feel free to experiment with different petunia cultivars to create your desired aesthetic in the garden, whether it’s borders, containers, or hanging baskets.
Lastly, gardening is a journey of patience and care. Be attentive to your petunias’ needs, providing them with the right amount of sunlight, water, and nutrients. Enjoy the process of nurturing your plants and witnessing their growth and beauty unfold throughout the growing season.
So go ahead, get your hands dirty, and start growing petunias from seed. With a little effort and a lot of love, you can create a breathtaking flower display that will bring joy and delight to your outdoor space.
Frequently Asked Questions about How To Start Petunias From Seed
Was this page helpful?
At Storables.com, we guarantee accurate and reliable information. Our content, validated by Expert Board Contributors, is crafted following stringent Editorial Policies. We're committed to providing you with well-researched, expert-backed insights for all your informational needs.


0 thoughts on “How To Start Petunias From Seed”