Home>Garden Essentials>How To Start Petunia Seeds

Garden Essentials
How To Start Petunia Seeds
Modified: April 22, 2024
Learn how to start petunia seeds in your garden and enjoy beautiful blooms all season long. Discover tips and techniques for successful germination and growth.
(Many of the links in this article redirect to a specific reviewed product. Your purchase of these products through affiliate links helps to generate commission for Storables.com, at no extra cost. Learn more)
Introduction
Gardening can be a rewarding and fulfilling hobby, and growing your own plants from seeds adds an extra level of satisfaction. If you’re considering starting petunias from seeds, you’re in for a treat. Petunias are vibrant, colorful flowers that bring beauty and charm to any garden or landscape. Whether you’re a beginner or an experienced gardener, starting petunia seeds is a relatively simple process that can result in stunning blooms.
In this article, we’ll guide you through the step-by-step process of starting petunia seeds and nurturing them into healthy and vibrant plants. From gathering materials to caring for the seedlings, we’ll provide you with all the information you need to successfully grow petunias from seed.
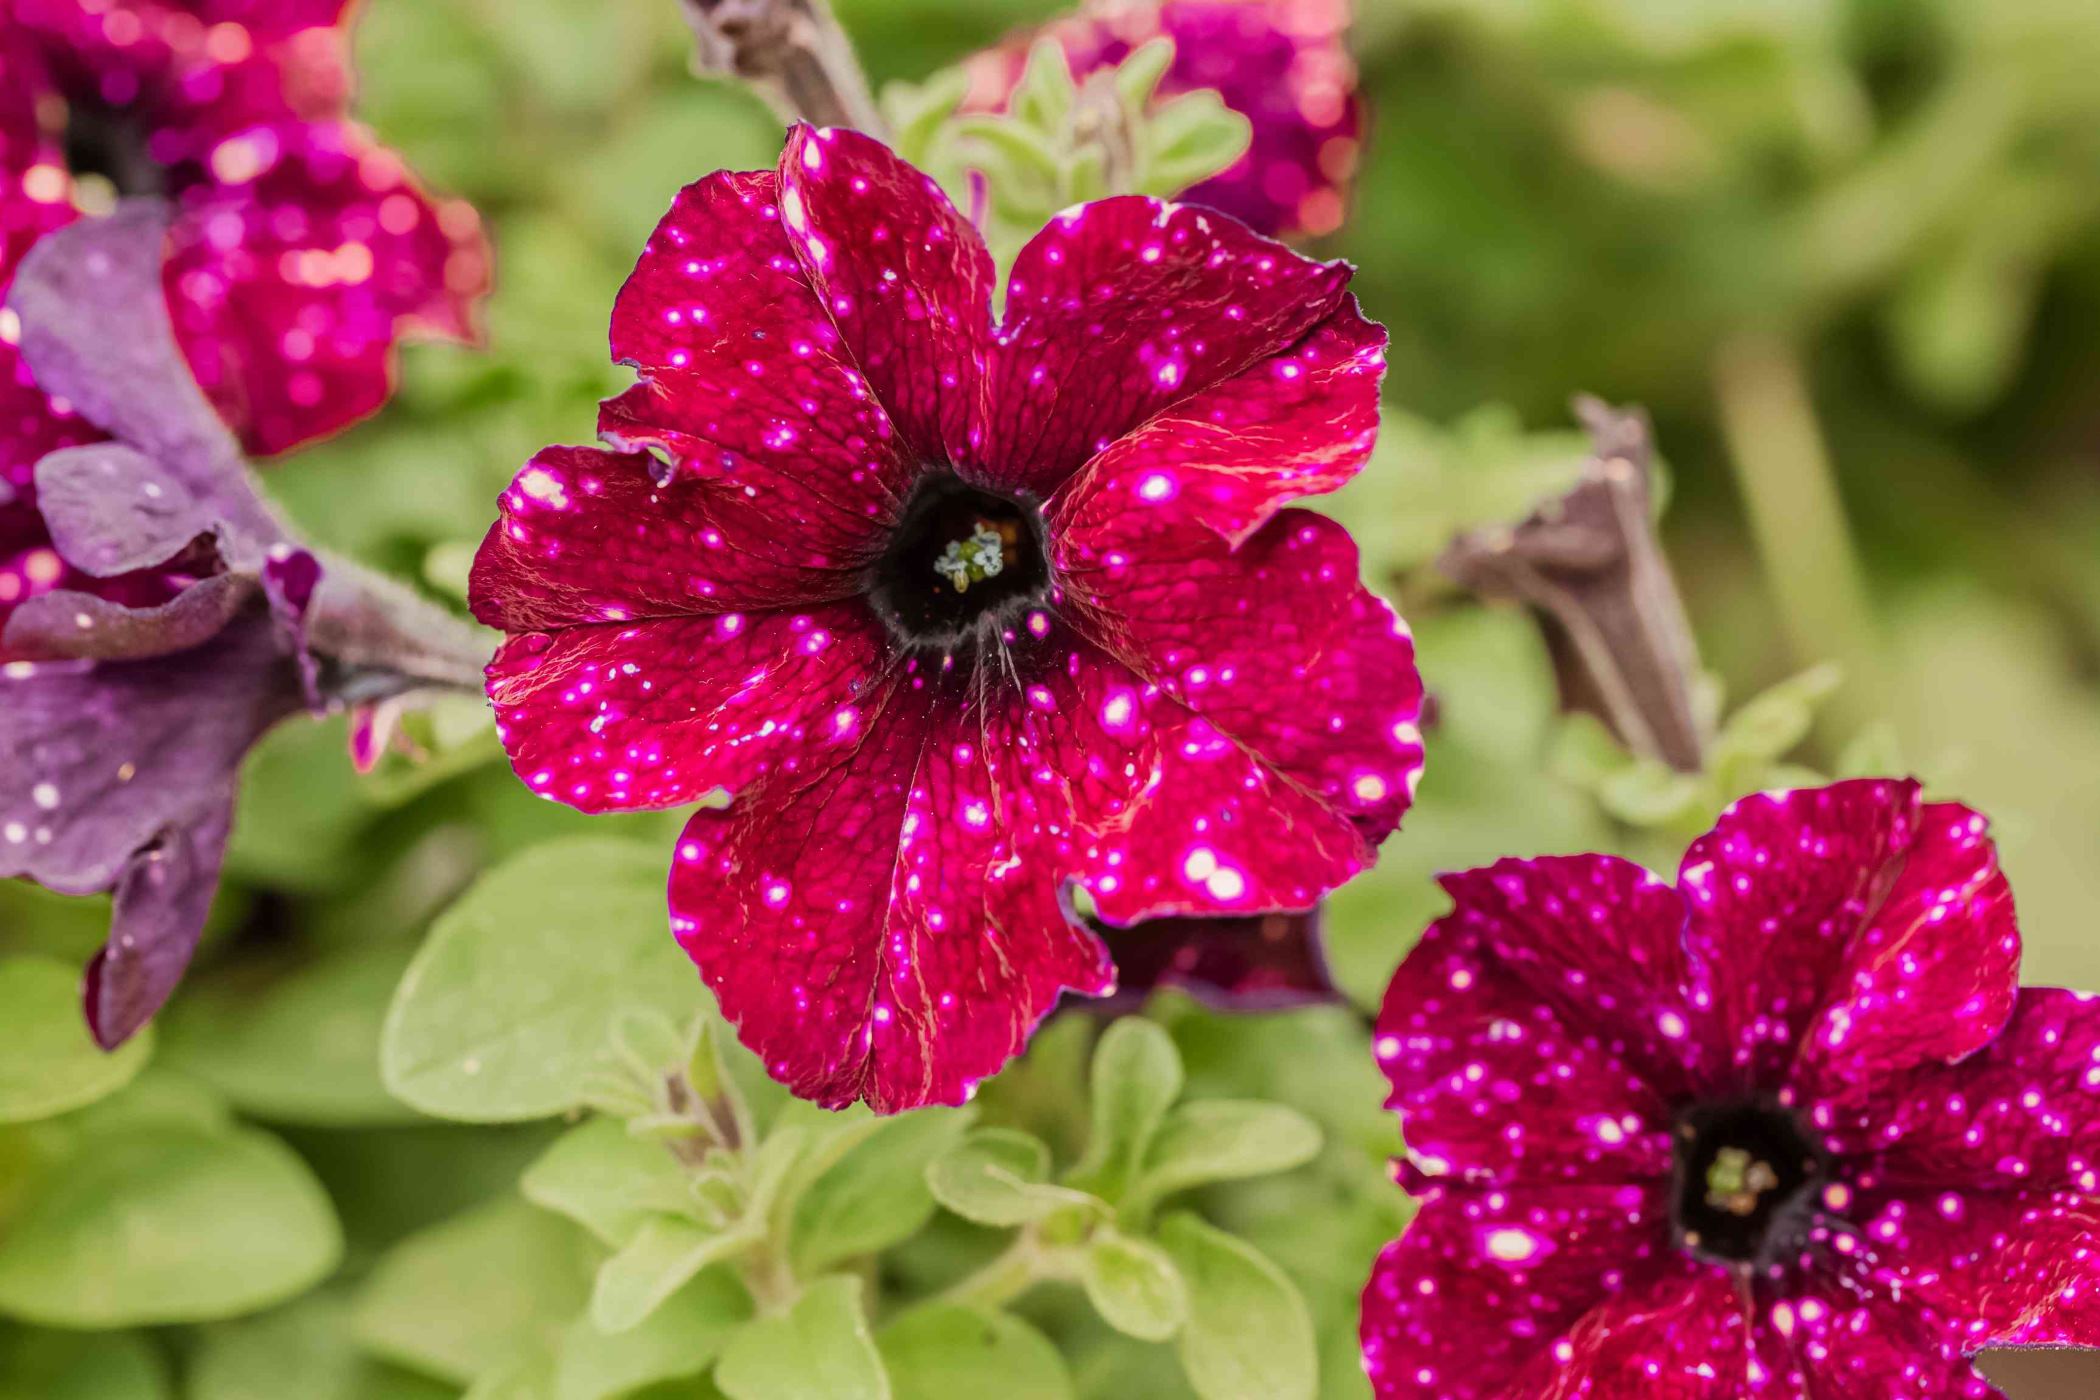
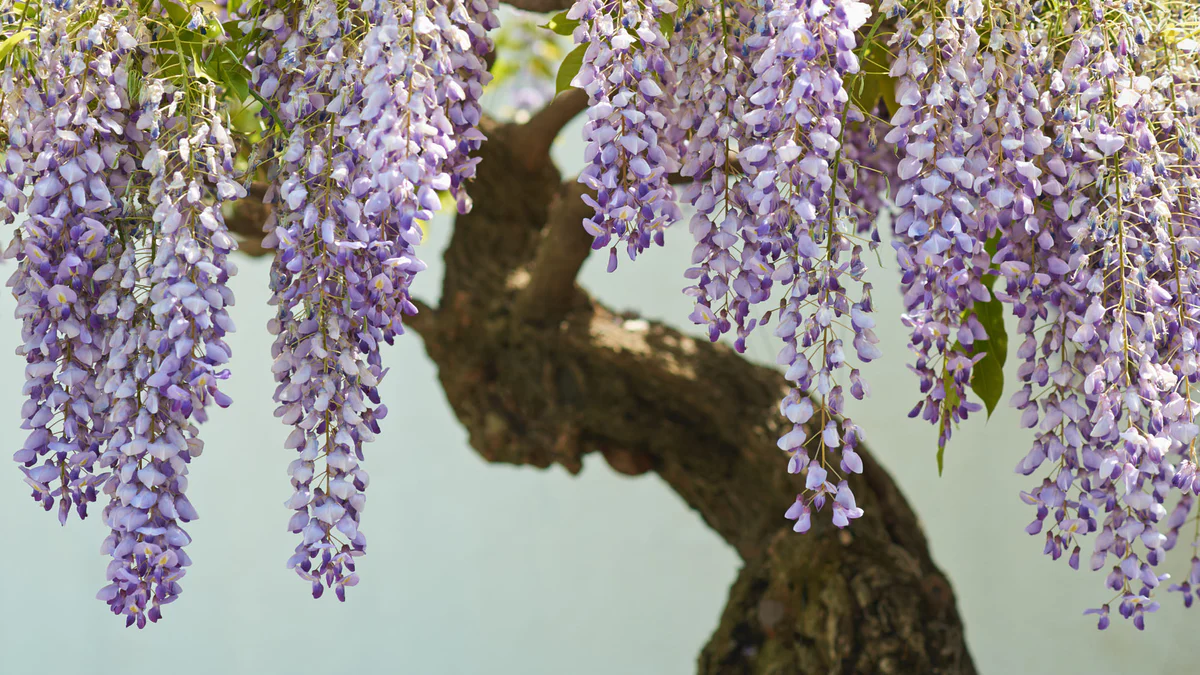
But first, let’s take a closer look at petunias themselves. Petunias are annual flowers that come in a wide array of colors, including shades of purple, pink, red, white, and even bi-color varieties. They are known for their trumpet-shaped blooms that add a touch of elegance to any garden. Petunias are versatile plants and can be grown in garden beds, containers, hanging baskets, or even used as ground cover.
Now that we’ve piqued your interest let’s get started on the journey of growing petunias from seeds.
Key Takeaways:
- Growing petunias from seeds is a fun and rewarding experience. With proper care and attention, you can transform tiny seeds into beautiful, blooming plants that bring color and joy to your garden or landscape.
- Enjoy the vibrant colors and fragrances of blooming petunias. Deadhead spent flowers, create stunning displays, and share the beauty with others. With regular care, your petunias will thrive and bring beauty to your indoor and outdoor spaces.
Read more: How To Start Petunias From Seed
Step 1: Gather Materials
Before you begin sowing petunia seeds, it’s important to gather all the necessary materials. Having everything on hand will ensure a smooth and efficient planting process. Here’s a list of materials you’ll need:
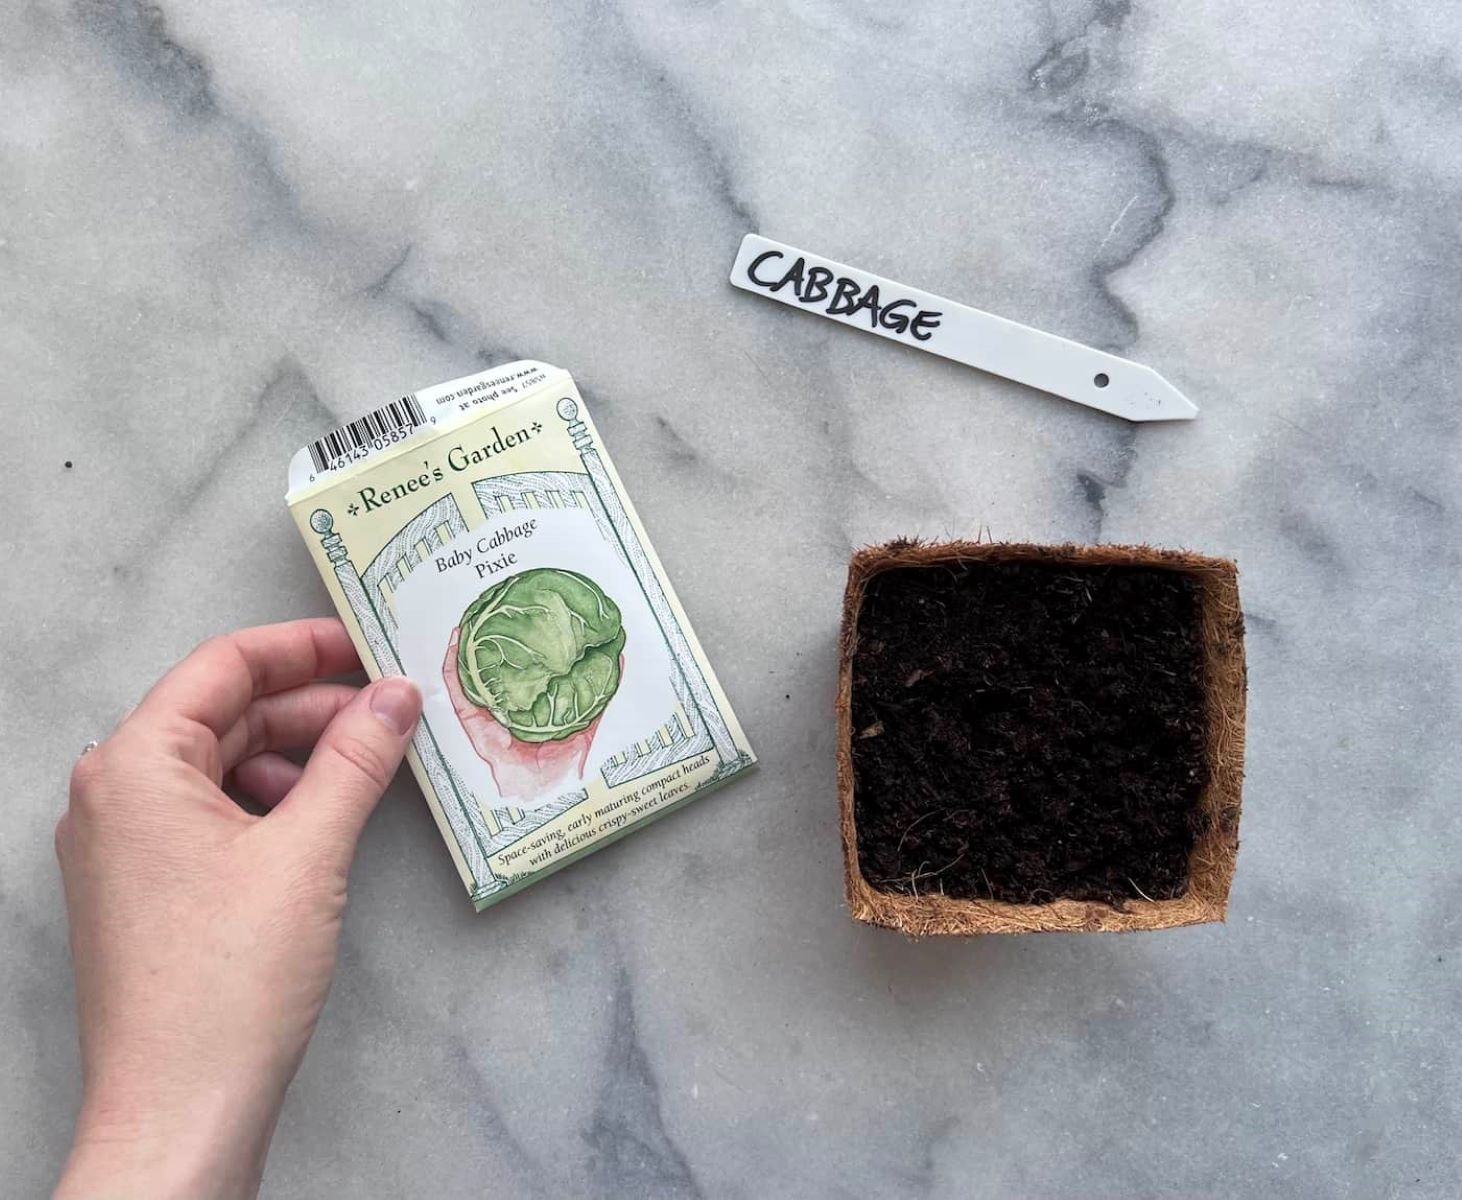
- Quality petunia seeds: Choose a reputable seed supplier and select the variety of petunias you want to grow. Consider factors such as color, size, and growth habit.
- Seed trays or containers: Opt for seed trays or containers with drainage holes at the bottom to prevent waterlogging. Alternatively, you can use biodegradable pots or peat pots that can be directly planted into the soil.
- Seed starting mix: Use a well-draining seed starting mix that is lightweight and sterile. Avoid using regular garden soil as it can contain pests or diseases that may harm the seedlings.
- Plant labels: Labeling your trays or containers will help you keep track of different varieties and their specific requirements.
- Plastic wrap or humidity dome: Covering the seed trays with plastic wrap or using a humidity dome will create a mini greenhouse effect, providing the necessary warmth and humidity for seed germination.
- Watering can or spray bottle: A watering can with a fine rose attachment or a spray bottle can gently water the seeds without disturbing them.
- Grow lights or sunny windowsill: Petunias require ample sunlight for healthy growth. If you don’t have access to a sunny windowsill, consider using artificial grow lights to provide the necessary light.
Once you have gathered all these materials, you’re ready to move on to the next step: preparing the seed trays.
Step 2: Prepare Seed Trays
Properly preparing the seed trays is crucial for successful germination and healthy growth of petunia seeds. Follow these steps to ensure the best start for your petunias:
- Clean the seed trays: Before using the seed trays, make sure they are clean and free of any dirt or debris. Wash them with warm soapy water and rinse thoroughly.
- Add drainage material: Place a layer of small pebbles or perlite at the bottom of each seed tray. This will help improve drainage and prevent waterlogged soil.
- Fill with seed starting mix: Fill the seed trays with the seed starting mix, leaving about half an inch of space at the top. Gently press down the soil to ensure it’s firm but not compacted.
- Moisten the soil: Lightly moisten the soil with water. Be careful not to oversaturate it, as excessive moisture can lead to fungal diseases. The soil should be moist but not waterlogged.
Once the seed trays are prepared, it’s time to move on to the exciting part – sowing the petunia seeds!
Step 3: Sow Petunia Seeds
Now that your seed trays are prepared, it’s time to sow the petunia seeds. Follow these steps to ensure proper seeding:
- Read the seed packet instructions: Different petunia varieties may have specific requirements for sowing depth and spacing. Read the instructions on the seed packet carefully before proceeding.
- Sow the seeds: Using your finger or a small spoon, create shallow holes in the seed starting mix. Place 2-3 petunia seeds in each hole, ensuring they are evenly spaced apart. If you’re using small pellets or seedling trays, simply place one seed per pellet or cell.
- Cover the seeds: Very lightly cover the seeds with a thin layer of seed starting mix or vermiculite. The layer should be just enough to barely cover the seeds, as petunia seeds require light for germination.
- Mist with water: Gently mist the seeded trays with water to settle the seeds without disturbing them. Alternatively, you can use a watering can with a fine rose attachment to water the trays from above.
- Label the trays: It’s important to label each tray with the petunia variety and the date of sowing. This will help you keep track of the different varieties and their progress.
- Cover the trays: Place the plastic wrap or humidity dome over the seed trays to create a mini greenhouse effect. This will help retain moisture and warmth for seed germination. If using plastic wrap, make sure to create a few small ventilation holes to prevent excess humidity.
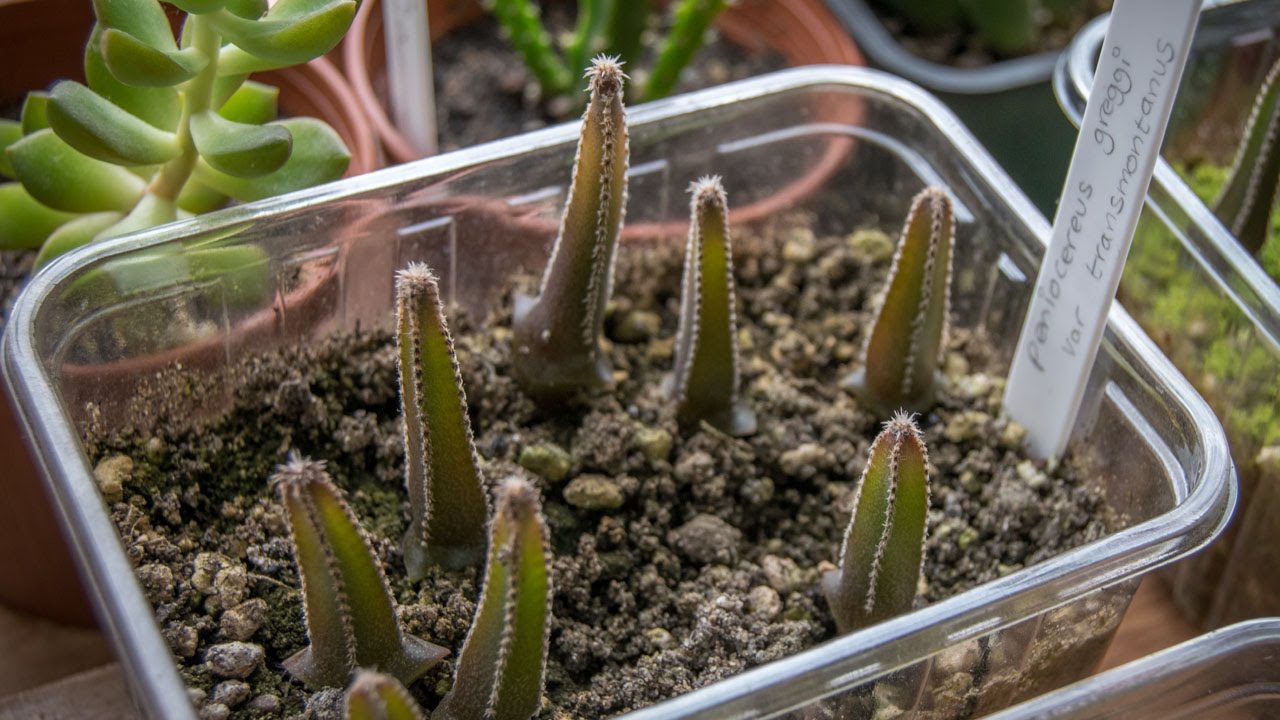
After sowing the petunia seeds, place the seed trays in a warm location where they can receive bright, indirect sunlight. With proper care and favorable conditions, the seeds should germinate within 7-14 days.
Now that you’ve successfully sown the petunia seeds, it’s time to move on to the next step: providing optimal growing conditions for the seedlings.
Step 4: Provide Optimal Growing Conditions
In order for petunia seedlings to thrive, it’s important to provide them with optimal growing conditions. Here’s how you can create the ideal environment for their growth:
- Temperature: Petunia seeds germinate best in temperatures ranging from 70 to 75°F (21 to 24°C). Once the seeds have sprouted, maintain a temperature between 60 and 70°F (15 to 21°C) during the day and slightly cooler at night.
- Light: Petunias require full sun to partial shade for optimal growth. If you’re growing them indoors, place the seed trays near a south-facing window where they can receive at least 6-8 hours of bright, indirect sunlight per day. If natural sunlight is limited, supplement it with artificial grow lights positioned 6 to 8 inches above the seedlings.
- Air circulation: Adequate air circulation is essential to prevent damping-off disease and promote healthy growth. Provide a gentle breeze by using a small fan set on low speed or by placing the trays near a slightly open window.
- Humidity: While the seeds are germinating, it’s important to maintain a high level of humidity to encourage successful sprouting. Keep the plastic wrap or humidity dome in place until the seedlings emerge. Once they appear, remove the cover to reduce humidity and promote airflow.
As the seedlings grow, it’s important to gradually acclimate them to outdoor conditions. This process is known as hardening off and helps the young plants adjust to temperature variations, wind, and direct sunlight. Start by exposing the seedlings to outdoor conditions for a few hours each day, gradually increasing the time over a period of 7-10 days.
With proper care and attention to these growing conditions, your petunia seedlings will thrive and be ready for the next step: transplanting.
Start petunia seeds indoors 10-12 weeks before the last frost. Use a seed starting mix, keep the soil moist, and provide plenty of light. Once the seedlings have 2 sets of true leaves, they can be transplanted outdoors.
Read more: When To Start Petunias From Seed
Step 5: Watering and Fertilization
Watering and fertilization are important aspects of caring for petunia seedlings. Follow these guidelines to keep your plants healthy and thriving:
- Watering: Petunias prefer consistent moisture, so it’s essential to keep the soil evenly moist but not waterlogged. Check the moisture level by gently inserting your finger into the soil. If it feels dry at a depth of about an inch, it’s time to water. Use a watering can or spray bottle to water the seedlings, ensuring that water reaches the root zone without soaking the foliage. Avoid overhead watering as it can lead to fungal diseases.
- Fertilization: As the seedlings develop their second set of true leaves, it’s a good time to start fertilizing. Use a balanced water-soluble fertilizer diluted to half strength and apply it every two weeks. Always follow the package instructions for proper dosage. Fertilizing will provide the necessary nutrients for healthy growth and abundant blooms.
- Transplant shock: When transplanting the seedlings, they may experience some shock as they adjust to their new environment. To minimize transplant shock, water the seedlings thoroughly before transplanting and ensure they are adequately watered afterward. This will help them recover and establish their roots in their new location.
Remember to monitor the moisture level of the soil regularly, as hot weather and container planting may require more frequent watering. Keep an eye out for any signs of overwatering or underwatering, such as wilting or yellowing leaves, and adjust your watering accordingly.
With proper watering and fertilization, your petunia seedlings will continue to grow and flourish, setting the stage for the next step: transplanting them into their permanent home.
Step 6: Transplanting Petunia Seedlings
Once your petunia seedlings have grown to a suitable size and the outdoor conditions are favorable, it’s time to transplant them into their permanent home. Follow these steps for successful transplantation:
- Choose the right time: Transplant your petunia seedlings when all danger of frost has passed and the soil has warmed up. This is typically in late spring or early summer, depending on your location. Check the local climate and weather conditions to determine the best time for transplanting in your area.
- Prepare the planting area: Select a well-draining location that receives full sun to partial shade. Prepare the soil by removing any weeds, rocks, or debris. Amend the soil with compost to improve its fertility and drainage, if needed.
- Dig the holes: Dig holes in the prepared planting area that are slightly larger and deeper than the root balls of the seedlings. Space the holes according to the recommended spacing for your specific petunia variety. Typically, they should be spaced about 8-12 inches apart.
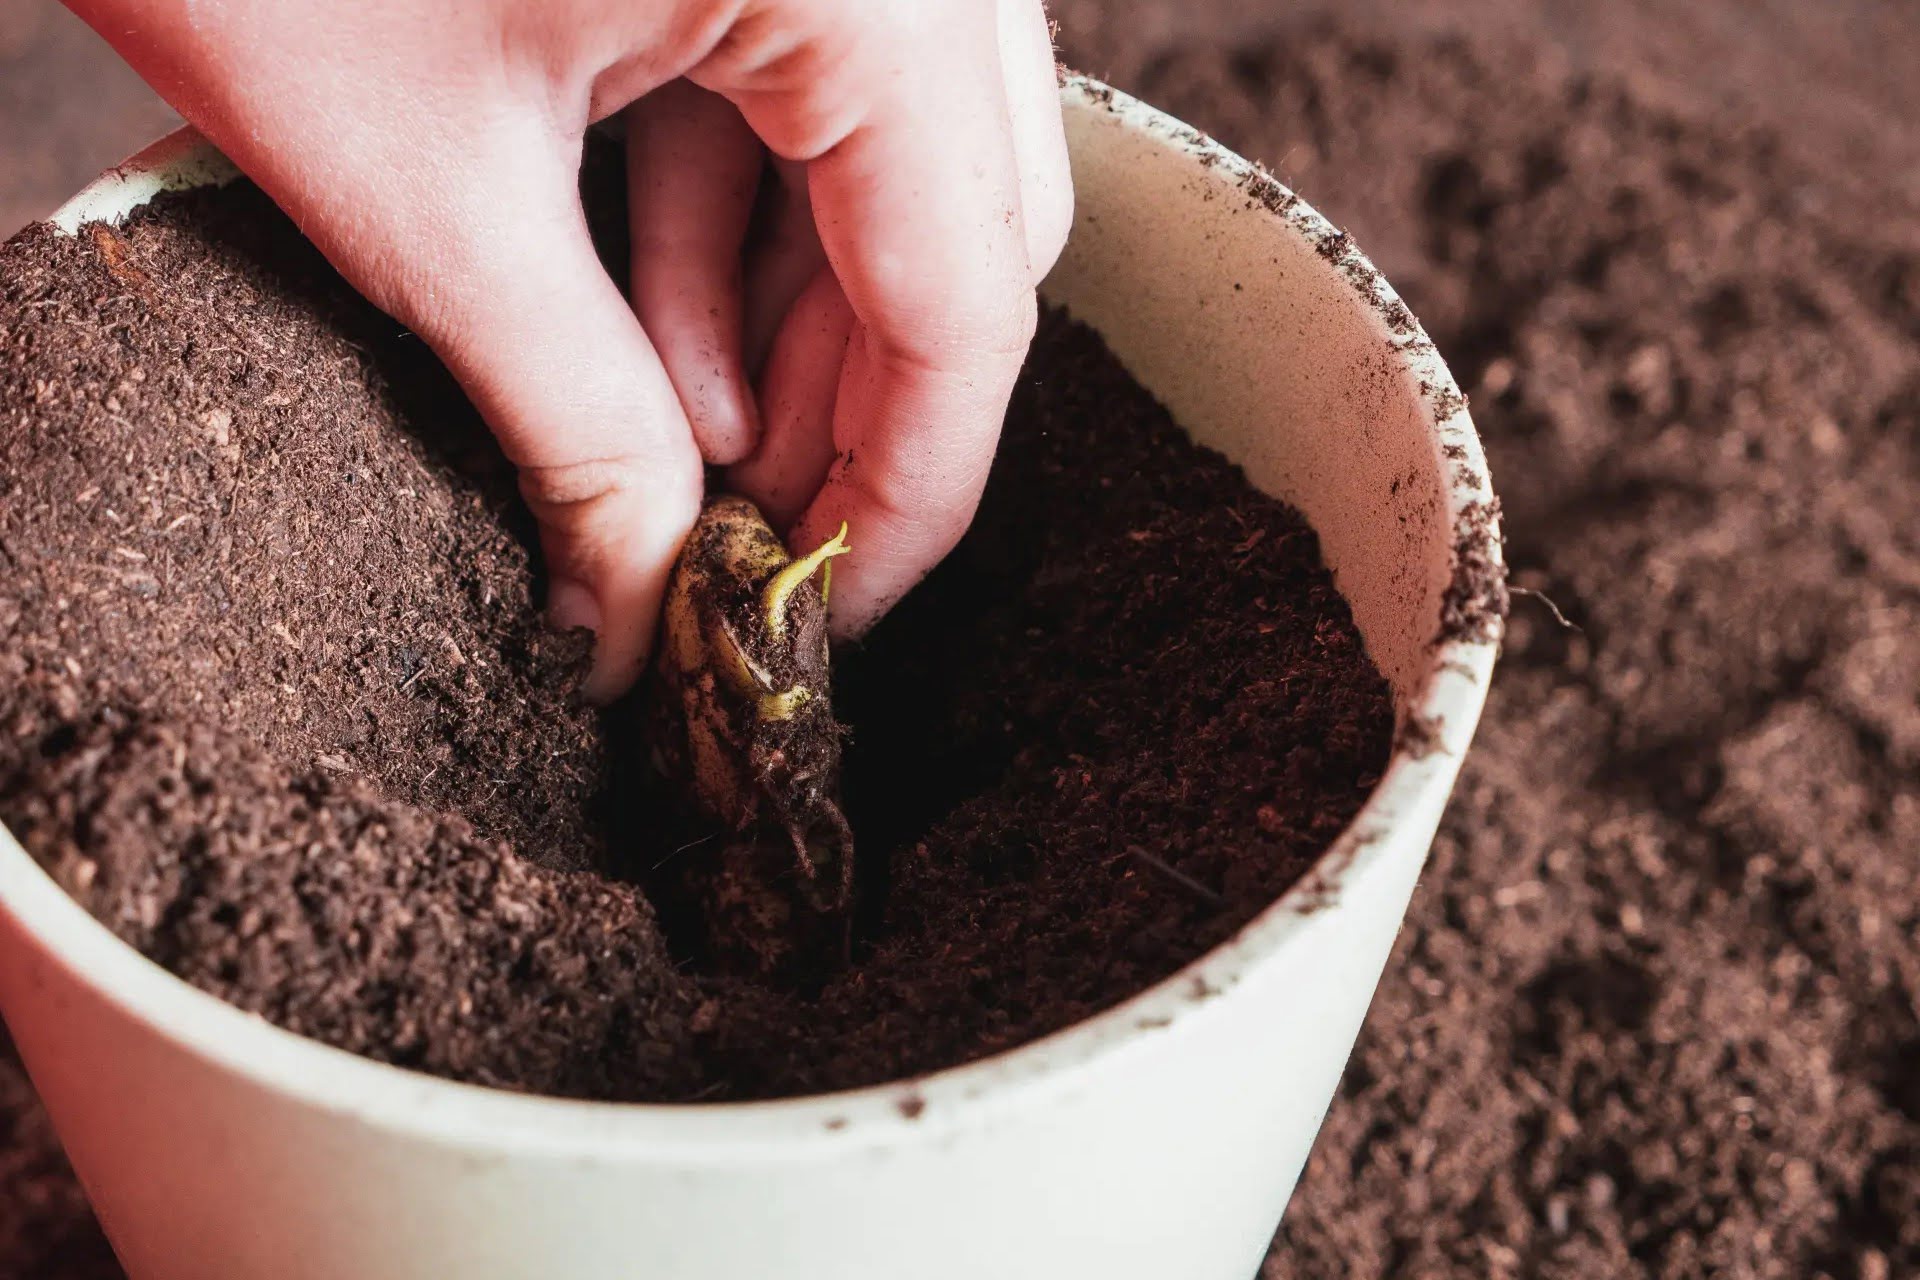
- Remove seedlings from containers: Gently remove the seedlings from their containers, being careful not to damage the delicate roots. If they are in biodegradable pots or peat pots, you can plant them directly into the holes as the pots will decompose over time.
- Plant the seedlings: Place each seedling into a hole, ensuring that the top of the root ball is level with or slightly above the soil surface. Backfill the hole with soil, gently firming it around the seedling to eliminate air pockets. Water the newly transplanted seedlings thoroughly.
- Mulch and support: Apply a layer of organic mulch around the transplanted seedlings to help conserve moisture, suppress weeds, and maintain an even soil temperature. If your petunia variety requires support, such as trailing or upright cultivars, provide stakes or trellises to avoid damage and promote proper growth.
After transplanting, keep an eye on the seedlings and continue to provide proper care, including regular watering and fertilization. As the petunias establish their roots in their new home, they will begin to grow and produce beautiful blooms.
Now that your petunia seedlings are safely transplanted, it’s time to move on to the next step: caring for and maintaining your growing petunias.
Step 7: Care and Maintenance
Caring for petunias is essential to ensure their health and continuous blooming. Follow these tips to provide proper care and maintenance for your growing petunias:
- Watering: Keep the soil consistently moist, but avoid overwatering. Water the petunias deeply whenever the top inch of soil feels dry. Avoid wetting the foliage, as this can lead to disease. Consider using a soaker hose or drip irrigation system to deliver water directly to the roots.
- Deadheading: To encourage continuous blooming, remove faded flowers regularly. Pinch or snip off the wilted blooms along with the short stem just above the first set of leaves. This process, known as deadheading, redirects the plant’s energy into producing new flowers instead of setting seeds.
- Fertilization: Feed petunias regularly throughout the growing season to promote healthy growth and vibrant blooms. Use a balanced liquid fertilizer or slow-release granular fertilizer according to the package instructions. Apply fertilizer every 2-4 weeks or as directed to provide a steady supply of nutrients.
- Pests and diseases: Monitor your petunias for signs of common pests such as aphids, snails, or slugs. Use organic insecticides or natural pest control methods to manage any pest infestations. Additionally, ensure proper air circulation and avoid overhead watering to prevent fungal diseases such as powdery mildew.
- Pruning: If your petunias become leggy or overgrown, you can trim them back to promote new growth and a more compact habit. Use sharp scissors or pruning shears to trim the stems back by about one-third. This will encourage branching and result in bushier plants.
- Support for trailing varieties: If you’re growing trailing petunia varieties, provide support such as trellises, fences, or hanging baskets to prevent the stems from trailing on the ground. This will help maintain a neat and tidy appearance and prevent damage to the plants.
- Protection from extreme weather: Petunias are tender annuals and may suffer in extreme heatwaves or heavy rainstorms. Provide shade during extremely hot periods and protect them from strong winds and heavy rain by using garden stakes or a cover. This will prevent damage to the plants and ensure their continued growth and blooming.
By following these care and maintenance practices, your petunias will thrive and reward you with a season-long display of colorful blooms.
With proper care and attention, your petunias will flourish and provide a stunning addition to your garden or landscape. Now it’s time to sit back, relax, and enjoy the beautiful blooms of your hard work.
Step 8: Enjoying Blooming Petunias
After all the hard work of planting, nurturing, and caring for your petunias, it’s time to reap the rewards and enjoy the beauty of the blooming flowers. Here are some tips to make the most of your blooming petunias:
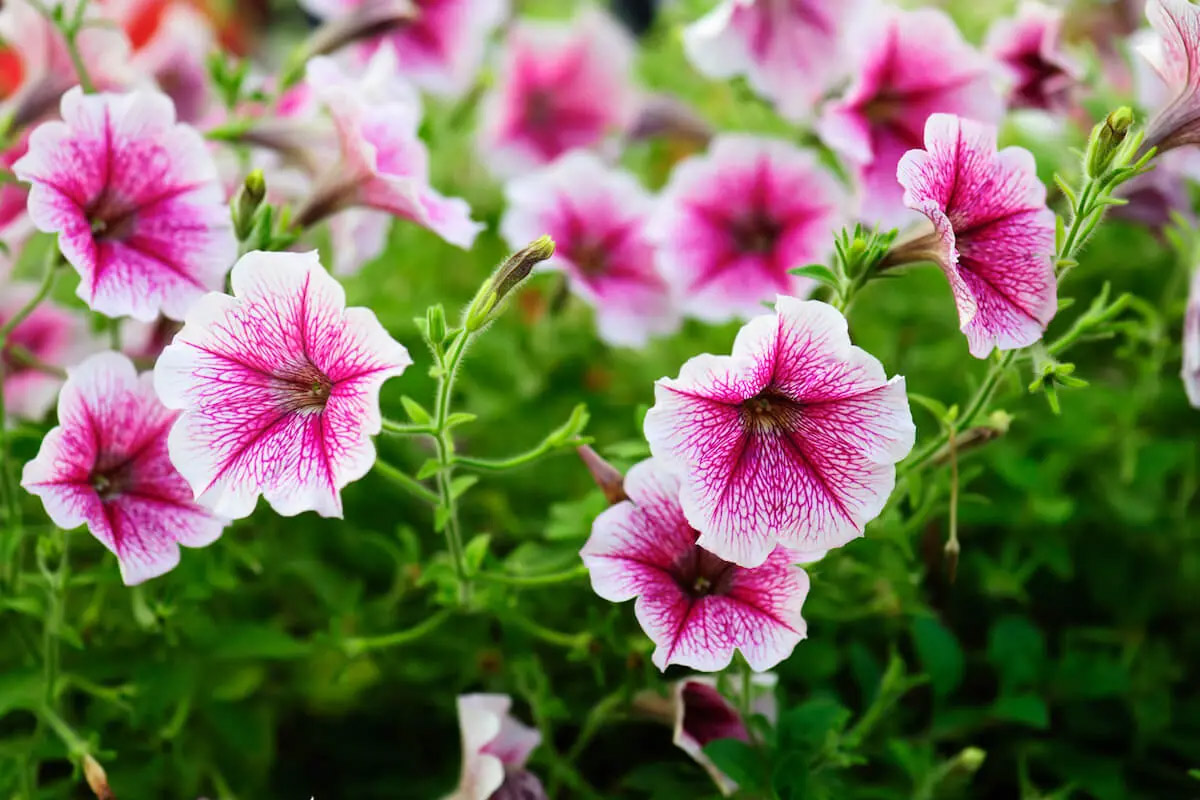
- Appreciate the vibrant colors: Take a moment to admire the array of colors that petunias offer. Whether you chose a monochromatic scheme or a mix of vibrant hues, the colorful blooms will add a stunning visual appeal to your garden or containers.
- Regularly deadhead spent flowers: To encourage continuous blooming, continue deadheading your petunias throughout the season. Not only does this promote new flower production but it also keeps the plants looking neat and tidy.
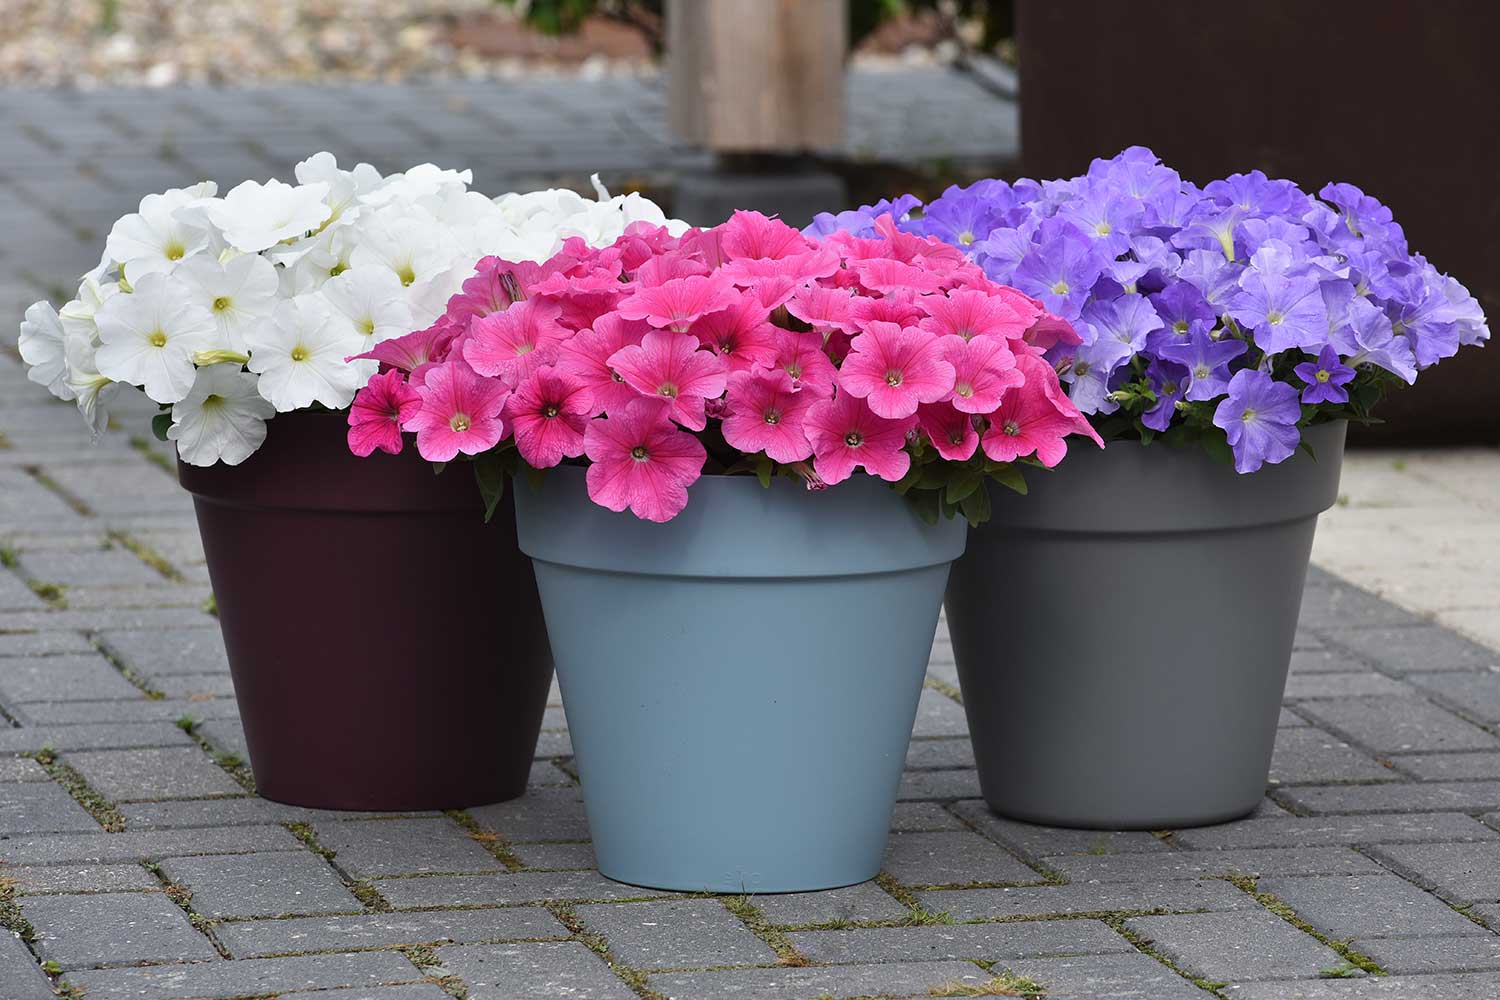
- Create stunning displays: Petunias are versatile plants and can be used in various ways to create eye-catching displays. Consider planting them in flowerbeds, hanging baskets, window boxes, or containers. Mix and match different petunia varieties to create a stunning and dynamic arrangement.
- Garden maintenance: Regularly inspect your petunias for any signs of pests, diseases, or nutrient deficiencies. Address any issues promptly to prevent them from spreading and affecting the overall health of your plants. Proper garden maintenance will ensure your petunias stay healthy and vibrant throughout the season.
- Enjoy the fragrance: Some petunia varieties, such as old-fashioned grandiflora types, have a delightful fragrance. Take a moment to inhale their sweet scent and enjoy the sensory experience they offer.
- Cut flowers for indoor arrangements: Petunias can also be enjoyed indoors. Cut a few blooms, place them in a vase with fresh water, and bring their beauty and fragrance into your home. Change the water regularly to keep the cut flowers fresh for longer.
- Share the beauty: If you have an abundance of petunias, consider sharing the joy with friends, family, or neighbors. Pot up a few plants or create small bouquets as gifts. Sharing the beauty of blooming petunias can spread happiness and inspire others to try their hand at gardening.
Remember to continue providing proper care for your petunias as they bloom to ensure their longevity and continued flowering. Regular watering, fertilization, and maintenance will keep the plants healthy and thriving.
Now, take a moment to relax and immerse yourself in the beauty and splendor of your blooming petunias. Enjoy the vibrant colors, fragrances, and overall charm they bring to your garden.
Congratulations on successfully growing and enjoying your petunias!
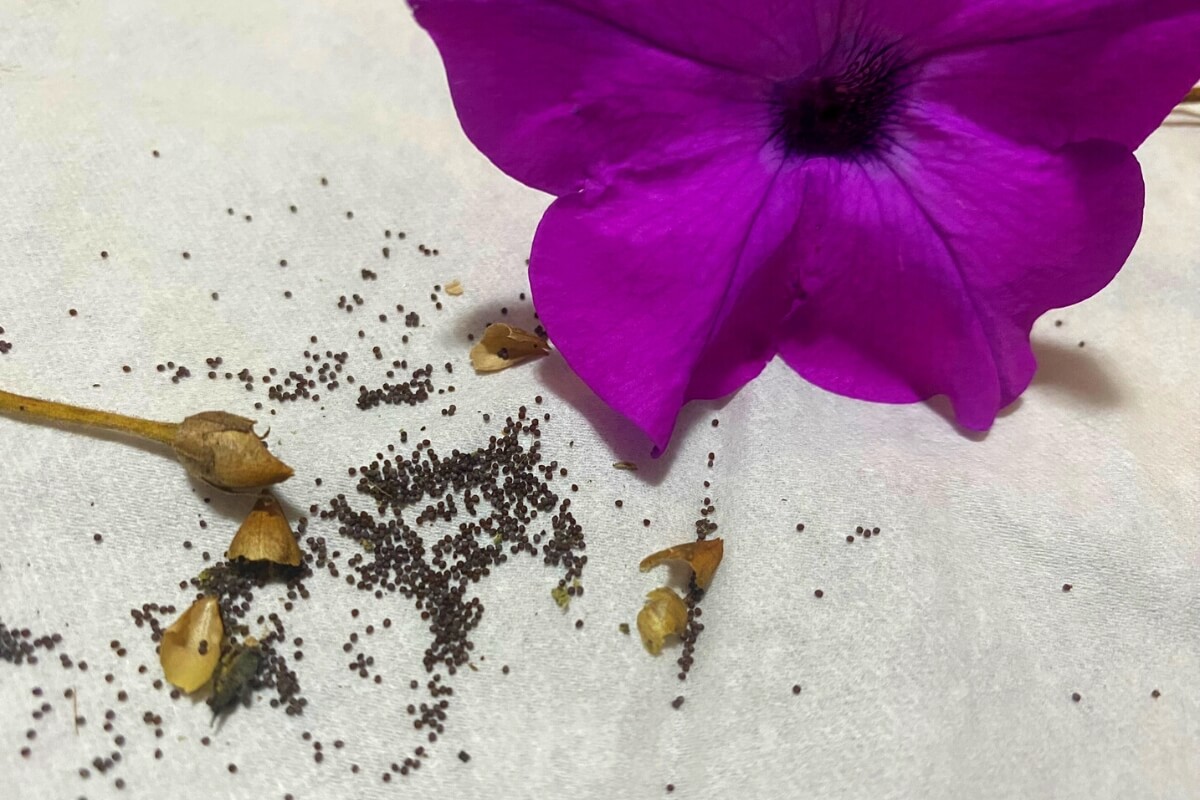
Read more: How To Get Seeds From Petunias
Conclusion
Growing petunias from seeds can be a rewarding and fulfilling experience for any gardener. With a little time and effort, you can transform tiny seeds into beautiful, blooming plants that bring color and joy to your garden or landscape. By following the steps outlined in this article, from gathering materials to enjoying the blooming petunias, you can ensure success in your gardening endeavors.
Remember to provide optimal conditions for your petunia seeds to germinate, including proper lighting, temperature, and humidity. Carefully transplant the seedlings into their permanent home, ensuring they have adequate space and nutrients to grow. Regularly water and fertilize your petunias, and maintain good garden hygiene to prevent pests and diseases.
As your petunias bloom, take the time to appreciate their vibrant colors and fragrances. Deadhead spent flowers to encourage continuous blooming and consider creating stunning displays in various containers or garden beds. Share the beauty of your petunias with others and enjoy the beauty they bring to your indoor and outdoor spaces.
Whether you’re a seasoned gardener or a beginner, growing petunias from seeds is a fulfilling and enjoyable gardening experience. Explore different varieties, experiment with colors and arrangements, and let your creativity flourish. With proper care and attention, you can create a stunning display of blooming petunias that will be the envy of your neighbors and a source of pride for yourself.
So, roll up your sleeves, gather your materials, and embark on the journey of growing petunias from seeds. Get ready to witness the magical transformation of tiny seeds into breathtaking blossoms. Happy gardening!
Frequently Asked Questions about How To Start Petunia Seeds
Was this page helpful?
At Storables.com, we guarantee accurate and reliable information. Our content, validated by Expert Board Contributors, is crafted following stringent Editorial Policies. We're committed to providing you with well-researched, expert-backed insights for all your informational needs.


0 thoughts on “How To Start Petunia Seeds”