Home>Garden Essentials>How To Cook Spaghetti Squash Seeds
Garden Essentials
How To Cook Spaghetti Squash Seeds
Modified: August 17, 2024
Learn how to cook and enjoy the deliciousness of spaghetti squash seeds from your garden with this easy-to-follow recipe.
(Many of the links in this article redirect to a specific reviewed product. Your purchase of these products through affiliate links helps to generate commission for Storables.com, at no extra cost. Learn more)
Introduction
Growing your own spaghetti squash is a rewarding experience, providing you with delicious and healthy meals. But did you know that the seeds of this versatile vegetable can be just as tasty? Spaghetti squash seeds are a hidden gem that often gets discarded along with the stringy pulp. However, with a little effort, you can turn these seeds into a delicious and nutritious snack.
In this article, we will guide you through the process of harvesting, cleaning, roasting, seasoning, and storing spaghetti squash seeds. By the end, you’ll have a delectable treat that you and your family can enjoy.
Before we dive into the steps, let’s take a moment to explore the nutritional benefits of spaghetti squash seeds. These tiny powerhouses are packed with essential nutrients such as fiber, protein, healthy fats, and minerals like magnesium, zinc, and iron. They also contain antioxidants that promote overall health and well-being.
Now that you know the amazing benefits of spaghetti squash seeds, it’s time to roll up your sleeves and get started on this culinary adventure. So, grab your gardening gloves and let’s begin the journey to make scrumptious roasted spaghetti squash seeds!
Key Takeaways:
- Don’t toss those spaghetti squash seeds! Harvest, roast, and season them for a tasty and nutritious snack that’s easy to make and fun to share with friends and family.
- Enjoy the journey from garden to table by turning spaghetti squash seeds into a crunchy treat. Harvest, clean, roast, season, and store for a delightful culinary adventure!
Read more: How To Cook Spaghetti Squash On Stove Top
Step 1: Harvesting the Seeds
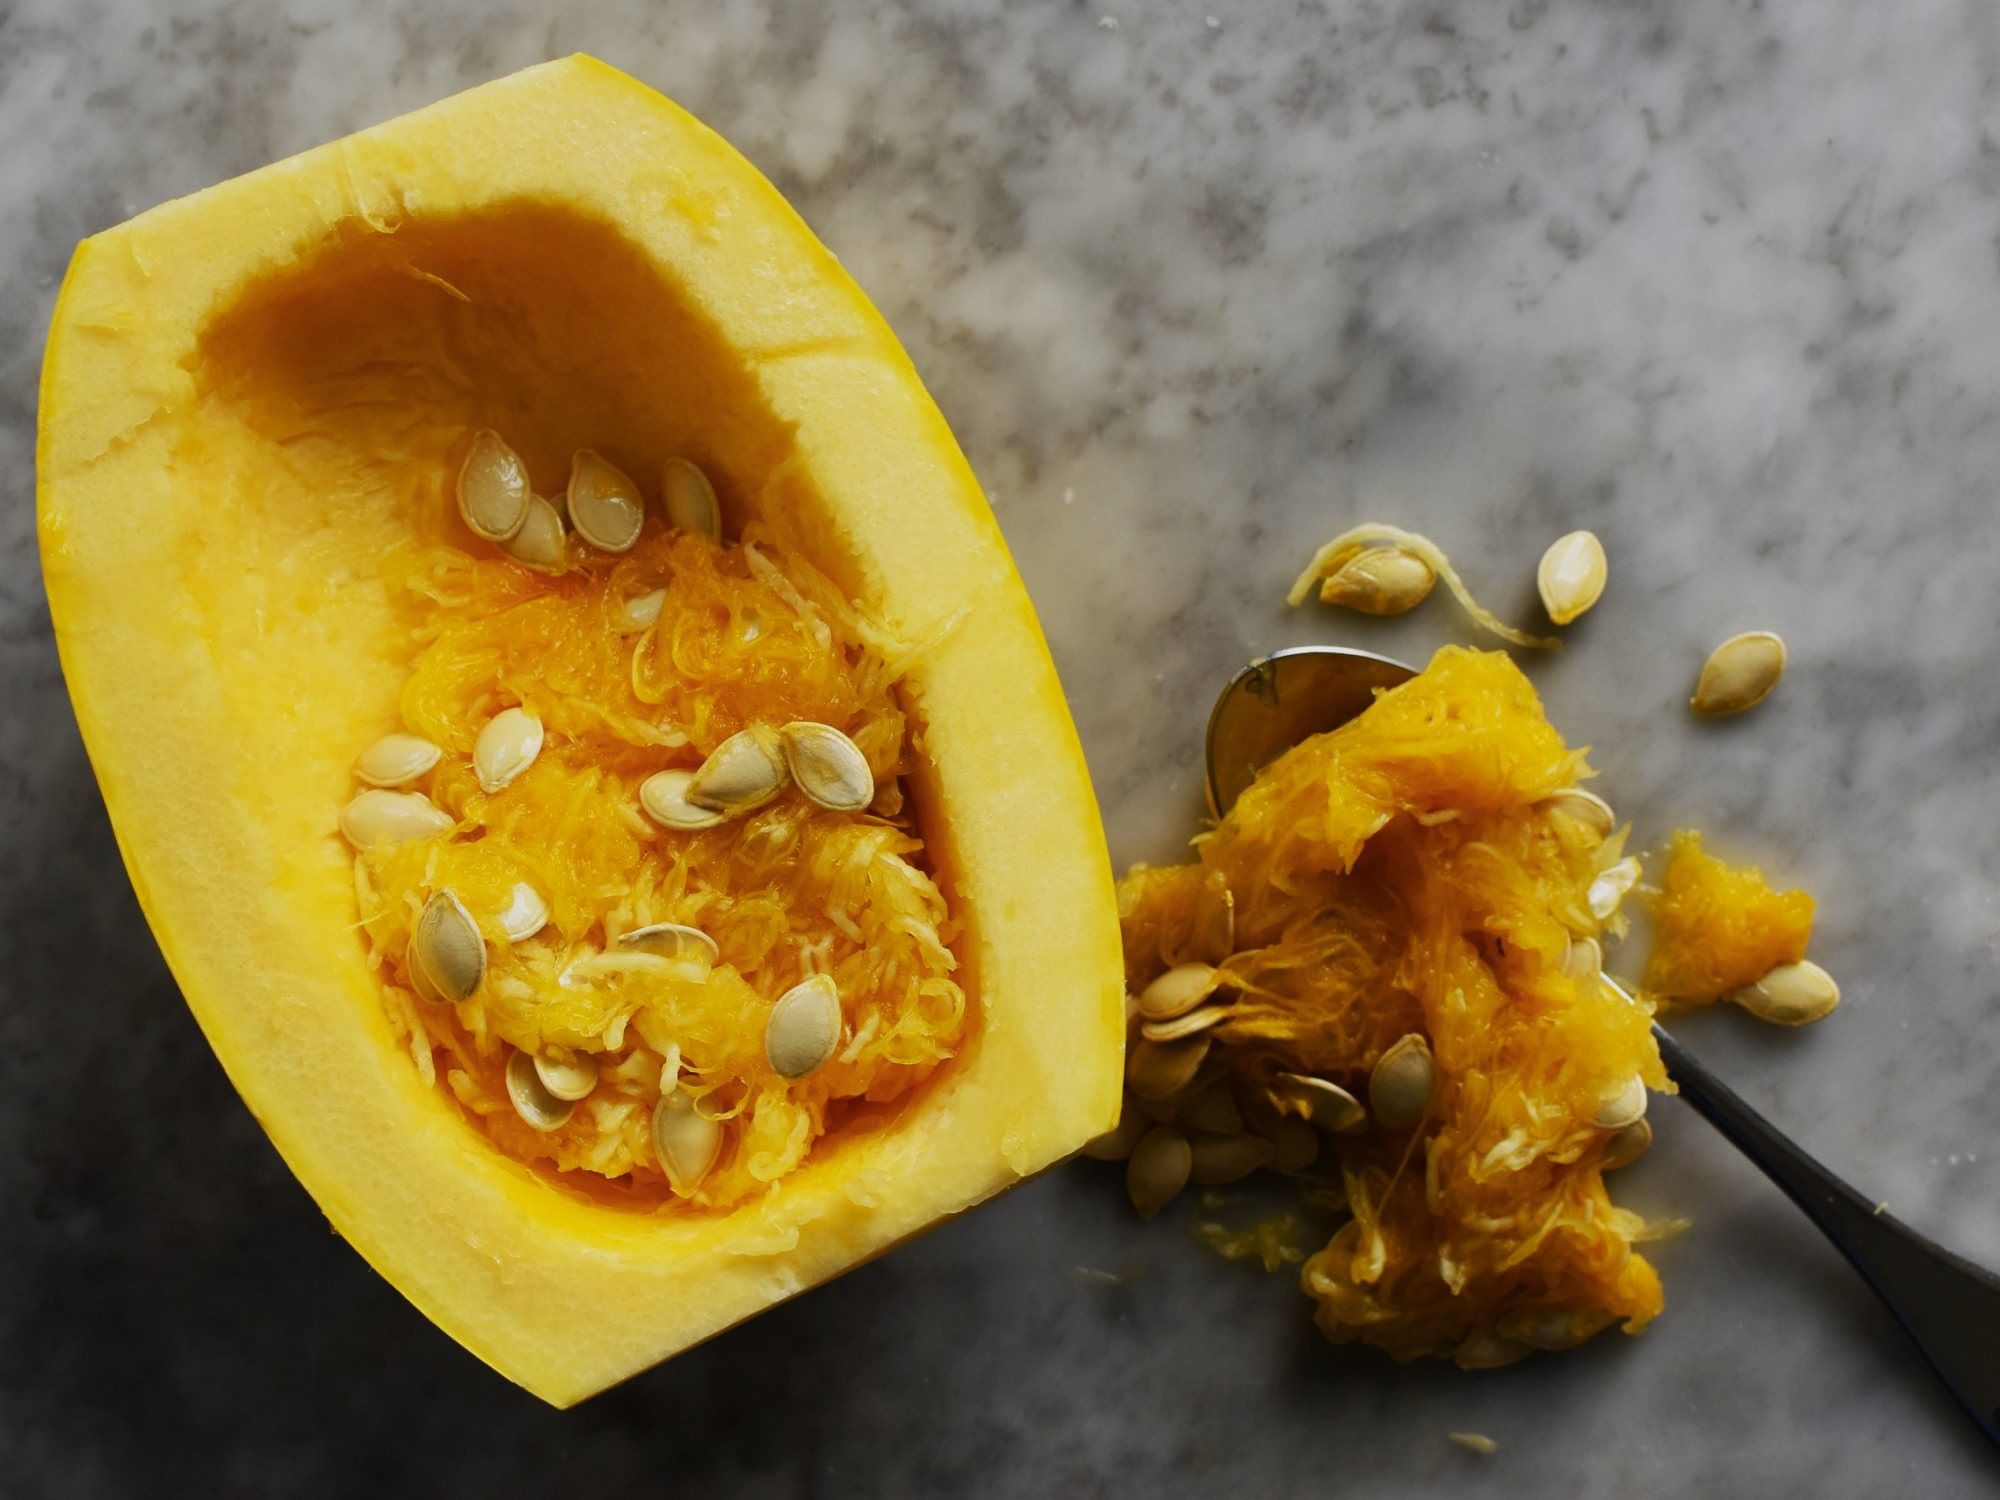
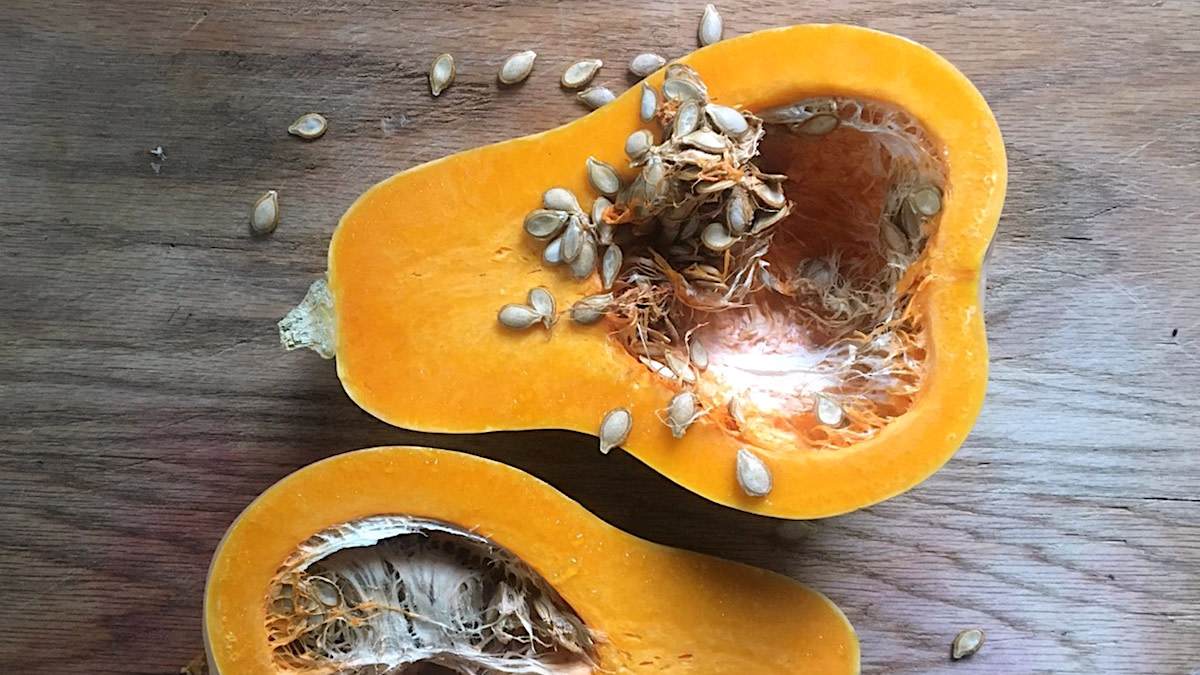
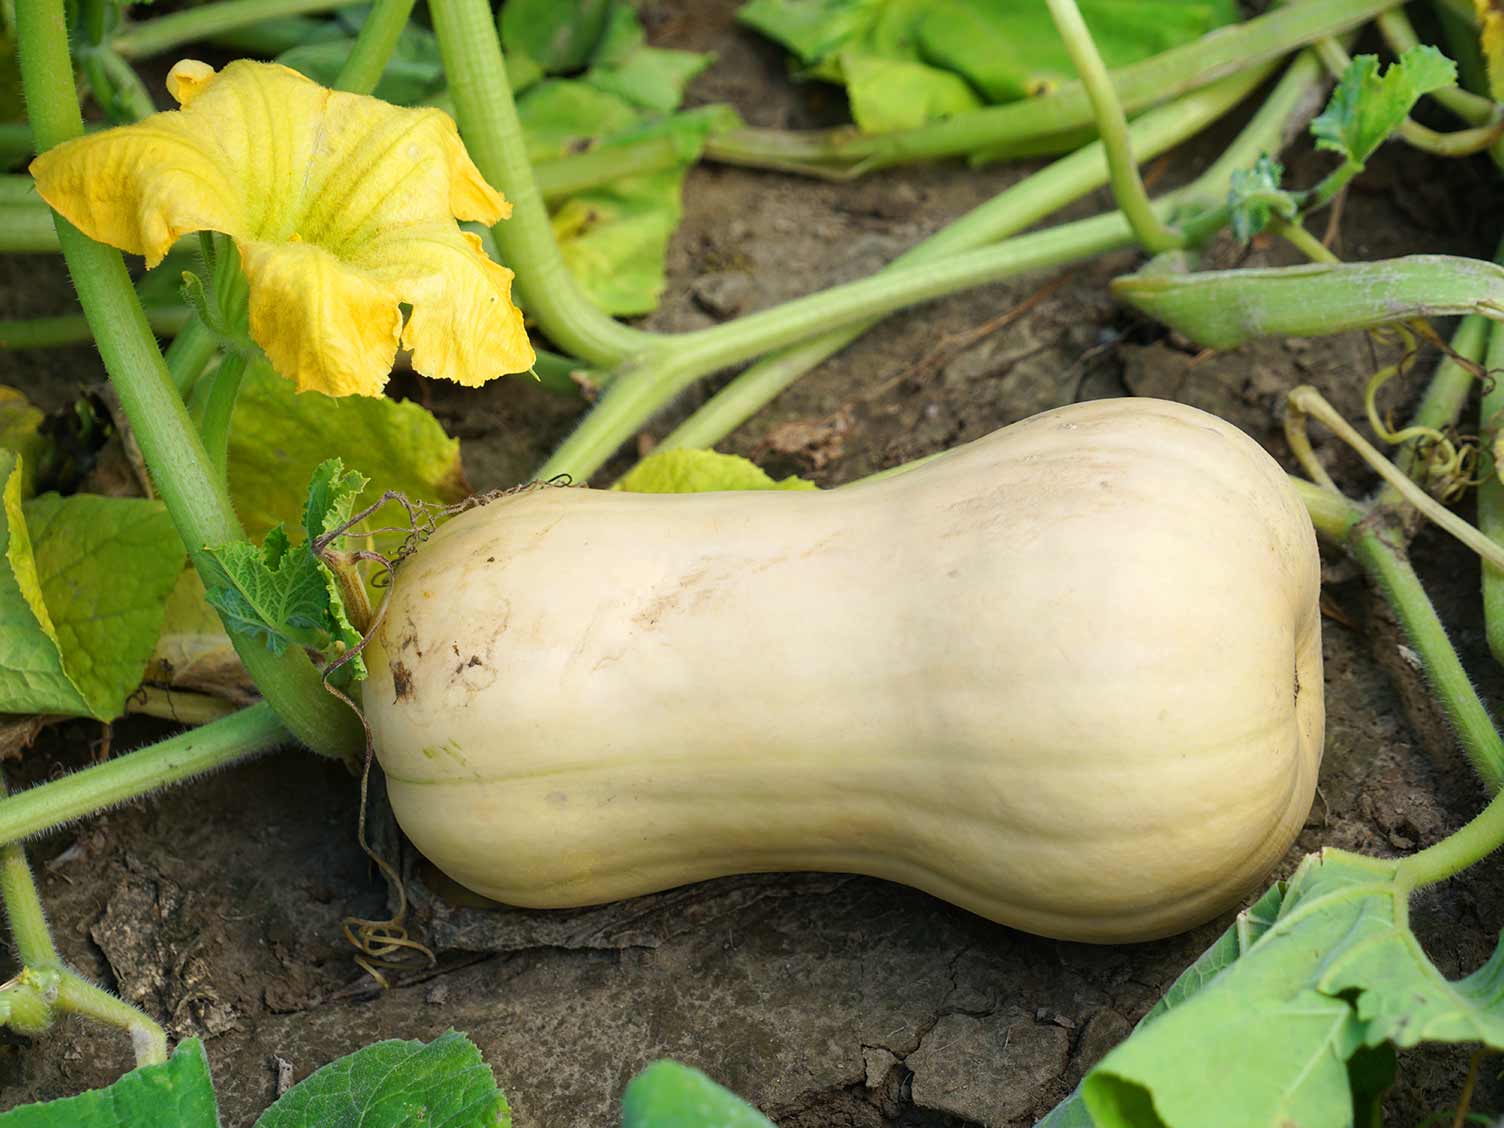
The first step in enjoying roasted spaghetti squash seeds is to harvest them from the squash itself. When your spaghetti squash is fully mature and ready to be harvested, the seeds inside will be developed and ready to be collected.
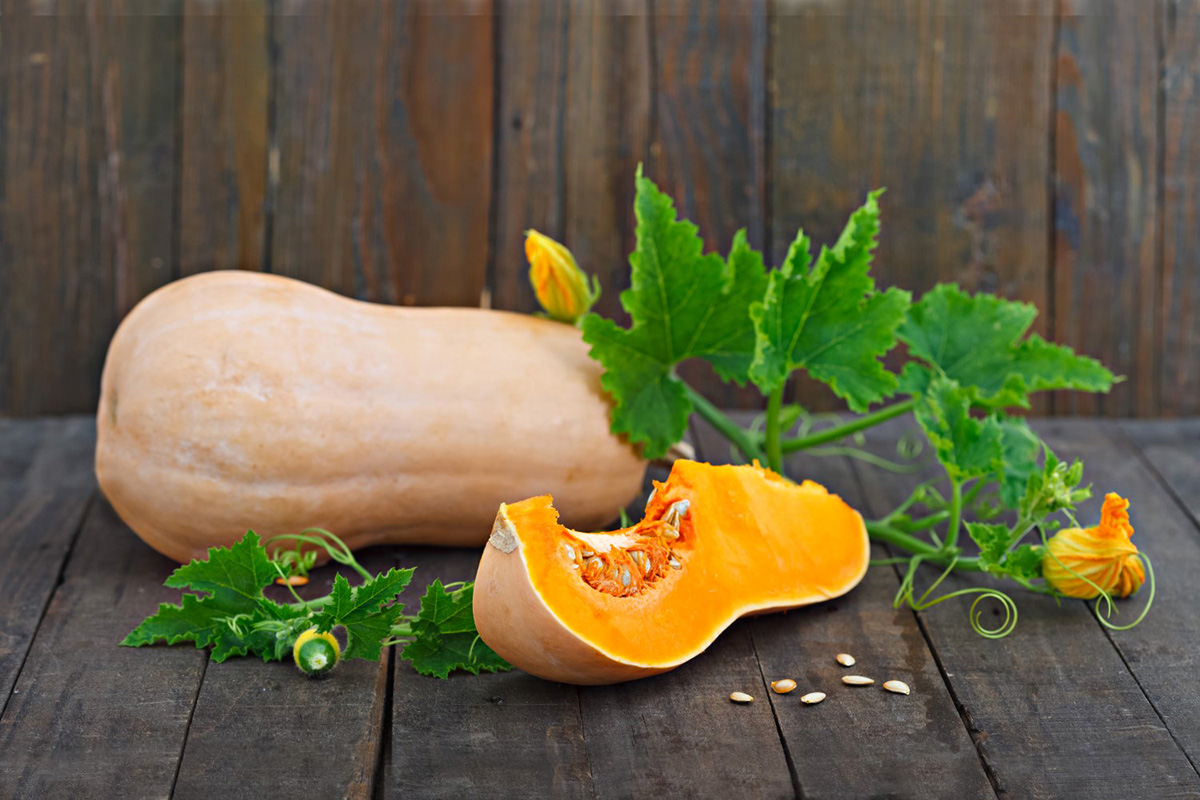
Begin by cutting the spaghetti squash in half lengthwise. Use a sharp knife to carefully slice through the tough outer skin. Take caution to avoid any potential injuries as the squash can be quite firm.
Once you’ve cut the squash in half, you will see a cluster of seeds nestled inside the cavity. Use a large spoon to scoop out the seeds and stringy pulp. Place the seeds in a bowl, separating them from the pulp as much as possible.
After removing the bulk of the pulp, rinse the seeds thoroughly under cold water to remove any remaining traces. This step is crucial to ensure that the seeds are clean and free from any debris or residue.
Once the seeds are clean, pat them dry with a paper towel or clean cloth. It’s essential to remove excess moisture to facilitate the roasting process later on.
Now that you’ve successfully harvested the seeds, you’re ready to move on to the next step: cleaning them. Let’s continue this seed-filled journey!
Step 2: Cleaning the Seeds
After harvesting the spaghetti squash seeds, it’s important to give them a thorough cleaning to remove any remaining pulp or residue. This step ensures that the seeds are ready for roasting and creates a delicious, crunchy snack.
To clean the seeds, start by putting them in a colander or sieve. Run cold water over the seeds, using your hands to gently agitate them. This will help to remove any stubborn bits of pulp.
Continue rinsing and agitating the seeds until the water runs clear. Take your time during this process to ensure that the seeds are completely clean. It’s important to remove all traces of pulp as any remaining bits can affect the flavor and texture of the roasted seeds.
Once the seeds are clean, transfer them to a clean kitchen towel or paper towel. Pat them dry gently, absorbing the excess moisture. It’s crucial to ensure the seeds are as dry as possible before roasting them. Moisture can hinder the roasting process and prevent the seeds from achieving a crispy texture.
After drying the seeds, inspect them for any remaining pieces of pulp or strands. Use your fingers or a pair of tweezers to remove any unwanted debris. This step may require a bit of patience, but it’s worth the effort to have perfectly clean seeds.
Now that you’ve cleaned the seeds thoroughly, it’s time to move on to the next step: roasting them to perfection. Get ready to enjoy a tantalizing snack that will satisfy your taste buds!
Step 3: Roasting the Seeds
Now that you have clean and dry spaghetti squash seeds, it’s time to roast them to bring out their delicious flavors and create a satisfying crunch. Roasting is a simple process that will transform the seeds into a delightful snack.
Start by preheating your oven to 300°F (150°C). While the oven is preheating, line a baking sheet with parchment paper or lightly grease it with oil to prevent sticking.
Spread the cleaned and dried squash seeds evenly on the prepared baking sheet. Make sure they are in a single layer to ensure even baking.
Next, you can choose to season the seeds with your preferred flavors. You can keep it simple with just a sprinkle of salt, or get creative with spices like garlic powder, paprika, or even a dash of cayenne pepper for some heat.
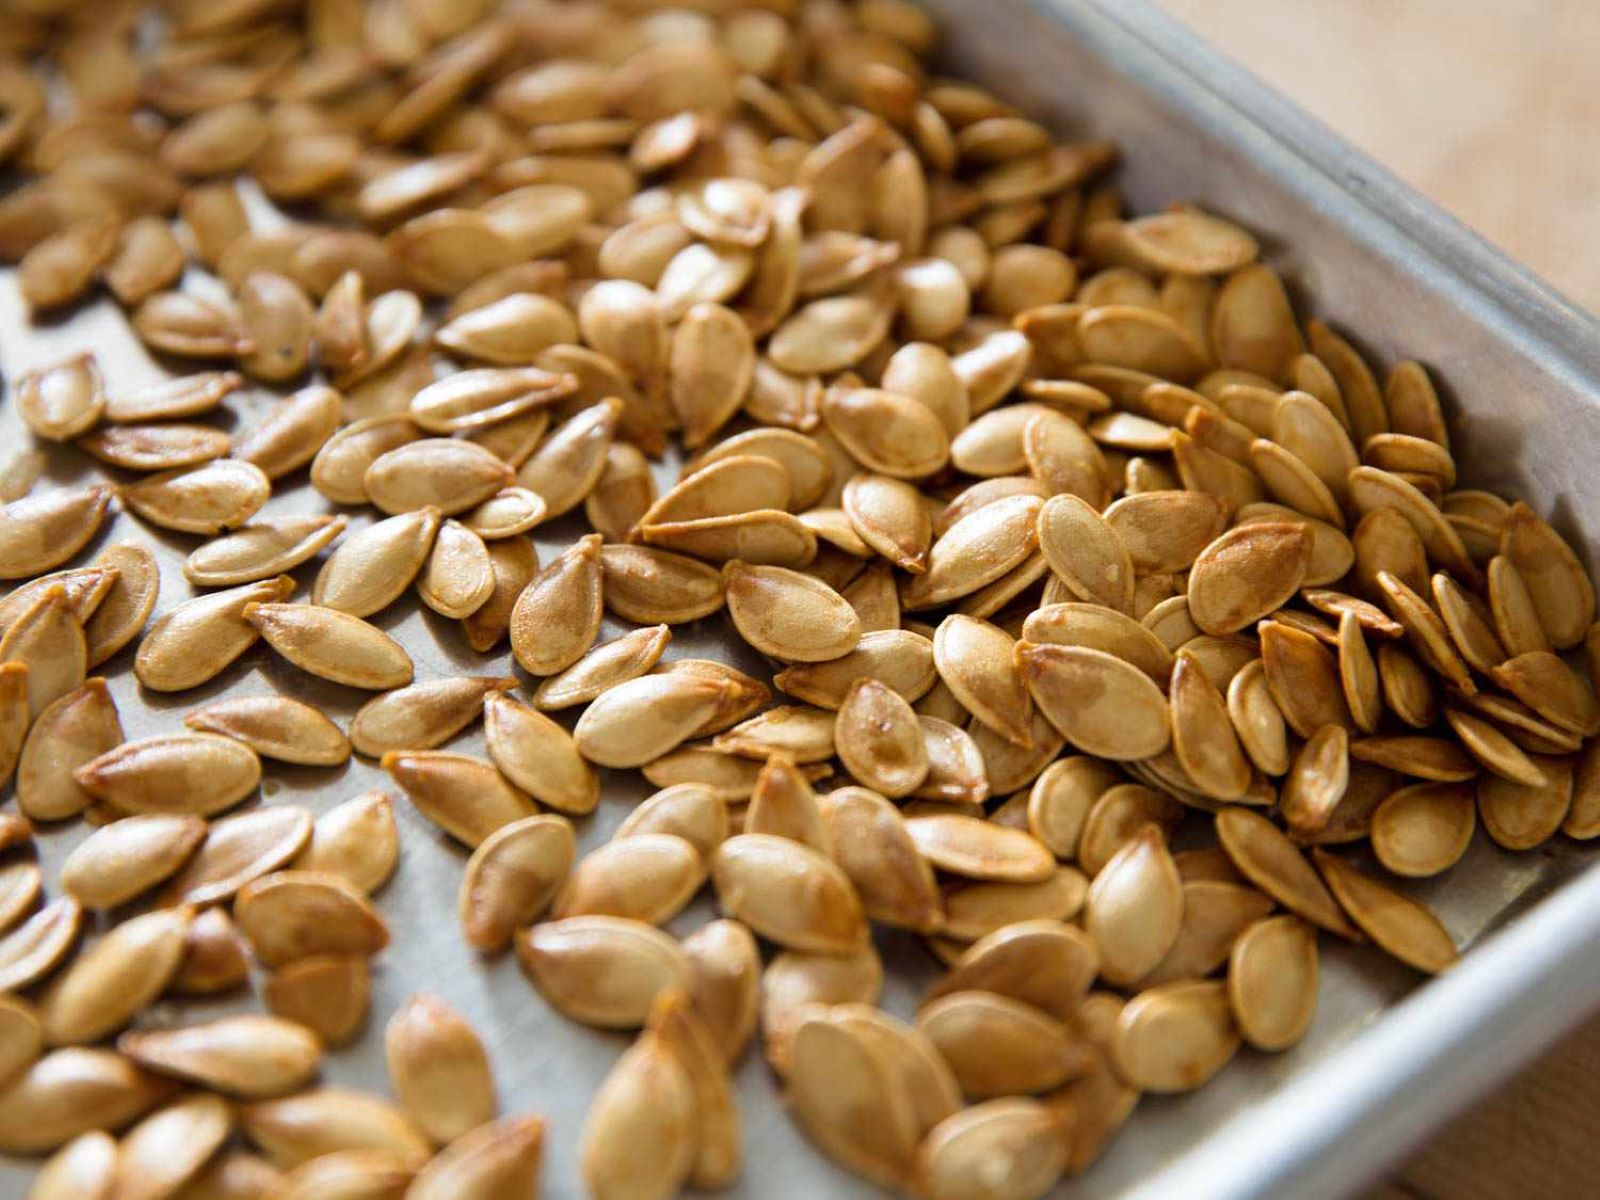
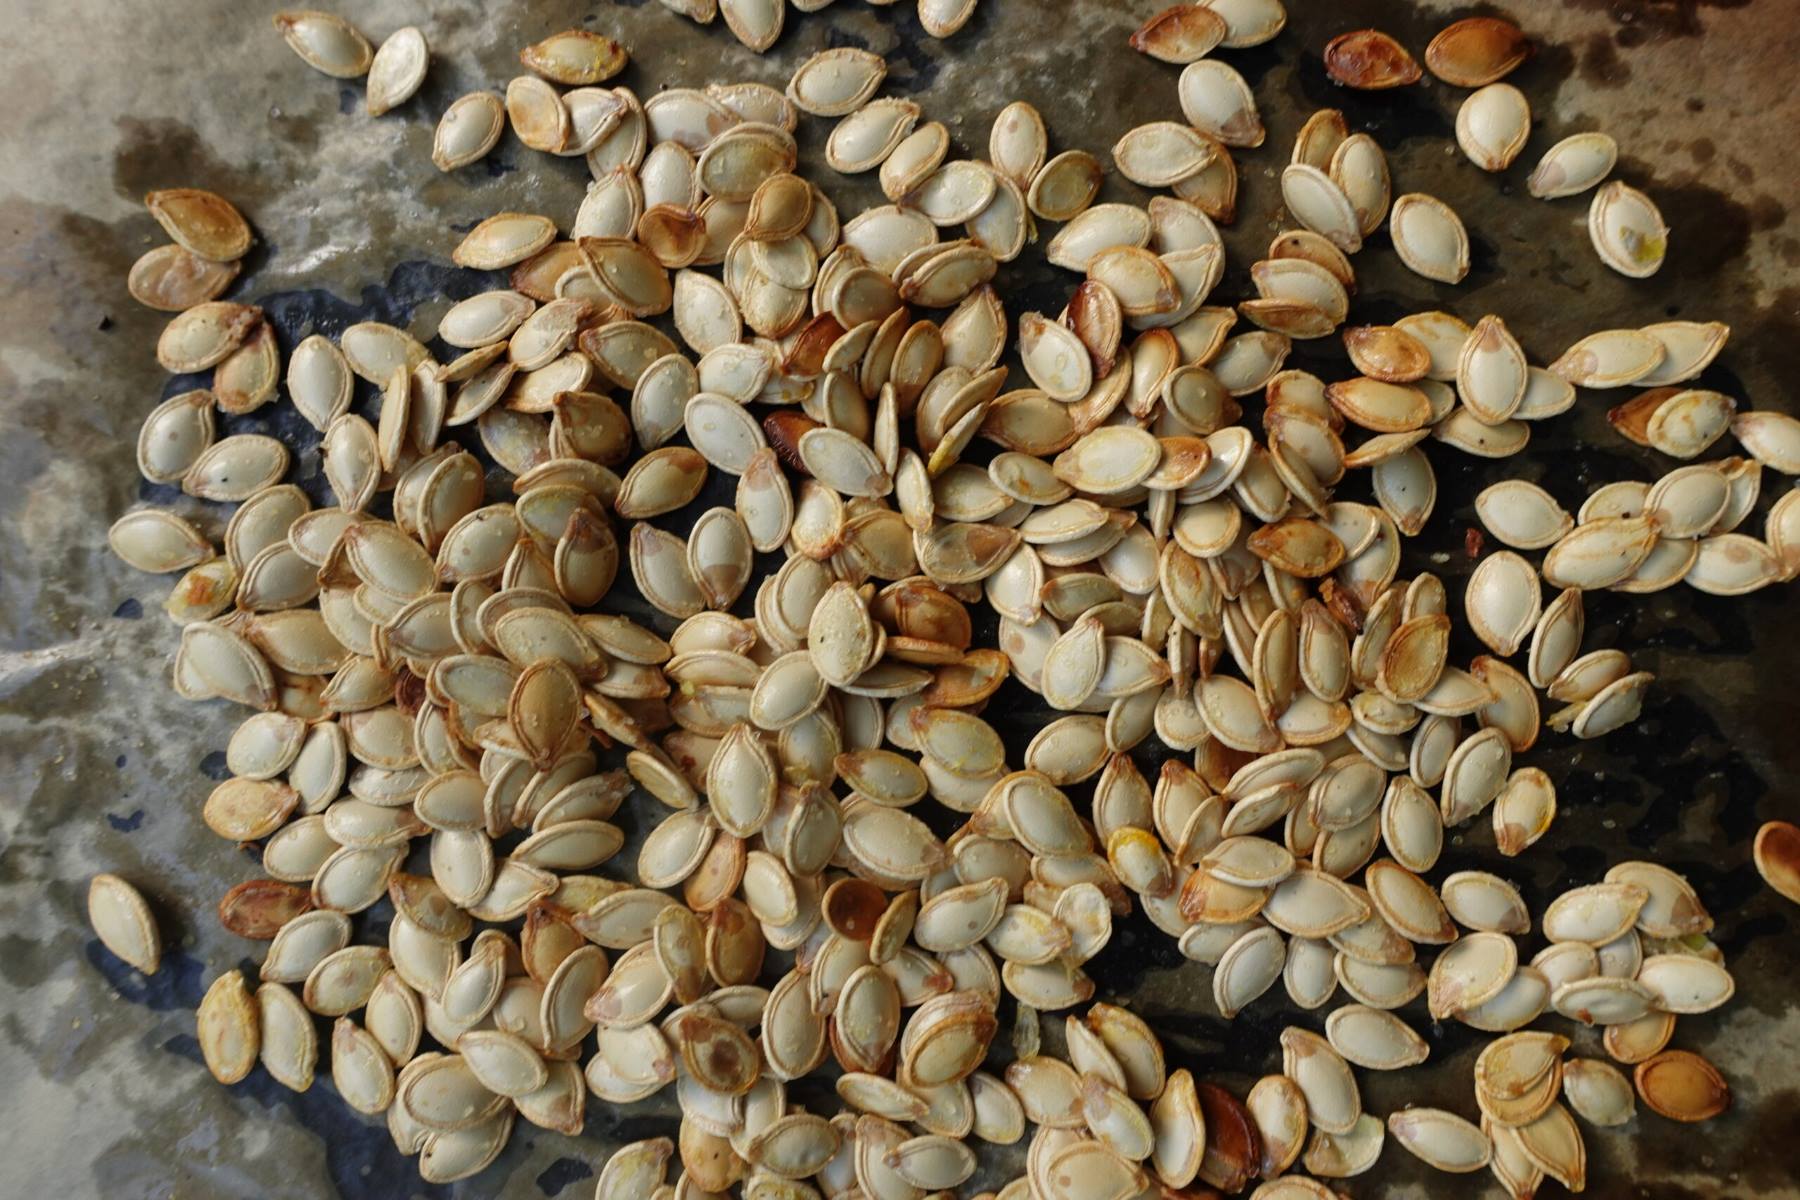
Once you’ve seasoned the seeds, place the baking sheet in the preheated oven. Bake the seeds for about 20-25 minutes, or until they turn golden brown and crispy. Remember to give them a gentle toss halfway through the baking process to ensure even browning.
Keep a close eye on the seeds while they are in the oven to avoid burning. The roasting time may vary slightly depending on the size and moisture content of the seeds, so it’s important to check them periodically.
Once the seeds are beautifully golden and crispy, remove them from the oven and let them cool on the baking sheet. As they cool, they will become even crisper.
Now that your roasted spaghetti squash seeds are ready, it’s time to move on to the next step: seasoning them to enhance their flavor. Get ready to experience a burst of deliciousness in every bite!
After removing the seeds from the spaghetti squash, rinse them to remove any pulp. Then, toss them with olive oil, salt, and any desired seasonings before roasting them in the oven at 325°F for about 15-20 minutes, or until they are golden brown and crispy. Enjoy as a tasty and nutritious snack!
Step 4: Seasoning the Seeds
Now that you have perfectly roasted spaghetti squash seeds, it’s time to take them to the next level by adding a burst of flavor with seasoning. Whether you prefer a savory or sweet taste, there are plenty of options to tantalize your taste buds.
If you enjoy savory snacks, try seasoning the seeds with a sprinkle of salt, garlic powder, onion powder, or a combination of herbs and spices like paprika, cumin, or chili powder. You can also experiment with different seasoning blends, such as Italian seasoning or Cajun seasoning, for a unique twist.
If you have a sweet tooth, consider adding a touch of sweetness to your roasted seeds. Sprinkle them with cinnamon and a hint of sugar or drizzle them with a small amount of honey or maple syrup. The combination of the natural sweetness from the squash seeds and the added flavorings will create a delightful treat.
After choosing your desired seasonings, transfer the roasted seeds to a bowl. Sprinkle the seasonings over the seeds, using a spoon or your clean hands to toss and coat them evenly.
Take your time to ensure that each seed is coated with the seasonings, allowing the flavors to penetrate and enhance their taste. The right combination of seasonings can turn ordinary squash seeds into a gourmet snack.
Once the seeds are seasoned to your liking, give them a taste test. Adjust the seasoning if needed, adding more salt, spice, or sweetness as desired. Remember, this is your chance to get creative and tailor the seasonings to match your preferences.
Now that your roasted spaghetti squash seeds are perfectly seasoned, it’s time to move on to the final step: storing them to preserve their freshness. Get ready to enjoy these addictive snacks anytime you need a flavorful and nutritious pick-me-up!
Read more: How To Store Cooked Spaghetti Squash
Step 5: Storing the Seeds
After you’ve roasted and seasoned your spaghetti squash seeds, it’s important to store them properly to maintain their freshness and crunchiness. Storing the seeds correctly will ensure that you can enjoy them as a delicious snack for weeks to come.
Start by allowing the roasted seeds to cool completely. This will prevent any condensation from forming inside the storage container, which can lead to a loss of crispiness.
Once the seeds have cooled, transfer them to an airtight container or a resealable plastic bag. Make sure the container or bag is clean and dry to prevent any moisture from getting trapped and causing the seeds to become soggy.
Label the container or bag with the date of preparation to help you keep track of their freshness. It’s recommended to consume the roasted spaghetti squash seeds within two to three weeks for the best quality.
Store the container or bag of seeds in a cool, dry place, such as a pantry or cupboard. Avoid keeping them near sources of heat or humidity, as these conditions can shorten their shelf life and affect their texture.
Remember to keep the container tightly sealed to prevent air and moisture from entering. Exposure to air can cause the seeds to become stale and lose their crunchiness.
When you’re ready to enjoy your roasted spaghetti squash seeds, simply take out the desired amount and seal the rest of the container promptly. This will help maintain the freshness of the remaining seeds.
It’s worth noting that roasted squash seeds are best enjoyed within a few days of opening the container. However, if stored properly, they can still retain their flavor and texture for an extended period.
Now that you’ve learned how to store your roasted seeds, you can savor their deliciousness anytime you crave a healthy and fulfilling snack. Enjoy the fruits of your labor and share them with friends and family for a truly savory experience!
Congratulations! You’ve successfully learned how to harvest, clean, roast, season, and store spaghetti squash seeds. These little gems of flavor and nutrition can be enjoyed as a snack on their own, sprinkled on salads, or added to your favorite recipes. Get creative and have fun exploring the wonderful world of spaghetti squash seeds!
Conclusion
Harvesting, cleaning, roasting, seasoning, and storing spaghetti squash seeds is a rewarding journey that turns what would have been waste into a delightful and nutritious snack. By following these steps, you can enjoy the full potential of this versatile vegetable and elevate your culinary adventures.
Throughout this process, you learned how to carefully harvest the seeds from the spaghetti squash, ensuring their ripeness and readiness. You discovered the importance of cleaning them thoroughly to remove any pulp residue, allowing for a clean and enjoyable eating experience.
Roasting the seeds brought out their natural flavors and created a satisfying crunch. Seasoning the seeds with your choice of savory or sweet flavors allowed you to tailor the taste to your preferences, resulting in a truly enjoyable snack.
Storing the roasted and seasoned seeds properly ensured their freshness and longevity, allowing you to savor their deliciousness for weeks to come.
With these newfound skills, you can explore the multitude of possibilities that spaghetti squash seeds offer. Whether you choose to enjoy them as a standalone snack, sprinkle them over salads, or incorporate them into your favorite recipes, the roasted spaghetti squash seeds will add a crunchy and nutritious element to your meals.
Next time you prepare a spaghetti squash, don’t let the seeds go to waste. Take the time to harvest, clean, roast, season, and store them, and you’ll be rewarded with a tasty and satisfying treat that will impress your taste buds and nourish your body.
So, why not embark on this culinary adventure? Start with a fresh spaghetti squash, save those seeds, and let them shine in a whole new way. You’ll be amazed at the transformation and the joy it brings to your garden-to-table experience.
Remember, the journey of harvesting and enjoying spaghetti squash seeds doesn’t end here. Keep exploring and experimenting with different seasonings and flavor combinations. Share your creations with others and spread the joy of this hidden gem that lies within the humble spaghetti squash.
Enjoy the process, embrace your inner chef, and savor the deliciousness of roasted spaghetti squash seeds. Happy harvesting and happy snacking!
Frequently Asked Questions about How To Cook Spaghetti Squash Seeds
Was this page helpful?
At Storables.com, we guarantee accurate and reliable information. Our content, validated by Expert Board Contributors, is crafted following stringent Editorial Policies. We're committed to providing you with well-researched, expert-backed insights for all your informational needs.
0 thoughts on “How To Cook Spaghetti Squash Seeds”