Home>Garden Essentials>How To Toast Squash Seeds

Garden Essentials
How To Toast Squash Seeds
Modified: March 16, 2024
Learn how to toast squash seeds from your garden for a delicious and nutritious snack. Enhance your gardening experience with this easy-to-follow guide.
(Many of the links in this article redirect to a specific reviewed product. Your purchase of these products through affiliate links helps to generate commission for Storables.com, at no extra cost. Learn more)
Introduction
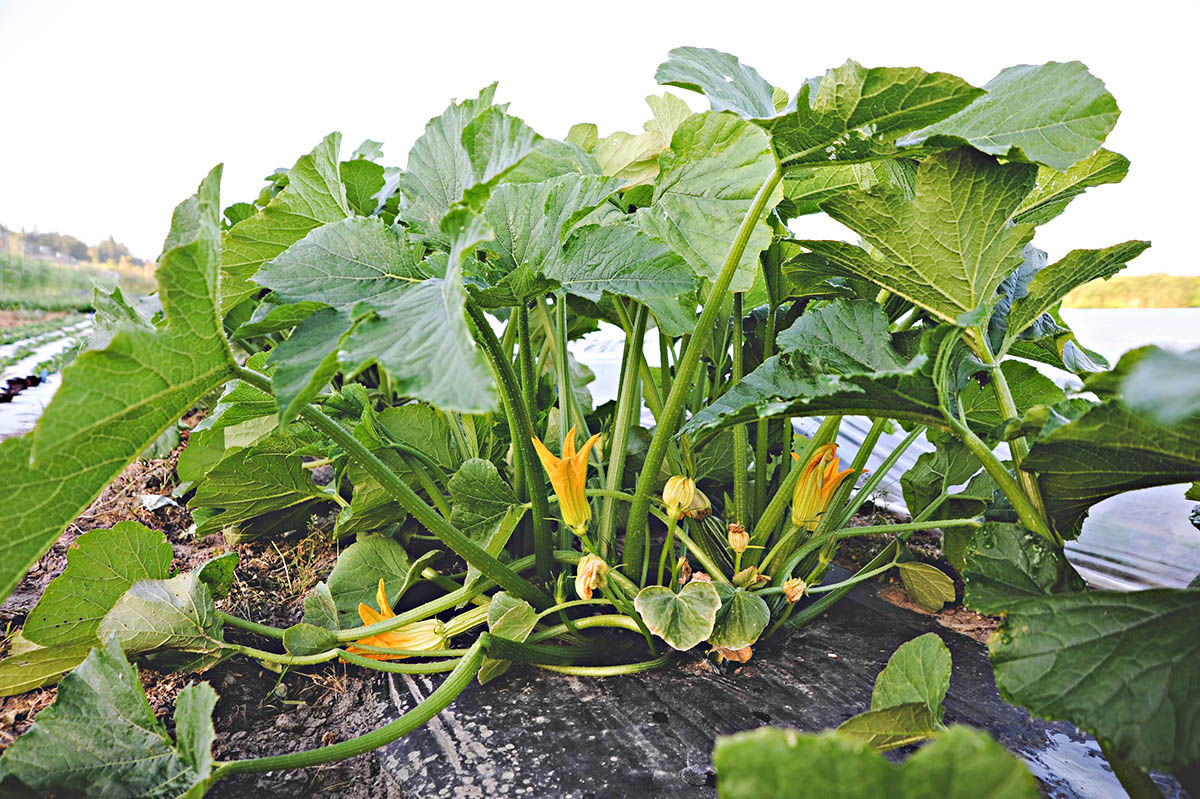
Growing squash in your garden can be a rewarding experience. Not only do you get to enjoy the delicious and versatile fruit, but you also have the opportunity to harvest the seeds and turn them into a tasty snack. Toasted squash seeds are not only a delicious treat, but they are also packed with nutrients, making them a healthy addition to your diet. In this article, we will guide you through the process of toasting squash seeds, from harvesting to seasoning and storing.
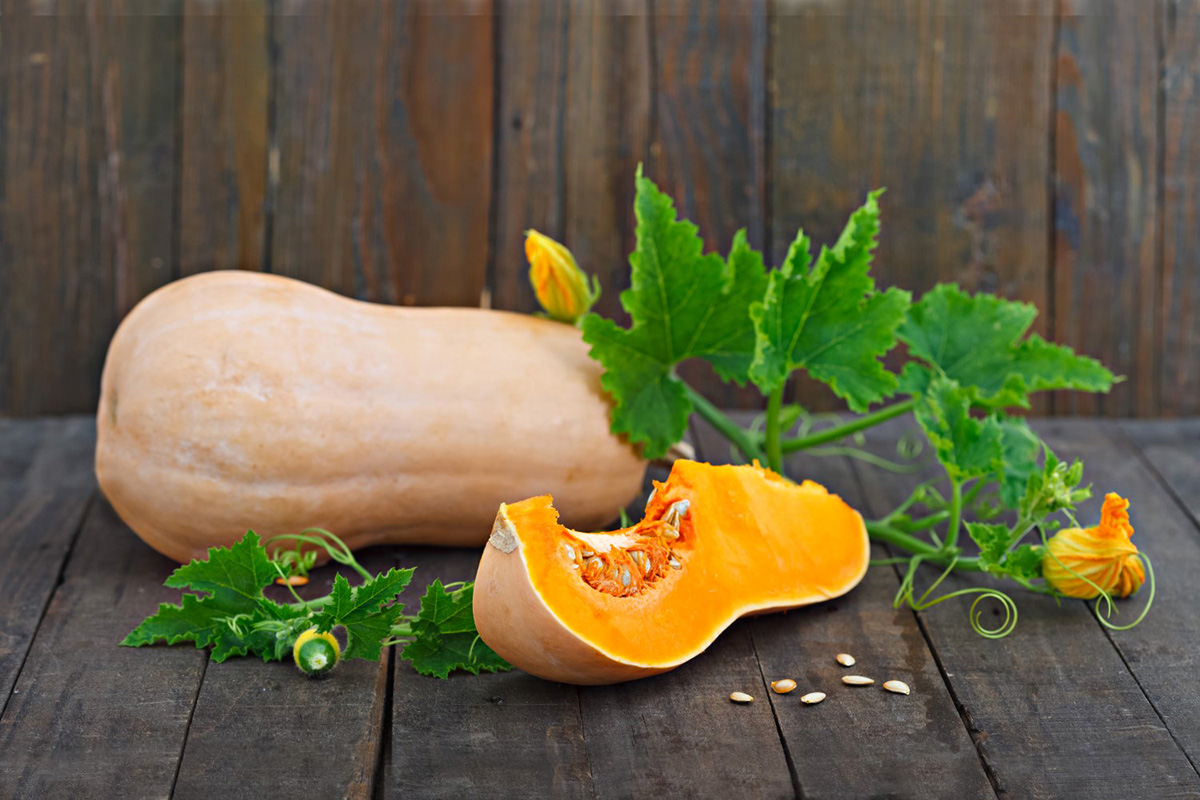
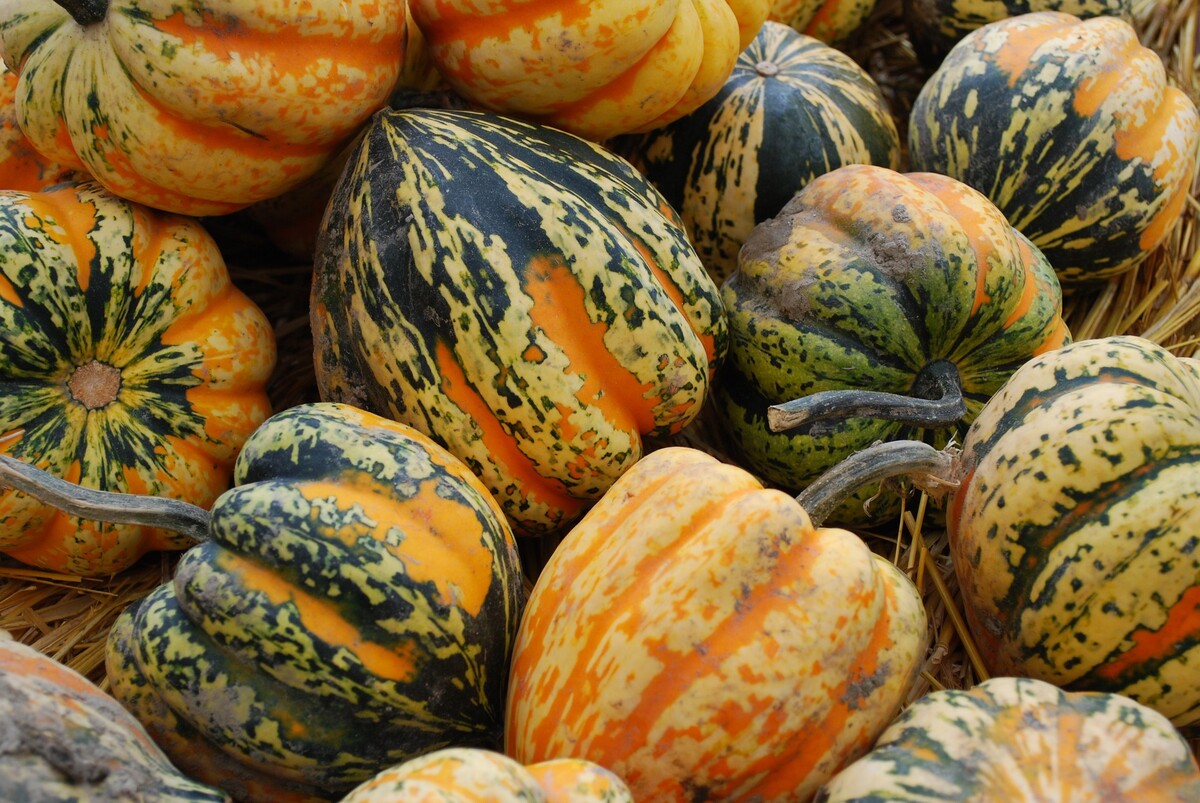
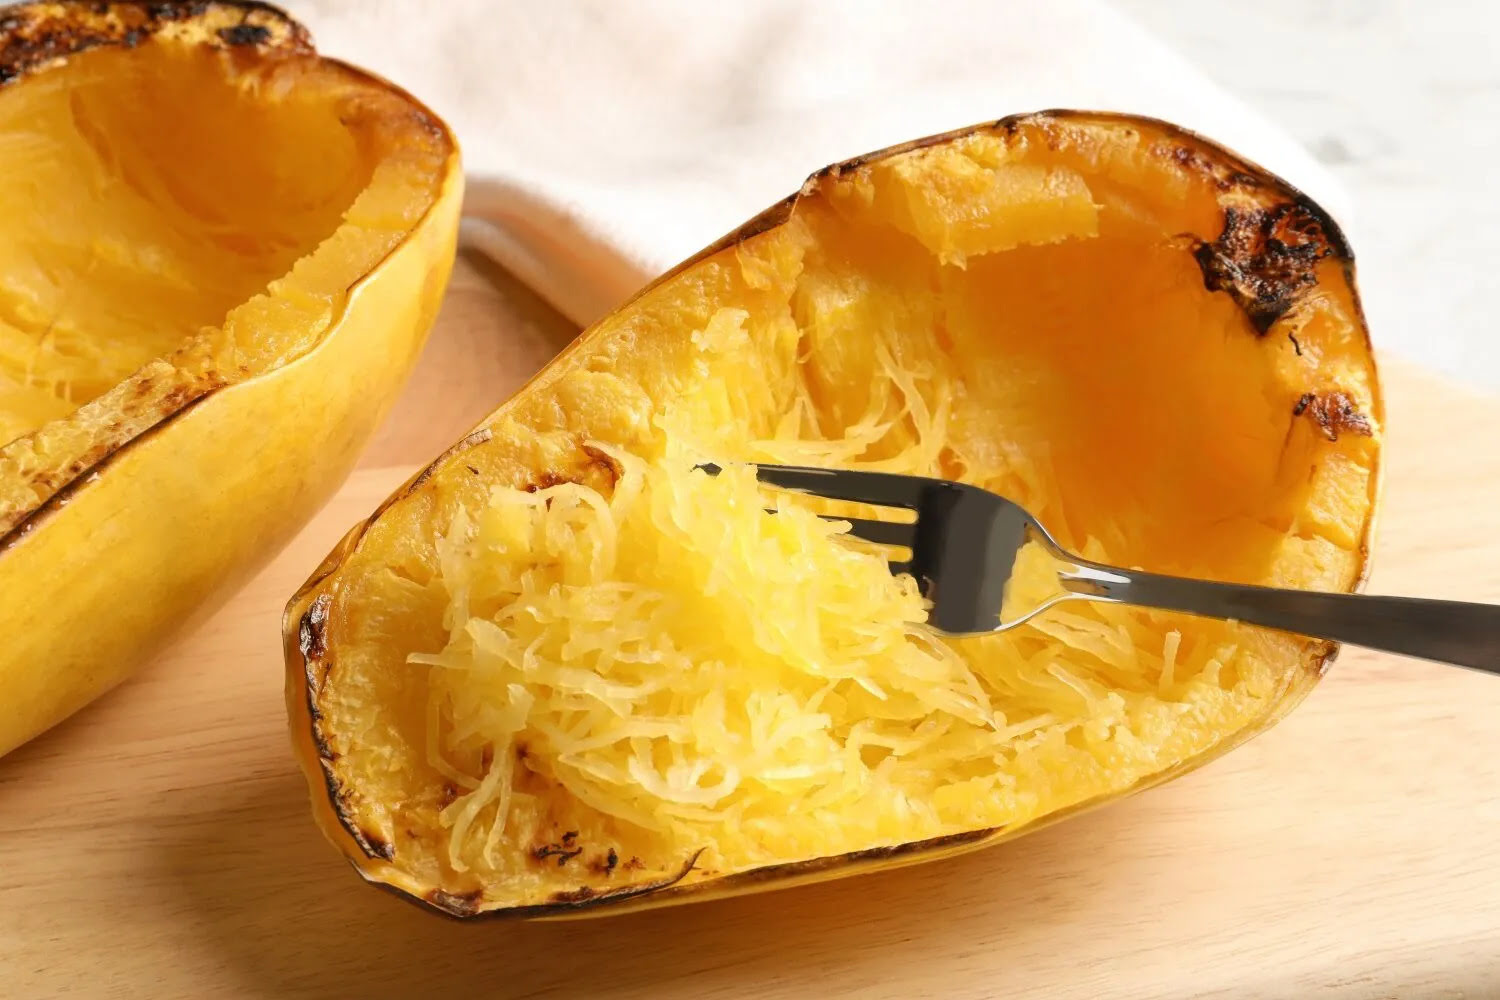
Squash seeds come in different varieties, including butternut squash, acorn squash, and spaghetti squash, just to name a few. These seeds are often discarded during the preparation of squash dishes, but they are a valuable resource that should not go to waste. Toasting the seeds not only brings out their natural flavors but also gives them a crunchy texture that makes for a satisfying snack.
Before we get started, it’s important to note that the toasting process can differ slightly depending on the type of squash seeds you are working with. However, the overall steps remain the same. So, let’s dive in and learn how to toast squash seeds so you can enjoy this delicious and nutritious snack.
Key Takeaways:
- Don’t toss those squash seeds! Harvest, clean, toast, season, and store them for a delicious and nutritious snack that’s easy to make at home.
- Toasted squash seeds are a crunchy, customizable, and healthy snack. Experiment with different seasonings and enjoy the benefits of this sustainable and tasty treat.
Read more: How To Plant Squash Seeds
Step 1: Harvesting the Squash Seeds
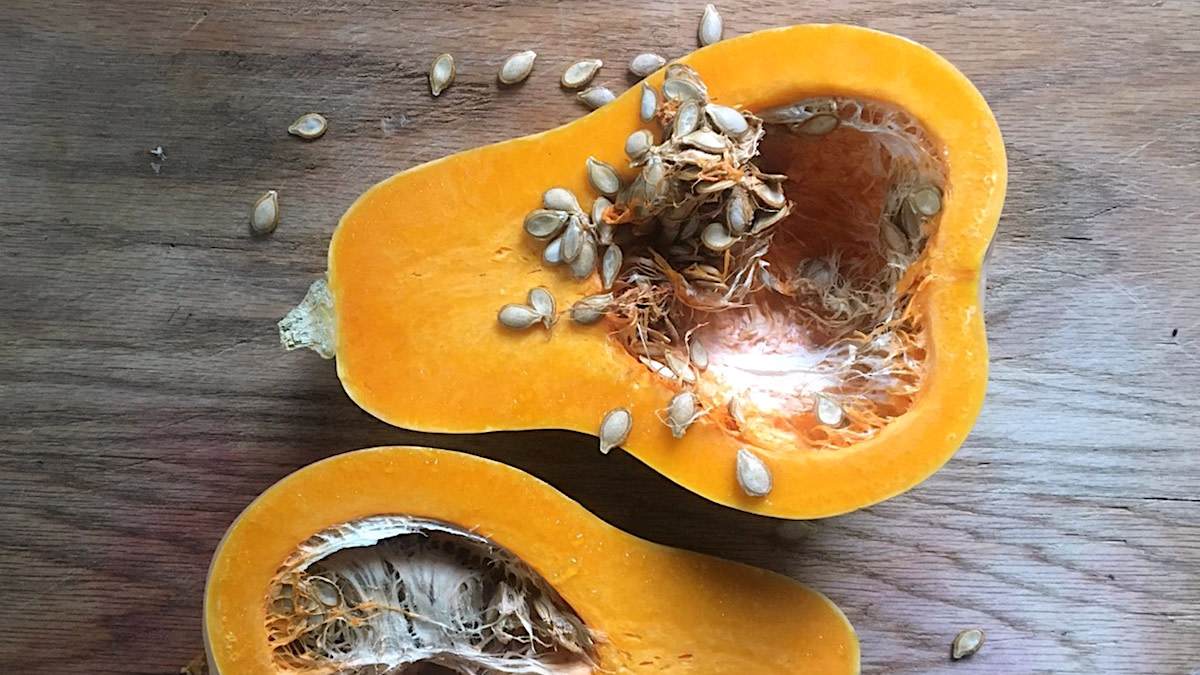
The first step in toasting squash seeds is to harvest them from the squash fruit. When your squash is fully ripe, the seeds are ready to be collected. Here’s how to do it:
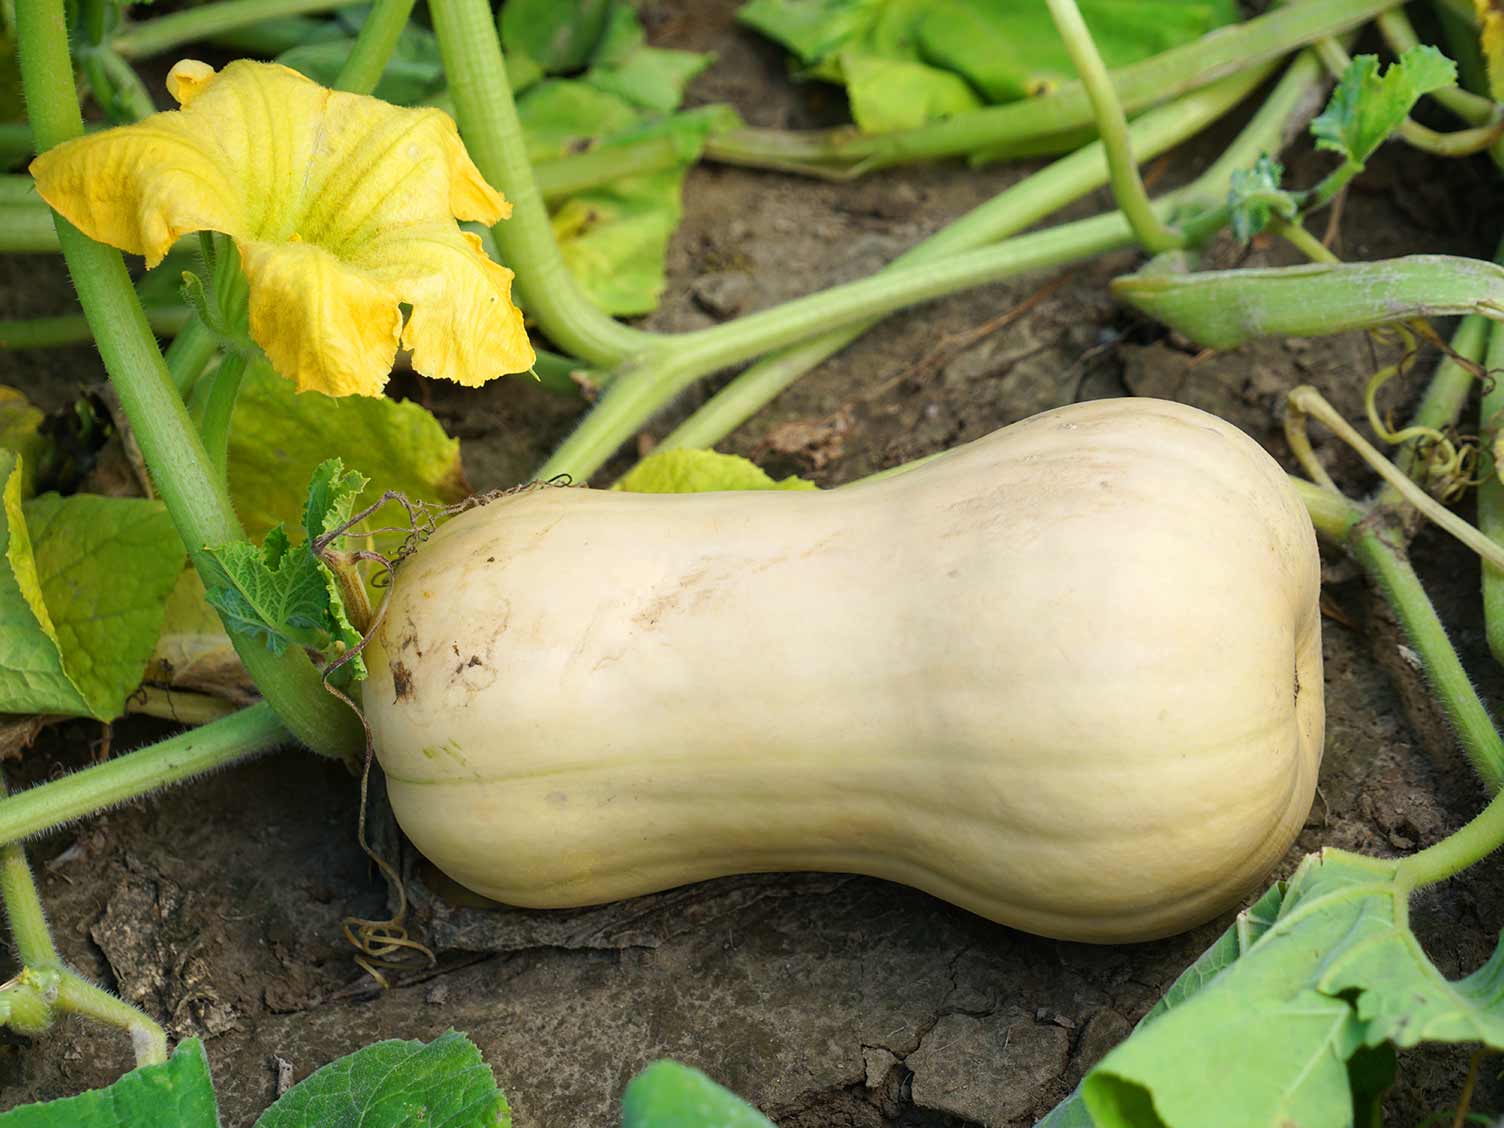
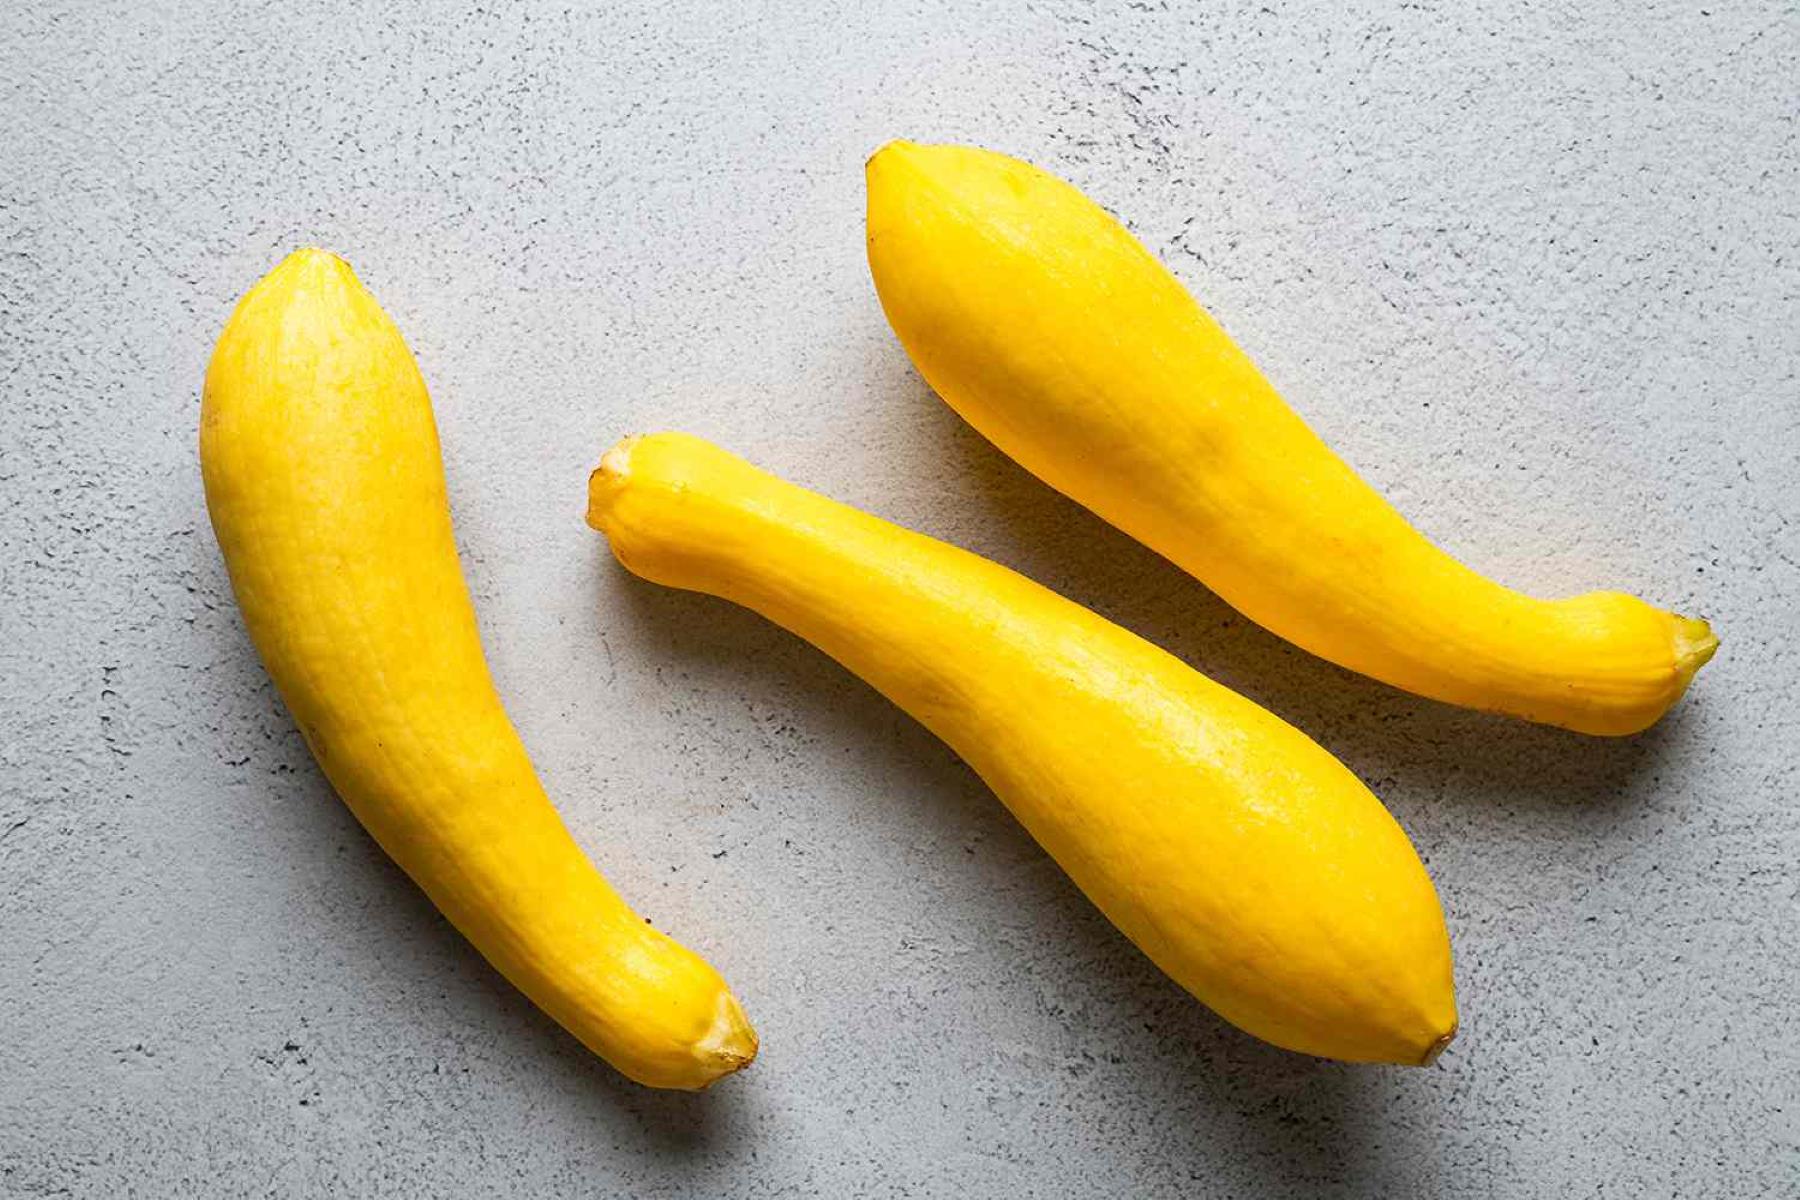
- Select a mature squash: Look for squash that has a firm skin and has reached its full size. This indicates that the seeds inside are mature and ready to be harvested.
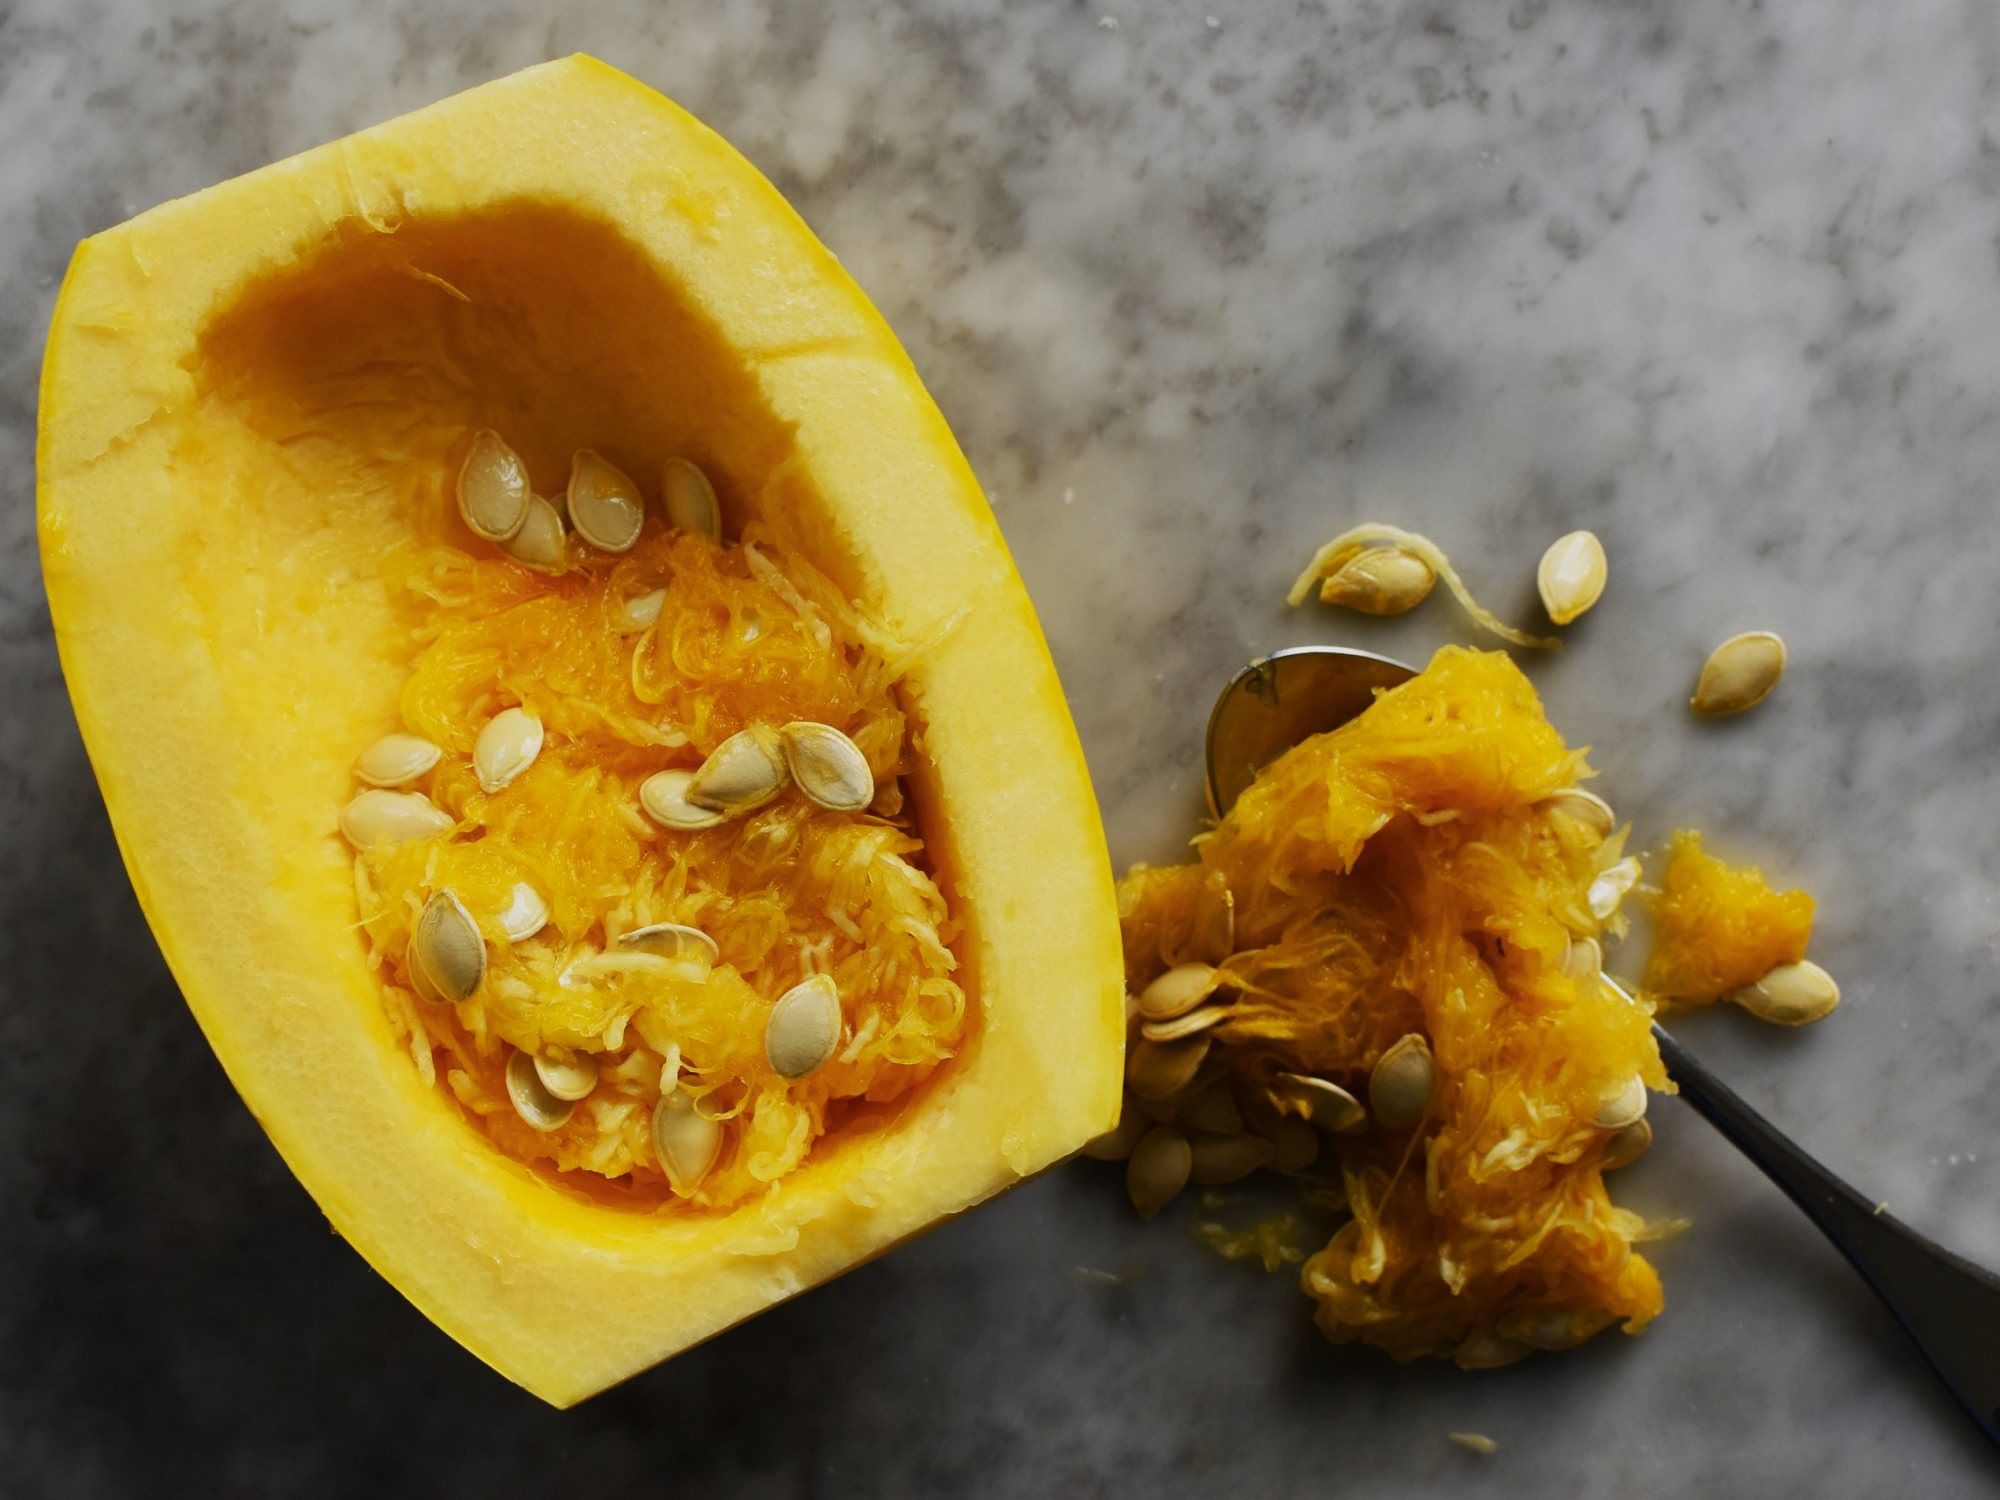
- Cut the squash open: Use a sharp knife to carefully cut the squash in half. Be cautious as the squash can be quite tough, so it’s important to use steady, controlled cuts.
- Scoop out the seeds: Use a spoon to scoop out the seeds from the center of the squash. Gently scrape the sides to ensure you collect as many seeds as possible.
- Separate the seeds from the pulp: Once you have collected the seeds, place them in a bowl of water. Swirl the seeds around to separate them from the pulp. The viable seeds will sink to the bottom, while the pulp and any empty shells will float to the top.
- Drain and dry the seeds: Pour the contents of the bowl into a colander to drain the water. Give the seeds a gentle rinse to remove any remaining pulp. Spread the seeds out on a clean kitchen towel or a baking sheet lined with parchment paper. Allow them to dry completely, which usually takes 1-2 days.
Harvesting the squash seeds is an important first step in the toasting process. It ensures that you are working with seeds that are mature and in their prime. Now that you have successfully harvested the squash seeds, it’s time to move on to the next step: cleaning them.
Step 2: Cleaning the Squash Seeds
After harvesting the squash seeds, it’s essential to clean them thoroughly before proceeding with the toasting process. Cleaning the seeds removes any remaining pulp or debris, ensuring that you end up with clean and delicious toasted seeds. Here’s how to clean the squash seeds:
- Rinse the seeds: Place the harvested seeds in a sieve or colander and rinse them thoroughly under running water. This helps to remove any remaining pulp or sticky residue from the seeds.
- Remove any remaining pulp: Take a clean kitchen towel or your fingers and gently rub the seeds while rinsing. This will help to loosen and remove any stubborn pieces of pulp that may still be attached to the seeds.
- Inspect the seeds: As you clean the seeds, take a moment to inspect them for any damaged or discolored seeds. Remove any seeds that appear shriveled, moldy, or discolored, as they may affect the flavor and quality of the toasted seeds.
- Dry the seeds: Once the seeds are clean, spread them out on a clean kitchen towel or a baking sheet lined with parchment paper. Allow them to air dry for a few hours or overnight until they are completely dry.
Cleaning the squash seeds is an important step in the toasting process as it ensures that your toasted seeds will have a clean and desirable flavor. Once the seeds are thoroughly cleaned and dried, you are ready to move on to the next step: toasting them to perfection.
Step 3: Toasting the Squash Seeds
Now that you have harvested and cleaned the squash seeds, it’s time to toast them to bring out their delicious flavors and create a satisfying crunch. Follow these steps to toast the squash seeds:
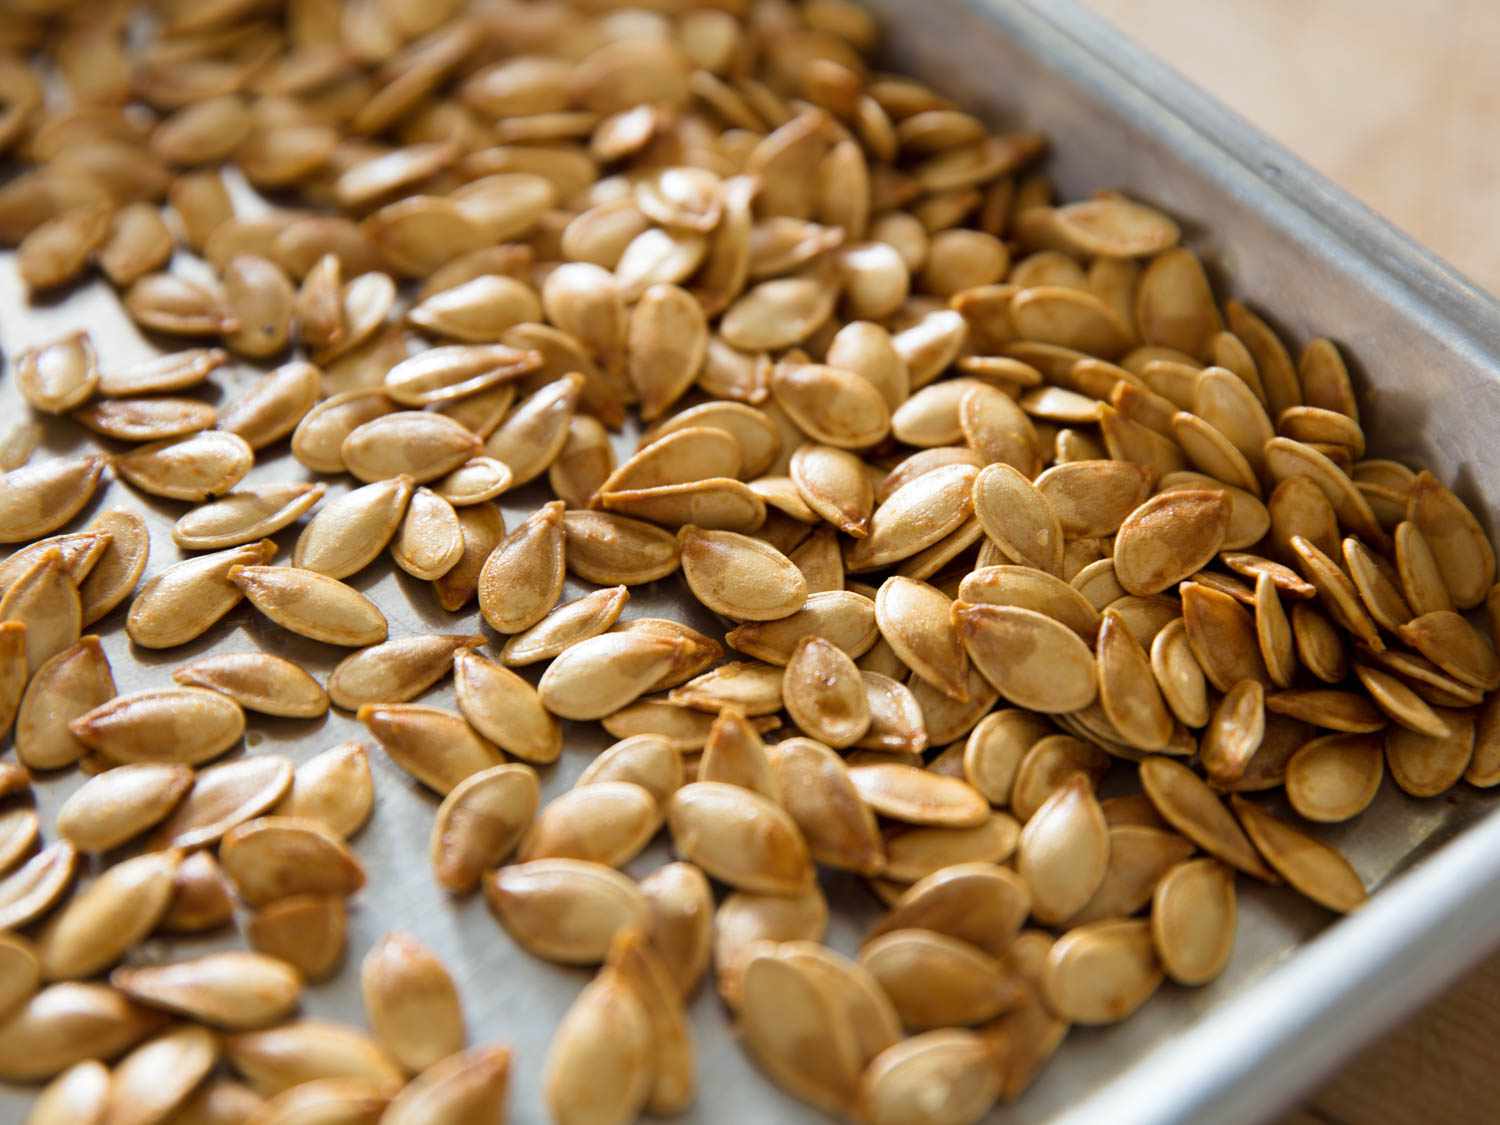
- Preheat the oven: Preheat your oven to 325°F (165°C). Preheating ensures that the seeds toast evenly and to the desired crispness.
- Spread the seeds: Take the cleaned and dried squash seeds and spread them out in a single layer on a baking sheet. Avoid overcrowding the seeds, as this can prevent them from toasting evenly.
- Drizzle with oil and seasonings: Drizzle the seeds with a little bit of oil, such as olive oil or melted butter, and toss them to ensure even coating. This will help the seeds toast and prevent them from sticking to the baking sheet. Additionally, you can sprinkle seasonings to add flavor, such as salt, garlic powder, or your favorite spice blend.
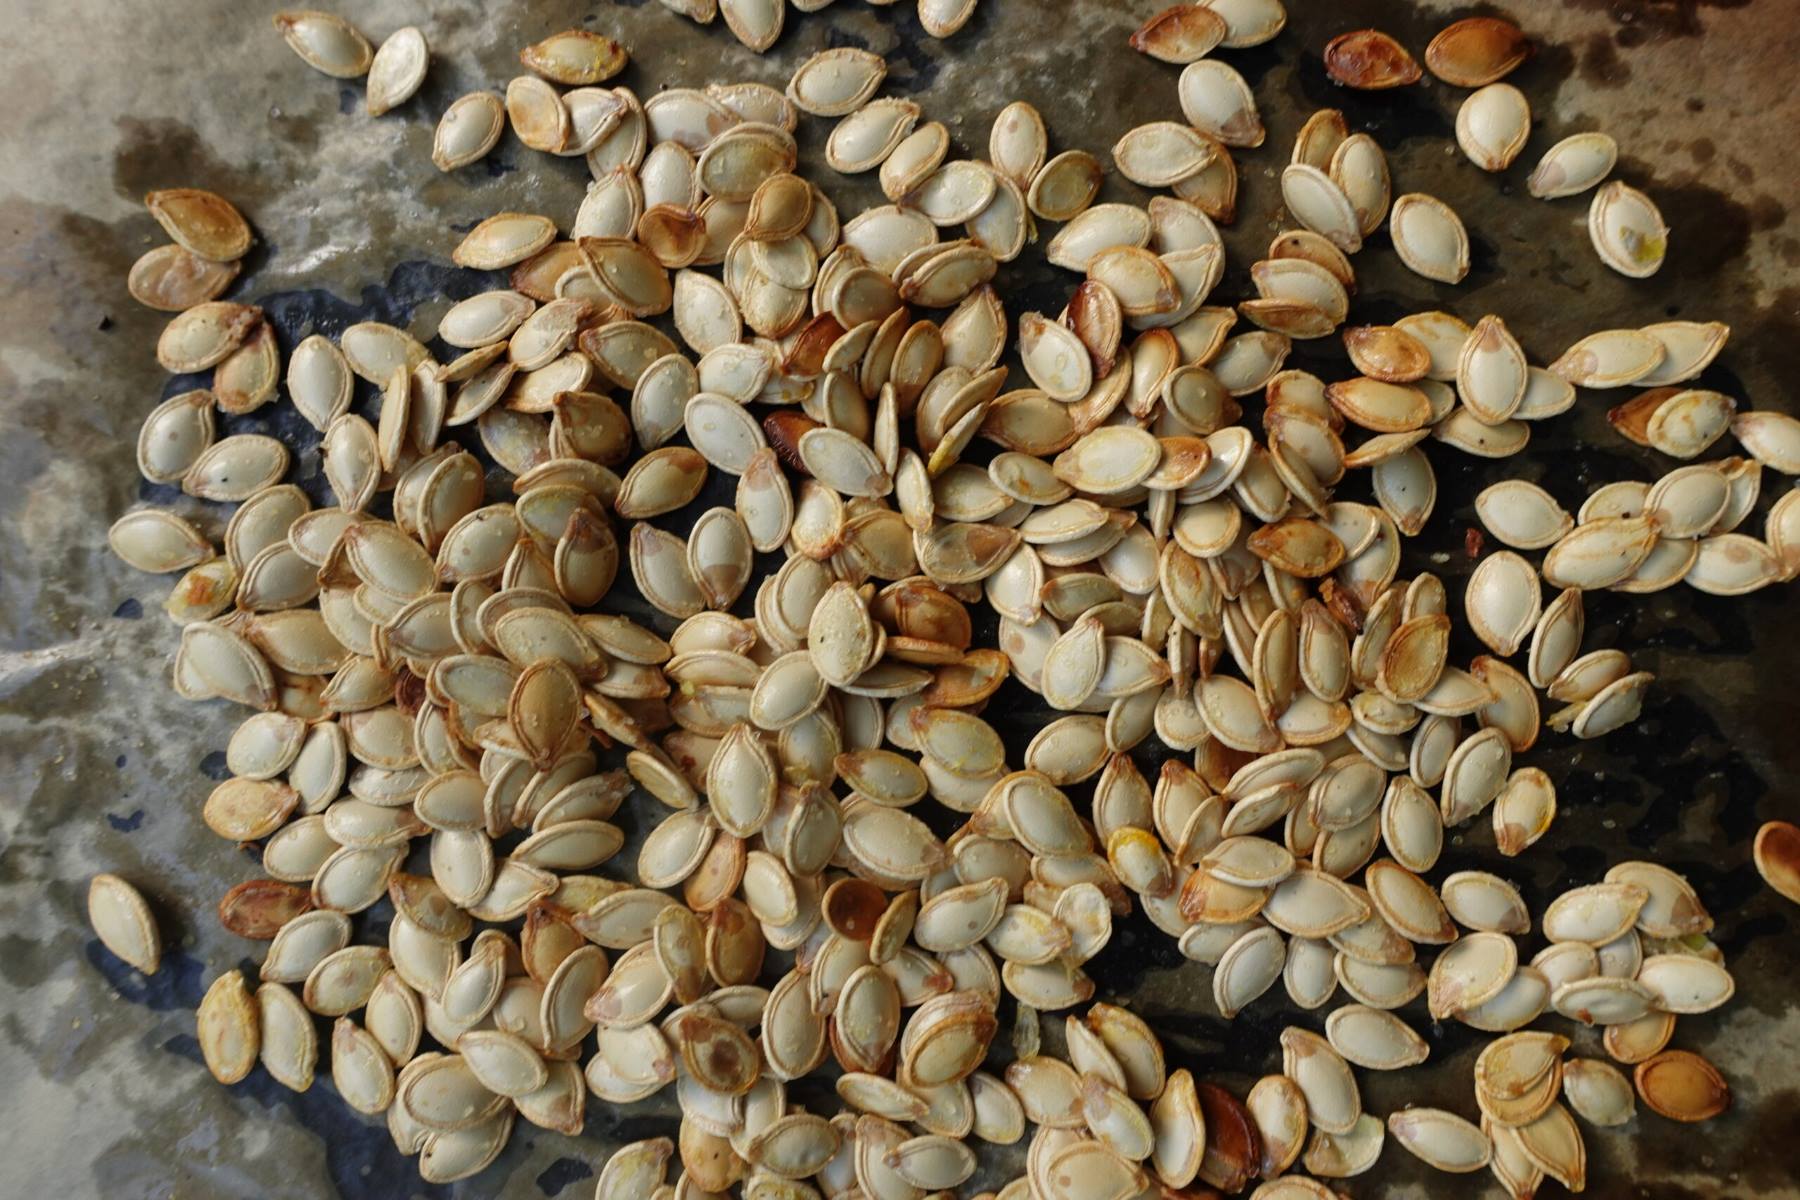
- Toast in the oven: Place the baking sheet with the seasoned seeds in the preheated oven. Toast them for about 12-15 minutes, or until they turn golden brown and crispy. Keep an eye on them to prevent burning, as the toasting time can vary depending on the size and thickness of the seeds.
- Stir occasionally: While toasting, give the seeds a gentle stir every 5 minutes to ensure even browning and prevent any seeds from sticking together.
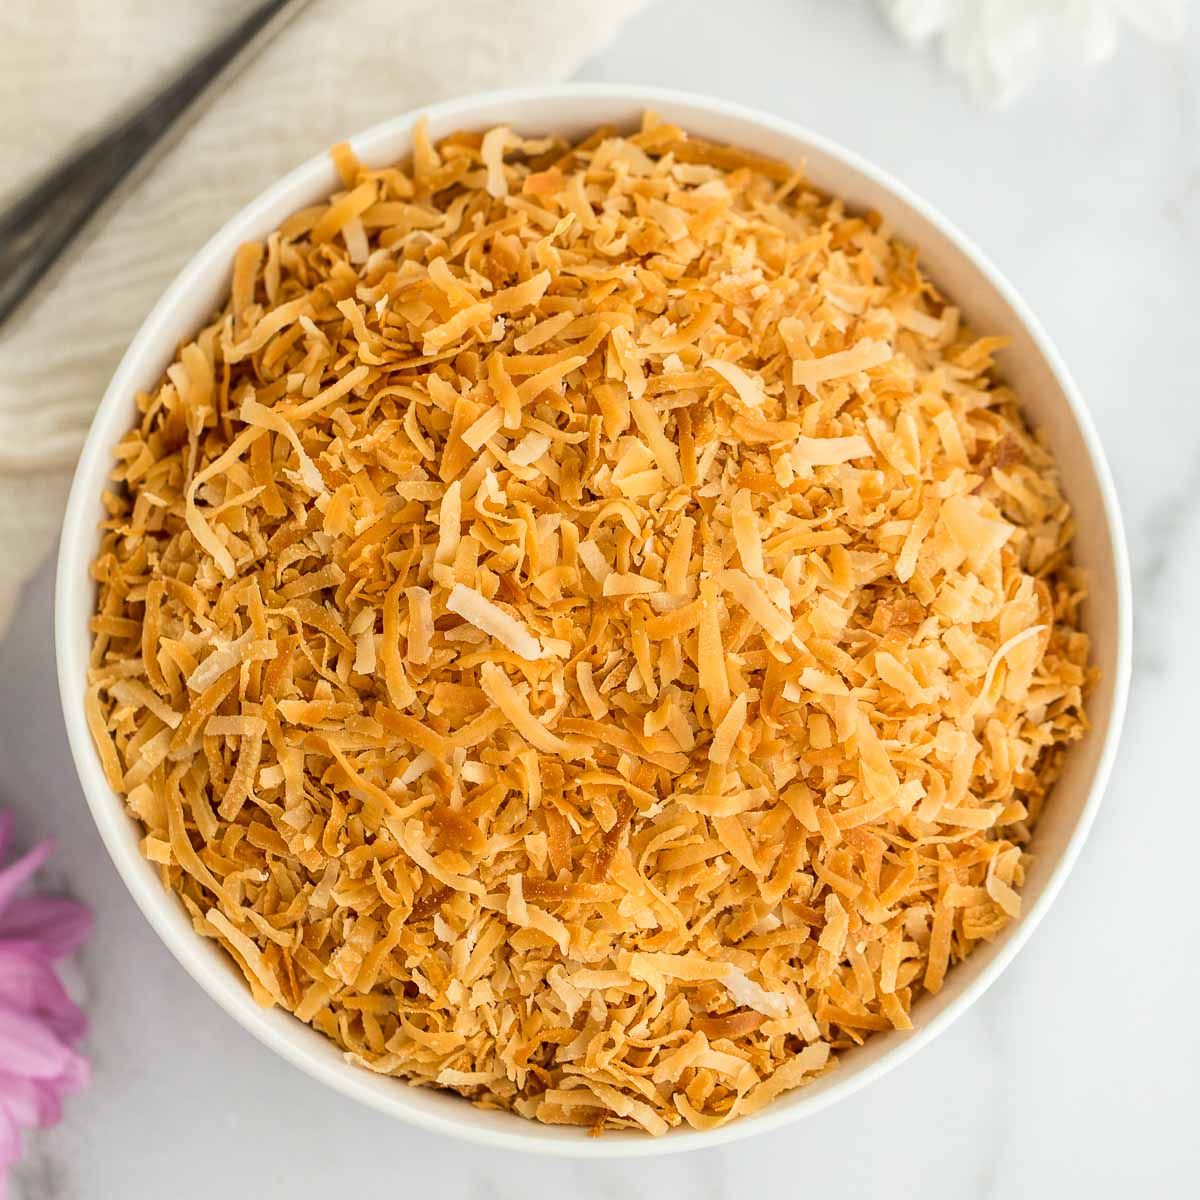
Toasting the squash seeds brings out their natural flavors and transforms them into a crunchy and delicious snack. Once the seeds are toasted to your desired level of crispness, it’s time to move on to the next step: seasoning them to add extra taste and flair.
After removing the seeds from the squash, rinse them to remove any pulp. Then, toss them with a little oil and your choice of seasonings before toasting in the oven at 325°F for 10-15 minutes, stirring occasionally, until golden brown. Enjoy as a tasty and nutritious snack!
Step 4: Seasoning the Toasted Squash Seeds
After toasting the squash seeds to perfection, it’s time to take them to the next level by adding delicious seasonings. Seasoning the toasted squash seeds not only enhances their flavor but also allows you to customize them to your preferences. Here’s how to season the toasted squash seeds:
- Cool the seeds: Remove the baking sheet from the oven and let the toasted seeds cool completely. This will ensure that the seasonings adhere properly to the seeds.
- Select your seasonings: Choose your favorite seasonings to add depth and flavor to the toasted squash seeds. Popular options include sea salt, black pepper, paprika, cayenne pepper, garlic powder, or even a sprinkle of your favorite herb such as rosemary or thyme.
- Sprinkle the seasonings: Gradually sprinkle your chosen seasonings onto the cooled toasted seeds. Start with a small amount and taste as you go to achieve the desired flavor. Toss the seeds gently to ensure an even distribution of the seasonings.
- Experiment with flavors: Don’t be afraid to experiment with different flavor combinations. You can try sweet seasonings like cinnamon and sugar for a unique twist or add a kick with chili powder and lime zest. The possibilities are endless, so get creative!
Seasoning the toasted squash seeds allows you to add your personal touch and create a snack that suits your taste preferences. Once the seeds are evenly seasoned, it’s time to store them properly to maintain their freshness and crunch.
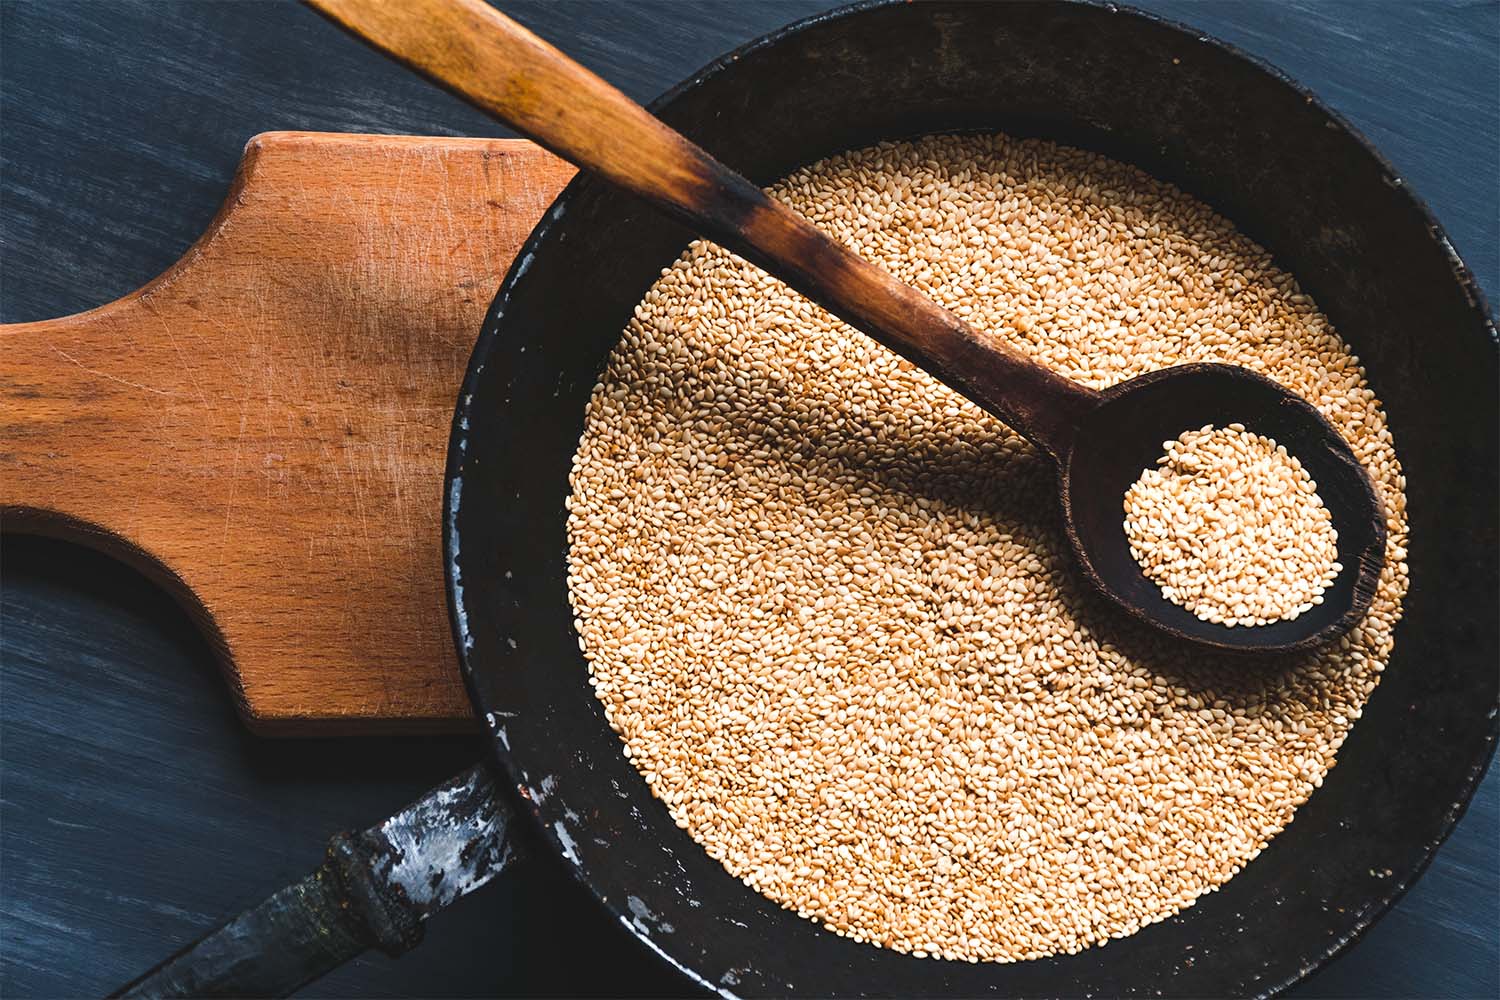
Read more: How Long To Toast Sesame Seeds
Step 5: Storing the Toasted Squash Seeds
After toasting and seasoning the squash seeds, it’s important to store them properly to maintain their freshness and crunch. Here’s how to store the toasted squash seeds:
- Cool the seeds completely: Allow the toasted seeds to cool completely before storing them. This will help prevent any moisture buildup, which can lead to the seeds losing their crispness.
- Choose the right container: Transfer the cooled toasted squash seeds to an airtight container or a resealable plastic bag. Make sure the container is clean and dry to prevent any moisture from seeping in and causing the seeds to become stale.
- Store in a cool, dry place: Find a cool and dry spot in your pantry or kitchen cabinets to store the toasted seeds. Avoid areas that are exposed to direct sunlight, as light and heat can degrade the quality of the seeds over time.
- Avoid moisture exposure: Moisture is the enemy of crispy toasted seeds. Be sure to keep the container tightly sealed and away from any sources of moisture, such as the sink or refrigerator.
- Label the container: Don’t forget to label the container with the date of storage. This will help you keep track of the freshness of the seeds and ensure you consume them within a reasonable timeframe.
Properly stored, the toasted squash seeds can be enjoyed for several weeks. However, for the best taste and texture, it’s recommended to consume them within 1-2 weeks. Take them with you as a convenient on-the-go snack or use them as a delicious topping for salads, soups, or roasted vegetables.
Now that you know how to toast, season, and store squash seeds, you can enjoy this delightful and nutrient-rich snack whenever you have squash on hand. So, don’t let those precious seeds go to waste. Harvest, clean, toast, season, and store them to create a delicious and satisfying treat that will surely impress your taste buds.
Happy toasting!
Conclusion
Toasting squash seeds is a fun and rewarding process that allows you to transform a commonly discarded part of the squash into a delicious and nutritious snack. By following the steps outlined in this article, you can easily harvest, clean, toast, season, and store the squash seeds to enjoy them at any time.
Harvesting the mature squash, cleaning the seeds thoroughly, and toasting them to a perfect golden brown are the initial steps in creating delectable toasted squash seeds. Adding seasonings of your choice allows you to customize the flavor and take the snack to a whole new level. Whether you prefer sweet, spicy, or savory, there are endless possibilities to suit your taste buds.
Proper storage is equally important to maintain the freshness and crunchiness of the toasted seeds. Keep them in an airtight container in a cool, dry place, away from moisture and direct sunlight. With the right storage conditions, you can enjoy the toasted squash seeds for several weeks, providing a convenient and healthy snack option.
Incorporating toasted squash seeds into your diet brings numerous benefits. They are a rich source of essential nutrients, including healthy fats, protein, fiber, vitamins, and minerals. Incorporating them into your meals and snacks can boost your overall nutritional intake and support a healthy lifestyle.
So, the next time you prepare squash, don’t discard those precious seeds. Toast them, season them, and enjoy the crunchy goodness they have to offer. Get creative with flavors and experiment with different seasonings to find your favorite combination.
Toasted squash seeds are not only tasty, but they also provide a sustainable and economical way to make the most of your squash harvest. So, follow these simple steps and elevate your snacking game with this delightful and nutritious treat.
Happy toasting and snacking!
Frequently Asked Questions about How To Toast Squash Seeds
Was this page helpful?
At Storables.com, we guarantee accurate and reliable information. Our content, validated by Expert Board Contributors, is crafted following stringent Editorial Policies. We're committed to providing you with well-researched, expert-backed insights for all your informational needs.
0 thoughts on “How To Toast Squash Seeds”