Home>Garden Essentials>How To Germinate A Chestnut
Garden Essentials
How To Germinate A Chestnut
Modified: April 22, 2024
Learn the expert tips and tricks on how to successfully germinate chestnuts in your garden. Start growing your own chestnut trees today!
(Many of the links in this article redirect to a specific reviewed product. Your purchase of these products through affiliate links helps to generate commission for Storables.com, at no extra cost. Learn more)
Introduction
Welcome to our comprehensive guide on how to germinate chestnuts. Whether you’re a gardening enthusiast or simply curious about the process, learning how to germinate chestnuts can be a rewarding experience. Not only will you witness the miracle of new life emerging from the seeds, but you’ll also have the satisfaction of growing your own chestnut tree.
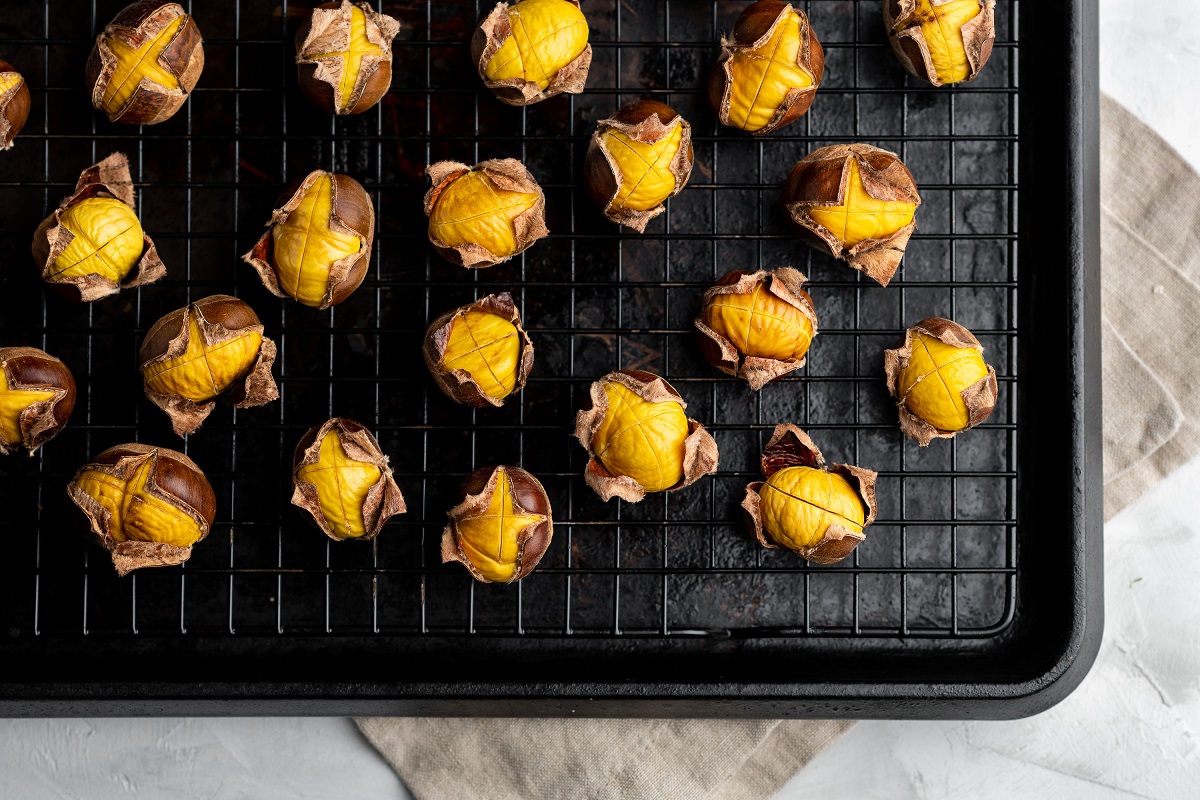
Chestnuts are not only delicious to eat, but they also make beautiful and majestic trees. Germinating chestnuts is the first step in the journey of cultivating these magnificent trees in your garden or outdoor space. By following a few simple steps, you can successfully sprout chestnuts and begin the exciting process of growing your own chestnut trees.
In this guide, we will walk you through the entire germination process, from gathering the chestnuts to transplanting the seedlings. It’s important to note that germinating chestnuts requires time, patience, and proper care. But with the right knowledge and techniques, you can increase your chances of success and enjoy the satisfaction of nurturing new life.
So, roll up your sleeves and get ready to embark on this gardening adventure. Let’s dive into the step-by-step process of germinating chestnuts and watch as these humble seeds transform into magnificent chestnut trees.
Key Takeaways:
- Soak chestnuts, plant them in a container, and provide sunlight and water for successful germination. With patience and care, you can grow your own majestic chestnut trees from seeds.
- Transplant chestnut seedlings into a suitable location once they’ve grown, and continue to monitor and care for them. Enjoy the journey of nurturing these remarkable trees in your garden.
Read more: How To Get Chestnuts To Germinate
Step 1: Gather the Chestnuts
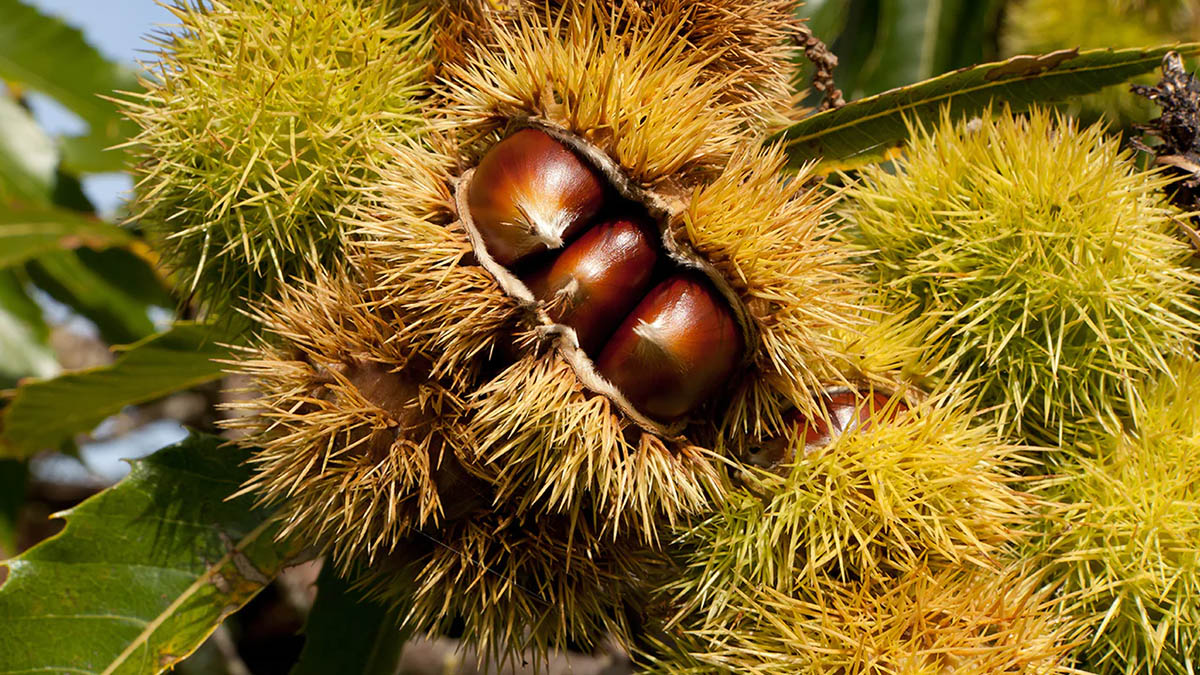
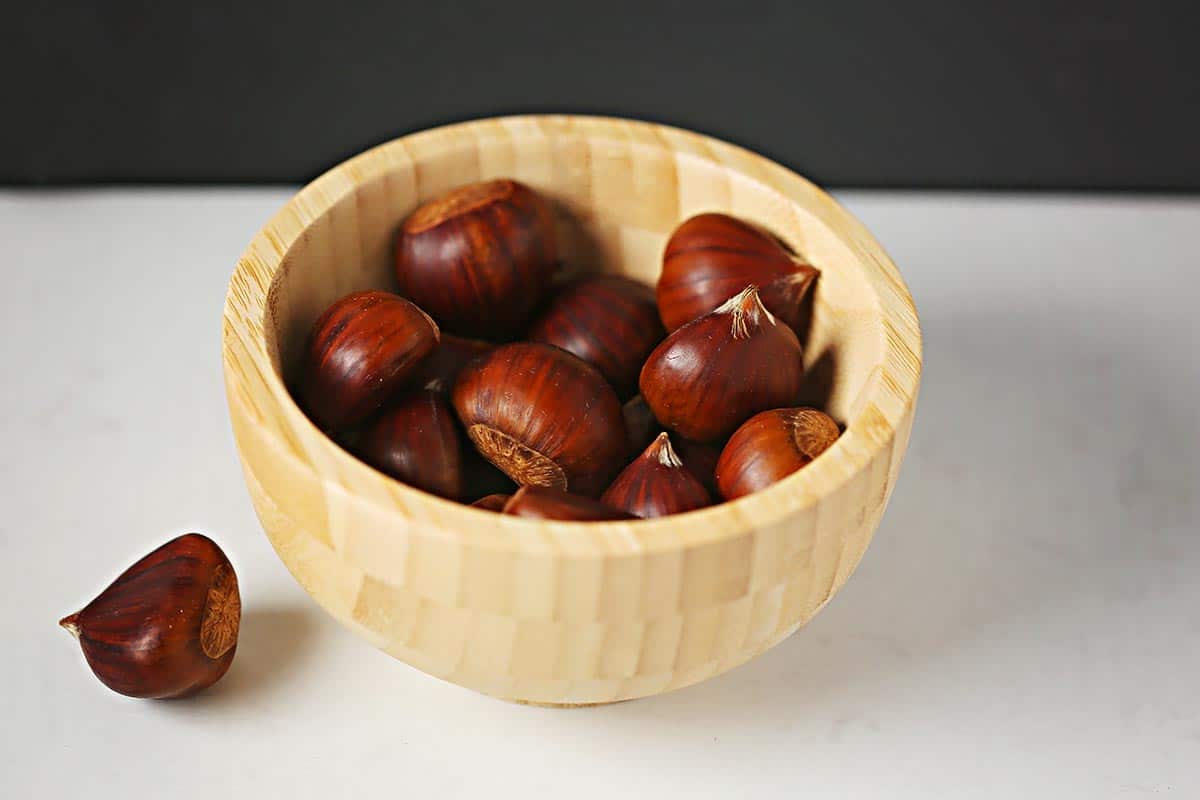
The first step in the process of germinating chestnuts is to gather the seeds. Ideally, you should collect chestnuts during the autumn months when they naturally fall from the tree. Look for healthy, undamaged chestnuts that are free from any signs of mold or rot.
If you don’t have access to freshly fallen chestnuts, you can purchase them from a local nursery or online. Make sure to choose a reputable source that offers high-quality chestnuts for germination.
When gathering or purchasing chestnuts, it’s important to select varieties that are suitable for your climate. Different chestnut varieties thrive in different regions, so do some research to determine which varieties are best suited for your area.
Once you have gathered your chestnuts, it’s time to move on to the next step: soaking them to prepare them for germination.
Step 2: Soak the Chestnuts
Before you can plant the chestnuts for germination, it’s crucial to soak them to help soften their hard shells and kickstart the germination process. Soaking the chestnuts mimics the natural conditions they would experience when buried in moist soil.
To begin, gather a container or bowl that is large enough to hold all the chestnuts you’ve collected. Fill it with room temperature water, ensuring that there is enough water to fully cover the chestnuts. Let the chestnuts soak in the water for at least 24 hours.
During the soaking process, you may notice that some chestnuts float to the top. These floating chestnuts are usually not viable and are unlikely to germinate. It’s best to discard these and focus on the chestnuts that sink to the bottom of the container.
After 24 hours, remove the chestnuts from the water and discard any remaining floating ones. You’ll notice that the chestnut shells have softened slightly, making them easier to handle and plant. Now, you’re ready to move on to the next step: preparing a germination container.
Step 3: Prepare a Germination Container
Now that you have soaked the chestnuts and they are ready for planting, it’s time to prepare a suitable germination container. The container you choose should provide enough space for the chestnuts to sprout and grow until they are ready for transplanting.
An ideal germination container is a shallow tray or pot with drainage holes to prevent waterlogging. Ensure that the container is clean and free from debris, as a clean environment will promote healthy germination.
You can choose between various container materials, such as plastic, clay, or recycled trays. Consider using biodegradable pots, which can be directly transplanted without disturbing the fragile roots of the seedlings.
Before planting the chestnuts, fill the germination container with a good quality, well-draining potting mix. You can either purchase a pre-made potting mix suitable for seed germination or create your own by combining equal parts of peat moss, perlite, and vermiculite.
Make sure the potting mix is moist but not waterlogged. Excess moisture can cause the chestnuts to rot instead of germinating. Once the container is prepared, it’s time to move on to the next step: adding the potting mix to the container.
Step 4: Add Potting Mix to the Container
With your germination container ready, it’s time to add the potting mix. The potting mix provides a suitable growing medium for the chestnuts, allowing the roots to establish and the seedlings to thrive.
To add the potting mix, carefully fill the container up to about an inch below the rim. Gently pat down the soil to create a level surface, ensuring there are no air pockets. The potting mix should be loose and well-draining, allowing water to easily penetrate and excess moisture to drain away.
It’s important to note that chestnuts prefer slightly acidic soil with a pH range of 5.5 to 6.5. If your potting mix is not within this range, you can adjust the pH level by adding organic matter such as compost or peat moss.
Once you have added the potting mix, it’s time to move on to the exciting part: planting the chestnuts!
Pro tip: If you are germinating multiple chestnuts, leave enough space between each chestnut to allow room for the roots to grow. Aim for a distance of about 2-3 inches between each chestnut in the container.
Read more: How To Store Chestnuts
Step 5: Plant the Chestnuts
Now that your container is prepared with the potting mix, it’s time to plant the soaked chestnuts. Carefully make a small indentation in the potting mix, about 1-2 inches deep. This will serve as a cozy spot for the chestnuts to take root and begin the germination process.
Place each chestnut into its own indentation, with the pointed end facing upwards. The pointed end is where the sprout will emerge. Gently cover the chestnuts with a thin layer of potting mix, ensuring they are completely covered but not buried too deep. A depth of around 1 inch should be sufficient.
Proper spacing between the chestnuts is crucial to allow each seedling enough room to grow. Aim for a distance of about 4-6 inches between each chestnut in the container.
Once the chestnuts are planted, lightly pat down the potting mix around them to ensure they are secure. This will provide stability for the emerging seedlings.
Now that the chestnuts are snugly planted, it’s time to move on to the next step: watering them to provide the necessary moisture for germination.
Soak chestnuts in water for 24 hours, then plant them in well-draining soil with the pointed end facing up. Keep the soil consistently moist and place the pot in a sunny spot.
Step 6: Water the Chestnuts
After planting the chestnuts, it’s important to provide them with adequate moisture for successful germination. Watering plays a crucial role in the early stages of growth, helping to activate the germination process and provide the necessary hydration for the chestnut seeds.
To water the chestnuts, use a gentle stream of water to moisten the potting mix until it is evenly damp. Avoid overwatering, as excessive moisture can lead to rotting. The goal is to keep the potting mix consistently moist, but not waterlogged.
Monitor the moisture levels regularly and adjust the watering accordingly. Check the top inch of the potting mix and ensure it is slightly damp to the touch. If it starts to dry out, water the chestnuts again, but be careful not to oversaturate the soil.
During the germination process, it’s important to mist the container regularly to maintain a humid environment for the chestnut seeds. This can be done using a spray bottle filled with water. Lightly mist the potting mix and the chestnuts, being careful not to soak them.
Continue to water and mist the chestnuts as needed throughout the germination period. Be patient and consistent with your watering routine, as it will play a crucial role in the successful growth of the chestnut seedlings.
Now that the chestnuts are properly watered, let’s move on to the next step: providing adequate sunlight for the germinating chestnuts.
Step 7: Provide Adequate Sunlight
Adequate sunlight is essential for the healthy growth and development of germinating chestnuts. Sunlight provides the energy needed for photosynthesis, which is crucial for the seedlings to produce their own food and establish strong roots.
Choose a suitable location for your germination container where it can receive at least 6-8 hours of direct sunlight each day. Place it near a south-facing window or in a spot in your garden that receives ample sunlight.
If you are growing chestnuts indoors or in an area with limited sunlight, you can supplement natural sunlight with grow lights. LED grow lights are ideal for providing the right spectrum and intensity of light for optimal plant growth.
Keep a close eye on the chestnut seedlings as they start to emerge. If you notice any signs of leggy growth or stretching, it may indicate that the seedlings are not receiving enough light. In such cases, adjust the position of the container or provide additional light to ensure they receive adequate light exposure.
It’s important to note that while sunlight is essential, too much direct sunlight can be harmful to the delicate seedlings. If the heat and intensity of the sun become too extreme, consider providing some shade or moving the container to a slightly shadier area during the hottest parts of the day.
Now that you have ensured your chestnut seedlings are getting the right amount of sunlight, it’s time to move on to the next step: monitoring and caring for the germinating chestnuts.
Step 8: Monitor and Care for the Germinating Chestnuts
As the chestnut seedlings begin to grow, it’s important to monitor and provide proper care to ensure their health and well-being. Regular monitoring will help you catch any issues early on and make any necessary adjustments to promote successful growth.
Here are some key points to keep in mind when caring for germinating chestnuts:
1. Watering: Continue to water the chestnuts regularly, keeping the potting mix evenly moist. Be mindful of overwatering, as it can lead to root rot. Always check the moisture levels before watering and adjust accordingly.
2. Temperature: Chestnuts prefer a temperature range of 60°F to 70°F (15°C to 21°C) for optimal growth. Avoid exposing them to extreme temperature fluctuations or drafts, as it can stress the seedlings.
3. Fertilization: During the early stages of growth, the chestnut seedlings do not require fertilization. The nutrients present in the potting mix should be sufficient. You can consider introducing a mild, balanced liquid fertilizer once the seedlings have developed a few true leaves.
4. Weed control: Keep an eye out for any weeds or unwanted plants that may compete with the chestnut seedlings for nutrients and space. Regularly remove any weeds to ensure the seedlings have the best chance of thriving.
5. Pest and disease management: Monitor the chestnut seedlings for any signs of pests or diseases. Common pests include aphids, caterpillars, and fungal diseases such as chestnut blight. Use organic methods to control pests and promptly address any signs of disease to prevent further damage.
6. Pruning: Once the chestnut seedlings have developed a few sets of true leaves, you can consider pruning any weak or crowded stems to promote stronger growth. Be cautious not to damage the main stem or remove too many leaves.
By monitoring and providing proper care to your germinating chestnuts, you’ll give them the best chance of thriving and maturing into healthy, robust trees. Now, let’s move on to the final step of the process: transplanting the seedlings.
Read more: How To Store Water Chestnuts
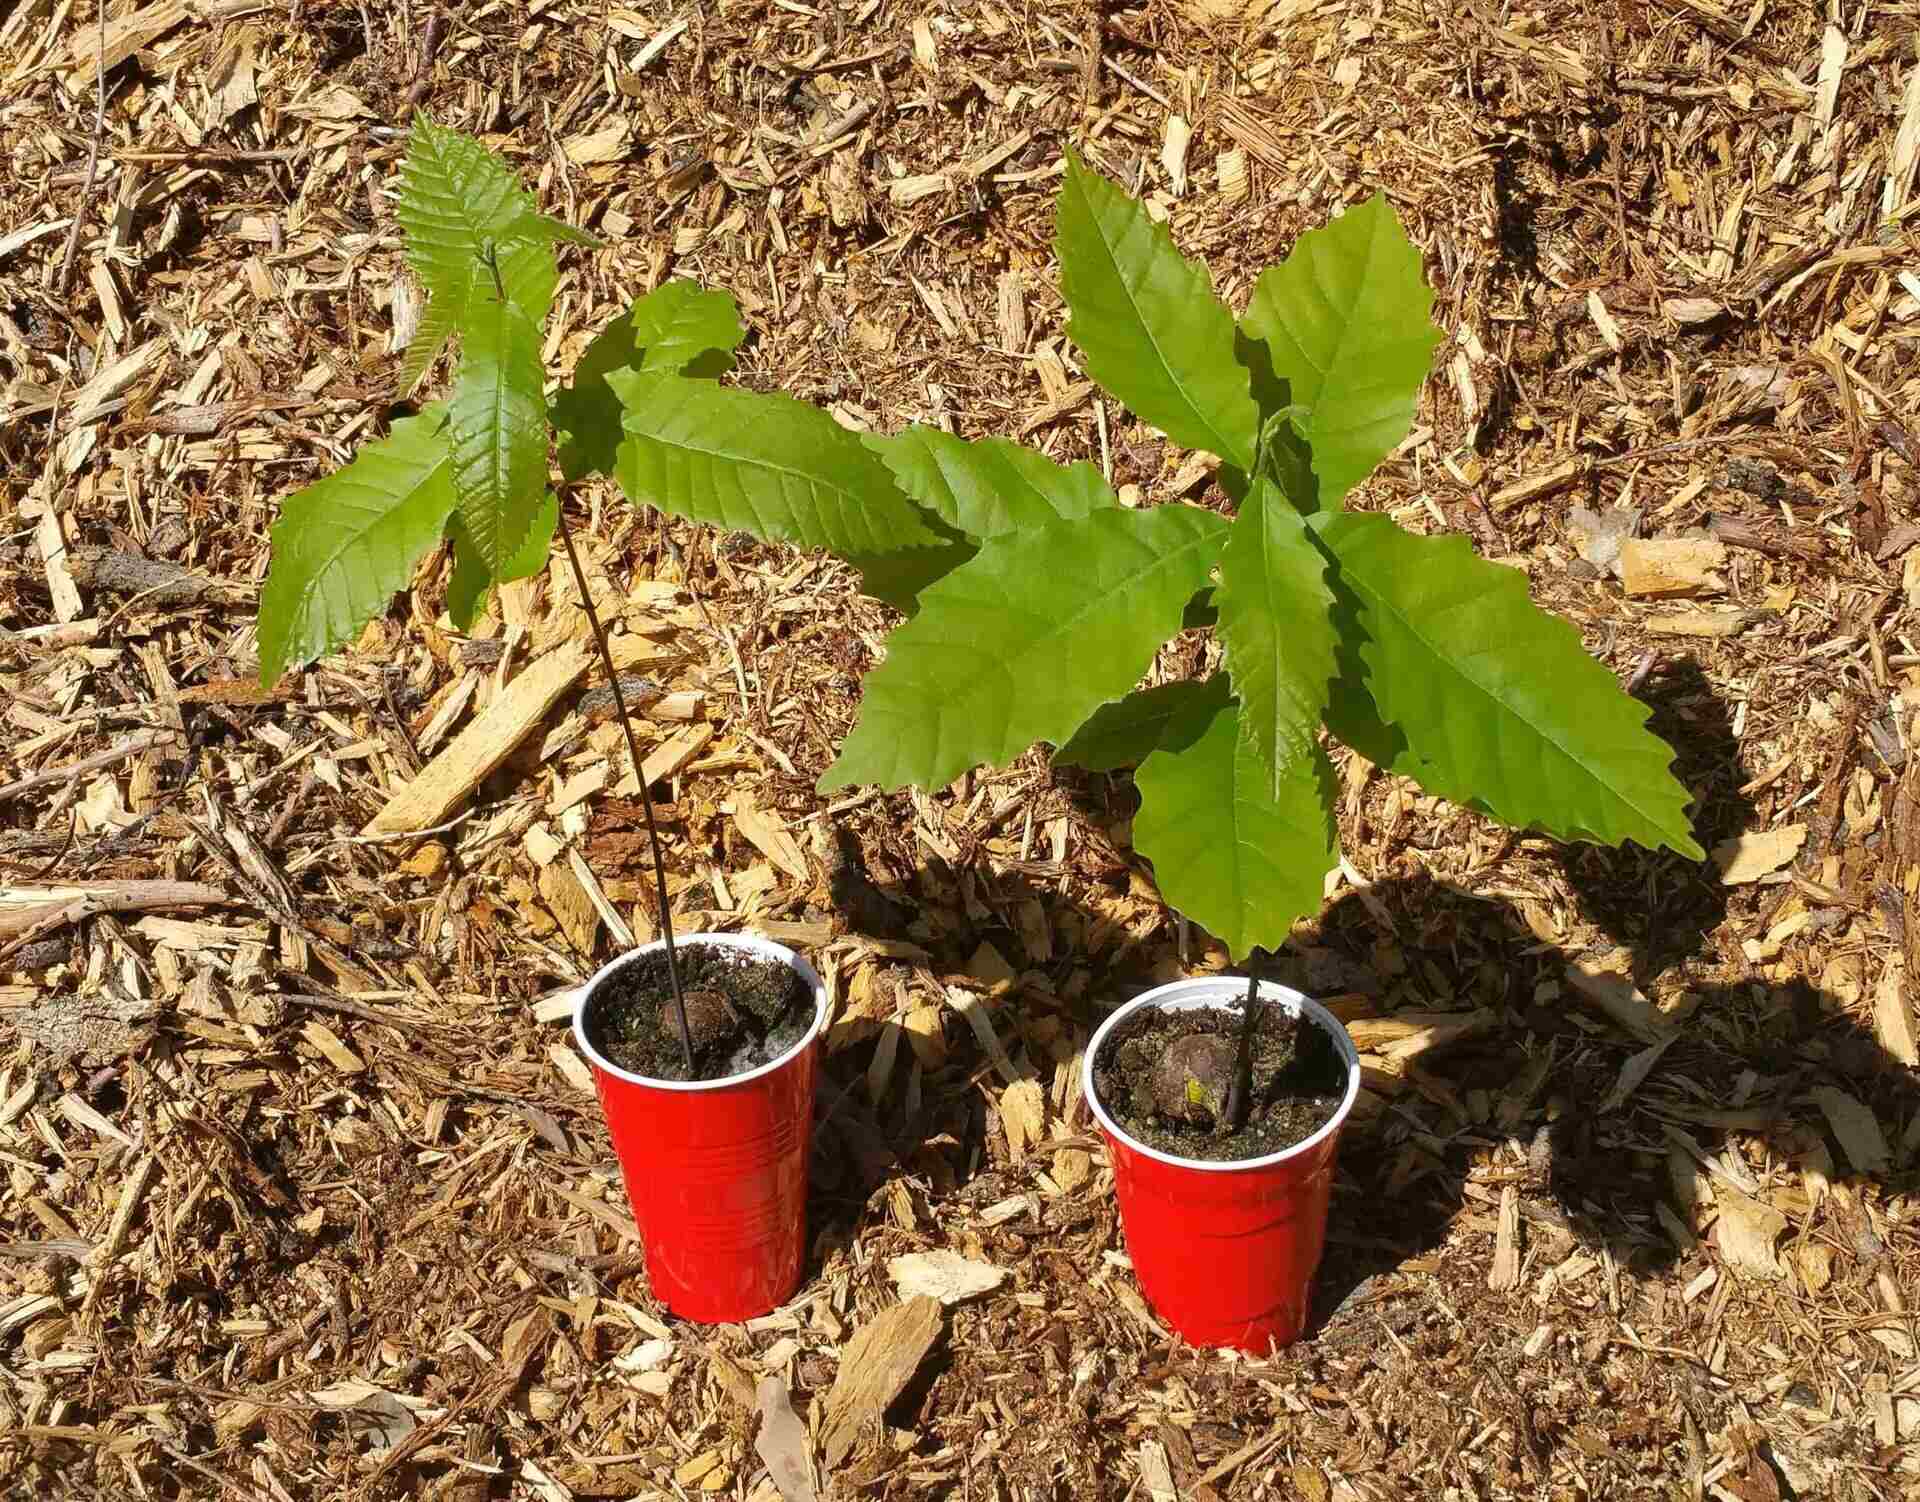
Step 9: Transplant the Seedlings
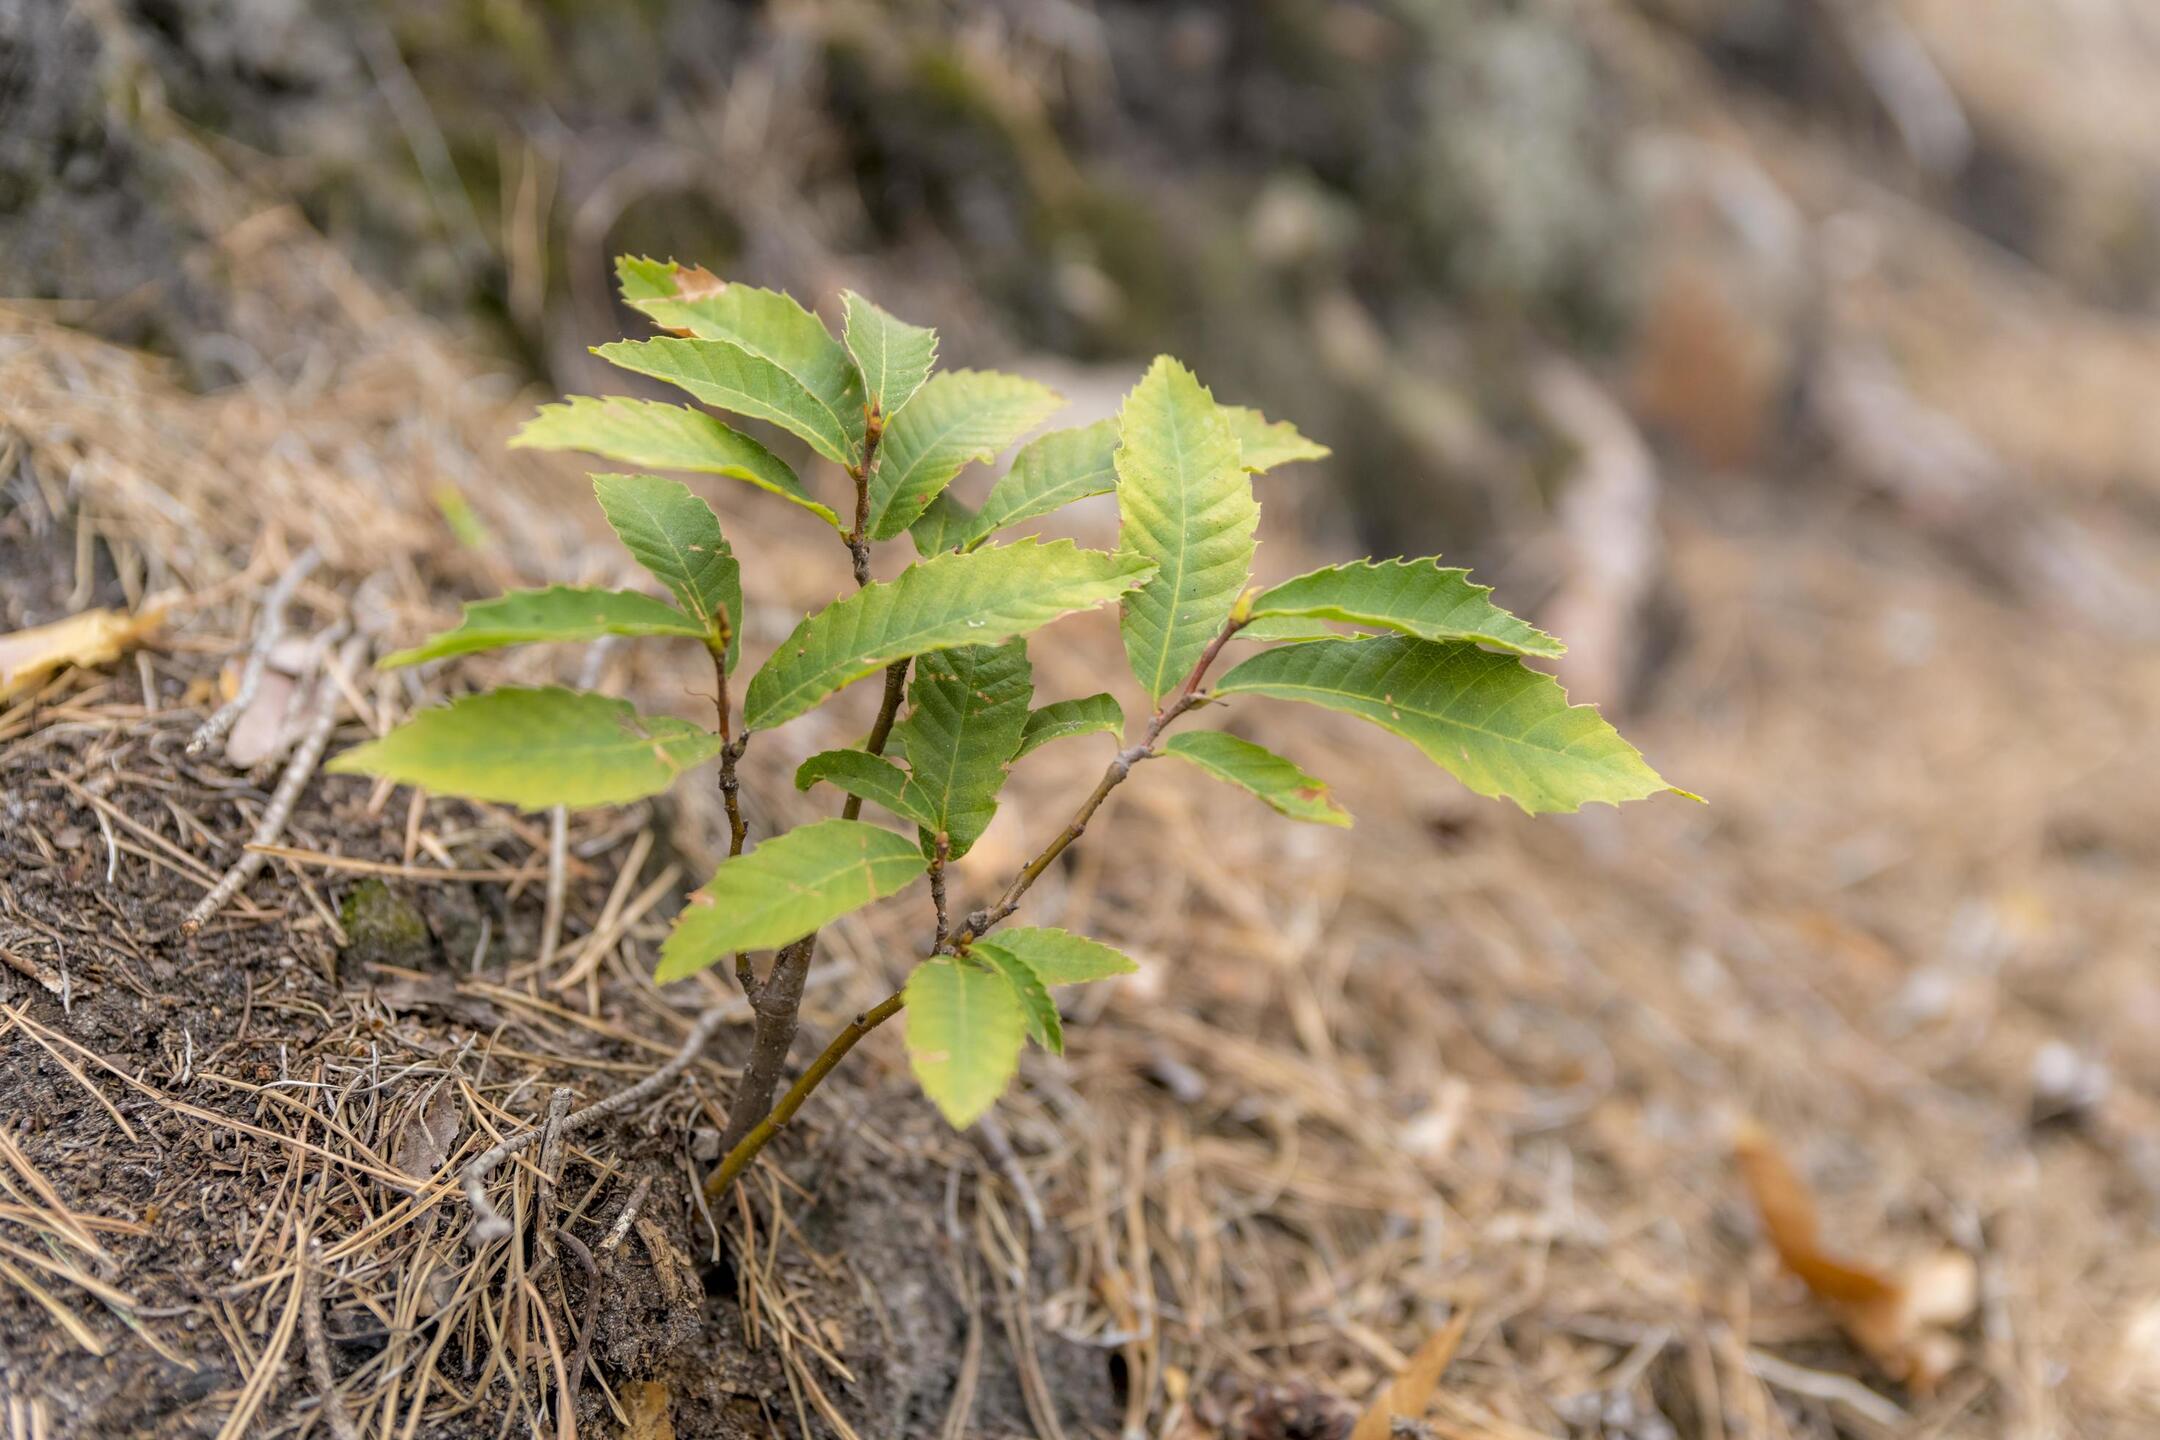
Once your chestnut seedlings have grown and developed a strong root system, it’s time to transplant them into their permanent location. This step is crucial for allowing the seedlings to establish themselves and continue their growth into mature chestnut trees.
Transplanting should be done when the seedlings have reached a height of about 6-8 inches and have developed several sets of true leaves. Typically, this occurs after 6-12 months of growth, depending on the variety and growing conditions.
Here’s a step-by-step guide on how to transplant the chestnut seedlings:
1. Choose the right location: Select a suitable spot in your garden that provides ample sunlight, well-draining soil, and sufficient space for the mature chestnut tree to grow. Consider factors such as nearby structures, overhead wires, and the tree’s potential size when choosing the location.
2. Dig a planting hole: Dig a hole that is wide and deep enough to accommodate the root system without bending or crowding the roots. The hole should be slightly larger than the root ball of the seedling.
3. Remove the seedling from the container: Gently tap the sides of the container to loosen the potting mix. Carefully remove the seedling from the container, being mindful of the delicate roots. If the roots are tightly packed, you can gently loosen them with your fingers.
4. Place the seedling in the planting hole: Position the seedling in the center of the planting hole, ensuring that the top of the root ball is level with or slightly above the soil surface. Adjust the seedling’s position if needed to ensure it is straight and upright.
5. Backfill and firm the soil: Fill the hole with the excavated soil, gently tamping it down to eliminate any air pockets. Avoid packing the soil too tightly, as it can hinder root growth. Create a small soil basin around the seedling to help retain water during irrigation.
6. Water thoroughly: After transplanting, give the seedling a thorough watering to settle the soil and ensure the roots are well hydrated. Continue to provide regular watering during the establishment phase, keeping the soil evenly moist without waterlogging.
7. Mulch around the base: Apply a layer of organic mulch around the base of the seedling, leaving a small space around the stem to prevent moisture buildup and potential rot. The mulch will help conserve moisture, suppress weed growth, and protect the roots from extreme temperatures.
After transplanting, continue to monitor the seedlings and provide ongoing care as they adapt to their new environment. Keep an eye out for signs of stress or nutrient deficiencies, and make any necessary adjustments to ensure the seedlings thrive.
With proper care and attention, your chestnut seedlings will grow into magnificent chestnut trees, providing shade, beauty, and a bountiful harvest of delicious chestnuts in the years to come.
Congratulations on successfully germinating and transplanting your chestnuts! Enjoy the journey of watching these remarkable trees take root and flourish in your garden.
Happy gardening!
Conclusion
Congratulations! You have reached the end of our comprehensive guide on how to germinate chestnuts. By following the step-by-step process outlined in this article, you have learned the techniques and best practices for successfully sprouting chestnuts and growing them into healthy, thriving chestnut trees.
Growing chestnut trees from seed can be a rewarding experience that allows you to connect with nature and witness the magic of new life. Along the way, you have learned how to gather chestnuts, soak them, prepare a germination container, plant the chestnuts, provide proper care and maintenance, and ultimately transplant the seedlings into their permanent location.
Remember, germinating chestnuts requires time, patience, and attention. Regularly monitor the seedlings, ensuring they receive adequate water, sunlight, and nutrients. Remove any weeds or pests that may hinder their growth, and take proactive measures to protect them from extreme weather conditions.
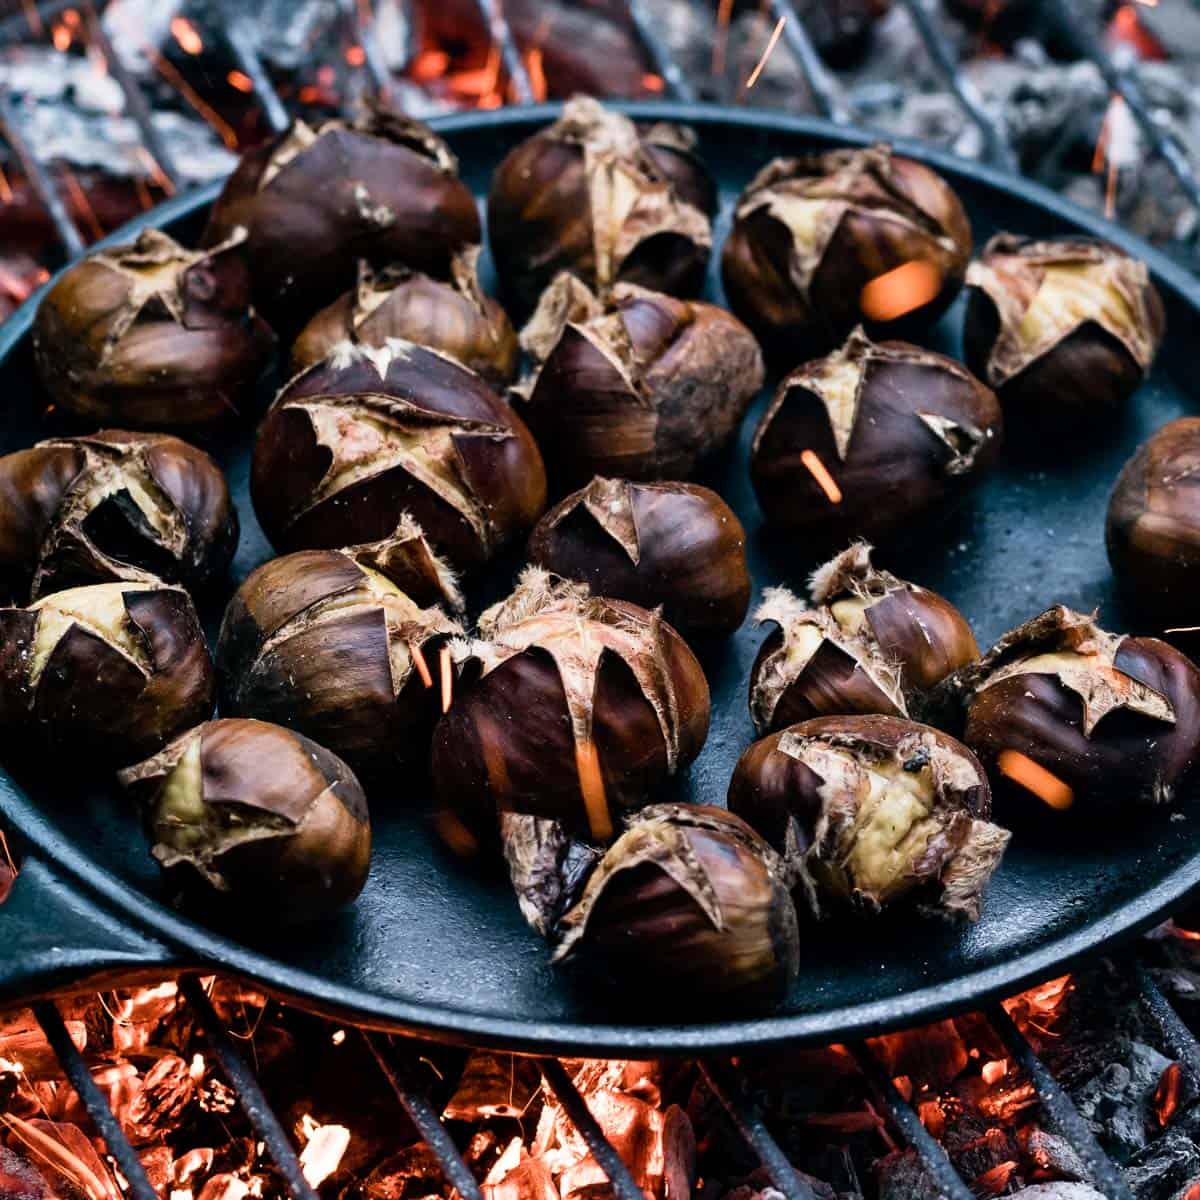
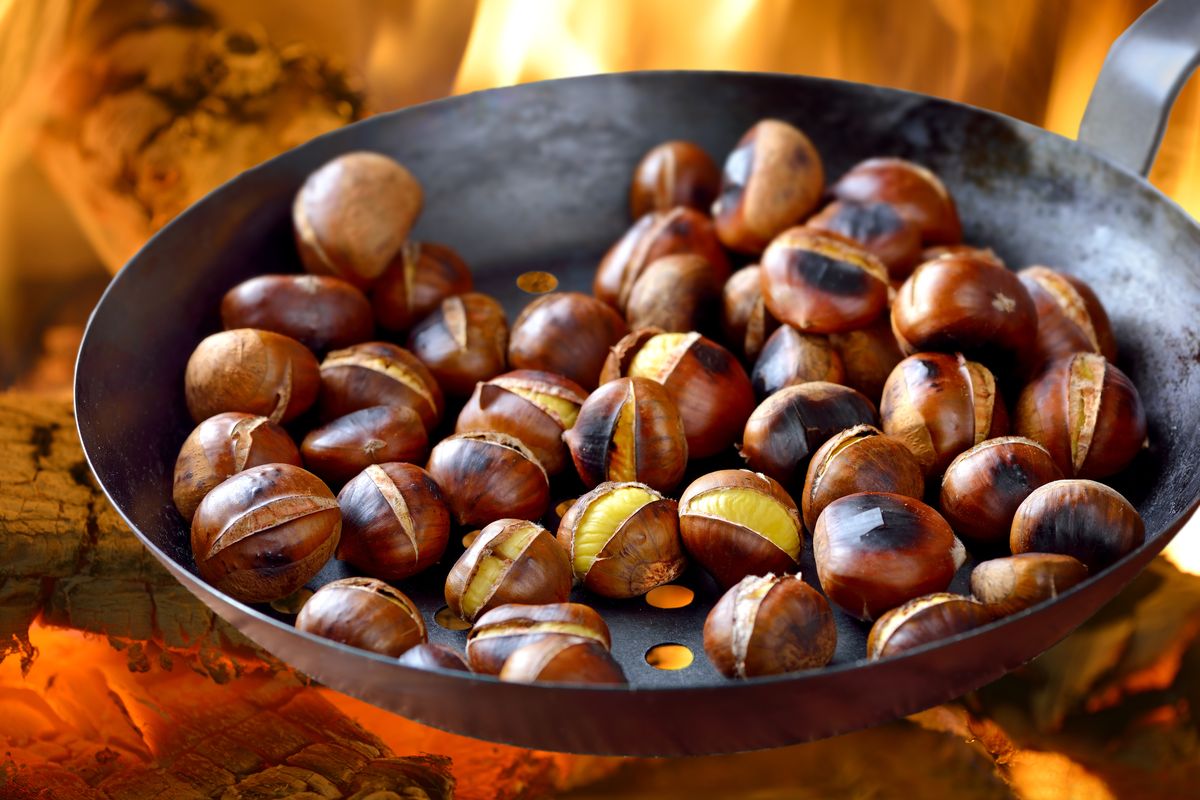
As your chestnut trees mature, they will become a focal point in your garden, providing shade, beauty, and a bountiful harvest of delicious chestnuts. You can enjoy the fruits of your labor by roasting chestnuts, using them in recipes, or even sharing them with friends and family.
Continue to care for your chestnut trees as they develop, and feel free to explore other gardening practices and techniques to further enhance their growth. Gardening is a dynamic journey of learning and experimentation, and your chestnut trees will continue to teach you valuable lessons along the way.
Thank you for joining us on this exciting adventure of chestnut germination. We hope that this guide has provided you with the knowledge, inspiration, and confidence to successfully grow your own chestnut trees. May the beauty and abundance of these majestic trees bring joy and fulfillment to your garden for years to come.
Happy gardening!
Frequently Asked Questions about How To Germinate A Chestnut
Was this page helpful?
At Storables.com, we guarantee accurate and reliable information. Our content, validated by Expert Board Contributors, is crafted following stringent Editorial Policies. We're committed to providing you with well-researched, expert-backed insights for all your informational needs.


0 thoughts on “How To Germinate A Chestnut”