Home>Garden Essentials>How To Germinate Pecans

Garden Essentials
How To Germinate Pecans
Modified: October 18, 2024
Learn how to effectively germinate pecans in your garden with our step-by-step guide, ensuring a successful harvest of healthy and delicious nuts.
(Many of the links in this article redirect to a specific reviewed product. Your purchase of these products through affiliate links helps to generate commission for Storables.com, at no extra cost. Learn more)
Introduction
When it comes to growing your own nuts, pecans are a popular and rewarding choice. These fantastic trees not only provide shade and beauty to your garden, but also yield delicious and nutritious nuts. If you’re interested in starting your own pecan orchard or simply want to enjoy the satisfaction of growing pecan trees from scratch, you’ve come to the right place.
In this article, we will walk you through the process of germinating pecans, from selecting the right seeds to transplanting the seedlings. Whether you have a green thumb or are a gardening novice, with a little patience and care, you’ll be able to successfully germinate pecans and watch them flourish into fruitful trees.
Before we dive into the step-by-step process, let’s take a moment to understand a bit about pecans. Pecan trees (Carya illinoinensis) are native to North America and are well-known for their large, flavorful nuts. They are deciduous trees that can grow up to 100 feet tall, making them an impressive addition to any landscape.
Pecans are also highly valued for their economic potential. The nuts can be used in a variety of culinary creations, from pies and cookies to trail mixes and salads. Additionally, pecan wood is highly prized for its strength and durability, making it a sought-after material for furniture and flooring.
Now that we have a basic understanding of pecans and their benefits, let’s get into the nitty-gritty of germinating pecan seeds. With careful selection, proper preparation, and adequate care, you can grow healthy pecan seedlings that will eventually develop into productive trees.
Before embarking on this germination journey, gather all the necessary supplies, including pecan seeds, a germination container, potting soil, water, and labels. With everything in place, let’s move on to Step 1: Selecting the Right Pecan Seeds.
Key Takeaways:
- Growing pecan trees from seeds is a fun and rewarding experience. Choose fresh seeds, provide proper care, and enjoy watching them grow into majestic, productive trees.
- Patience and care are key when germinating pecans. Select the right seeds, provide proper conditions, and enjoy the journey of growing your own pecan orchard.
Read more: How Long Will Pecans Last In The Freezer
Step 1: Selecting the Right Pecan Seeds
When it comes to germinating pecans, selecting the right seeds is crucial for success. Here are a few key factors to consider when choosing pecan seeds:
- Variety: Pecan trees come in a variety of cultivars, each with its own unique characteristics. Some varieties yield larger nuts, while others are more resistant to diseases. Consider your preferences and local conditions when selecting a pecan variety.
- Freshness: Freshness is key when it comes to pecan seeds. It’s best to select seeds that are no more than a year old. Older seeds might have a lower germination rate, reducing your chances of success.
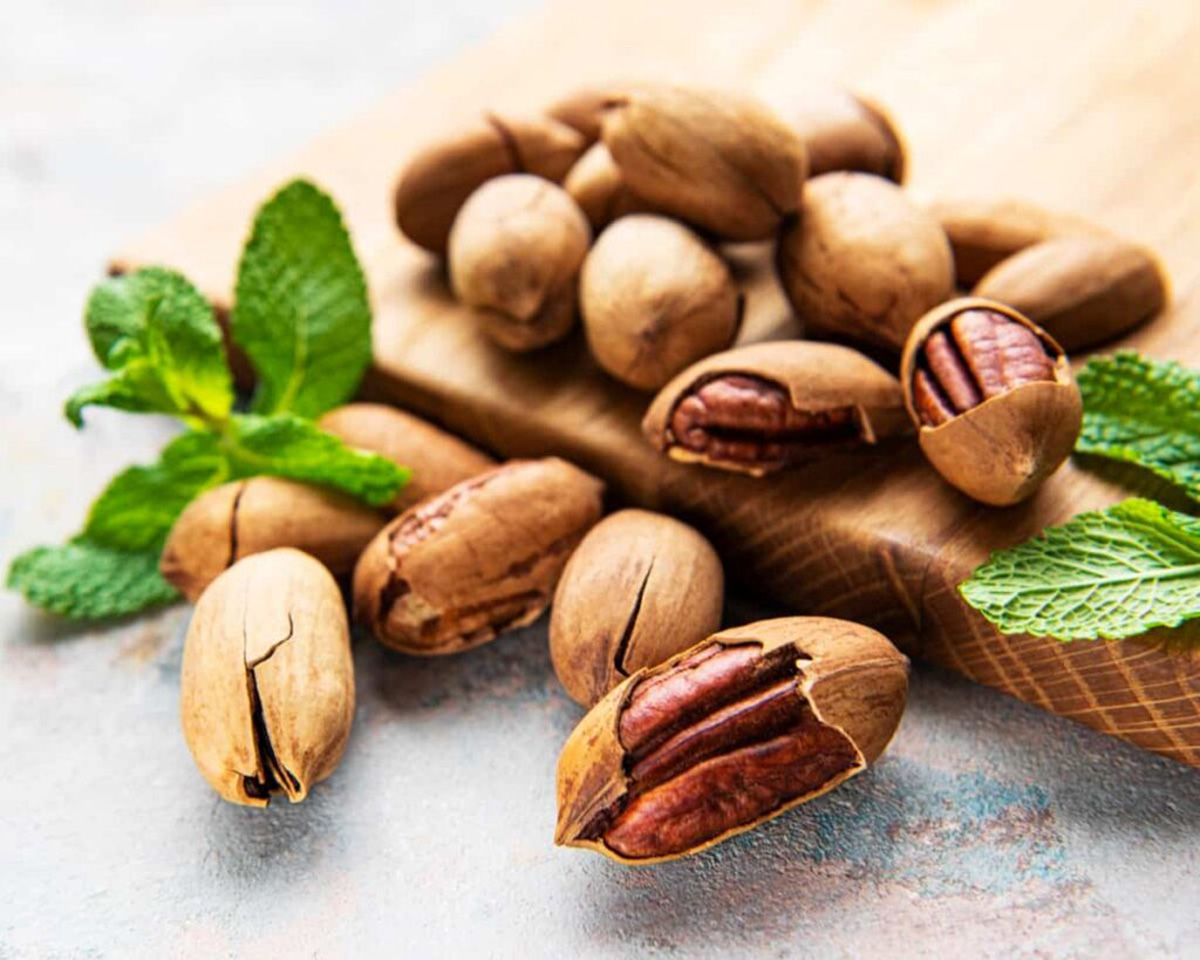
- Size: Look for seeds that are plump and well-formed. Avoid seeds that are shriveled, discolored, or damaged, as they may not germinate effectively.
- Source: Purchase pecan seeds from a reputable nursery or supplier to ensure quality. Alternatively, if you have access to pecan trees, you can collect seeds directly from fallen nuts.
Once you’ve gathered your pecan seeds, it’s time to move on to the next step: preparing the germination container. This will provide the ideal environment for the seeds to sprout and grow into healthy seedlings.
Step 2: Preparing the Germination Container
A proper germination container is essential in providing the right conditions for pecan seeds to sprout. Follow these steps to prepare the germination container:
- Container Selection: Choose a container that is deep enough to accommodate the length of the pecan seed’s root. A container with drainage holes at the bottom is ideal to prevent waterlogging.
- Soil Medium: Fill the container with a well-draining potting soil mix. A mixture of peat moss, perlite, and vermiculite provides a good balance of moisture retention and aeration.
- Sanitize: To minimize the risk of diseases, sterilize the container and the soil medium. Use a diluted bleach solution to clean the container, and ensure the soil medium is free from any contaminants.
Once the germination container is ready, it’s time to soak the pecan seeds, which is the next step in the germination process.
Step 3: Soaking the Pecan Seeds
Soaking pecan seeds before planting can help to kickstart the germination process. Follow these guidelines to properly soak your pecan seeds:
- Timing: Start by selecting fresh pecan seeds and place them in a container of room temperature water. Allow the seeds to soak for 24 to 48 hours. This soaking period helps to soften the seed coat and encourage germination.
- Water Change: During the soaking period, it is important to change the water every 6-8 hours. This helps to prevent the seeds from becoming stagnant and reduces the risk of disease.
- Seed Inspection: While changing the water, take the opportunity to inspect the pecan seeds. Discard any seeds that are discolored, damaged, or show signs of mold or fungus. It’s best to focus on seeds that appear healthy and plump.
After the soaking period, the pecan seeds are ready for the next step: stratification. This process helps to mimic the cold winter conditions necessary for pecan seed germination.
Step 4: Stratifying the Pecan Seeds
Stratification is a critical step in the germination process for pecan seeds. It helps mimic the natural winter conditions that pecan seeds require for successful germination. Follow these steps to properly stratify your pecan seeds:
- Moisture: Start by dampening a handful of sterile peat moss or vermiculite. Place the dampened material in a ziplock bag or airtight container.
- Seed Placement: Carefully place the soaked pecan seeds into the dampened peat moss or vermiculite, ensuring that each seed is coated with the material. This helps maintain moisture around the seeds during stratification.
- Labeling: Label the container or bag with the date and the pecan variety. This will help you keep track of the seeds during the stratification period.
- Refrigeration: Place the container or bag in the refrigerator, maintaining a temperature of around 34-41°F (1-5°C). The seeds should remain in stratification for a period of 60-90 days. This cold period is crucial for breaking the seed dormancy and promoting germination.
- Monitoring: Periodically check the seeds during the stratification period to ensure that the peat moss or vermiculite remains moist. If it starts to dry out, you can lightly mist it with water to maintain the desired moisture level.
After the stratification period, it’s time to move on to planting the germinated pecan seeds in a suitable growing medium. This is the next step in the pecan seed germination process.
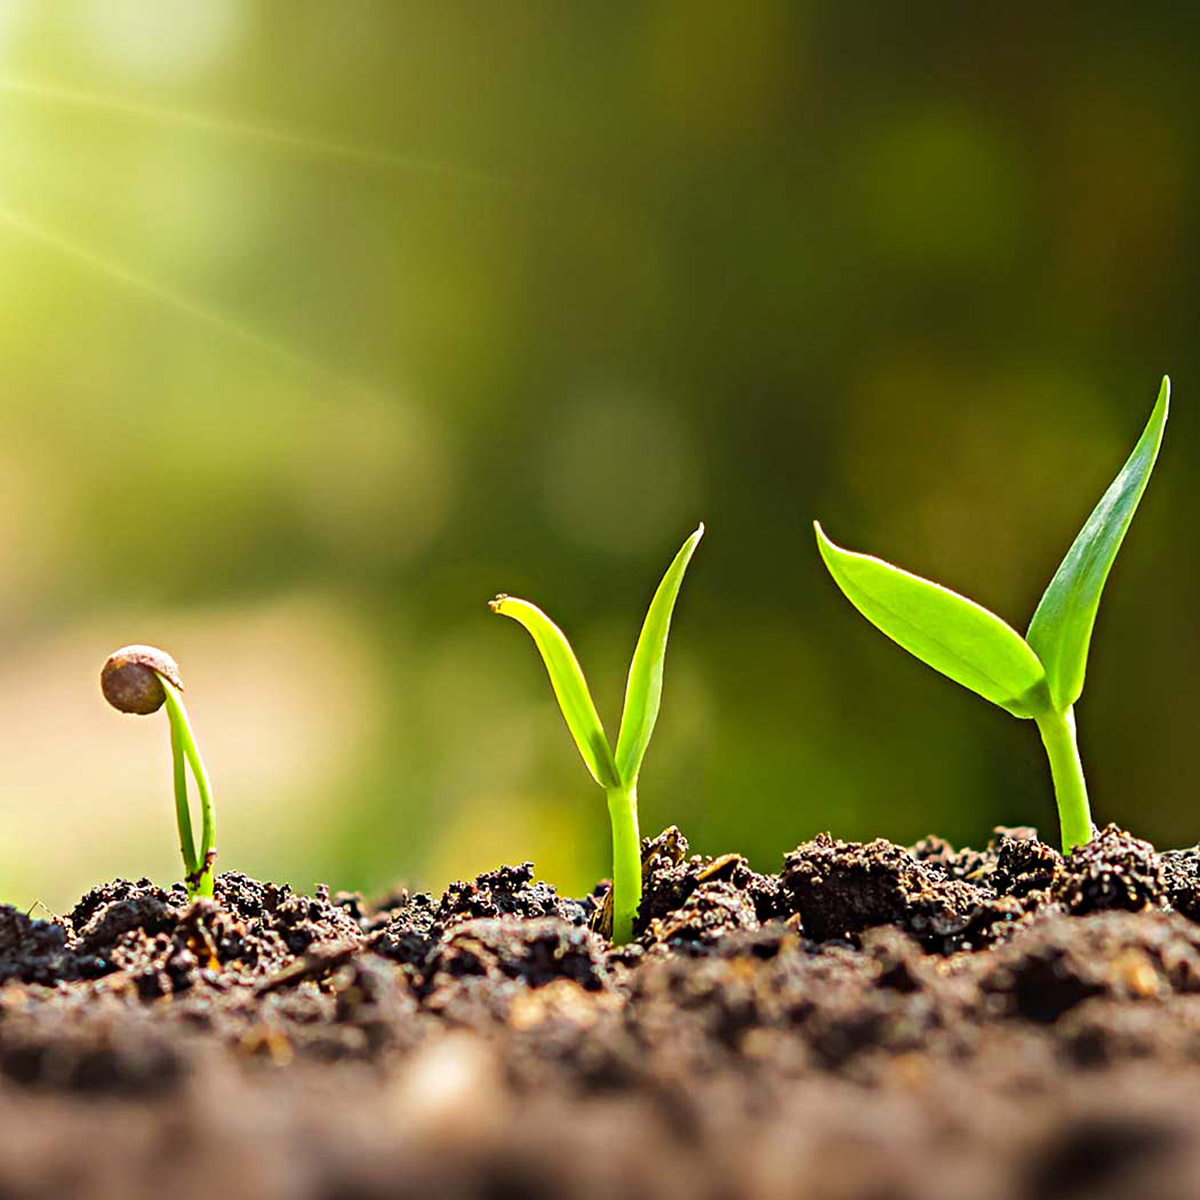
To germinate pecans, soak the nuts in water for 24 hours, then plant them in well-draining soil. Keep the soil consistently moist and wait for the nuts to sprout.
Read more: How To Store Shelled Walnuts And Pecans
Step 5: Planting the Germinated Pecan Seeds
After the stratification period, the pecan seeds are ready to be planted. Follow these steps to properly plant the germinated pecan seeds:
- Growing Medium: Fill small pots or seed trays with a well-draining potting soil mix. Make sure the containers have drainage holes to prevent waterlogging.
- Planting Depth: Create a small indentation in the soil medium and gently place the germinated pecan seed, making sure to position it with the root pointing downwards. Cover the seed lightly with soil, leaving the top of the seed slightly exposed.
- Spacing: If you’re planting multiple seeds, ensure proper spacing between them to allow room for growth.
- Watering: Moisten the soil after planting, ensuring even moisture throughout. Avoid overwatering, as it can lead to rotting of the seeds or seedlings.
- Light: Place the containers in a bright location with indirect sunlight. Avoid direct sunlight, as it can be too intense for the young seedlings.
- Temperature: Maintain a temperature of around 70-80°F (21-27°C) for optimal germination. Use a heat mat or place the containers in a warm area if necessary.
During this phase, it’s important to provide consistent care and monitoring for the germinated seeds. Keep the soil moist but not soggy, and be patient as it may take several weeks for the seedlings to emerge.
Now that the pecan seeds are planted, it’s time to provide them with the necessary care to ensure healthy growth. Step 6 will guide you through the essential care instructions for your germinated pecan seeds.
Step 6: Providing the Necessary Care
Once the germinated pecan seeds have been planted, it’s important to provide them with the necessary care to ensure their healthy growth. Follow these guidelines to properly care for your pecan seedlings:
- Watering: Keep the soil moist but not waterlogged. Avoid overwatering, as it can lead to root rot. Monitor the moisture levels regularly and adjust your watering accordingly.
- Light: Place the seedlings in a location that receives bright, indirect sunlight for at least 6-8 hours a day. If natural light is insufficient, consider using fluorescent grow lights to supplement the light requirements.
- Temperature: Pecan seedlings thrive in temperatures around 70-80°F (21-27°C). Avoid extreme temperature fluctuations, as they can stress the seedlings. Provide a stable and consistent temperature environment.
- Fertilization: After the first set of true leaves emerge, you can start applying a balanced fertilizer specifically formulated for seedlings. Follow the package instructions for proper application rates.
- Weed Control: Regularly remove any competing weeds around the pecan seedlings. Weeds can compete for resources and hinder the growth of the young plants.
- Pest and Disease Management: Keep a close eye on your pecan seedlings for any signs of pests or diseases. If you notice any issues, promptly address them using appropriate organic or chemical methods.
As the pecan seedlings continue to grow, they will develop their root system and leaves. Maintain a regular watering and care routine to ensure healthy, vigorous growth.
Once the pecan seedlings have reached a certain size, they will be ready for transplantation into their permanent growing location. The next step, Step 7, will guide you through the process of transplanting the pecan seedlings.
Step 7: Transplanting the Pecan Seedlings
After providing proper care and allowing your pecan seedlings to grow and establish themselves, they will eventually outgrow their temporary containers and need to be transplanted into their permanent growing location. Follow these steps to successfully transplant your pecan seedlings:
- Timing: Choose the right time to transplant your pecan seedlings. Wait until the seedlings have developed a strong root system and have several sets of true leaves. This is typically after 6-8 weeks from germination.
- Site Selection: Select a planting location that provides full sun exposure and well-draining soil. Pecan trees thrive in soil that is rich in organic matter and has a pH level between 6.0 and 7.0.
- Prepare the Hole: Dig a hole that is wide and deep enough to accommodate the root system of the seedling. Ensure that the hole is large enough to allow the roots to spread out naturally.
- Transplanting: Gently remove the pecan seedling from its temporary container, taking care not to damage the delicate roots. Place the seedling in the prepared hole and backfill with soil, gently firming it around the roots to eliminate air pockets.
- Watering: Water the newly transplanted seedlings thoroughly to help settle the soil and ensure good root-to-soil contact. Provide regular watering during the first few weeks after transplantation to help the seedlings establish in their new location.
- Staking (if necessary): In areas with strong winds or if the seedlings are tall and fragile, providing temporary staking may be beneficial. This helps to stabilize the young trees and prevent them from being damaged by wind or other elements.
After transplanting, continue providing ongoing care to ensure the healthy growth and development of your pecan trees. Regularly monitor soil moisture, prune as needed to shape the young trees, and protect them from pests and diseases.
With time and proper care, your transplanted pecan seedlings will grow into majestic trees that will provide you with a bountiful harvest of delicious pecans for years to come.
Congratulations! You’ve successfully learned how to germinate pecans and nurture them into strong, productive trees. Enjoy the process and the rewarding experience of growing your own pecan orchard.
Happy gardening!
Conclusion
Growing pecan trees from germinated seeds is a rewarding and fulfilling experience. By following the steps outlined in this article, you can successfully germinate pecans and watch them grow into healthy, productive trees.
From selecting the right pecan seeds to providing the necessary care, each step plays a crucial role in the germination process. Remember to choose fresh seeds, prepare a suitable germination container, and soak the seeds before stratifying them. After the stratification period, plant the germinated seeds in a well-draining soil mix, provide proper care, and transplant them into their permanent location once they have established.
Throughout the germination process, it’s important to monitor the moisture levels, provide adequate lighting, maintain a suitable temperature, and protect the seedlings from pests and diseases. By providing the necessary care and attention, you can ensure the healthy growth and development of your pecan trees.
As your pecan trees mature, they will not only provide shade and beauty to your garden but also yield delicious and nutritious pecans. These versatile nuts can be used in a variety of culinary creations or enjoyed as a healthy snack.
Remember to be patient throughout the germination and growth process. Pecan trees take time to develop and produce nuts, but the wait is worth it. The satisfaction of nurturing a pecan tree from a small seed into a majestic, productive tree is truly a remarkable journey.
So, why wait? Start your pecan germination journey today and enjoy the rewarding experience of growing your own pecan orchard. Happy growing!
Frequently Asked Questions about How To Germinate Pecans
Was this page helpful?
At Storables.com, we guarantee accurate and reliable information. Our content, validated by Expert Board Contributors, is crafted following stringent Editorial Policies. We're committed to providing you with well-researched, expert-backed insights for all your informational needs.




0 thoughts on “How To Germinate Pecans”